• Required reading for all forum users!!!

    Welcome!
    Register to access the full functionality of the GSResources forum. Until you register and activate your account you will not have full forum access, nor will you be able to post or reply to messages.

    A note to new registrants...
    All new forum registrations must be activated via email before you have full access to the forum.

    A Special Note about Email accounts!
    DO NOT SIGN UP USING hotmail, outlook, gmx, sbcglobal, att, bellsouth or email.com. They delete our forum signup emails.

    A note to old forum members...
    I receive numerous requests from people who can no longer log in because their accounts were deleted. As mentioned in the forum FAQ, user accounts are deleted if you haven't logged in for the past 6 months. If you can't log in, then create a new forum account. If you don't get an error message, then check your email account for an activation message. If you get a message stating that the email address is already in use, then your account still exists so follow the instructions in the forum FAQ for resetting your password.

    Have you forgotten your password or have a new email address? Then read the forum FAQ for details on how to reset it.

    Any email requests for "can't log in anymore" problems or "lost my password" problems will be deleted. Read the forum FAQ and follow the instructions there - that's what we have one for...

  • Returning Visitors

    If you are a returning visitor who never received your confirmation email, then odds are your email provider is blockinig emails from our server. The only thing that can be done to get around this is you will have to try creating another forum account using an email address from another domain.

    If you are a returning visitor to the forum and can't log in using your old forum name and password but used to be able to then chances are your account is deleted. Purges of the databases are done regularly. You will have to create a new forum account and you should be all set.

Paper-ing my Stator: Or... Electricity confuses me

  • Thread starter Thread starter Roostabunny
  • Start date Start date
Some pics...

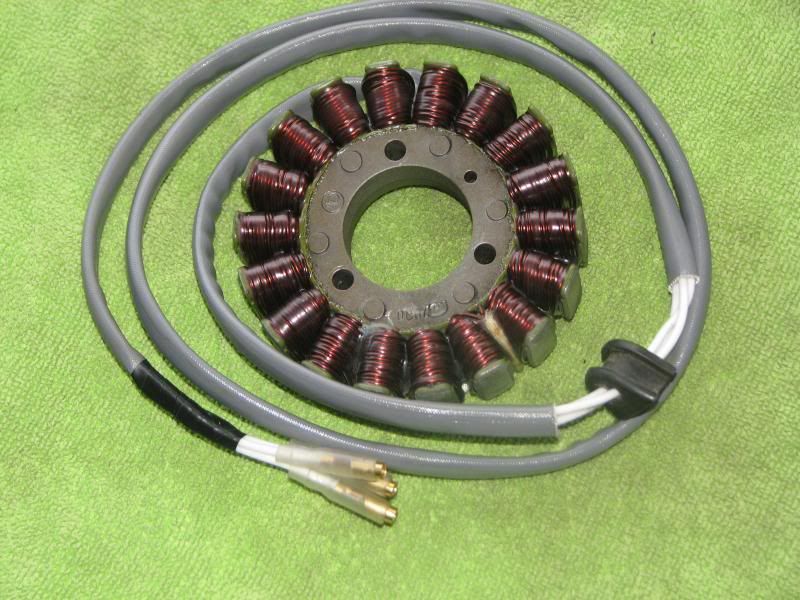
BTW, I know the stator screws are missing, I'd taken them out again after pulling the cover to inspect the harness in order to dab a little loctite.


View 1 of wear marks from flywheel rubbing on stator wire holddown (this is after I straightened it back out from slightly bent)

2013-06-29+19.06.08.jpg


View 2 of wear marks from flywheel rubbing on stator wire holddown

2013-06-29+19.06.25.jpg


View of holddown properly installed

2013-06-29+19.08.01.jpg


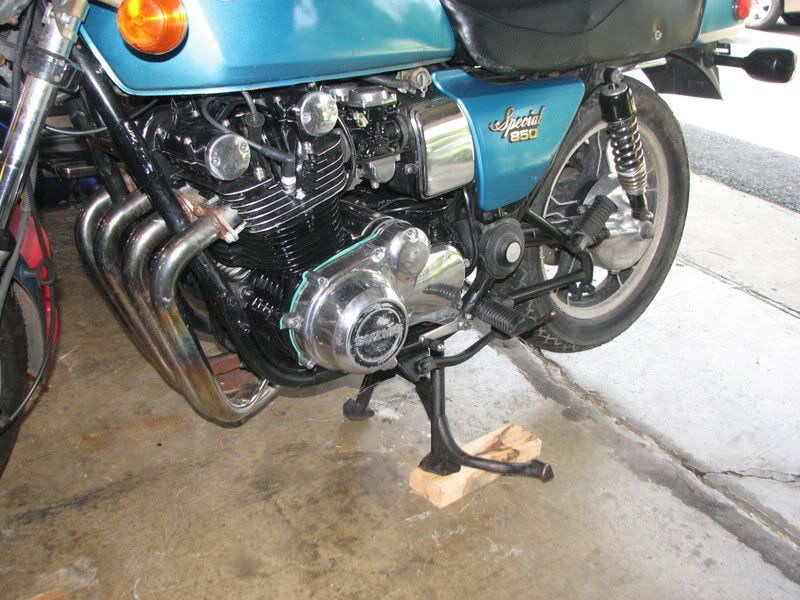
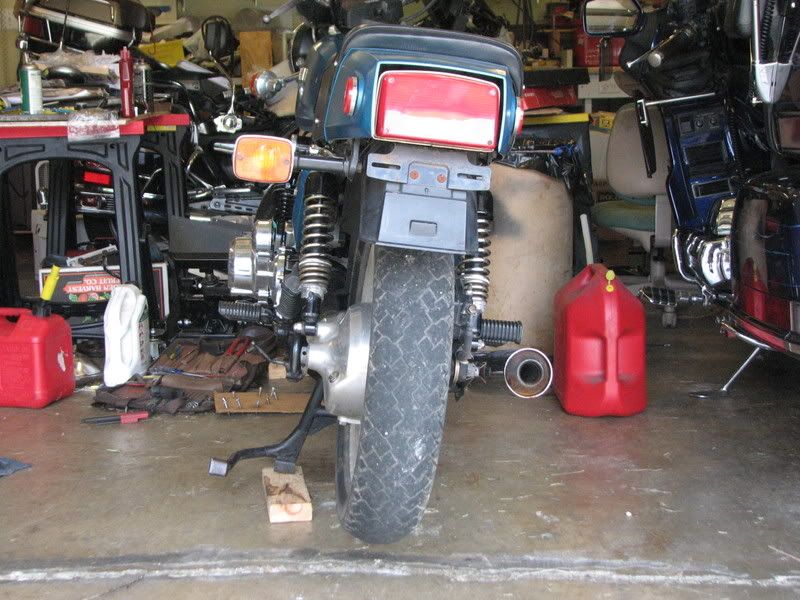
Wider view of cable routing

2013-06-29+19.08.08.jpg


View 2 of cable routing

2013-06-29+19.08.24.jpg
 
Last edited:
I just re-inspected - the wires look pristine inside the cover, and I was careful from the get-go to route them correctly. When I boogered the hold-down it was actually putting less pressure on the wires as opposed to more, and from looking at the wear mark on the hold-down I can't imagine that process could have damaged the wires.

Is there something else I can look for to nail this down? Am I even looking for the right thing as I'm inspecting for damage to the stator harness?

Edit: Adding another data point here...

I might need to recharge the battery for this measurement to be valid after 10-12 times cranking the thing today, but...

Battery (engine off): 12.7 VDC
Battery (2500 RPM): 13.4 VDC
Battery (5000 RPM): 13.0 VDC


Not very encouraging, but if it's helpful for diagnostic purposes it'll offset the frustration. :confused:

Edit 2: As an aside, that upgraded crimper works like a dream, so at least that went right. And I'm frustrated, but not depressed yet. If this ride weren't my daily driver this twist would probably be a cool adventure. :)

Please re review the Quick Test; I believe there are 6 steps.
 
Please re review the Quick Test; I believe there are 6 steps.

OK cool - if we've talked about the Quick Test before I though it was referring to something in one of the stator documents or one of BassCliff's PDF's rather than a thread title. My mistake.

But I found the link in your signature and will give it a go once I top off the battery.
 
OK cool - if we've talked about the Quick Test before I though it was referring to something in one of the stator documents or one of BassCliff's PDF's rather than a thread title. My mistake.

But I found the link in your signature and will give it a go once I top off the battery.

The static 12.7V is OK, but if with key on it drops too far then the charging numbers will be low. That is why the request to measure all 6 voltages.
 
And the old analog meters had a zero adjust

My Fluke 75 has an auto ranging and manual ranging. Not sure how that affect the zero calibration on the ohm meter
I use a first-generation Fluke 77, which has auto-ranging, but you can also select to lock it to a single range.
No difference in zero calibration.


Side note, my plan for the moment is to:

Keep the bike on its center stand
Tip it to the right
Slip a 3" wood block under the left-side center stand foot

If memory serves, this will let me take that cover off without invoking memories of the Exxon Valdez.
A short section of 2x4 will do just fine.

IMG_7677.jpg


IMG_7679.jpg


.
 
Look very carefully at wires right where they come off stator and pass into hold down. Whose stator is this? it's a lovely color
 
Look very carefully at wires right where they come off stator and pass into hold down. Whose stator is this? it's a lovely color

Thanks, Tom203.

It's a Rick's, and yes, the color actually makes me kind of bummed that it'll never be seen. :)

As for inspecting those connections right off the coils, that makes sense. But the new unit is pretty snug on there and I'm a little paranoid about damaging insulation and connections when removing it to check the back side. I tried wedging my finger under to scoop it out, but apparently I don't have enough grip strength.

Maybe pry gently back and forth with a hardwood stick against the outer edges?
 
The static 12.7V is OK, but if with key on it drops too far then the charging numbers will be low. That is why the request to measure all 6 voltages.

OK, back with the full data set...

Quick Test results (VDC):
Key off = 12.9
Key on +10sec = 12.3
1500 RPM = 13.8
2500 RPM = 13.2
5000 RPM = 13.1
Key off = 13.0

If I'm reading the quick test correctly...
- I'm charging
- I should be getting more voltage at 2500 RPM than at 1500

Edit:
So I think I'm still having stator problems, despite the new unit. Possibly related to the 40VAC I'm getting when I measure leg->ground?
 
Last edited:
Some big pictures of the stator backside - not too sure what I'm looking for here - but kind of surprised that it's not more obvious where the wires connect to the windings. Perhaps protected under all that insulation?

Sidenote - Tom203, obviously I got the stator out.

P1110585-001.JPG


P1110587-001.JPG


P1110590-001.JPG


P1110591-001.JPG


P1110594-001.JPG
 
Last edited:
OK, back with the full data set...

Quick Test results (VDC):
Key off = 12.9
Key on +10sec = 12.3
1500 RPM = 13.8
2500 RPM = 13.2
5000 RPM = 13.1
Key off = 13.0

If I'm reading the quick test correctly...
- I'm charging
- I should be getting more voltage at 2500 RPM than at 1500

Edit:
So I think I'm still having stator problems, despite the new unit. Possibly related to the 40VAC I'm getting when I measure leg->ground?


Yes you are charging and the voltage is low. But the voltage is also decreasing from idle indicating poor connections.

Proceed to Revised Phase A to confirm. Measure voltage drops at 5K RPM between R/R and battery.

Finally STEP #3.) Perform Stator Paper Checks. The stator pages checks are not perfect, but they are designed to help you through a process of elimination in determining what is wrong with your charging system. The good news about doing steps #1 and #2 above first, is that when the stator pages say to check your connections you know you already have done it. Here is the update.

Make sure you do these two tests and report the results for diagnosis.
STEP #2 MEASURE POSITIVE LEAD VOLTAGE DROP
STEP #3 MEASURE NEGATIVE LEAD VOLTAGE DROP


Link to Revised PHASE A of Stator Pages:
http://www.keepandshare.com/doc/3970459/stator-papers-phase-a-pdf-may-13-2012-10-43-am-55k?da=y
ORIGINAL_STATOR_PAGES

The most important thing to do checks at 5000 RPM which is typical cruising speed. You might find that you will need to clean your fuse box to get the positive side voltage drops below 0.2V at 5000 RPM. In steps #1 above you should of gotten most of the connections between the R/R(+) to battery (+) in good shape except the fuse box.
 
Nice pics! My gut tells me that's a very sloppy winding job- I wonder who does this for Rick's these days. Steve is getting some stators rewound- maybe he can post a pic of what his guy is doing so we can compare.
 
Yes you are charging and the voltage is low. But the voltage is also decreasing from idle indicating poor connections.

Proceed to Revised Phase A to confirm. Measure voltage drops at 5K RPM between R/R and battery.

OK, here goes...

With the engine at 5K rpm...

Black lead to "+", red lead to R/R red output wire (still connected - I pushed the lead into the connector): -0.01VDC

Red lead to "-", black lead to R/R Black/White output wire: 0.00VDC

(And again, my R/R is connected directly to the batt "-". I'm planning to replace that lug as the insulation was munged in the last 1/2", but I wrapped that spot with electrical tape when I first started this process.)

Edit: In fact, as we've discussed, I'm planning to replace the whole dang R/R, which will no doubt come with a new lug.

OK that means that you are barely charging indicating that perhaps the stator really is shorted out. If there were big voltage drops I would say there was plenty of resistance causing the voltage drop but that doesn't appear so.
 
OK that means that you are barely charging indicating that perhaps the stator really is shorted out. If there were big voltage drops I would say there was plenty of resistance causing the voltage drop but that doesn't appear so.

But with the stator fresh out of the box... defective unit?

Edit: Just sent a friendly note to Rick's with some of the data you guys have helped me gather and asking for help. Also sent a pic of the unit so hopefully they'll believe that this unit I bought nearly two years ago has really been on a shelf till this weekend and have sympathy. :)
 
Last edited:
But with the stator fresh out of the box... defective unit?

Edit: Just sent a friendly note to Rick's with some of the data you guys have helped me gather and asking for help. Also sent a pic of the unit so hopefully they'll believe that this unit I bought nearly two years ago has really been on a shelf till this weekend and have sympathy. :)


Mow, back to electricity...


I didn't get quite the readings I expected

Passive resistance
Leg-->Leg PASS
1
1
1

Leg-->ground PASS
L
L
L

VAC at 5K RPM

Leg-->Leg PASS
80
80
80

Leg-->ground What the?
40
40
40

I could only recommend redoing these tests and insuring that the meter is working properly first.

Test VAC using a 120V outlet in your house. You could go to radio shack and buy some 1 or 2 ohm resistors to confirm your meter is correct. If you get the same answers I would still say there is a short to ground of the stator.
 
Nice pics! My gut tells me that's a very sloppy winding job- I wonder who does this for Rick's these days. Steve is getting some stators rewound- maybe he can post a pic of what his guy is doing so we can compare.
Your wish is granted. :D

IMG_6888_zps01e73111.jpg


NOTE: This is NOT a stock photo from anybody's website or catalog, it is a stator that I received, and it's sitting on one of my dirty micro-fiber cloths.

.
 
That side looks good (neat and tight), but Roostabunny needs to see other side ! Thanks
 
I am jumping into this late, with a question:

Leg-->Leg PASS
80
80
80

Leg-->ground What the?
40
40
40

That last set of numbers, are those volts? Are you trying to measure voltage between the stator legs and ground? The three stator windings have absolutely no relation to chassis/engine ground and any voltage readings taken like this are nonsense. You want to instead measure resistance. With the engine off and the stator disconnected from the R/R. You should get an open circuit (infinite resistance) between any of the three stator legs and ground. Anything else means there's a path for current to flow from the stator to ground which implies a damaged stator or wire.

But even if there's no short to ground, it's possible you could still have a bad stator. I just don't know how you can be getting 80v across all legs and not be charging the battery unless the R/R or some wiring somewhere is bad. I agree with posplayr that it would be a good idea to verify the accuracy of your multimeter.
 
Back
Top