C
Cdnpt1
Guest
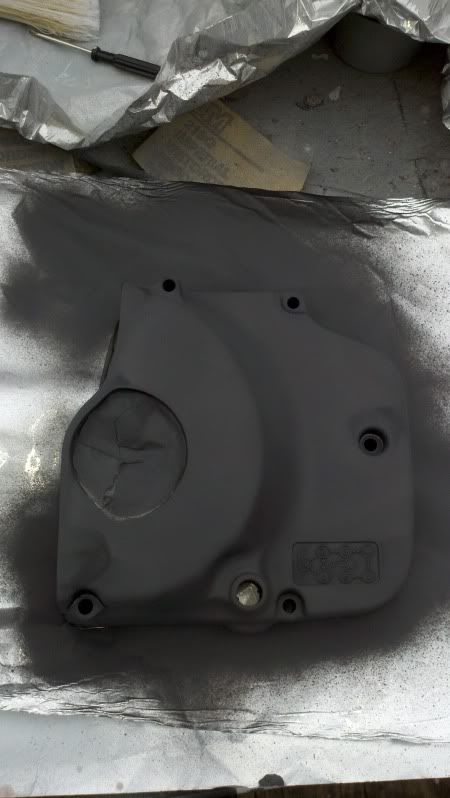
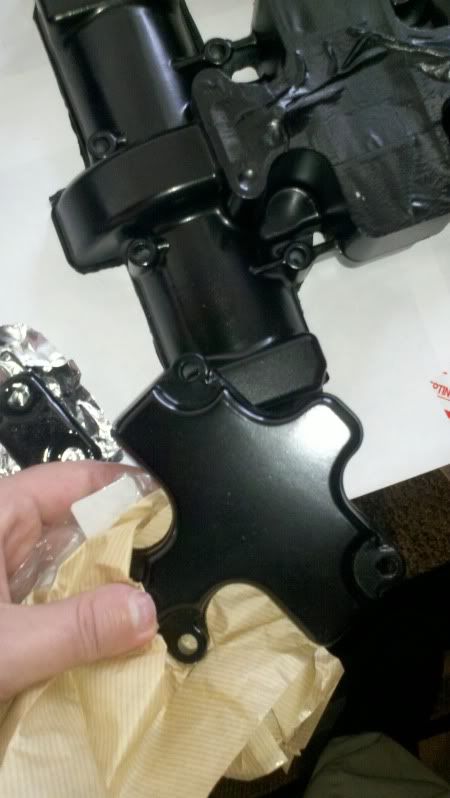
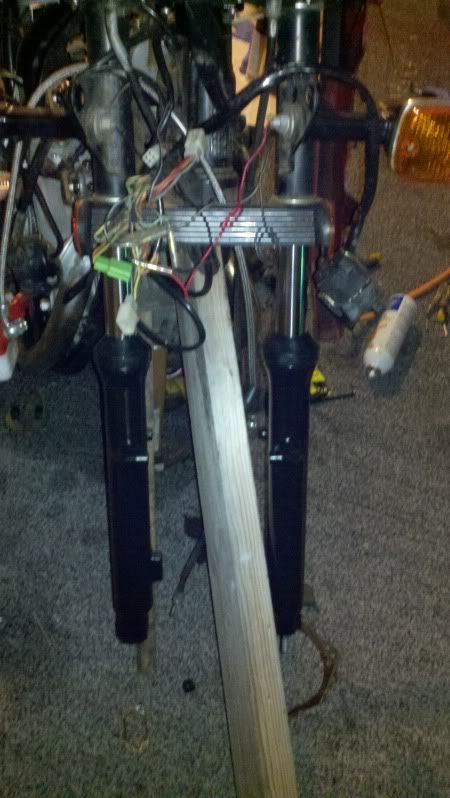
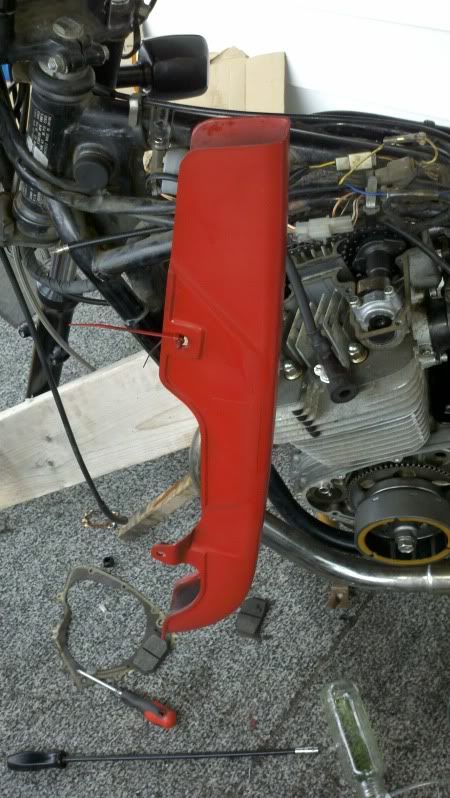
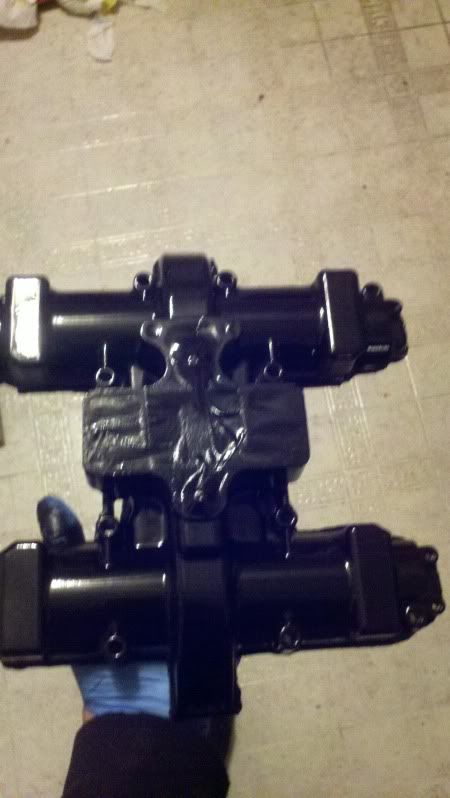
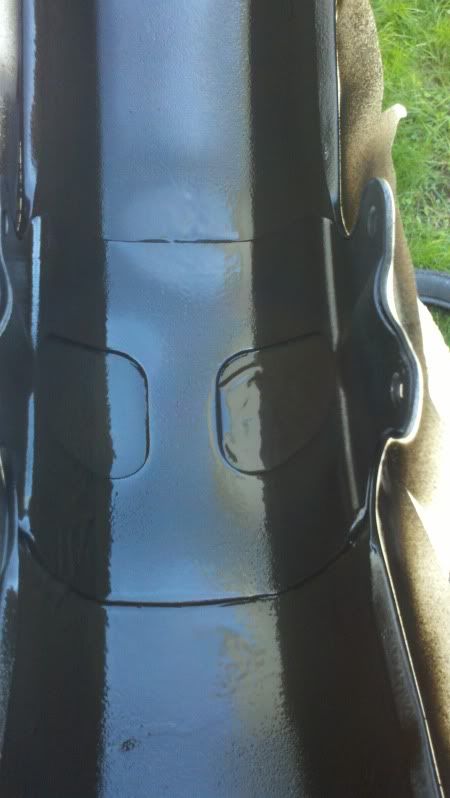
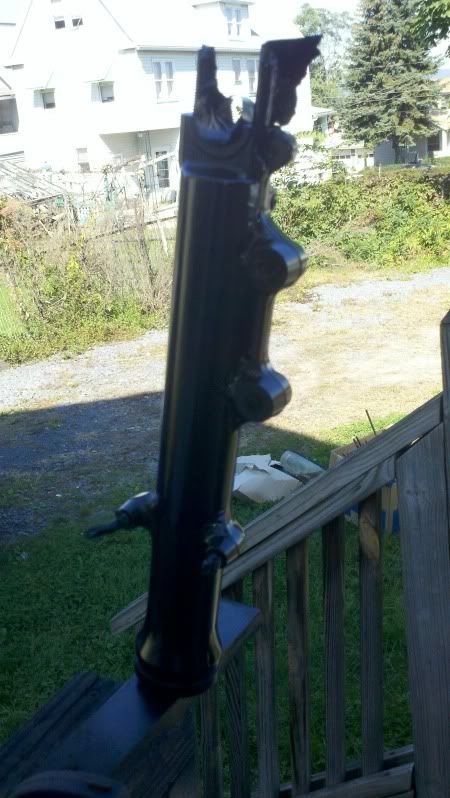
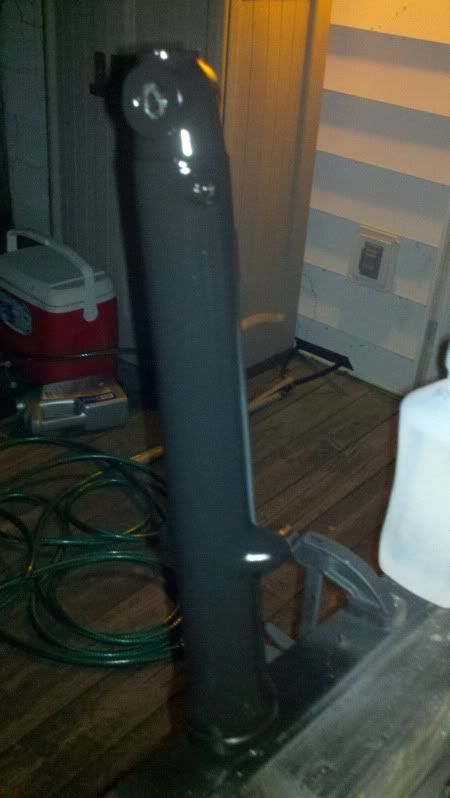
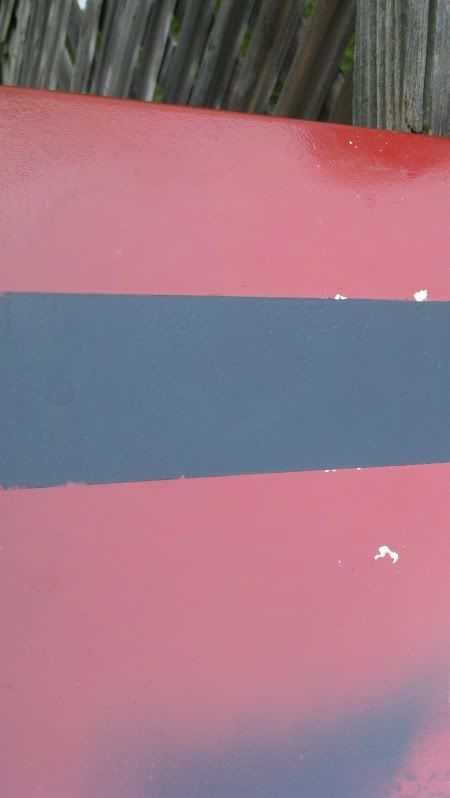
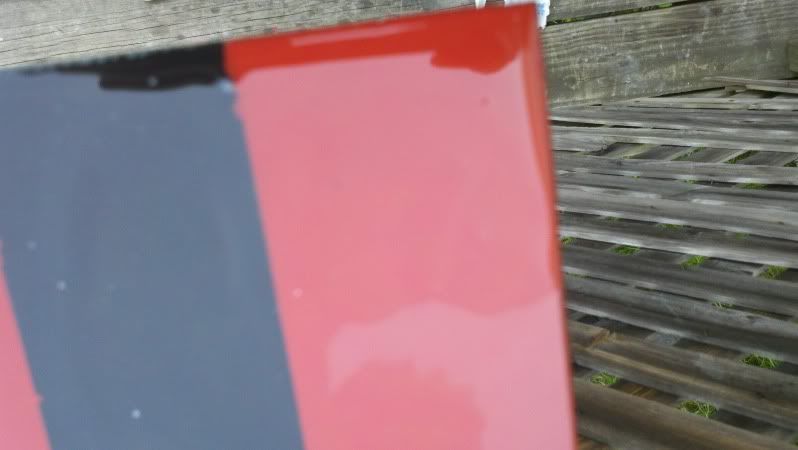
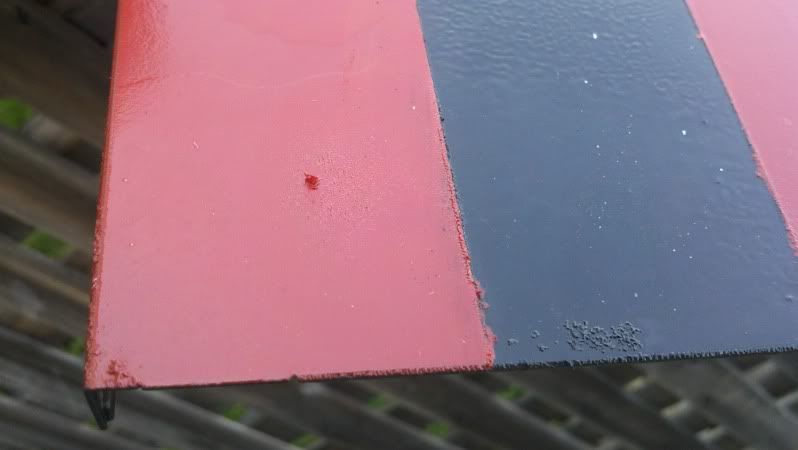
Part of me wants to paint it black with red racing stripes. I did manage to locate some thin tape for the stripes. I went with 1/2" (12.5mm) but they had all the way down to 1/16" which made me snicker a little bit...
What, you don't want to pimp it Von Dutch style
 ?
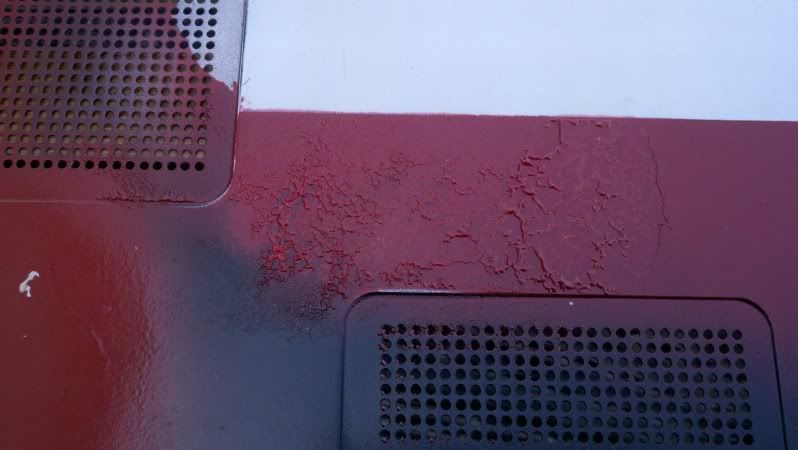
?Sure you can have that bulb, it's funny you mention that because that is what i did with it, I converted it to non sealed and put in one of those halogen bulbs they sell a million of when you search 450 parts on ebay. Got 4 miles and low beam burned out. Maybe you will have better luck with it.
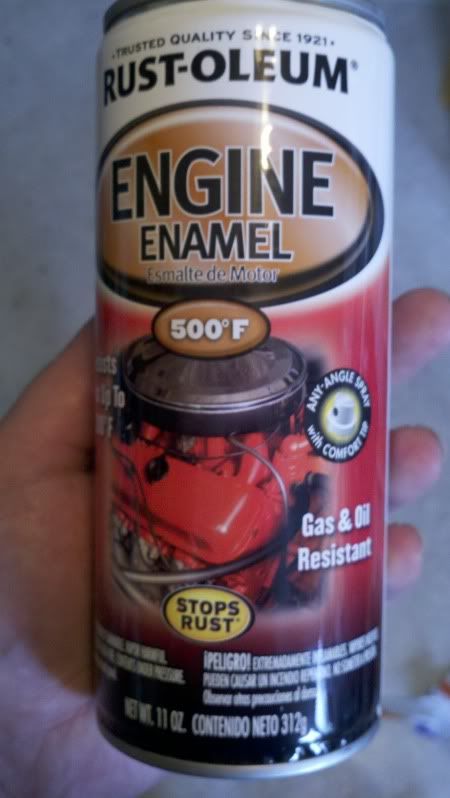
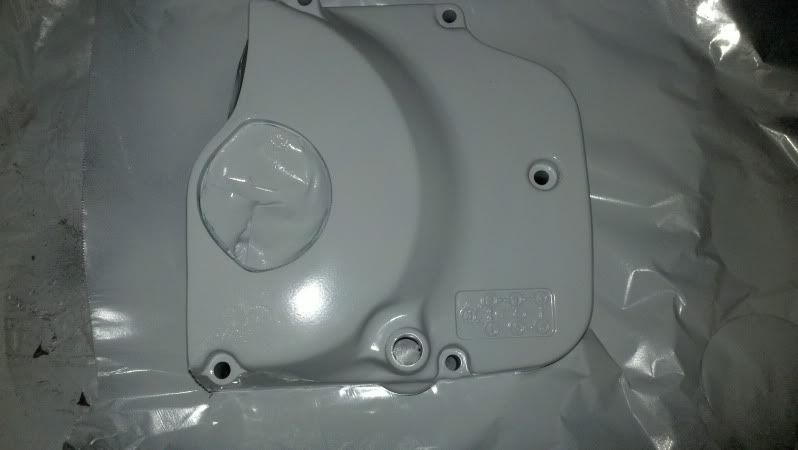
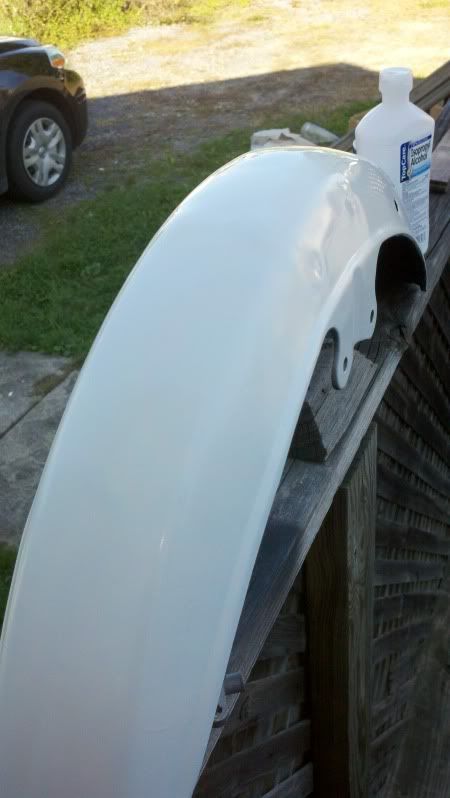
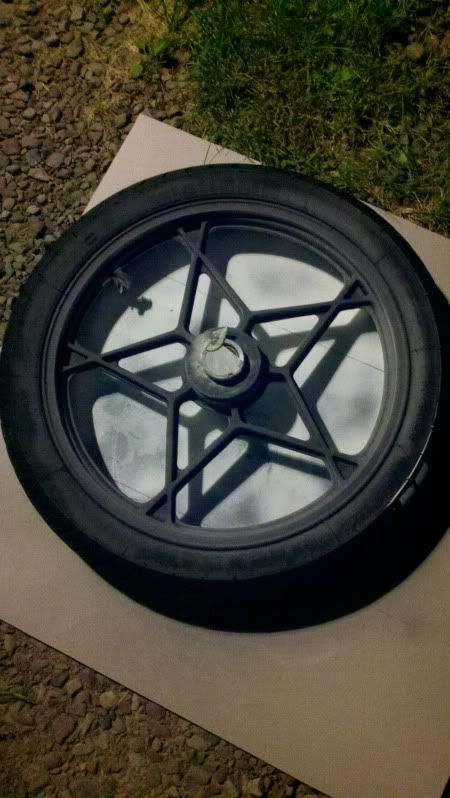
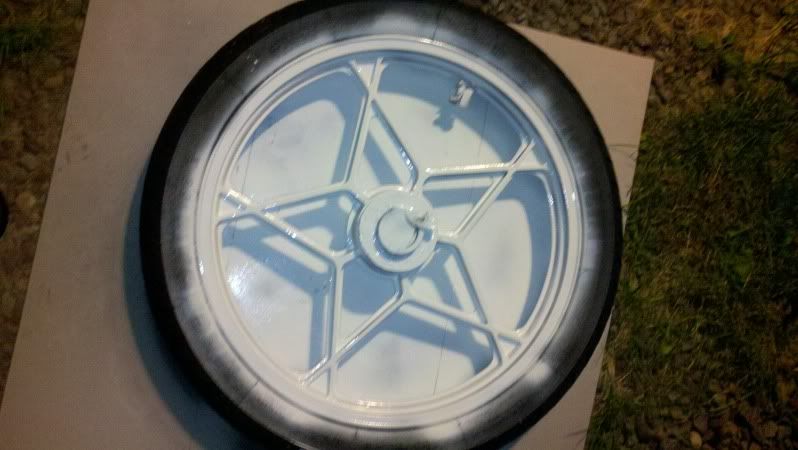
I saw the thread on color schemes, I have nothing useful to offer unfortunately, though , heres my 2 cents, I think the black with red stripes looks sharp. I am just going to stick with the stock silver and blue when I get around to repainting mine. Hey, are you using rattlecans or do you have a compresser and gun?

")
")