J
jwhelan65
Guest
Looking fantastic...who is your source on oldskool for the headlight clamps?
Required reading for all forum users!!!
Welcome!
Register to access the full functionality of the GSResources forum. Until you register and activate your account you will not have full forum access, nor will you be able to post or reply to messages.
A note to new registrants...
All new forum registrations must be activated via email before you have full access to the forum.
A Special Note about Email accounts!
DO NOT SIGN UP USING hotmail, outlook, gmx, sbcglobal, att, bellsouth or email.com. They delete our forum signup emails.
A note to old forum members...
I receive numerous requests from people who can no longer log in because their accounts were deleted. As mentioned in the forum FAQ, user accounts are deleted if you haven't logged in for the past 6 months. If you can't log in, then create a new forum account. If you don't get an error message, then check your email account for an activation message. If you get a message stating that the email address is already in use, then your account still exists so follow the instructions in the forum FAQ for resetting your password.
Have you forgotten your password or have a new email address? Then read the forum FAQ for details on how to reset it.
Any email requests for "can't log in anymore" problems or "lost my password" problems will be deleted. Read the forum FAQ and follow the instructions there - that's what we have one for...
If you are a returning visitor who never received your confirmation email, then odds are your email provider is blockinig emails from our server. The only thing that can be done to get around this is you will have to try creating another forum account using an email address from another domain.
If you are a returning visitor to the forum and can't log in using your old forum name and password but used to be able to then chances are your account is deleted. Purges of the databases are done regularly. You will have to create a new forum account and you should be all set.
those look familiar ......
Looking fantastic...who is your source on oldskool for the headlight clamps?
")
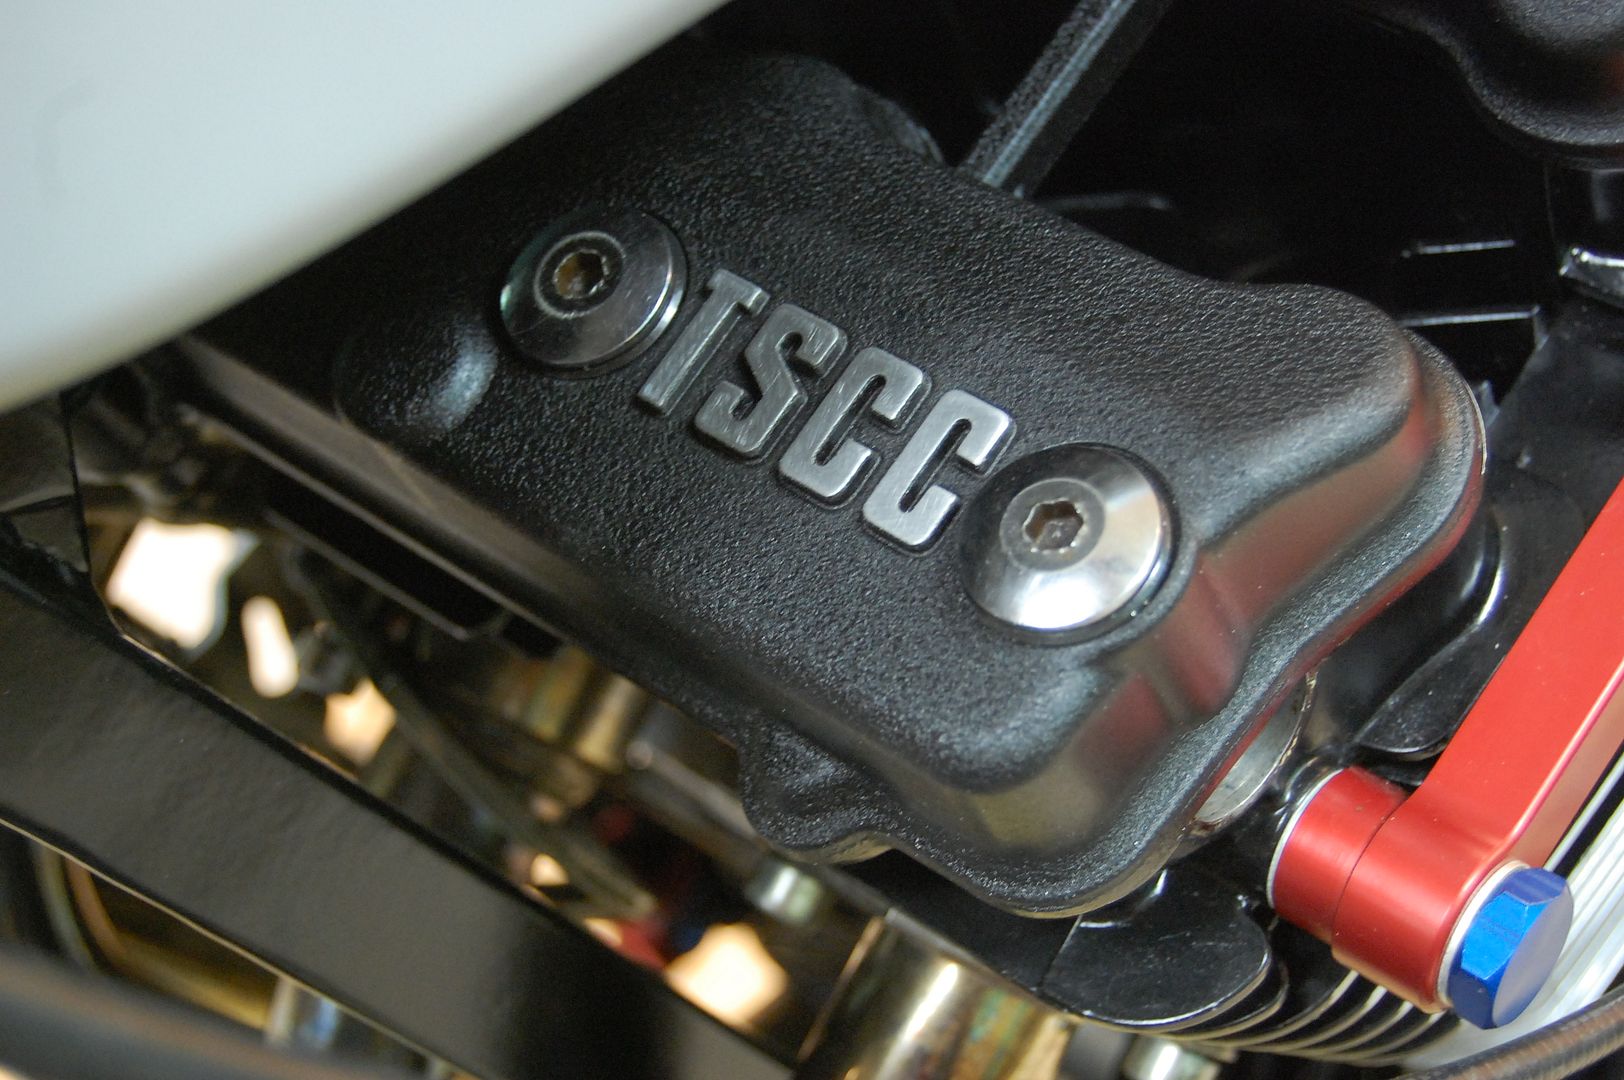
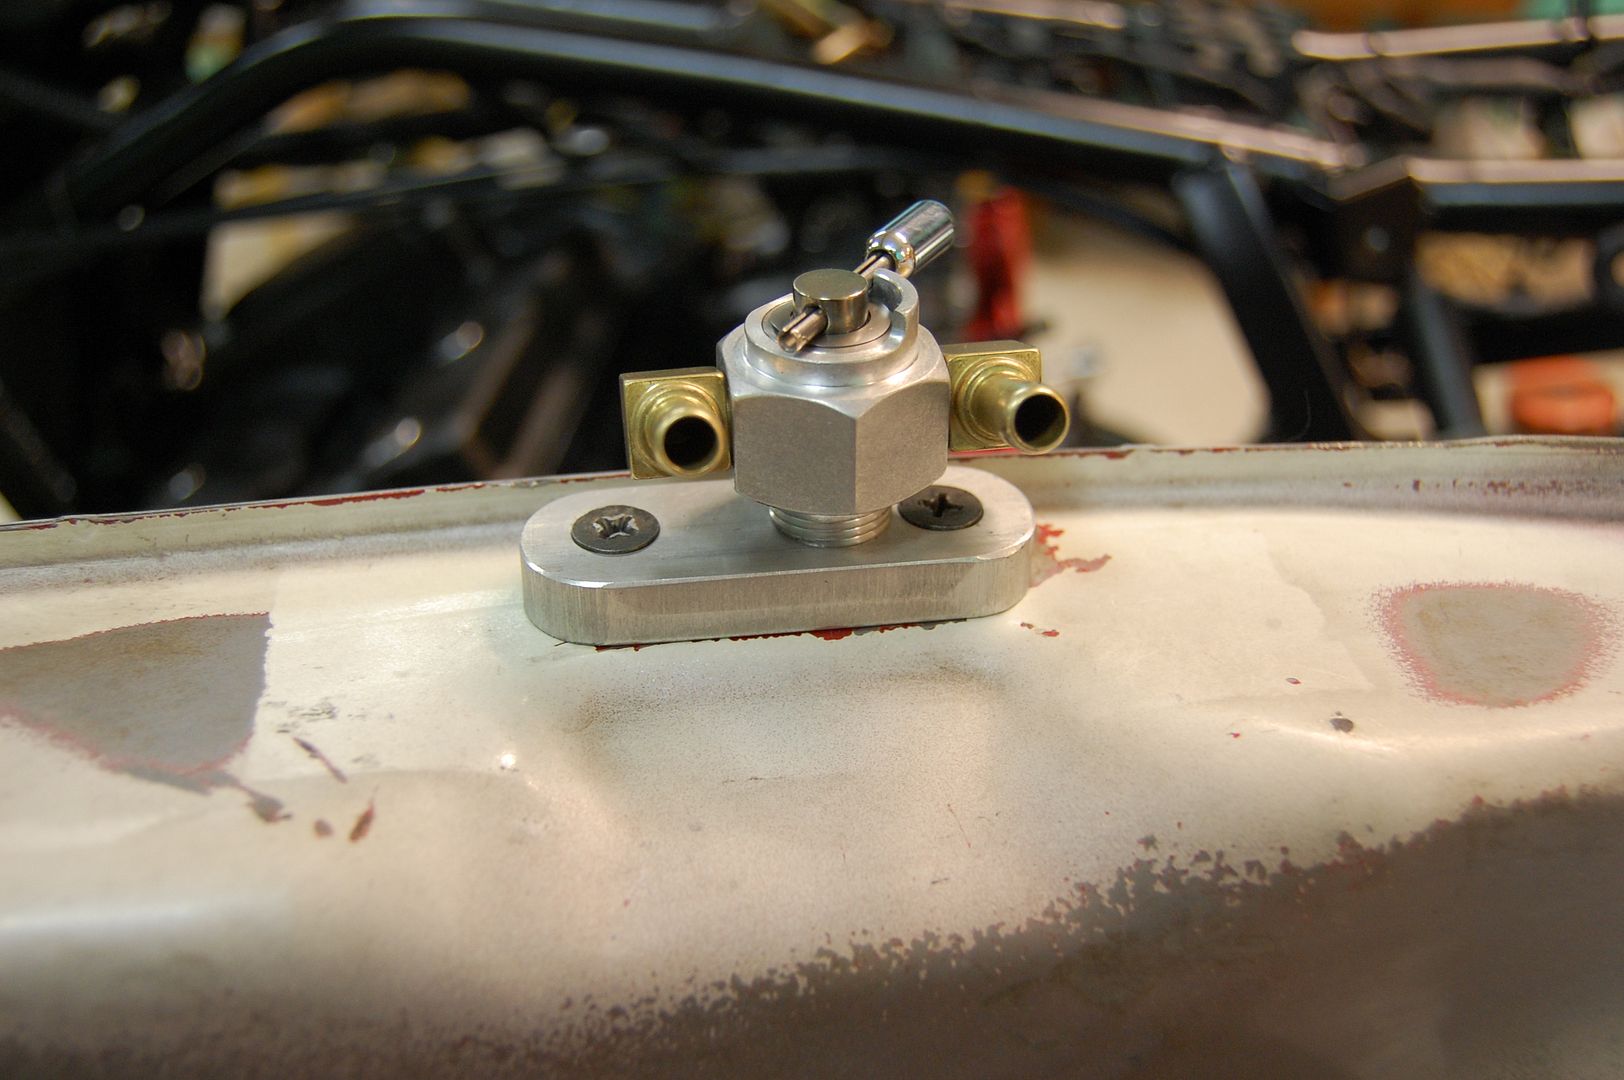
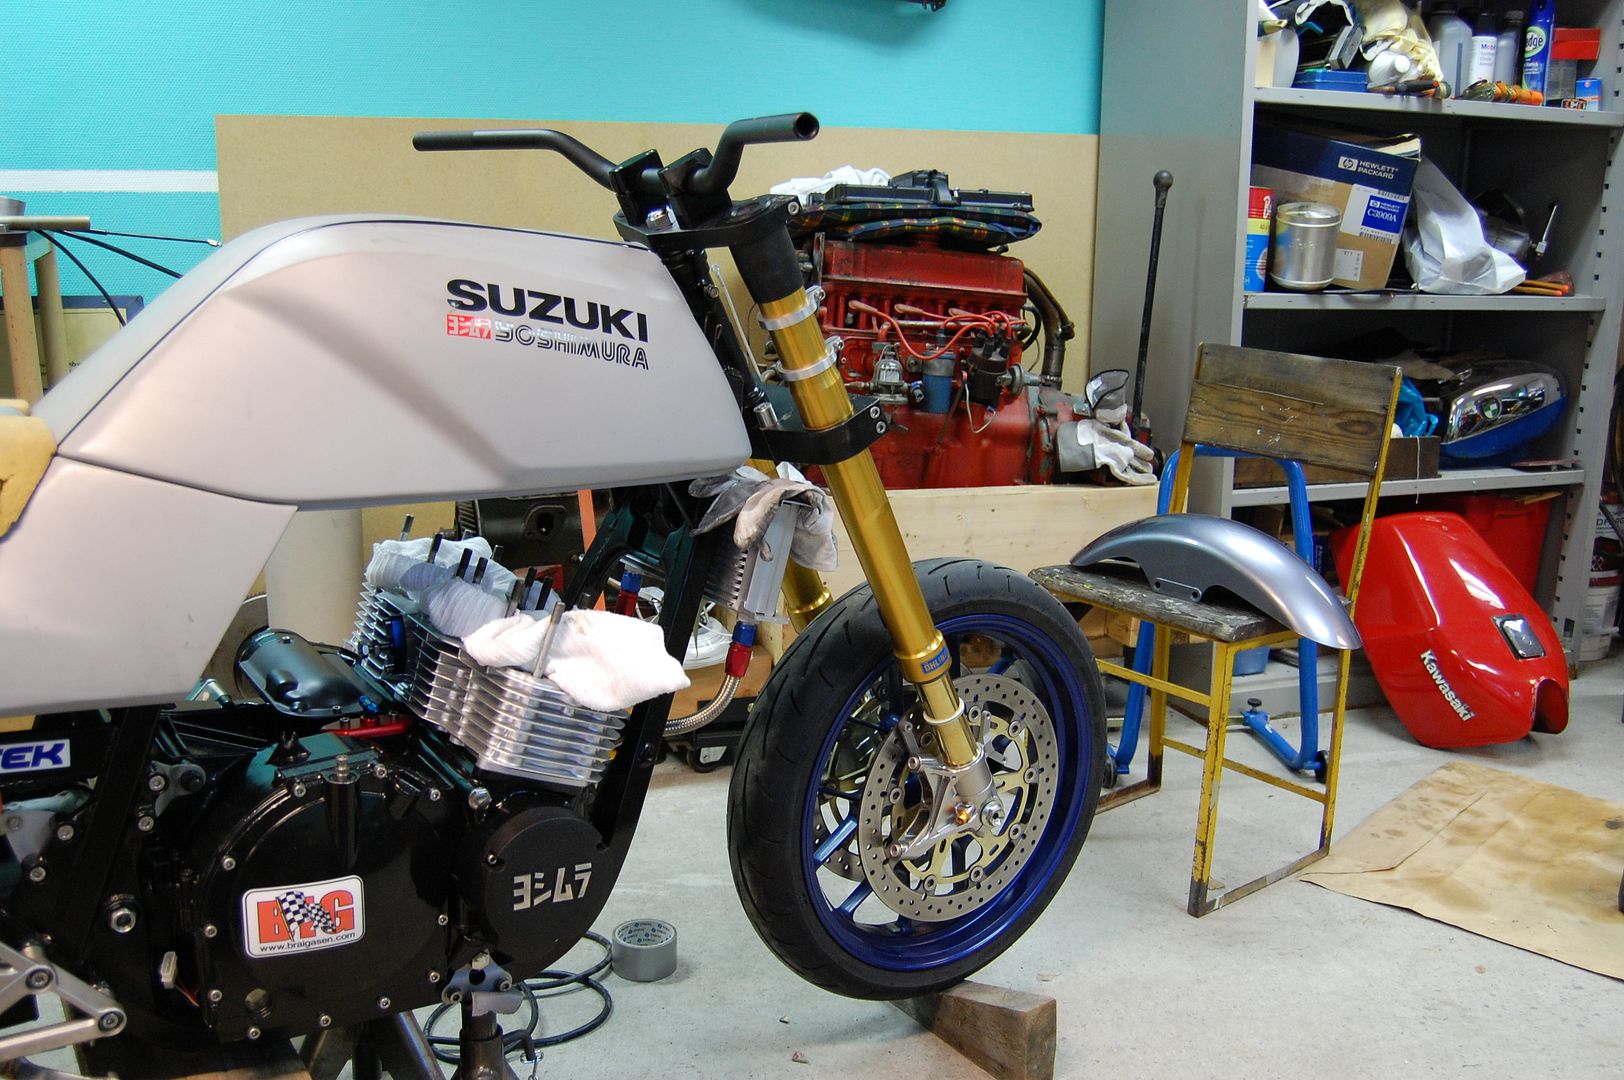
when i installed a pingle along with their adapter plate on my 1150 the fit was too close. in the off position it rested against the valve cover. yours is a much better way to go.Yesterday I added some cosmetic enhancements to the valve cover. Not much but the bare metal makes the text "pop" a bit more.
After that I dealt with a seemingly unimportant aspect of an engine, but truth is, it's actually very important. Without enough fuel in a performance engine you're looking at possible engine failure, so in order to remedy this, I invested in one of these.
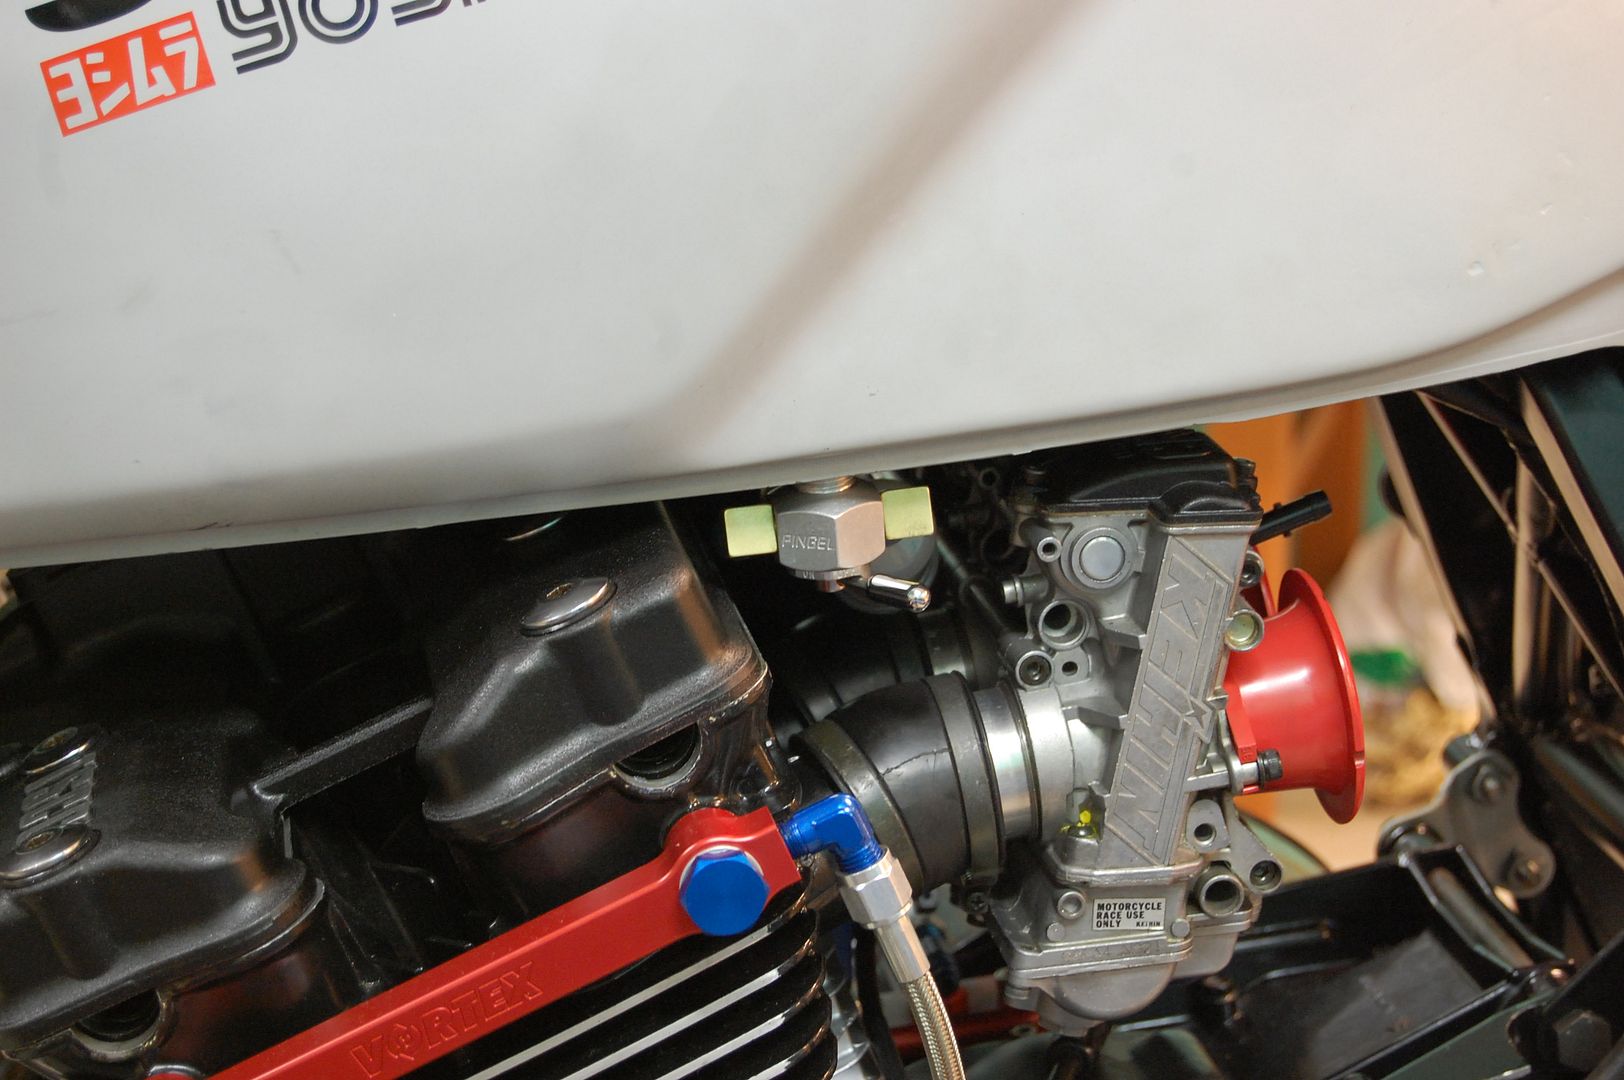
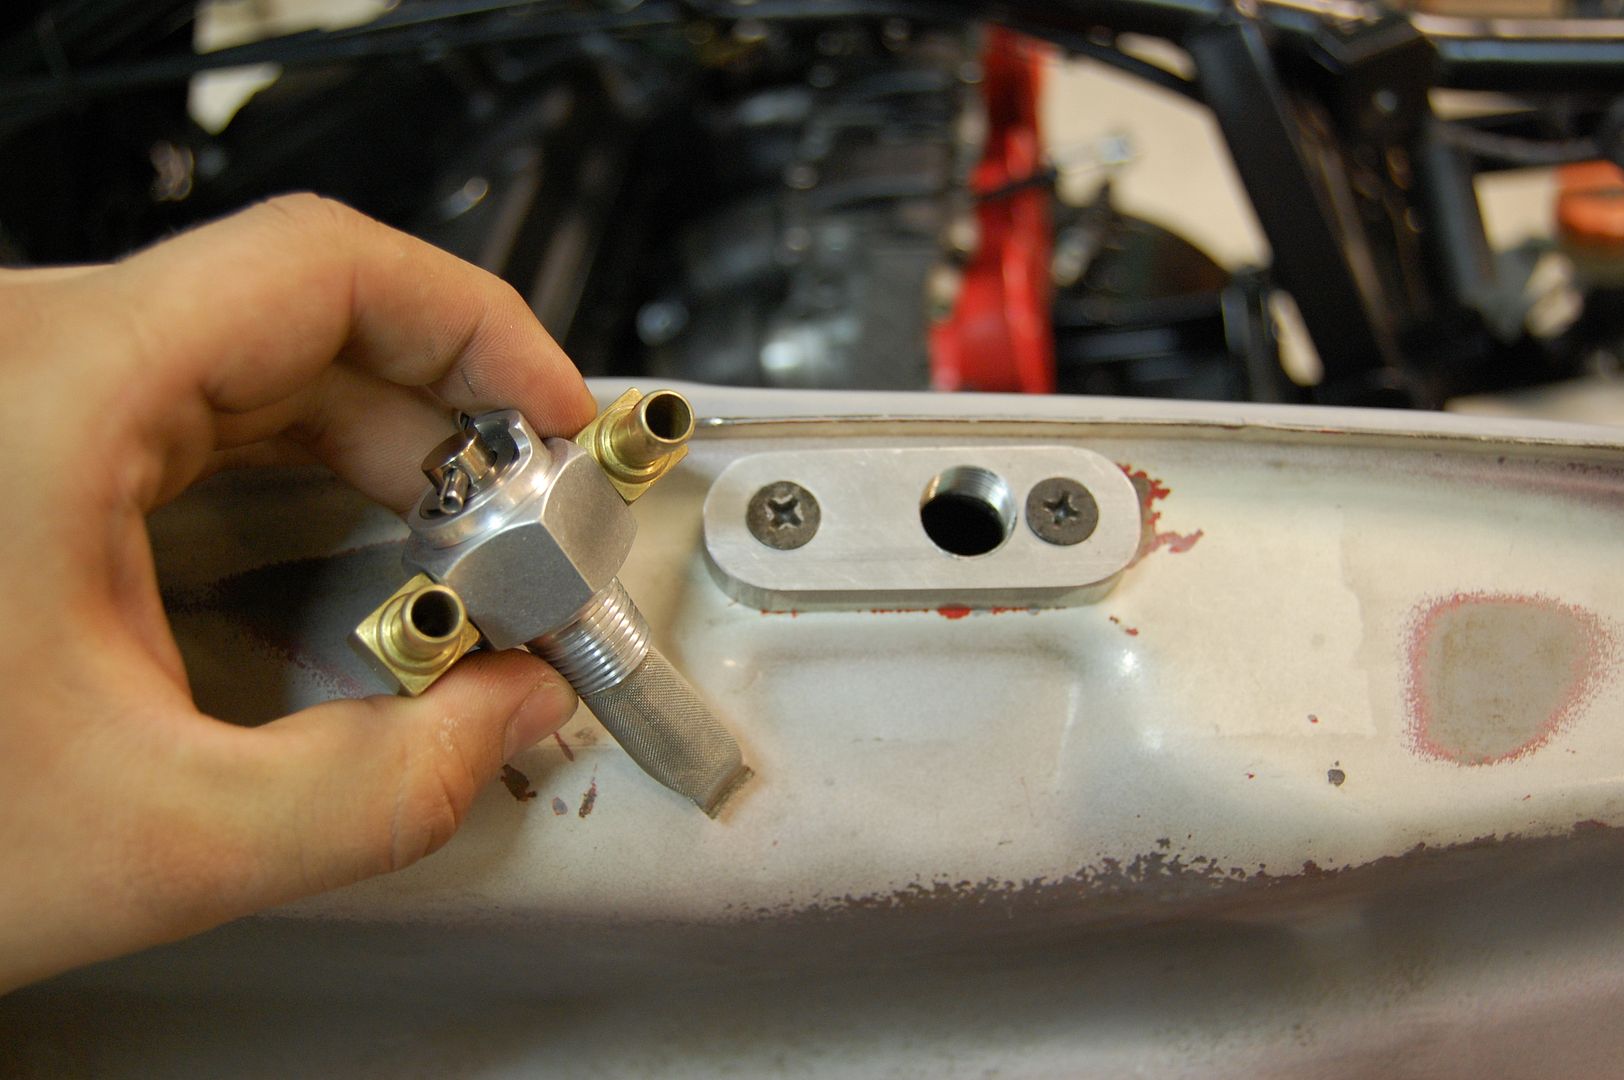
A Pingle "race" fueltap with dual outlets. Shouldn't have to worry about fuel starvation now.
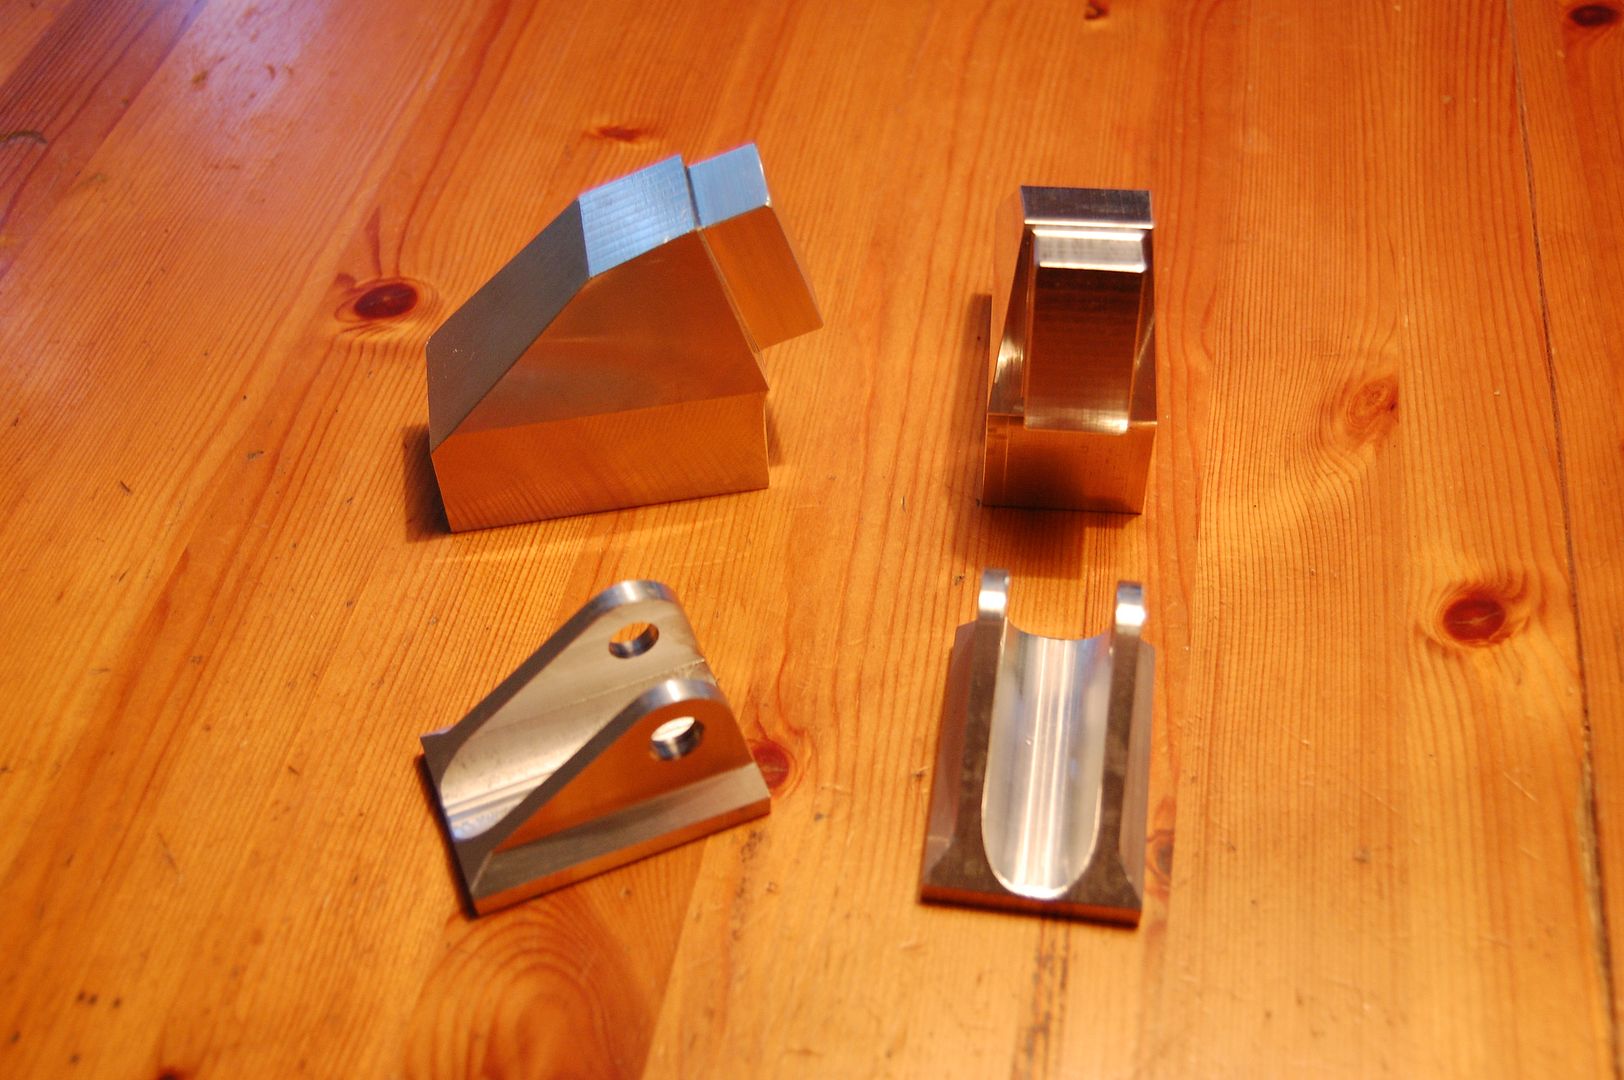
In order to fit the tap to the tank I made an adapter plate. Drilled two 6mm holes, 44mm apart and countersinked the holes.
Then I drilled a 15mm hole a bit off-center (so the tap clears the valve cover) and tapped it with a 3/8" NPT thread.
When I was done with fitting the fuel tap I also sorted out the fuel lines and filters. Tried a bunch of different transparent fuel lines this summer and all have gone yellow and turned hard, even though they are made to withstand petrol. This time however I used a really high quality and very flexible silicone line which I hope will do the job better.
Time will tell...
when i installed a pingle along with their adapter plate on my 1150 the fit was too close. in the off position it rested against the valve cover. yours is a much better way to go.
")

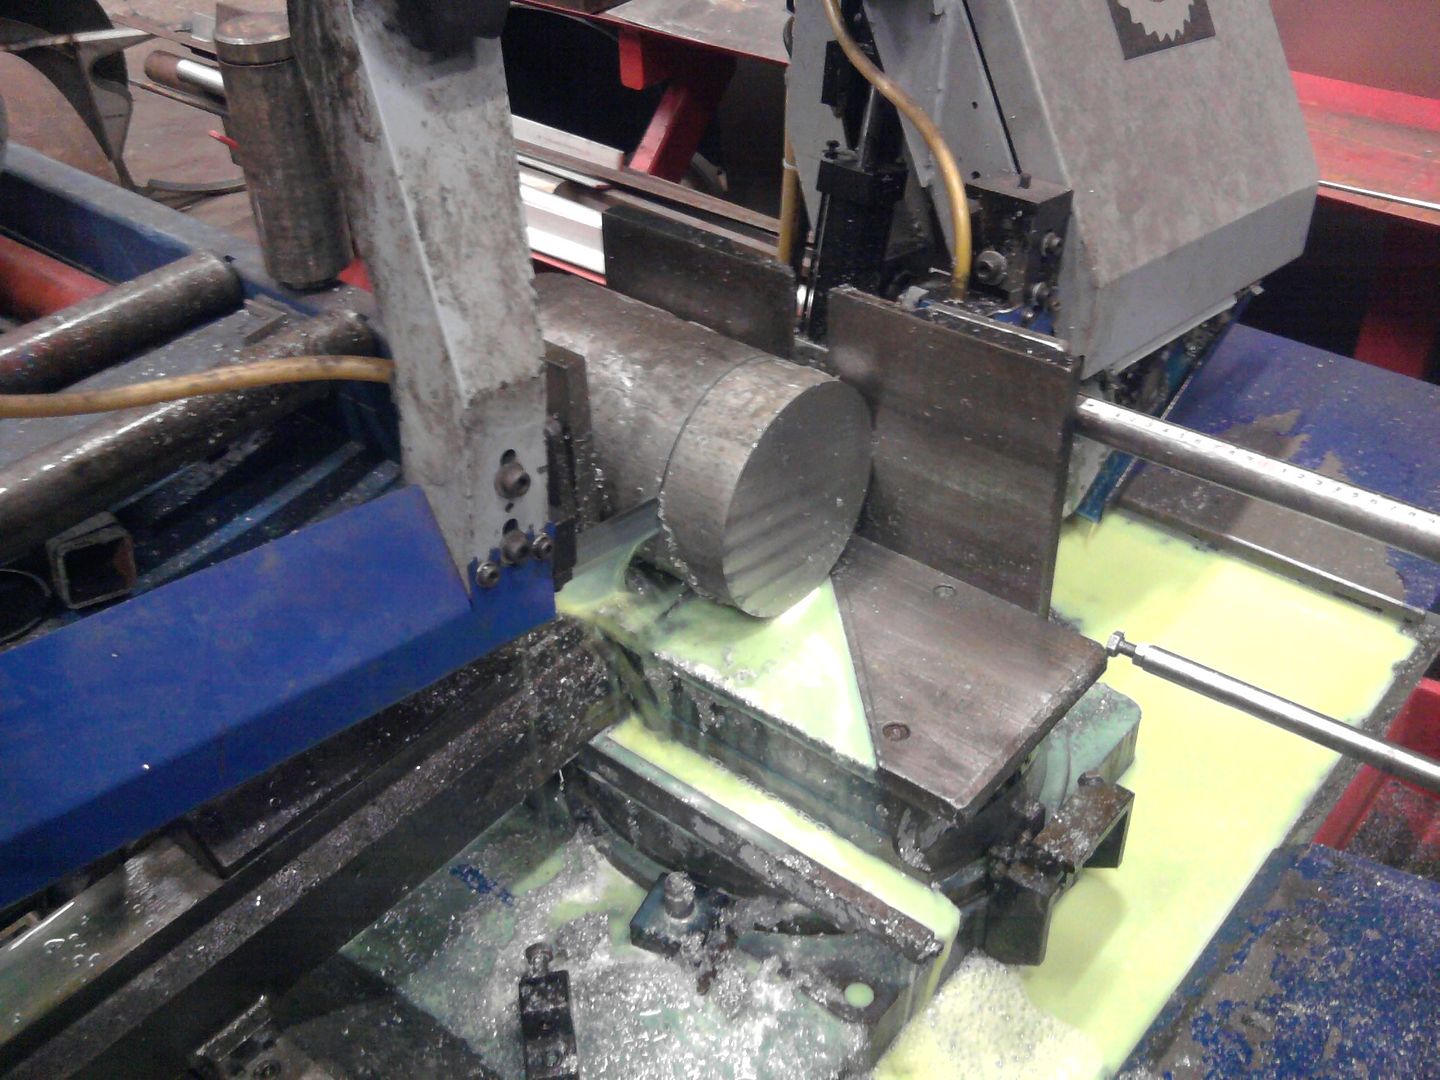
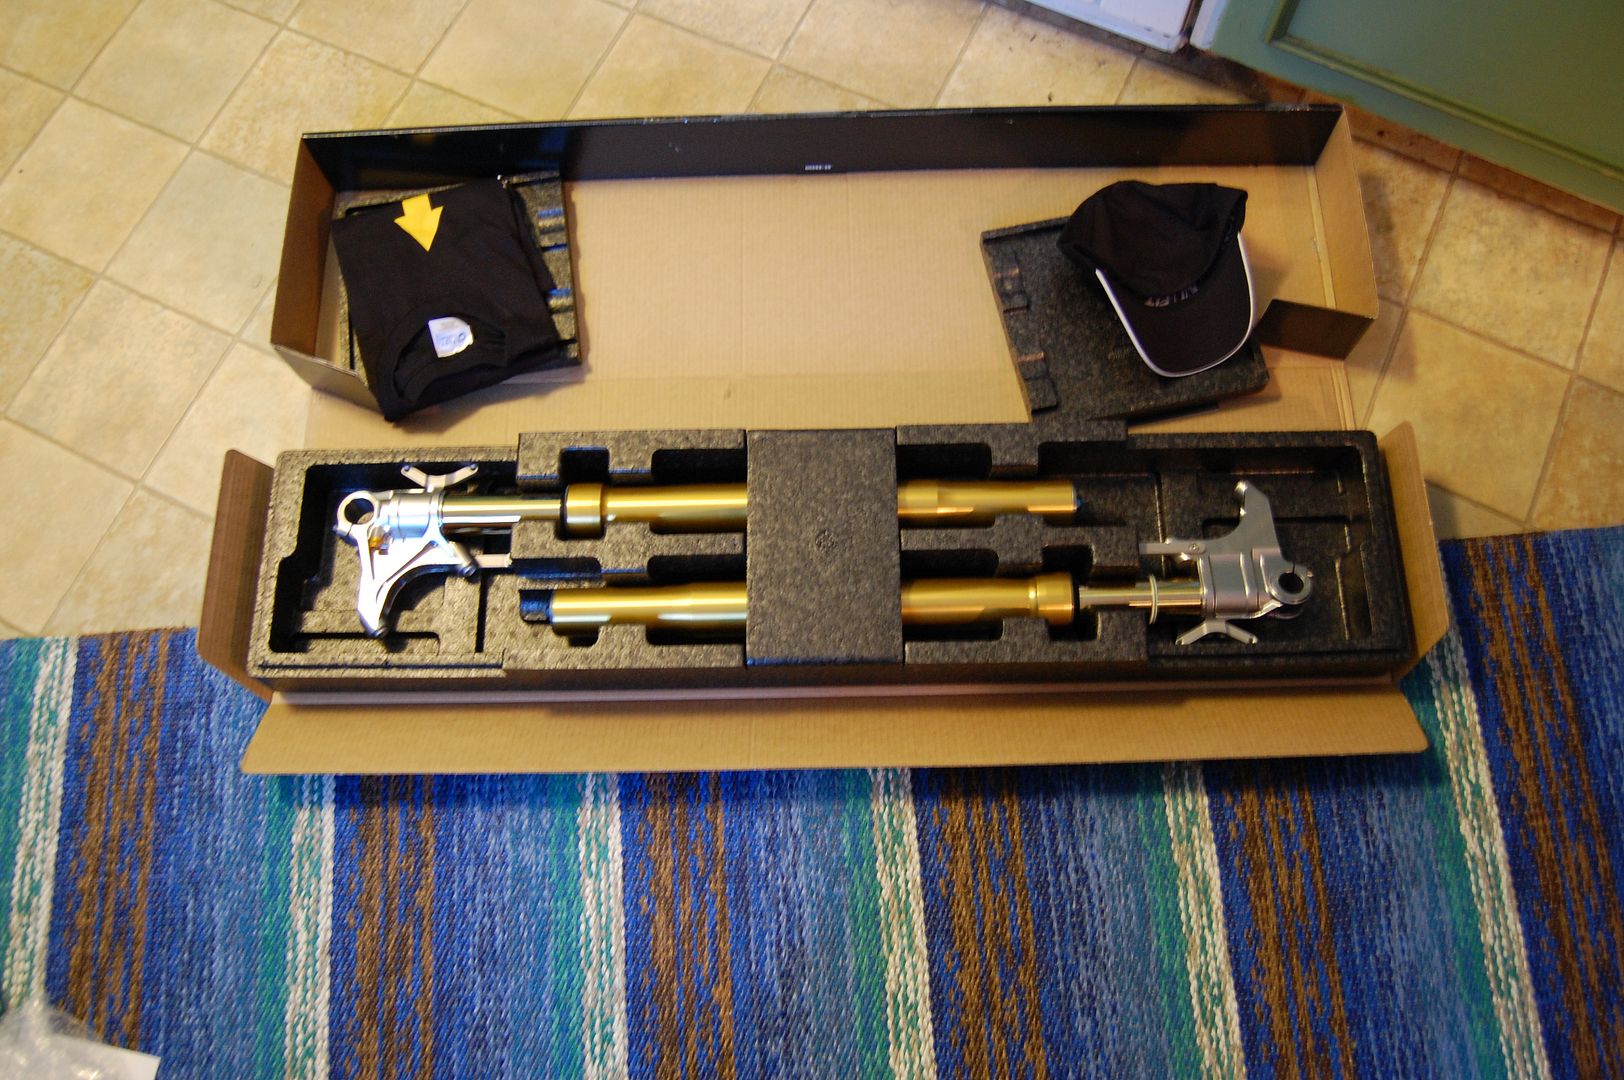
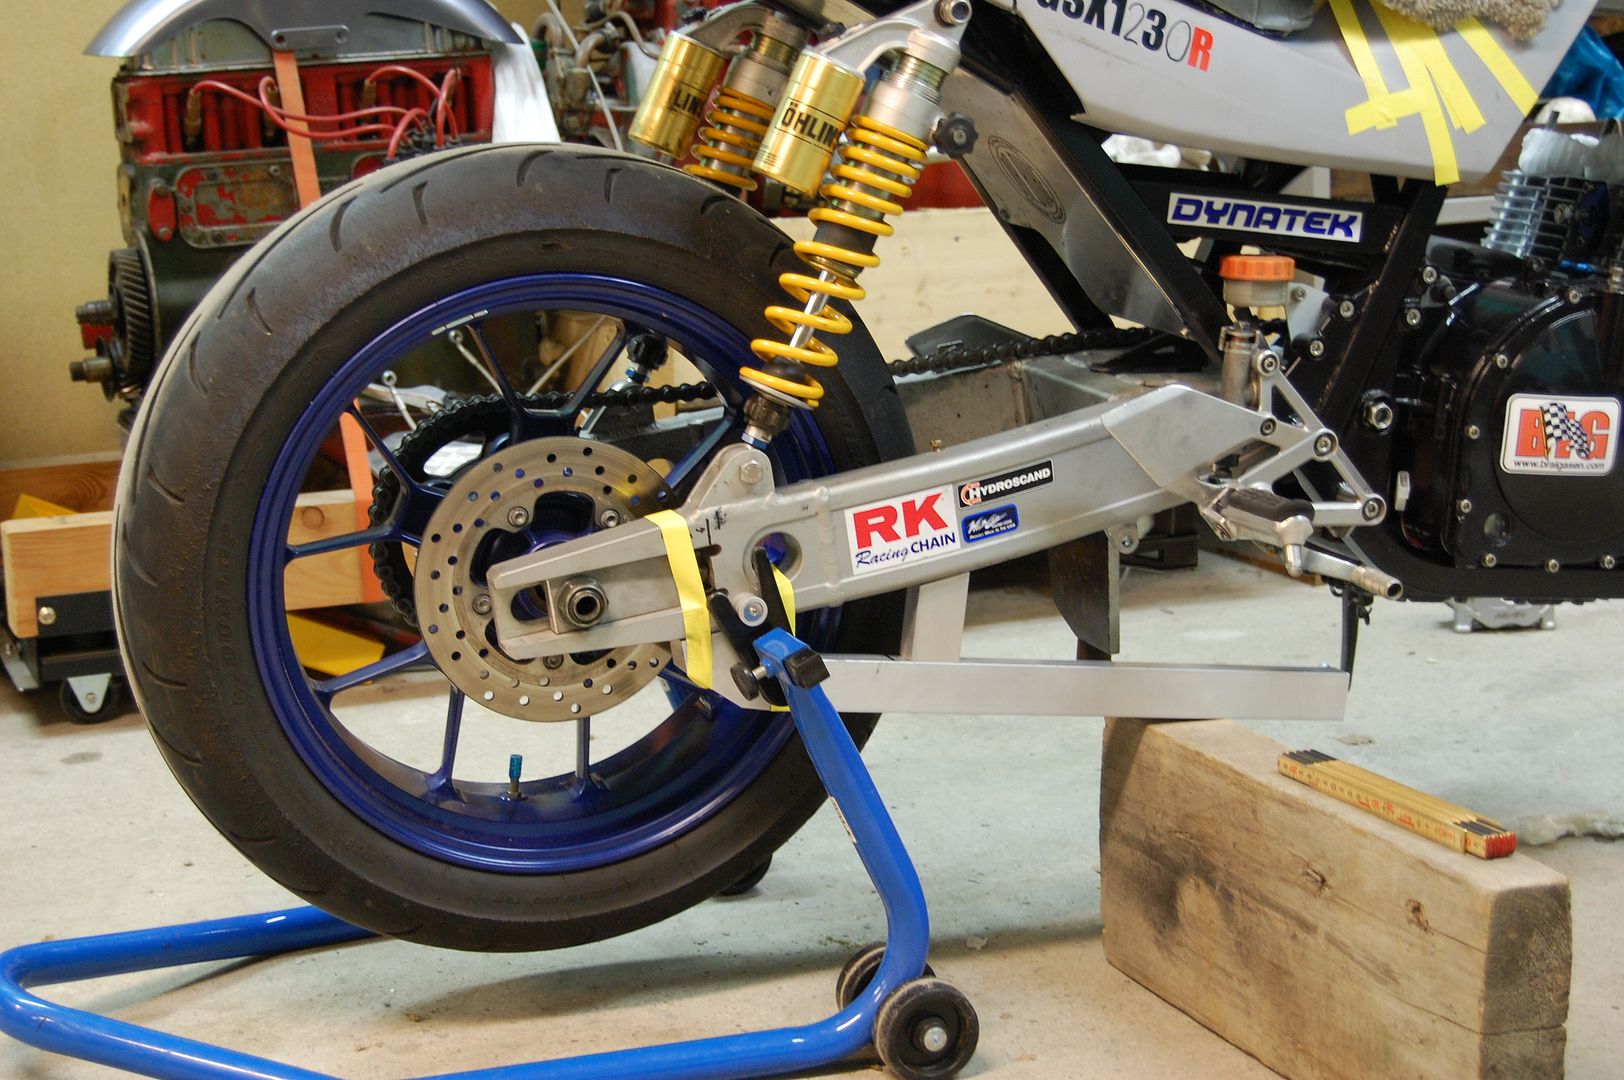
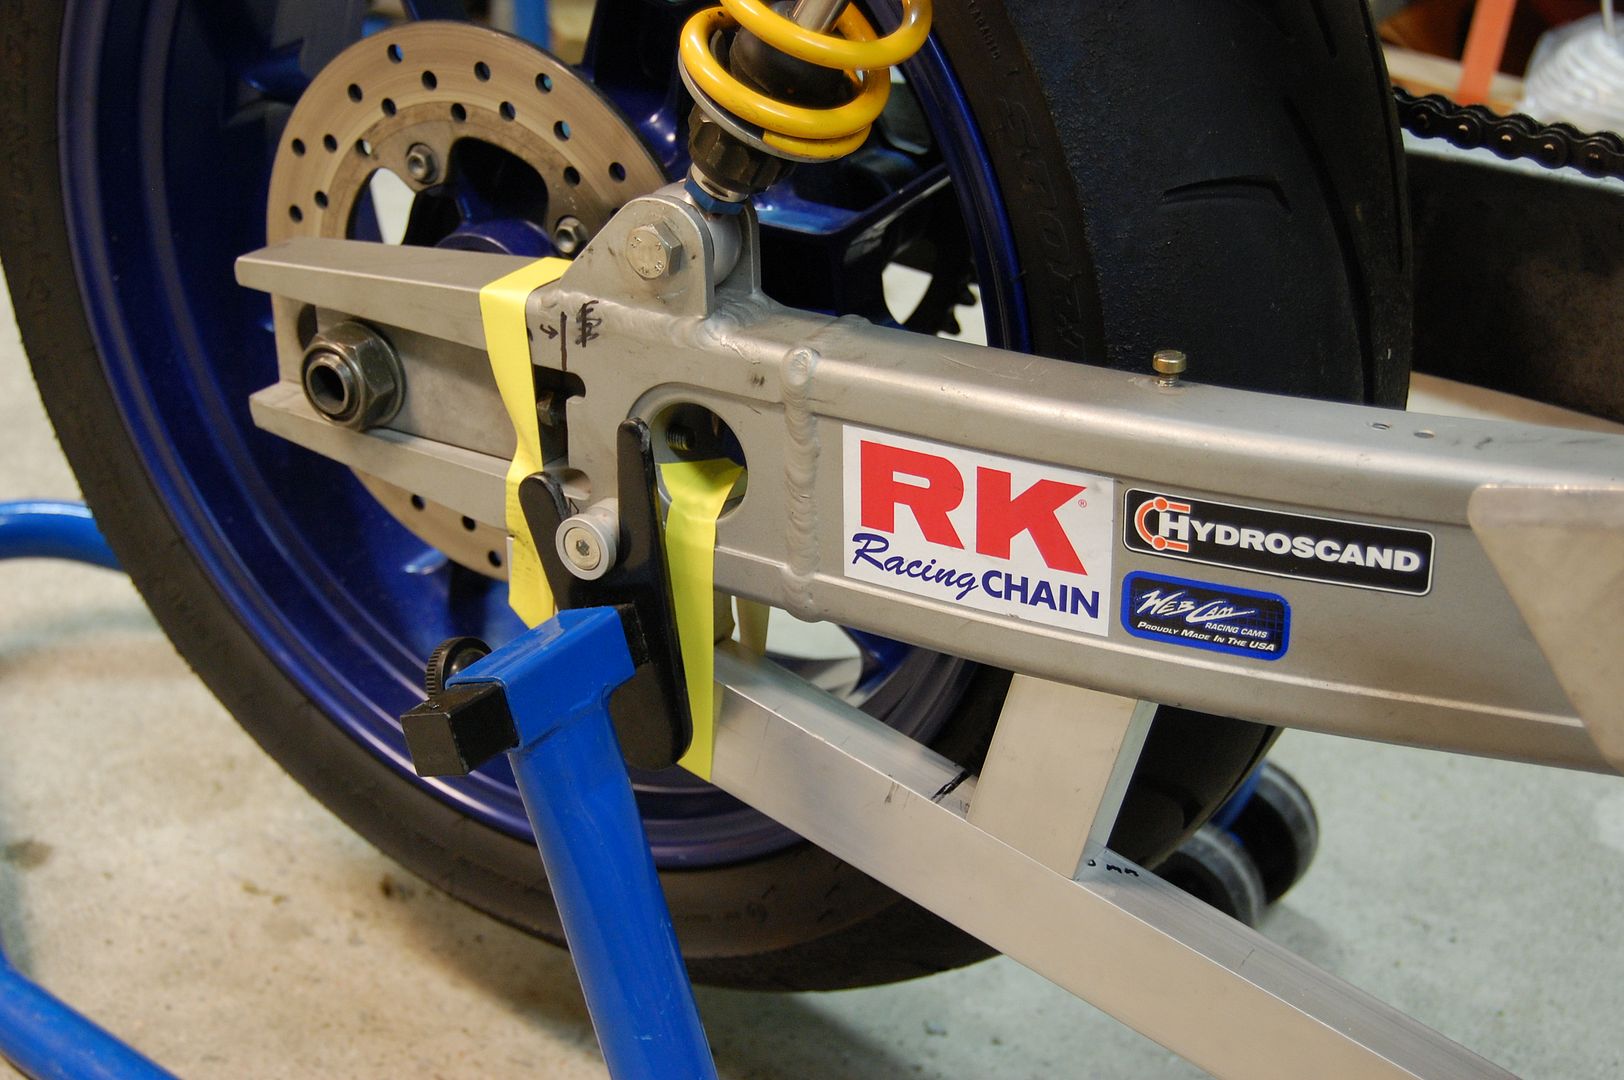
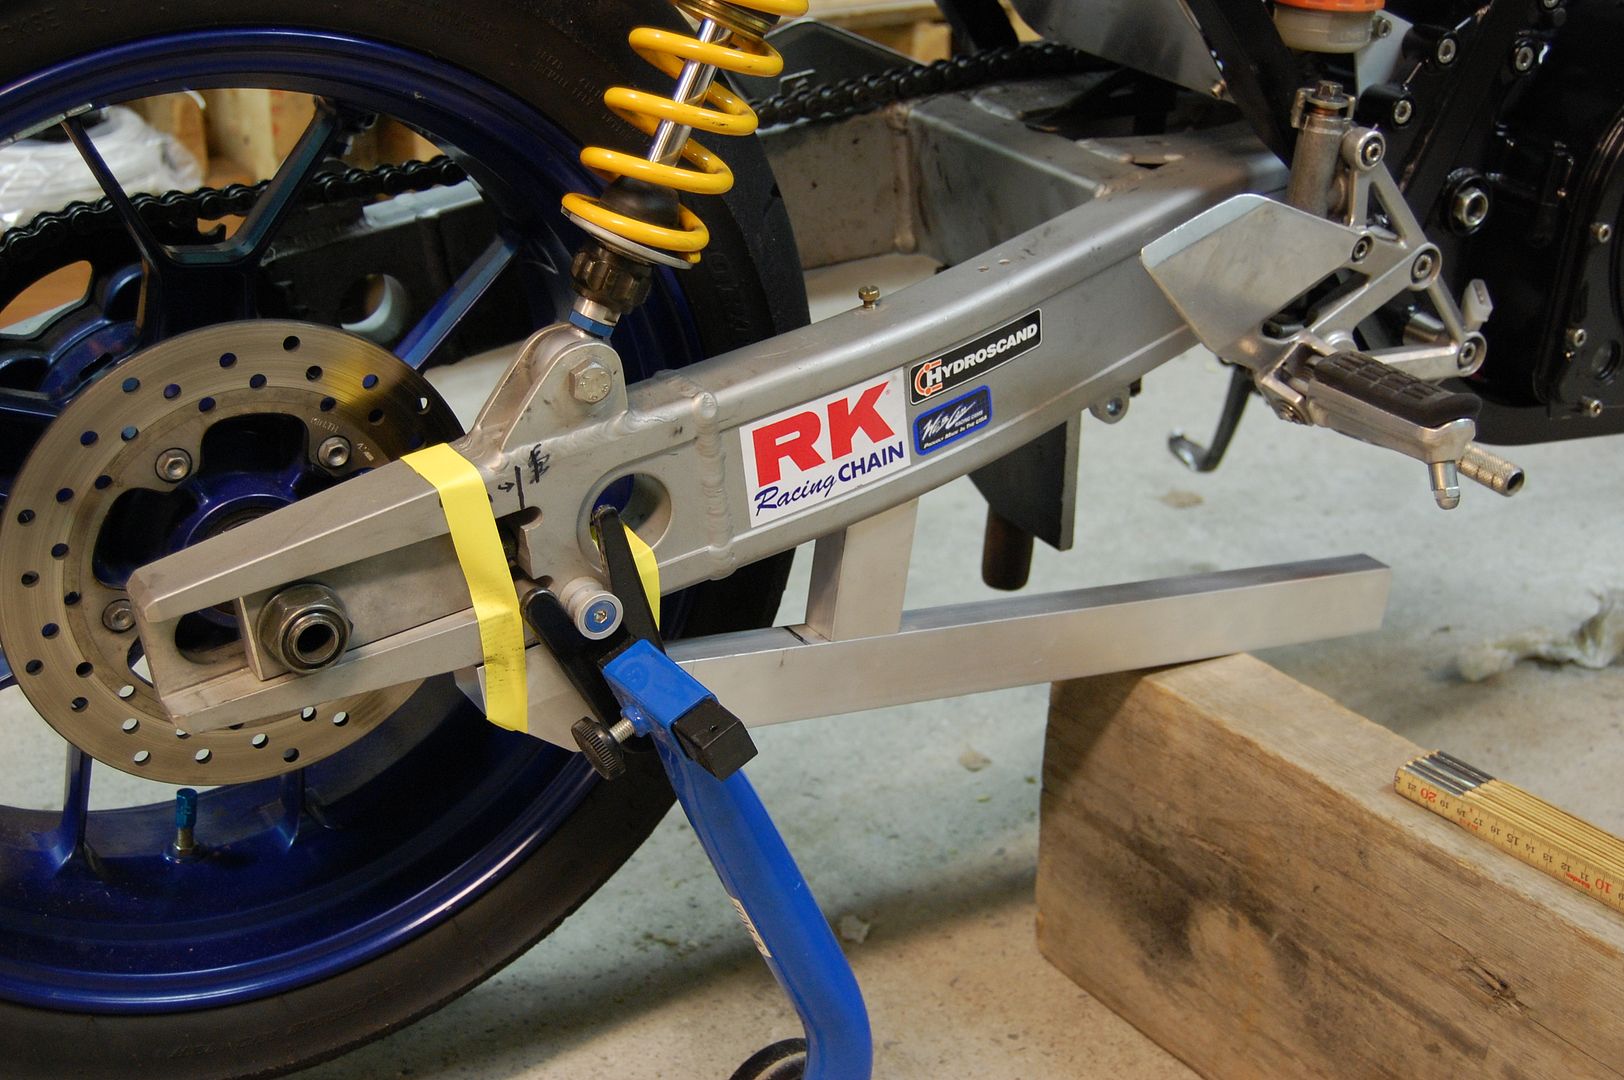
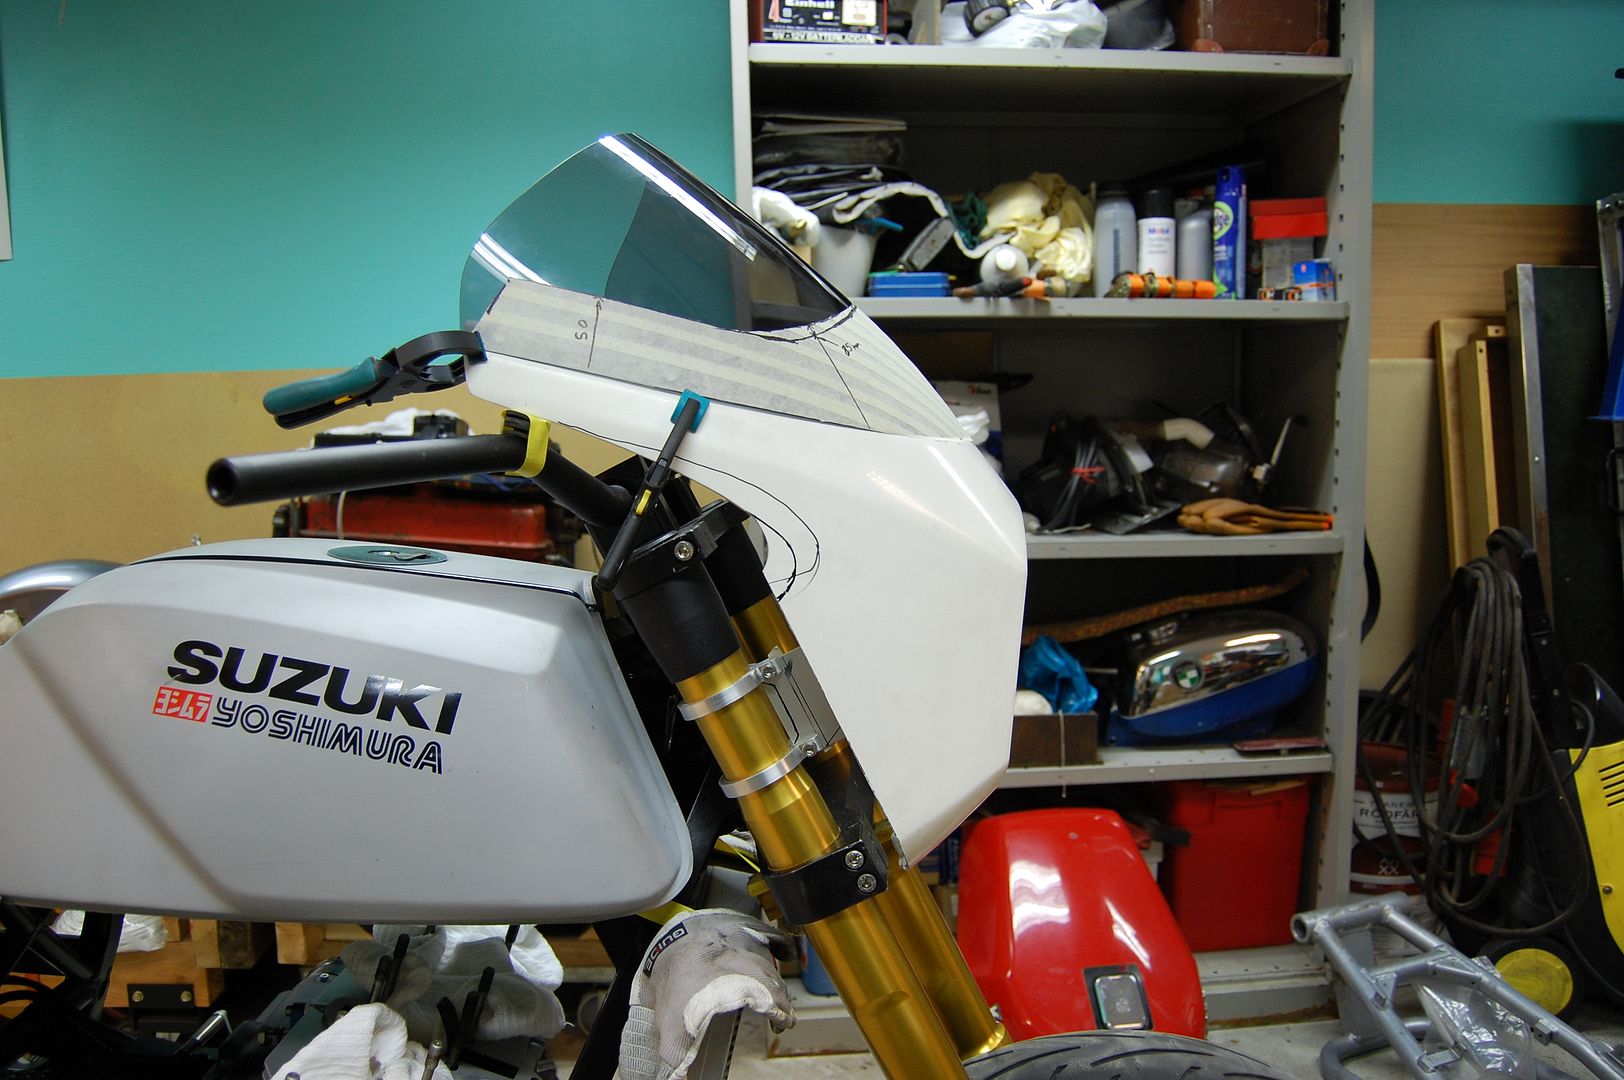
I like the $2 dollar piece of wood holding the top dollar project in place. What ever does the job.
Bike porn is right!
Mindless, is that a Z1R tank? Another project?
Absolutly sick!
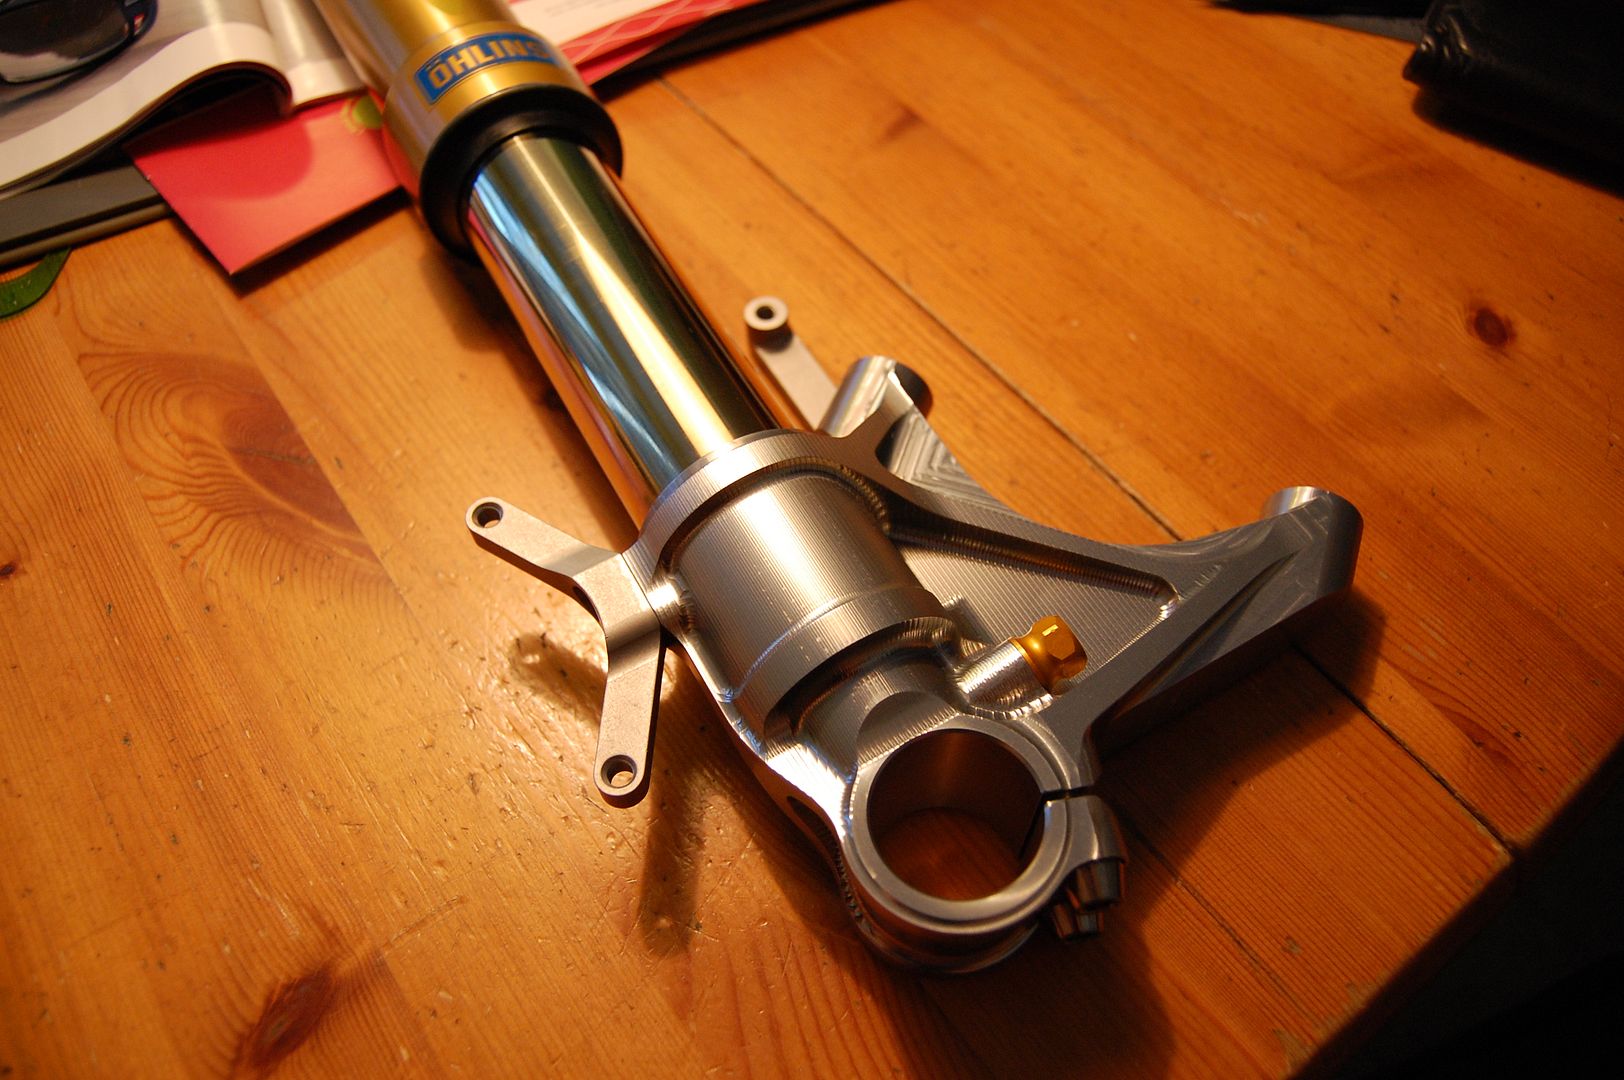
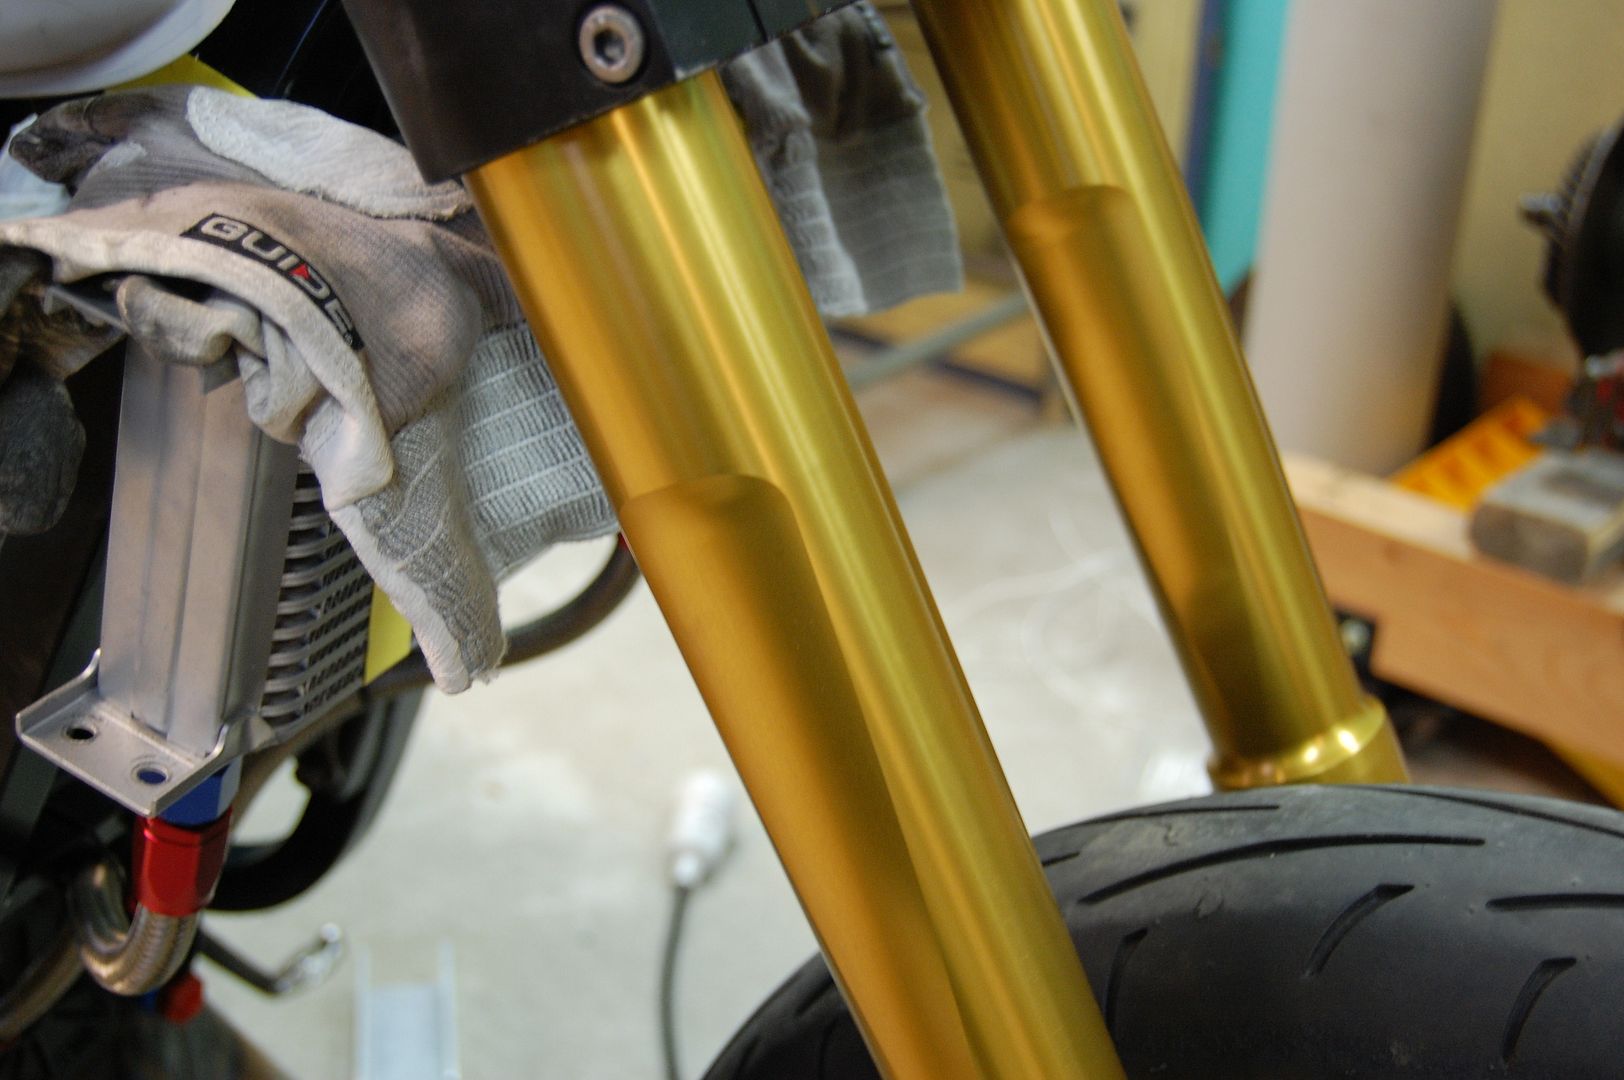
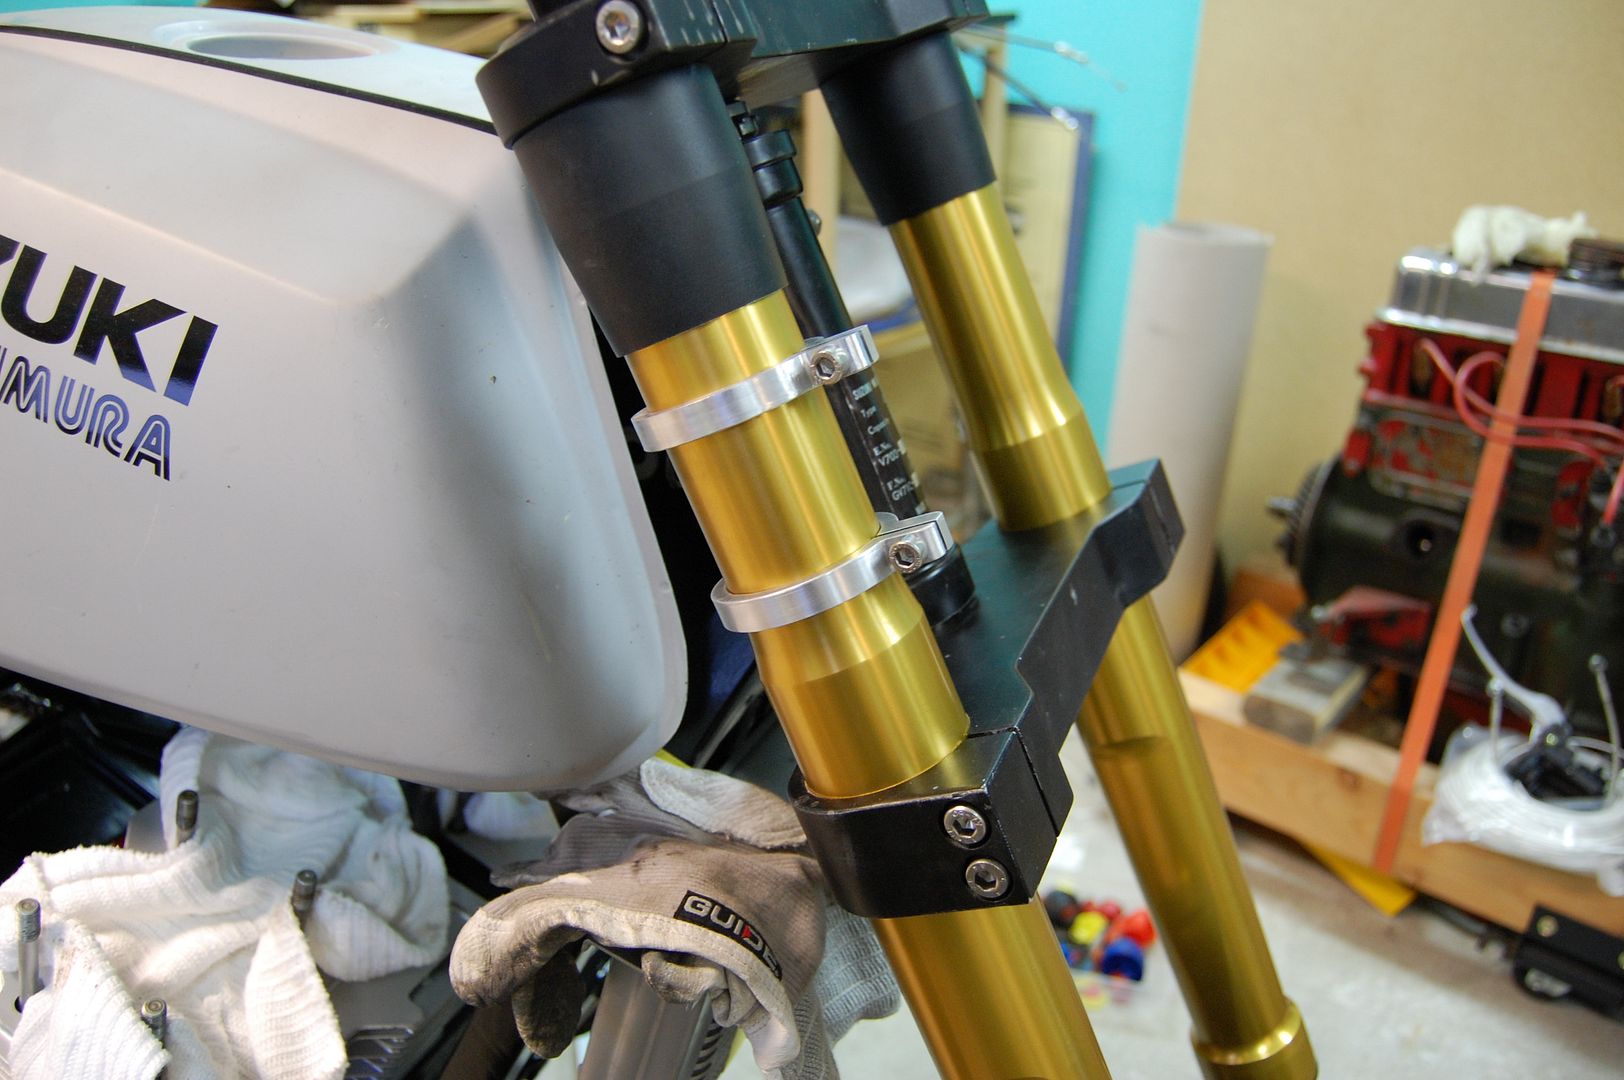
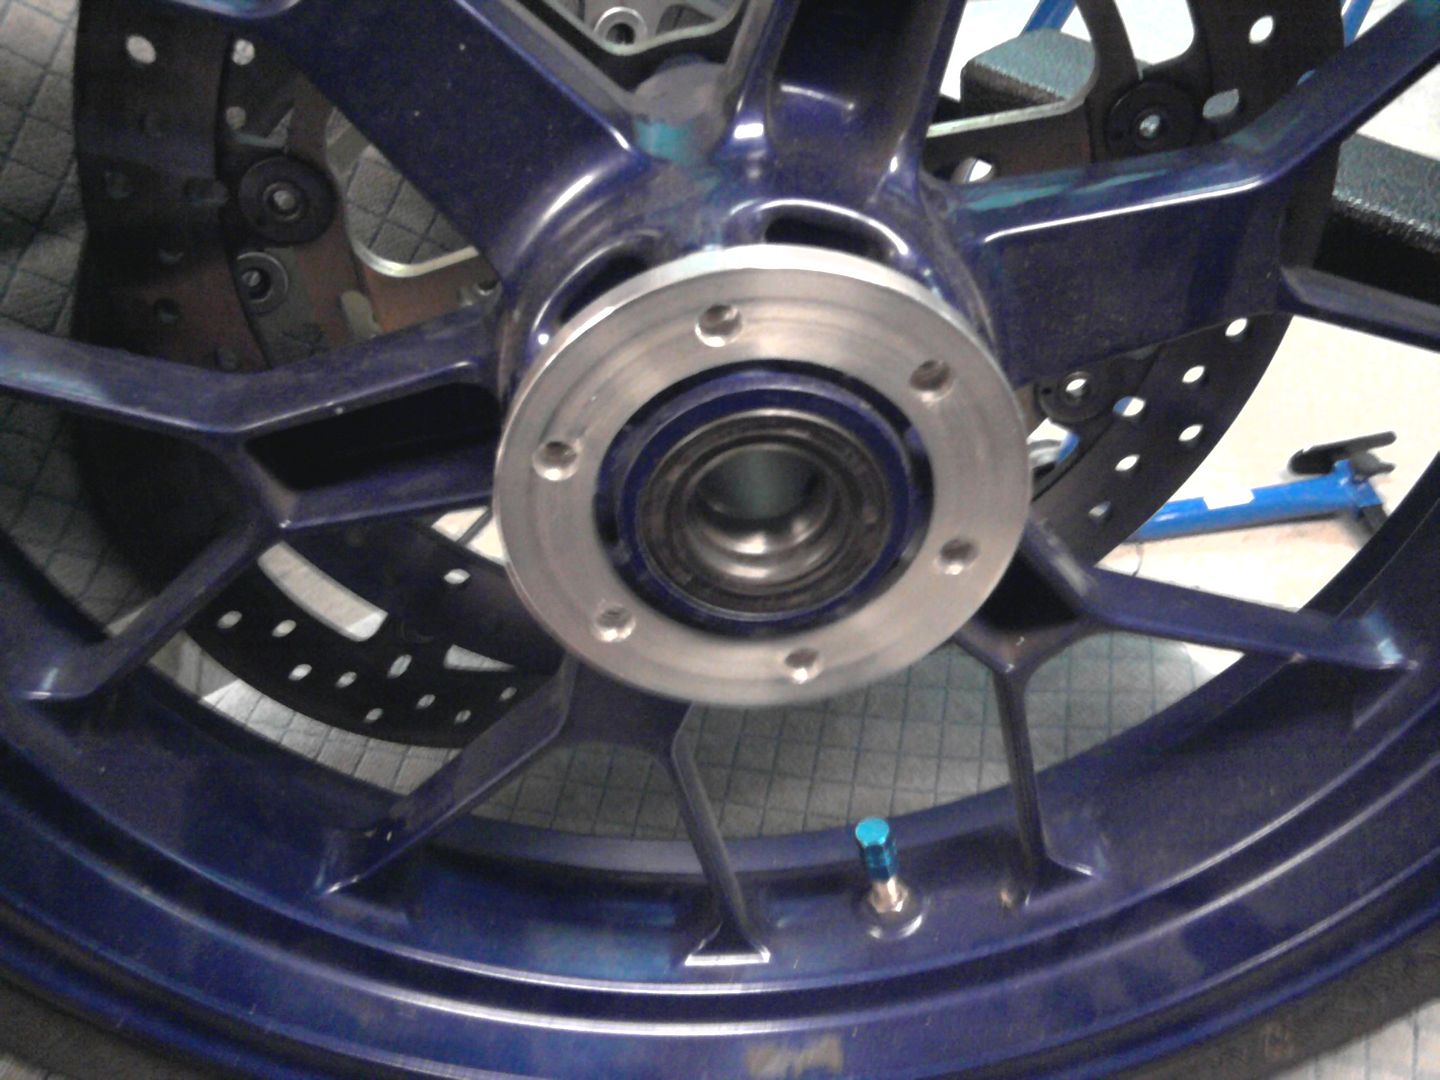
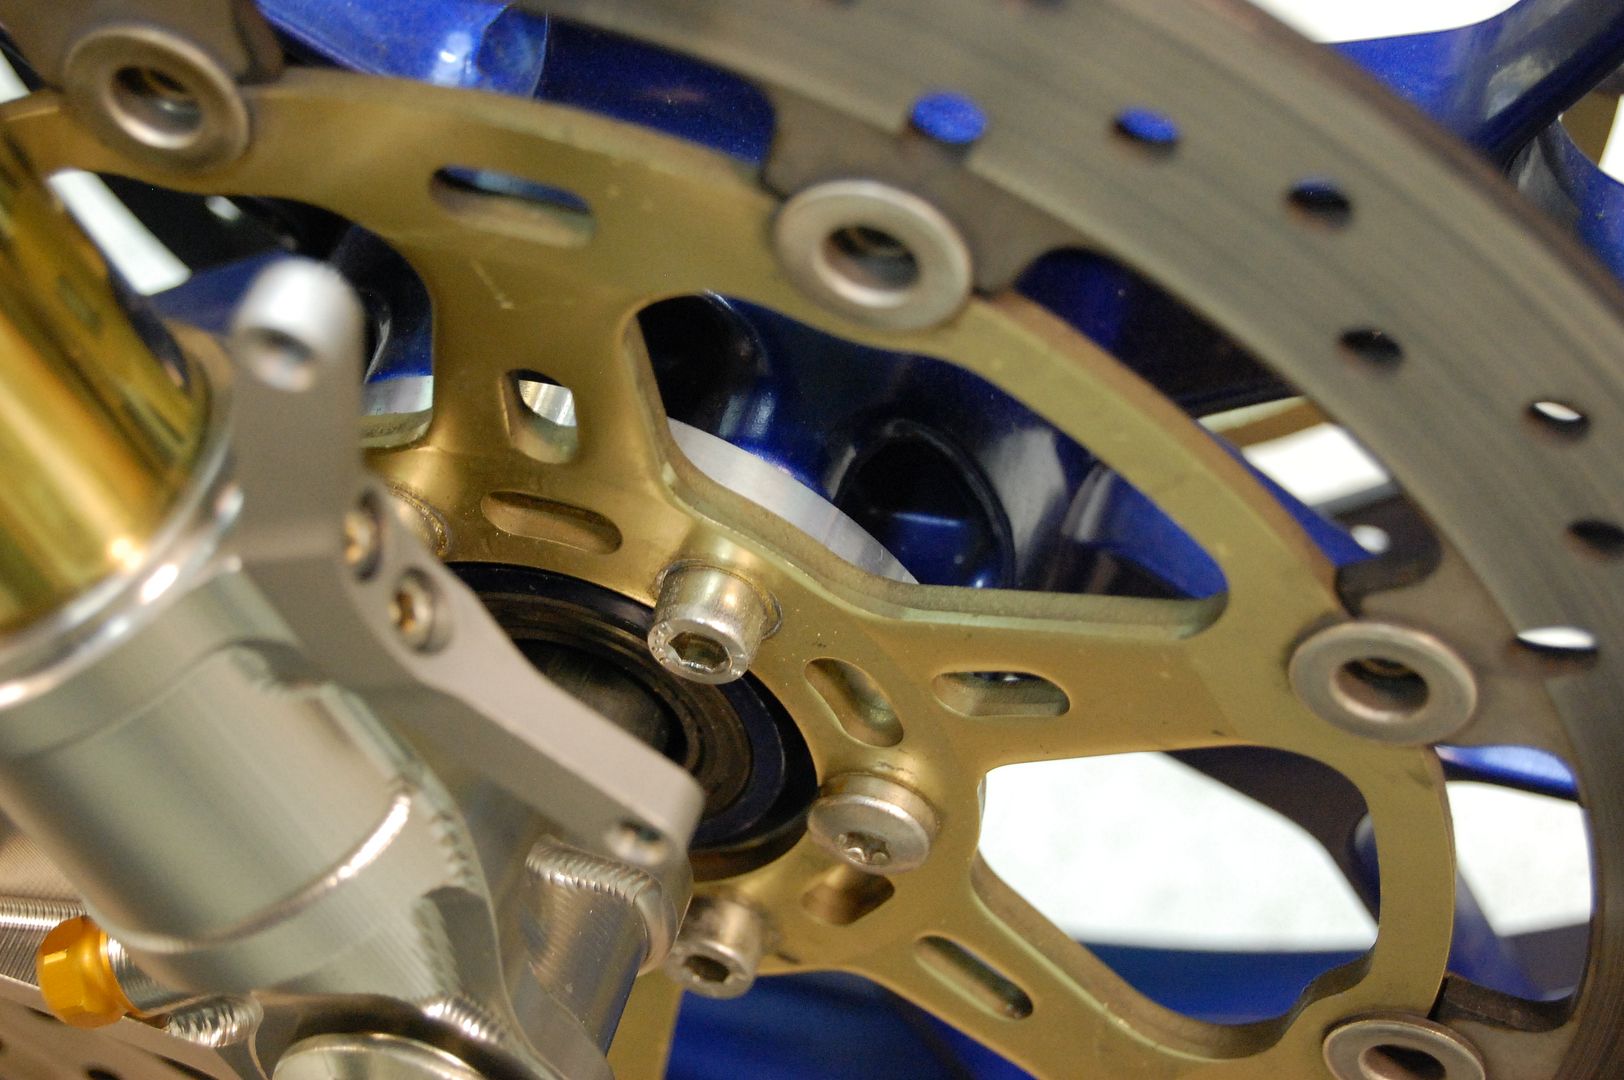
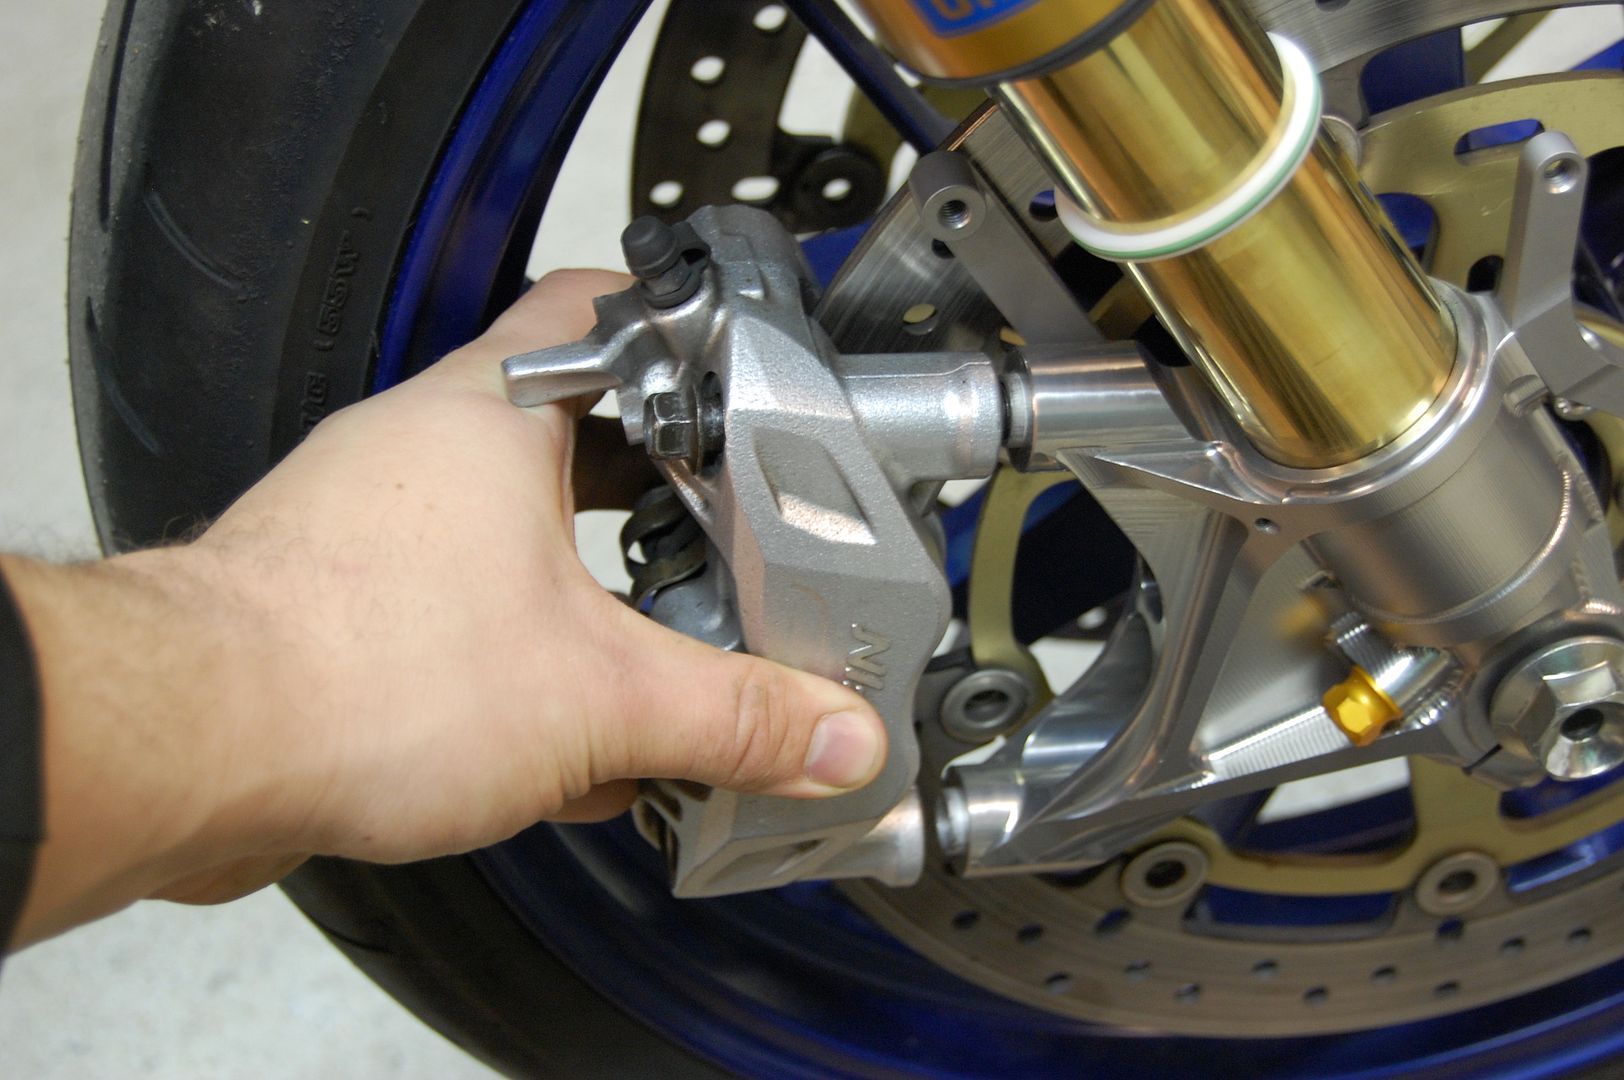
those fork bottoms are a work of art.
 ).
).
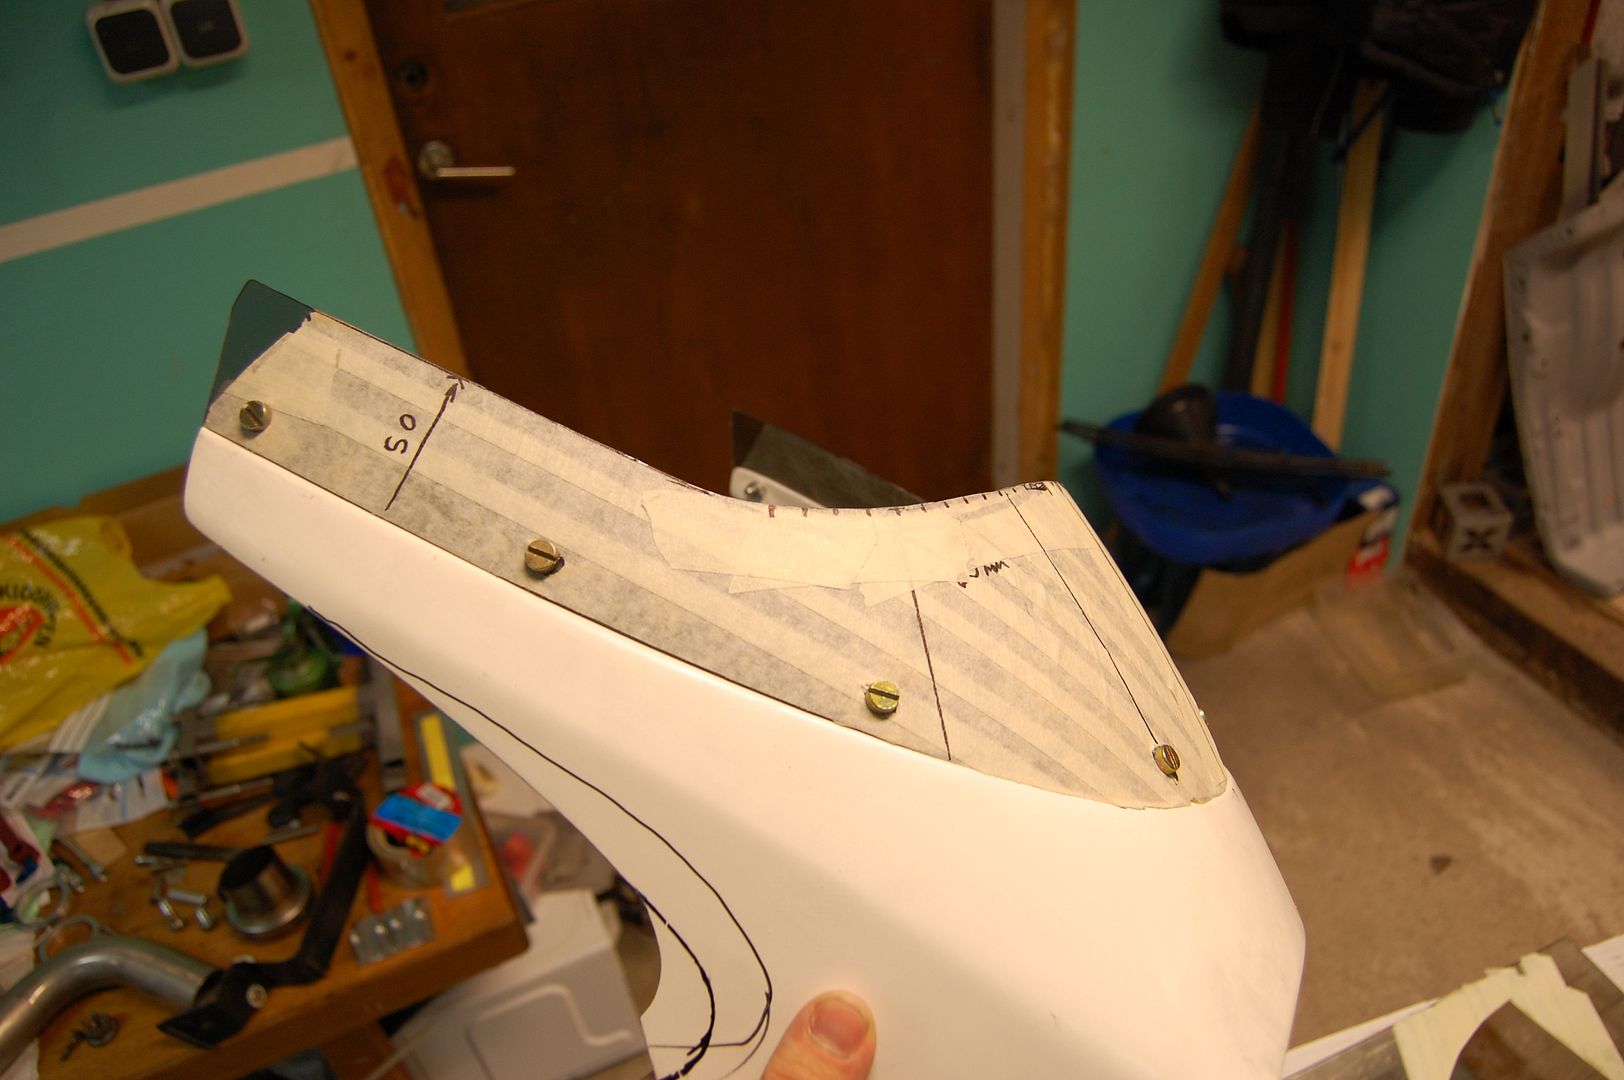

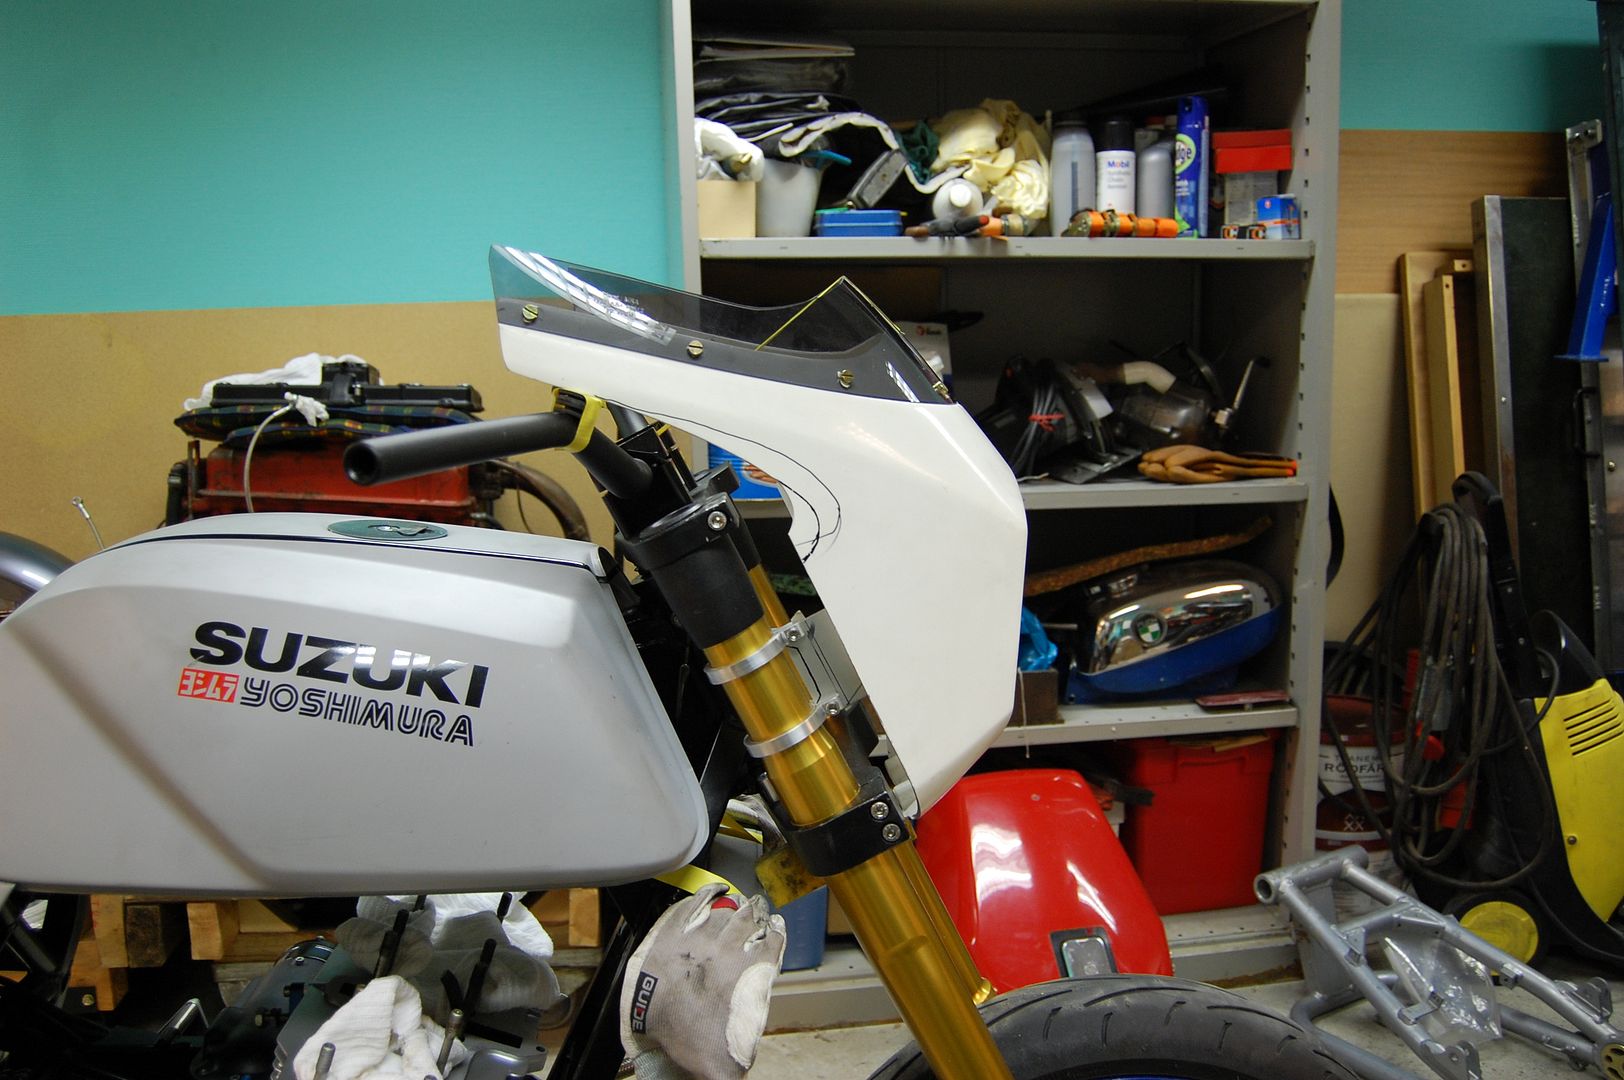
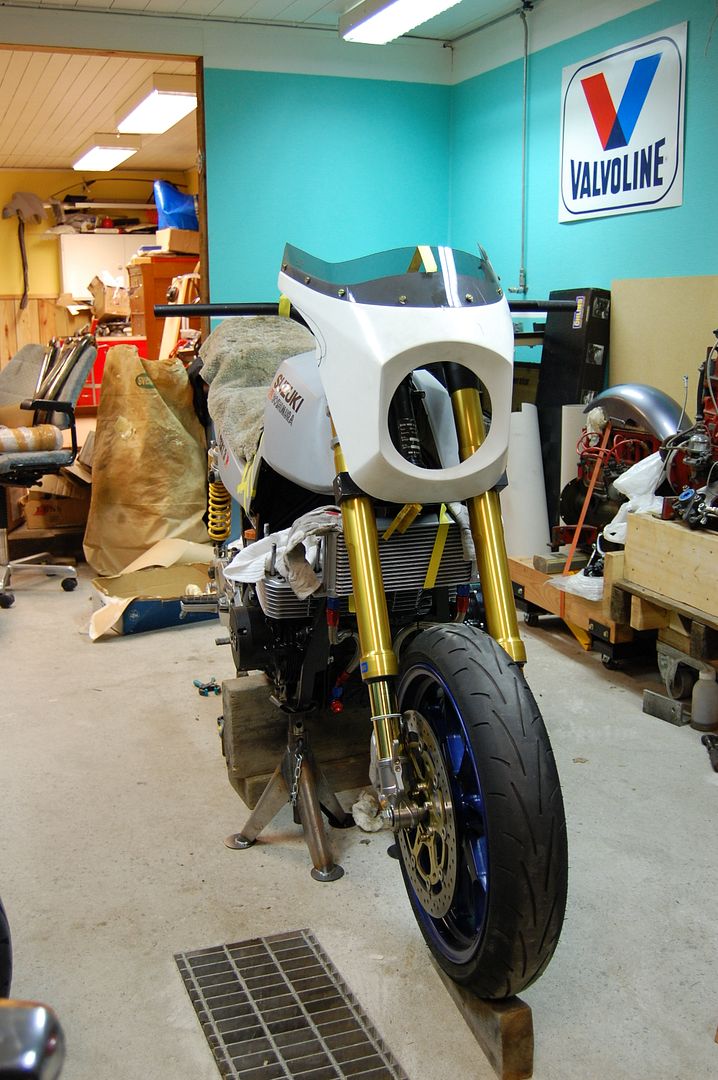
I'd like to see a wider angle profile shot to see how it looks in proportion to the whole bike, but it's looking like you have nailed it.
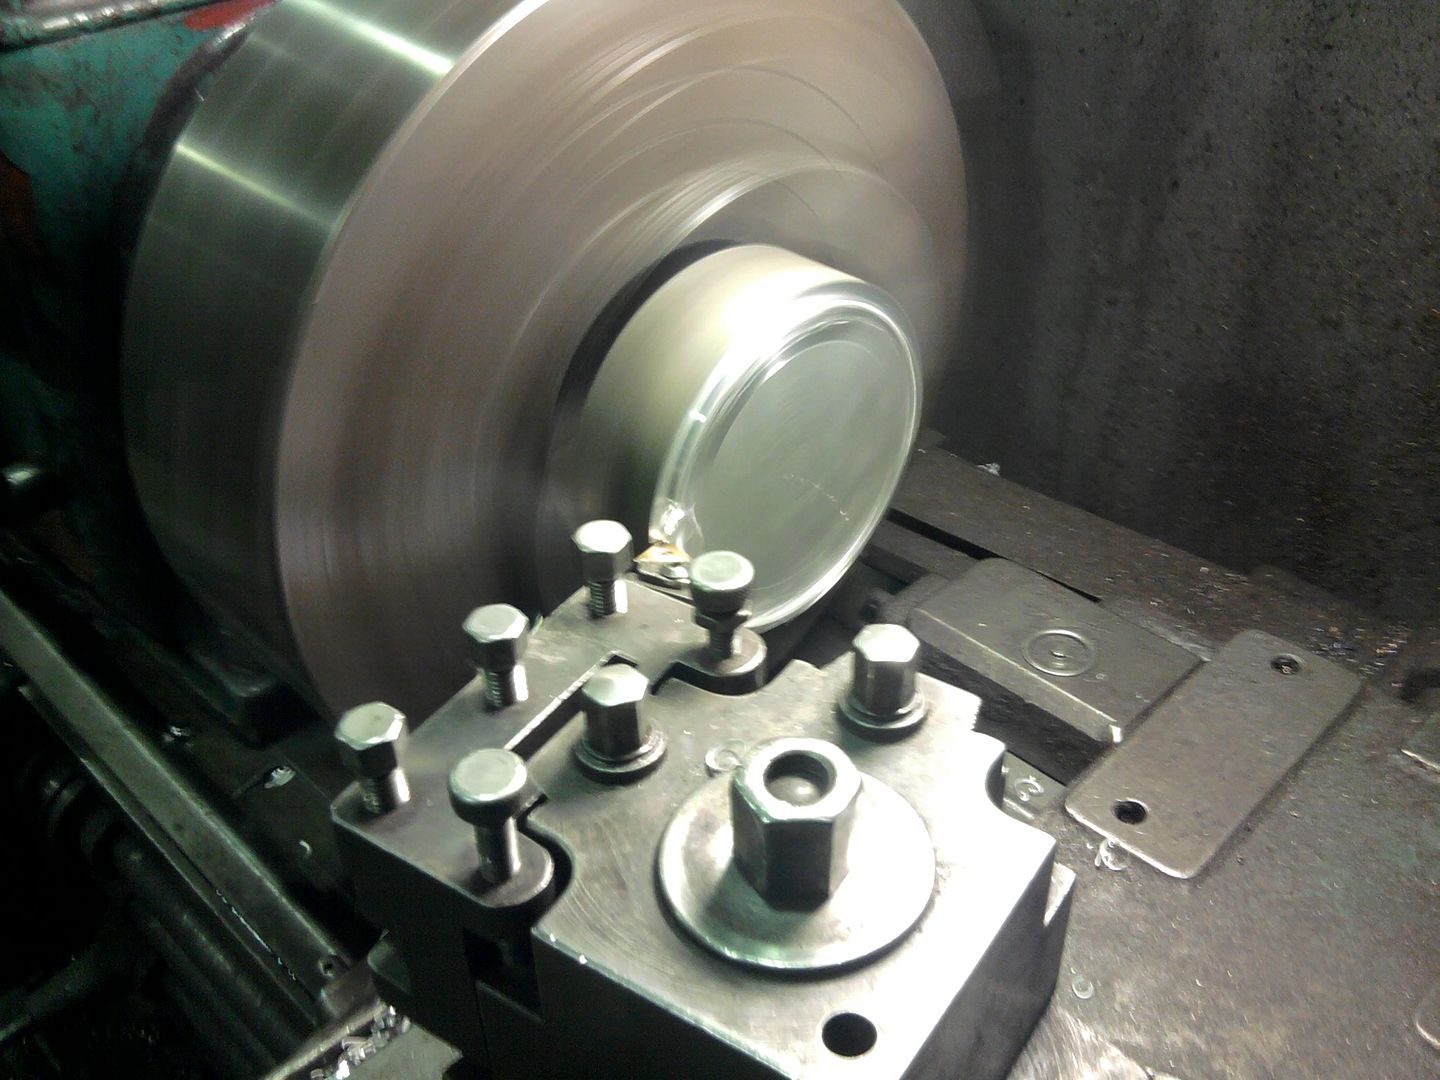
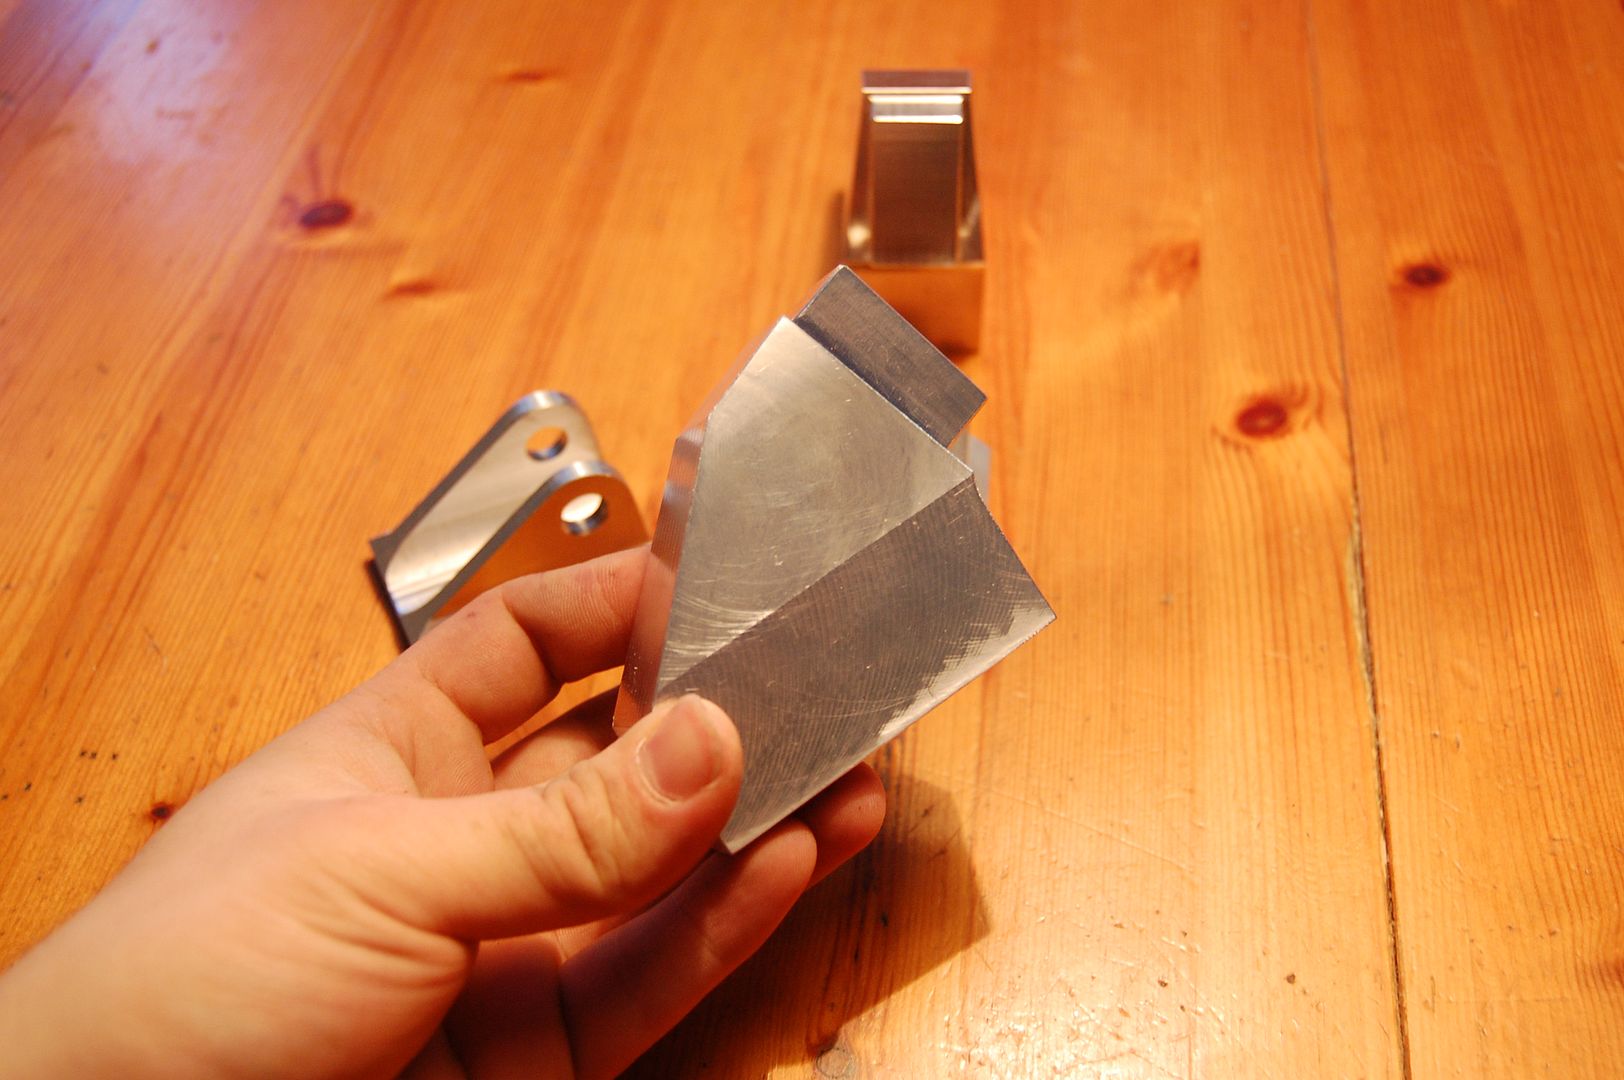
I really like the two shots you have posted. the raking cut alignment and position relative to the forks is perfect. The price of those things demands that you can see every mm2 of them that is possible.
Keep going.... :clap:
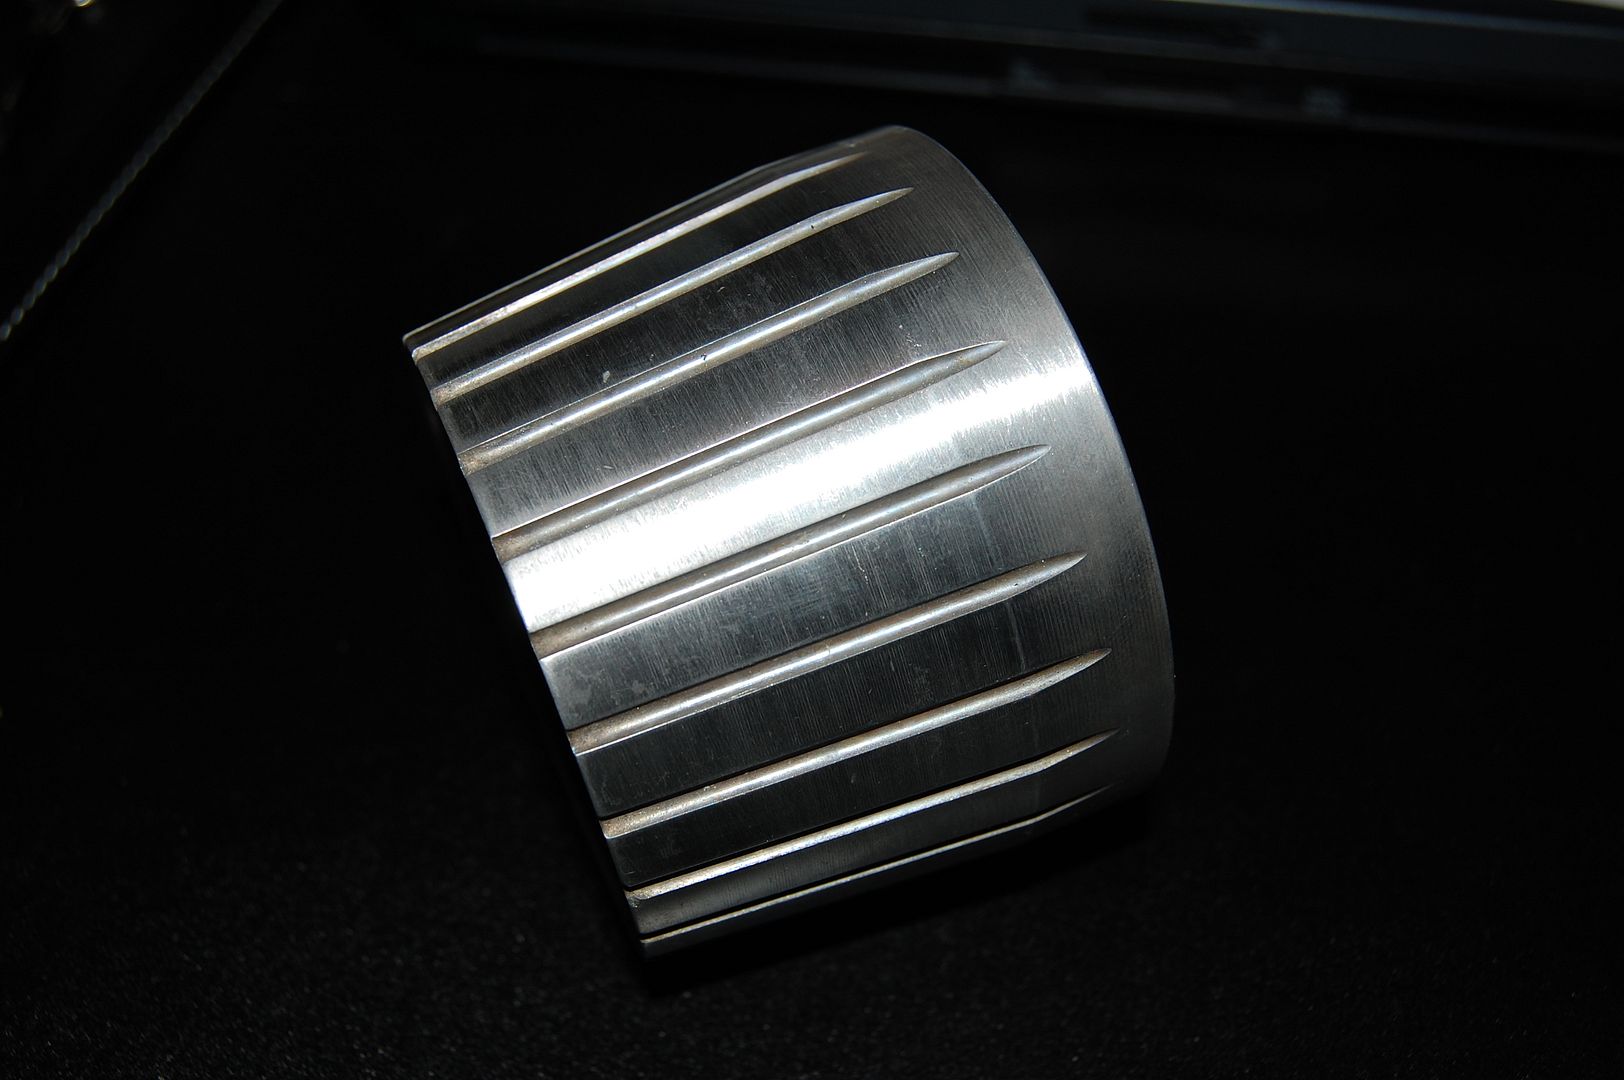
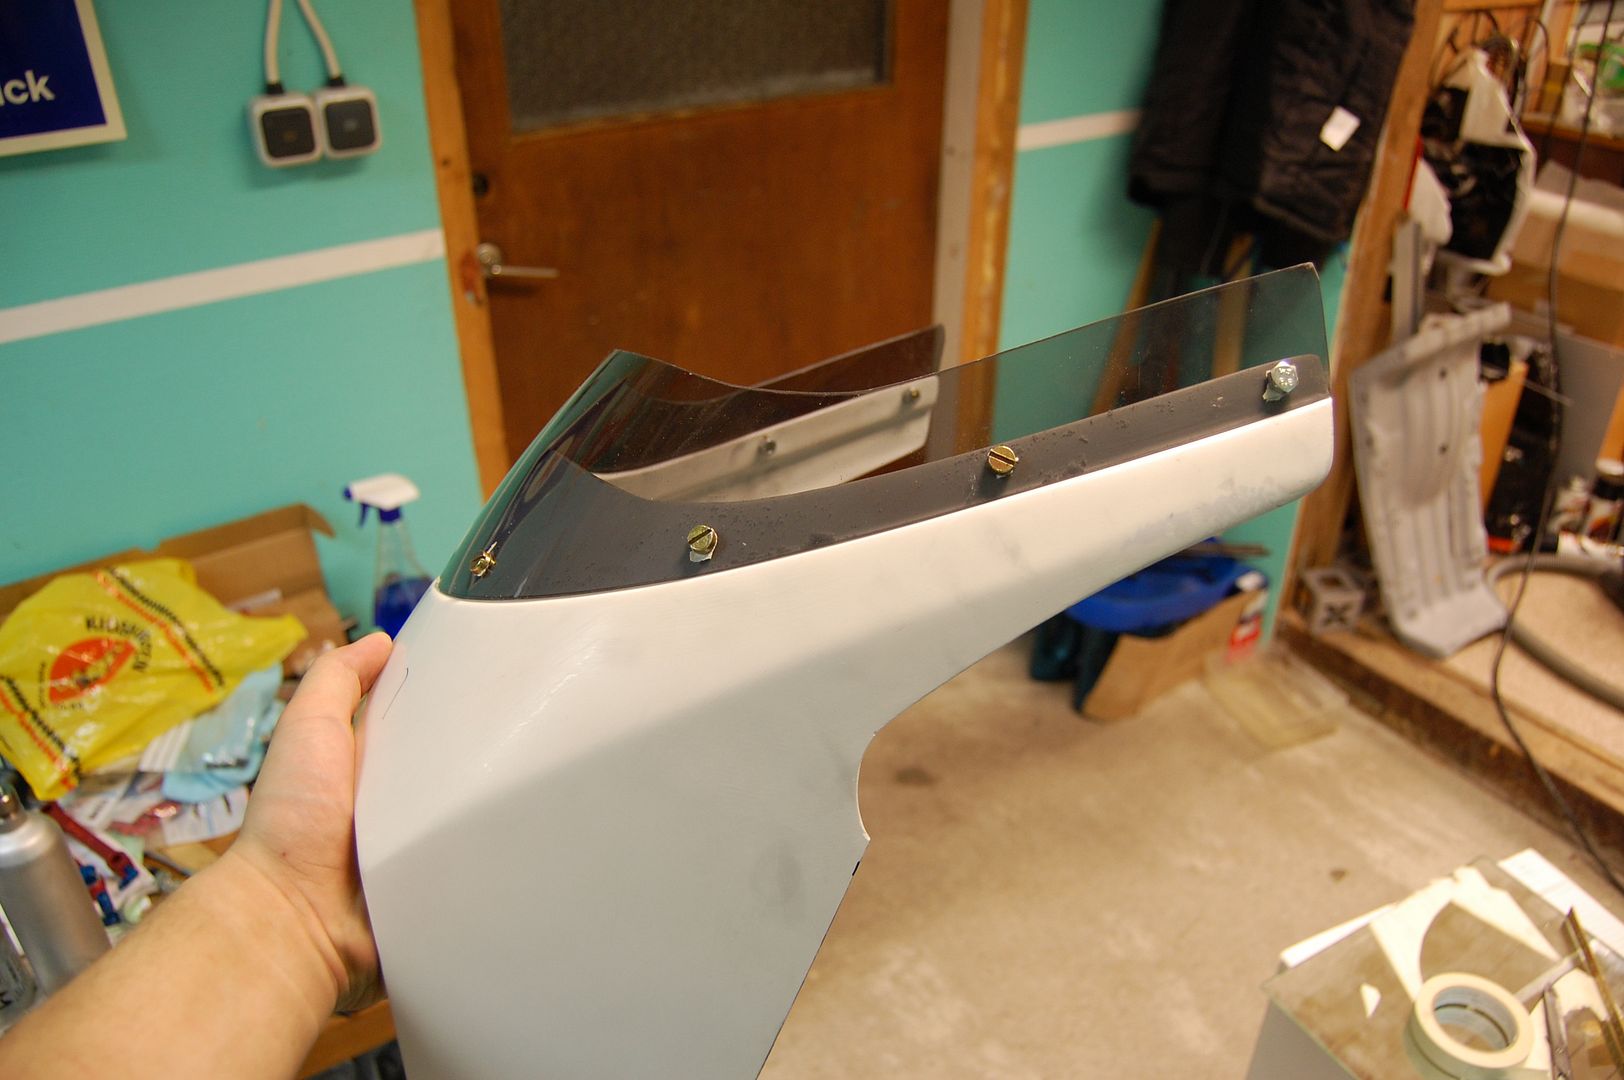
 . Looks fantastic.
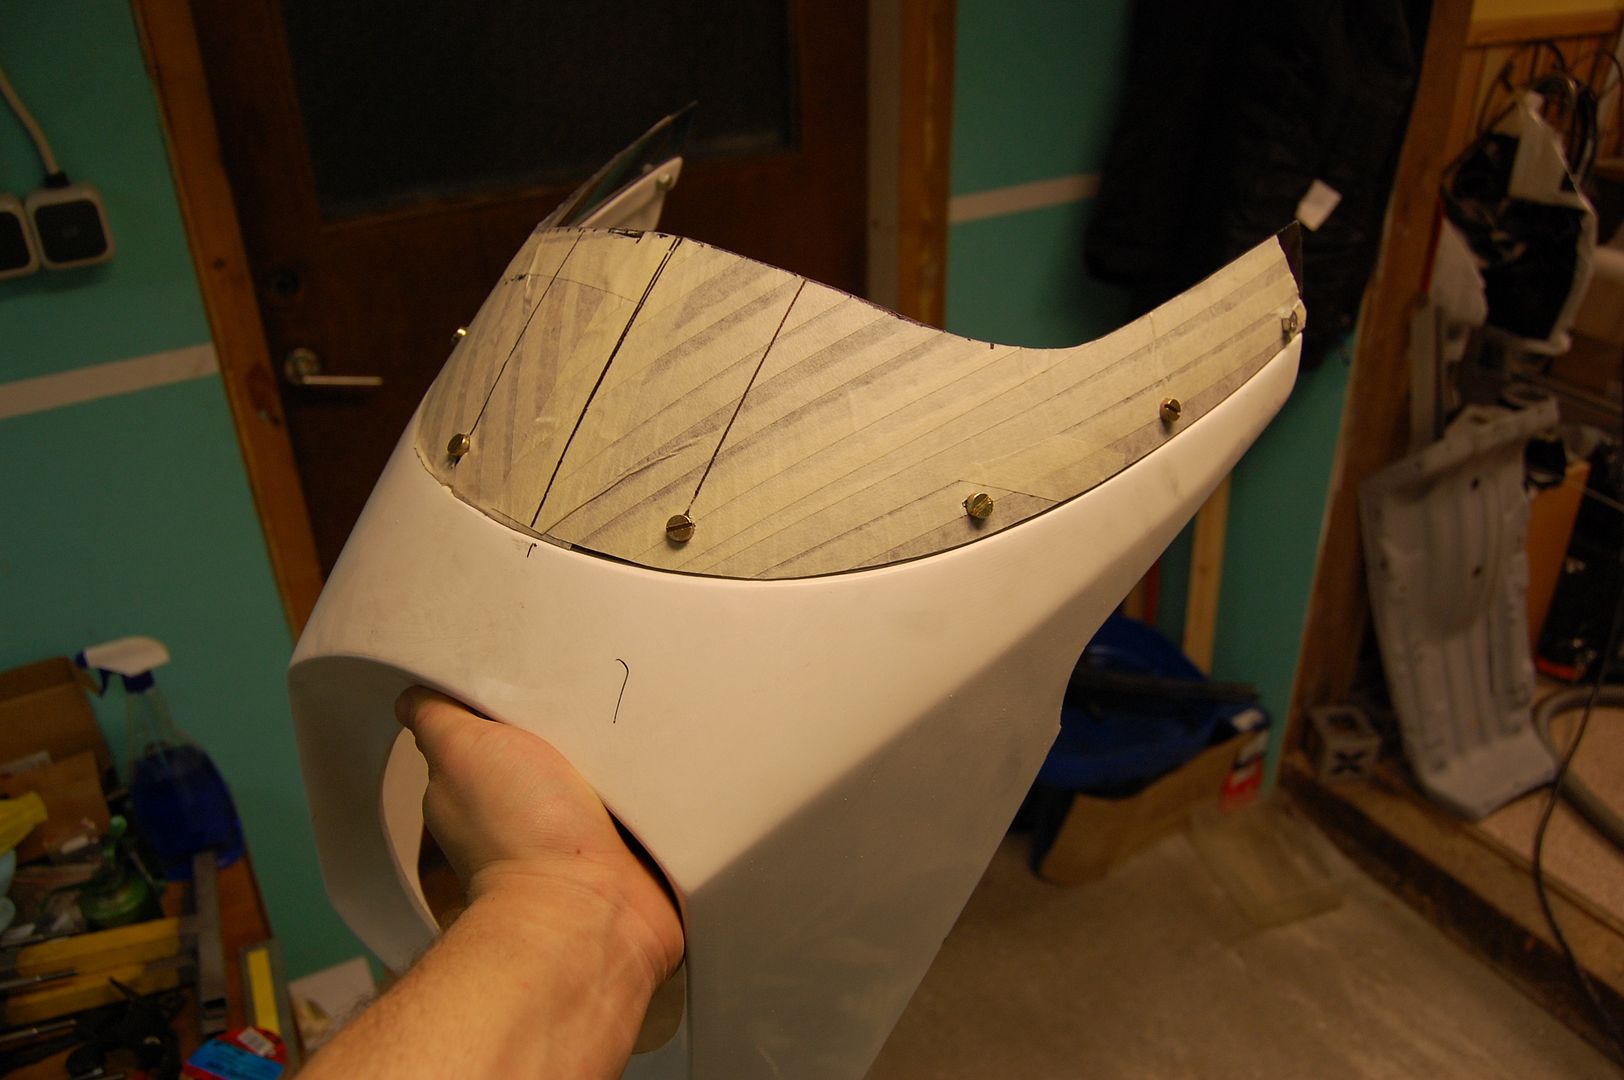
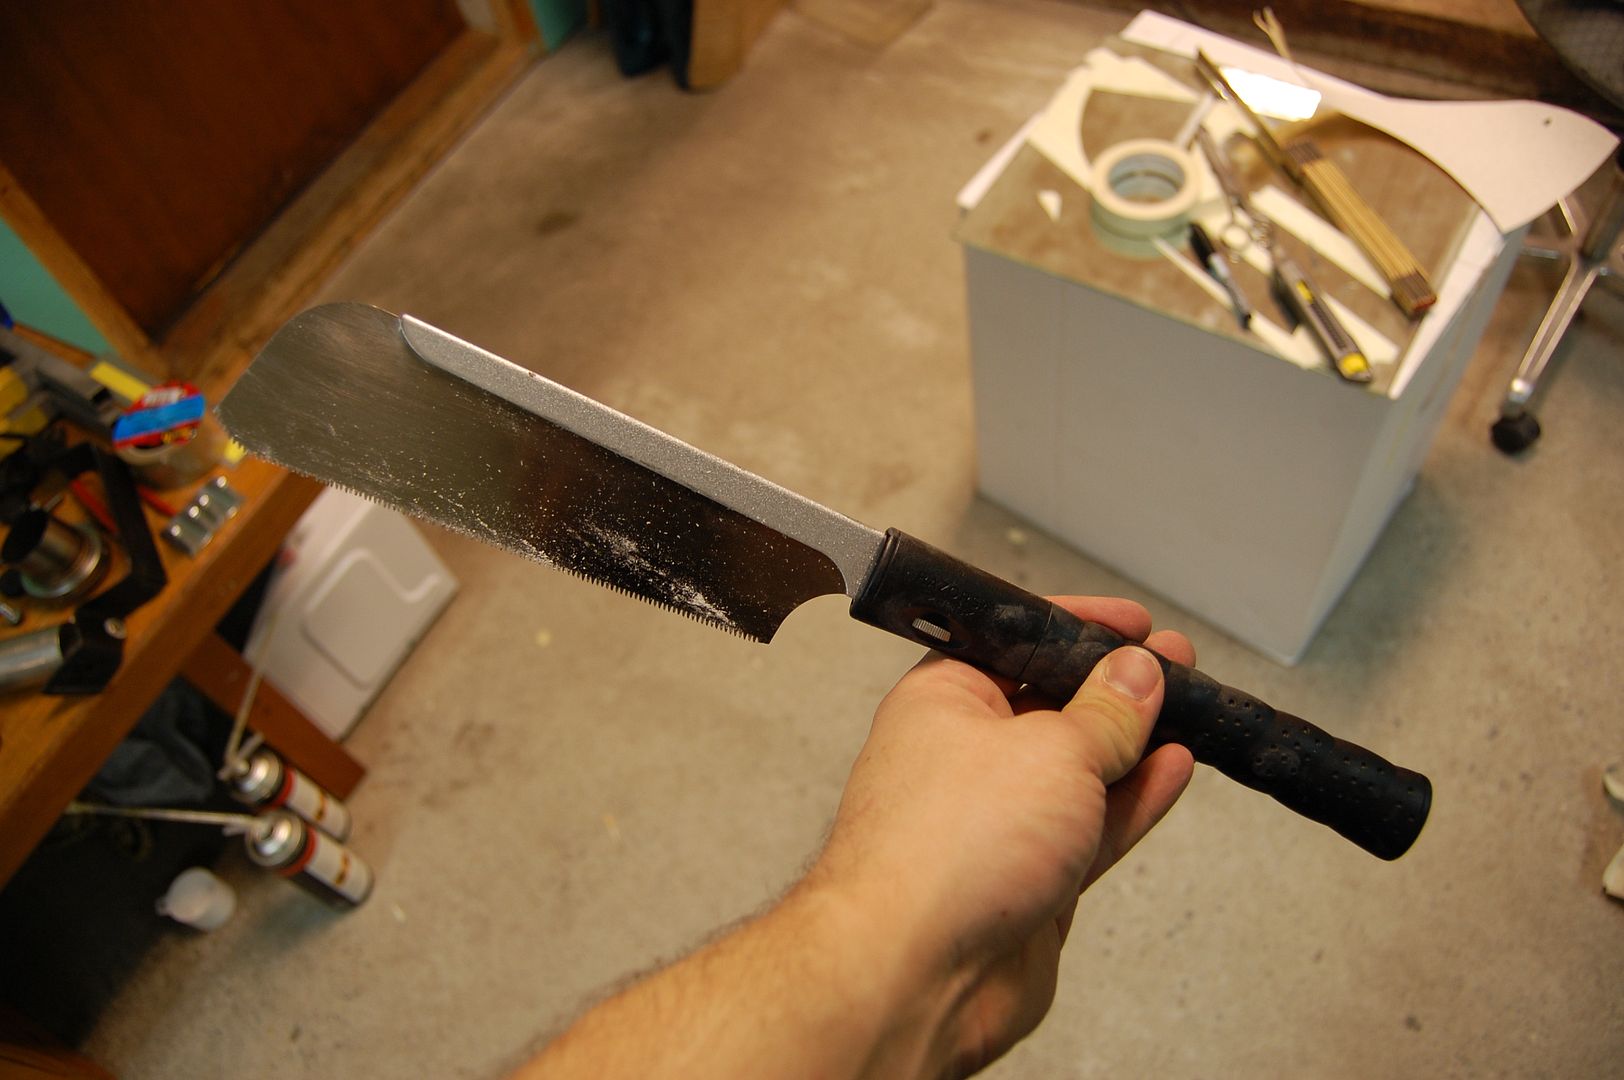
I can't belive you got such a clean cut on that screen with a HAND saw