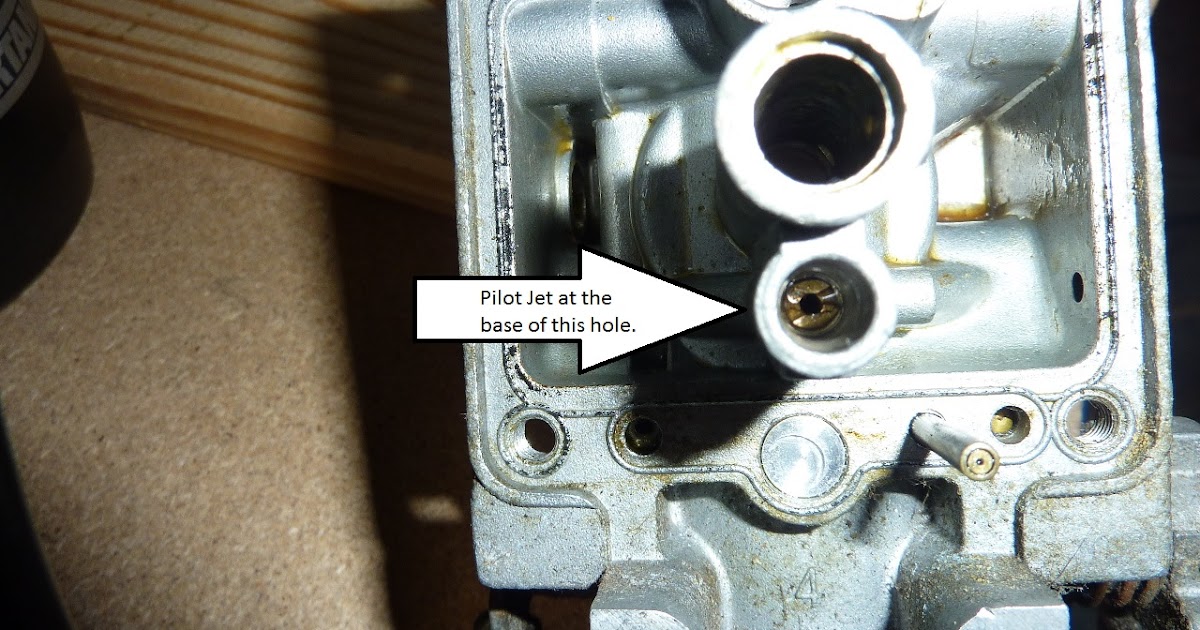
So I'm currently tearing down all the carbs, cleaning using the dip cleaner. Carbs 1-3 all look good and ready to reassemble, but carb #4 has a completely smooth pilot screw from the start. Tried heat and pb blaster, tried cutting into the housing into the metal and nothing. I have a feeling with my last ditch effort of attempting to drill it out I've probably ruined it (pictures attached) SO what are my options now since it's really tough just finding a #4 carb. Do I have to buy an entire new set? Can I buy 1-3 carbs or does it have to be #4? Thanks,
-
-
Looks like you need a new carb body. You have to get a #4, they aren't interchangeable. Put up a wanted ad, there probably someone with one somewhere. -
Have you been using a lrft hand drill bit? It could still come out with one.
I may have a #4 body for you.Comment
-
You Can Do It
Try something like this:

I think you do have to get it out and I think you will be able to reuse that carb body. The thread holding that needle jet is quite deep. If the screw is still stuck then at least there is some thread in there to hold a new one.
Drill the bugger out. The metal is not too hard if you have a good drill. Start with a small one. If will eventually fall out.
You may even be able to rebuild that section with a little JB Weld. It was made quite deep to hold those EPA caps. The European ones are far less tall than that.
Good luck.Last edited by londonboards; 03-12-2014, 05:05 PM.Richard
sigpic
GS1150 EF bought Jun 2015
GS1150 ES bought Mar 2014: ES Makeover Thread AND blog: Go to the Blog
GS1100 G (2) bought Aug 2013: Road Runner Project Thread AND blog: Go to the Blog
GS1100 G (1) Dad bought new 1985 (in rebuild) see: Dad's GS1100 G Rebuild AND blog: Go to the Blog
Previously owned: Suzuki GS750 EF (Canada), Suzuki GS750 (UK)(Avatar circa 1977), Yamaha XT500, Suzuki T500, Honda XL125, Garelli 50
Join the United Kingdom (UK) Suzuki GS Facebook Group hereComment
-
Nice write up. I've tried pretty much everything you mentioned except drilling further down which I will be doing here shortly. I just assumed that I've already went down to far and took out the threads on the hole. If this doesn't turn out well here soon then, tken02 I would be interested in that #4 carb if you have it.
One other thing. If for some reason I can't get the pilot out and I can't find a #4 carb can I tune the bike with leaving it in there since everything else looks great? ThanksComment
-
The carb rebuild tutorial details how to cut a new slot in the screw with a dremmel cut off wheel. Did you not read it? (linked in my signature as well at Cliff's website). There are also tons of threads on this in the archives (waiting for you to find and read). A tight fitting screwdriver, heat, PB Blaster, more heat, more PB Blaster, and those screws come out 95% of the time. Worst case, use a dremmel tool to cut a new slot in the screw. Then back at it with PB Blaster and heat until the screw comes out. It's actually quite simple as long as you don't hamfist the removal...which you seem to have done (big time). Live and learn I guess...Last edited by Nessism; 03-12-2014, 10:02 AM.Ed
To measure is to know.
Mikuni O-ring Kits For Sale...https://www.thegsresources.com/_foru...ts#post1703182
Top Newbie Mistakes thread...http://www.thegsresources.com/_forum...d.php?t=171846
Carb rebuild tutorial...https://gsarchive.bwringer.com/mtsac...d_Tutorial.pdf
KZ750E Rebuild Thread...http://www.thegsresources.com/_forum...0-ResurrectionComment
-
I did read through the tutorial step by step as I was doing it. At one point I got to the step where I had dremeled out a slot into the screw, but no matter how much heat and PB nothing I used it wasn't moving and kept striping out the slot I made. Keep in my the is my first ever try at this so I could've been a little rough or not had the right touch, but I did follow the steps.Comment
-
This was another one that got stuck. I drilled a hole then banged in a star headed screwdriver bit. Came out sweetly:
GreetingsRichard
sigpic
GS1150 EF bought Jun 2015
GS1150 ES bought Mar 2014: ES Makeover Thread AND blog: Go to the Blog
GS1100 G (2) bought Aug 2013: Road Runner Project Thread AND blog: Go to the Blog
GS1100 G (1) Dad bought new 1985 (in rebuild) see: Dad's GS1100 G Rebuild AND blog: Go to the Blog
Previously owned: Suzuki GS750 EF (Canada), Suzuki GS750 (UK)(Avatar circa 1977), Yamaha XT500, Suzuki T500, Honda XL125, Garelli 50
Join the United Kingdom (UK) Suzuki GS Facebook Group hereComment
-
Well I'm going to keep trying, but it looks like I've gone down to far now and will lose to many threads. On a side note when I called cycle recycle and he looked up the stamp on the carbs it looks like I have carbs from a 80 GS850G (thought it was stock for my model) so the dynojet kit I just ordered will need to be returned.Comment
-
They may share a common jet kit, the eight valve 750 and the 1979 850 shared a common carburetor and jetting.Comment
-
I called Mike from Z1 and he said the kit looks pretty different from the 850 and 750 stage 3 kit. If you look on their site none of he parts are the same so it looks like I'll be returning it. Glad I found out before I opened it.Comment
Comment