The Chronicles of Suzy- 82 GS850GL

Collapse
X
 
  • Time
  • Show
Clear All
new posts
  • ratdude

    #16
    Carb Work

    As I stated before I am not gonna go into too much detail , just the highlights.

    Question:

    Dear Uncle Rat,
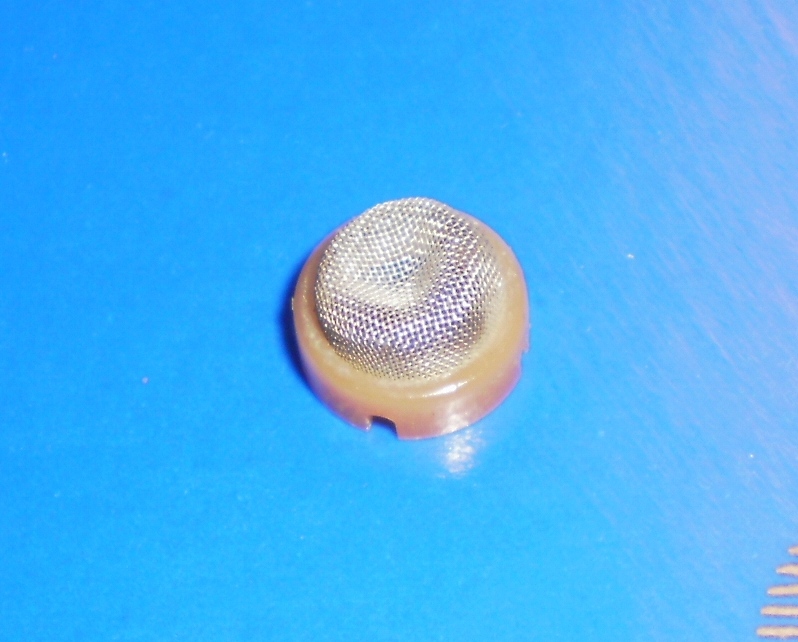
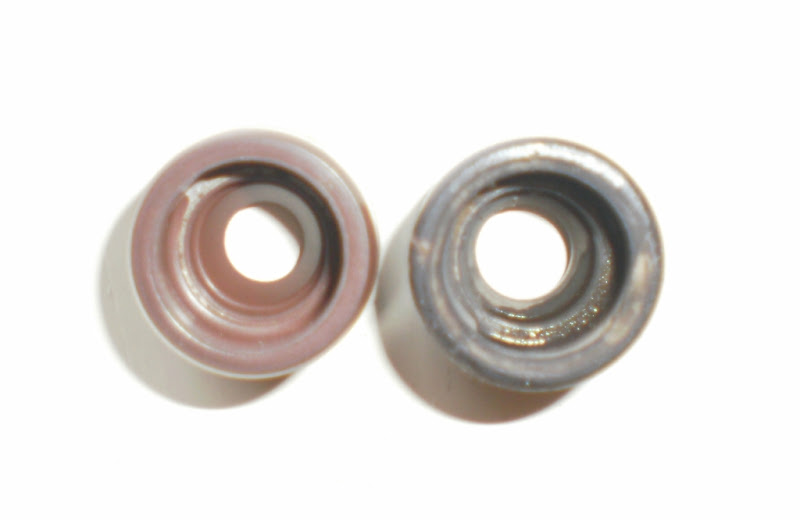
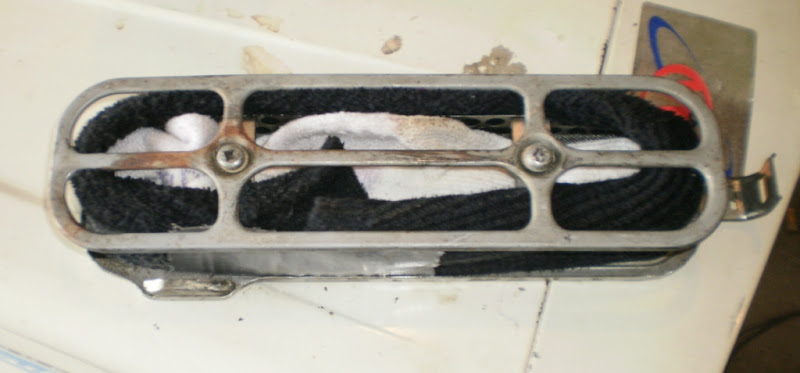
    Some ham fisted cretin smushed my fuel screens , and I am afraid to un smush them with a sharp pointy stick , what should I do ?


    Answer:

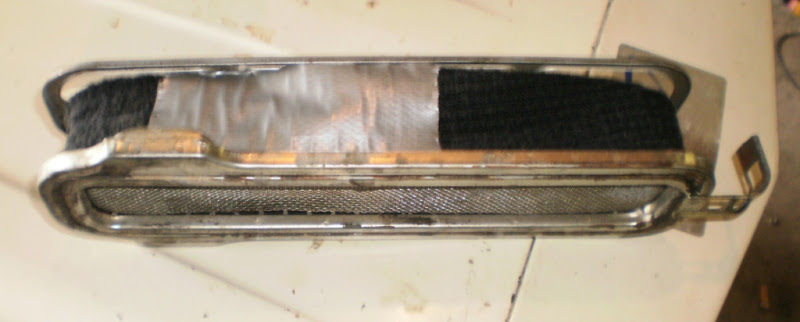
    You need the super fuel screen un-smusher tool ! ( ok its a bent welding rod )


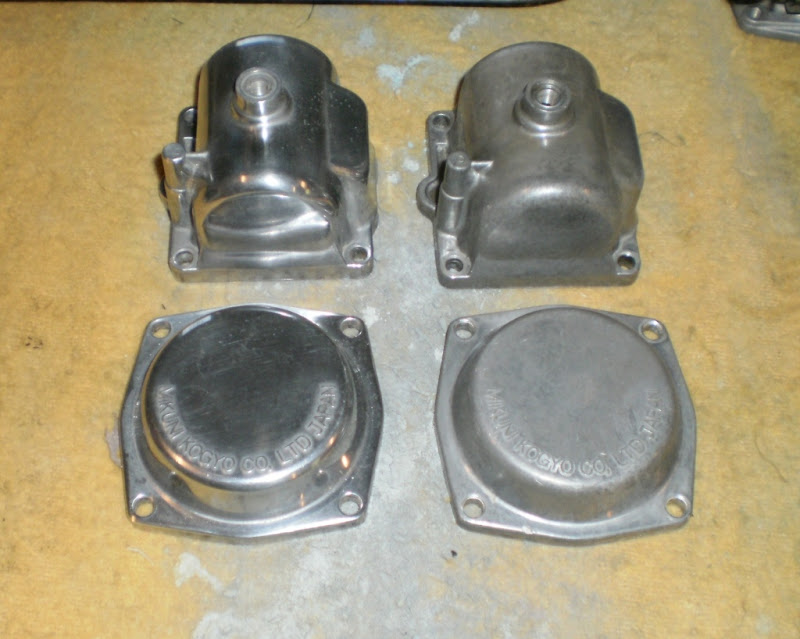
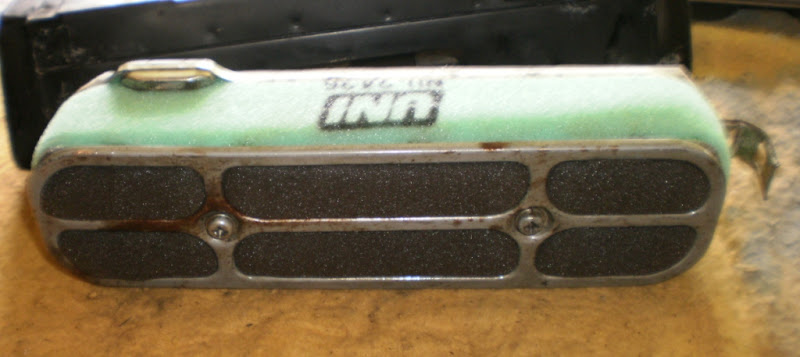
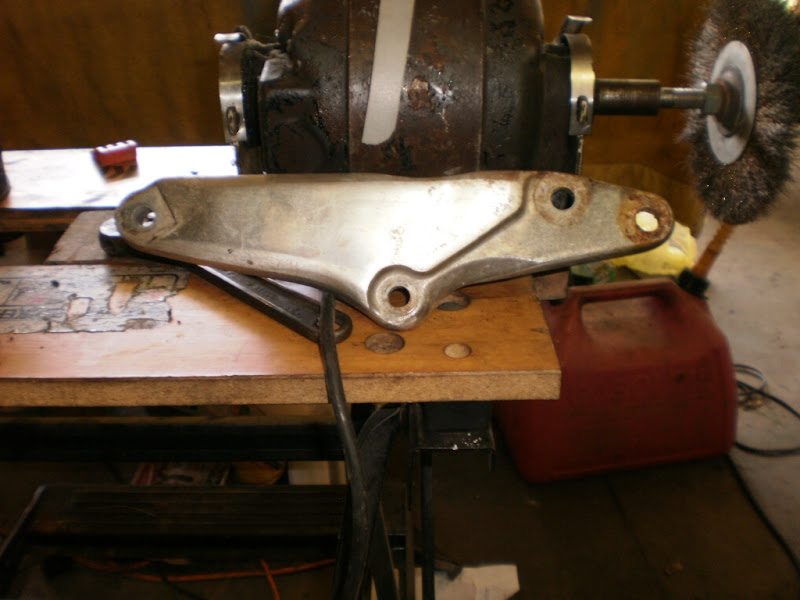
    Dingy fuel bowls ? Buff those puppies !


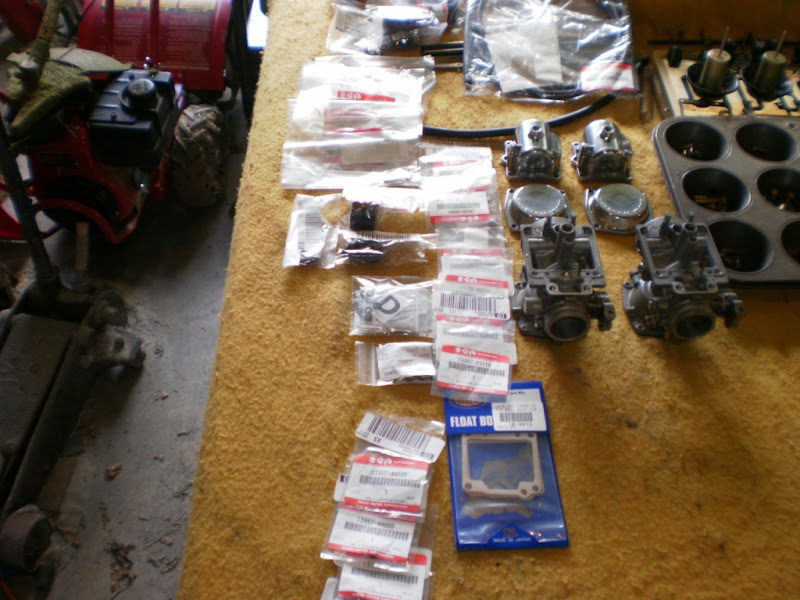
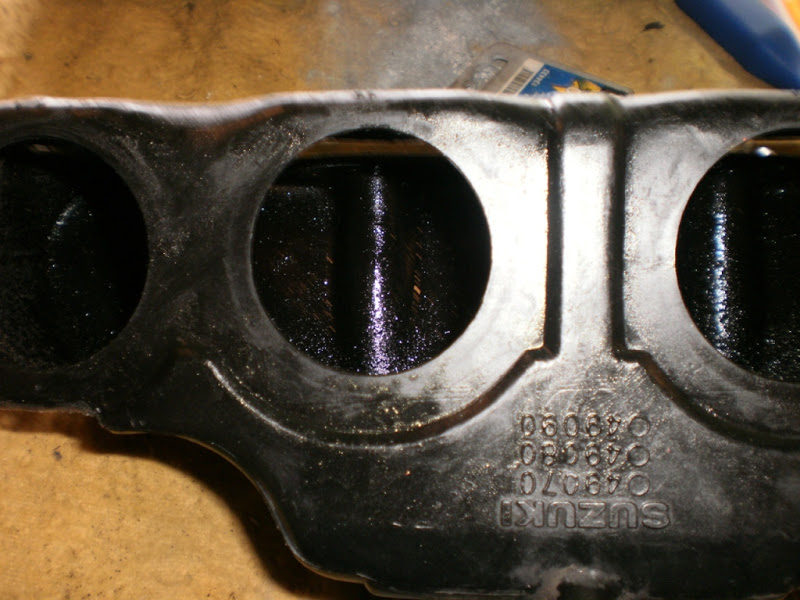
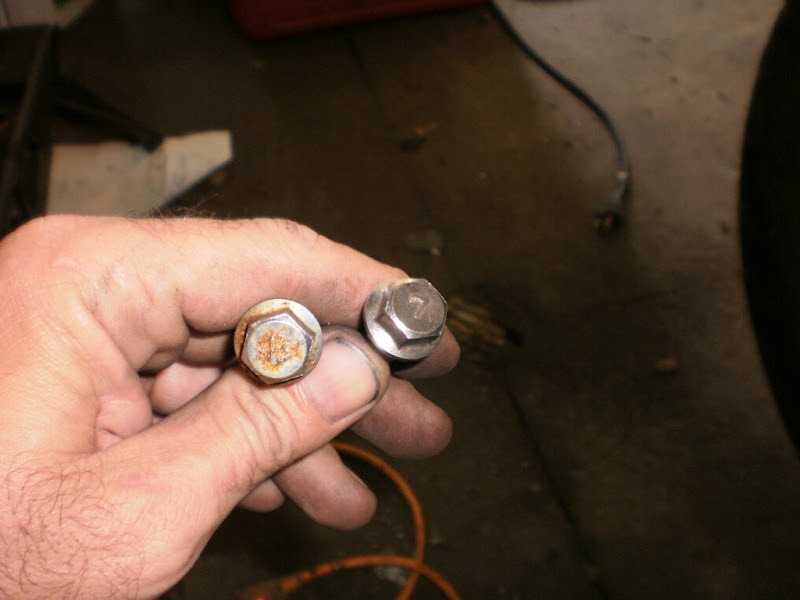
    Only needed a couple parts to straighten these things out .
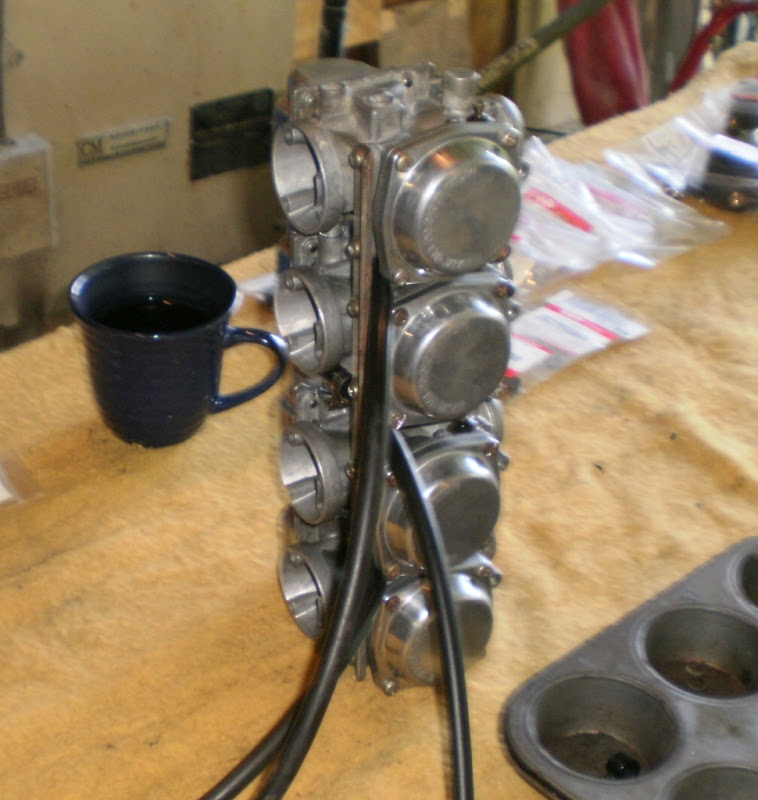
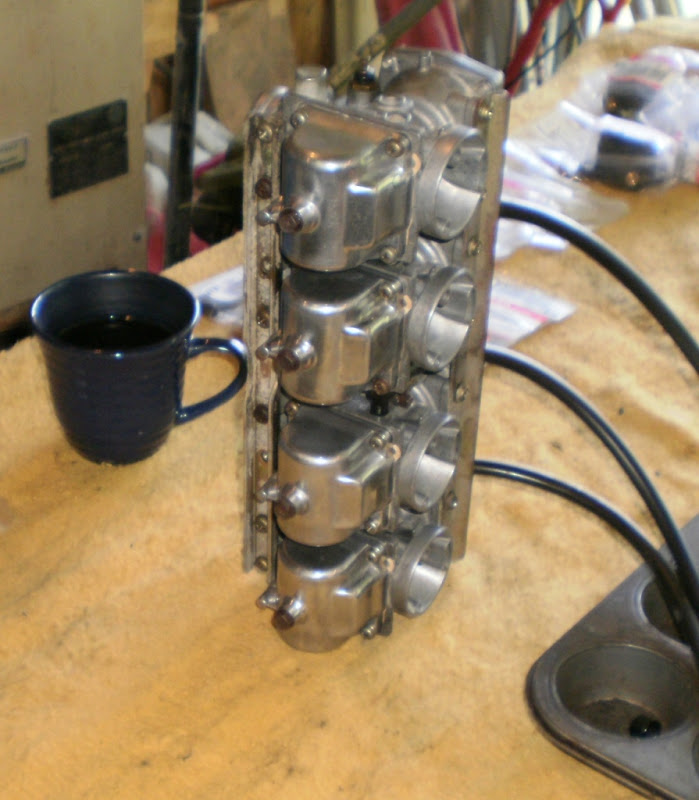
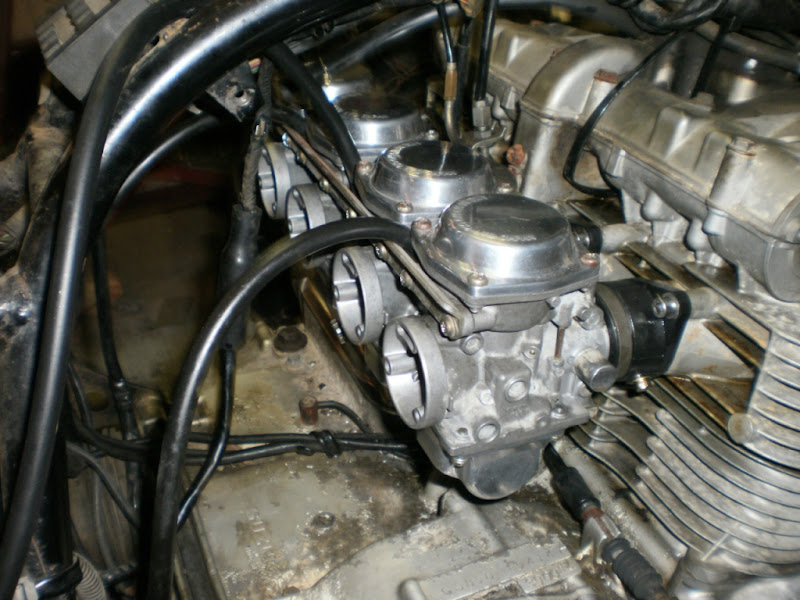
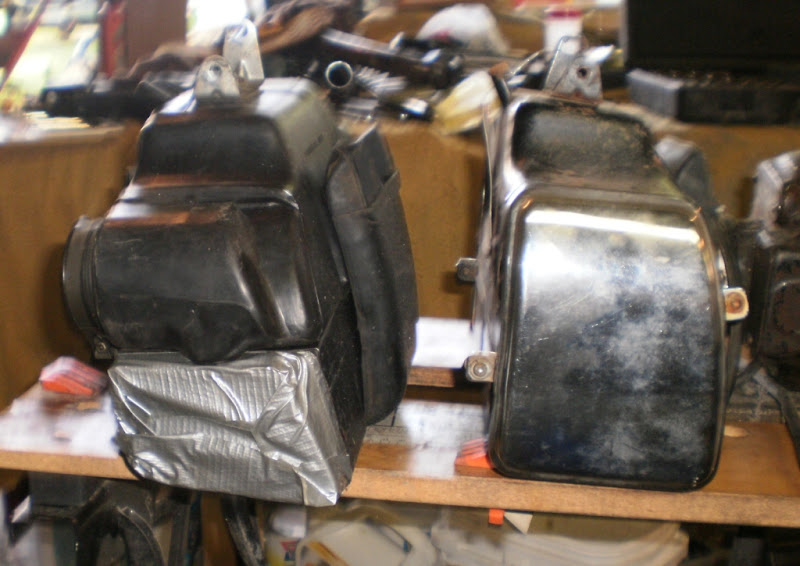


    Re-assembly time !


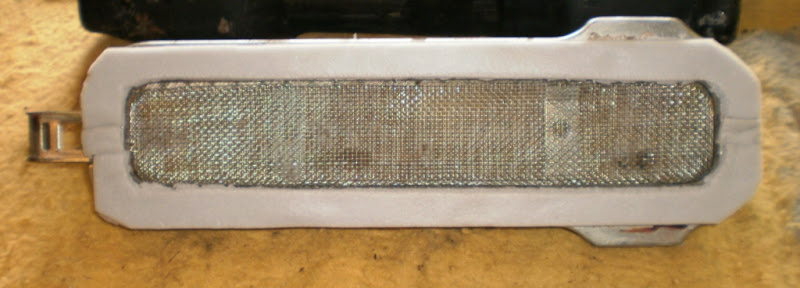
    Just to show they went back together
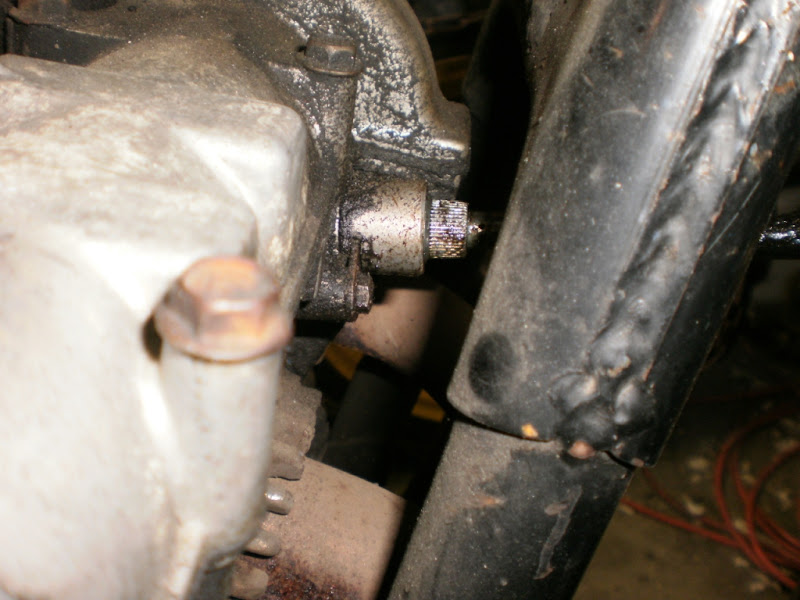


    Bottom side


    Later

    Rat

    Comment

    • ratdude

      #17
      Assembly and the test start

      Well now that the carbs are cleaned up I put them on back on the motor .

      New intake boots from Suzuki
      Stainless fasteners and new O-rings from http://www.cycleorings.com/

      A couple pics

      Lookin' Sad ( waiting for re-assembly )


      Ahhh the beauty of new boots and stainless fasteners


      home again


      The result ,
      Hooked up the gas , no leaks , starts fine , even idles pretty good considering there is no airbox yet . Sounds ready to go but I have a few things to address before I can road test the bike .

      Rat

      Comment

      • ratdude

        #18
        The Oil Leak

        One of Suzy's problems was a oil leak from the front of the motor , the tach drive to be exact .

        Forum member terrylee suggested it was a easy fix ( it was , cheap too )

        Sure enough BikeCliff's Website had a guide made up to walk me through it .

        A few pics

        Unacceptable ( 15 minutes of run time )


        The Culprit ( been leaking a while by the looks of it )


        Inner tach drive seal might have a tiny bit of wear ( new seal is on the left )


        New inner and outer tach drive seal solved the problem

        Later
        Rat

        Comment

        • ratdude

          #19
          The Sweatsock Air filter ( and the fix )

          Now that Suzy starts and runs I had to get some sort of Air Fliter on there .

          She came with the stock airbox , which is missing the end caps and was removed by the previous owner .

          The air filter that was in there has to be seen to be believed .

          The sweatsock air filter !


          Yet Another shot of this fine piece of engineering


          Pretty sure there is supposed to be a gasket here


          The result of all this air filtration


          Fixing the air filter ( my version of the Mr. Roostabunny Airbox sealing repair )

          My weapon choice , foam tape used to seal truck caps to pickup beds ( its solvent resistant , and I had some )


          All trimmed up


          Probably not as good as the sweat socks but it will have to do


          After scubbing all the gook out of that airbox , I reassembled , reinstalled on Suzy and another piece of the puzzle is done !

          Rat

          Comment

          • Nessism
            Forum LongTimer
            GSResource Superstar
            Past Site Supporter
            Super Site Supporter
            • Mar 2006
            • 35808
            • Torrance, CA

            #20
            Nice work on those carbs. Thanks for sharing.

            I'd go after the valves now since it's a pretty fair bet some will be overly tight. Sadly, many people neglect this critical bit of maintenance which is a real shame since the valve train on these GS bikes is so stable and reliable.
            Ed

            To measure is to know.

            Mikuni O-ring Kits For Sale...https://www.thegsresources.com/_foru...ts#post1703182

            Top Newbie Mistakes thread...http://www.thegsresources.com/_forum...d.php?t=171846

            Carb rebuild tutorial...https://gsarchive.bwringer.com/mtsac...d_Tutorial.pdf

            KZ750E Rebuild Thread...http://www.thegsresources.com/_forum...0-Resurrection

            Comment

            • ratdude

              #21
              The test ride , and more carnage

              Well as I stated in my last post , Suzy started , ran and idled but had yet to be ridden ( by me ) . I changed the oil , the old stuff smelled of varnished gas , not a good sign . Put on my lovely airbox . Aired up the tires and front forks ( yup we will be needing fork seals before this is through ) and off we go ...

              30 miles later I got enough info to figure out whats next .

              All in all engine was pretty good ran real well , carb work payed off big time , especially since I have yet to hook up the gauges and actually tune the darn things .

              Clutch engages and dis-engages , smooth is NOT in its vocabulary however

              Electrically got more work to do , charging system is functional
              Amazingly the suzuki self cancelling turn signals are still working
              Neutral light MIA
              Low beam lighting MIA
              Instrument lighting on tach only
              Fuel gauge works !
              Front brake light switch dead
              that idiotic gear indicator still works ( do they ever die ? )

              The exaust has seen better days , the crossover pipe is shot , and while it sounds really cool at low speeds , it sounds like crap at speed .

              more work to do , no pics for this one

              Rat

              Comment

              • Guest

                #22
                Looks like you have a good plan of action. One step at a time. When get your bike squared away you will have something to be proud of. There is nothing like the feeling you get when you have done the work yourself.

                Comment

                • ratdude

                  #23
                  Exhaust , how I hate ye

                  As I mentioned before the exhaust crossover on suzy was shot , I decided to do the bypass thing for it . No problem I thought, all I got to do is get those two center exhaust headers off ............

                  ~~RIGHT~~

                  like I had a chance in hell of if being that simple .....

                  I soaked the bolts in PB blaster , I did a couple with the acetone ATF blend , I have torches and I know how to use em' .

                  The result , 4 of the 8 bolts snapped like twigs .

                  Oh the clever adjectives I learned to express my Joy !

                  I really considered parting suzy out , I really wasn't to happy at this point

                  But I am stubborn I guess so I started the wonderful process of pulling the motor just to try and drill these puppies out

                  I HAVE been here before , I owned Honda's and VW's.

                  Pics are sketchy , I was really up in the air at this point.

                  Motor out ( dang that went fast ! )


                  28 years of grungy


                  Outside , waiting for a bath


                  Drilled , tapped , and waiting on a long bath in gunk


                  Waiting to go back home ( NOW is the perfect time to check the valves )


                  Later
                  Rat

                  Comment

                  • ratdude

                    #24
                    Exhaust , how I hate ye Part 2

                    Just some pics of putting the engine back into the frame

                    Rat

                    Engine back into the frame


                    If can only remember how these wires went ?


                    Obligatory burnt stator connector shot ( did EVERY single GS850 do this ? )


                    thats better

                    Comment

                    • ratdude

                      #25
                      Yup , I was warned

                      Well I wasted 20 bucks on this thing .

                      My petcock had a leaky diaphragm in it ( which explained how that #2 cylinder idled when the carb had a clogged idle circut initially )

                      Yes I got me a rebuild kit , NOPE it didnt work ( in fact the petcock just stayed on from that point )

                      Now I think I only read in these forums about a hundred times to replace , not rebuild the petcock .

                      ~~YOU GUYS TOLD ME SO~~

                      lol

                      And at about one in the morning , when you are going to install your spiffy NEW petcock AND you realize it doesn't come with the sealing washers for the bolts AND you didn't think to order any .

                      You can make a leak free subsitute by fabbing new washers from the side of a plastic oil container , just punch the center hole , cut the outside with a pair of scissors . wala , new washers

                      Ask me how I know .....

                      Rat

                      Comment

                      • Dogma
                        Forum Guru
                        • Sep 2007
                        • 7144
                        • Mason, OH (SW)

                        #26
                        Haha that ought to do it for now. I used a chunk out of the airbox boots I had just replaced. It was just hard enough and just soft enough to get the job done. I have a pack of the washers now (they seem to come in a bag of ten or so), so I can replace the washers on the float bowl drain screws, the secondary drive oil level check screw, etc.
                        Dogma
                        --
                        O LORD, be gracious to me; heal me, for I have sinned against you! - David

                        Skeptical scrutiny is the means, in both science and religion, by which deep insights can be winnowed from deep nonsense. - Carl Sagan

                        --
                        '80 GS850 GLT
                        '80 GS1000 GT
                        '01 ZRX1200R

                        How to get a "What's New" feed without the Vortex, and without permanently quitting the Vortex

                        Comment

                        • ratdude

                          #27
                          Fun with the wire wheel

                          OK I am alright with patina ( I am called rat after all ) , I know people pay big bucks for it , but Suzy is a bit excessive in this department .

                          You too can remove excess patina on bolts and such with a wire wheel just keep a light touch so as not to destroy the chrome entirely .

                          Obviously I would avoid this on anything you would really want to be shiny as the wheel will scratch the hell out of fenders and such .

                          Very poor shot of the footpeg bracket with the WAY expensive Scratchmaster 1000 in the background .

                          Yes I cleaned the oxidation off , NO you dont get to see , I forgot to take pics . ( the cast part not the shiny part , that was done with the Buffmaster 1000 ( Noooo you cant afford it ))


                          See ? excess " patina " ( backside of shifter )


                          much better


                          trust me the bolt on the right was just as crappy when I started


                          Later
                          Rat

                          Comment

                          • ratdude

                            #28
                            The airbox part 2

                            OK after much research , I have decided that the L model airbox was built by elves in the magic forest . Therefore not only are the pieces damn expensive they are kind of scarce . ( I have been missing the endcovers and seals from the start )

                            But through the miracle of Ebay I was able to score a standard airbox, semi-complete for a standard model from Canada

                            I don't know if this has ever come up so I will interject my own comments

                            YES
                            You CAN put a standard G model airbox on a L model Frame
                            You CAN use the airbox boots from the L airbox on the G airbox

                            NO
                            You CANNOT use the air filter frame from the L airbox in your G airbox
                            You will forever be cursed with a mis-match from the curve of the G airbox covers and your L model side covers

                            But it Will work

                            As an interesting side note the allen screws for the vacuum ports on a trashed set of engine intake boots make a nice upgrade for the airbox cover retention screws ( if I only had some of those .. )

                            Comparison shot , L model left , G model right
                            and yes the duct tape is MINE ( DOH )


                            See ? it fits !


                            Almost spiffy


                            The cursed mis-match (but WAYYY better than duct tape)
                            PS there's that darn footrest bracket I never took a pic of


                            Later
                            Rat

                            Comment

                            • Dogma
                              Forum Guru
                              • Sep 2007
                              • 7144
                              • Mason, OH (SW)

                              #29
                              The airbox you have installed is from an 80-81, maybe 79 too. It's not a G vs L thing.
                              Dogma
                              --
                              O LORD, be gracious to me; heal me, for I have sinned against you! - David

                              Skeptical scrutiny is the means, in both science and religion, by which deep insights can be winnowed from deep nonsense. - Carl Sagan

                              --
                              '80 GS850 GLT
                              '80 GS1000 GT
                              '01 ZRX1200R

                              How to get a "What's New" feed without the Vortex, and without permanently quitting the Vortex

                              Comment

                              • duper850

                                #30
                                Now this is a thread!!

                                Comment

                                Working...