Stan, the face that's on Nancy is faded. If I have to I will. Let's see if we can find one before settling on third best.
-
Dale, I can't remember, what method do the employ to filter the light to the appropriate colour, is the colour in the face itself removable at all?
If so, it wold be a matter of removing the filter from both faces so they will be white when illuminated and I will install coloured bulbs, which are freely available, even easy enough to make by dipping them in some candy paint.Comment
-
The back side of the plastic is a molded on colour. It might be able to be sanded off and resprayed to match the other gauge face. I had thought about doing that as an alternative to replacing the face.
Planing on giving my parts wanted post a week before trying some sort of plan B.Comment
-
Stan, as requested...
Spun the speedo with a cordless drill to make sure it worked properly.

Still a lot more that needs to be done, but at least I have the companion gauge face located courtesy of Daniel (Highway_Glider).
Comment
-
Got back in the garage today, first time since the eye op,
Did not get too much done, although I was in there most of the day.
Fitted the rear brake caliper torque link, fitted the handle bar switches, throttle cable and twist grip. (Thanks Chris)
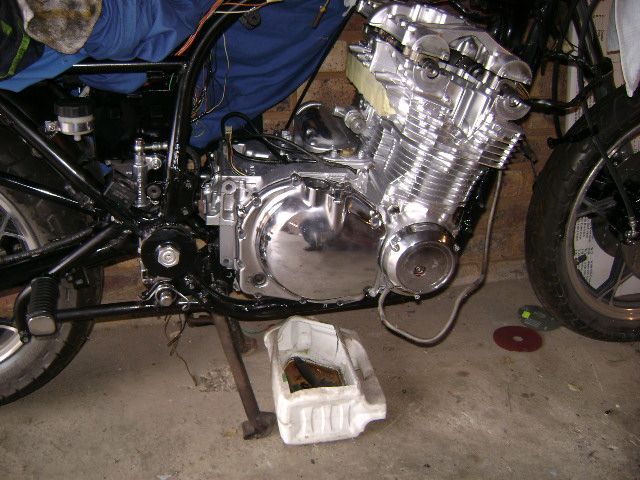
Spent the rest of the day sanding the clutch cover for polishing, It came out OK, acceptable shine, but I am not happy with it, will hit it again with 1000, 1500, 2000 grit again next weekend.
Like a grumpy old crew chief once said, there is only one way to do it.....right.
While I have the cover off, I will pull the clutch to check the hub nut and measure the clutch springs, also check for grooving of the basket.
Pics next weekend, promise, Ah, what the hell, here is one.
Doc says

Comment
-
Ok, so I spent quite a bit of time in the garage this weekend, most of it actually, and got a bunch of stuff done, and it starting to show, as I hang more parts back on the bike.
Overhauled, assembled and fitted the front brake calipers.


Also rebuilt and fitted the rear brake caliper.

And rear master cylinder, reservoir and brake pedal shaft thingy


I know, I know, but it was raining all weekend, so painting was out, and I could not fit the master cylinder as it was, so.......
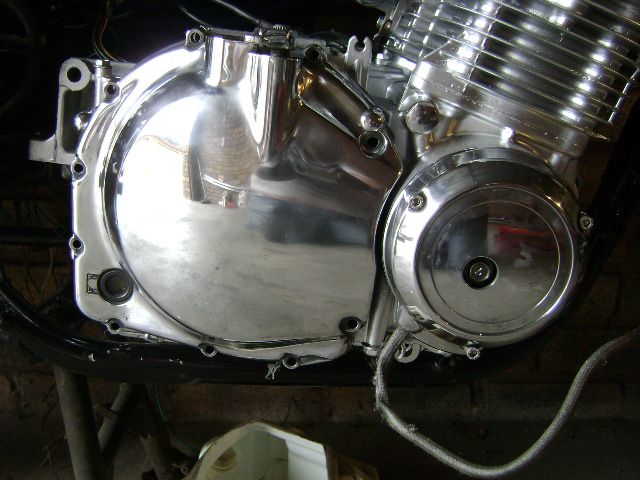
Anyway, had to warm up the polisher for the engine cases.
Redid the clutch cover that I was not happy with, as well as the ignition pick up cover, much better.
While I had the cover off, I checked the clutch condition, happy to report all is like new.
Clutch basket does not have the slightest sign of any grooves.

Clutch plates are also in good nick, so they went back in

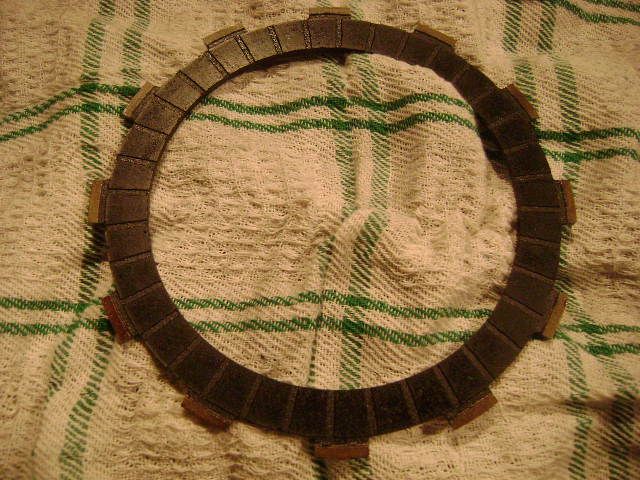
The steel plates have very little bluing on them and are all dead straight with no warpage.
The fiber plates are still at 2.9mm thickness, factory spec is 2.9mm - 2.7mm with a service limit of 2.4mm
Clutch spring free length measures 39mm on all of them, factory spec is 39mm - 40.5mm with a service limit of 37.1mm
So all good.
Jennifer is coming together quickly now, and for the first time, I feel like I am turning onto the home straight with the finish line in sight.
She is looking more and more like a complete motorcycle each weekend.Comment
-
So shiny , looking great , when will you think you will have her done!!Comment
-
Ok, so for those that don't know and still think that their motor is terminal and wonder where the classic and famous GS "death rumble" comes from, wonder no more....
Click on pic for video

Comment
-
Thanks Harley, not sure, there will still be a delay or two along the way, due to $$$$, need to buy paint for the tank, and to finish the fairing and front mudguard, that is going to cause a delay.
And of course there will be a bunch of teething problems and little niggles that will need sorting out, you know how it goes.
Also need one or two springs for the mixture screws in the carbs, Lord only knows where I will find those.")
I am just praying that when I pull the stator cover off to fit the new one, that the stator is still good.
Comment
-
Stan,
The common clutch basket noise isn't due to lateral play like that, it's because the springs in the backplate are knackered allowing rotational movement between the gear and the basket. Lateral play like you demonstrated should relate to a thrust clearance concern. Maybe look at the thrust washers and such, something may be missing.Ed
To measure is to know.
Mikuni O-ring Kits For Sale...https://www.thegsresources.com/_foru...ts#post1703182
Top Newbie Mistakes thread...http://www.thegsresources.com/_forum...d.php?t=171846
Carb rebuild tutorial...https://gsarchive.bwringer.com/mtsac...d_Tutorial.pdf
KZ750E Rebuild Thread...http://www.thegsresources.com/_forum...0-ResurrectionComment
-
Thanks Ed, understood, probably a knackered thrust washer/bearing/whatever, I have never had the clutch out, so all the bits will most certainly still be there.
Will pull the whole clutch basket off nect weekend and have a peek behind it and see if I can see anything.
Thanks for the informative feedback.Comment
-
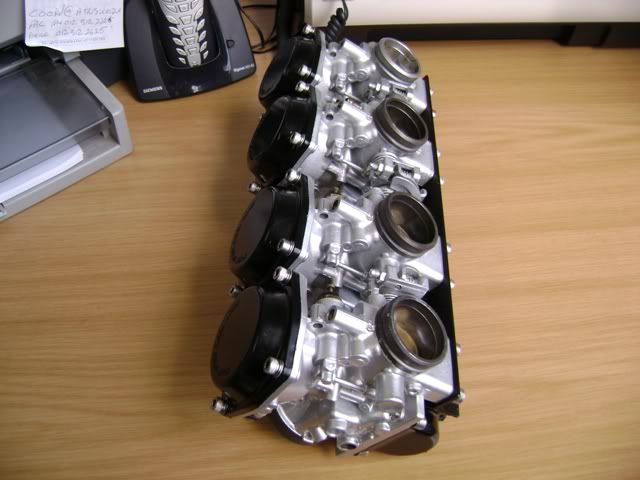
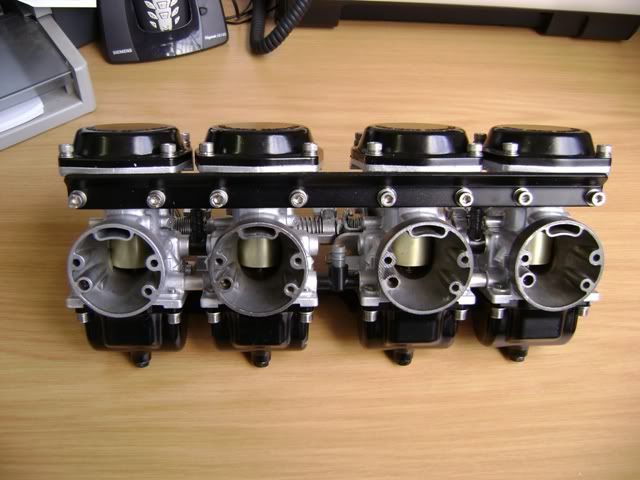
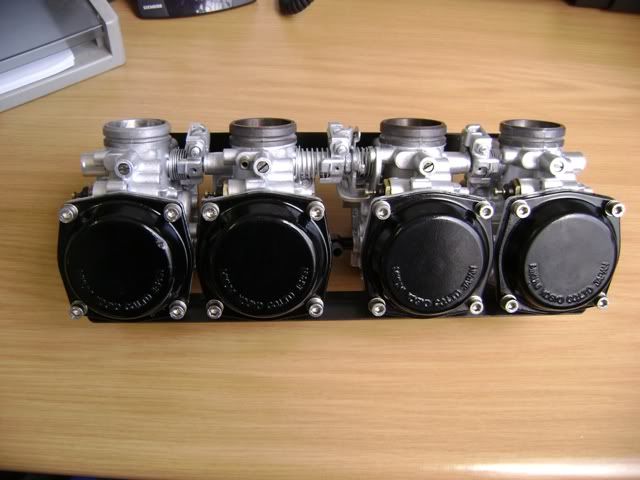
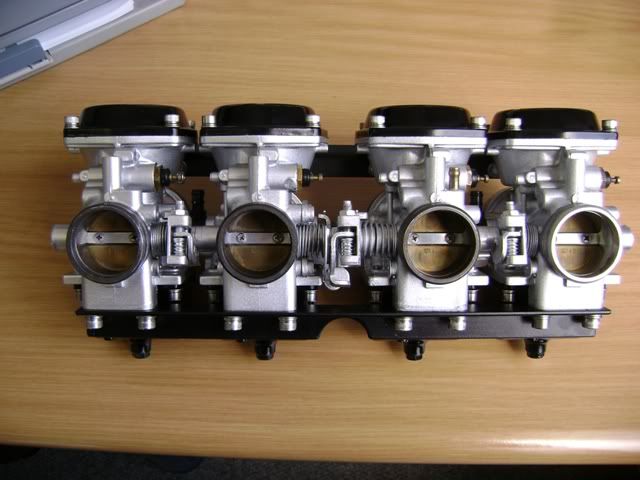
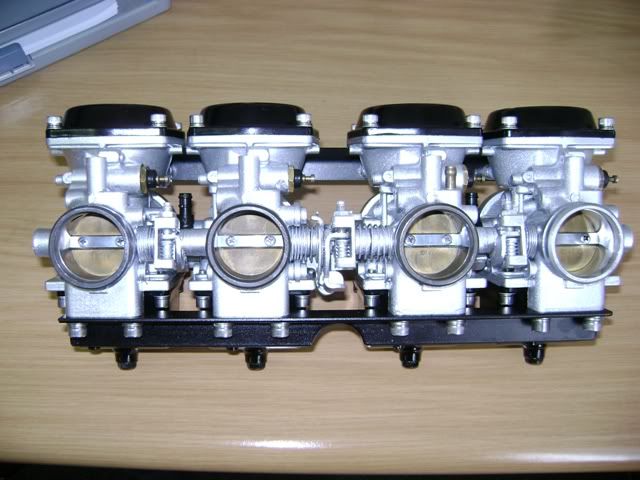
Thanks, I wanted to spruce the carbs up, inspired by RenoBuce's work, but the black bodies and polished tops and bowls has been done to death, I wanted something different, swapped it around.
Used a plain garden variety 2k urethane, how fuel resistant it will be, your guess is as good as mine, guess we will find out.
Trick is to keep the fuel inside the carbs, no?
Comment
-
Yes these clutches are a pain.
I've pretty much tried everything now with 2 of them. Yes you will get some rattle from the springs but it sure wouldn't make a noise like that on the video. I think you are nearer the truth with that lateral play. If the noise reduces when you pull in the clutch then it may be (not certain at all) that the lateral movement is causing it. If the clutch nut is tight then the only reason for the lateral play is that the width of the clutch hub is less than the width of the clutch spacer on which it sits (with a needle roller in between). I read somewhere that someone had ground down this spacer to match the width of the the hub and had eliminated the noise completely. Other people have said if you grind down that spacer you will destroy it's strength. Don't know who to believe. I might try in on a spare.
Either way when you take the hub off don't lose the little (is this the smallest part on this bike?) cushion rubber part no. 21215-49000. I put new ones of these in but it made no difference.
GreetingsLast edited by londonboards; 03-06-2014, 04:39 AM.Richard
sigpic
GS1150 EF bought Jun 2015
GS1150 ES bought Mar 2014: ES Makeover Thread AND blog: Go to the Blog
GS1100 G (2) bought Aug 2013: Road Runner Project Thread AND blog: Go to the Blog
GS1100 G (1) Dad bought new 1985 (in rebuild) see: Dad's GS1100 G Rebuild AND blog: Go to the Blog
Previously owned: Suzuki GS750 EF (Canada), Suzuki GS750 (UK)(Avatar circa 1977), Yamaha XT500, Suzuki T500, Honda XL125, Garelli 50
Join the United Kingdom (UK) Suzuki GS Facebook Group hereComment


Comment