.png "Powered by vBulletin")

-
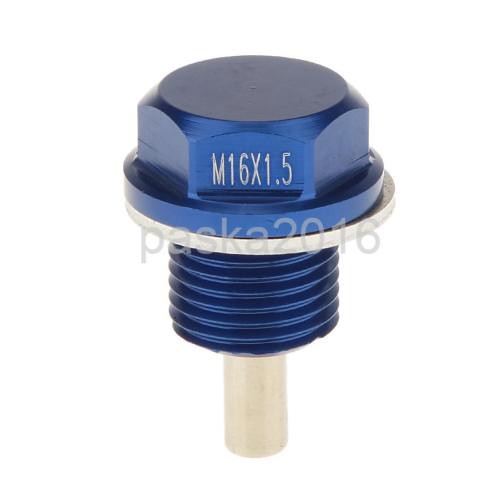
When I drained the oil before removing the covers I noticed the threads for the oil plug was stripped. Po had just glued it in place, and this glue came out in bits with the plug. Ordered a new oversized plug from ebay. When the engine is out for painting I'll remove the oilpan and wash it and tap it for the new plug.
 s-l500 1_zpsuyutllpd by Lars Krogh-Stea, on Flickr
Last edited by LarsKroghStea; 01-29-2018, 04:31 PM.
s-l500 1_zpsuyutllpd by Lars Krogh-Stea, on Flickr
Last edited by LarsKroghStea; 01-29-2018, 04:31 PM.Leave a comment:
-
Moving along slowly, but I still have hope for the end of the season..
Since the engine was in a bad state cosmetically, and considering that I'm going for a kind of rat look on the tank and seat, I decided to paint the engine and frame. I'm also getting all the nuts and bolts el-plated in silver color.
This is how the engine covers looked before:
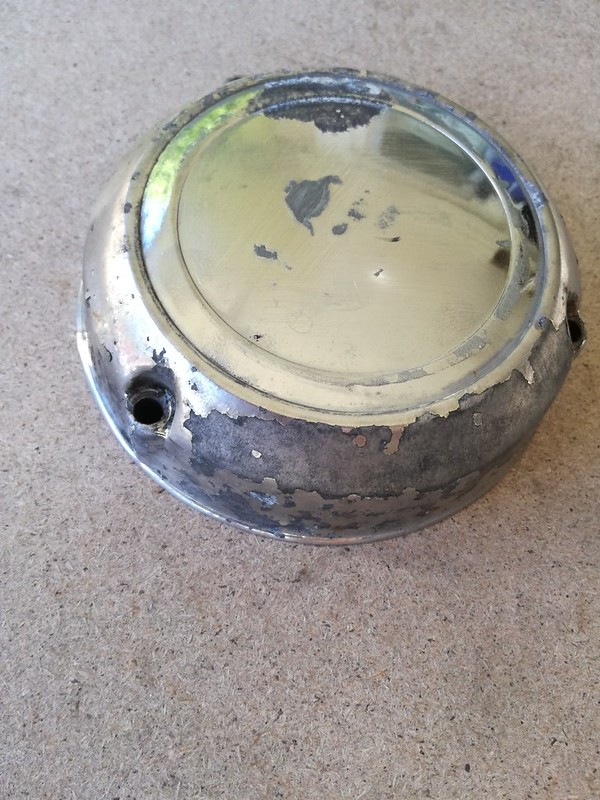 IMG_20170527_181957_zpsab4sxc4f by Lars Krogh-Stea, on Flickr
And these are the after pictures. I've chosen the color BMW Silber Grau:
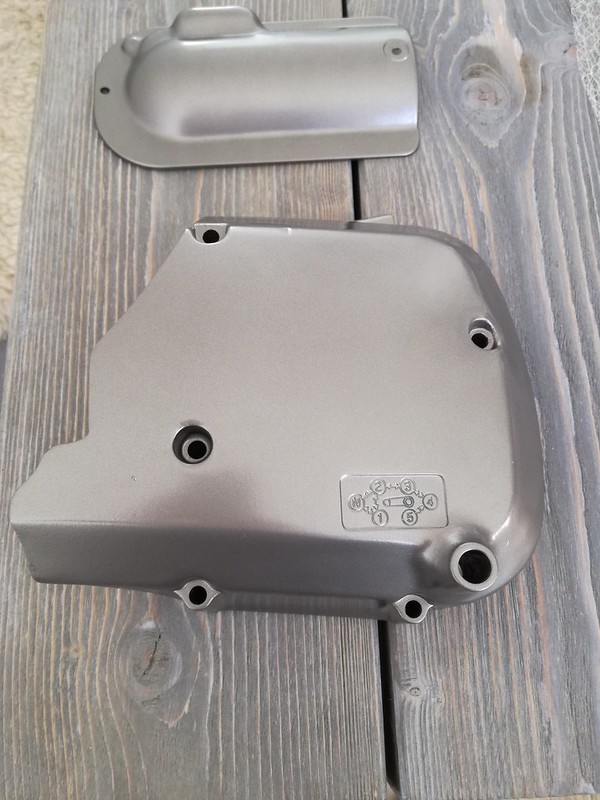 IMG_20170527_174305_zpsjpf8brgp by Lars Krogh-Stea, on Flickr
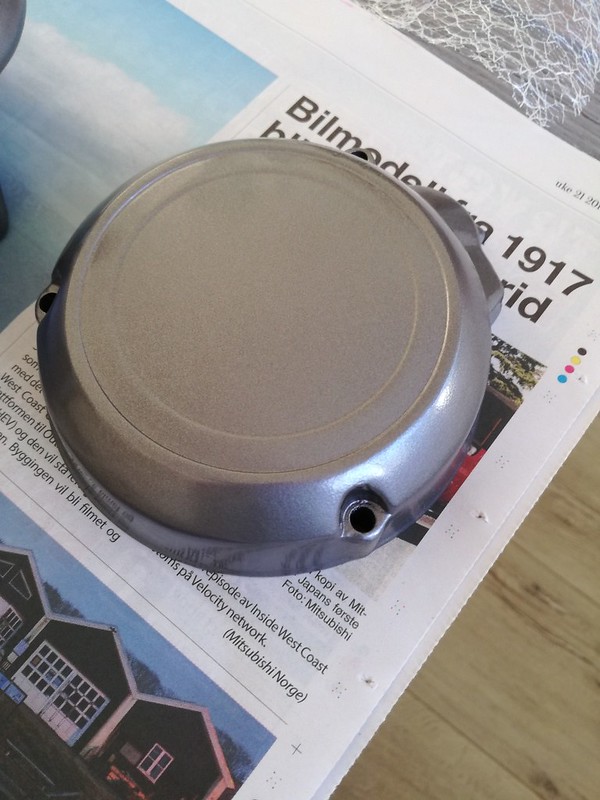 IMG_20170527_200812_zpsylq7461y by Lars Krogh-Stea, on Flickr
I'm going to paint the whole engine and the carburettors.
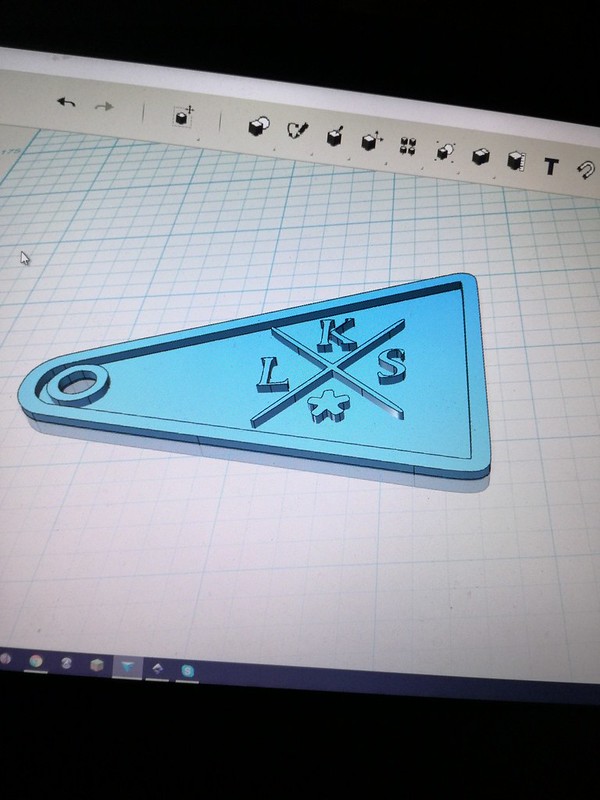
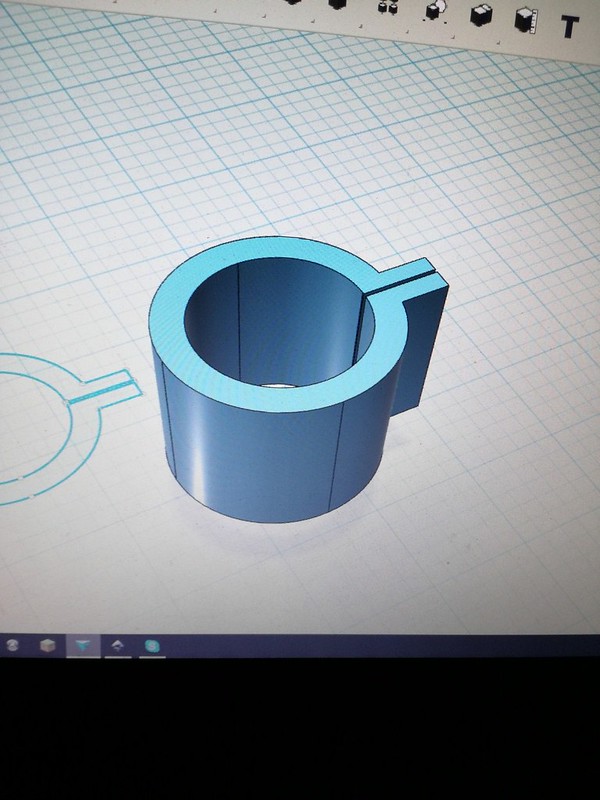
I almost bought myself a 3D-printer the other day, but then I came to myself and realized that I absolutely don't need one Anyhow, I wanted to test the consept and designed a couple of headlight brackets with my logo on. I found a local guy with a printer through 3dhubs.com and he is printing them in ABS plastic for about 25$. Pretty cool
 IMG_20170624_020021_zpsvrpfmxui by Lars Krogh-Stea, on Flickr
 IMG_20170624_020358_zpsci9wartg by Lars Krogh-Stea, on Flickr
Leave a comment:
-
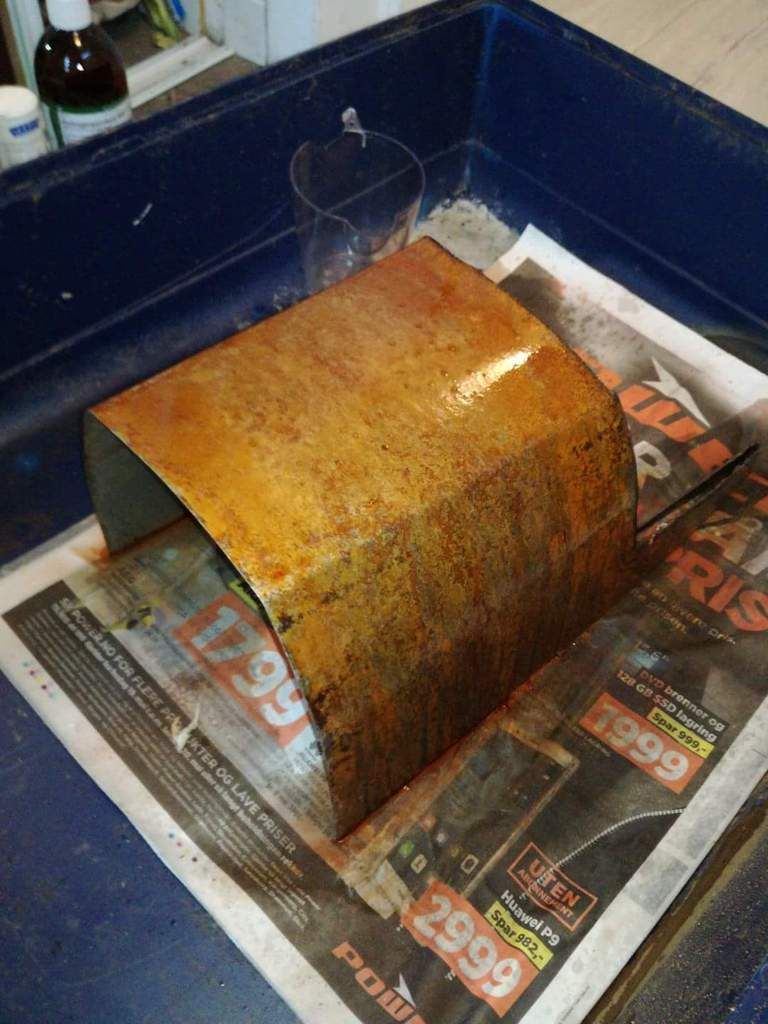
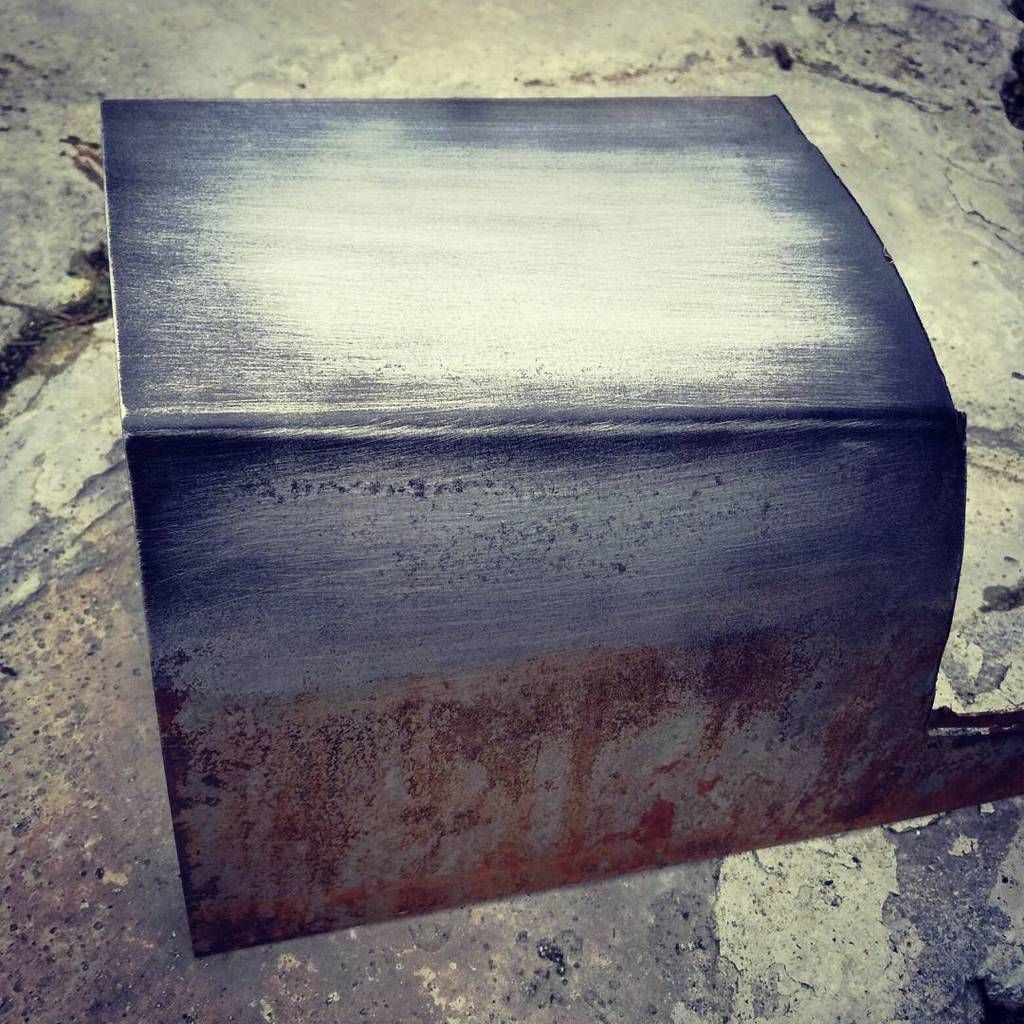
Did some testing on the color scheme today. First I made something the ratrodguys call Unicorn p*ss. It's made of white vinegar, hydrogen peroxide and salt. When sprayed on bare metal it starts to rust in minutes. To make the rust settle into the metal I waited two days before I used my pressure washer to wash off most of the rust. I have now created red rust, Fe2O3. Then i used phosphoric acid to convert the red rust to black rust, Fe3O4. Black rust is stable and wont rust further. I also think it looks better. In the picture below you can se the difference between the two kinds of rust.
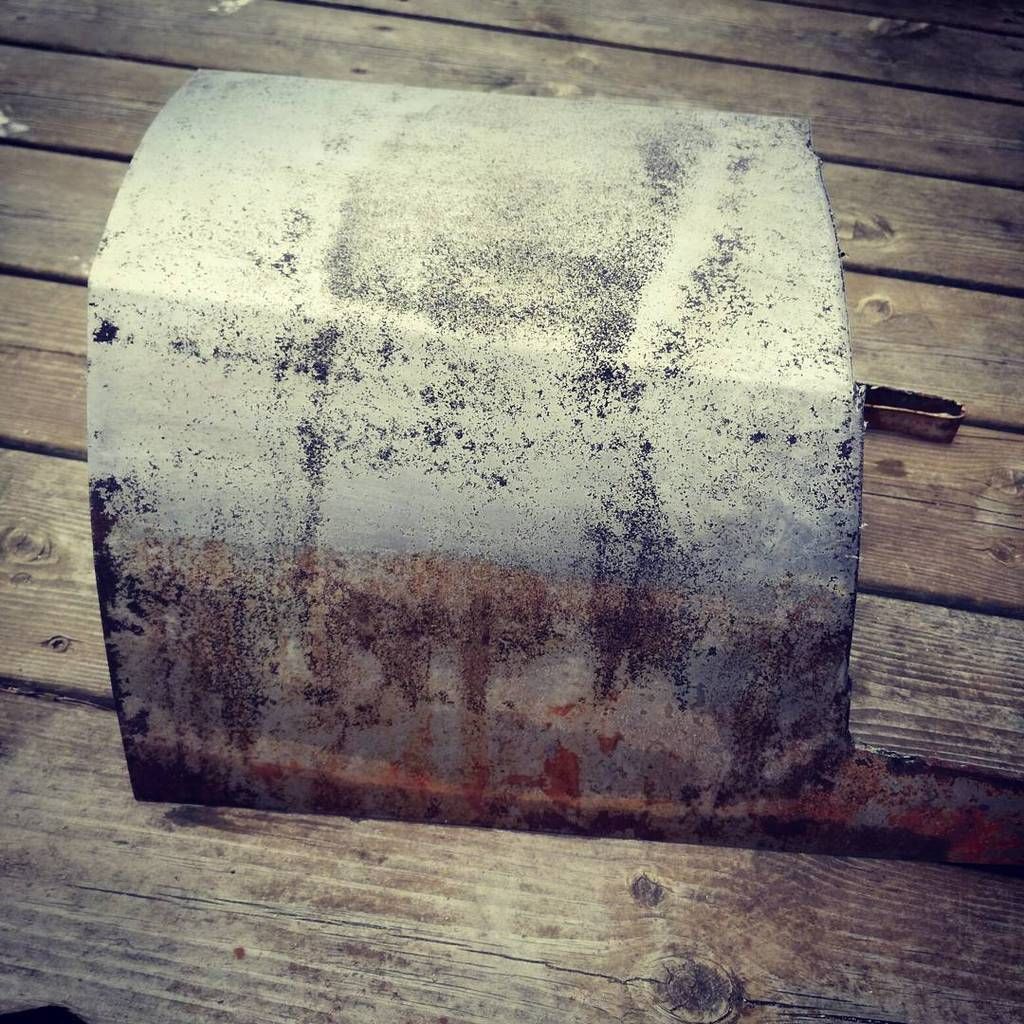
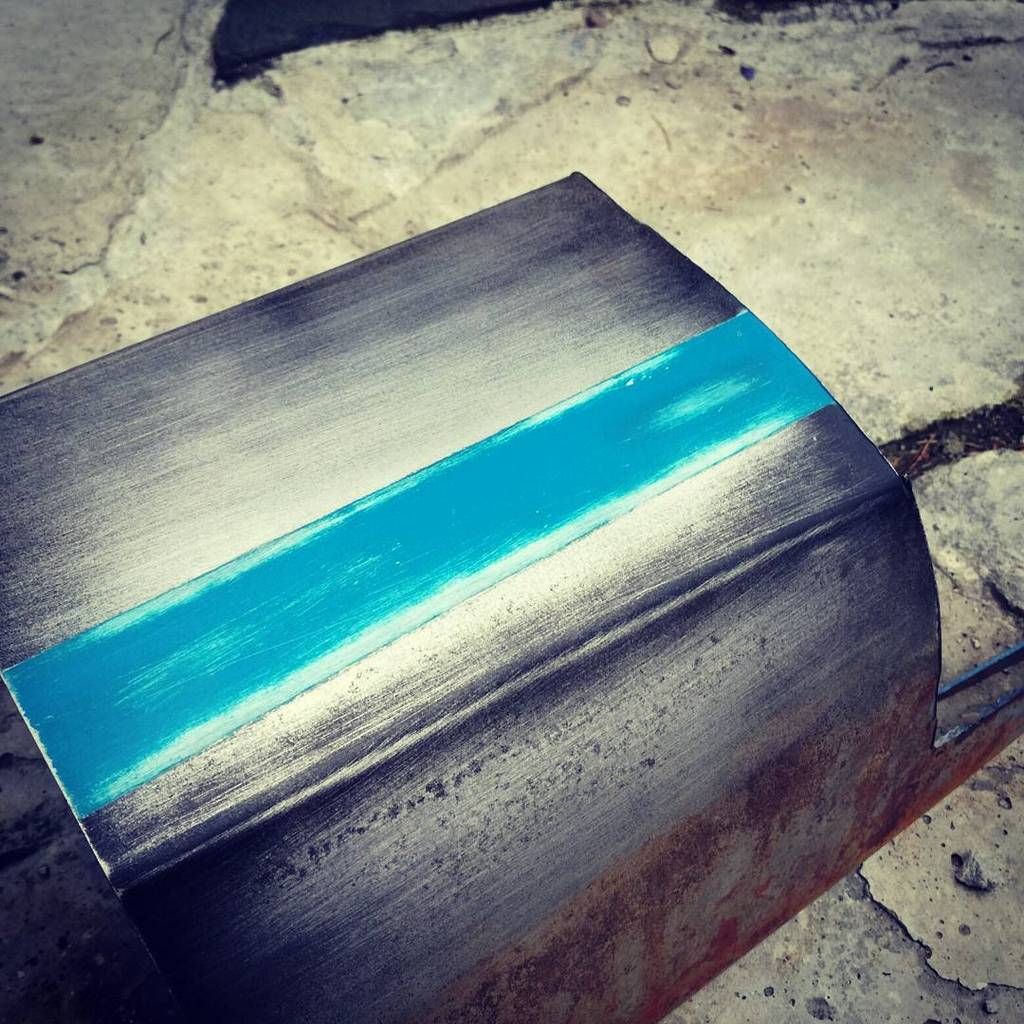
In the picture below, I have sprayed lightly with black paint and scoffed it off again, leaving some more towards the edges. The paint also shows where the rust have made irregularities in the metal.
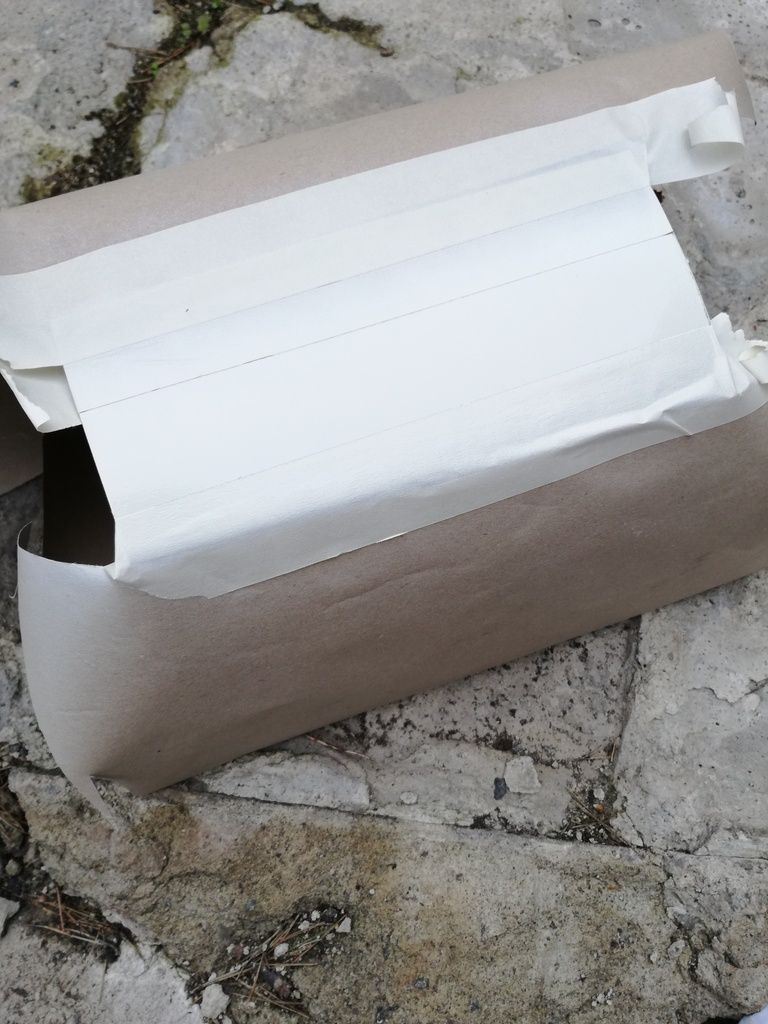
Then I masked off a stripe and painted it offwhite.
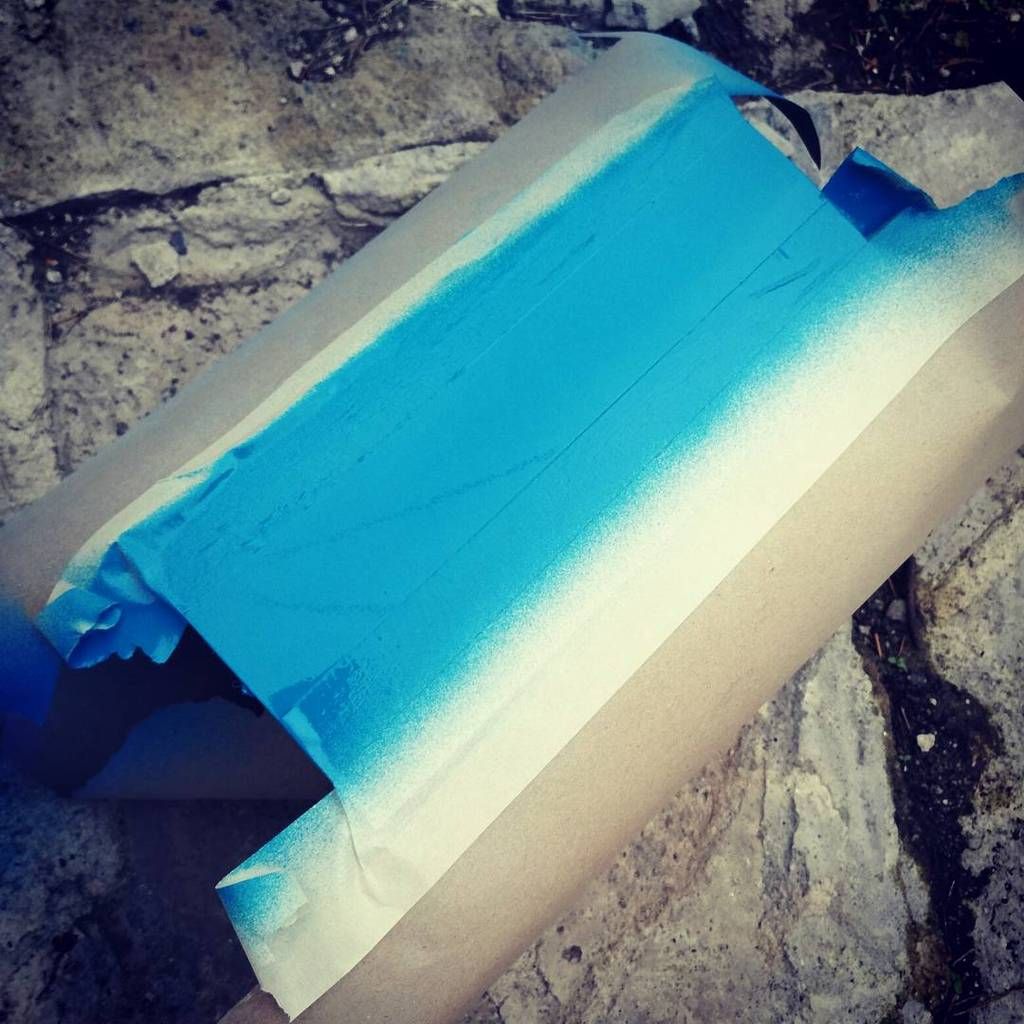
Painted the same stripe with a layer of blue.
With the maskin tape still on so I would not sand off the black, I sanded off some of the blue to make an aged apperance. I will use an electric sander and finer sandpaper for this when I do the tank and seat, but for now it's okay. Can't wait to do this on the tank to see how it turns out
 Last edited by LarsKroghStea; 01-29-2018, 04:27 PM.
Leave a comment:
-
Painting and upholstery are 2 things that seem to freak most people out when it comes time for DIY, but you did a fine job on your seat. Well done.Leave a comment:
-
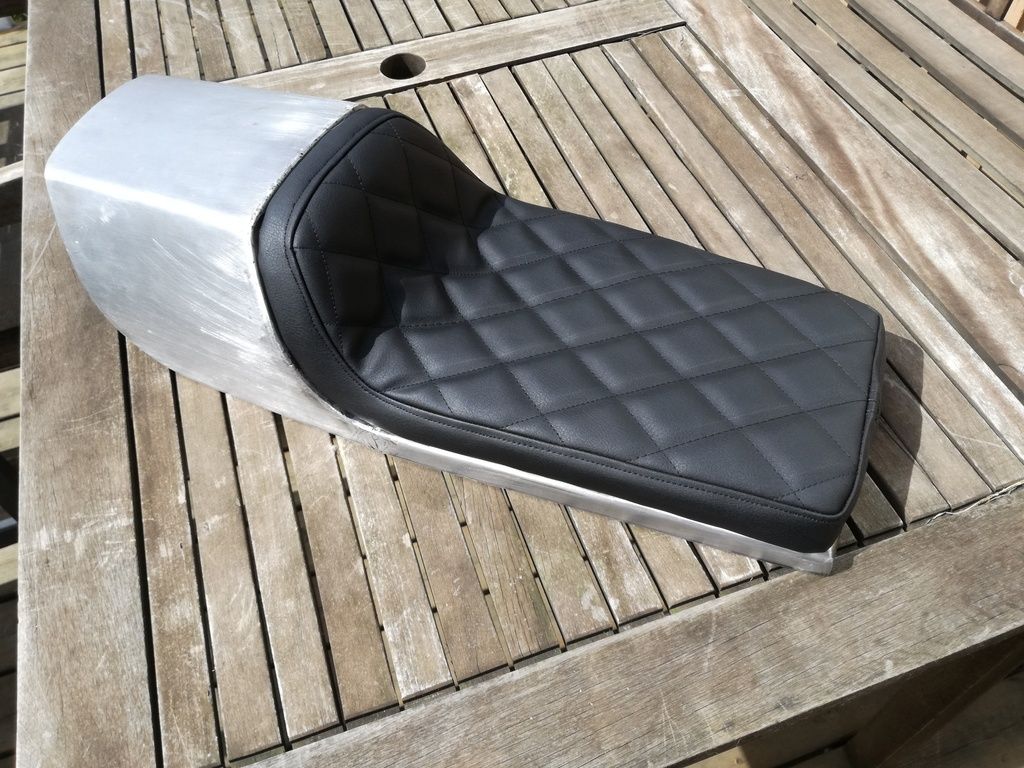
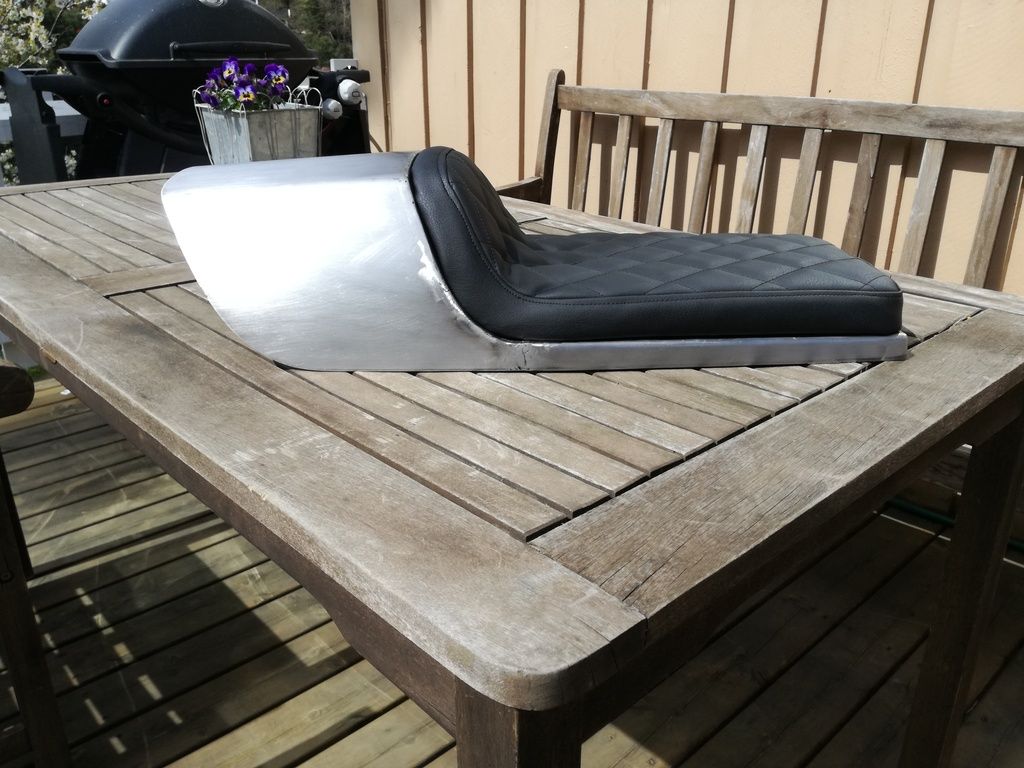
The seat is finally done
I've primarily followed the advice in this youtube-video:
But first i had to google how to thread the sewing-machine
I tried to find something to draw on vinyl with that would both be clearly visible and easy to remove. Didn't find anything, so I ended up using masking tape.
This was the result:

I chose the longest diagonal to be 1.61 times the length of the sides to take advantage of the golden ratio. I've also used the golden ratio to decide the lengt of the seat and cushing in relation to the tank.
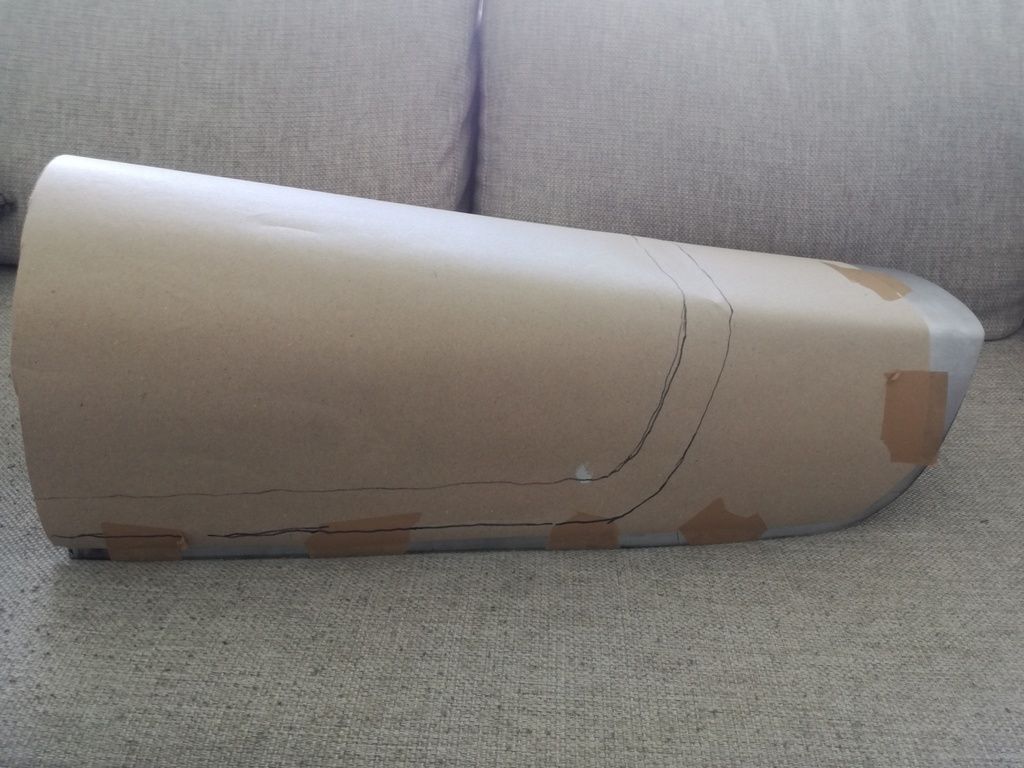
Used a large sheet of paper to make a template for the surrounding vinyl:
Sewed the parts together like they show in the video:

Used spray-glue on the back of the metal and on the inside of the vinyl. Then I stretched the vinyl until the markings lined up. This wan't the smartest way I noticed, as I hadn't been accurate enough with the sewing. I should have flipped it over and lined the vinyl up on the topside av the seat instead. But in the end the result was OK.
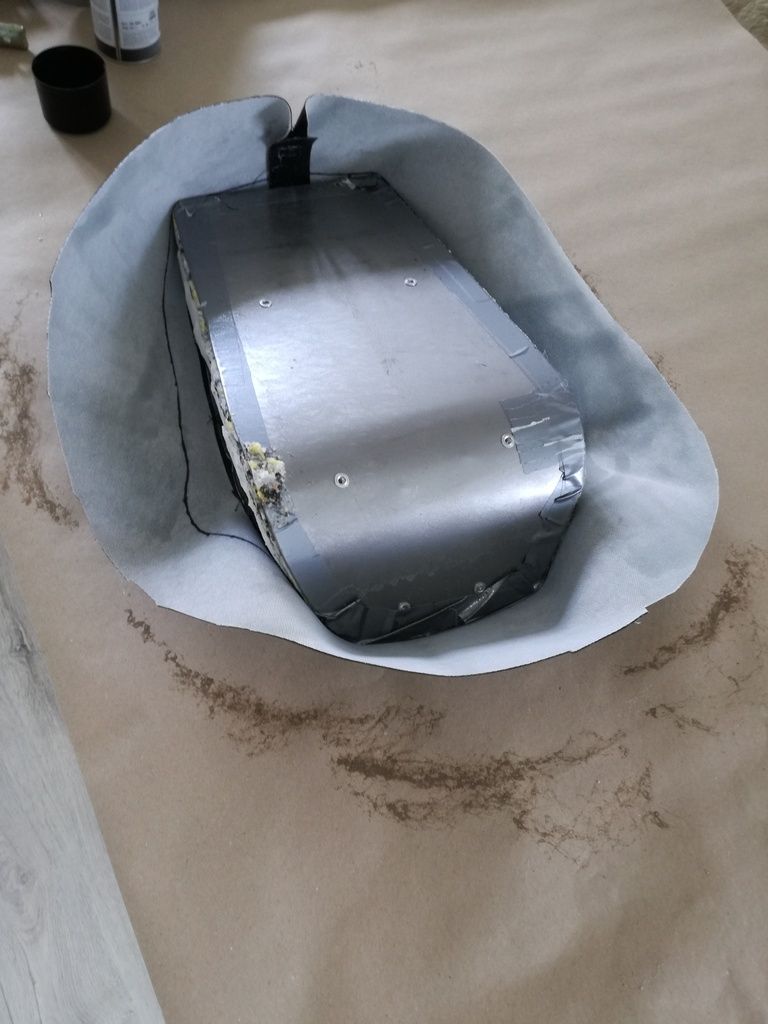
Screwed the two pieces together, and this is the result:
Leave a comment:
-
 Guest repliedTřft bygg, ser ut som du er pĺ vei til ĺ fĺ en bra racer cafč ting
Well done *thumbs up*Leave a comment:
-
I like the look as-is but your customizing it will show a bit more of the front wheel so that is a bonus.Leave a comment:
-
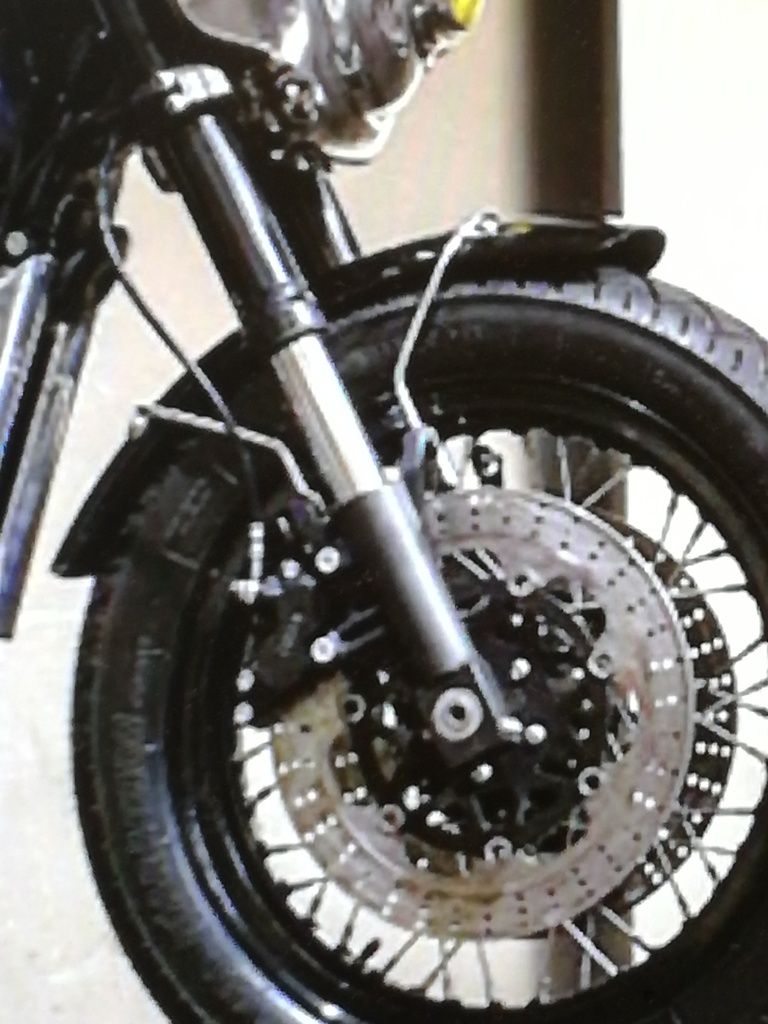
I also got my hands on a Ducati Monster aluminum front fender from Ducati Performance.

I'm gonna drill out the rivets and make new mounts like this:
Leave a comment:
-
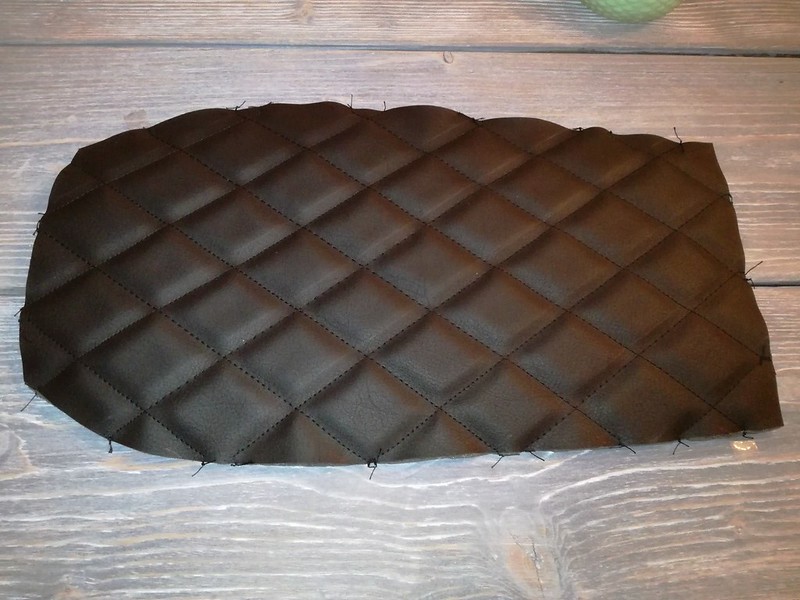
Made the soft part of the seat today. First I shaped a metal base out of the same 1,2mm thick metal I used for the rest of the seat. Then I used some M4 threaded rivets so I can screw the base to the seat when it's complete with the upholstery.
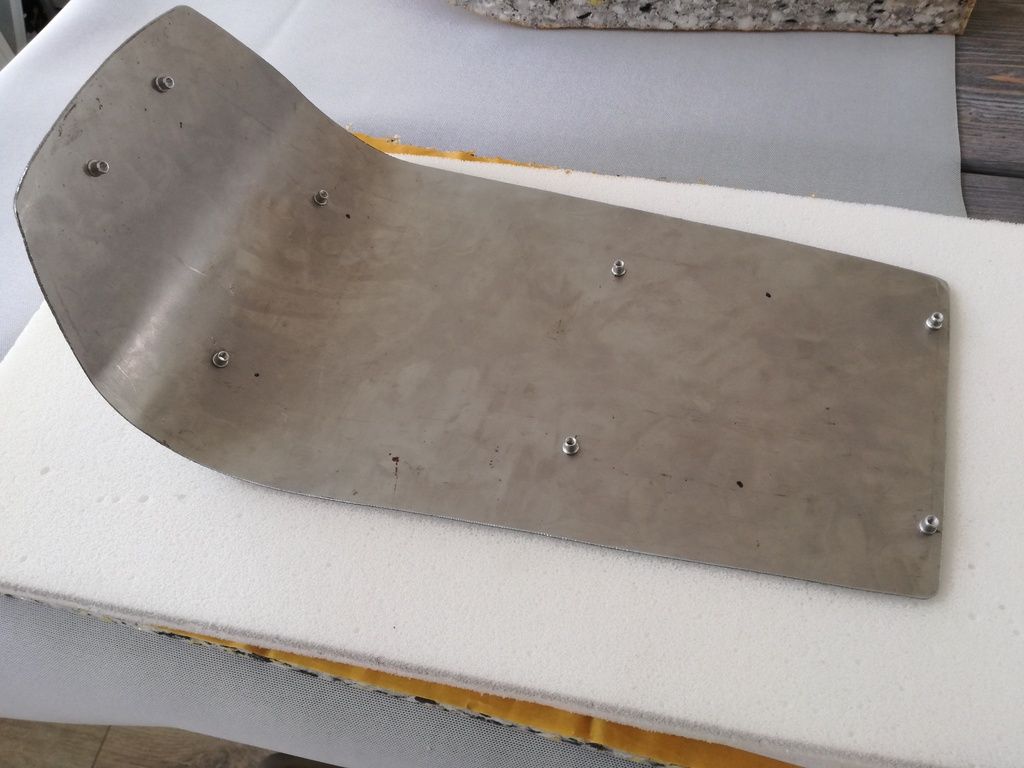
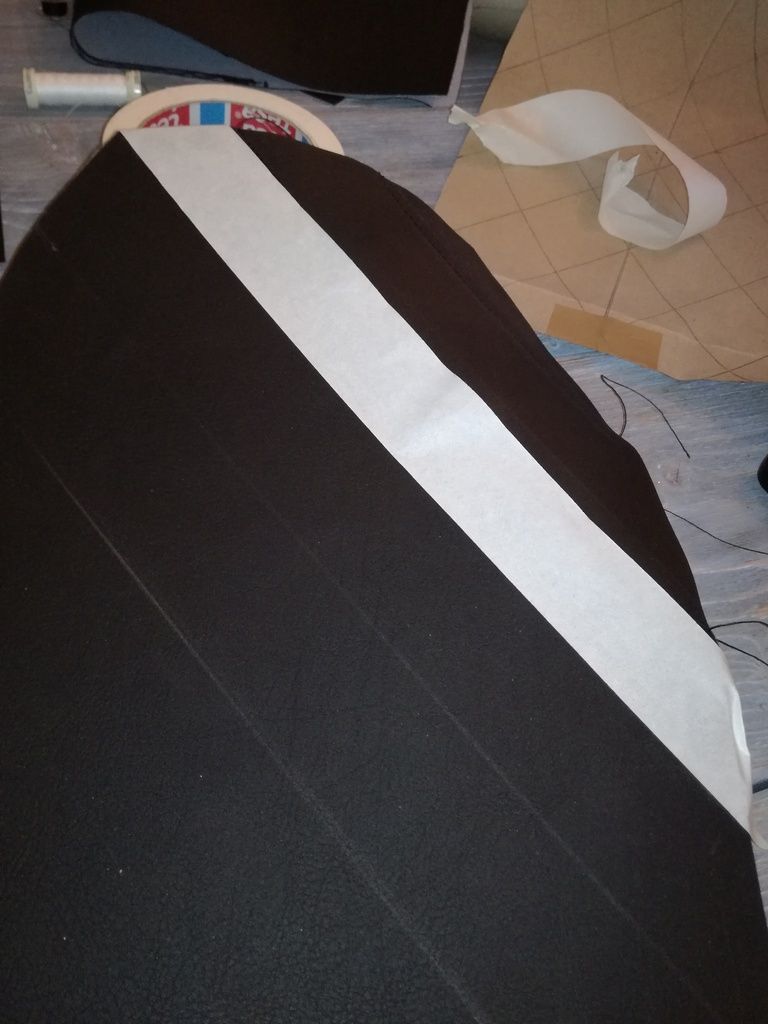
One tip I found on the interweb was to line the edge with a couple of layers of tape to avoid the thin metal cutting through the vinyl.
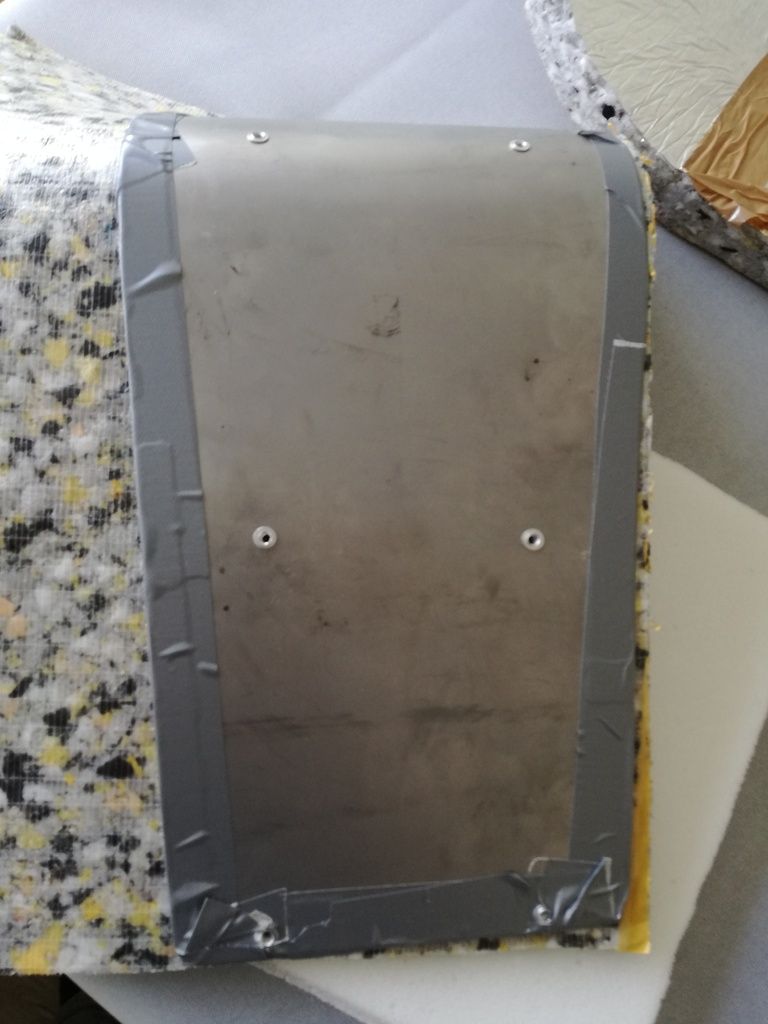
For padding i used 10mm of engineroom sound isolation and 20mm of medium foam. On top of this comes a thin layer of foam stitched to the vinyl. Tested a couple of variations and this gave the best comfort in a seat that will only be 30-40mm thick
 IMG_20170509_000020_zps2jktod3h by Lars Krogh-Stea, on Flickr
Borrowed my wife's sewing-machine today and made some test patches for the lining. Think I've found out how it's done, but it's a tedious process when one has only sewn half an apron in school 25 years ago
Last edited by LarsKroghStea; 01-29-2018, 04:15 PM.Leave a comment:


Leave a comment: