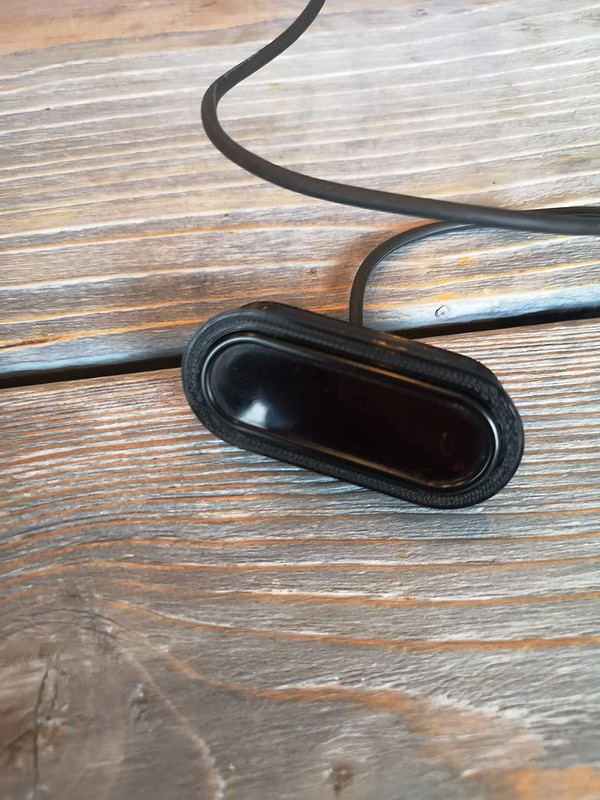

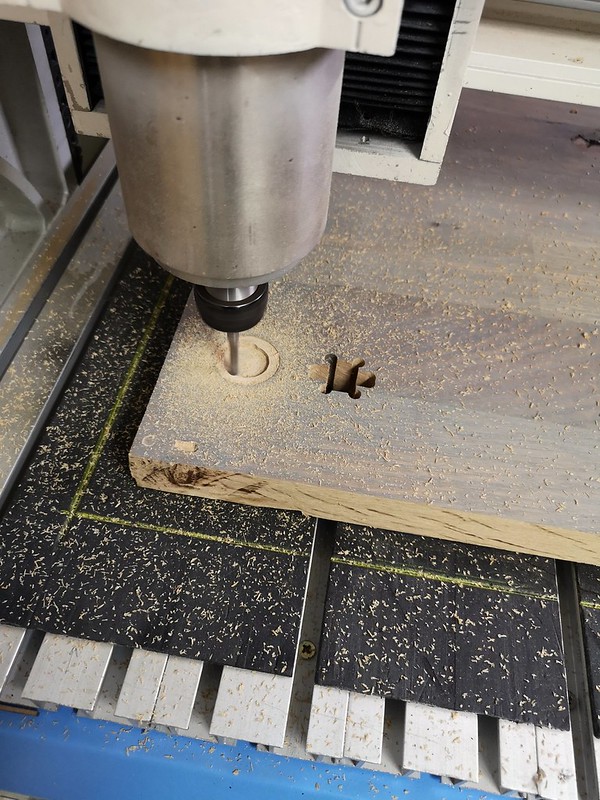
3D printing doesn't give a perfect surface. When the CNC-router is finished, I'll probably go back and recreate these parts in aluminum. Meanwhile it's a cheap and easy way to prototype and test parts

Required reading for all forum users!!!
Welcome!
Register to access the full functionality of the GSResources forum. Until you register and activate your account you will not have full forum access, nor will you be able to post or reply to messages.
A note to new registrants...
All new forum registrations must be activated via email before you have full access to the forum.
A Special Note about Email accounts!
DO NOT USE sbcglobal.net, att.net, bellsouth.net or email.com email addresses when registering for the forum! Email that our system sends out to these email servers is treated as SPAM and you will never receive your activation email, or any other email that our system may send out. Use an email address from gmail.com or some other email server.
A note to old forum members...
I receive numerous requests from people who can no longer log in because their accounts were deleted. As mentioned in the forum FAQ, user accounts are deleted if you haven't logged in for the past 6 months. If you can't log in, then create a new forum account. If you don't get an error message, then check your email account for an activation message. If you get a message stating that the email address is already in use, then your account still exists so follow the instructions in the forum FAQ for resetting your password.
Have you forgotten your password or have a new email address? Then read the forum FAQ for details on how to reset it.
Any email requests for "can't log in anymore" problems or "lost my password" problems will be deleted. Read the forum FAQ and follow the instructions there - that's what we have one for...
New users should be sure to read the FAQ as well as the posts in the Announcements forum. This will answer many of the questions you may have about how this forum works.
Before posting questions in the forums be sure to use the forum search function!!! Odds are your question has already been asked and answered before. And when posting, please make sure that you post to the correct forum.
Finally, be sure to check out BassCliff's website here. He has useful information that can't be found on this site. His welcome page containing useful GS information can be found here. Be sure to check it out!
If you are a returning visitor to the forum and can't log in using your old forum name and password, chances are your account is deleted. Just create a new forum account and you should be all set.


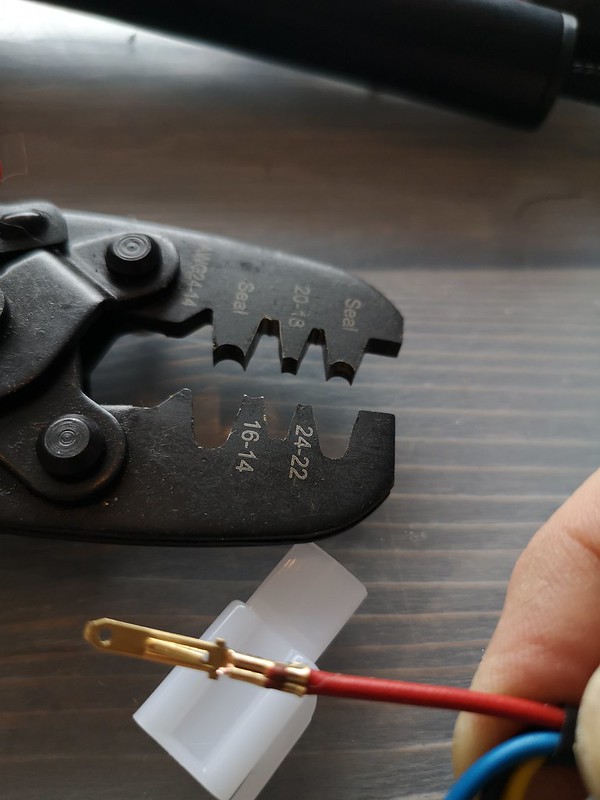


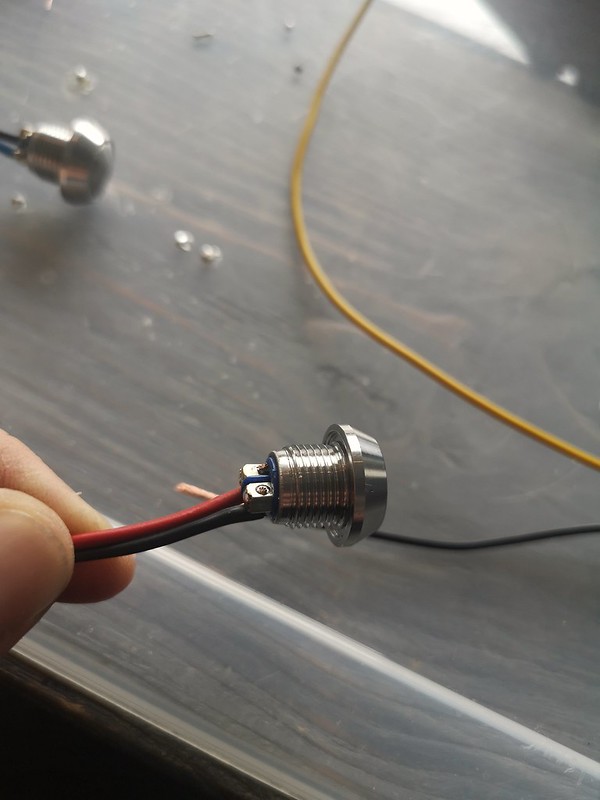
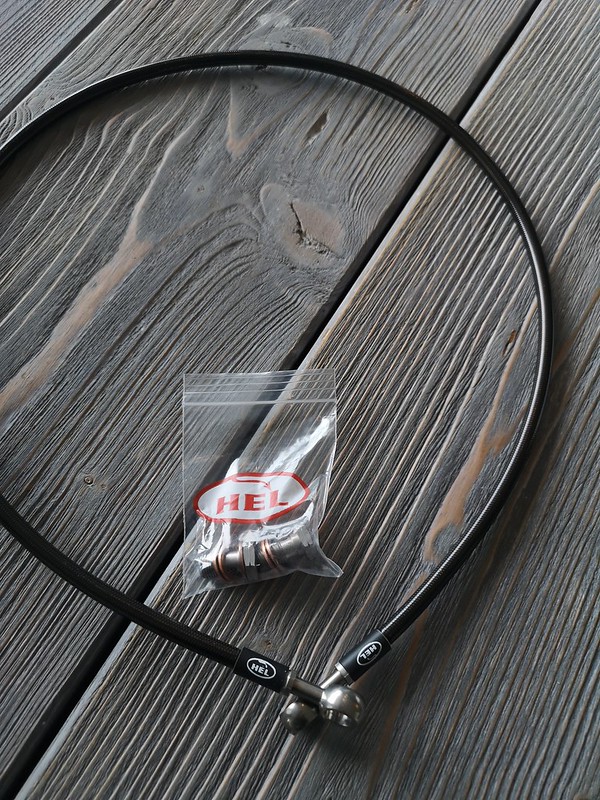


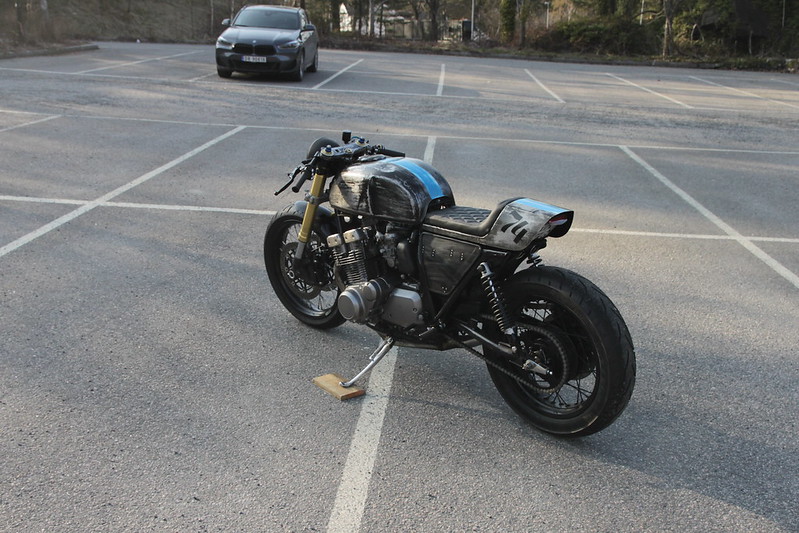
 What's left is (afaik); redo wires and cables, brake lines and pads up front, change rear brake reservoir and brakelines, speedosensor at rear disc, make the left footpeg on the lathe, make new support-rod for rear caliper, mount Motogadget Mini and gear-indicator in the triple, make gear lever plus connection rod, make brakcet for license plate and rear brake light, mount front indicators and some other minor stuff.. The list was longer than i thought..




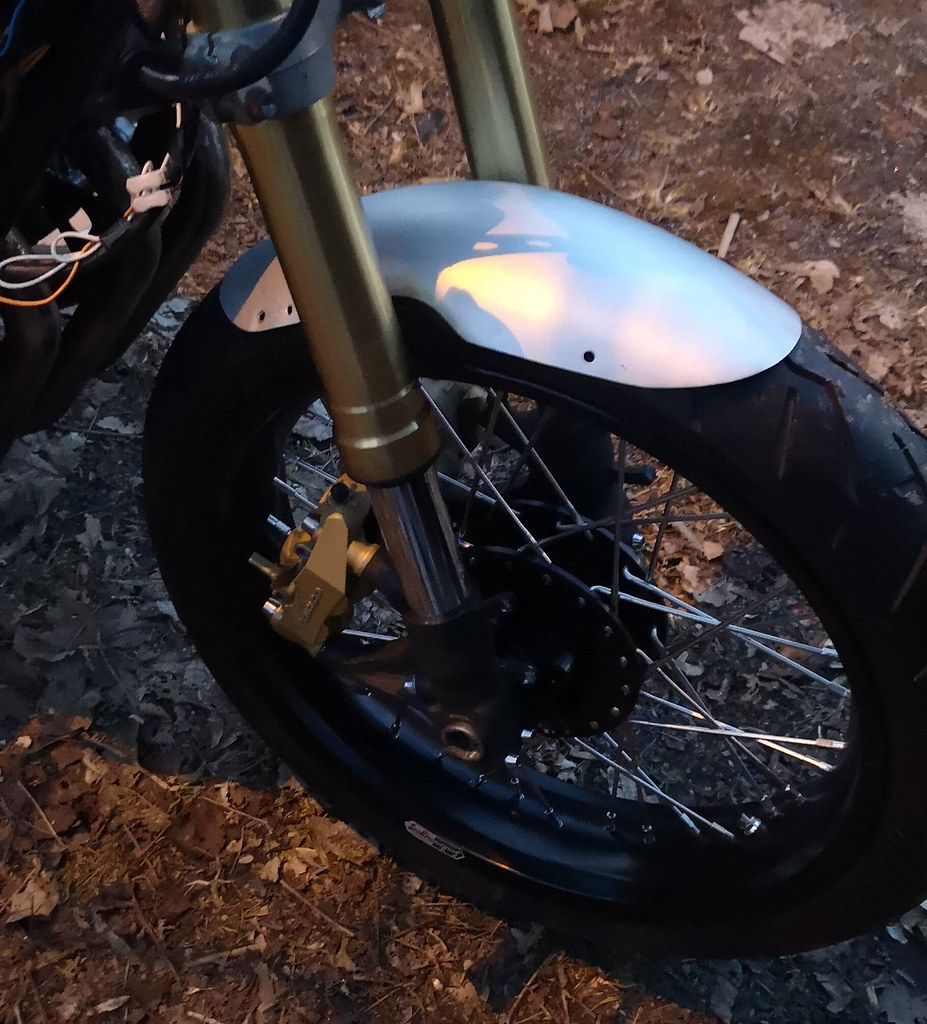
 ). It seems the fender will touch the lower clamp just before the tyre hits the exhaust. I need to set compression and preload so this doesn't happen, but I don't think it'll be a problem. I'll also hook up a GoPro for the first few rides to see how the fork behaves.
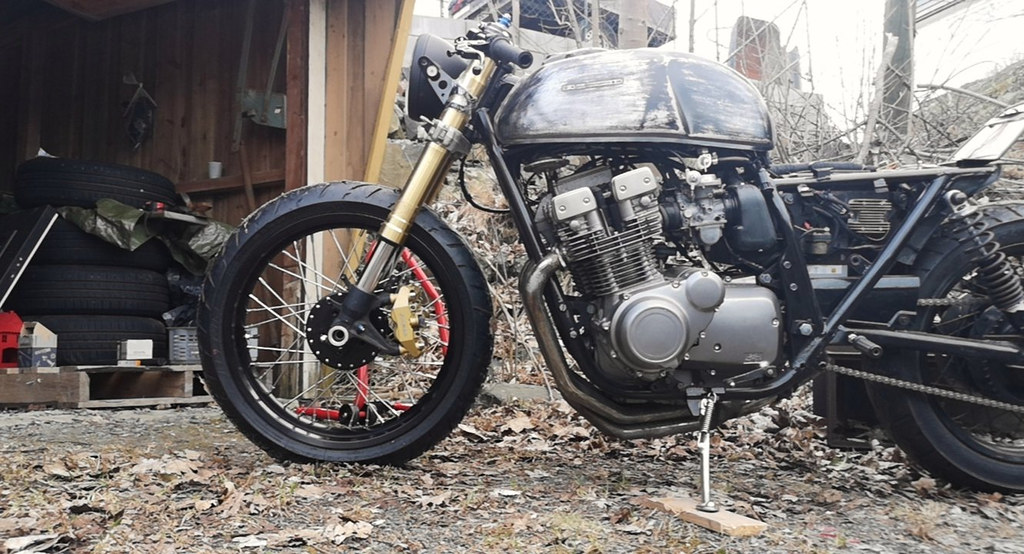

 I think I'm happy with the looks. I've been so afraid that something would be wrong with the front setup I've chosen. Either that the wheel would be too big, there would be too little ground clearance or that the wheel would be too close to the exhaust. The front is still incomplete, as it's missing fender, the headlight sits about 6-7cm too high, the brake rotors and brake lines are not there and so on. But I think the geometry is fine
  The gap between tire and exhaust is about 7cm. I think max travel for these forks are 12cm, but that's under really hard load. I'll drop the forks 12cm and measure the clearances.




.png)
Leave a comment: