• Required reading for all forum users!!!

    Welcome!
    Register to access the full functionality of the GSResources forum. Until you register and activate your account you will not have full forum access, nor will you be able to post or reply to messages.

    A note to new registrants...
    All new forum registrations must be activated via email before you have full access to the forum.

    A Special Note about Email accounts!
    DO NOT SIGN UP USING hotmail, outlook, gmx, sbcglobal, att, bellsouth or email.com. They delete our forum signup emails.

    A note to old forum members...
    I receive numerous requests from people who can no longer log in because their accounts were deleted. As mentioned in the forum FAQ, user accounts are deleted if you haven't logged in for the past 6 months. If you can't log in, then create a new forum account. If you don't get an error message, then check your email account for an activation message. If you get a message stating that the email address is already in use, then your account still exists so follow the instructions in the forum FAQ for resetting your password.

    Have you forgotten your password or have a new email address? Then read the forum FAQ for details on how to reset it.

    Any email requests for "can't log in anymore" problems or "lost my password" problems will be deleted. Read the forum FAQ and follow the instructions there - that's what we have one for...

  • Returning Visitors

    If you are a returning visitor who never received your confirmation email, then odds are your email provider is blockinig emails from our server. The only thing that can be done to get around this is you will have to try creating another forum account using an email address from another domain.

    If you are a returning visitor to the forum and can't log in using your old forum name and password but used to be able to then chances are your account is deleted. Purges of the databases are done regularly. You will have to create a new forum account and you should be all set.

1982 GS550M Katana Rebuild

  • Thread starter Thread starter mv577
  • Start date Start date
Moving on with the build the skeleton is beginning to take shape... To start I received my Hagon Shocks from Z1 Enterprises... Who, for what it's worth, has been great to deal with... Fast shipping and great communication... Anyway... Fancy box!!!


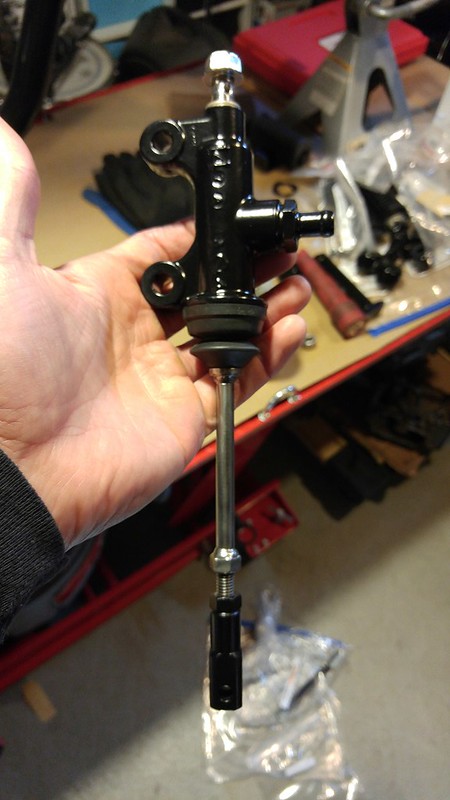
Getting these made it into "Suspension Day"!!!! I assembled the forks with new seals, O-rings, dust boots etc... I used 15w oil and filled to 7psi... I didn't get any picture of them going together but it wasn't pretty uneventful... I did get to make a tool though!!! (My nickname is Marty)


Forks ready for fluid...


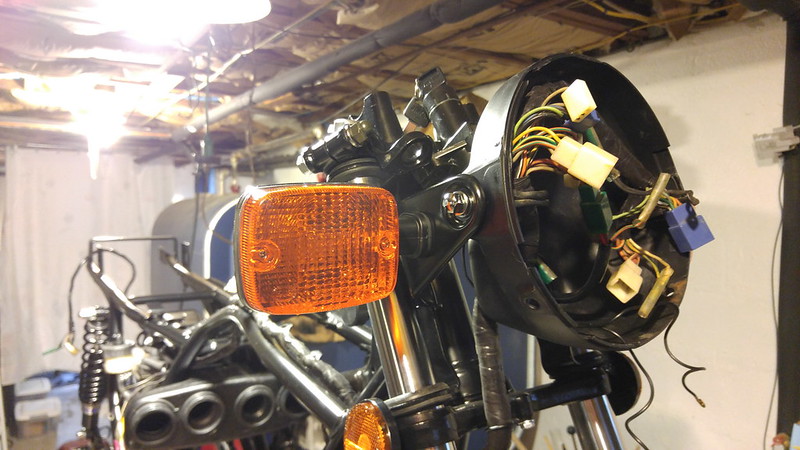
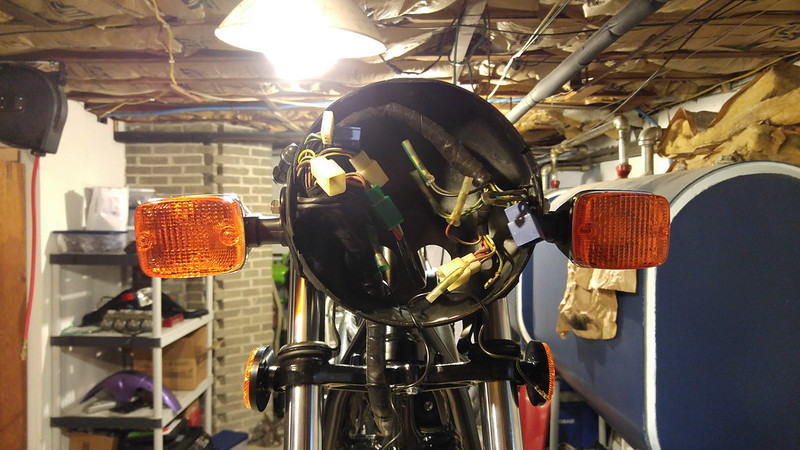
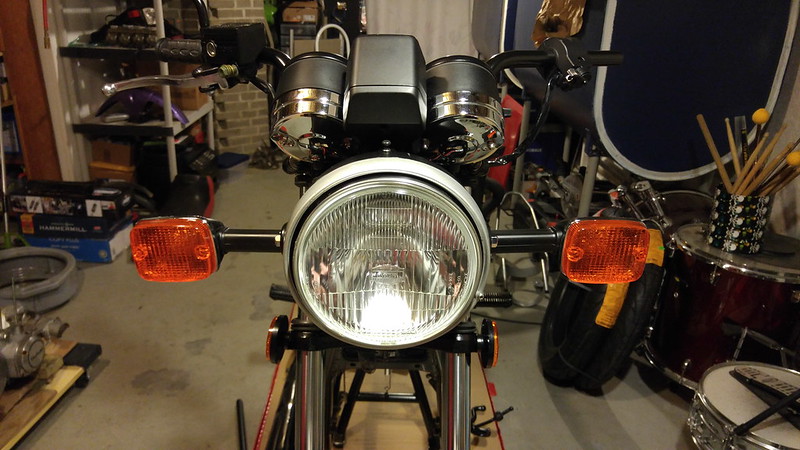
Forks installed with new rubber on the headlight brackets and new shiny bolts!


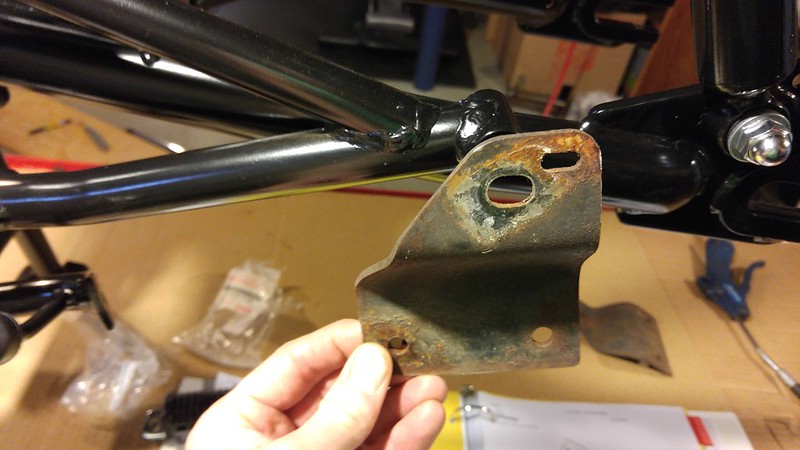
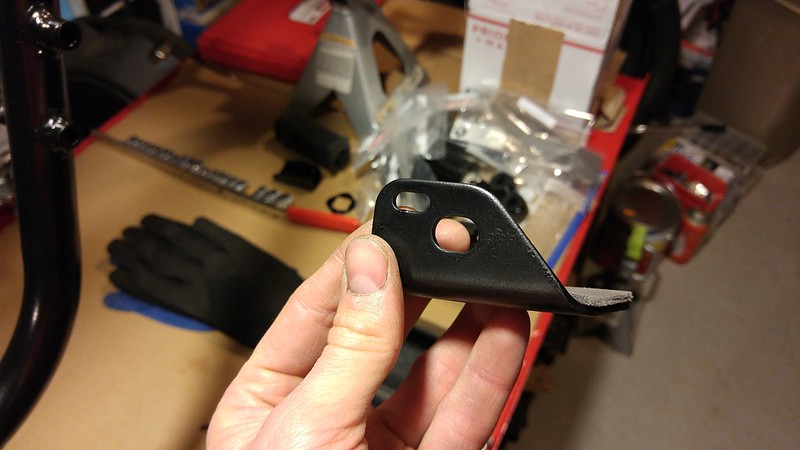
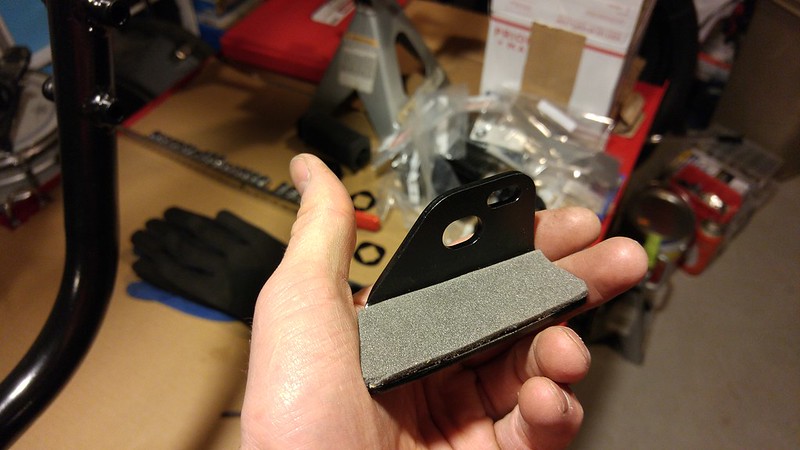
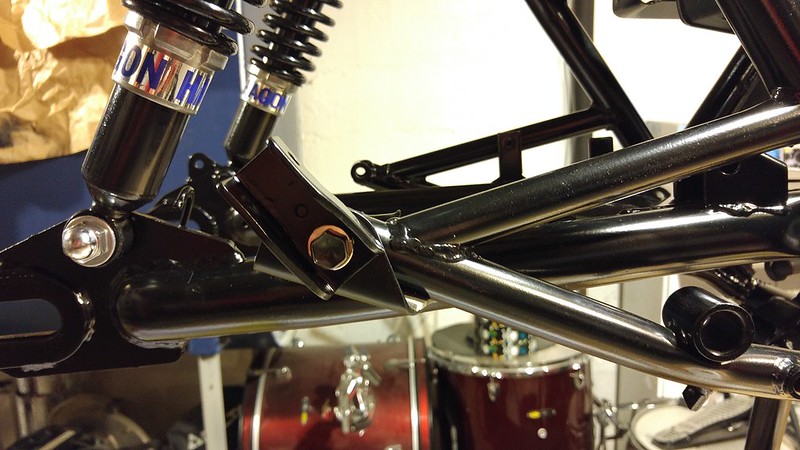
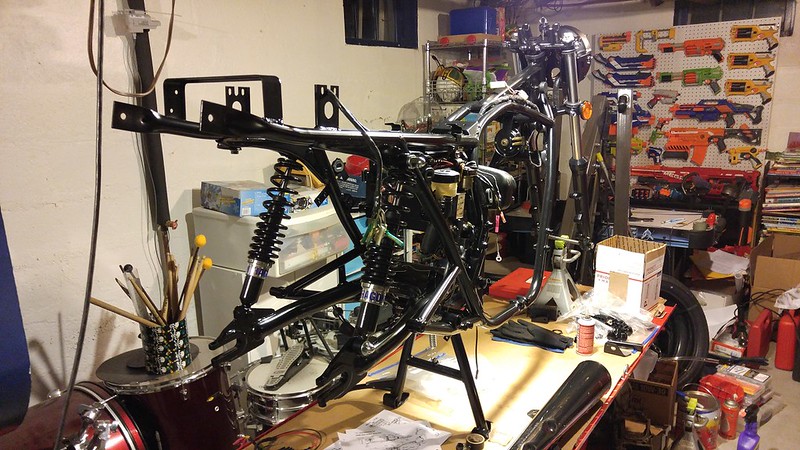
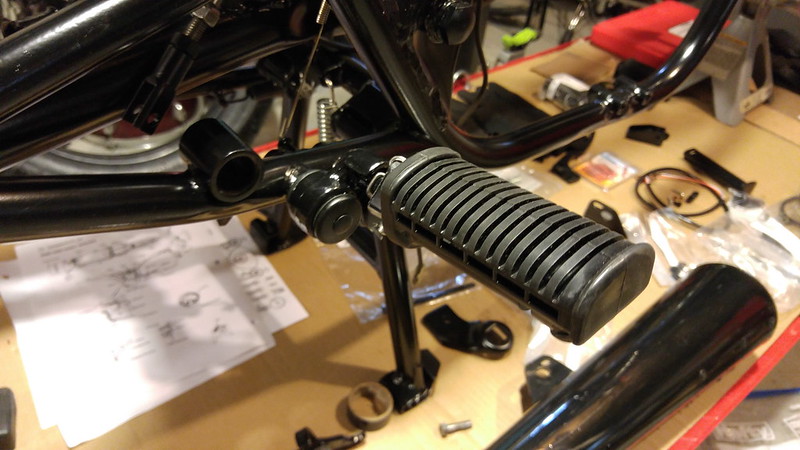
I then got to installing the swingarm and shocks... The tolerances were tight and I actually ended up having to wire wheel the powdercoat off of the shock mounts to get them to fit... I coated the mounts with grease to hopefully help protect the metal... it was painful taking the wheel to it... ugh..


The nuts are just on there hand tight as I have new hardware coming tomorrow... Oh and the grab handle was installed with new hardware as well!

When I torqued the swingarm pivot bolt I ended up messing up my nicely painted bolt... my OCD wasn't having it so I refinished it on the bike lol


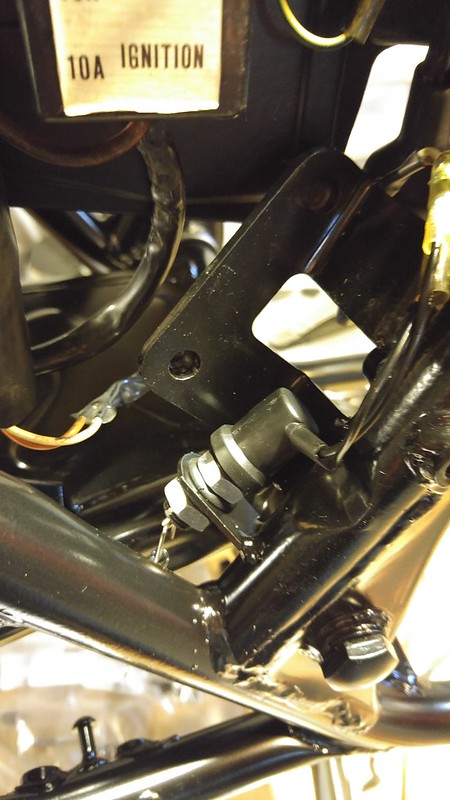
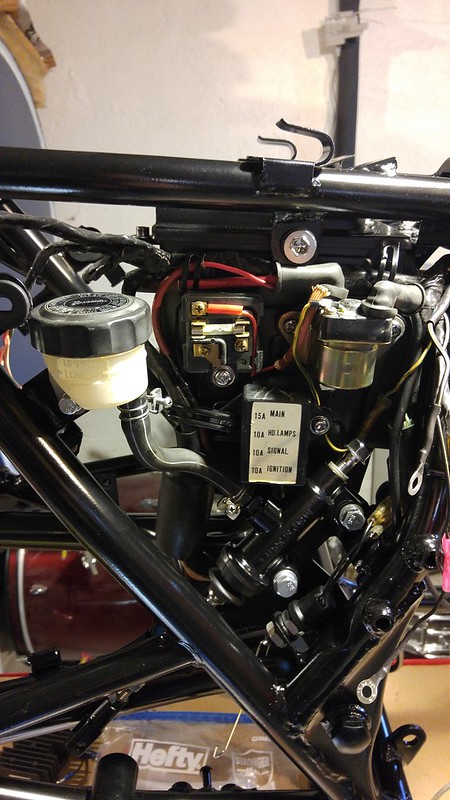
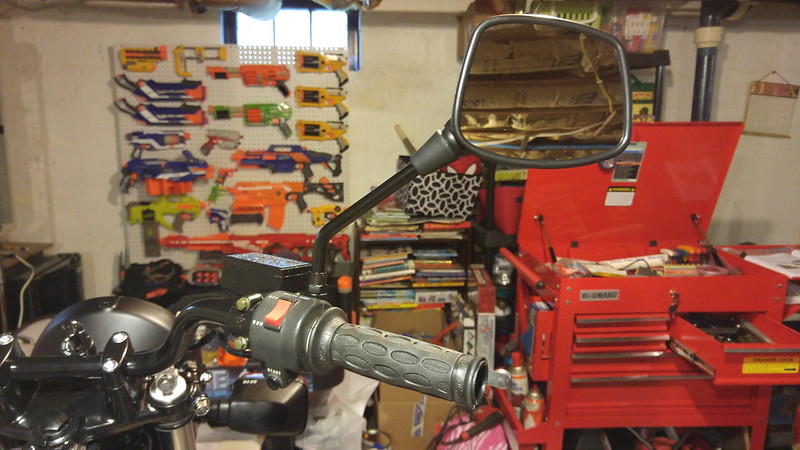
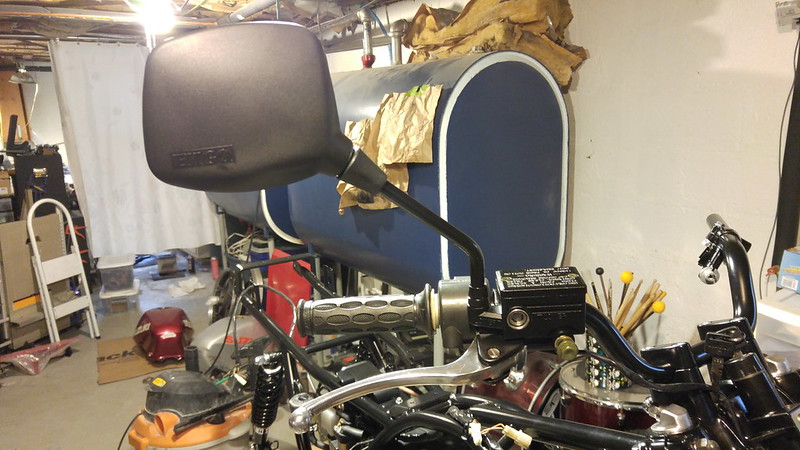
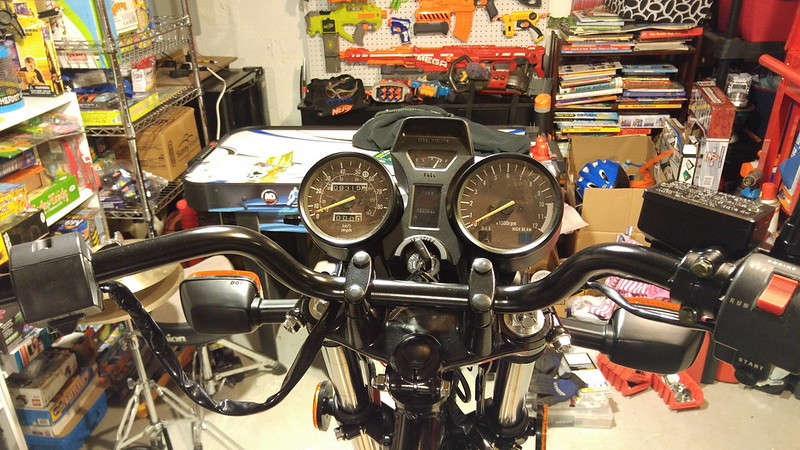
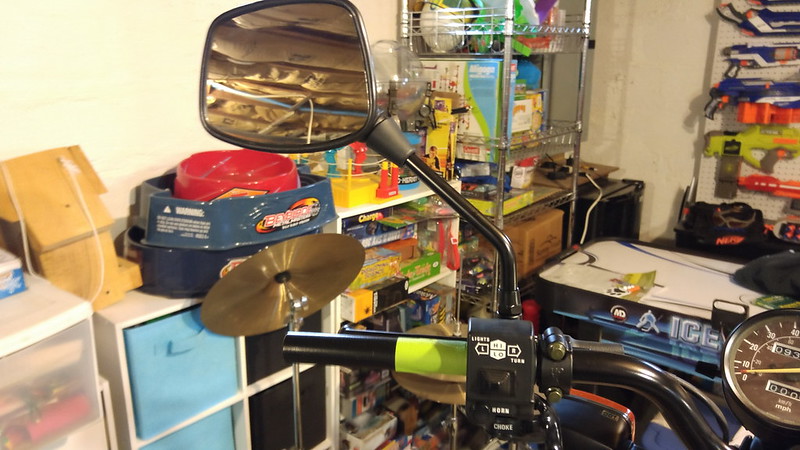
Starting to take shape!!! Ignition switch also thrown on there for the heck of it...

 
So that was yesterday... today I got to doing some refurbing of old parts... starting with the airbox I got from a salvage yard in the Netherlands...

Sorting out my pile of parts for the airbox


Degreased the plastic and throwing a coat of my trusty Dupli-color bumper and trim paint on it to dress it up...


Satin black on the airbox and cover... I know they were gloss but I like the satin so I went with that... also in the picture is the metal inner rear fender... I decided to put rubberized coating on the underside to help protect it...


Touched up the plastic battery box a bit too... not perfect but it will do...


Finished plastic...


Finished airbox...


Finished inner fender...

 
Freshened up airbox installed... new boot clamps and hardware... I still need a new filter element and to put the hoses on...


Cool shot ;)


and of course... as she sits now.... :)

 
Cool great build. There where good bikes, i used to race one back in the day......


Till i highsided it on a left hand sweeper, but then they upgraded me to a 750 Kat.

 
Thank you!!! If I could work on this everyday I would!!! It's addicting! :)

Same here. Every morning I'm out in the Shop. Retirement helps. :p

Subscribed. Great thread, beautiful bike.
 
Going great Mike, nice job.

One thing I will mention, it's a real pain in the arse to get the carbs fitted on these bikes. Not sure if you got new boots etc. or not, if so that will help but I found the airbox and plenum needed to be moved back as far as possible to get enough room to fit the carbs. Even then the plenum only goes back so far because it hits the frame. Think I even had to drop the rear inner fender for more space. Might want to consider that before building up too much around or behind the airbox.

Probably says somewhere in the thread but what version of Hagon shocks did you go with?

Can't wait to see it finished!
 
Going great Mike, nice job.

One thing I will mention, it's a real pain in the arse to get the carbs fitted on these bikes.

Do the same as i do with my 1000., loosen and/or remove most engine bolts and just tip the engine forward using the two bolts under the engine as balance points
 
Mike, this is a great thread to follow.
Your documentation is as good as the build itself.

Thank you Steve... I've been wanting to do a build for a long time... I've also enjoyed reading many other build threads... glad to be contributing one!
 
Cool great build. There where good bikes, i used to race one back in the day......


Till i highsided it on a left hand sweeper, but then they upgraded me to a 750 Kat.


This is awesome!!! I raced a Kawi EX500 in New Hampshire for a few years... Good times!! :)
 
Going great Mike, nice job.

One thing I will mention, it's a real pain in the arse to get the carbs fitted on these bikes. Not sure if you got new boots etc. or not, if so that will help but I found the airbox and plenum needed to be moved back as far as possible to get enough room to fit the carbs. Even then the plenum only goes back so far because it hits the frame. Think I even had to drop the rear inner fender for more space. Might want to consider that before building up too much around or behind the airbox.

Probably says somewhere in the thread but what version of Hagon shocks did you go with?

Can't wait to see it finished!

Thank you! I have read on here about the carbs being a PITA... I'm prepared for that... my motor won't be ready to go in for a while so meanwhile I want to build as much as I can... I put the airbox in so I could mount my electronics and sort the wiring etc... I'll just have to tackle the carbs when I get there ;)

As for the shocks... I'm not sure how many different versions there are but from what was on Z1 I went with these:

https://www.z1enterprises.com/product/HSSA-33013

I went with black springs, 23kg/129lbs per their guidelines...
 
Do the same as i do with my 1000., loosen and/or remove most engine bolts and just tip the engine forward using the two bolts under the engine as balance points

This idea has been noted!! Thank you!
 
My pile of new parts keep piling in... I am plugging away where I can...

First item tackled was the battery box... I basically ordered every part on the schematic other then the box itself... Before it was powder coated there were two foam strips on the bottom of the battery box... so of course I ordered replacements...


But when the parts came in they looked like this


Part number was right... but ummmm ya... so out came the utility knife... I cut two strips from one of the new parts... I guess I have some to spare!


Moving on here we have my new battery funnel I bought from the UK... as well as some new rubber and spacers... devils in the details!


And here it is installed... new strap and all!


Also in my most recent parts order were the new nuts and washers for the shocks... so I threw those on and tightened it all up... looking good I think!


Next up I started sorting out the electronics and wiring... I started by bolting up everything I had so far to help make sense of it in my mind... I'm a visual learner...


I rewrapped, cleaned and did a little repairing of the wire harness and started laying that out on the bike... luckily the service manual has a nice guide of where everything should be routed... I had bought a second harness for the bike but turned out that my original was in better shape after close inspection...


Loosely installed the headlight bucket to run the harness...


New horn of course...


OH! and reflectors came in!!! lol

 
and moving on I rebuilt the rear master cylinder... a simple yet vital element of the bike...


I also installed my new rear brake light switch... it's an aftermarket from Z1 which I bought because of cost... I ended up installing a rubber grommet in the hole from my trusty Harbor Freight grommet kit which made the install perfect... without it the switch was loose in the stock mount...


The wire leads off the switch were also too short... I ended up making a nice extension using the wire from my spare harness... came out nice... but I forgot to take a picture of it... I also used a new stock spring because I had already ordered it... :)

The master, switch and other electronics installed...

 
and last for tonight... I started looking into the exhaust... well first I thought I would throw on the rear foot pegs since I had all the parts come in... when I realized that the foot pegs use the bracket on the stock exhaust to keep from spinning... there's a slot in the bracket that a dimple on the foot peg bracket sits in to secure the peg... well my stock exhaust is junk so I had planned on a 4-1 aftermarket... but I want to retain the pegs...

My first thought was to modify the brackets from the stock exhaust, which I had kept when throwing out the exhaust...

Here's one of the brackets...


My thought was to cut it... bend it a bit... use some of the extra foam I have and have the bracket sit against the frame stopping the peg from spinning... this is what I came up with...


It didn't look too bad... but honestly in my mind it really took away from the way I wanted the bike restored... I was never crazy about the idea of aftermarket exhaust to begin with... it's just finding a good stock set is next to impossible... well in the US anyway... long story short... I scraped that idea... and am spending a butt load of money getting NOS exhaust from the UK lol... my left pipe came today!


Light pitting... but in great shape... I started cleaning it up with steal wool... I'll put some real time into it and I think it will look great... I've found a right side and am just waiting to finalize the sale (Seller is away)... hopefully I can grab that next week!!!

For a center section I had already bought a used piece from a salvage yard in Washington State... I think it will clean up enough to use... since it's not as visible as the side pipes... Here was about 30 seconds with the steal wool... already looking better... elbow grease to the rescue soon there!


Another shot of the NOS pipe...


and of course... as she sits now :)

 
Last edited:
So it's been almost a year since I last posted... I wish I could say I have got a lot done but unfortunately the project had to be pushed to the side for a while... I'm just now getting back into it... Toughest thing is to remember what I have already, where I was, how things go together etc... It was easy when I was working on it everyday... now not so much...

So I'll start with some pictures I did take last year but didn't post...


Front turn signals installed...


Mirrors installed...


Front footpegs installed...


Assembling the gauges...


Headlight and gauges installed...


Gauges installed...


Left hand controls and mirror...

I have yet to put my motor back together although I have had the head and cylinders back from the engine shop for a long time... that is my most mounting challenge, mentally anyway... I bought an engine stand to help facilitate assembling and finishing the engine...


Trying to clean it up...


Pistons are looking new!!!
 
Last edited:
Back
Top