• Required reading for all forum users!!!

    Welcome!
    Register to access the full functionality of the GSResources forum. Until you register and activate your account you will not have full forum access, nor will you be able to post or reply to messages.

    A note to new registrants...
    All new forum registrations must be activated via email before you have full access to the forum.

    A Special Note about Email accounts!
    DO NOT SIGN UP USING hotmail, outlook, gmx, sbcglobal, att, bellsouth or email.com. They delete our forum signup emails.

    A note to old forum members...
    I receive numerous requests from people who can no longer log in because their accounts were deleted. As mentioned in the forum FAQ, user accounts are deleted if you haven't logged in for the past 6 months. If you can't log in, then create a new forum account. If you don't get an error message, then check your email account for an activation message. If you get a message stating that the email address is already in use, then your account still exists so follow the instructions in the forum FAQ for resetting your password.

    Have you forgotten your password or have a new email address? Then read the forum FAQ for details on how to reset it.

    Any email requests for "can't log in anymore" problems or "lost my password" problems will be deleted. Read the forum FAQ and follow the instructions there - that's what we have one for...

  • Returning Visitors

    If you are a returning visitor who never received your confirmation email, then odds are your email provider is blockinig emails from our server. The only thing that can be done to get around this is you will have to try creating another forum account using an email address from another domain.

    If you are a returning visitor to the forum and can't log in using your old forum name and password but used to be able to then chances are your account is deleted. Purges of the databases are done regularly. You will have to create a new forum account and you should be all set.

[1982 GS750T] Pilot Screw Adjustment and Vacuum Sync Confusion...

SamLack99

Forum Apprentice
Super Site Supporter
Past Site Supporter
Hi all,

I've been busy confusing myself with information overload.

And I'm hoping you can help me to find a clear path through it.

I followed:

John Bloemer's - Carburetor Clean & Repair Pictorial
Ed Ness's - CV Carburetor Rebuild Tutorial

Kudos and gratitude to you both.

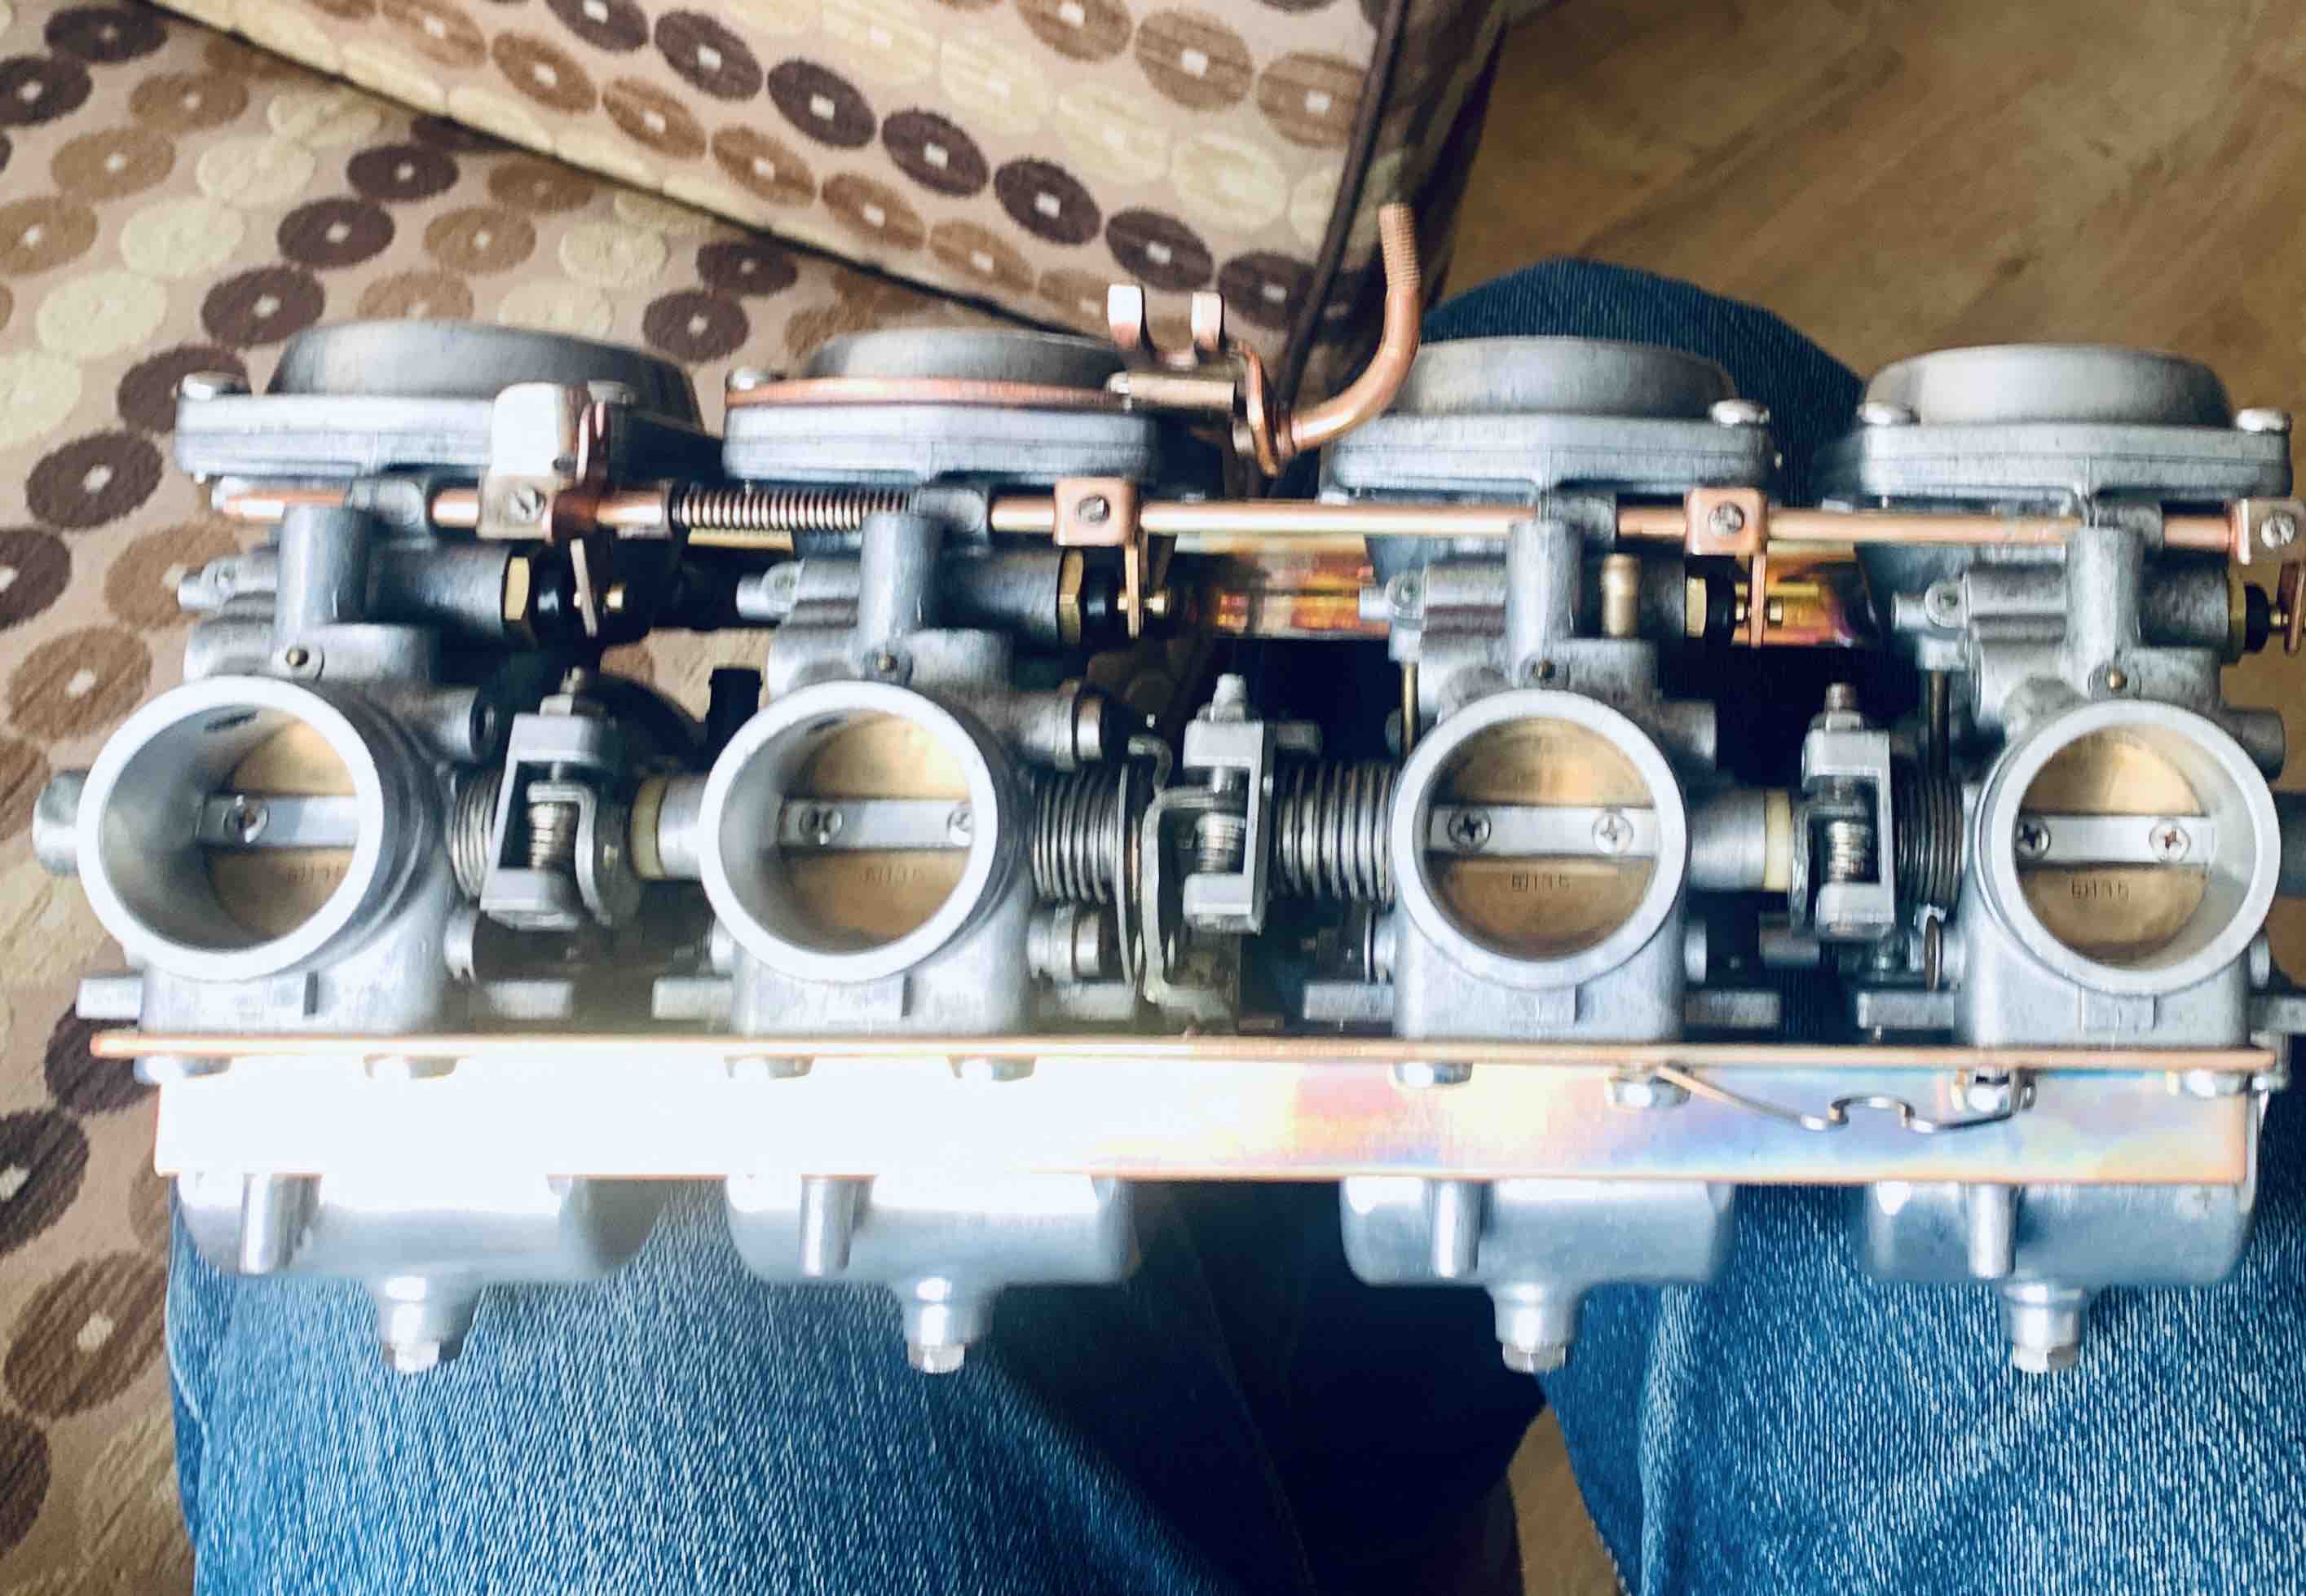
My carbs are now cleaned, checked, bench sync'd and float levels are validated and correct.

I even had a go at Zinc Plating the bits that rusted...

11-suzy-carbs.jpg


My confusion is with regards adjusting the pilot screws and vacuuming syncing the carbs on the bike.

Which do I do first?

I've currently managed to filter my overload down to the following information:

From - Mikuni BS-CV Carburetor Rebuild Tutorial :
  • Fine tune the carbs (engine fully warmed up and idling) by adjust the pilot screws in roughly equal amounts until the highest idle speed is achieved. If the engine speed doesn’t respond to this tweak, leave them at 2.5 turns.
  • If the engine stumbles just off idle, try opening the pilot screws another 1⁄2 turn and try again. The maximum number of open turns is four, otherwise you should get larger pilot jets.
And:

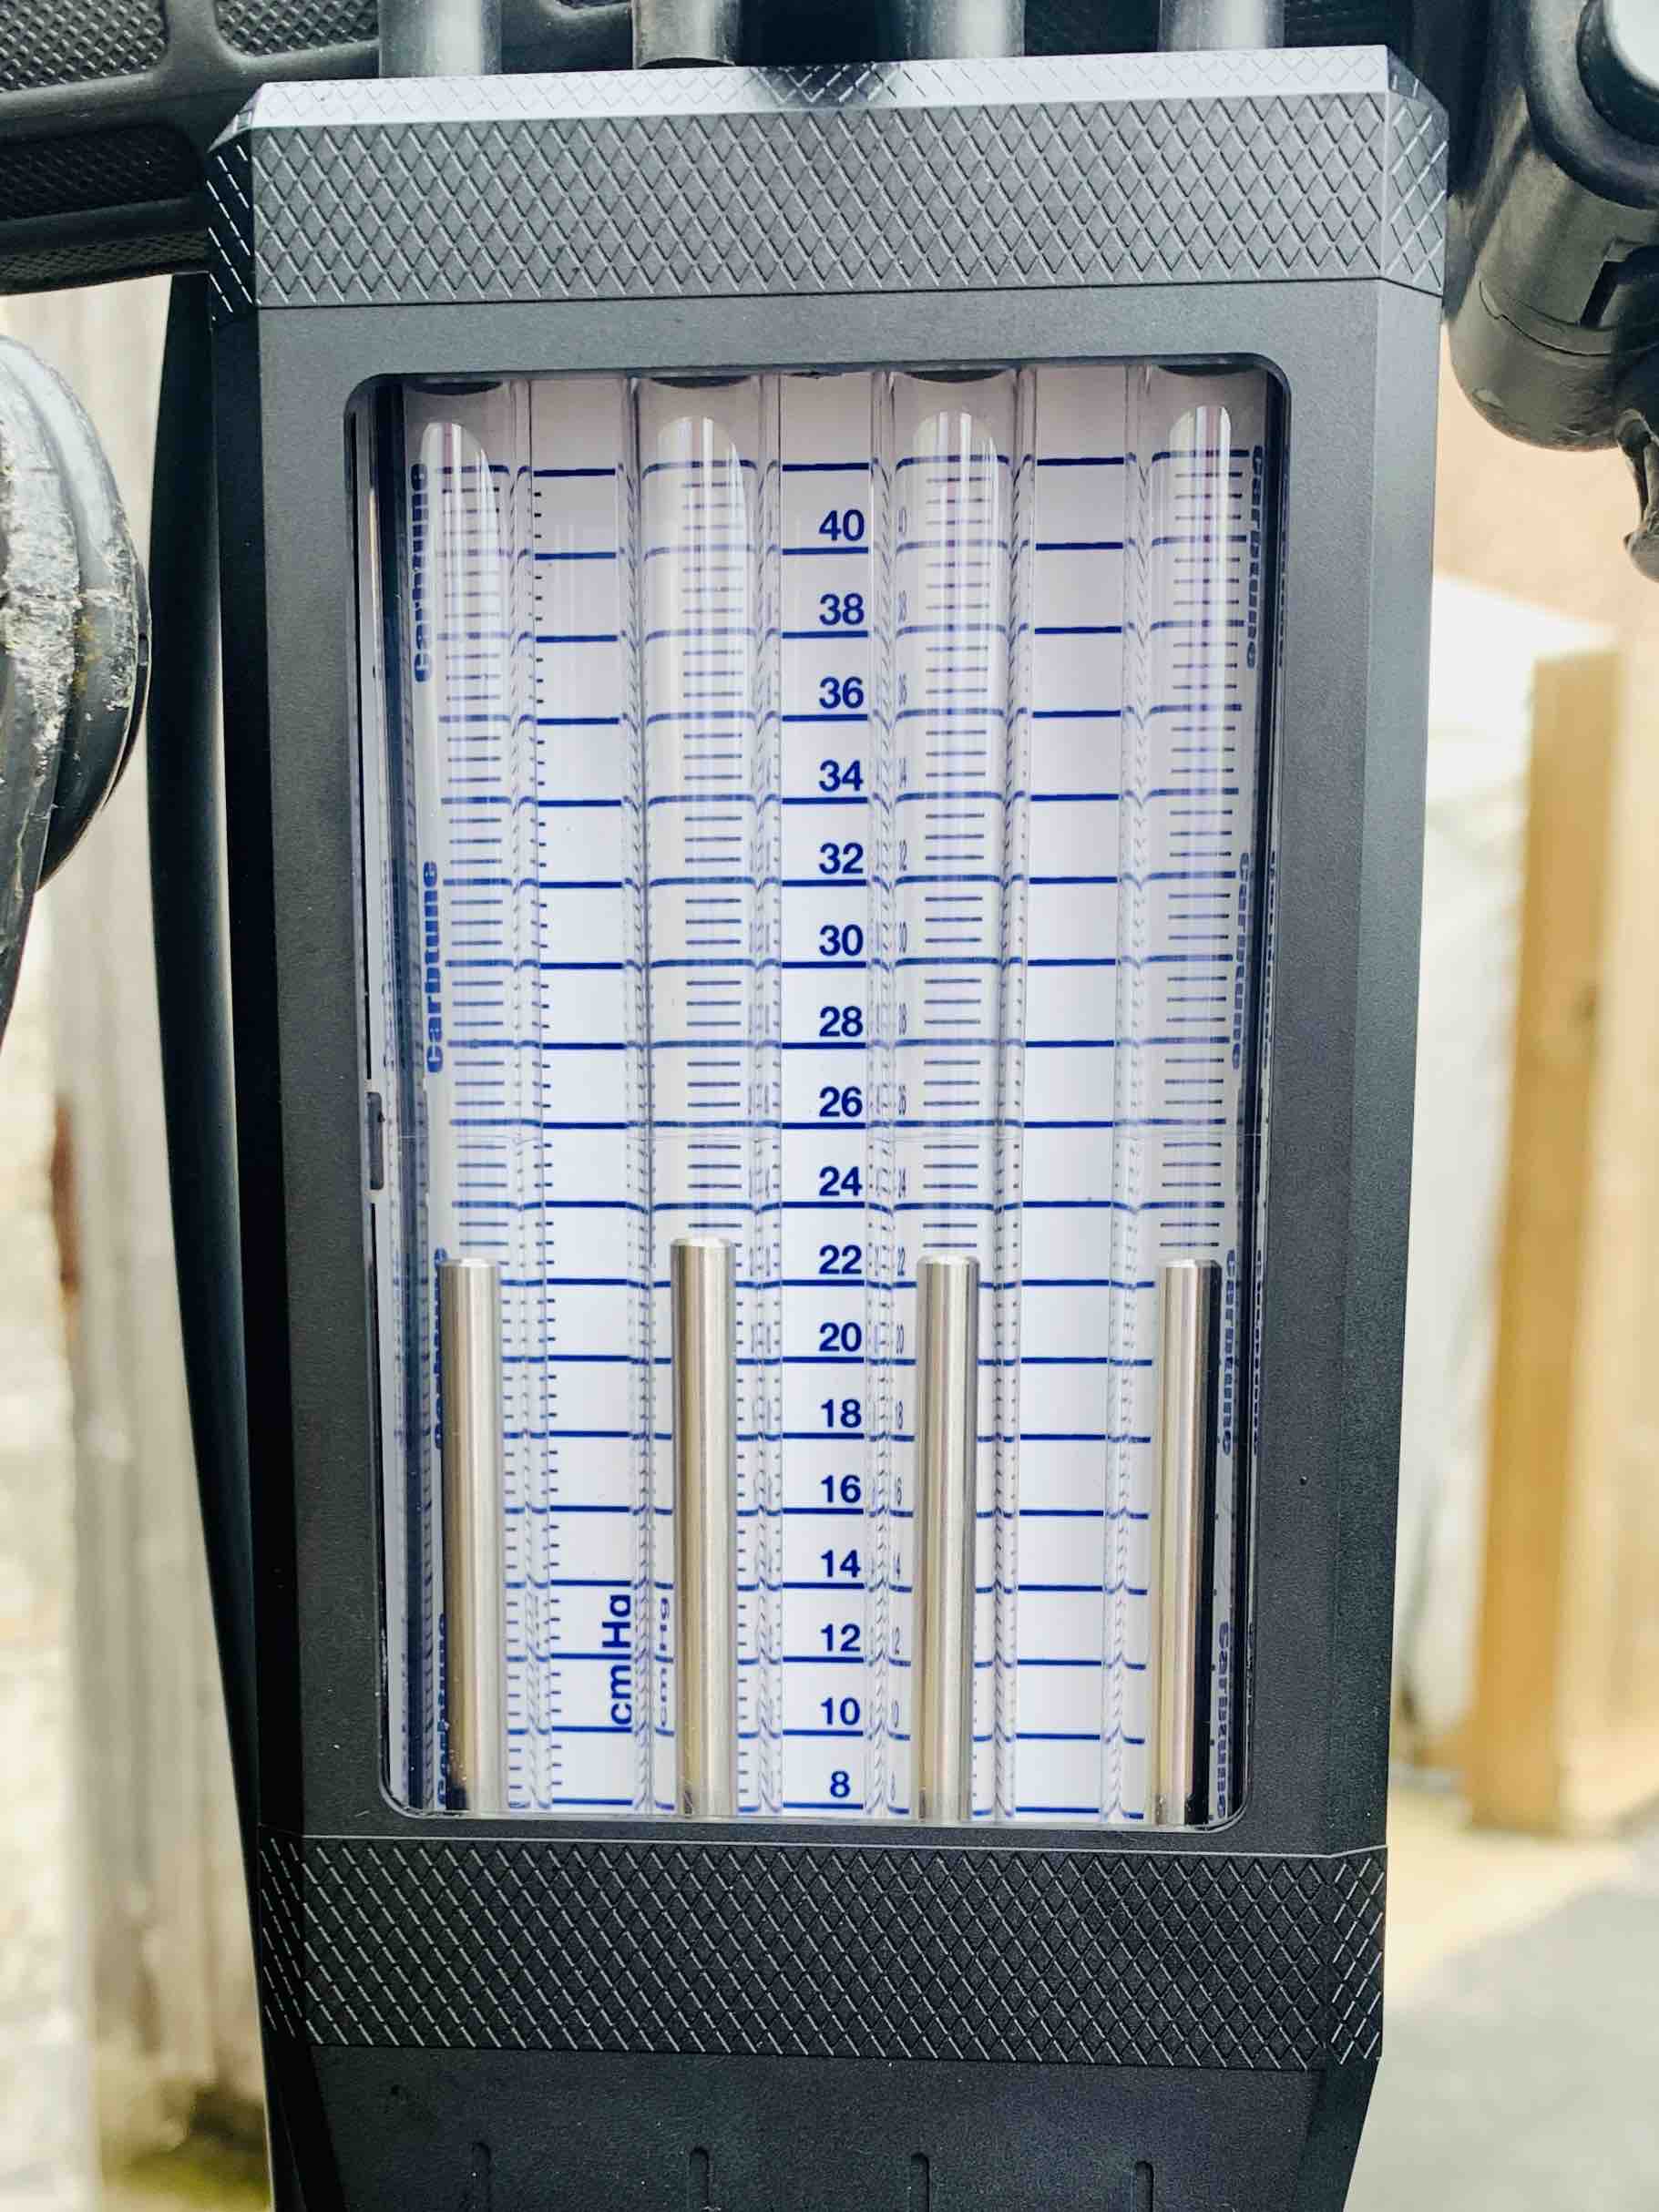
From Synchronize Carbs Using Morgan Carbtune PDF Carb-balance.pdf (page 4):

"You also see the idle mixture screw with the cap removed. Use the “highest idle method” to adjust these screws."

Visiting the link in the PDF takes me here:


Highest Idle method

Adjusting Idle Mixture, Using the Highest RPM Method
(by Mr. psyguy)
  1. Take off the tank, set up some form of remote fuel supply.
  2. Set the idle mixture screws at 2 turns out.
  3. Warm up the engine and let it run.
  4. Adjust the idle to approx. 900 rpm.
  5. SLOWLY turn the screw at carb #1 in - at some point, the rpm are going to start dropping and the engine won't run as smoothly.
  6. Start turning the screw back out until you get the highest rpm and a smoother sound from the engine.
  7. At some point, turning the screw out further won't make any difference (and even further out may again take away the smoothness and the rpm).
  8. You want your screw turned IN as much as possible without affecting the rpm/smoothness.
  9. Re-adjust the idle to 900 rpm.
  10. Stop the engine to let it cool down a bit or place a big fan in front of the engine and do this while the outside air is cooler (morning/winter).
  11. Proceed with carb #2.
  12. Repeat steps 4 through 10, as necessary, for all carburetors.
  13. When complete, re-adjust the idle knob for the correct rpm as per your factory manual (usually 1050 rpm +/-100 rpm). In any case, do not idle below 900 rpm as this may result in insufficient oil flow.
SO...

...Can someone with experience please confirm the following sequence:
  1. Fit the clean carbs to my bike
  2. Proceed with the Highest Idle method
  3. Follow with the Synchronize Carbs Using Morgan Carbtune PDF?
Does that sound like a solid plan?

Thank you.

PS: I don't have a Colourtune - sparkplug with a view =)

​
 
I think I might have answered my own question.

ON page 45 of the Clymer Manual:


Carburetor Adjustments

Note: Carburetors on models manufactured after January 1, 1978, are flow tested and preset at the factory for maximum performance within regulations set by the EPA. Under no circumstances should the carburetors be modified or the air screws adjusted. Heavy fines are imposed for such violations.

All other tune-up procedures must be carried out before carburetors can be adjusted effectively.
  1. Start and warm up engine. Turn throttle stop screw until the engine idles between 1,000 and 1,200 rpm.
  2. ON models manufactured before January 1, 1978, perform the following:
a) Screw in air screws on each carburetor until it bottoms out. Be careful not to overtighten and damage the screw. Back each screw out 1 1/4 turns. This is the basic setting.
b) Gradually adjust each air screw for maximum engine rpm. This should be between 1 and 2 turns open.
c.) Reset idle speed to 1,000 to 1,200 rpm.​

The next section is carburetor balancing (synchronization) using a manometer.

Because the cap covering the airscrew has been removed (for cleaning purposes), I'm going to follow the instructions as if I had pre January 1st 1978 carbs.

But starting from two turns out.

So I'm going to follow this order to refit my clean carbs:

1. Set idle to 1000 - 1200 rpm
2. Highest idle
3. Vacuum Sync using Morgan Carbtune.

That's my plan...

...I'll let you know how it goes.
 
Experiment some, and come back and tell us your results. My guess, the vacuum won't change from pilot screw adjustment. Regarding the sync rpm, I lift the rpm a little before doing sync. And put a fan in front of the engine.
 
Experiment some, and come back and tell us your results. My guess, the vacuum won't change from pilot screw adjustment. Regarding the sync rpm, I lift the rpm a little before doing sync. And put a fan in front of the engine.

Thanks Nessim.

Still trying to find a definitive answer to the question:

Vacuum sync carbs THEN adjust air/fuel screws?
Adjust air/fuel screws THEN Vacuum sync carbs?

Or:

Adjust air/fuel idle mix and vacuum sync carbs at the same time?

i.e. Best idle on carb #3
Then Best idle on carb #2 and sync to carb 3
Then Best idle on carb #1 and sync to carb 2
Then Best idle on carb #4 and sync to carb 3

Tomorrow (all being well) I will try doing air/fuel idle mix and vacuum sync at the same time.

And let you know how it goes =)
 
Here’s my set-up.

carb-sync01.jpg


And here’s the process I followed.
  1. Set up petrol IV feed
  2. Block vacuum pipe.
  3. Start bike.
  4. Quickly adjust idle speed adjustment knob to compensate for bench sync.
  5. Wait until engine is warm enough to run without choke.
  6. Set highest RPM for air/fuel screws
  7. Sweet spot today = 3 turns out
  8. Let bike cool down (fan used slightly better than nothing)
  9. Set up Carbtune for vacuum syncing.
  10. Set idle speed adjustment knob so idle is 2000 RPM.
  11. Sync carb 2 to carb 3.
  12. Sync carb 1 to carb 2
  13. Sync carb 4 to carb 3
Sounds easy in theory. In practice? Woo-wee! Maybe it’s easier with the special tool (long screwdriver with hex socket in the bottom. Using a screw driver and spanner resulted in getting the carbs balanced, then everything went sideways when trying to tighten down the lock nut.

In the end, good enough was good enough.

Here’s my final score.

carb-sync02.jpg


Unfortunately rain stopped play. It’s too wet to put Suzy's petrol tank back on and go for a test ride.

Hopefully tomorrow.
 
Boo!

From idle to 1/4 throttle, Suzy is a dream. She pulls like a train. Handles like a modern bike. No lurching, no struggling. Just effortless.

A dream of a bike.

But then, as I try to continue accelerating from 1/4 throttle onwards, she bogs, loses power, struggles. If I keep the throttle turning, she sometimes gets through, and then it's like being strapped to a rocket.

Guess it's time to look at reducing the thickness of the ring on top of the needles...

I'll start a new post to share my adventures...
 
With the air filter pods it's going to be too lean. That's why your idle mixture screws have to be 3 turns out.
 
With the air filter pods it's going to be too lean. That's why your idle mixture screws have to be 3 turns out.

I'd hoped fitting air correctors at the 4 O'clock position would have solved this. I've taken 10 percent of the needle ring thickness off and will test again tomorrow.
 
I prefer a sligtly modified sequence.

Set mixture screws between 2 and 2 1/2 turns out from LIGHTLY seated
Warm the bike
Do the carb sync
Fine tune the mixtures.

Since turning the mixture screws will temporarily reduce the power from that cylinder, it's good to start with all cylinders pulling somewhat equally.
I leave the vacuum gauges connected while doing the mixture tuning. It's easy to see a drop in vacuum, but you should see it on ALL cylinders, due to the engine slowing down
It's also easier to see whether you need to fine-tune the sync before you disconnect them.

A tip to richen up your needles: you have a thick plastic washer at the top of the circlip and a thin metal washer below it. Swap the two washers. That will raise the needle about the equvalent of 1.5 notches, if your needles had notches.

.
 
A tip to richen up your needles: you have a thick plastic washer at the top of the circlip and a thin metal washer below it. Swap the two washers. That will raise the needle about the equvalent of 1.5 notches, if your needles had notches.

.

That right there is genius. I WISH I'd thought of that before spending two days reducing the plastic washer down in 10% increments.

Still, it has given me plenty of practice taking the fuel tank on and off =)


Thanks Steve.
 
I remember, back in the day, Radio Shack had a pack of washers, same ID & OD as that plastic shim. We'd just stack those washers up & down to get the height we wanted. Worked great.
 
Back
Top