D
Devon
Guest
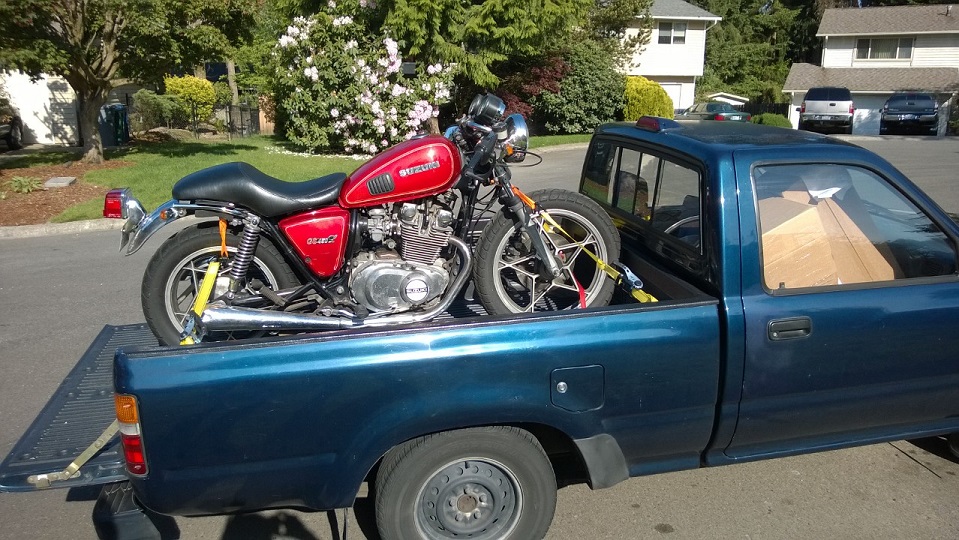
Hi guys, thought this might be of interest to the folks on here. I picked up this 1980 450 L from my cousin about 4 years ago when they moved out of state. When he bought the bike it was all stock, hideous bars, seat, etc. He had a custom seat made for the factory mounts and fitted clubman bars. I spent the first year I had it reading everything I could on here and got caught up on the basic maintenance:
GSR approved carb strip & dip with cycleorings
New tires
Valve adjustment
Wiring clean-up
Coil relay mod
Shindengen R/R
New RK X-Ring chain and sprockets
At that point, I just rode it as-is for a couple years, enjoying it for what it was, but always anxious to remove the last bits of 'L-ness.'
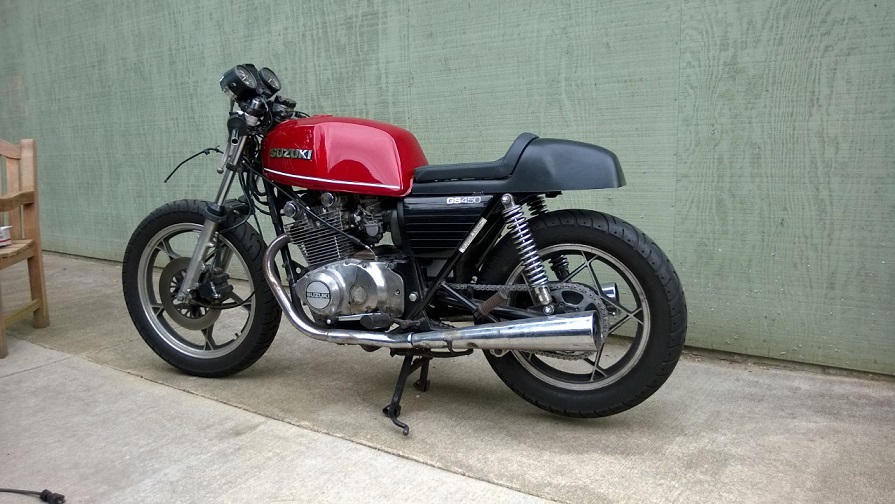
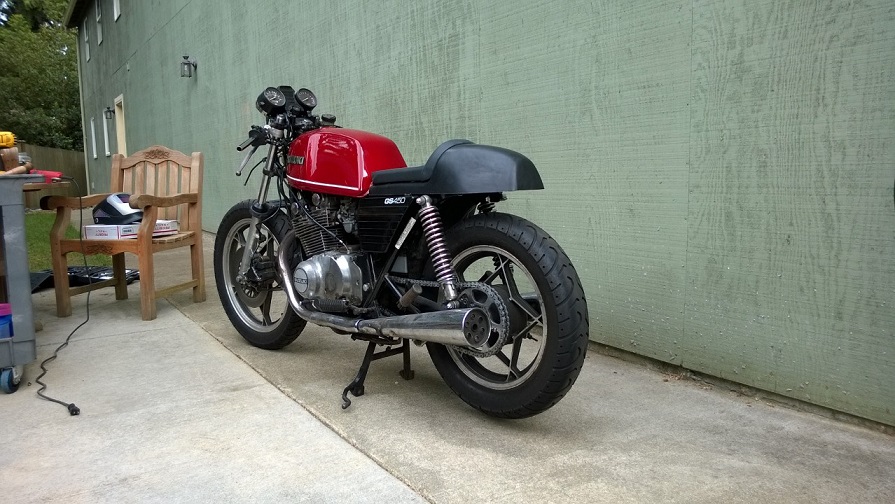
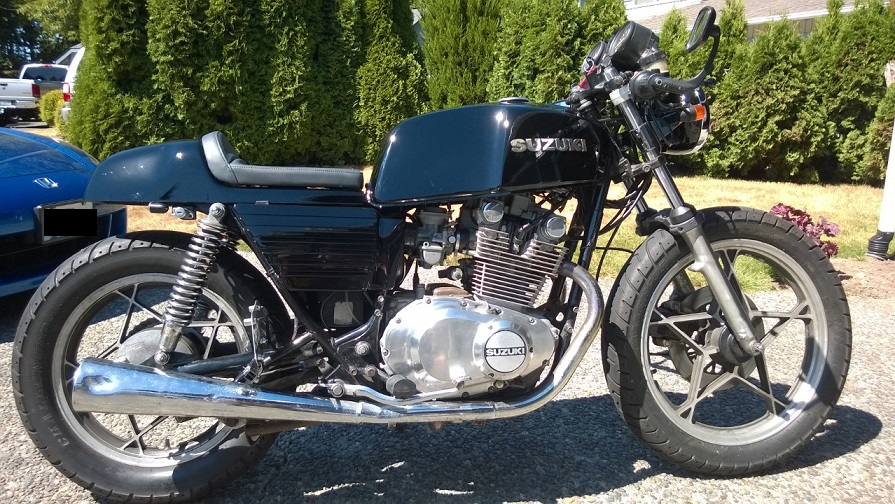
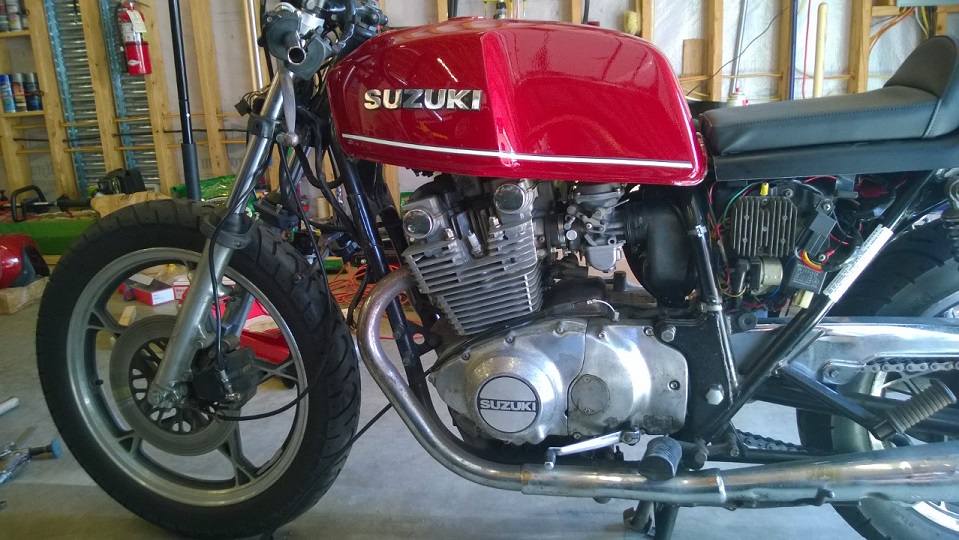
Well, I decided this was the year to get it done. I Bought a nice 450 S tank with great factory paint from that auction site a few weeks back, and thanks to the help of a good friend, got to work on the continued "Un-L-ing" of my bike.
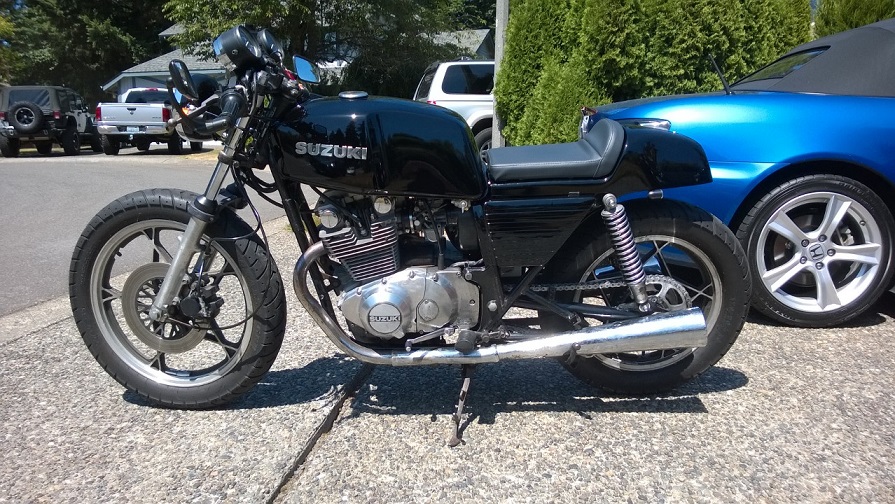
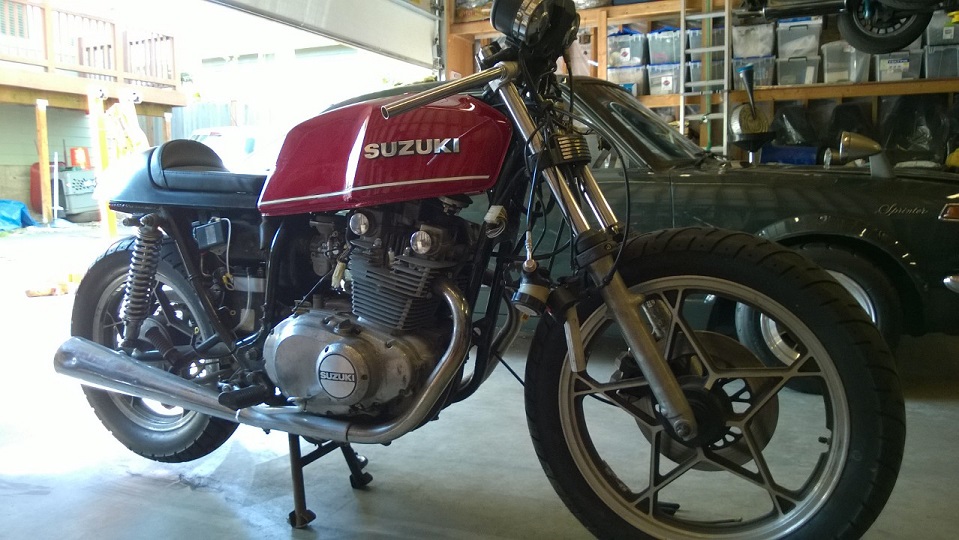
Here is what it looked like before we got started, custom seat and clubman bars, but otherwise pretty standard 450 L:
We removed the stock tank, cut off the front tank mounts from their L position and re-welded them to the E position. There is a provision for this already on the L frame, just needed to weld the posts to that spot. The rear mount is in the same place on all 450 models with single bolt rear tank mounts, so this remained in place.
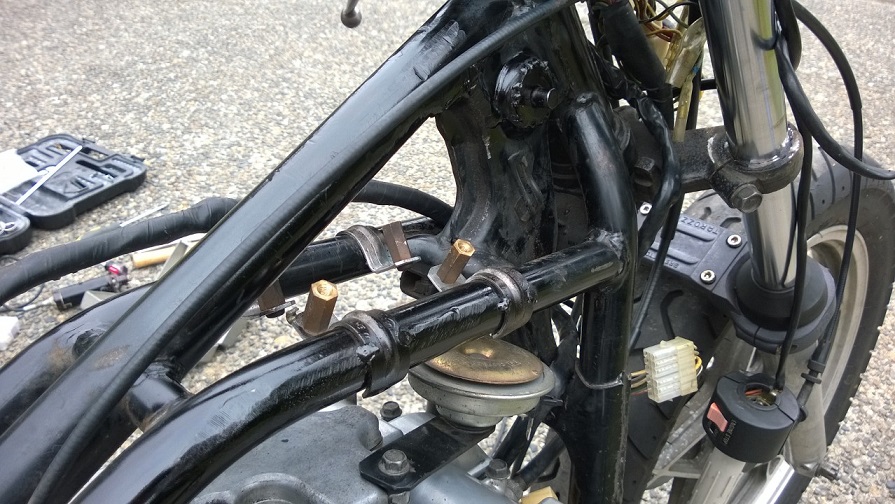
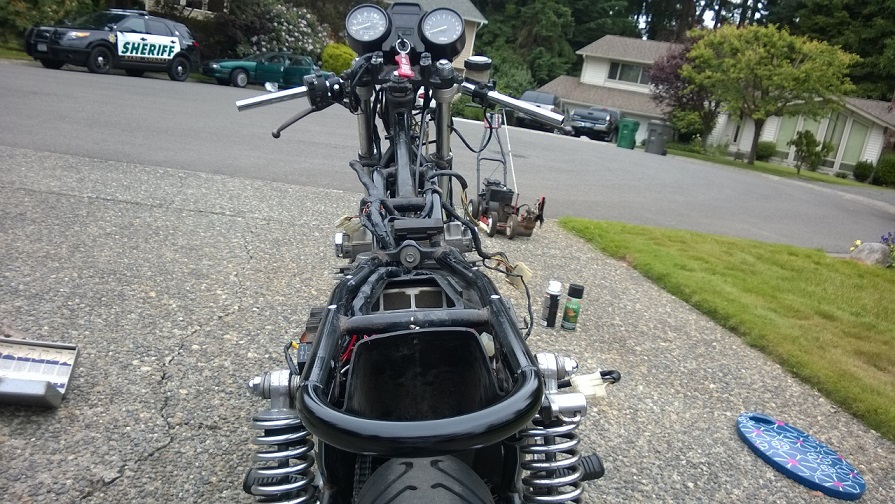
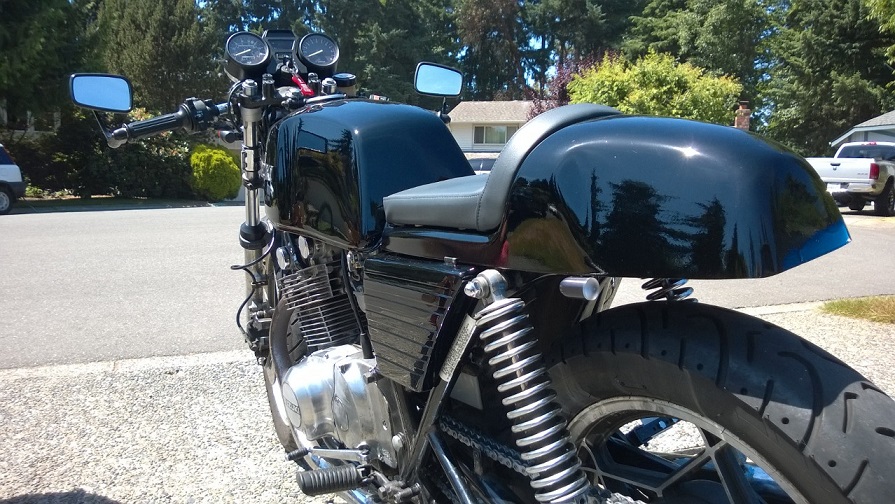
The more difficult work involved relocating the ignition coils. Looking at the frame diagrams, we thought we could fab brackets to mount them in the factory E position, but there is a slight frame difference here. The E frames flare very slightly out rearward to accommodate them in that location, the L frame does not, the tubes remain parallel between the cross bracing in that area. I have no pictures of this since I was busy working, but will post some next time we are working on it. We were able to fab brackets and mount the coils in a slightly different location below the tank, everything still reaches and connects to the factory harness.
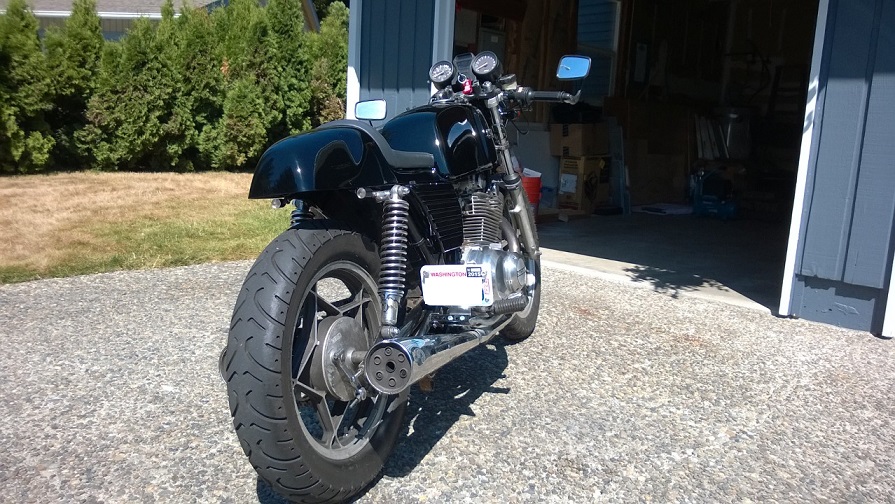
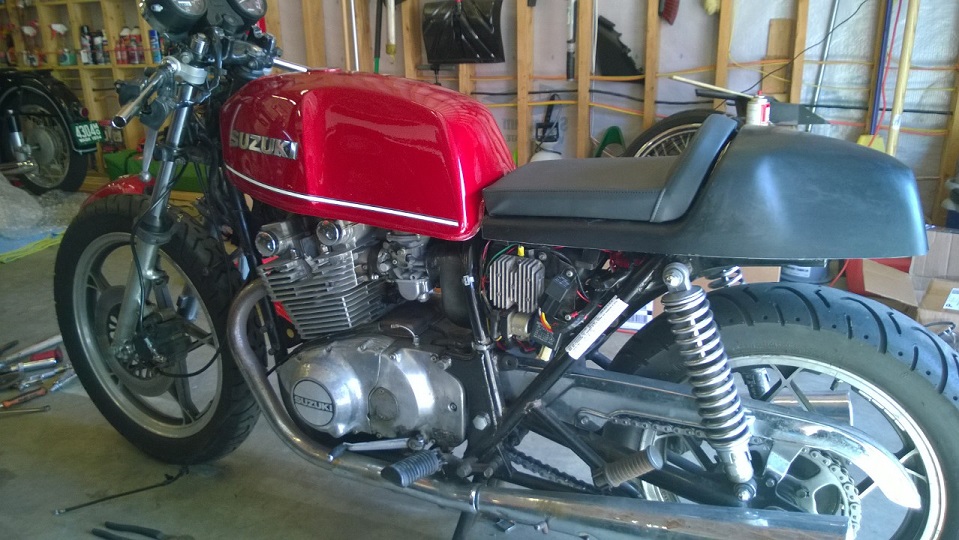
We also mounted a set of Tarozzi clip-ons, and test fit the new seat. Once the rear frame hoop shows up in the mail, its final location will be set and that will be welded in.
I also picked up a set of 450 E side covers, which will fit the L frame after moving one of the upper mounting tabs on each side.
The side covers and seat will then be sent out to paint, matched to the factory tank color.
I will then need to figure out what to use for a headlight, tail light, turn signals, and license plate mount.
I'll try to be a bit better about stopping for in progress pictures next time we work on it, and will post detailed pictures of the brackets we made for the coils if anyone is interested.
Thanks to everyone on here providing so much knowledge and expertise about these bikes, it likely wouldn't even be running today if it weren't for this forum.
GSR approved carb strip & dip with cycleorings
New tires
Valve adjustment
Wiring clean-up
Coil relay mod
Shindengen R/R
New RK X-Ring chain and sprockets
At that point, I just rode it as-is for a couple years, enjoying it for what it was, but always anxious to remove the last bits of 'L-ness.'
Well, I decided this was the year to get it done. I Bought a nice 450 S tank with great factory paint from that auction site a few weeks back, and thanks to the help of a good friend, got to work on the continued "Un-L-ing" of my bike.
Here is what it looked like before we got started, custom seat and clubman bars, but otherwise pretty standard 450 L:
We removed the stock tank, cut off the front tank mounts from their L position and re-welded them to the E position. There is a provision for this already on the L frame, just needed to weld the posts to that spot. The rear mount is in the same place on all 450 models with single bolt rear tank mounts, so this remained in place.
The more difficult work involved relocating the ignition coils. Looking at the frame diagrams, we thought we could fab brackets to mount them in the factory E position, but there is a slight frame difference here. The E frames flare very slightly out rearward to accommodate them in that location, the L frame does not, the tubes remain parallel between the cross bracing in that area. I have no pictures of this since I was busy working, but will post some next time we are working on it. We were able to fab brackets and mount the coils in a slightly different location below the tank, everything still reaches and connects to the factory harness.
We also mounted a set of Tarozzi clip-ons, and test fit the new seat. Once the rear frame hoop shows up in the mail, its final location will be set and that will be welded in.
I also picked up a set of 450 E side covers, which will fit the L frame after moving one of the upper mounting tabs on each side.
The side covers and seat will then be sent out to paint, matched to the factory tank color.
I will then need to figure out what to use for a headlight, tail light, turn signals, and license plate mount.
I'll try to be a bit better about stopping for in progress pictures next time we work on it, and will post detailed pictures of the brackets we made for the coils if anyone is interested.
Thanks to everyone on here providing so much knowledge and expertise about these bikes, it likely wouldn't even be running today if it weren't for this forum.
Last edited: