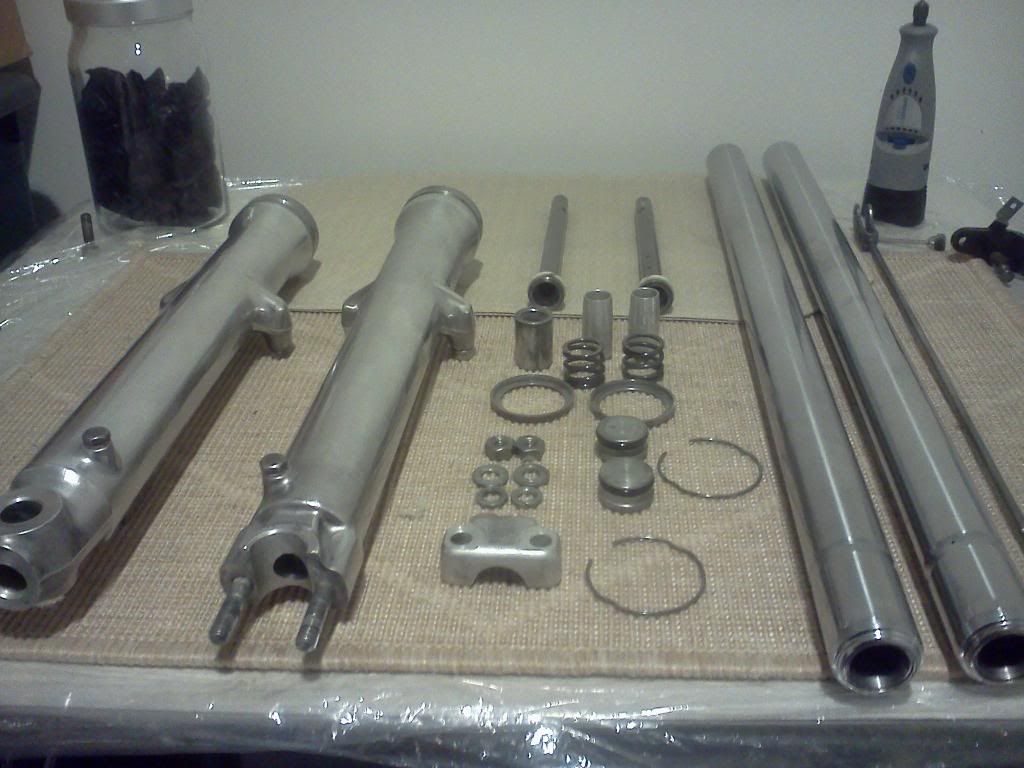
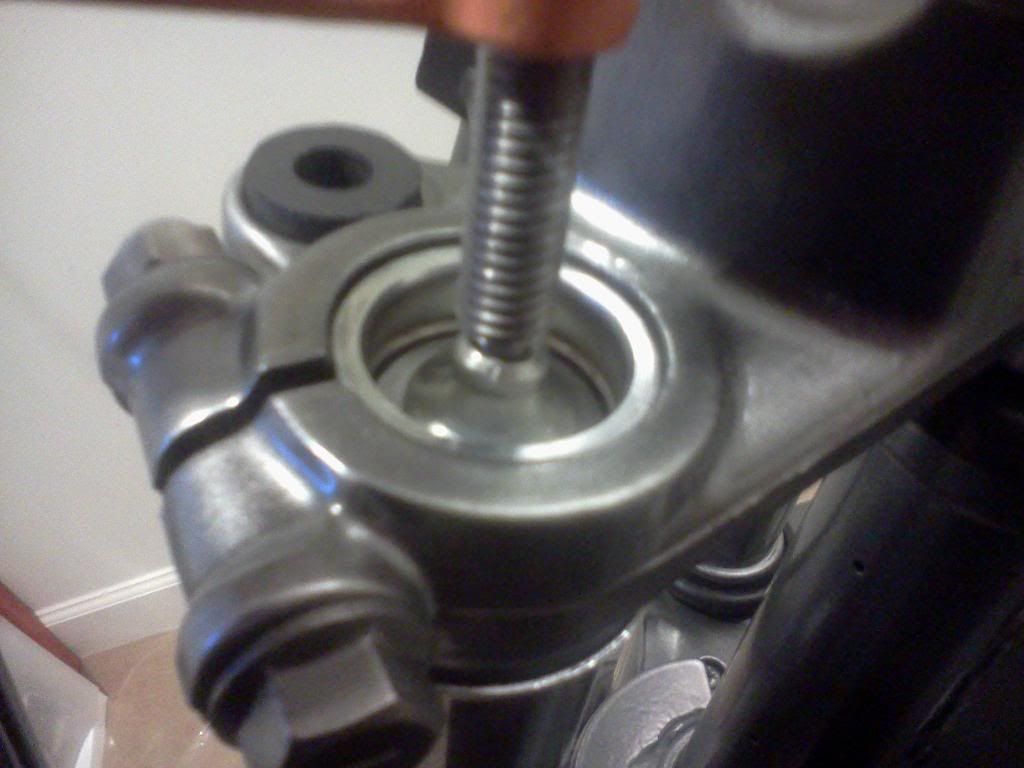
So a little more work. Finally got a partial order from Boulevard. Apparently the tiny circlips for the fork uppers are on backorder. Thankfully I saved the old ones (which the manual says not to reuse).
I actually had some interesting progress with the forks. So, when I posted about the red threadlock, it was already too late. I had already used it, apparently much to Pete's dismay. So, the next day I went to a mechanic shop that has done a fair amount on my car and had them free them up. Or so I thought. He did loosen the dampner rod, but the bolt was still tight in the the bottom of the rod. So with a little ingenuity, I got a LONG 3/8" extension, a hex bolt driver that fit the inner diameter of the dampner rod and chucked it so I could loosen up the bolt. So, long story for something not interesting, but thought I'd share.
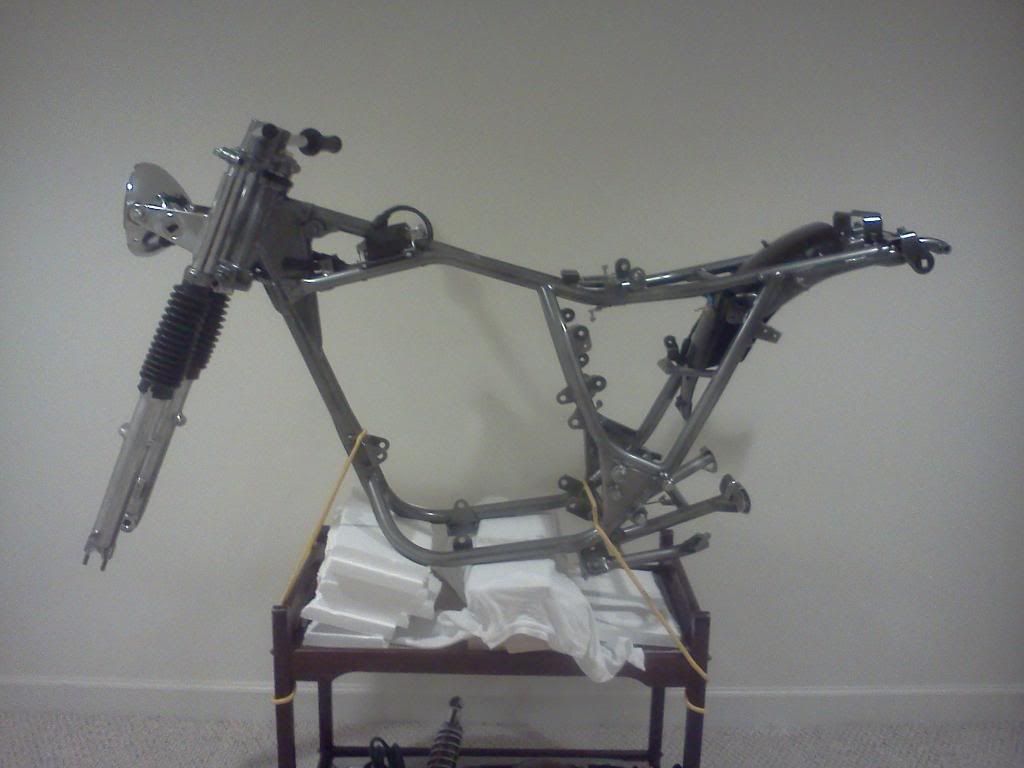
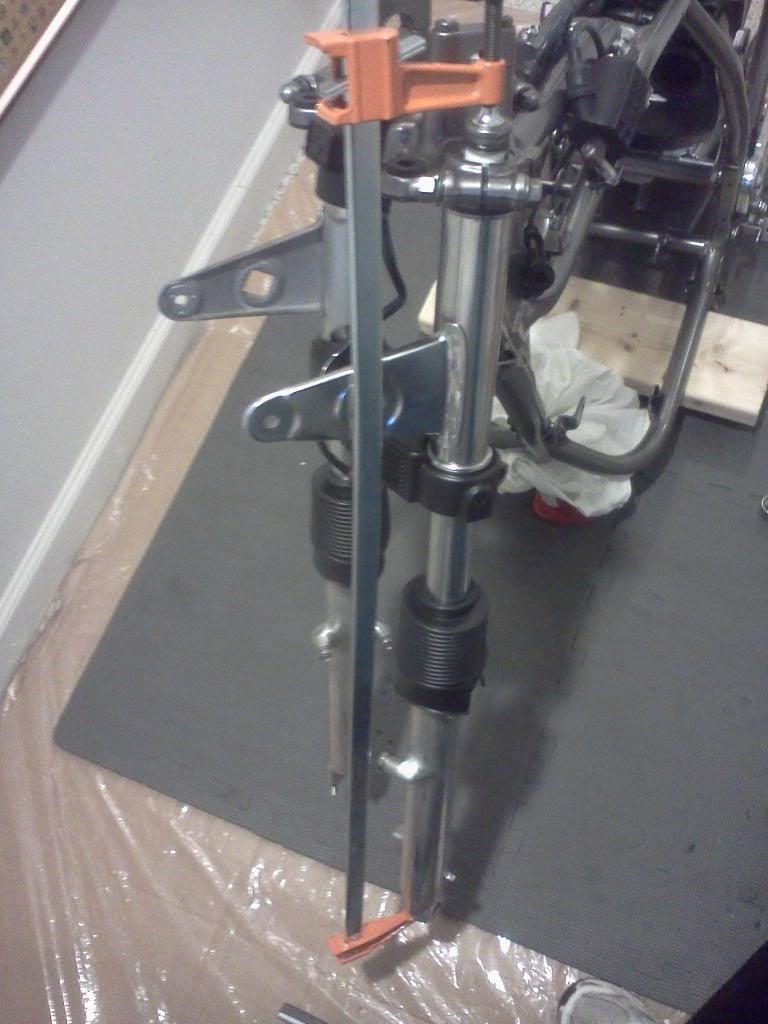
So, now that the forks are 95% back together, with blue threadlock nonetheless, here is a little bit more of the progress.
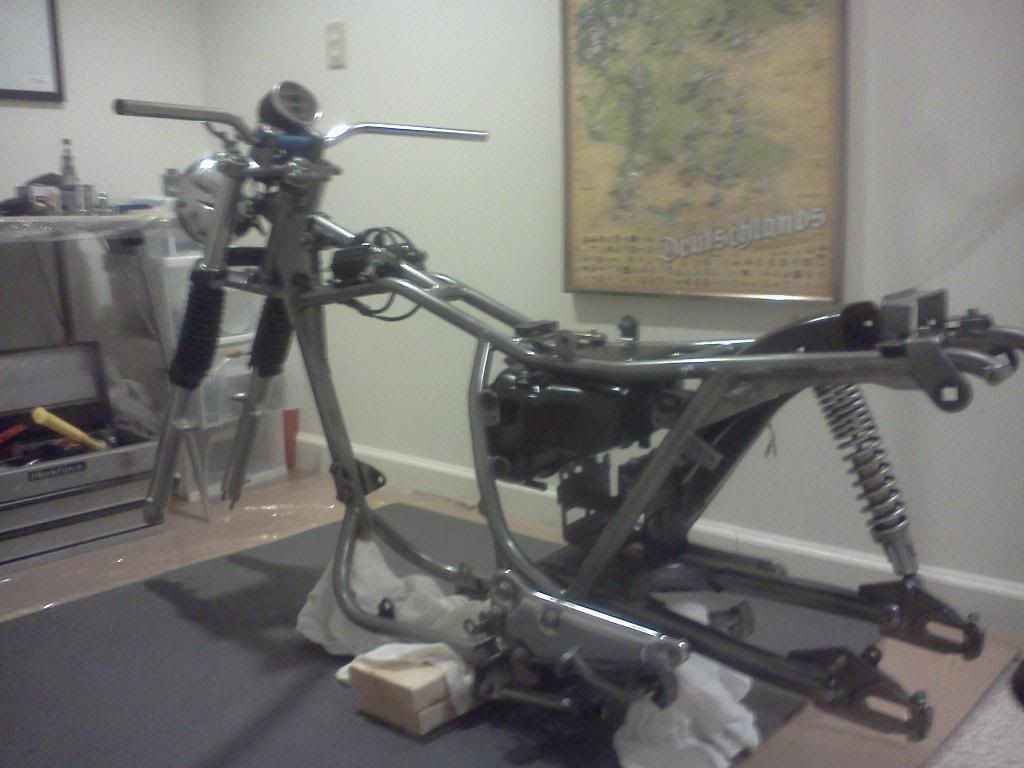
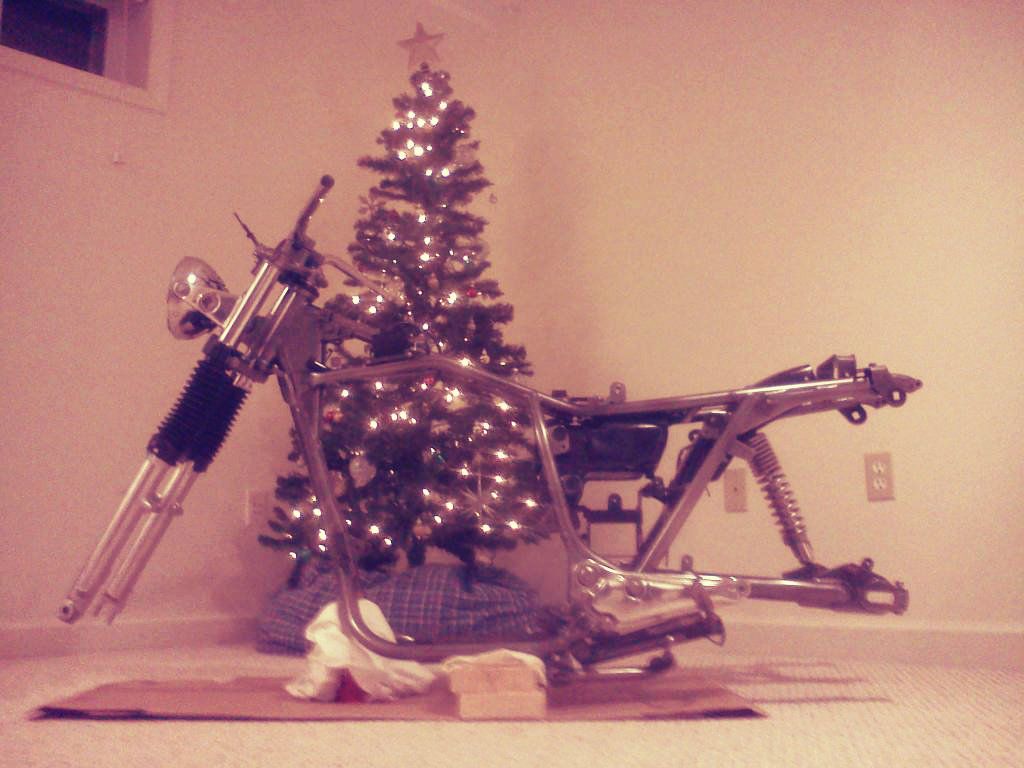
Swing arm is back on, with bearings in, packed, etc. I know the bars are still wrong, which is another long boring story. I went to a dealer to see if they had any BikeMaster's in stock, but they didn't. They did have some Ducati Monster OEM bars, which I took some measurements from and found out are exactly the same as the BikeMaster superbike bars. So, ordered some through them and "they came in today". Well, they actually ordered the "euro" bars accidentally, which I tried on and they looked terrible. Might as well put the stock ones back on. So, looks like I'll be headed back on Friday to straighten this up.
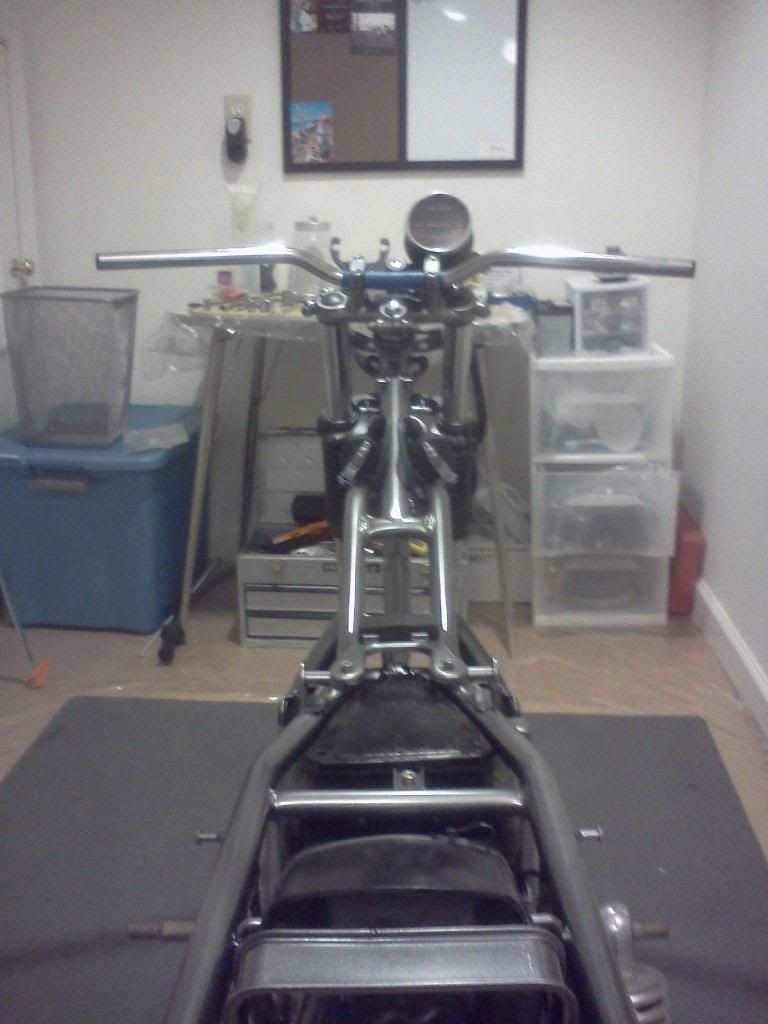
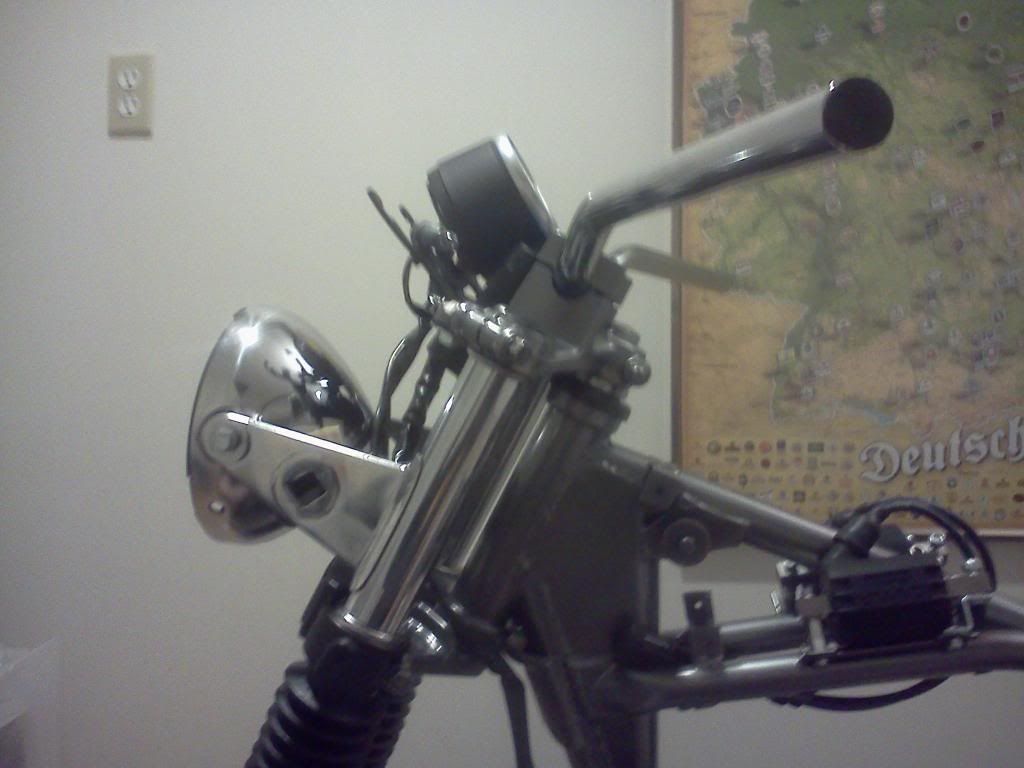
I did however get the front put back together as much as I can without the forks 100% done.
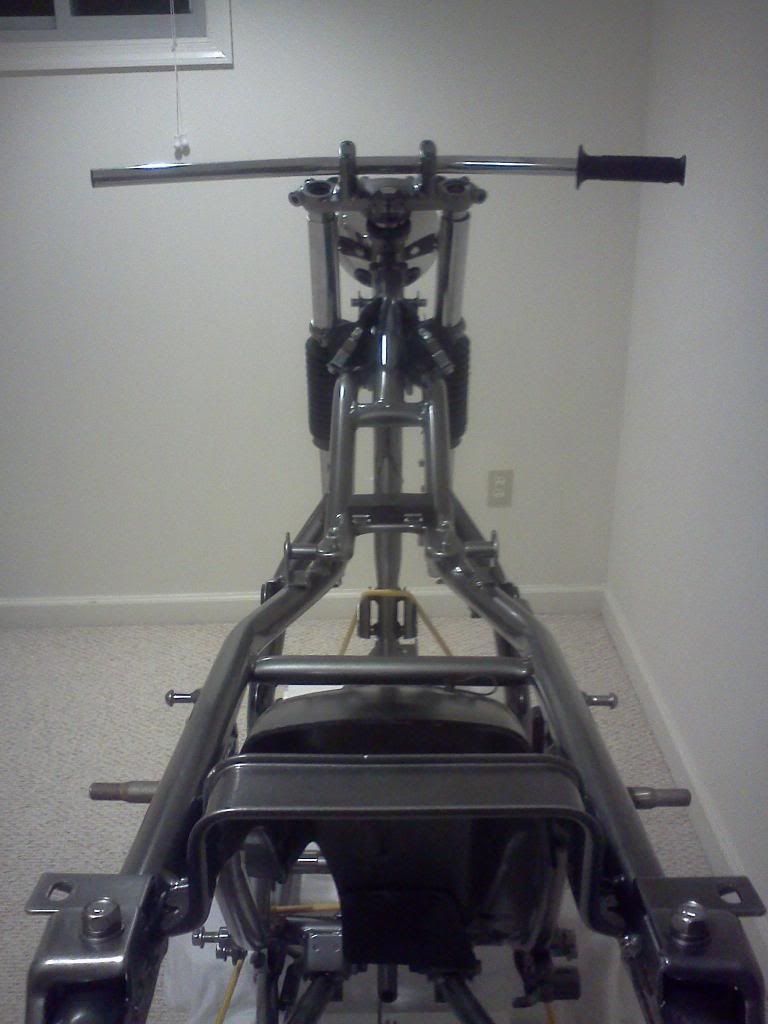
I was kind of proud of myself for this next part. So, the whole AllBalls bearing kit was a fail as we all know, and one of the main reasons was because of the headlight brackets weren't going to be tight. Well I ordered new rubber bushings since the other ones were dried out pancakes, except for two which I snuck under the "grill" which I gave a fresh few coats of flat black. This took up the slack in the headlight brackets and gave me a snugger fit on the steering bolt.
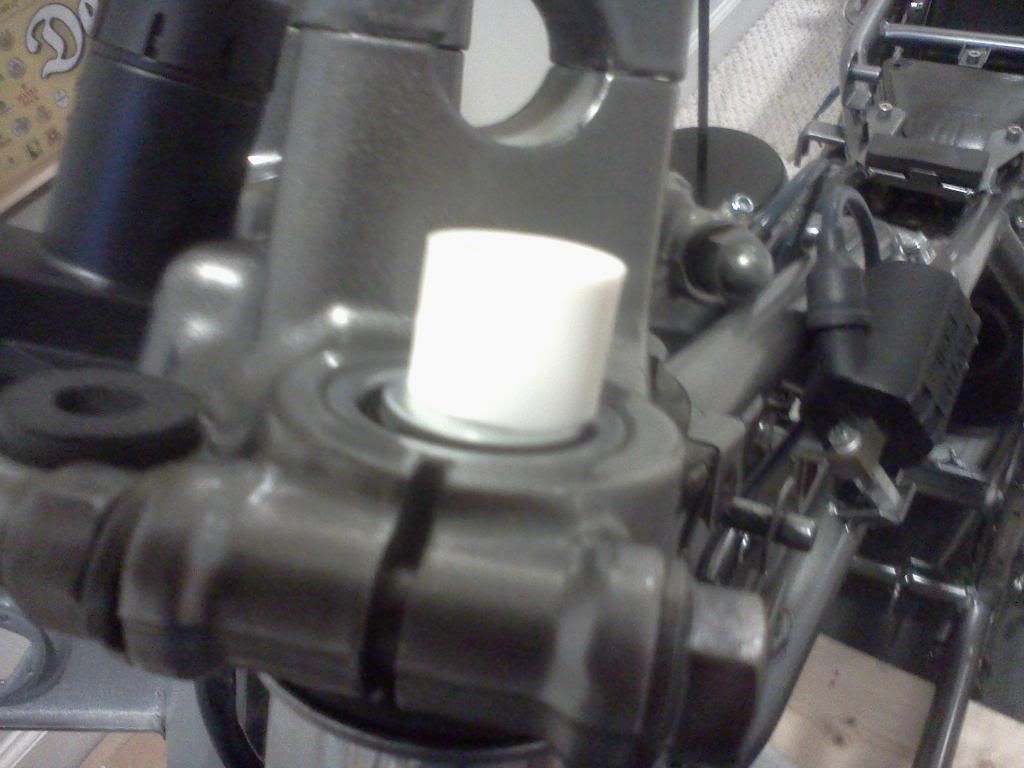
Sorry for the crappy pictures but that was to prove that the BIKE WAS LITERALLY DESIGNED AROUND THE AIRBOX! The airbox will not go in with anything else in that area. It's ridiculous.
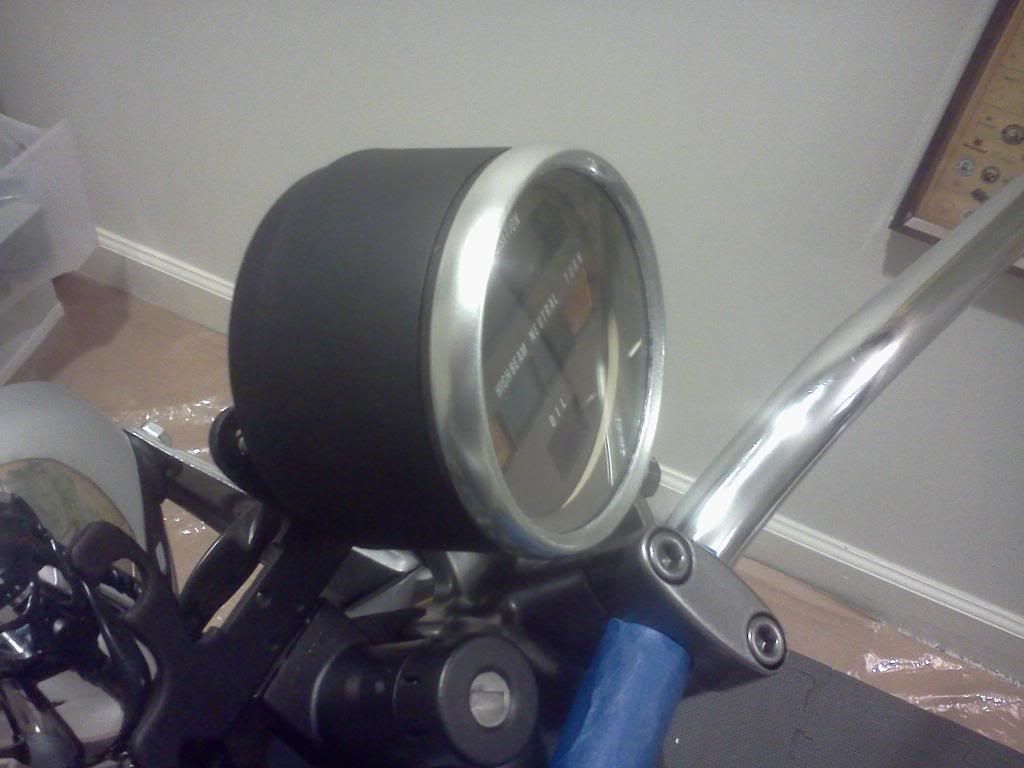
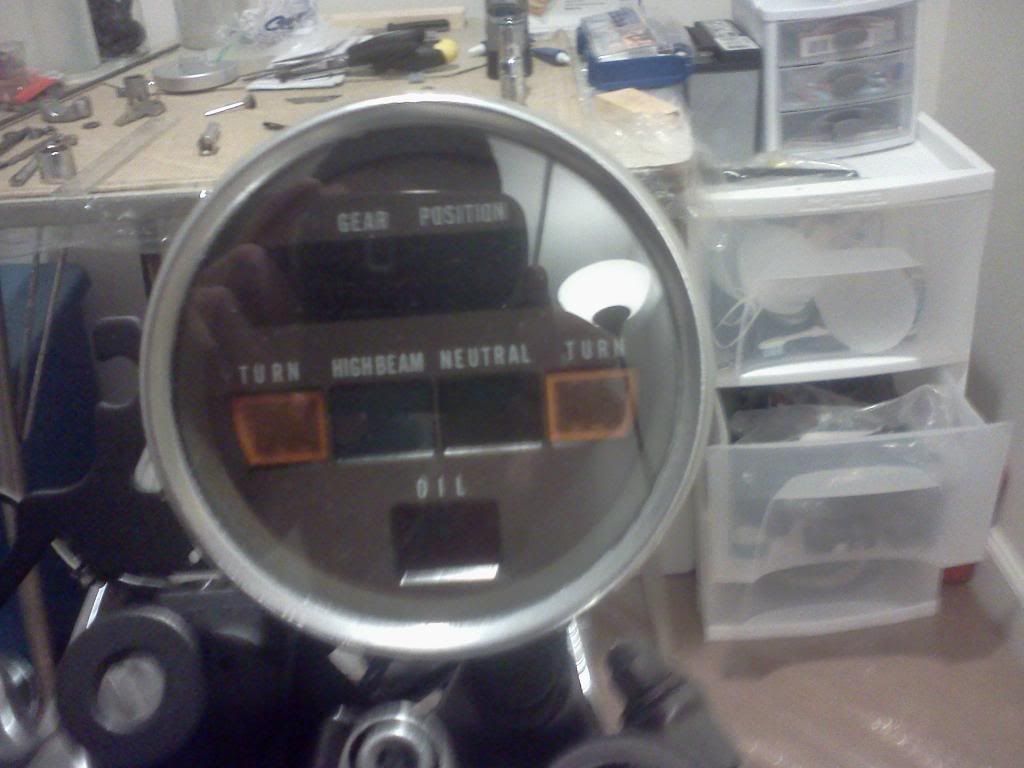
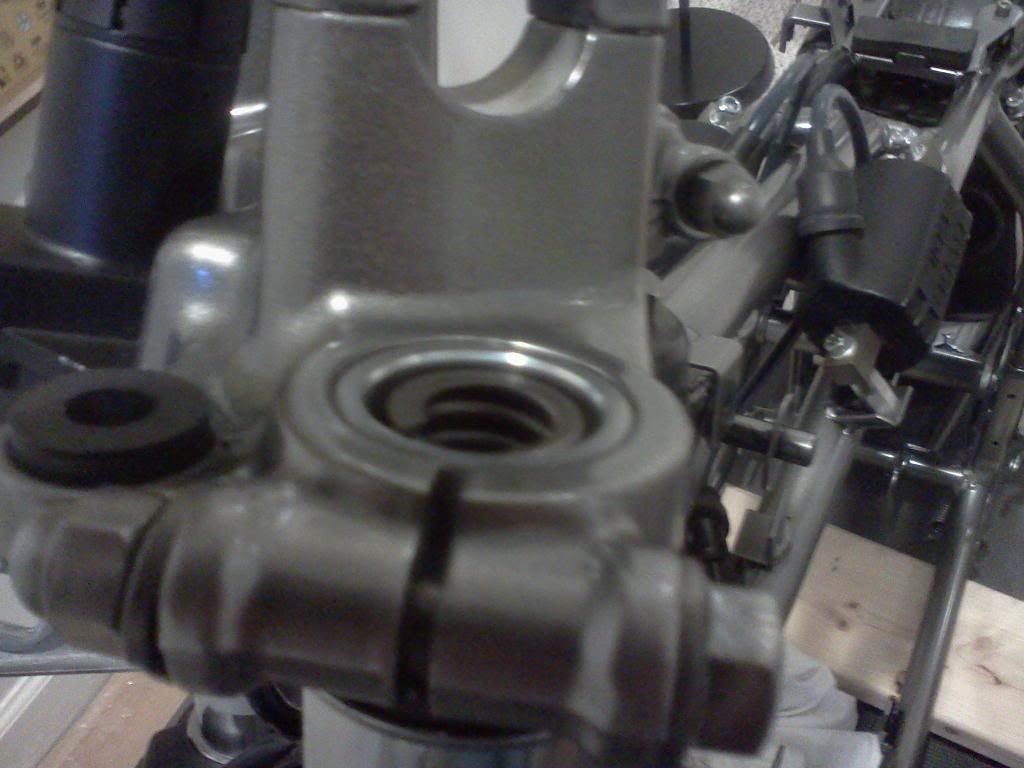
Some close up of the gaiters, grill etc.,
Did some polishing too...
Getting that brake arm through there was a pain... They didn't mask during powdercoating.
And finally for all my German followers - a picture of my recently furnished literal "man cave" with the Germany Beer map poster in the background.
")


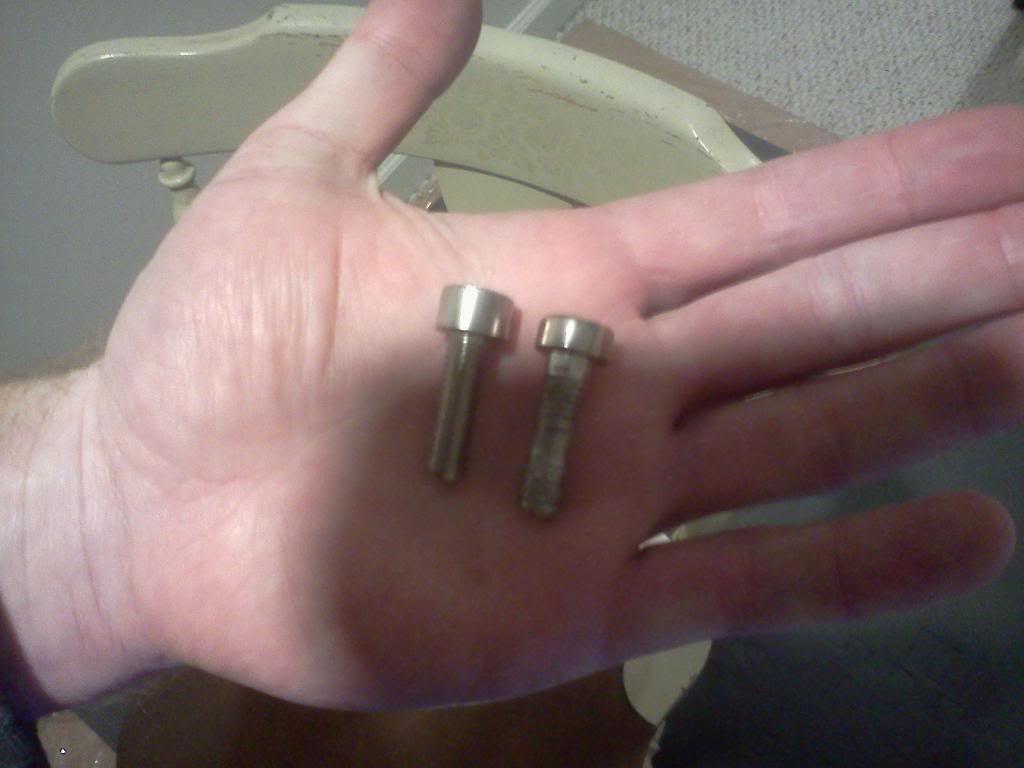
 for a couple circlips to finish up the forks. Needed some of these too and a couple of other little things:
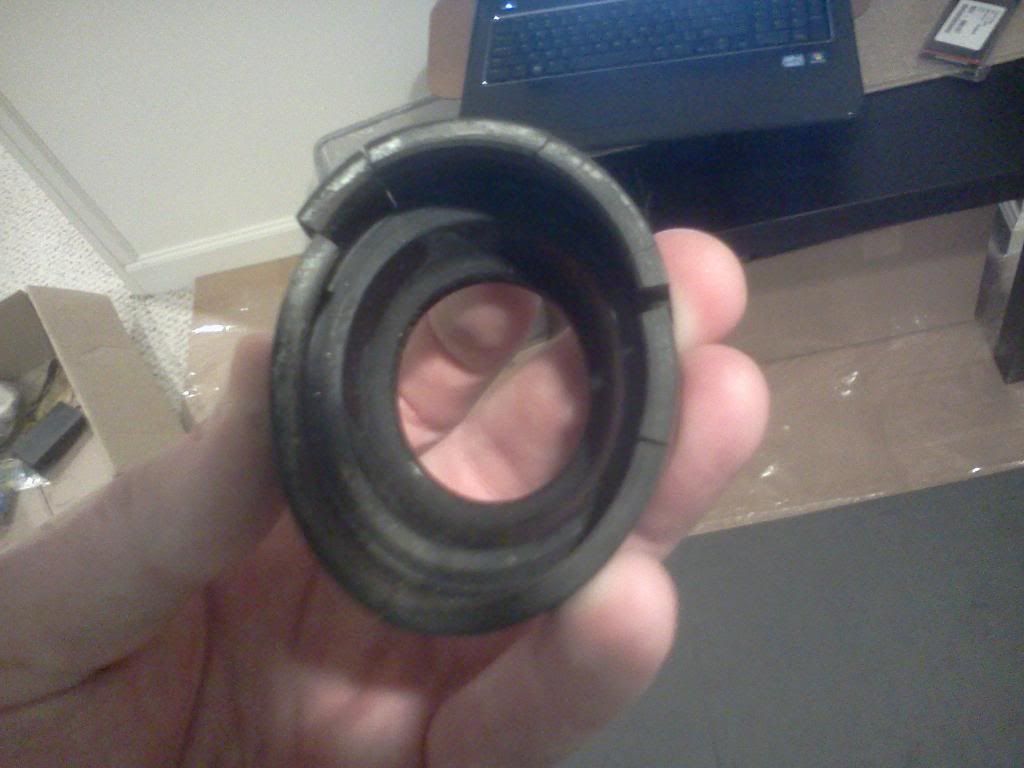


")