-
Required reading for all forum users!!!
Welcome!
Register to access the full functionality of the GSResources forum. Until you register and activate your account you will not have full forum access, nor will you be able to post or reply to messages.A note to new registrants...
All new forum registrations must be activated via email before you have full access to the forum.A Special Note about Email accounts!
DO NOT SIGN UP USING hotmail, outlook, gmx, sbcglobal, att, bellsouth or email.com. They delete our forum signup emails.A note to old forum members...
I receive numerous requests from people who can no longer log in because their accounts were deleted. As mentioned in the forum FAQ, user accounts are deleted if you haven't logged in for the past 6 months. If you can't log in, then create a new forum account. If you don't get an error message, then check your email account for an activation message. If you get a message stating that the email address is already in use, then your account still exists so follow the instructions in the forum FAQ for resetting your password.Have you forgotten your password or have a new email address? Then read the forum FAQ for details on how to reset it.
Any email requests for "can't log in anymore" problems or "lost my password" problems will be deleted. Read the forum FAQ and follow the instructions there - that's what we have one for...
-
Returning Visitors
If you are a returning visitor who never received your confirmation email, then odds are your email provider is blockinig emails from our server. The only thing that can be done to get around this is you will have to try creating another forum account using an email address from another domain.
If you are a returning visitor to the forum and can't log in using your old forum name and password but used to be able to then chances are your account is deleted. Purges of the databases are done regularly. You will have to create a new forum account and you should be all set.
You should upgrade or use an alternative browser.
1983 GS1100ES Engine Rebuild.
- Thread starter niclpnut
- Start date
Not sure why I was counting the links (well it was about 2 am and I had a few too many)....:-\\\
Also not sure if it was my error in ordering or the vendor's. :-k
Anywho, guess I'll break the 2 extra links.
Nic
Nicholaschase29
Guest
Nicholaschase29
Guest
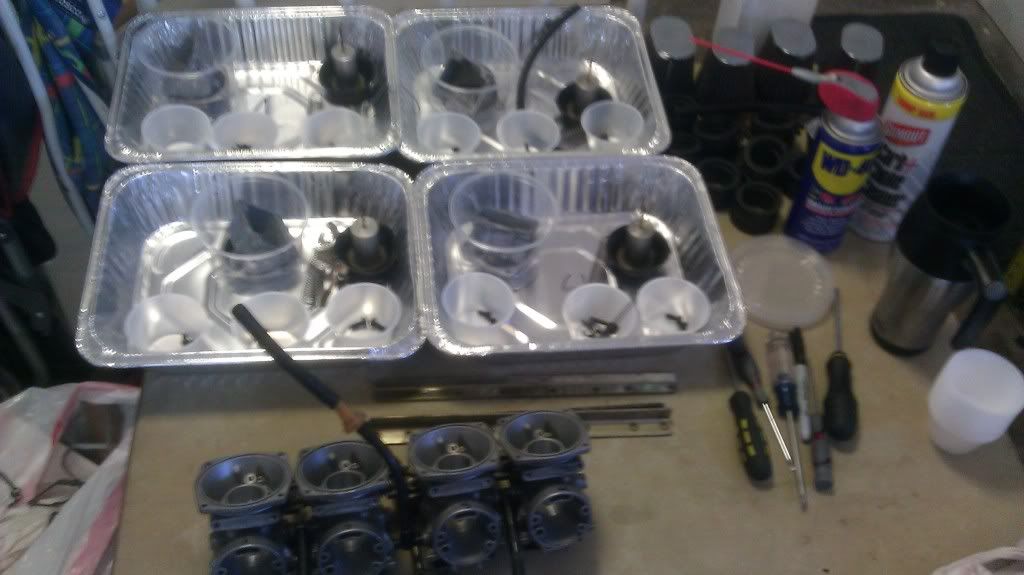
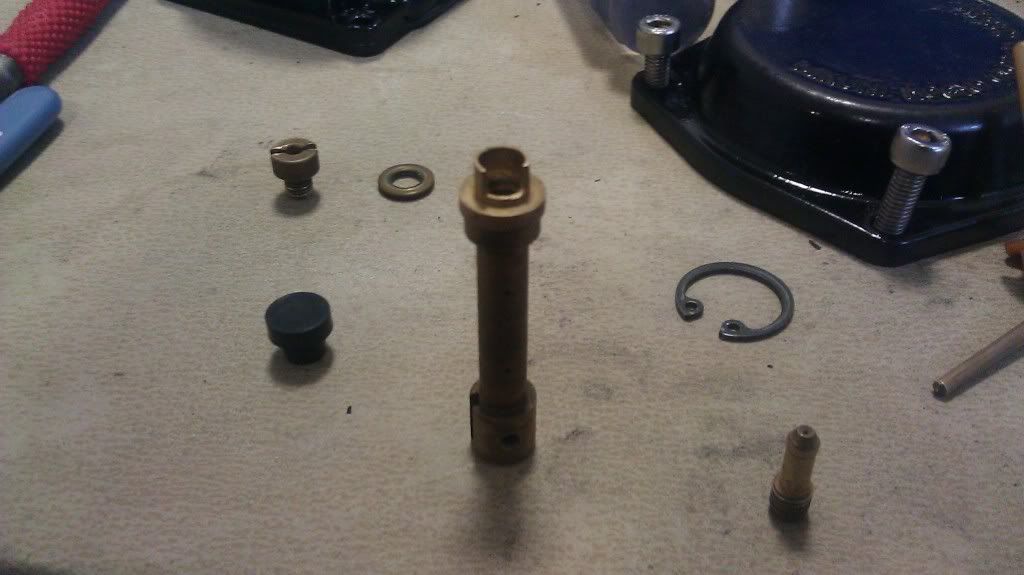
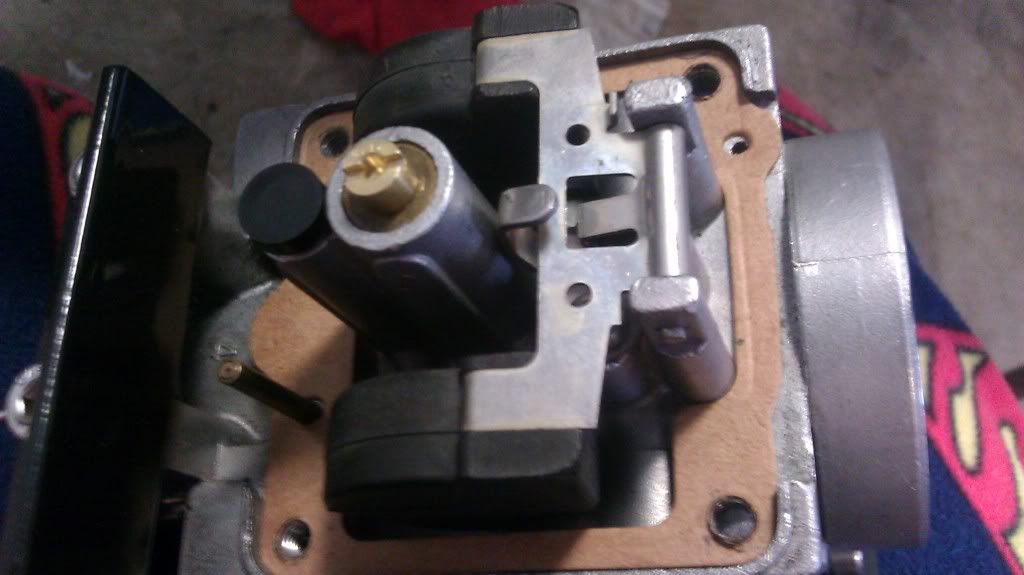
Quite a few of the screws and jets were very tight and took a bit to get them out. Soaked them with carb cleaner and WD. There is a stage 3 kit installed, however when I removed the jet needles I couldn't find any identifying marks, but assume they might be dynojet as they have an adjustable clip/spacer on the needle.
The bike had run well before I broke it down, and the needles were set all the way out on the last clip, not the 3rd as the dynojet website sugests, so I'll leave them on the last clip/check/and adjust as needed for richness.
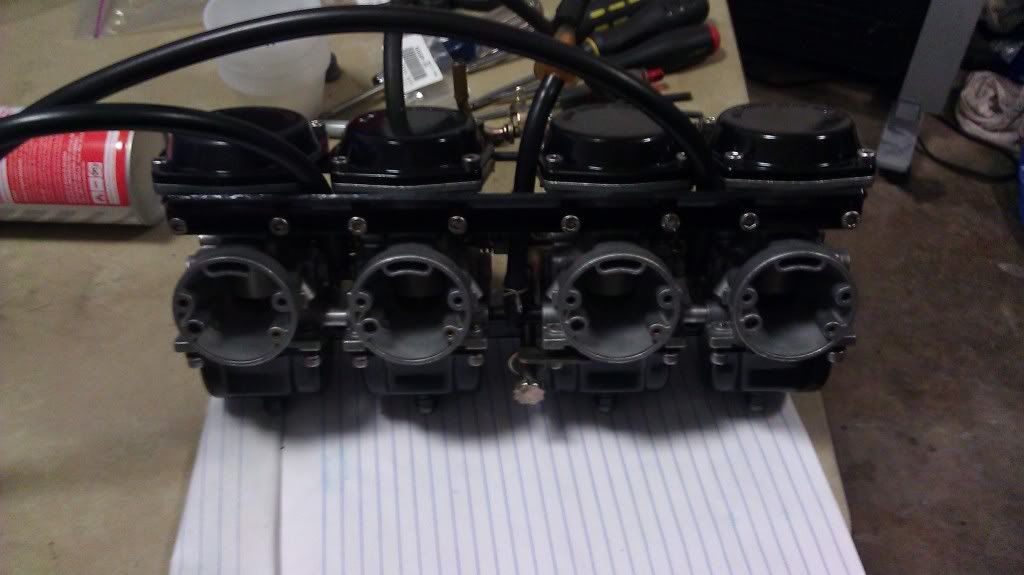
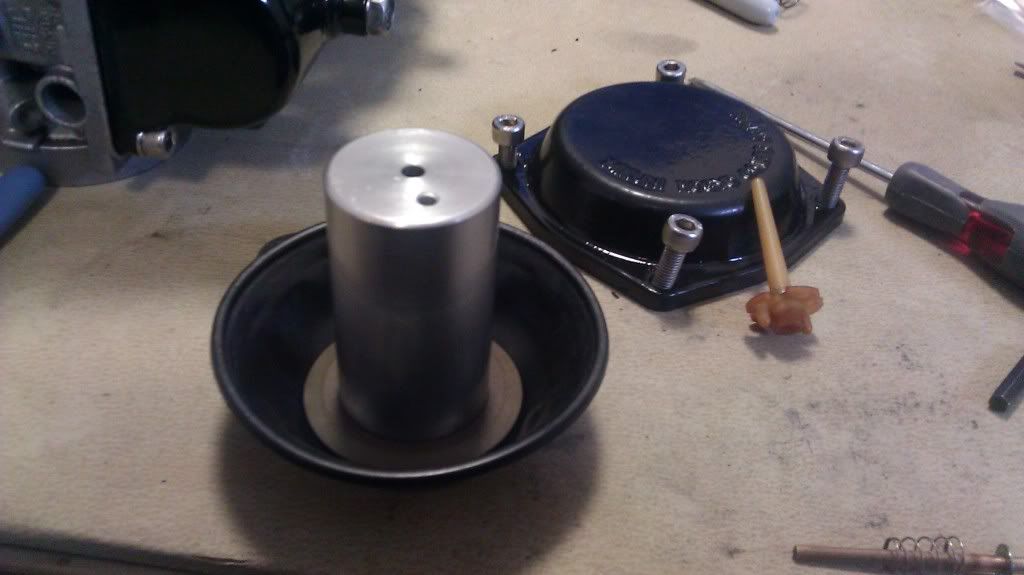
With new O rings, installed, all passageways and needle holes cleaned out with a wire and carb spray, and new rubber pilot jet caps it was time to reinstall.
I decided to repaint the Upper diaphram cover, float bowl, and both rails. Also installed Stainless Allen Bolts all around.
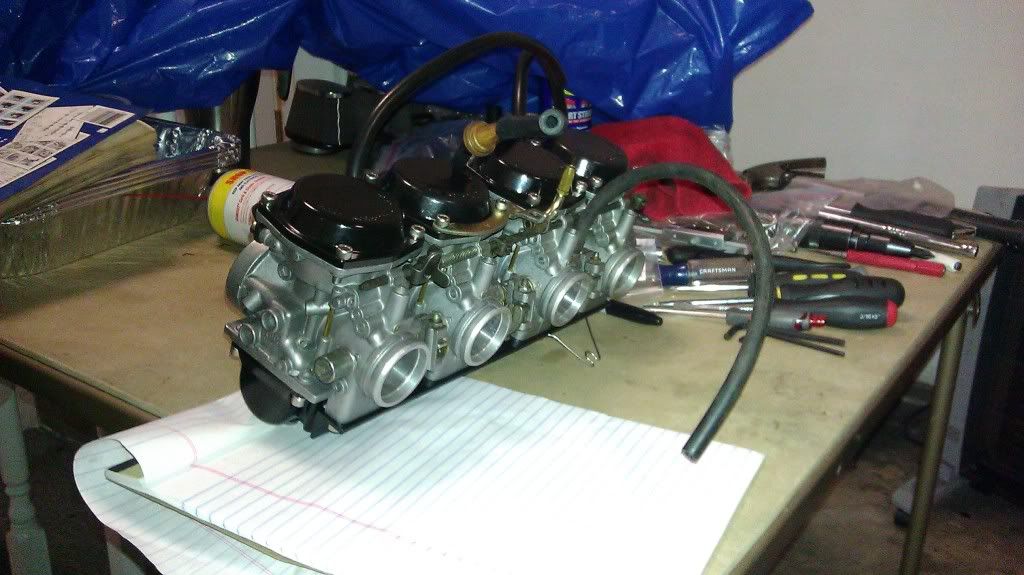
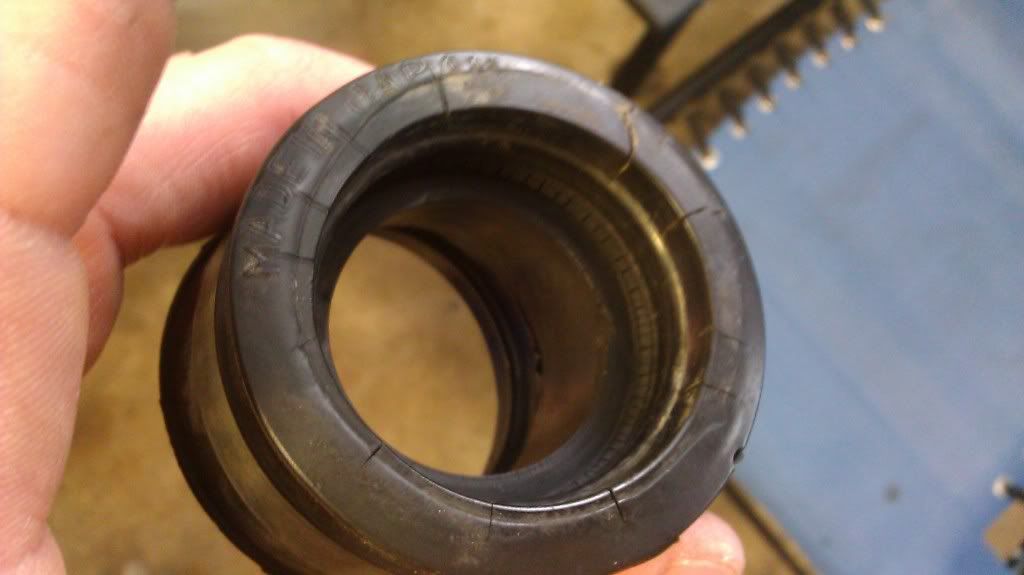
Just waiting on new carb intake boots, then I can plug it back in.
Floats were adjusted (out about 2.5mm or so), air screws tightened then slacked out 2.5 revolutions.
I splurged and ordered a Carbtune from http://www.casporttouring.com/ to avoid the shipping hastles. Was about $20 more expensive but in my mind potentially less of a headache.
Once it's in my hands, any of you GSr's out my way are more than welcome to use it!
Shouldn't be much longer before I'm ready for the first fire! I'll post a video so hopefully everything will go as planned...

Nic
The bike had run well before I broke it down, and the needles were set all the way out on the last clip, not the 3rd as the dynojet website sugests, so I'll leave them on the last clip/check/and adjust as needed for richness.
not sure if you mean the last clip on the end of the needle (i.e. top clip), but that would suggest the main is too big and the setting the needle on the leanest position is to compensate. The needle should be about 3rd clip. What is your main? Pods/Pipes/Other mods?
Carbs look good otherwise
")
Bike had 4-1, kn pods, and supposedly had a jet kit.
Looking at the main air jet, it is a stock 180.
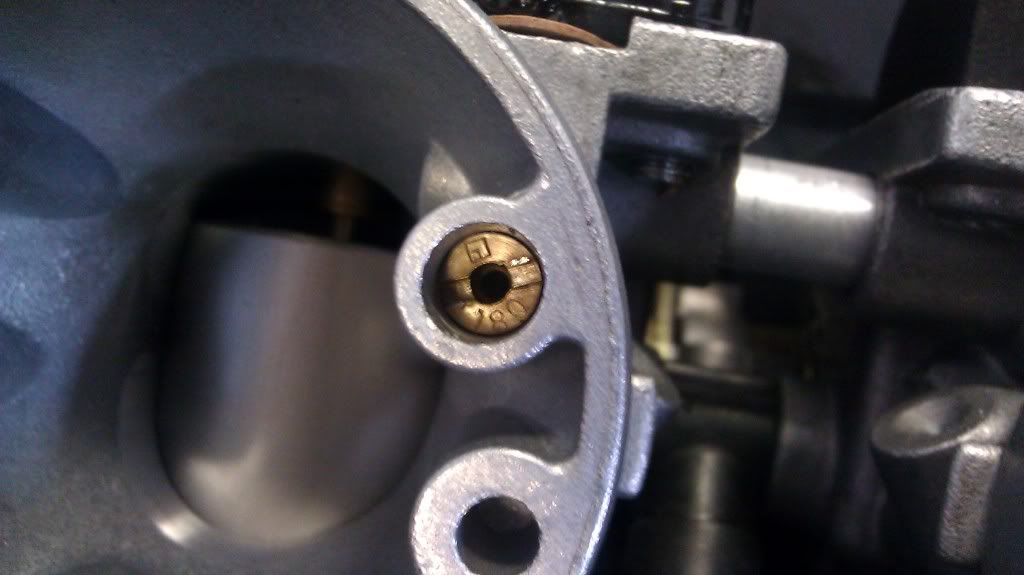
Not a dynajet.
Opening up the carb, it looked like the slide had been drilled.
The needle appears to be aftermarket. It has 5 knotches for adjustment. No identifying marks however.
The pilot needle only has one hole at the tip not multiple on the sides. It is marked with 5 then what looks like an h, then the mikuni mark.
Both the main jet and the needle jet are not marked. To find size where would I measure?
Not sure what I have going on here...
Thanks,
Nic
Nicholaschase29
Guest
I don't think the air jet is changed in a jet kit. The mains are not marked cause they're aftermarket.....
Mains are still marked; look closer
Got the Jet Kit yesterday!

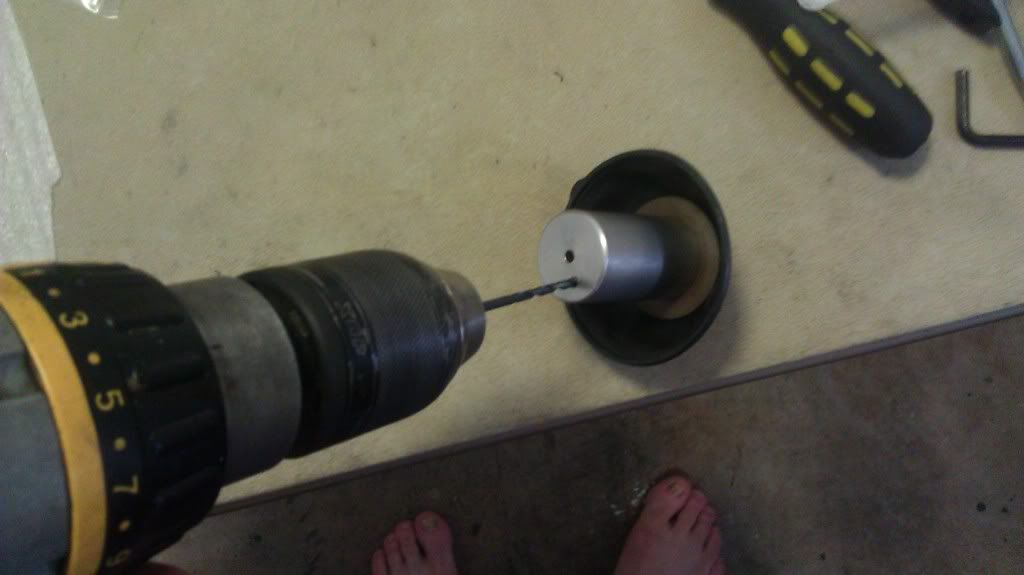
Disassembled the carbs and did the install. Started by drilling out the slide hole with the smaller of the two bits.
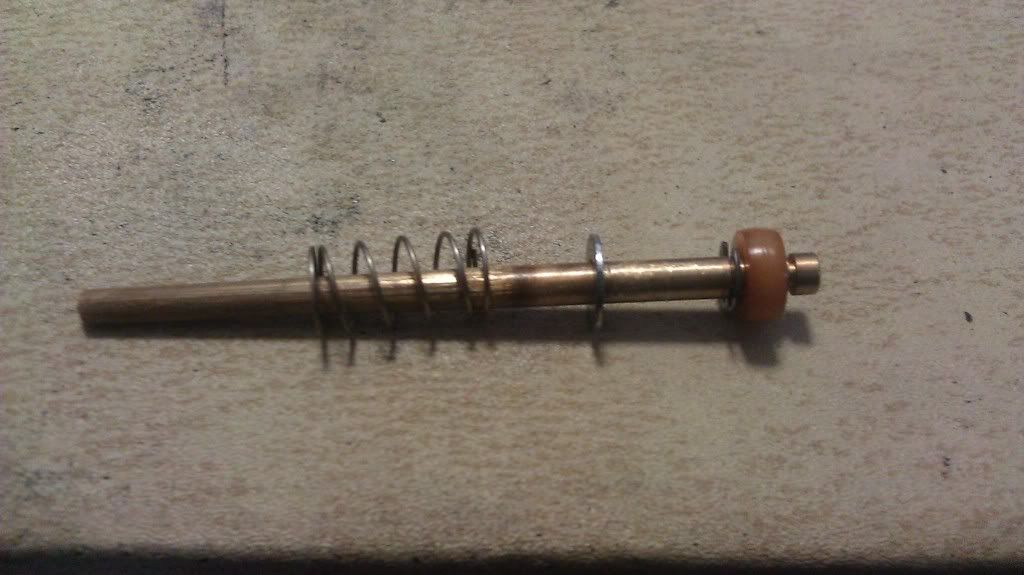
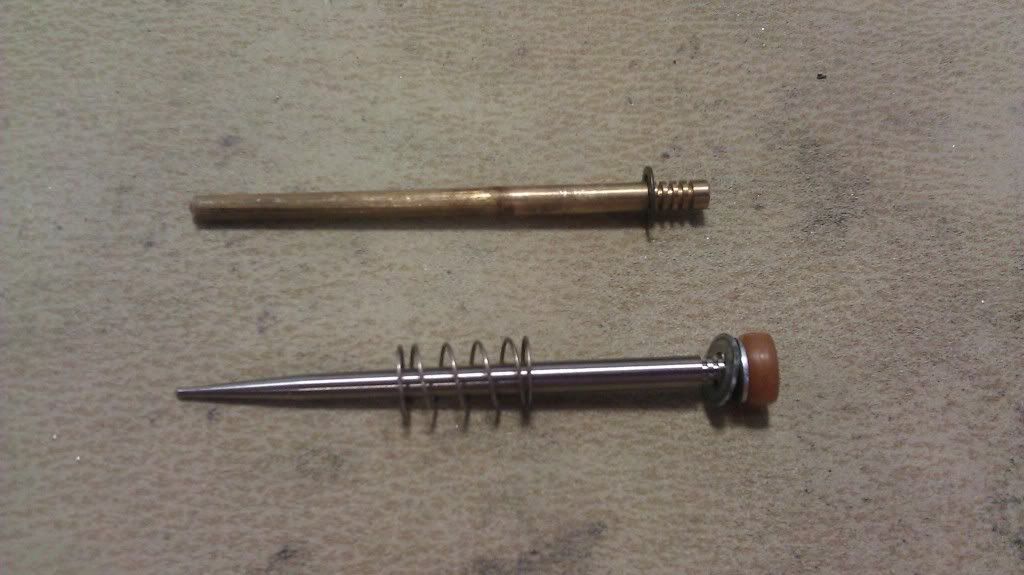
Next was changing the needles. The dynojet is the shiny silver one. My old stock needle is adjustable but doesn't taper near as much as the dyno. Reassemble using all the stock washers and spring, and put the dynojet washer over the E clip set in the 3rd slot from the top.
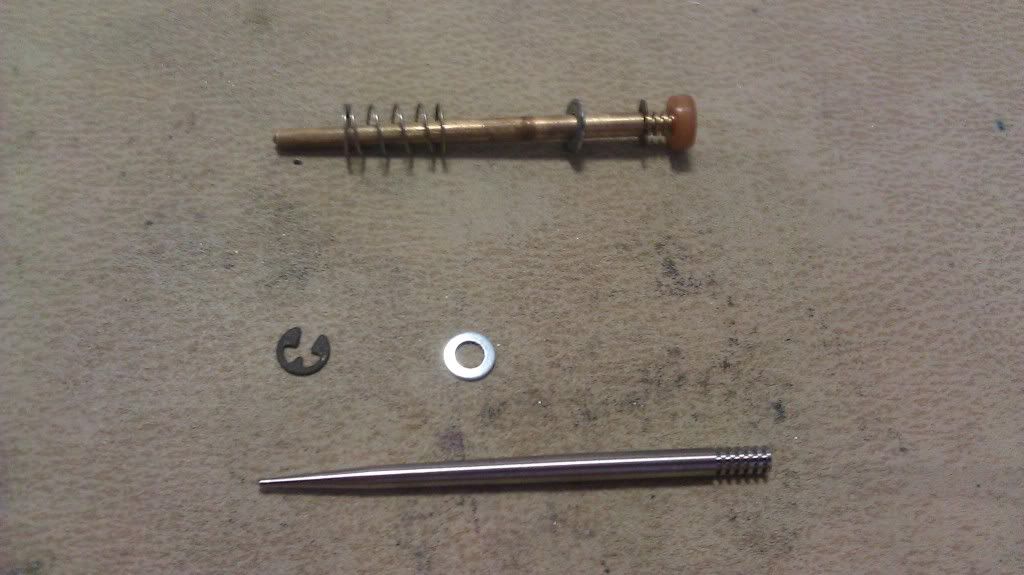
Make sure you have a Narrow set of circlip pliers, in order to remove the clip that holds the needle in the slide. The pliers with the large lobes will not fit. However, you can grind them down to fit
") Hold the needle compressing the spring with one hand while you place the clip.
Hold the needle compressing the spring with one hand while you place the clip. 
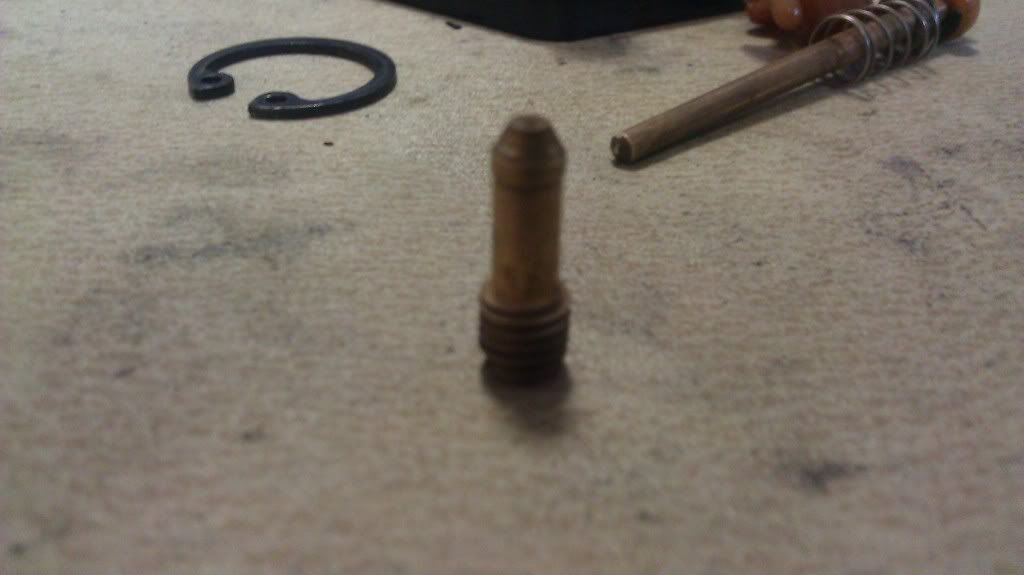
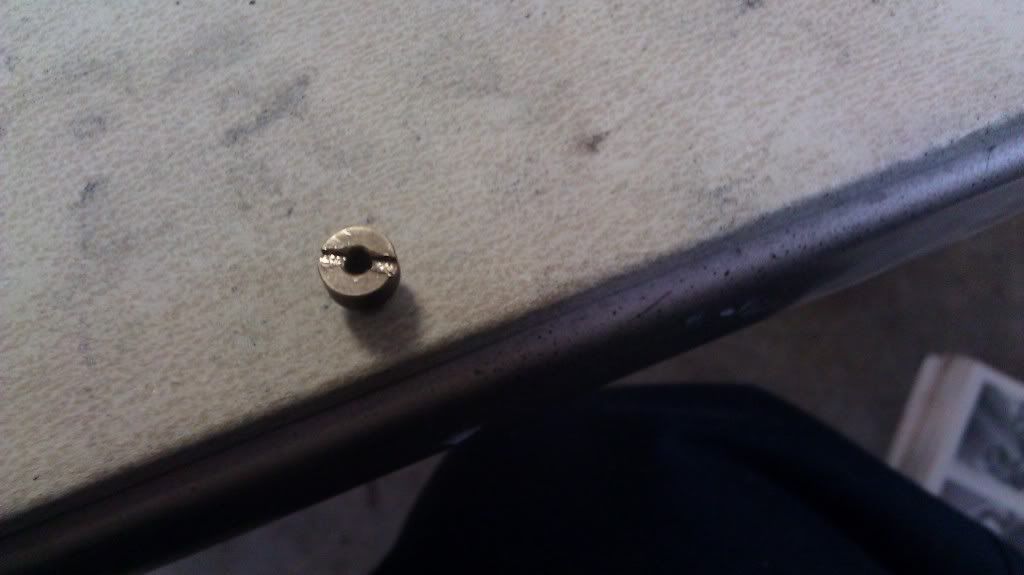
Button the top up, then its on to the float bowls and the main jet!
PO had Very large jets installed, and the E clips on the stock needles set to the lowest notch.
Did I say the old jets were LARGE!? side by side with the dynojet 138's

I'm doing a Stage 3. So I'm using the 138 jets. I have K&N pod filters and a kerker 4-1.
Simply tighten down the new main jets. Make sure the washer is still
there.
Quick and painless install for all you wanting to add a couple horses to your bike!
Nic
gearhead13
Guest
LOL :lol:That's all very nice, now put some shoes on. What are you a hippie?
The message you have entered is too short. Please lengthen your message to at least 10 characters

Just waiting on the Carbtune. I ordered one from http://www.beemerboneyard.com/
It was in stock and shipped the same day!
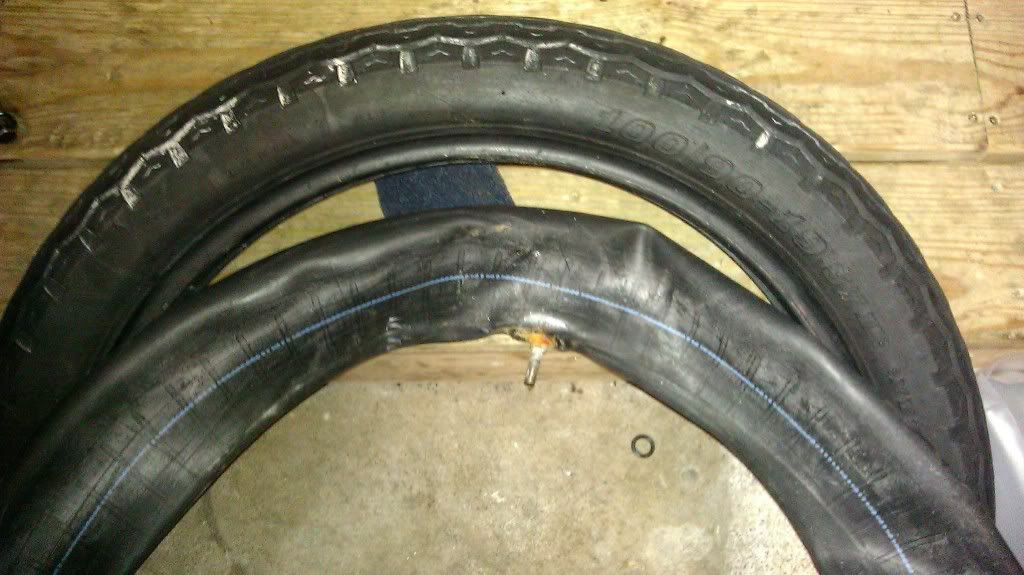
I transitioned away from the engine this evening and decided to tackle a tire change and begin a the 530 conversion.
I decided to go with Shinko 230 Tourmasters. They seem to have been getting some positive reviews, and at $100 shipped for the pair, they seemed like a good choice for break in riding soon to happen. Also, I didn't want to shell out $100+ a tire yet since I'm actively searching for components to do the GSXR conversion.
I haven't changed my own tires since I owned a ten speed bicycle so it took me a bit longer to complete than I thought It would.
First I did the front tire. Removed the dry rotted tire and the tube with a leaky/rusty valve.
It took me a bit to get the hang of getting the beads over the rim. Unfortunately I worked through the plastic shims I was using for rim protectors and scored them a bit. Wound up sanding them out and cleaned it up for the most part.
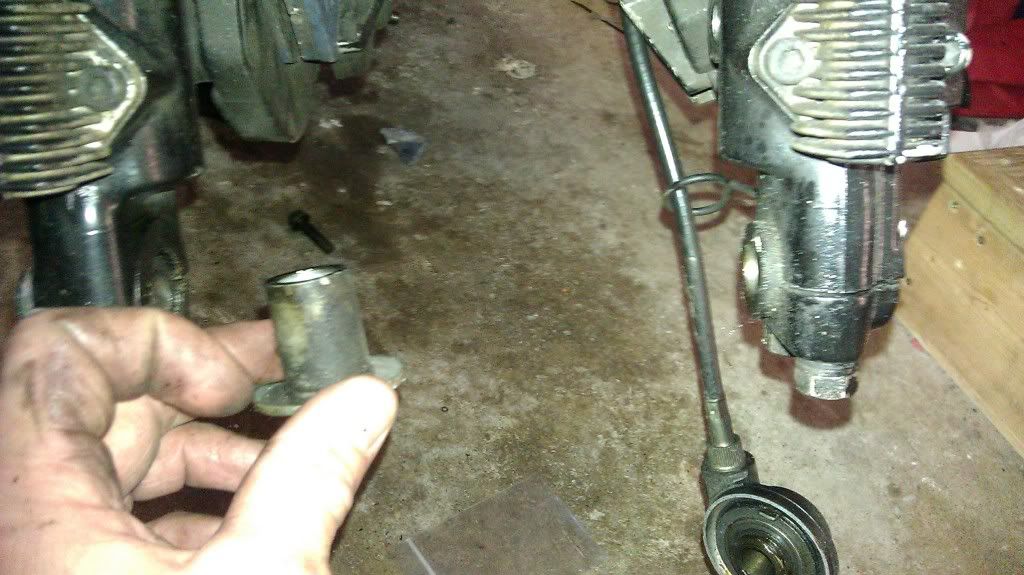
Reassembly. Don't forget the spacer that goes on the right side (sitting on the bike). Also make sure the spedo indicator is positioned so that the cable is perpendicular to the forks, or else it will rub on the brake caliper.
Next was the rear tire. Interestingly, it had been installed without a tube. The rim was clearly marked for tube, however it appeared the tire had sealed well, as it took quite an effort to break the beads.
I reinstalled both the front and rear with new Bikemaster tubes.
As I pulled the rear axle, everything decided to fall apart
.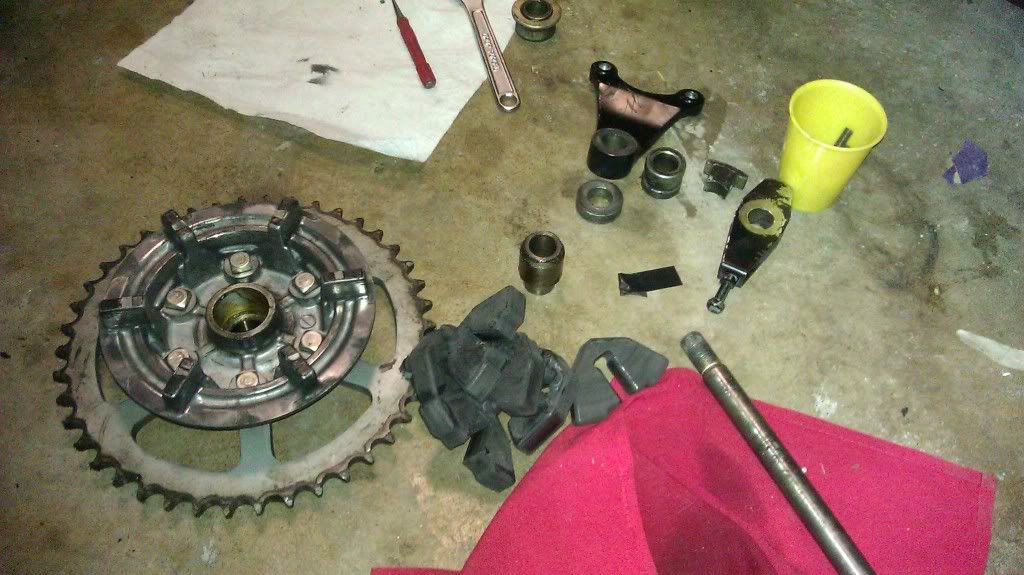
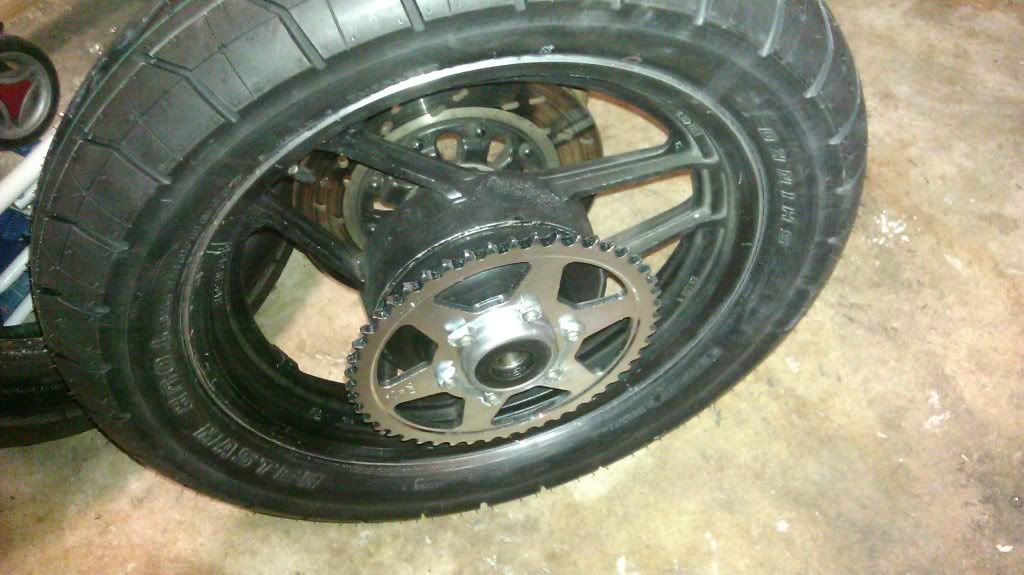
Installed the new rear sprocket.
Have a day off tomorrow from work, so I'll finish the sprocket install, trim down my 116 link chain to 114, then hopefully FIRE IT UP!
Nic
gearhead13
Guest
I just paid $265 for one tire with mounting and balancing on my rim.
(~$210 for the tire and $55 for mount/balance and new valve stem)
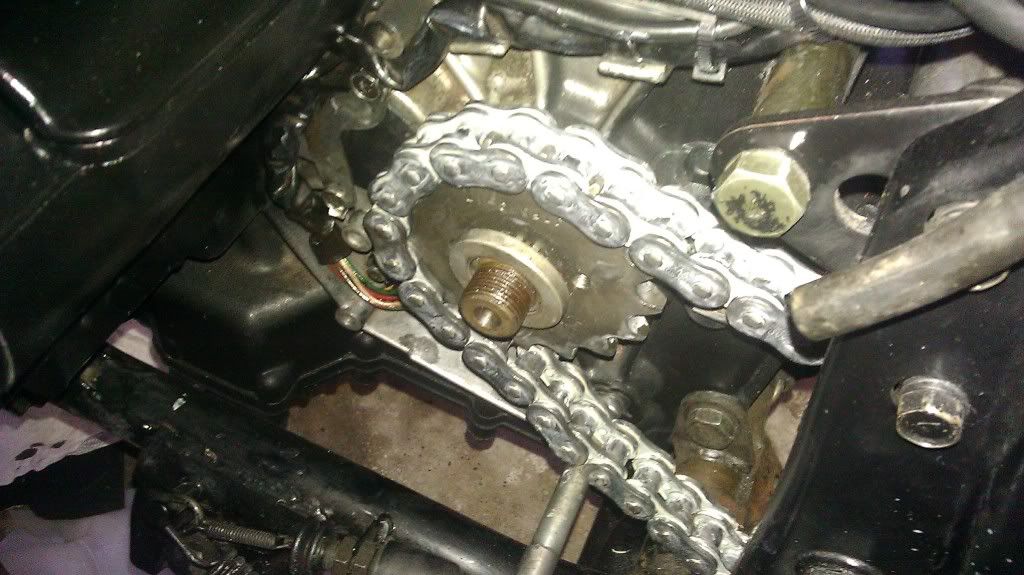
I mocked up the 116 link chain i got, and I'm actually quite happy with the fit. I doubt I would have been able to get a master link in if I had the 114. The gap would have been much to big.
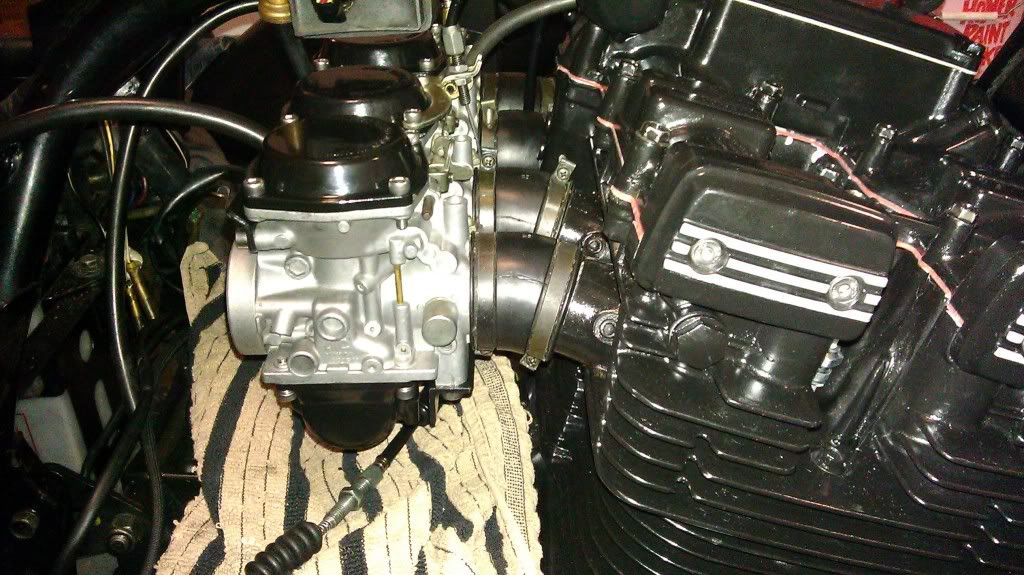
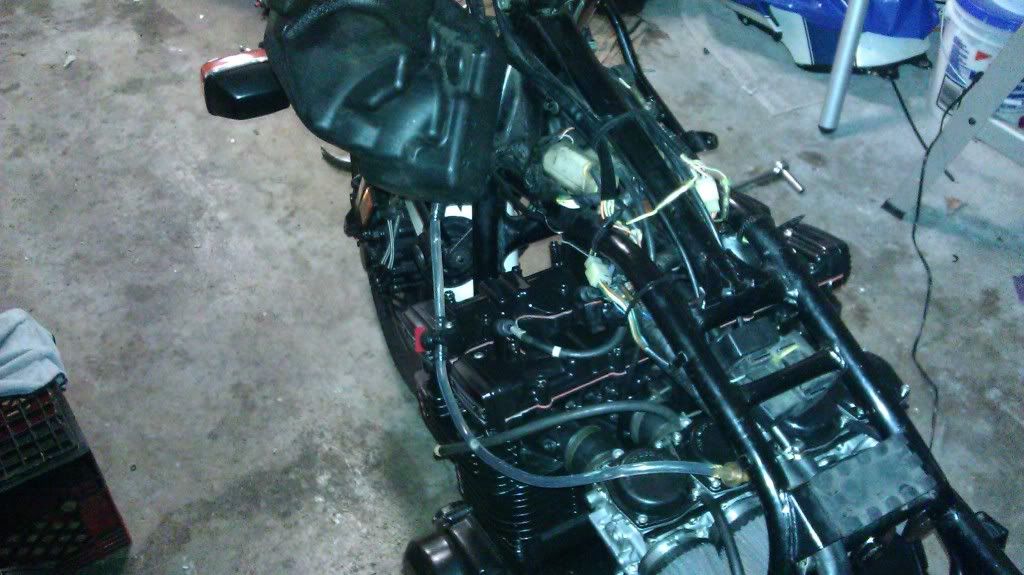
After getting the chain to 3/4 inch on slack it was time to prep for first fire up.
I hung an extra fuel tank from a lawnmower on the handlebars, ran some 1/4 line with a fuel shut off valve, capped off the vacuum line with a golf T, and was ready to go.
LIGHTS, CAMERA, ........
CLICK!!!!!! DAMN!!!!

I'm getting power to the selenoid since it'll click when i hit the starter button, but I'm thinking the battery just doesn't have enough juice to turn the starter.
I hope.
It hasn't been on a charger since the rebuild started, and has just hung out in the battery basket on the frame.
I've got it on a charger now, so I'll let it go overnight and when I get home from work I'll look at it a bit closer.
Nic
 Tomorrow is another day though. Hope it goes well.
Battery now with full charge... Grounds sorted out...
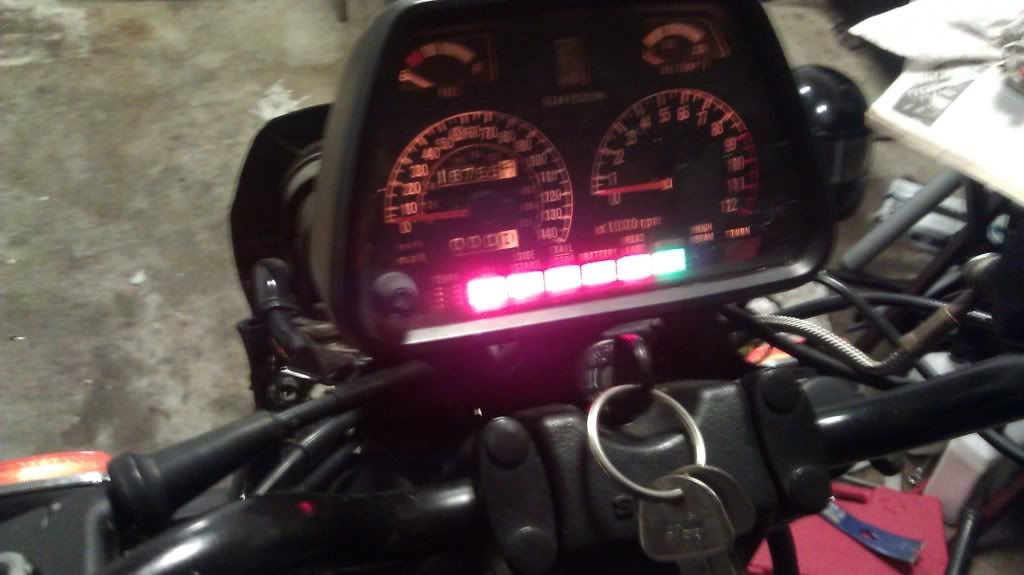
LIGHTS! :| CAMERA!!
 ray: ACTION!!!
  :dancing:
http://s1100.photobucket.com/albums/g418/niclpnut/?action=view¤t=VIDEO0011.mp4
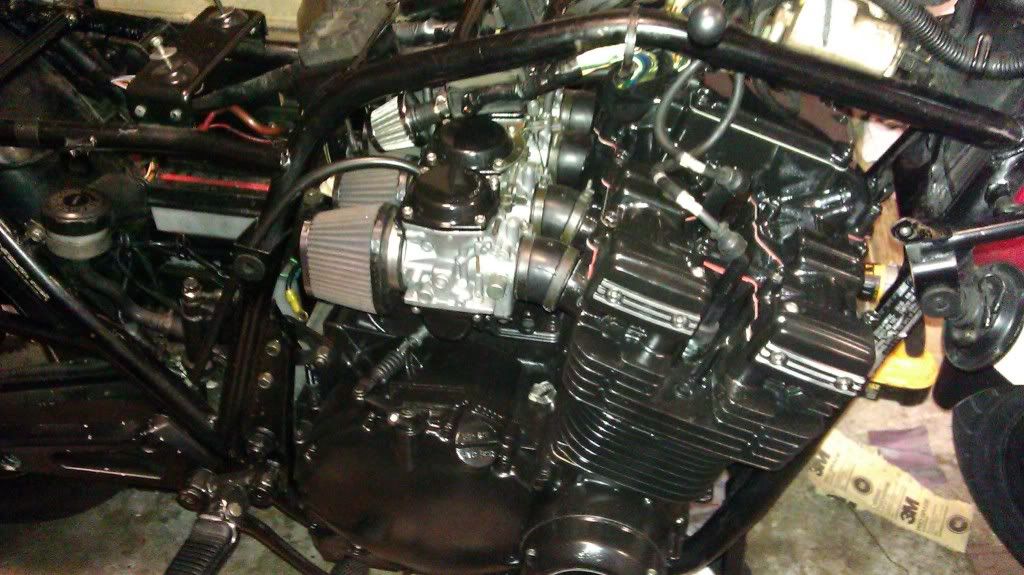
OK, It was technically the second fire up. Idle was way to high, so had to quickly kill it and adjust. However, It fired right up with no hesitation. Wish the microphone picked up the sound with a little less distortion, but IT RUNS!
Initially I saw some smoke originating around the header and thought AHHHHHHHH CRAP! But, it just turned out to be some crap burning off the pipe.
Also, I think I had too much fuel flowing through the line, and it flooded out and dripped on the case around the oil temp/pressure sensor.
Took some paint off

A little repaint is a price I'll pay if everything else goes well
Nic