M
miked
Guest
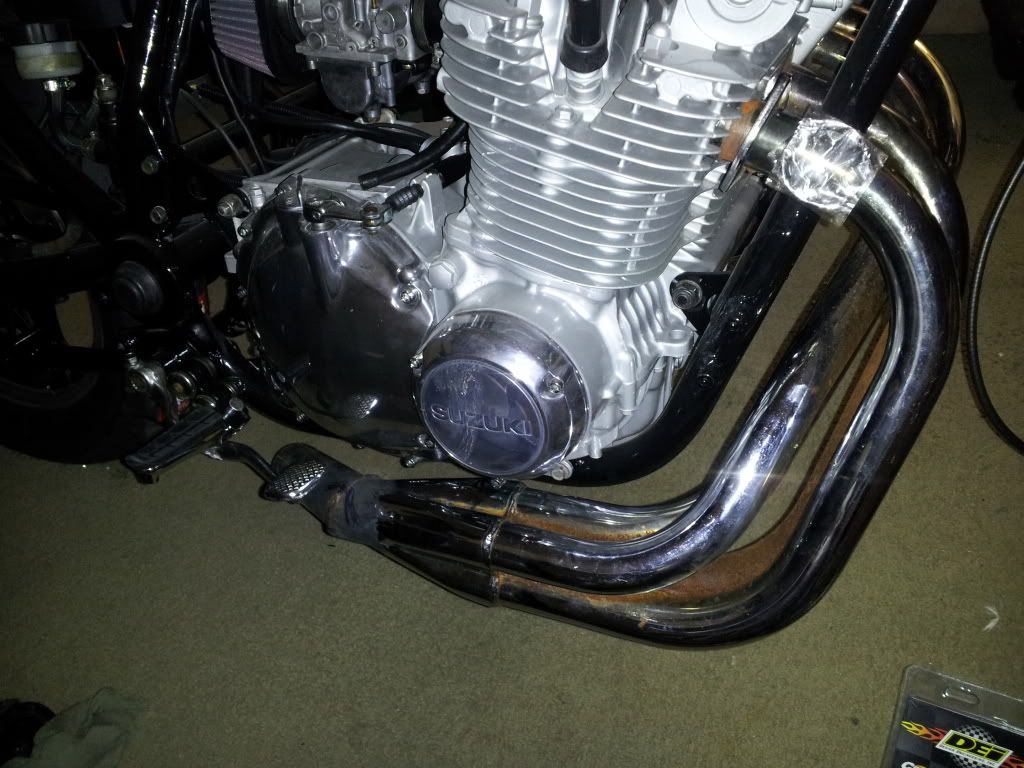
Dunno why i would mask off parts i don't see. Not like paint over-spray is going to cause an internal failure. Its not like i plastered paint in areas i wasn't planning to see... I separated the coils of the tensioner spring with a razor since it got a little gummed up but other then that its all functional and sealed properly.. No point in being tedious about painting like this.
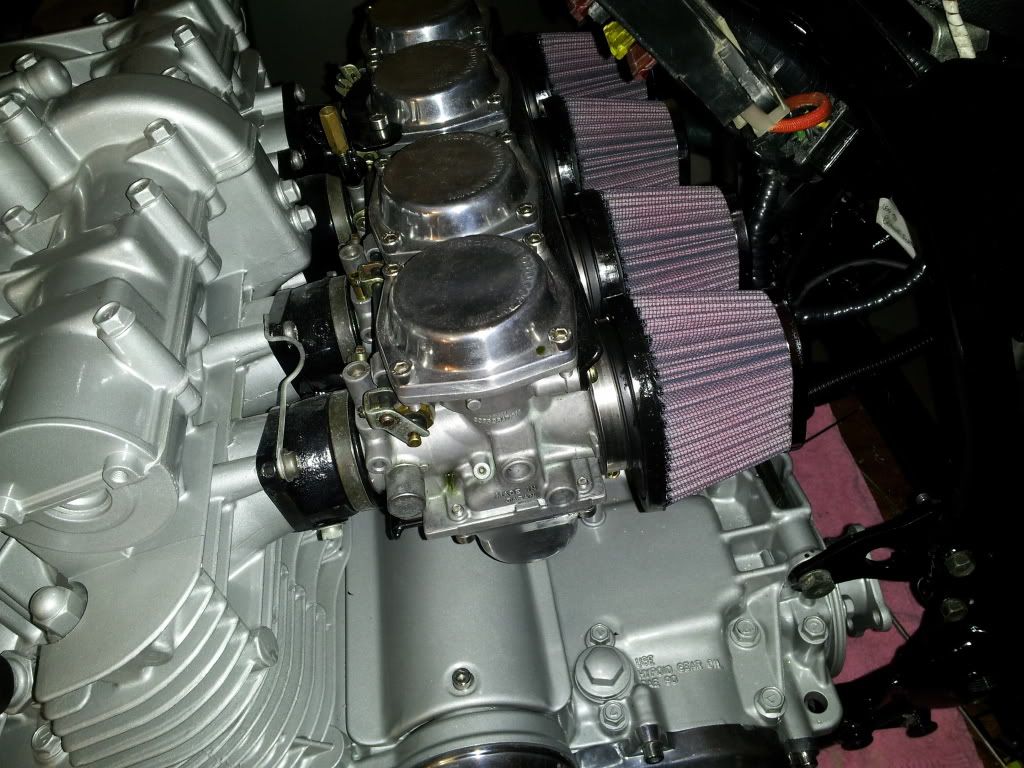
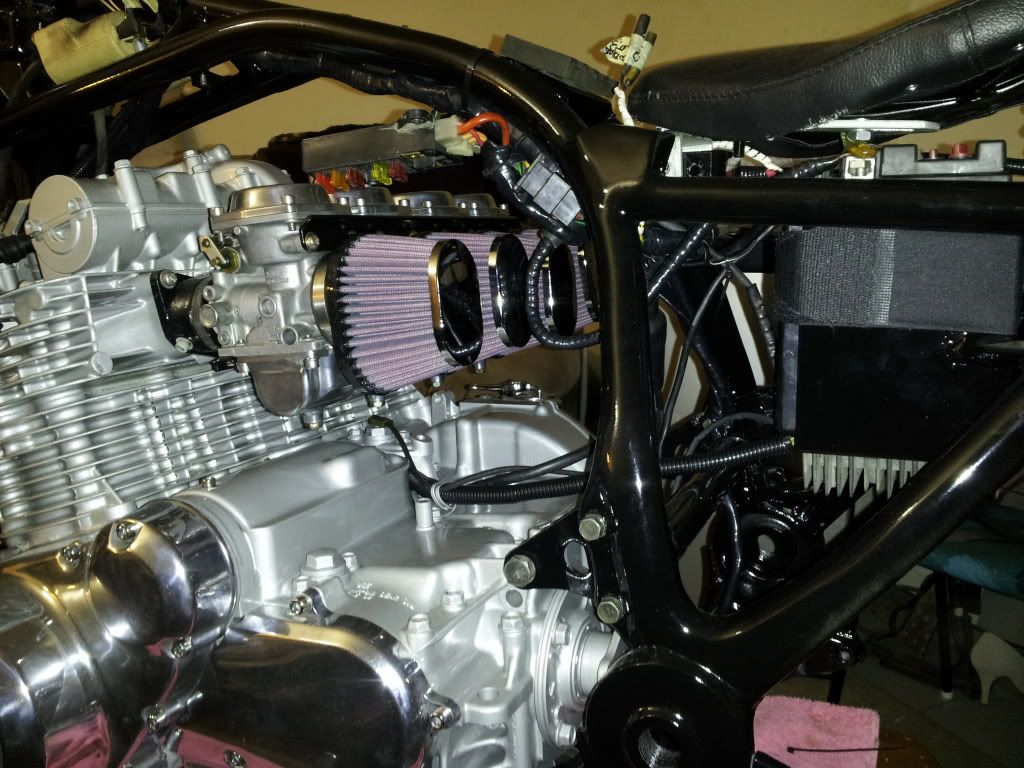
because leaving paint in the threads and bolt holes causes both paint and dirt debris to be in/on the threads when you go to tighten up, affects torque effectiveness and hogs the bolt holes out. The tensioner is understandable, but it only takes a few minutes to attend to the final details of putting tape over studs and dummy bolts in holes to protect the threads. Else you are left using a die to clean the studs off and chasing the threads to clean the holes out. The pre-paint prep actually saves you time during assy. Not doing this is kinda sloppy. My .02
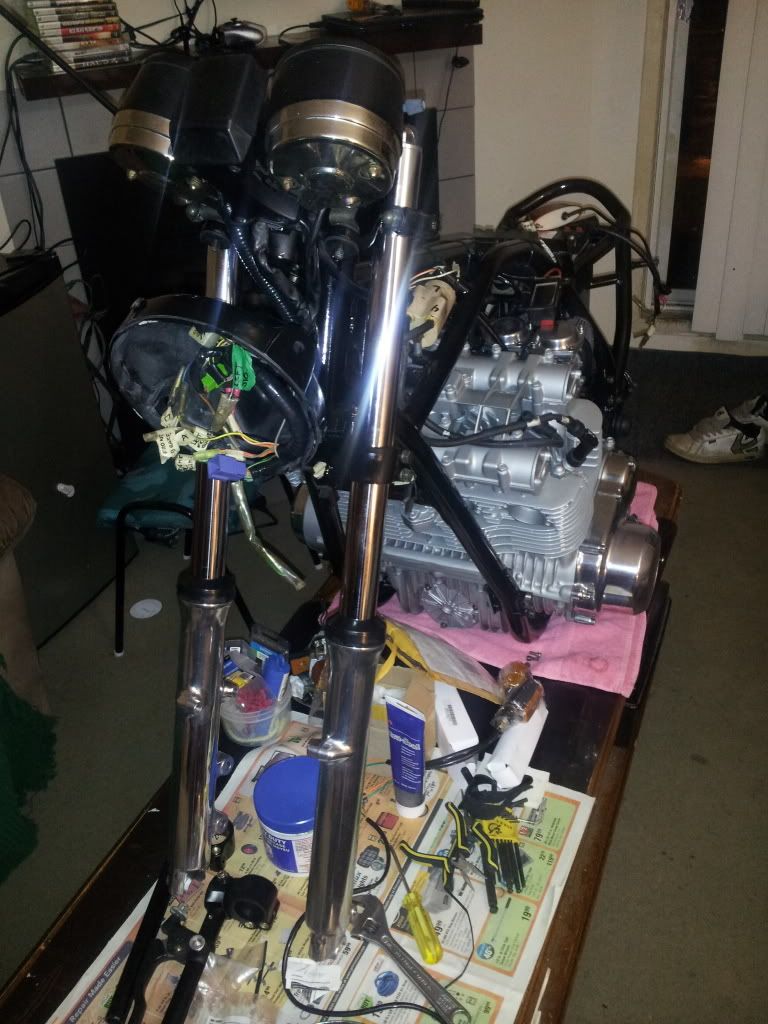
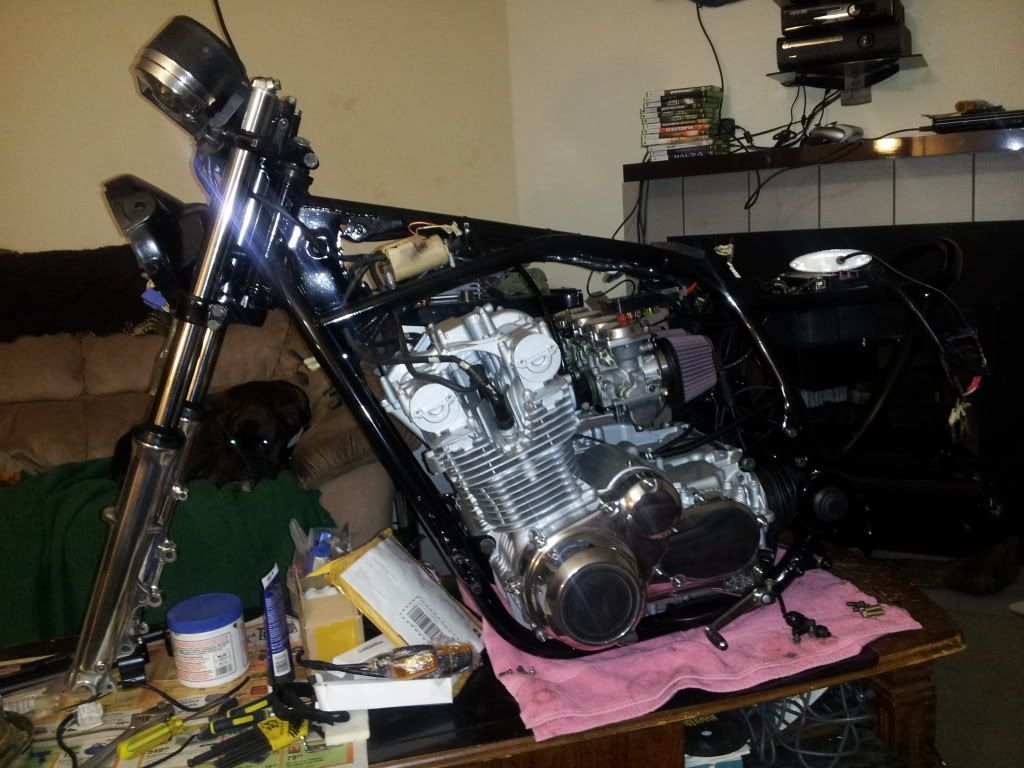
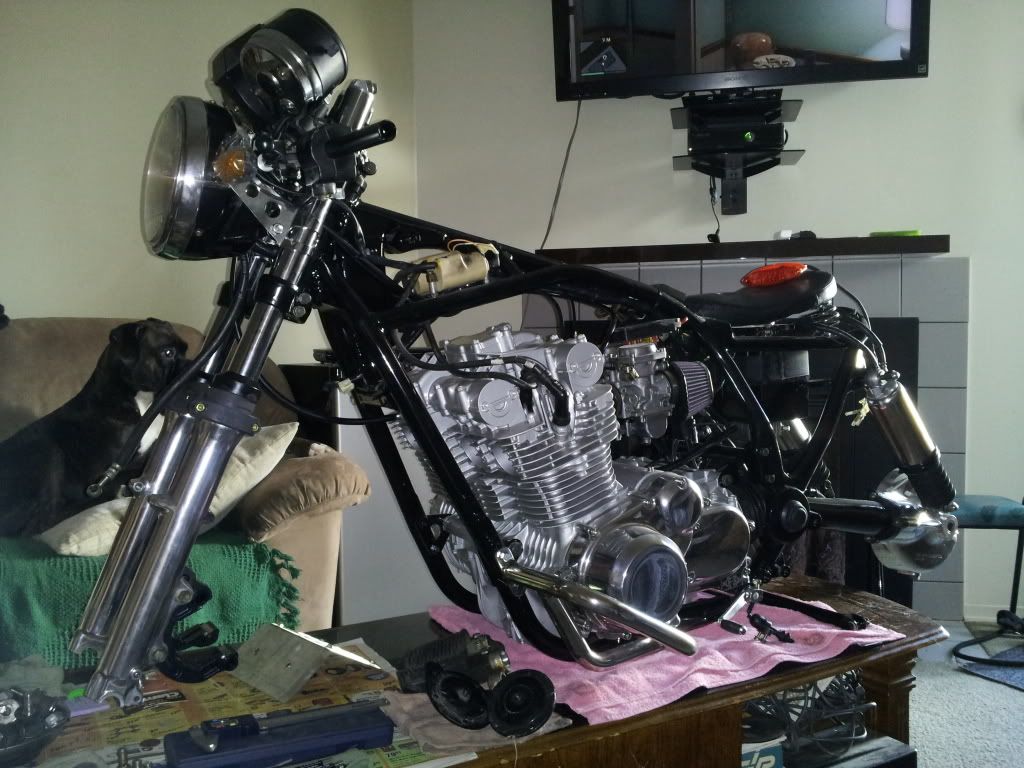
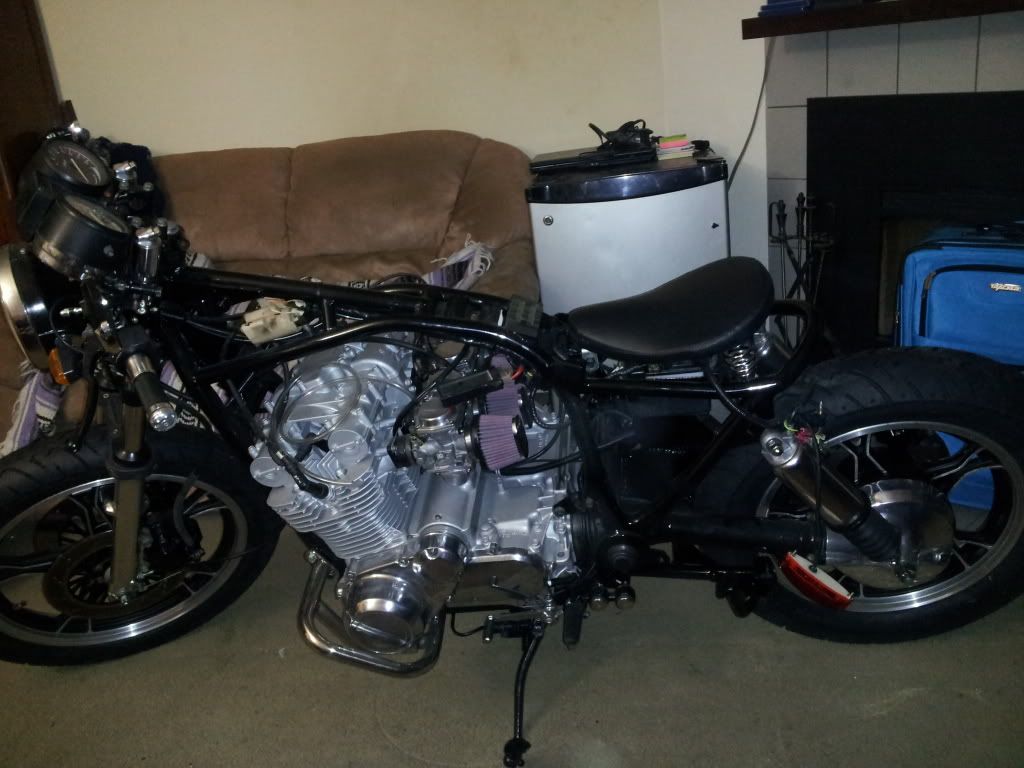
ETA: the motor and polishing look nice
Last edited: