• Required reading for all forum users!!!

    Welcome!
    Register to access the full functionality of the GSResources forum. Until you register and activate your account you will not have full forum access, nor will you be able to post or reply to messages.

    A note to new registrants...
    All new forum registrations must be activated via email before you have full access to the forum.

    A Special Note about Email accounts!
    DO NOT SIGN UP USING hotmail, outlook, gmx, sbcglobal, att, bellsouth or email.com. They delete our forum signup emails.

    A note to old forum members...
    I receive numerous requests from people who can no longer log in because their accounts were deleted. As mentioned in the forum FAQ, user accounts are deleted if you haven't logged in for the past 6 months. If you can't log in, then create a new forum account. If you don't get an error message, then check your email account for an activation message. If you get a message stating that the email address is already in use, then your account still exists so follow the instructions in the forum FAQ for resetting your password.

    Have you forgotten your password or have a new email address? Then read the forum FAQ for details on how to reset it.

    Any email requests for "can't log in anymore" problems or "lost my password" problems will be deleted. Read the forum FAQ and follow the instructions there - that's what we have one for...

  • Returning Visitors

    If you are a returning visitor who never received your confirmation email, then odds are your email provider is blockinig emails from our server. The only thing that can be done to get around this is you will have to try creating another forum account using an email address from another domain.

    If you are a returning visitor to the forum and can't log in using your old forum name and password but used to be able to then chances are your account is deleted. Purges of the databases are done regularly. You will have to create a new forum account and you should be all set.

Jennifer's Makeover

  • Thread starter Thread starter Flyboy
  • Start date Start date
Ok, being a public holiday here today, I indulged myself and spent it working on Jennifer.
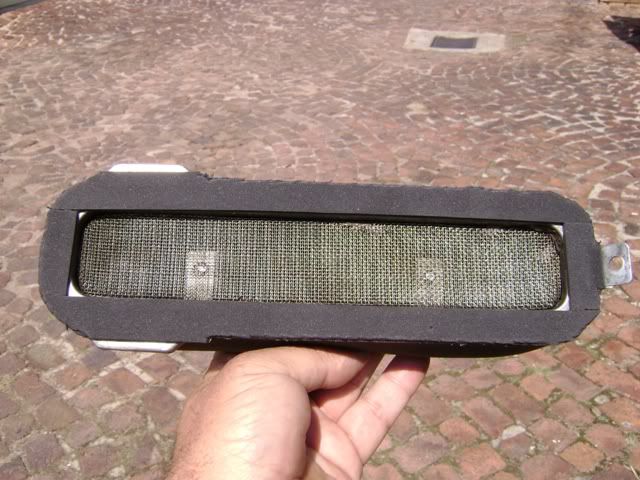
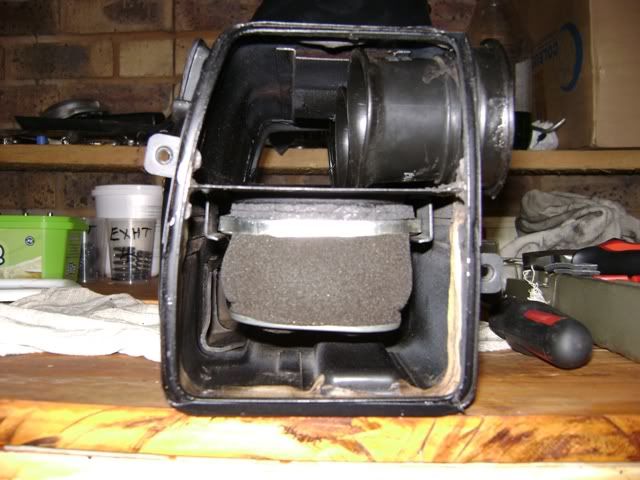
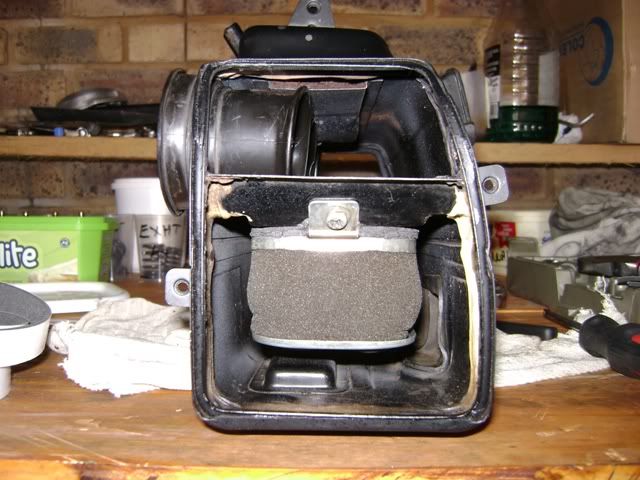
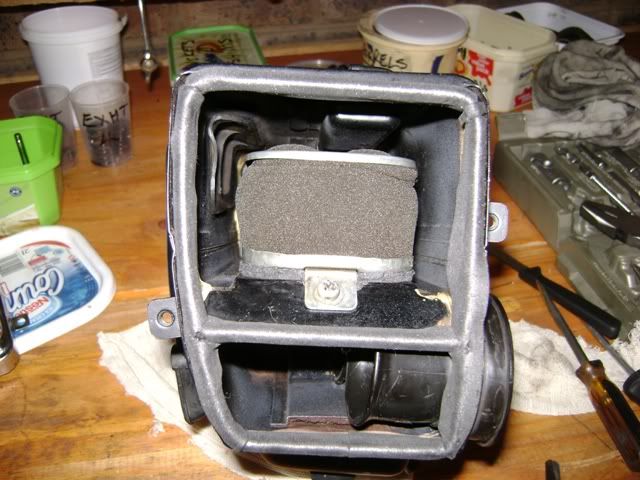
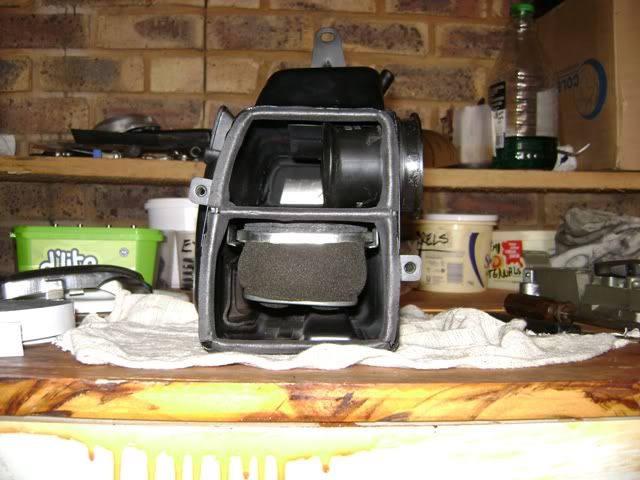
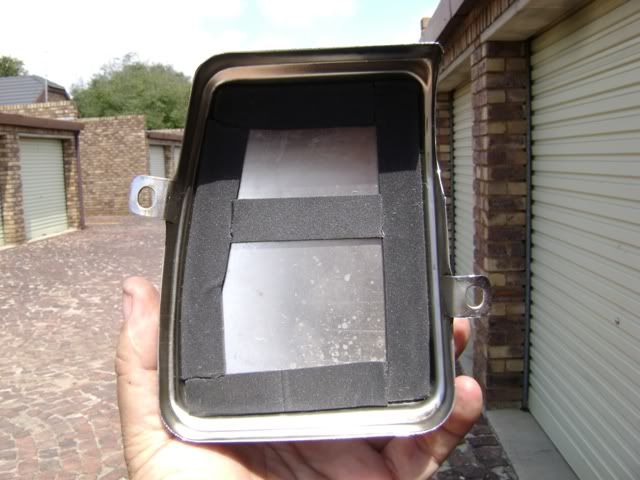
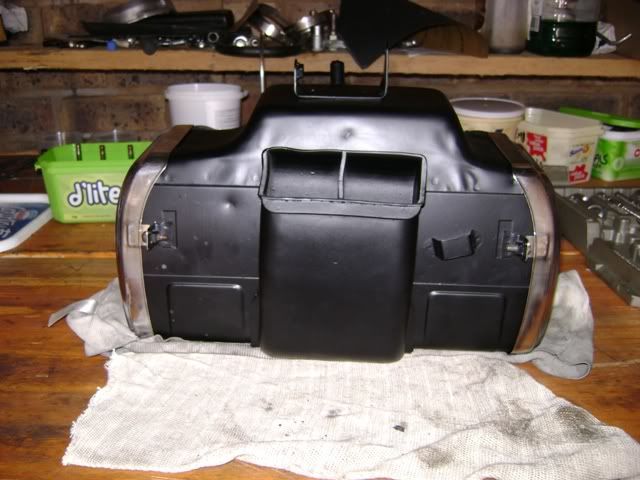
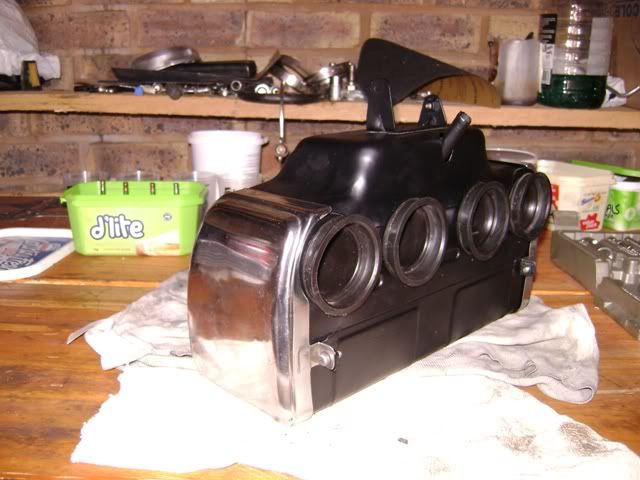
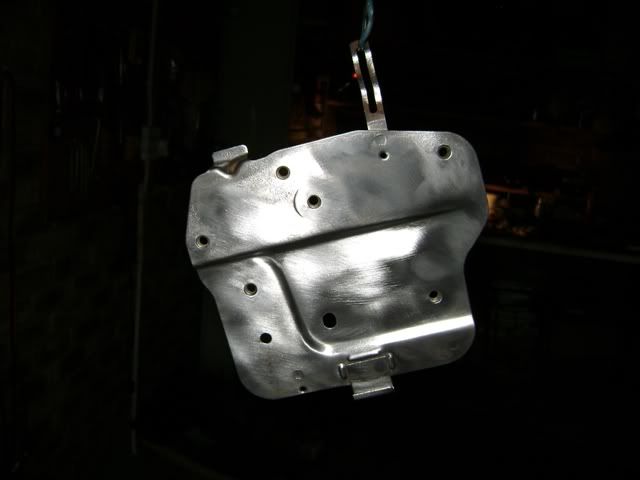
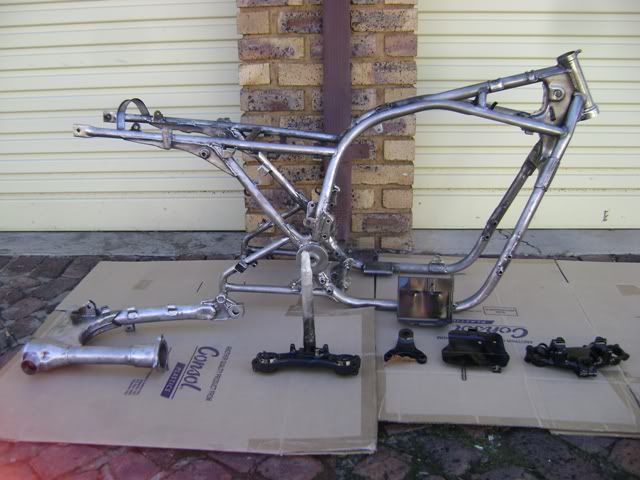
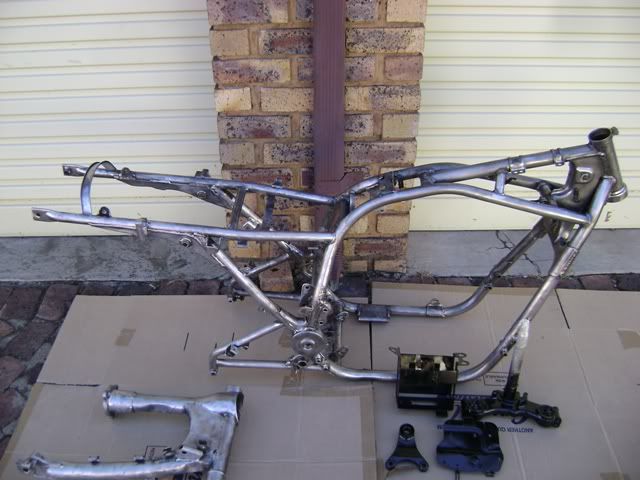
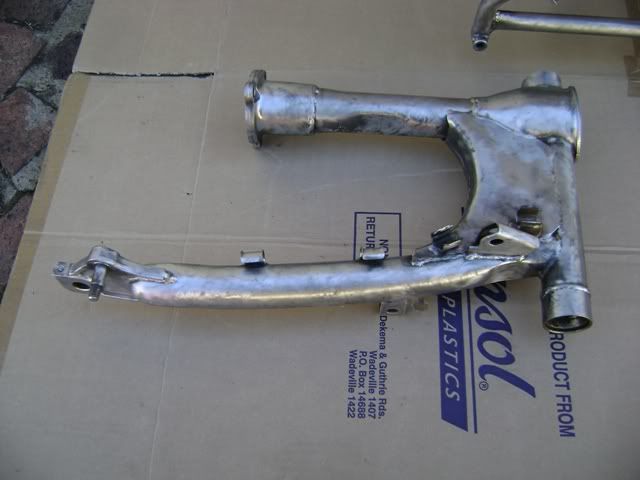
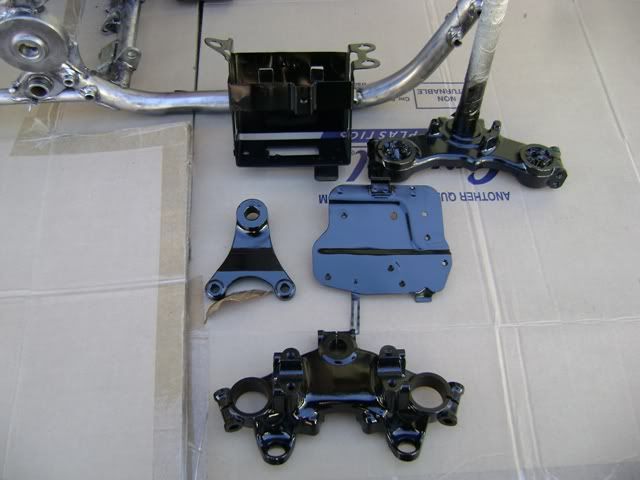
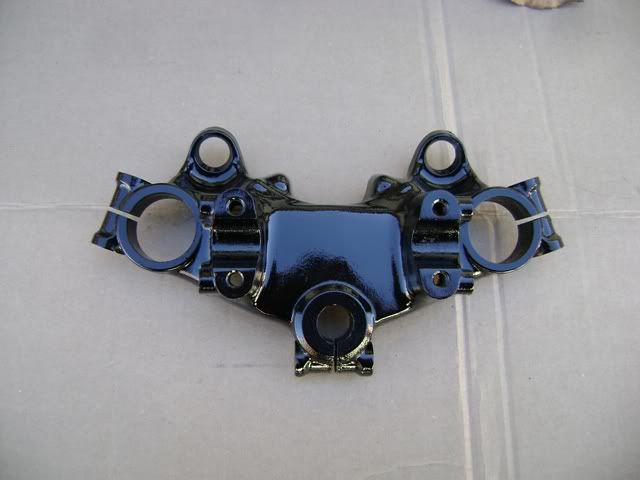
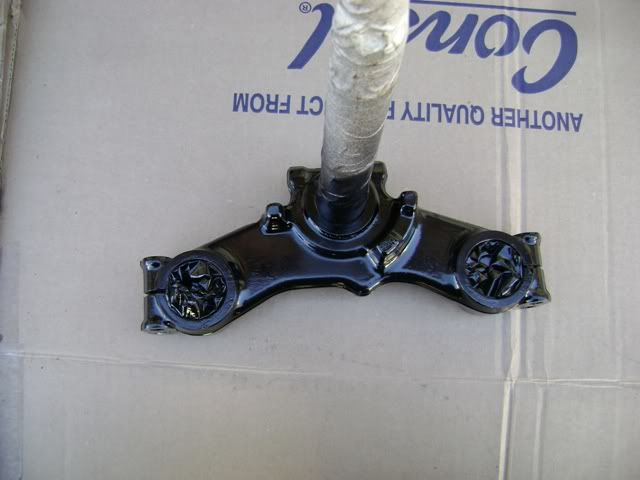
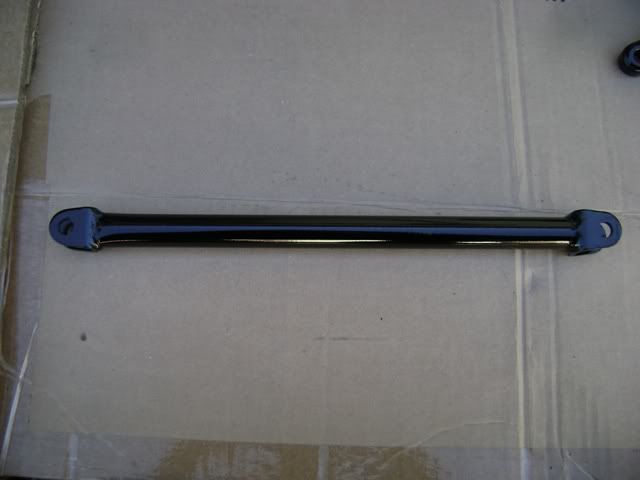
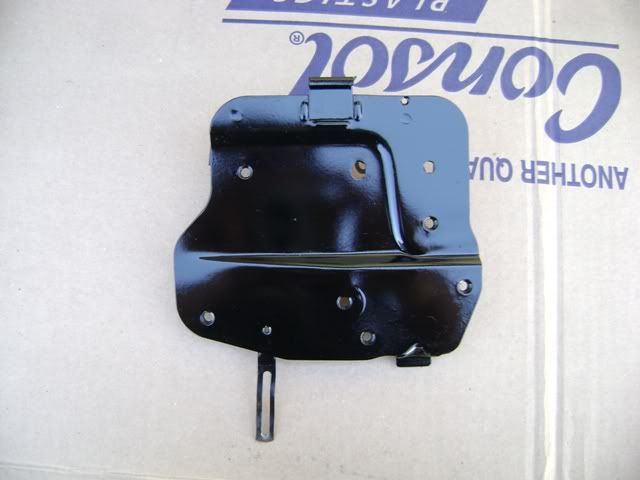
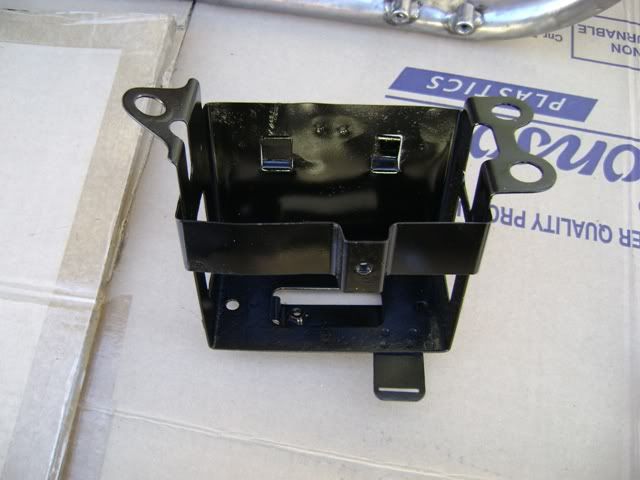
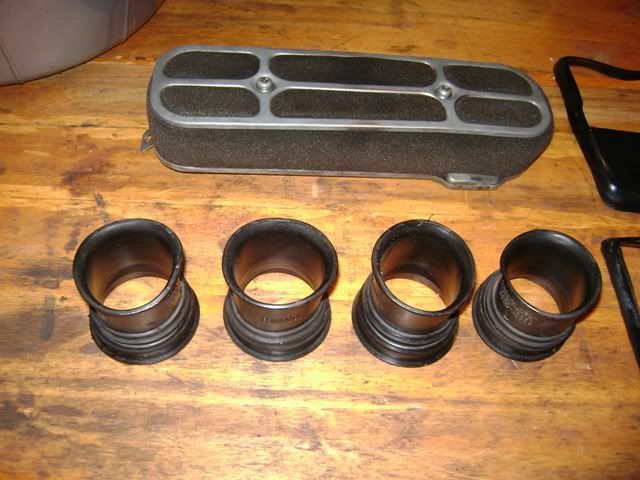
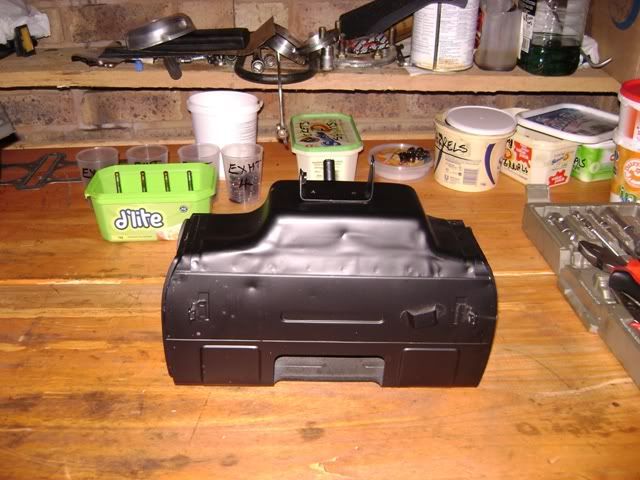
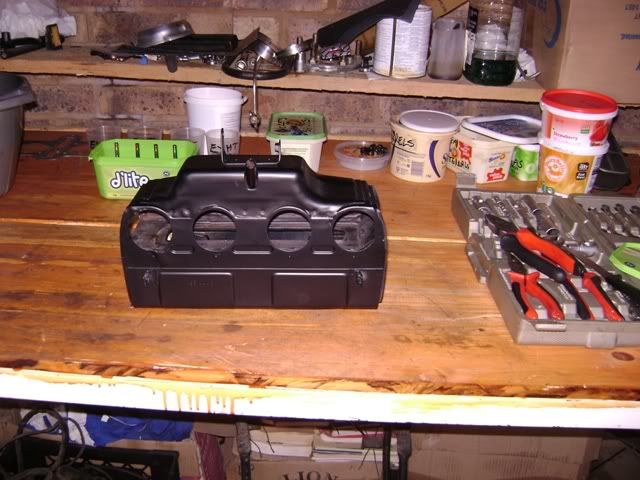
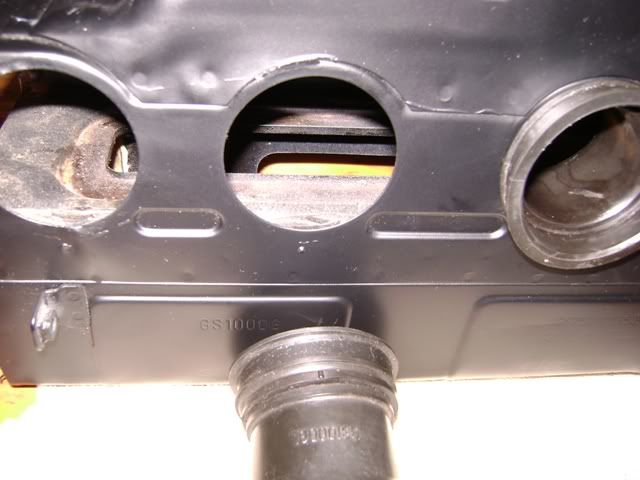
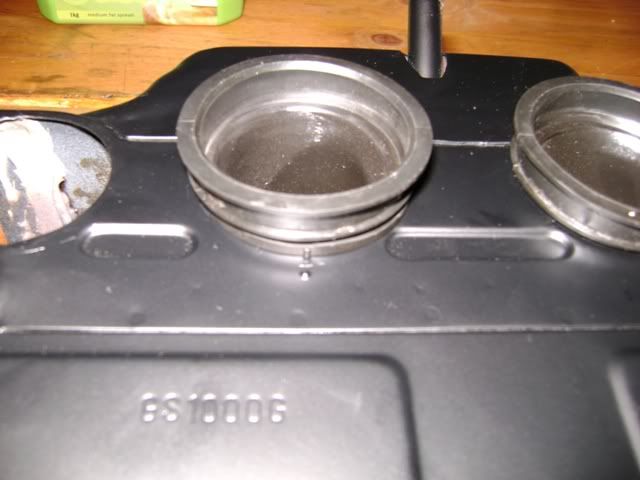
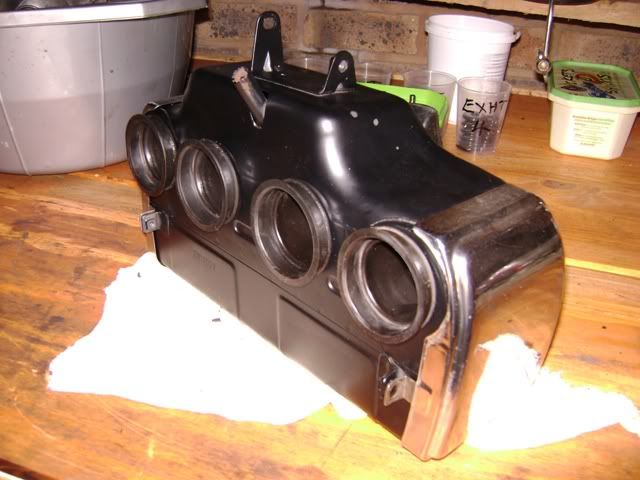
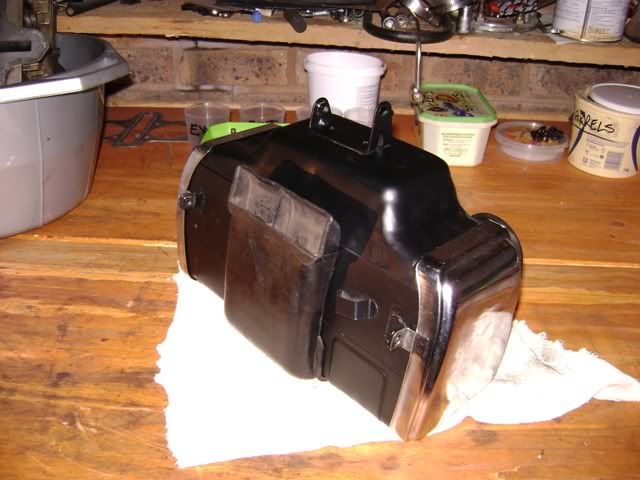
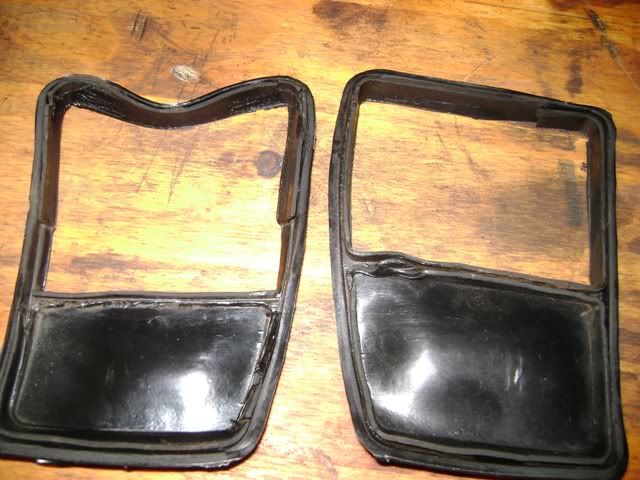
Until now I have been busy with the frame and associated pieces, carbs and airbox.
The plan was to build her up to rolling chassis and do the motor last, but after some consideration, I have decided that is not the best way to go, as I know that trying to lift the motor into the frame is going to leave scratches for sure, so I have decided to turn the whole shooting match on its side and place the frame over the motor, so as soon as the frame is painted I need the motor to be ready so I can fit it, I think it would be a bit stupid trying to lay the completly assembled bike over the motor.

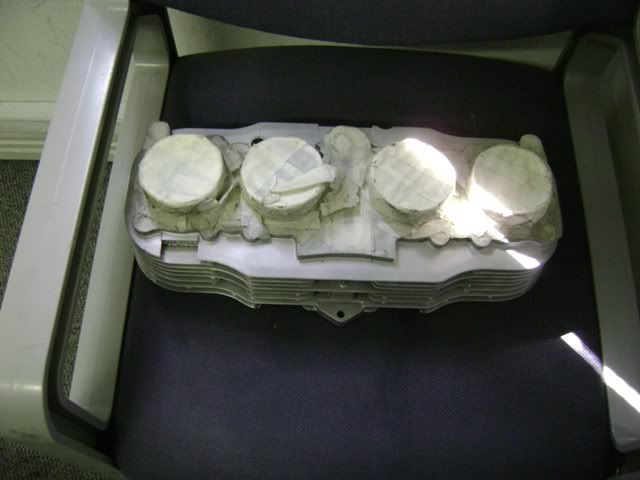
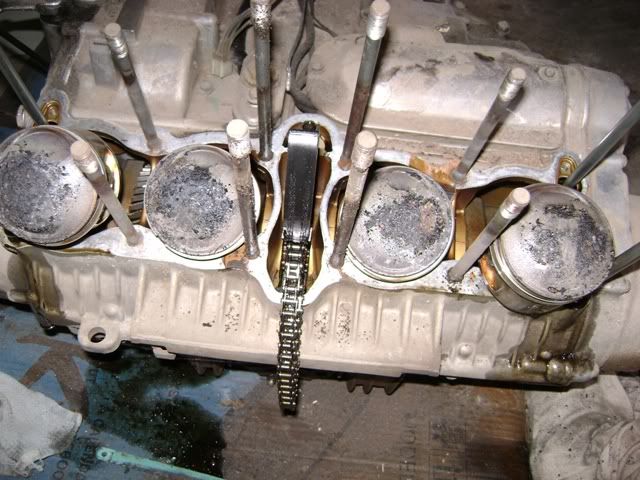
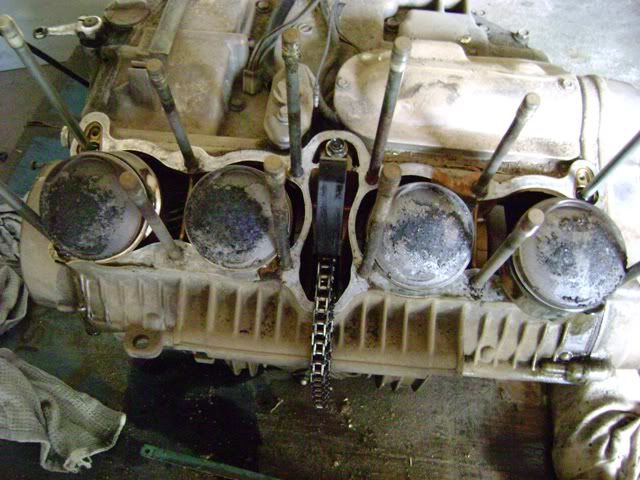
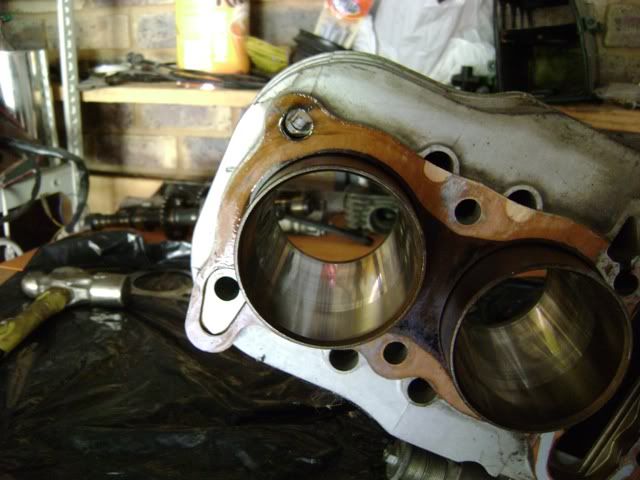
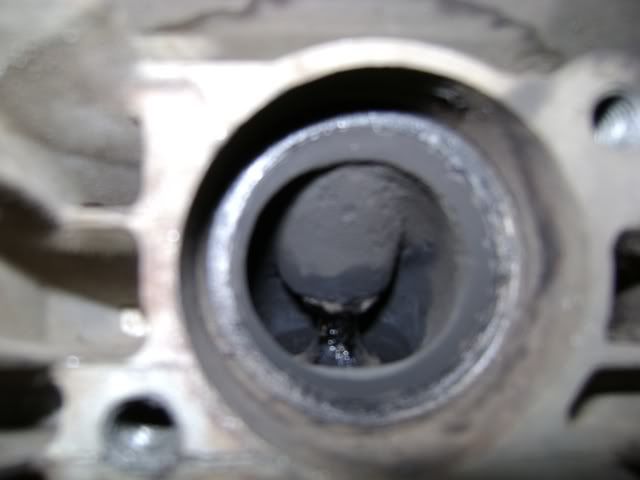
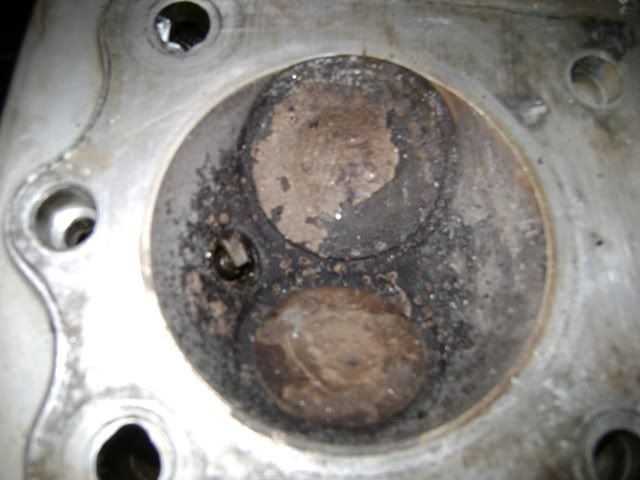
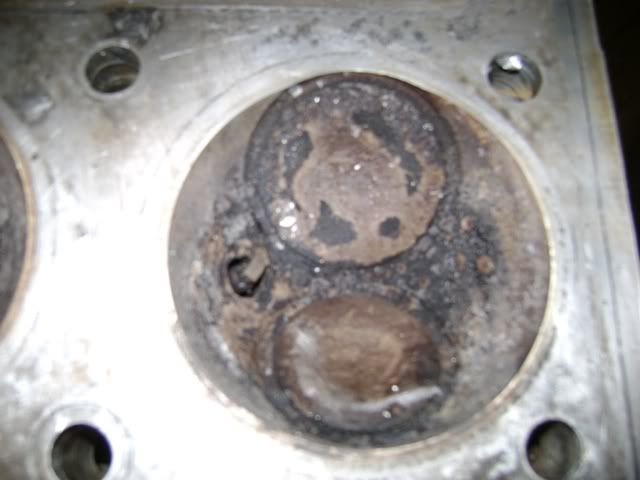
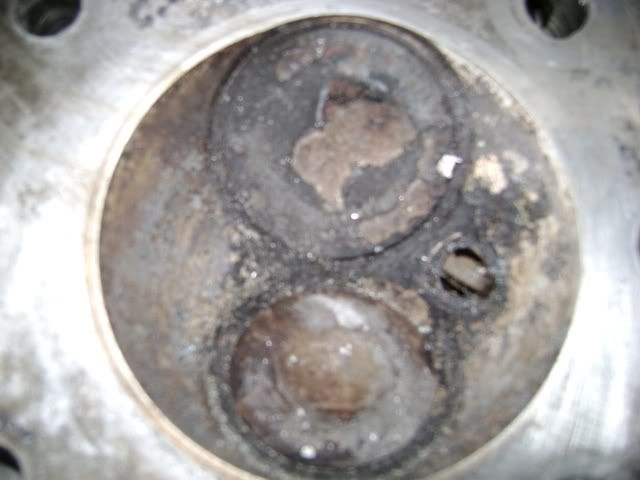
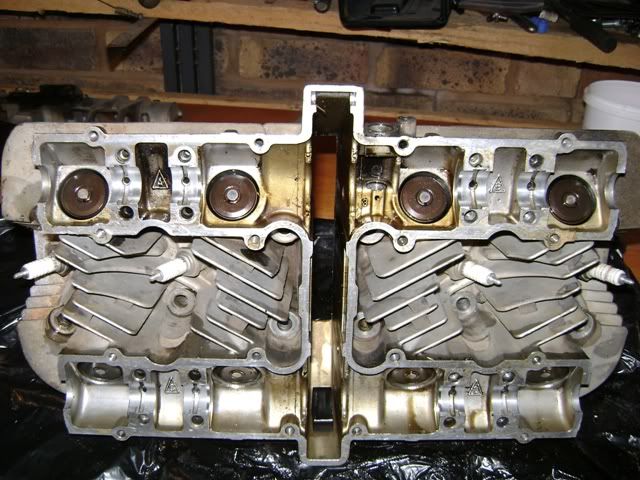
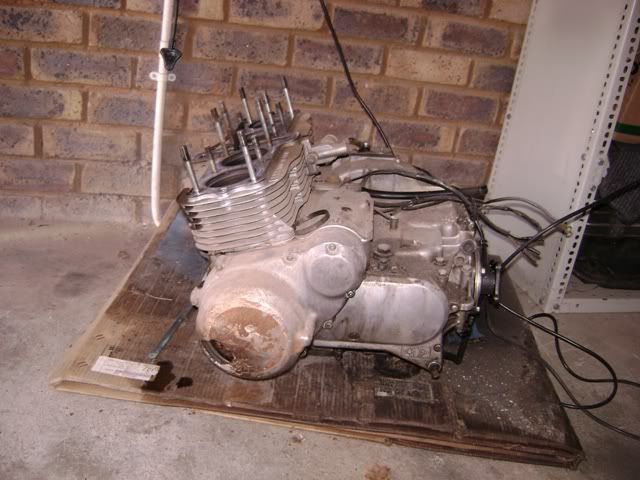
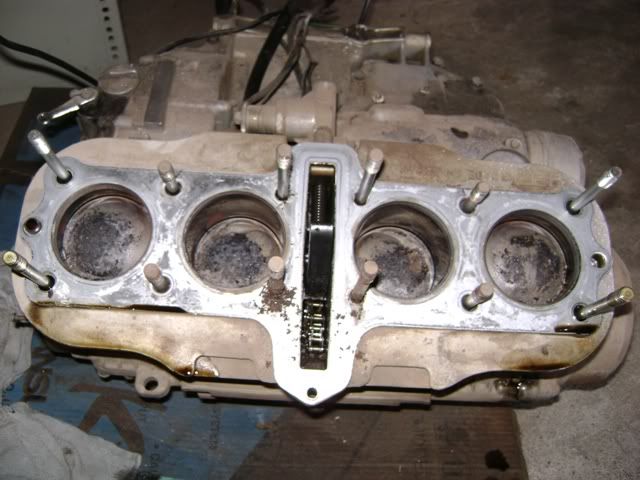
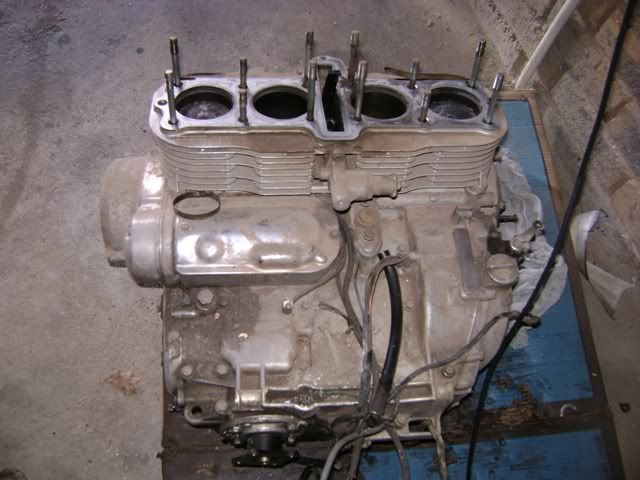
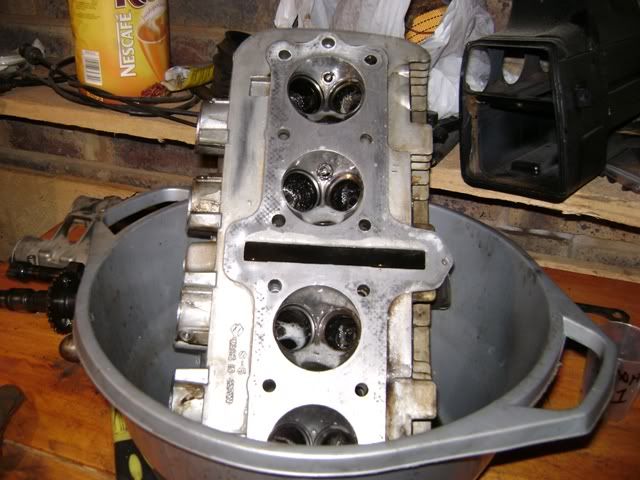
So today I started stripping the motor, the first time it has been opened in its 30 years and 375 000Km, so I was keen to see what the state of the internals were.
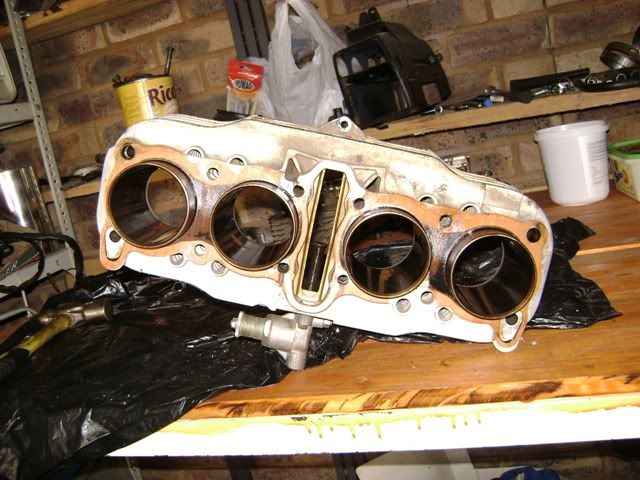
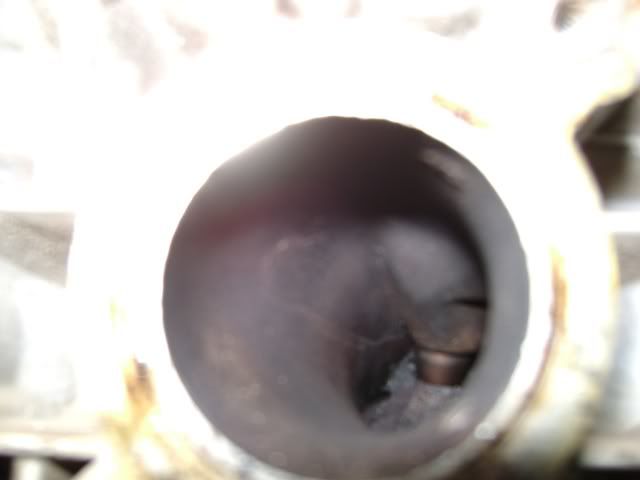
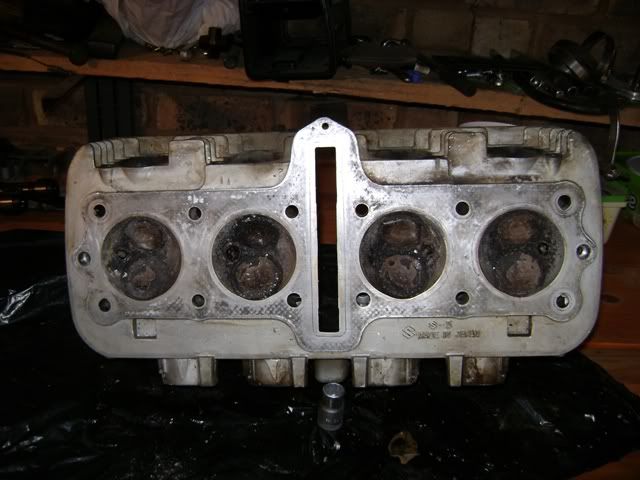
Got the head and barrels off and stripped down to the castings, considering her age and milage, everything looked in pretty good shape, I was quite pleasently surprised, not sure why, we know these motors are bullet proof.
When I read about big failures in these bikes with less than a quarter of the milage, I find it hard to comprehend what abuse their owners must have put them through. :confused:

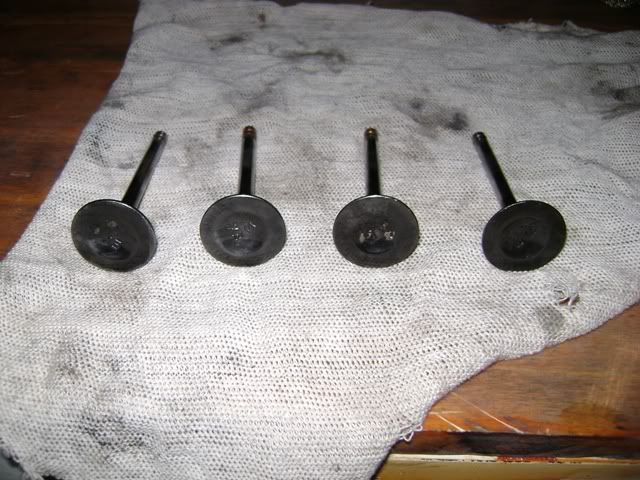
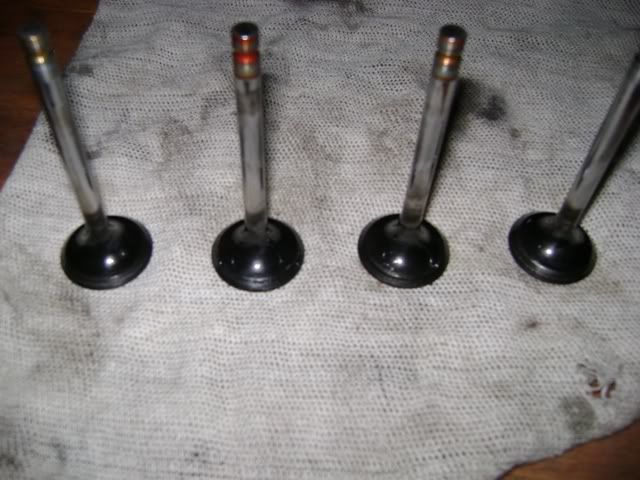
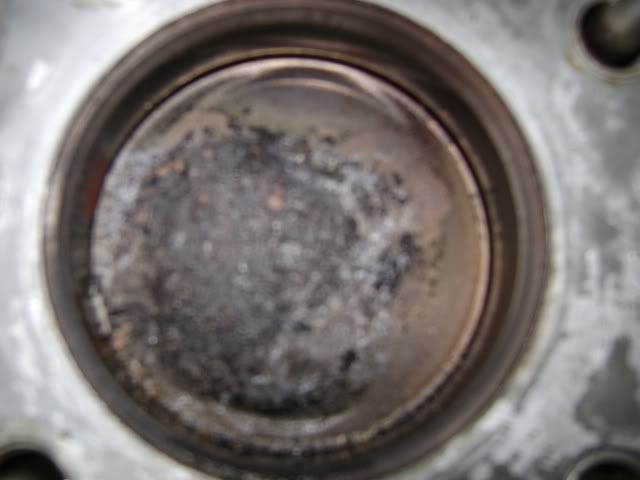
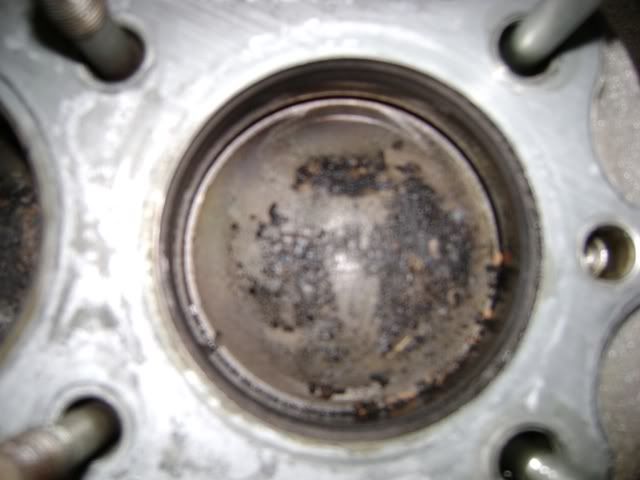
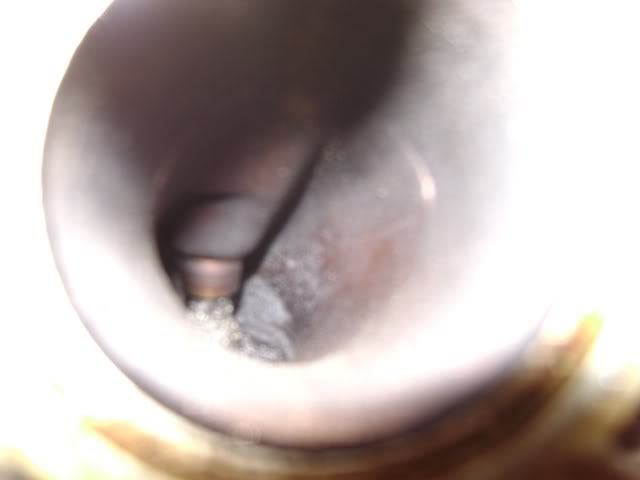
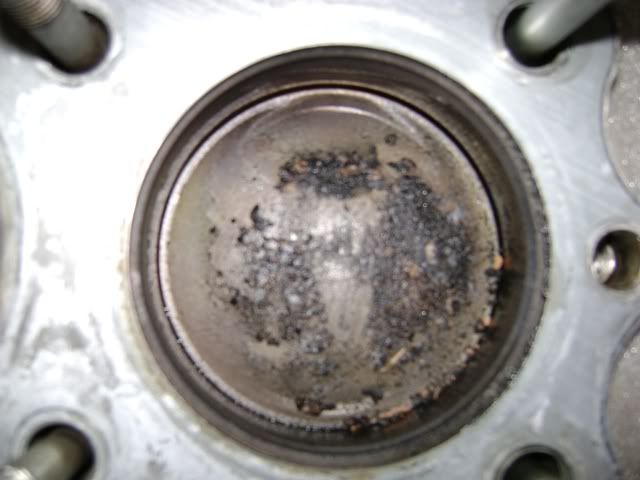
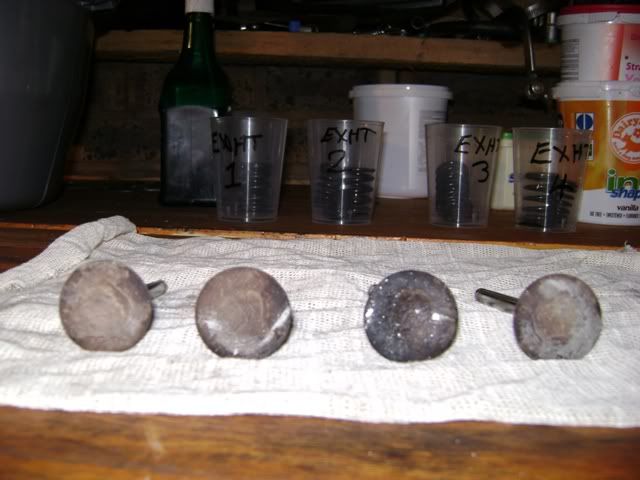
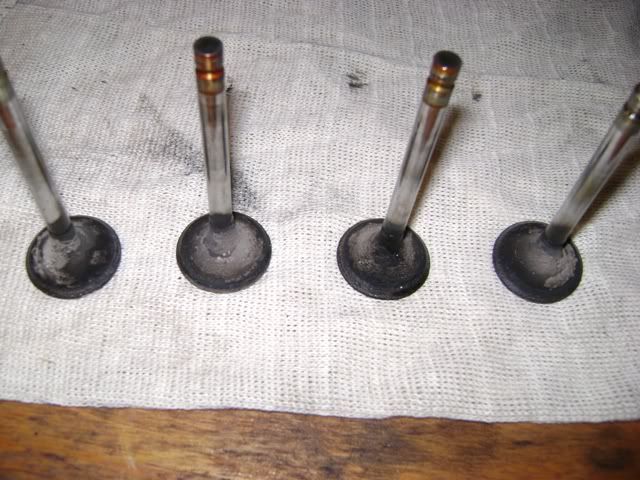
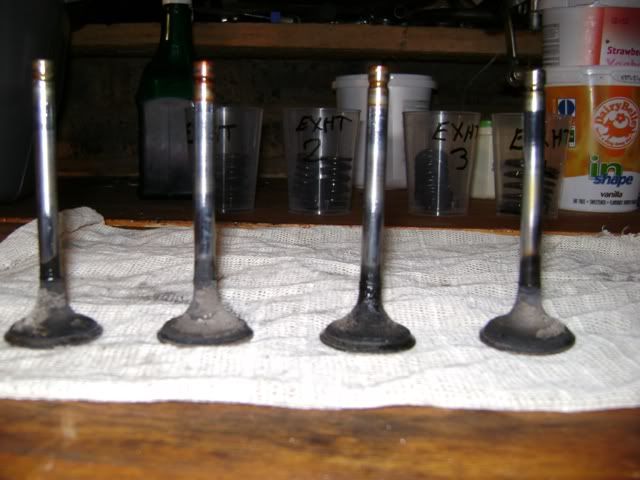
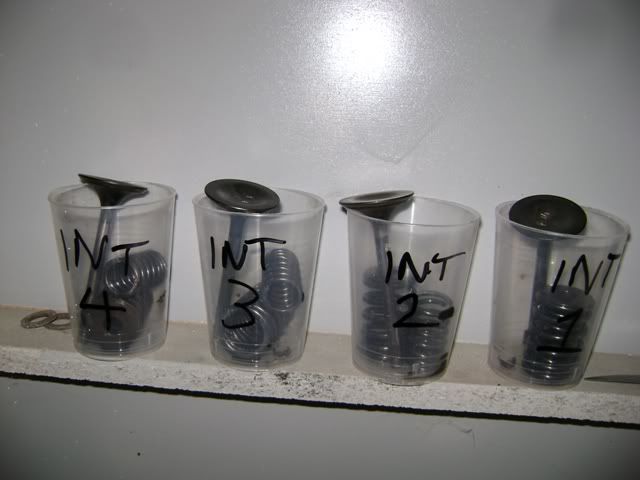
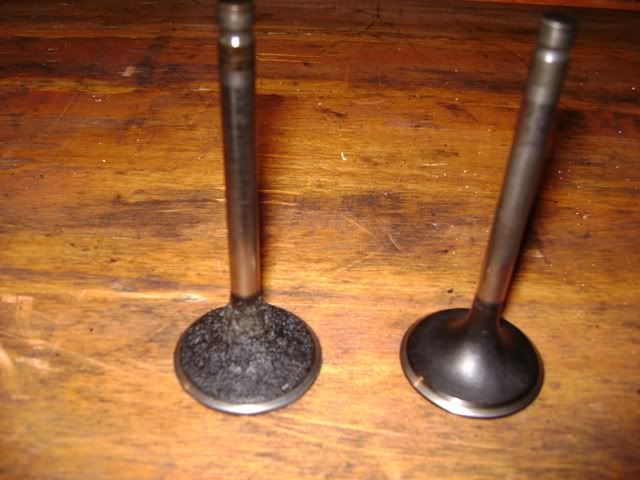
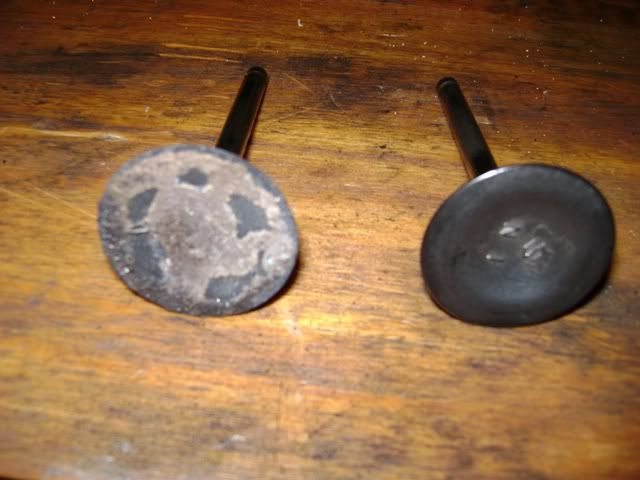
Anyway, found the usual, expected faults, three of the exhast valves leaking after filling the combustion chambers with thinners, although very slowly, just enough to show wetness on the valve stems after standing for about 10-15 minutes, all intakes and one exhast valve seal perfectly.

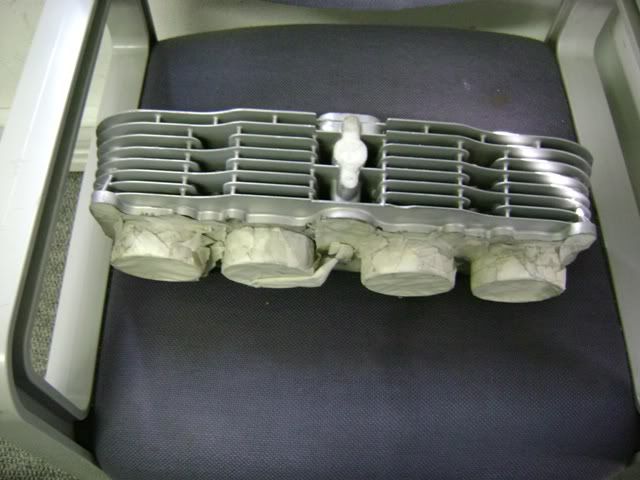
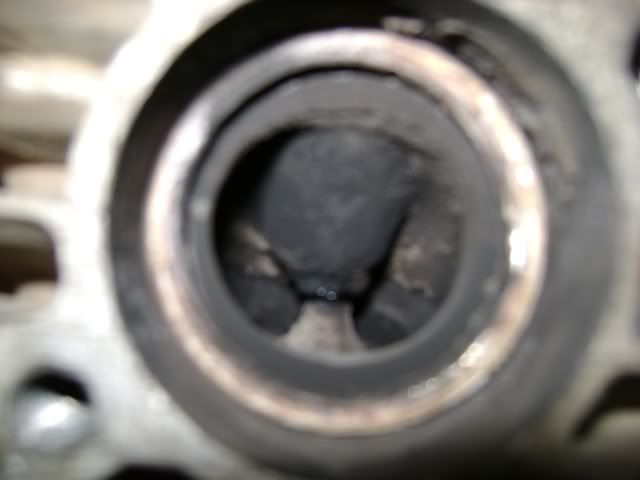
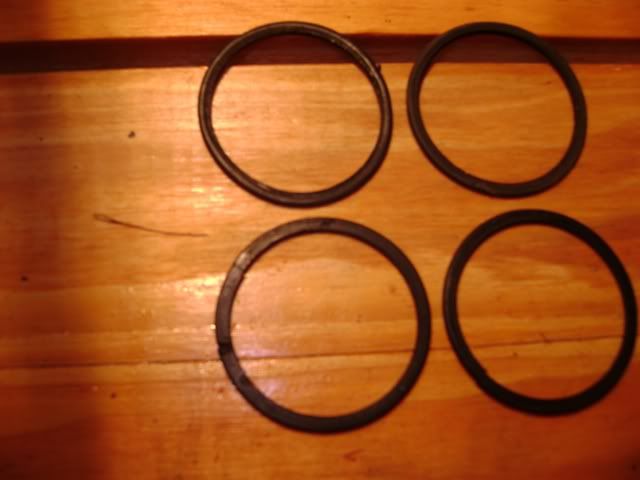
the intake bot O-rings were hard as plastic, as expected but not yet leaking.................yes, yes they are going to be replaced as a matter of course, as will a decent valve lap on all the valves.

Both the timing chain tensioner and Thaco drive were dry, no oil leaks there, exhaust bolts all good, none stripped or broken off.

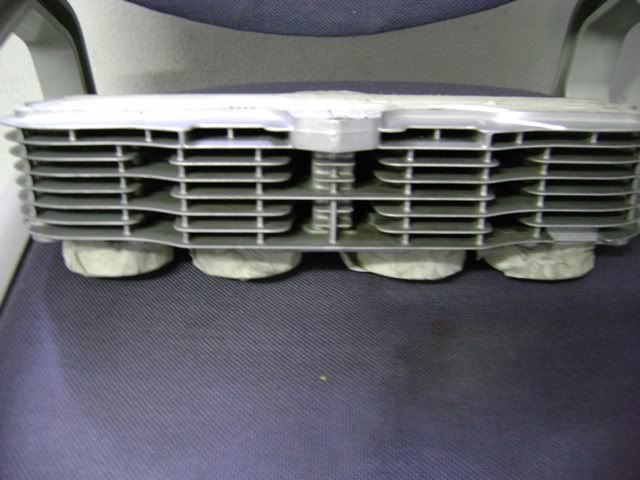
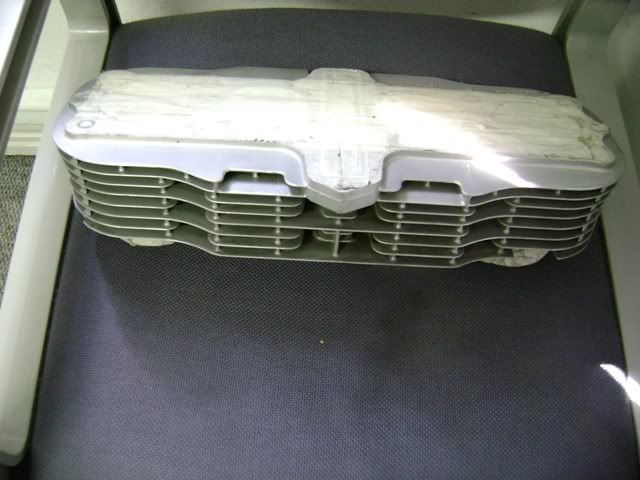
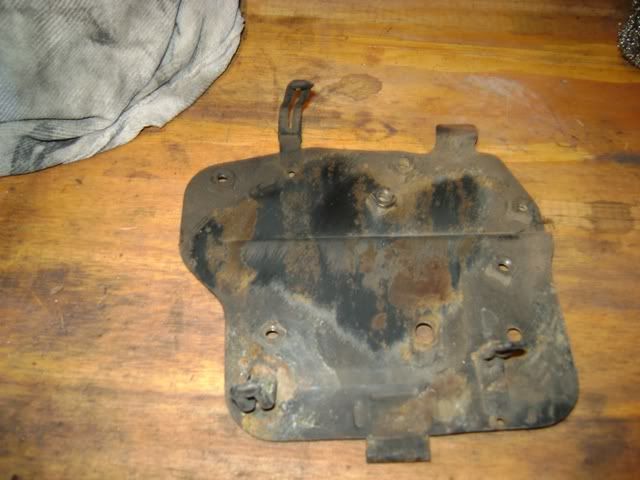
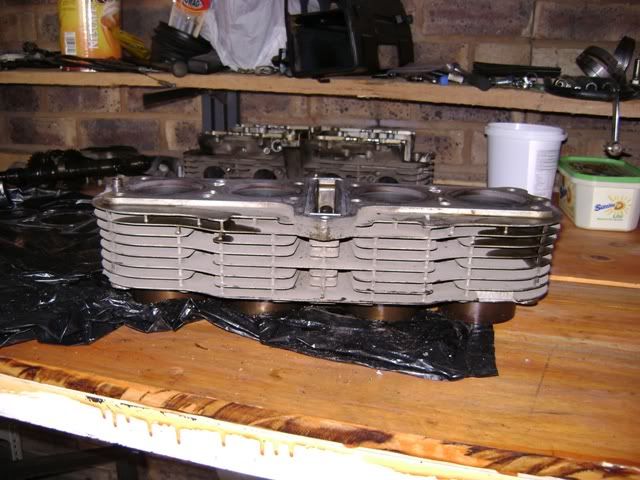
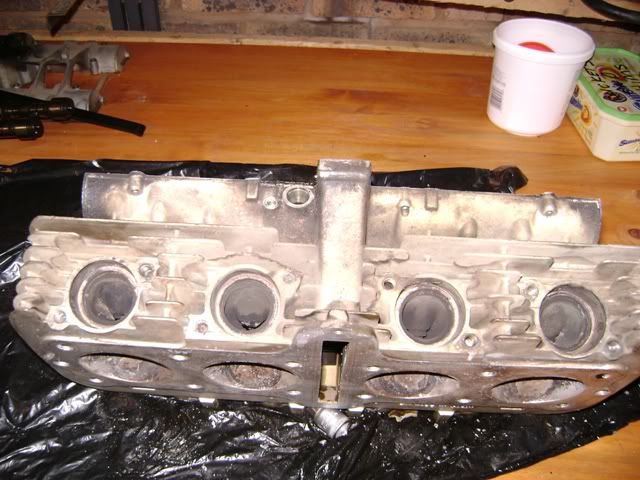
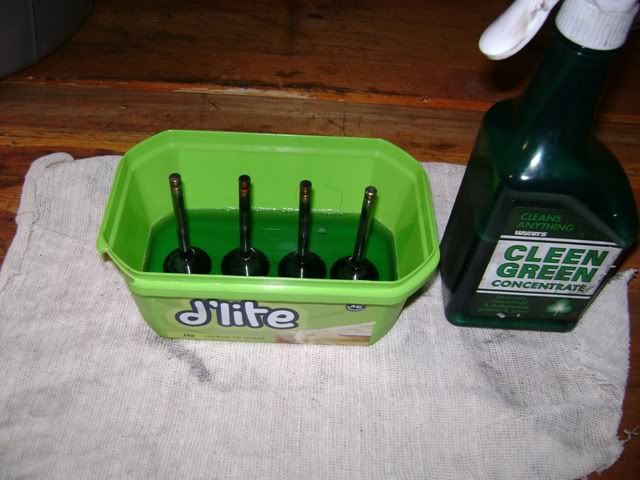
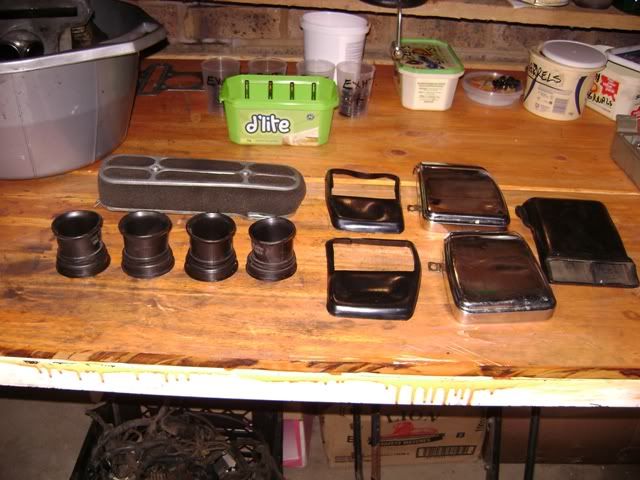
Attacked the castings with a wire brush and Clean Green, getting them ready for media blasting and painting.
 
The plan was to build her up to rolling chassis and do the motor last, but after some consideration, I have decided that is not the best way to go, as I know that trying to lift the motor into the frame is going to leave scratches for sure, so I have decided to turn the whole shooting match on its side and place the frame over the motor, so as soon as the frame is painted I need the motor to be ready so I can fit it, I think it would be a bit stupid trying to lay the completly assembled bike over the motor.
I believe Matchless used a trolley with two battons (wooden rails) fitted over the frame (padded I suspect), then slid the engine from the trolley into the frame and lifted the engine with a jack to remove the battons.
 
As Rustybronco said. I also did not need a second person to help.

Powder coating the frame is the way to go. If you can, do the brake parts as well as it does not lift easily if brake fluid gets on it.
If you have not done it yet, rather mask as much as you can with old bolts and bits of aluminum sheet (flashing). Some paintstrippers will soften the powder coating and you will find the tap tends to crack the edges of the P/C and could be a real schlep to clean out.

If those carbs are an example of what you plan to do she is going to be a beauty!

If you need any info, I have a lot of technical information I archived when doing mine, which is the 1980 model and exactly the same as yours except for the paint, decals and flashers. Just give me a shout.:)
 
Thanks Andre, will do, and am busy sourcing your vents, I have not forgotten.
Anyway, I know we all like pics, and the internet connection at home is so poor, it is a real PIA to upload pics from there, so I do them here at work.
Here are the pics of the engine tear down, well the top half anyway...enjoy.
Any comments on something that looks out of place or amiss will be welcome, please let me know your thoughts.

DSC02034.jpg


DSC02033.jpg


Anyone got any idea what casting is all about or what it sands for?
DSC02031.jpg


DSC02029.jpg


DSC02027.jpg


DSC02025.jpg


DSC02017.jpg


DSC02014.jpg


DSC02013.jpg
 
DSC01996.jpg


Intake boot O-Rings, flat and rock hard, but still intact, amazing.
DSC01993.jpg


DSC01989.jpg


DSC01988.jpg


DSC01984.jpg


DSC01983.jpg


DSC01987.jpg
 
Last edited:
I am sueing you for plagerism...lol. Your engine looked just like mine did. It is much cleaner now. I have been a little busy to work on it lately but hoping to get it done soon. I just need to wet blast the cylinder and head unit so I can get em painted. Keep up the good work.

Paul
 
No, damn you, Paul, now I can't even clean my motor, because it will look like yours again, and you will sue me for a second time..... :(

I know all about not having the time to spend on the bike, life just keeps getting in the way, frustrates the heck out of me, I am so far behind, I may be riding in 3 summers from now if I am lucky, we are just going into winter here now, so was hoping to have it all done by the time spring comes around again in September, but we will see.
In my case it is also mostly a case of not having the $$$ "Time" $$$ to carry on.
 
Internals actually don't look too bad at all, considering the distance she's covered. I am surprised that there's not more carbon on the pistons - especially around the outer edges.

You're nearly ready to start measuring clearances etc. to determine what to replace. Don't forget to check the valve guide clearances as well. She's going to run good as new again!

PS: Are you going to change your avatar after our sad performance on the field yesterday?
 
Last edited:
Hi Ben, yep time to go out and buy a nice micrometer and get down to measuring, I was pleasently surprised at the good condition of the motor, but then again, I have looked after her, I suspect a valve lap and a new set of rings should see everything back to factory tolerences again, I will check and mic everything on that motor and then some, anything that is out of tolerence or close to it, goes and gets replaced.

Just goes to show, bikes like to be ridden, bikes that stand give all the headaches, and that goes for anything mechanical, I see it with planes all the time, the planes that see the light of day and come out of the hangar once in a while, give all kinds problems, but the school aeries that spend eight hours a day in the circuit, never give any trouble at all.

I was also surprised at the lack of carbon on the pots but I do rid the snot out of it from time to time to clear the cobwebs, and she also lived on Avgas for half her life, maybe that has something to do with it?

PS: Are you going to change your avatar after our sad performance on the field yesterday?

We won't go there now, will we.............:mad:
At least the Aussies are on their way home as well.
 
Got to do some cleaning today, and partially assembled the air box, will have to get some weather strip before I can put it all together, although the rubber gaskets on the sides are still there, they are some what shot, so I would rather replace them.
I also need to put some fresh weather strip between the element and the airbox, as the original foam seal, kind of came apart when I was scrubbing it down for painting.

Cleaned all the Intake valves of carbon, as well as the combustion chambers, and have got the ports soaking in Cleen Green, to try and loosen the carbon in them, as well as the exhaust valves, the carbon on those is like welded on, my rotary wire brush on my drill wont even budge it.

Will put up some pics tomorrow from work.
 
Here are the pic. as promised.

first order of business was to clean the valves and the head, at least that just requires elbow grease and not pots full of $$$$

They looked quite sad, full of carbon, one can only imagine how it restricts the flow into the cylinder.
DSC02040.jpg


DSC02041.jpg


DSC02042.jpg


The exhaust valves were the real bears to try and get clean, even my wire brush on the drill was having a hard time of it, nobel prize to the inventor of Cleen Green, together with duct tape, and zip ties, they hold the world together, so in they went for a good soaking.
DSC02043.jpg


And while I was about it, the head went for a good soaking of the same magic muti, to try and get the ports claen of carbon, combustion chambers cleaned up nice.
Before and after
DSC01996.jpg


DSC02044.jpg


And the valves came out pretty nice too.
DSC02045.jpg


Before and after
DSC02036.jpg


DSC02038.jpg
 
Just how long did you soak those valves in Cleen Green?

TIA,

Daniel
 
Last edited:
Then I tinkered around with the airbox for a while, again, something I could do without having to spend $$$

I painted it a while ago, and it has been lying in pieces in the house for some time, so I started assembly.

I know the original was gloss black, and I know that I said the bike was going back to original spec, but I think the satin black just looks a lot nicer and less gaudy, so satin black is what I painted it.

Here are all the componets that make up the airbox
DSC02048.jpg


DSC02049.jpg


DSC02050.jpg


DSC02052.jpg


DSC02053.jpg


Now this is for those of you that always have problems lining up your boots with your carbs, and then come on to the forum and scream and shout and damn Suzuki to hell for their kak engineering, and swear pods are the only way to go.

Besides having a great big L and R on the left and right boots, you need to line up the dot on the airbox with the nipple on the boot.
DSC02056.jpg


Like this
DSC02057.jpg


Then you will find that it all goes together, no mess, no fuss.
And when it is all done, it should look something like this.
DSC02059.jpg


DSC02062.jpg


In the last pic, you can see the snorkel that we keep talking about, I know there was someone asking about it here earier last week.

Although I will have to replace my rubber gaskets with some good weather strip, as they are a little past thier sell by date now, and I don't need headaches and air leaks
DSC02064.jpg


So, that is it for now, any advise or comments welcome, please, share your thoughts.
 
Hi Daniel, they still in there :D, will maybe take them out tonight and see.
 
Nice work Flyboy, that's really looking good!

I couldn't get my valves to clean up at all but I had to get them faced so the guy doing the facing gave them a quick bead blast before facing them and they came up real nice.
 
Yesterday I got around to finishing off the airbox, well, except for the little fastners that hold the side plates on, I will buy new ones in due course.

First thing was to put weather strip on the airfilter itself, after one layer I thought it was still a little loose to my liking, so I doubled up and put two layers on, it is now, nice and tight and snug in place in the box.
DSC02072-1.jpg


DSC02074-1.jpg


DSC02075.jpg


Then came the sealing of the box itself, I was not taking any chances, so weather strip went onto the box, as well as onto the end caps.
DSC02077-1.jpg


DSC02081.jpg


DSC02080.jpg


All buttoned up and tight as a rats ass, no air leaking through this baby, where it shouldn't be.
Ready to be bagged and shelved.
DSC02085.jpg


DSC02086.jpg


DSC02084.jpg
 
Also got to clean up the exhast valves.
DSC02087.jpg


DSC02088.jpg


And prep the plate that holds the electrical goodies for paint.
DSC02093.jpg


DSC02094.jpg


Much better
DSC02095.jpg


I then put a coat of primer and a coat of paint down, but it came out really horrible, so I will have to do it again, maybe it had something to do with this
DSC02091.jpg


DSC02092.jpg
 
Got a bit more work done this weekend and today again, slowly, slowly, but as long as I am doing something every weekend, we will get there.
By far the most tedious task so far, stripping the frame of paint for its new coat, I could not afford to pay silly money to have it blasted, so it was me, the wire wheel on the drill and many, many hours.
But I got it finished today, also got a few of the small bits painted as well.
I think they came out quite nice, better than stock OEM for sure.

Here is the frame and the swingarm, ready for primer and paint.
BareFrame.jpg


BareframeII.jpg


Naked Swingarm
BareSwingarm-1.jpg


The small bits.....well some of them
Miscpainted.jpg


Upper Triple Clamp
UpperTripleClampPainted.jpg


Lower Triple Clamp
LowerTripleClampPainted.jpg


Rear brake caliper torque arm
Torquearmpainted.jpg


Rear caliper hanger
Rearcaliperhangerpainted.jpg


Plate for mounting all the electrical goodies
Electricalmountpainted.jpg


Battery Box
Batteryboxpainted.jpg


Thats all for now folks.
 
Back
Top