• Required reading for all forum users!!!

    Welcome!
    Register to access the full functionality of the GSResources forum. Until you register and activate your account you will not have full forum access, nor will you be able to post or reply to messages.

    A note to new registrants...
    All new forum registrations must be activated via email before you have full access to the forum.

    A Special Note about Email accounts!
    DO NOT SIGN UP USING hotmail, outlook, gmx, sbcglobal, att, bellsouth or email.com. They delete our forum signup emails.

    A note to old forum members...
    I receive numerous requests from people who can no longer log in because their accounts were deleted. As mentioned in the forum FAQ, user accounts are deleted if you haven't logged in for the past 6 months. If you can't log in, then create a new forum account. If you don't get an error message, then check your email account for an activation message. If you get a message stating that the email address is already in use, then your account still exists so follow the instructions in the forum FAQ for resetting your password.

    Have you forgotten your password or have a new email address? Then read the forum FAQ for details on how to reset it.

    Any email requests for "can't log in anymore" problems or "lost my password" problems will be deleted. Read the forum FAQ and follow the instructions there - that's what we have one for...

  • Returning Visitors

    If you are a returning visitor who never received your confirmation email, then odds are your email provider is blockinig emails from our server. The only thing that can be done to get around this is you will have to try creating another forum account using an email address from another domain.

    If you are a returning visitor to the forum and can't log in using your old forum name and password but used to be able to then chances are your account is deleted. Purges of the databases are done regularly. You will have to create a new forum account and you should be all set.

  • In order to help others find info on a particular bike, be sure to put the year, make or model of bike that you are asking a question about, in the Topic Title. This will allow people to pass by posts they have no interest in.

Paint prep supplies

chuck hahn

Forum LongTimer
Past Site Supporter
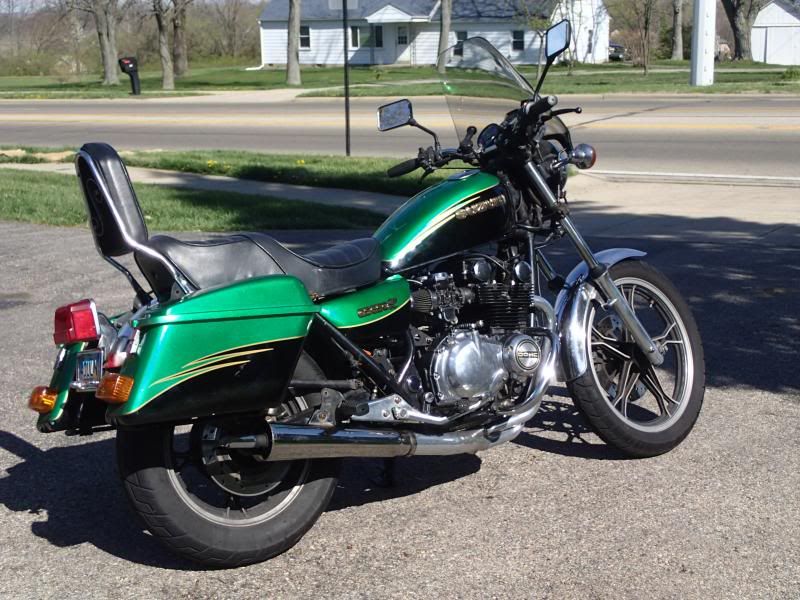
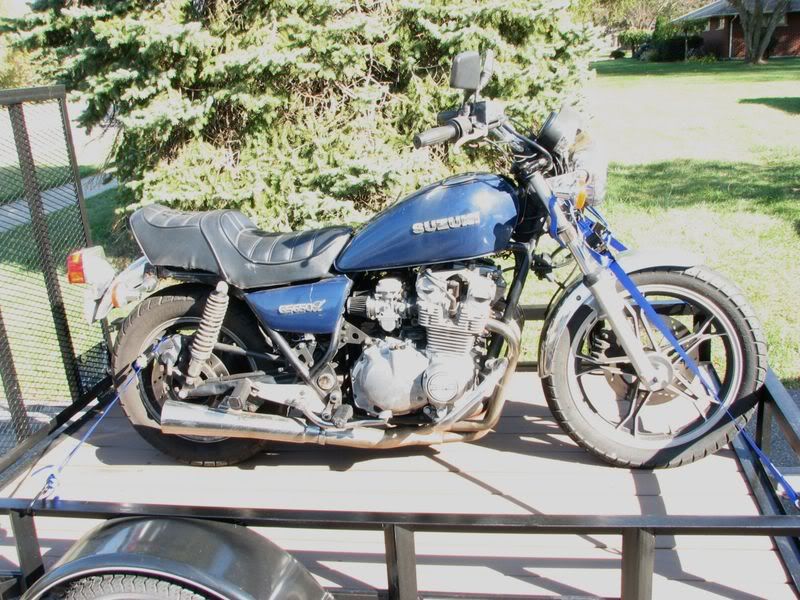
As you know, I am about to kick off the body work on the 76 KZ650 B1 project.

Heres my questions as to what materials to gather.

Wet sand paper..what grits and for what stages of the process?? Any specific brand last better than others??

Primers??? What color and what kind? What do they mean by "sandable" primer? is there any other kind???

Surface prep supplies....tach cloth I know is a must. What else to be sure the surface is as perfect as I can get it to lay paint on???

How much spray pressure to use? Gonna use the Snap On gravity fed gun Dale gave me.
 
The first thing you'll need to do is make sure your compressor is capable of handling that guns air flow requirements. IIRC that gun uses upwards of 13 C.F.M. It's a rather old technology HVLP gun with a 1.6? tip. You can shoot paint with it but it might be easier on you if you used a smaller tip gun who's air requirements are much less. I have an Astro with a 1.4 tip will shoot somewhere 25~29 psi at the gun and uses 7~8 C.F.M. IIRC I used 44~45 psi on that snap-on. It might have been higher. You might be able to buy a 1.3 tip for it and use that to base clear with. It'll give a nicer finish but it might be hard to find. Either way she'll put paint on.

The second thing is to figure out what paint system you will be using. I suggest you stay with one of the major paint manufactures valueline systems such as PPG's shopline. Easier to apply than some of the cheaper products, yet relatively inexpensive if you mess up and mess up you will most likely will when first learning to paint.

Primers... You going to need some sort of Direct To Metal primer (DTM primer) like an etching primer or epoxy primer, a sandable primer (primer surfacer) and all in one paint (single stage) or a base coat clear coat system. I recommend BC/CC if you plan on doing a factory looking paint job. If you decide to use epoxy check to see if it can be over reduced to use as a sealer. In addition to the Primers-base coat-clear coat you're going to need the reducers-activators or hardeners for each product. Like I said, figure out what system you plan on using and we can figure it out from there.

Sandable means exactly that, sandable as opposed to a primer than isn't supposed to be sanded.

As far as sand papers you're going to need 80~120 grit for sanding bare metal or body filler, 320~400 for blocking the primer surfacer, 400~600 grit to prep for base coat application and depending on how much orange peel in the clear you have to deal with, 600 to 2000 grit. I have plenty of 1200-1500 grit so don't go out and buy any. As far as brands go, 3M or Norton seem to be popular brands.

You're going to also need to purchase some wax and grease remover. That one is a must. According to a well respected painters tip, you can use simple green mixed 50-50 with water to use as a finger print remover after cutting the heavy stuff with W&GR. I have a gallon of W&G remover so I relegate the simple green to the wash tub clean up method. :)

A box of latex gloves is also a must. Try and get a better glove than the lowest cost product you can get as they will last longer.

Then there is tape, masking paper, sanding blocks of various sizes, etc.

What are you planning to use for a respirator?

http://www.autobody101.com/content/auto-body-painting-articles/
 
Last edited:
Dale..plan was to get the paint from these guys. I dont know about paint brands etc etc..but they do in fact have all 3 colors for the bike that are needed. And from what Frank Z says, the Super Candy red was a that year only deal. Its a silver metal flake base, then the candy red, then the candy clear. This is gonna be a real trial by fire from what the guys over at KZ Rider say..for the first time paint job for me. They said if I can get it looking good I can paint anything. Dont know how its gonna go bit its gonna go one way or another!!!

Compressor isnt a problem. Guy I work with is gonna let me use his garage and get things ets up there and he has a big big compressor. I plan on a pint of each because I know I am gonna mess it up. I am even gonna do some practice on the spare 78 1000C tank I have well bnefore I even think about shooting the KZ. That way i can figure things out and not give a crap if its just on the old Suzi tank. Paint on the Suzi tank is shot anyway so its not a loss to use it as a guinnie pig.

http://www.rsbikepaint.com/en-us/colours.php
 
Last edited:
My son was exactly at that stage a couple of years ago. He was doing all the research on what primer, what paint, etc., etc.

He called me one day and asked "how much do you think it would cost to have the guy that did Mom's bike do mine, too?"

We went down and found out. About 5 weeks later, we handed the painter $400 and came home with the parts.

Now, they look like this:

P4203723_zpsa141c041.jpg


IMG_7512_zps1b88c848.jpg


It's not a perfect paint job, but certainly better (and probably cheaper) than we could have done.
Certainly a LOT better than the two previous versions of the same bike:

with saddlebags, but before windshield
IMG_0325.jpg


As he got it, back in 2003
IMG_8155.jpg


Some day we might be able to get into painting 'stuff', but for right now, we just accept our limitations. :oops:

.
 
Chuck, don't forget the fisheye reducer. If you have any moisture in your air you will need it. Ask me how I know. The PPG store that I go to has a little plastic cup type thing that goes near the handle of the gun to catch moisture that the filter at the compressor might miss, it helps but it doesn't keep it all out.
 
<snip> that goes near the handle of the gun to catch moisture that the filter at the compressor might miss, it helps but it doesn't keep it all out.
Those are not intended to remove all the moisture. That's the purpose of a water separator or desiccant dryer and related plumbing that condenses and removes most of the contaminants before they get to one of those in-line filters.
 
One approach...

Paint stripper for metal parts like gas tank
Mineral spirits and steel wool to wash off paint stripper.
80-120 grit sandpaper to remove any remnant paint
Metal Prep (phosphoric acid) to remove rust, both inside and out
Body filler (bondo) to fill dents
Sanding block, using 80-120 grit sandpaper to level filler
Epoxy primer
400 grit sandpaper used wet with a rubber sanding block to level primer
Fill primer or catalyzed spot putty as necessary to fill low spots
Epoxy primer again (could thin and use as sealer)
Gray scotchbrite to level and denib the primer
Base coat (materials as specified by paint mfger)
Clear coat (materials as specified by paint mfger)
Lacquer thinner to clean gun
 
Last edited:
Chuck, candies are one of the toughest paints to apply as a novice, PPG and the other refinish manufactures can mix any of the brilliant colors that are on the currant cars that replicate the candy effect with out the 3 stage process. check the 2014 chip book at the autobody supply store and see what looks like the color your interested in. The main thing in your candy process is once you have laid down the ground coat "silver or gold", after that has dried. Spraying your candy, try to overlap your coats 50% to 75%, letting each coat flash til there is no gloss left, if you spray your color with lower air pressure it will lay on the substrate wetter, higher pressure and it will be drier. Usually 45lbs. at the tip is good, all depends on the gun. I've been painting over 35 years in the collision industry and still have hiccups when it comes to some candy topcoats. The ppg "shopline" is a decent refinish product, some of the candy colors can't be made in the "low value" paints, the pigments that are used in the "cheap" topcoats don't hold up to the everyday exposure to UV light, if anything... use the better clear coat to protect your color. PPG 2021 is great, you can get it in small quantities, as for reducers for your basecoat, and if you use ppg clear, you can use DT870, DT860 in all the PPG lines, reducer is used to carry the product out of the gun, once its evaporated, its done its job. You'll need a separate hardener for your clear but the reducer can be used in your bases and clears, get some cheap lacquer thinner to clean up your guns as well. ust don't rush the dry times, you can let each coat dry up to an hour if you want, but anything more than 12 to 24 hours and you will have to scuff and put on more product. The supply shop should be able to give you a tech. sheet that has all the info for each product so you can refer back, also check a few youtube vids for techniques used. Have fun, your in no hurry.
 
Those are not intended to remove all the moisture. That's the purpose of a water separator or desiccant dryer and related plumbing that condenses and removes most of the contaminants before they get to one of those in-line filters.
I've painted four cars in my time, two single stage and two basecoat clearcoat. I won't paint without one no matter what other in-line filters I have. Cheap insurance.
 
if you spray your color with lower air pressure it will lay on the substrate wetter, higher pressure and it will be drier. Usually 45lbs. at the tip is good, all depends on the gun.
I assume this pressure is intended for a non-HVLP gun?
 
I absolutely would recommend one for the home painter. In fact I just bought two motor guard D12's. Just don't expect a device that is only capable of holding 1 oz of contaminants to be other than a secondary line of defense.
 
Last edited:
Then what's the biggie? I never said it would remove ALL the moisture but it sure cant hurt.


<<The PPG store that I go to has a little plastic cup type thing that goes near the handle of the gun to catch moisture that the filter at the compressor might miss, it helps but it doesn't keep it all out.>>


I have all the necessary plumbing to filter out the moisture but as far as I'm concerned when it comes to using paint that costs upwards of a few hundred bux(kit) a gallon too much is never enough. To include fisheye reducer.

If I were Chuck I would find a PPG(or even Sherwin Williams) store in his area and talk to the tech, he/she can tell him all he needs to know about the product. Can usually be found in an area with a lot of car lots.
I like to use Omni primers/sealers and PPG paints. They work great together.
 
Last edited:
One needs to have a bit of piping between the compressor and the water separator (filter?) else it will not be very effective at removing the moisture in the compressed air. If someone were to place that filter next to the compressor, more than likely the filter at the gun would become overloaded in a very short order and you would end up with contaminants in the paint.

You've got water out of the gun, sometingwong with your system.
 
Great input guys..Things I wouldnt have thought of. I did know about the drier and I like the attachment right at the gun for extra security..awesome idea if you ask me.

Now to switch gears a tad. I was looking at the POR 15 on Amazon and its like 28 bucks a pint with free shipping. I have heard lots in other threads about it coming with some sort of cleaner prep, but the product info on Amazon is just showing the pint can of the sealer and nothing else.

Question is this. Since i am gonna be doing the Prep and Etch phosphoric acid derusting, is this sufficient to just allow me to rinse the tank after soaking, be sure its really dry inside, and then just pour in the sealer as is?? Any input from the POR 15 users on whats the best prep to liner install route?
 
Noone on advice on the POR 15 tank prepping? Just do the Prep and Etch phosphoric acid and go right to doing the coating? Need to know so I know what all I gotta order here. Thinking I want the silver POR liner rather than the clear Caswell on this tanks insides.
 
The Prep and Etch is all you need chuck. Por-15 includes some almost identical stuff in their tank sealing kit.
 
Back
Top