S
suzu650
Guest
your build amazes me! you do some quality work. will be tuning in waiting for more updates
Required reading for all forum users!!!
Welcome!
Register to access the full functionality of the GSResources forum. Until you register and activate your account you will not have full forum access, nor will you be able to post or reply to messages.
A note to new registrants...
All new forum registrations must be activated via email before you have full access to the forum.
A Special Note about Email accounts!
DO NOT SIGN UP USING hotmail, outlook, gmx, sbcglobal, att, bellsouth or email.com. They delete our forum signup emails.
A note to old forum members...
I receive numerous requests from people who can no longer log in because their accounts were deleted. As mentioned in the forum FAQ, user accounts are deleted if you haven't logged in for the past 6 months. If you can't log in, then create a new forum account. If you don't get an error message, then check your email account for an activation message. If you get a message stating that the email address is already in use, then your account still exists so follow the instructions in the forum FAQ for resetting your password.
Have you forgotten your password or have a new email address? Then read the forum FAQ for details on how to reset it.
Any email requests for "can't log in anymore" problems or "lost my password" problems will be deleted. Read the forum FAQ and follow the instructions there - that's what we have one for...
If you are a returning visitor who never received your confirmation email, then odds are your email provider is blockinig emails from our server. The only thing that can be done to get around this is you will have to try creating another forum account using an email address from another domain.
If you are a returning visitor to the forum and can't log in using your old forum name and password but used to be able to then chances are your account is deleted. Purges of the databases are done regularly. You will have to create a new forum account and you should be all set.
your build amazes me! you do some quality work. will be tuning in waiting for more updates
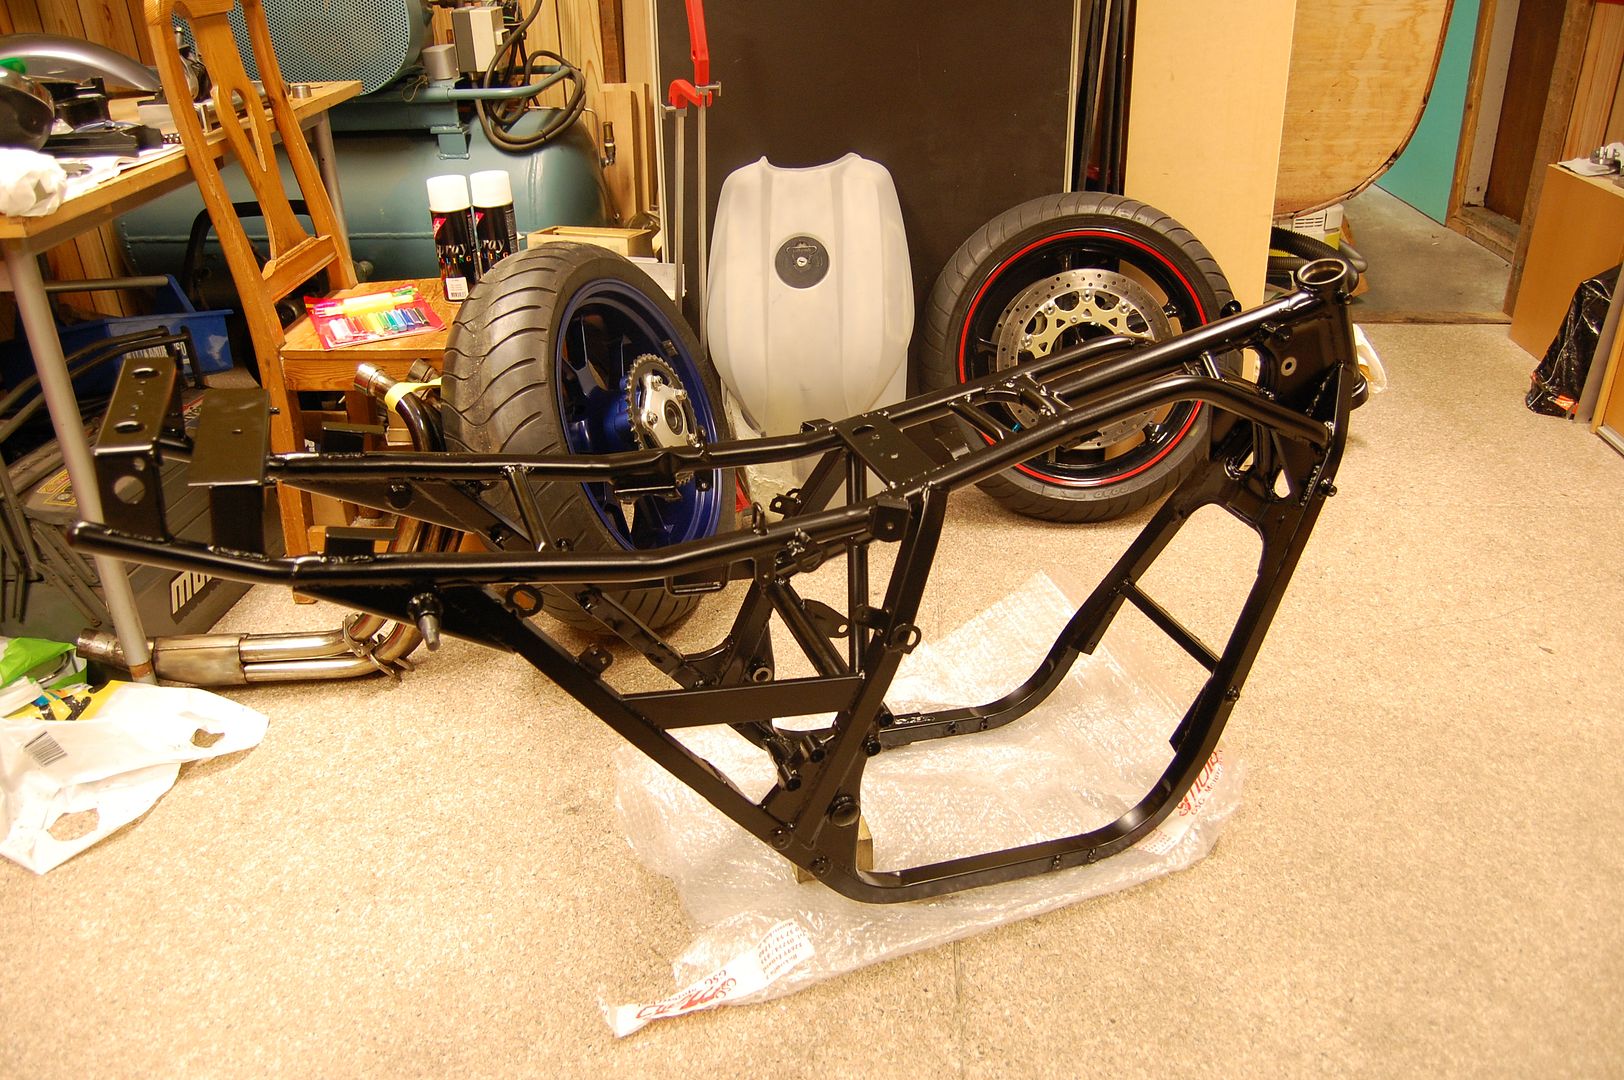
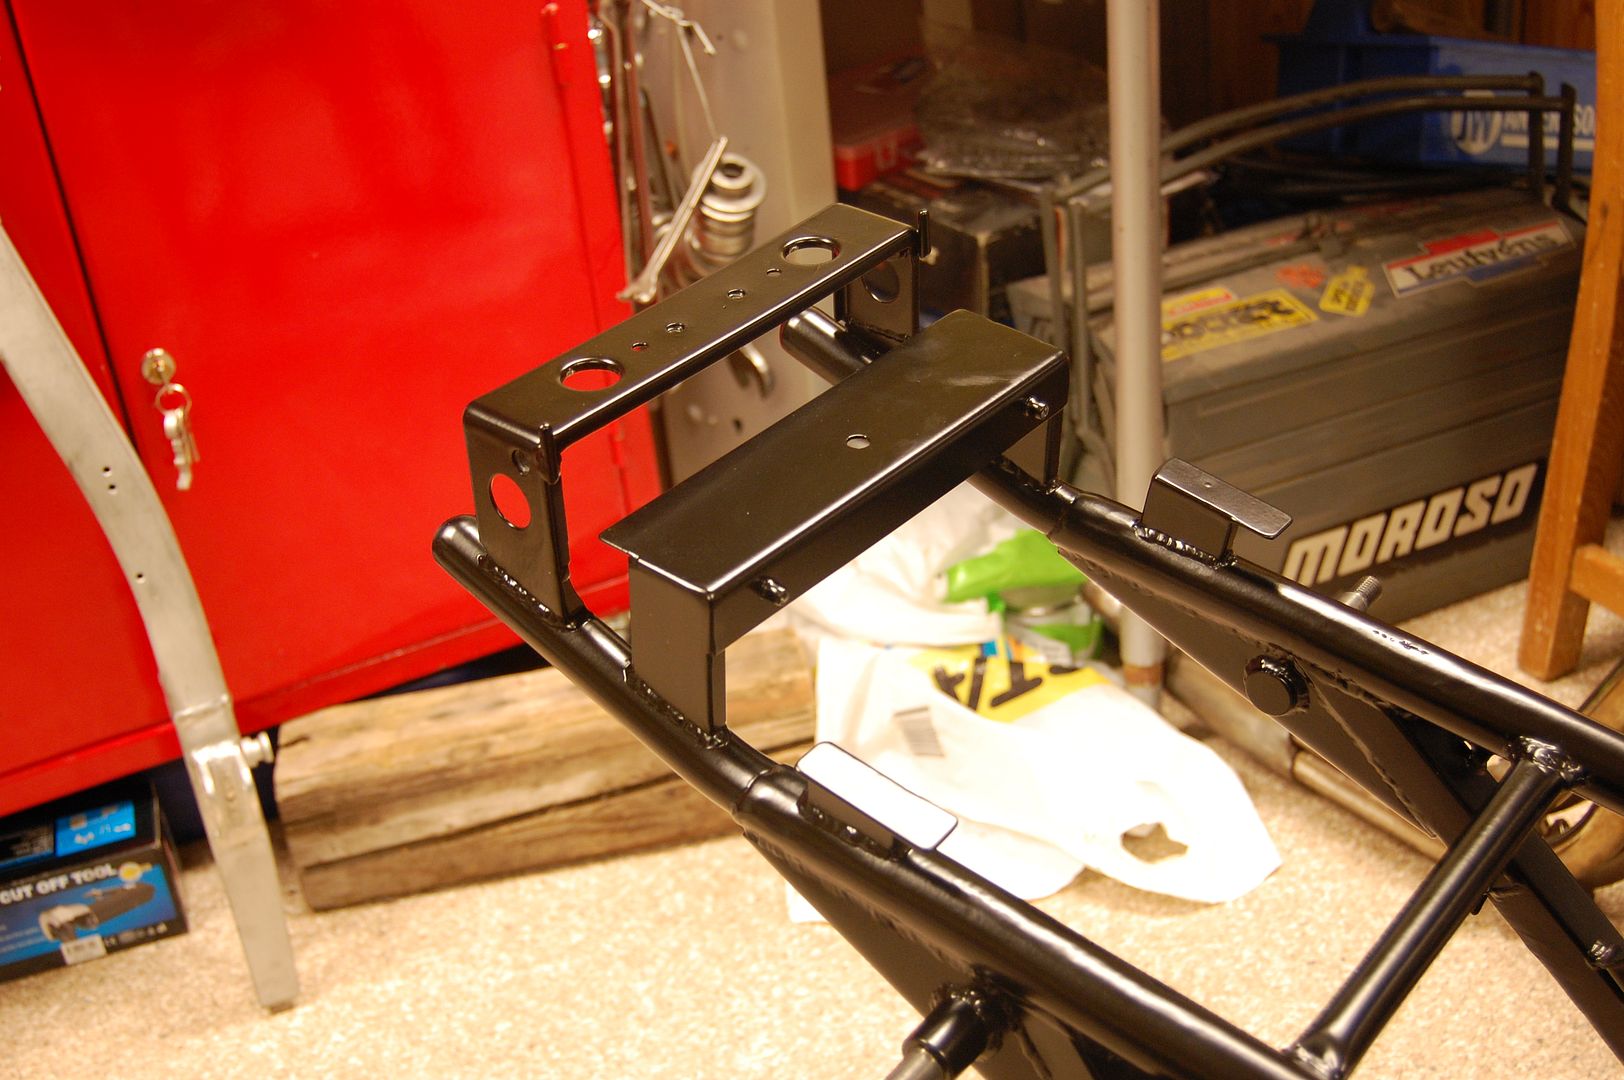
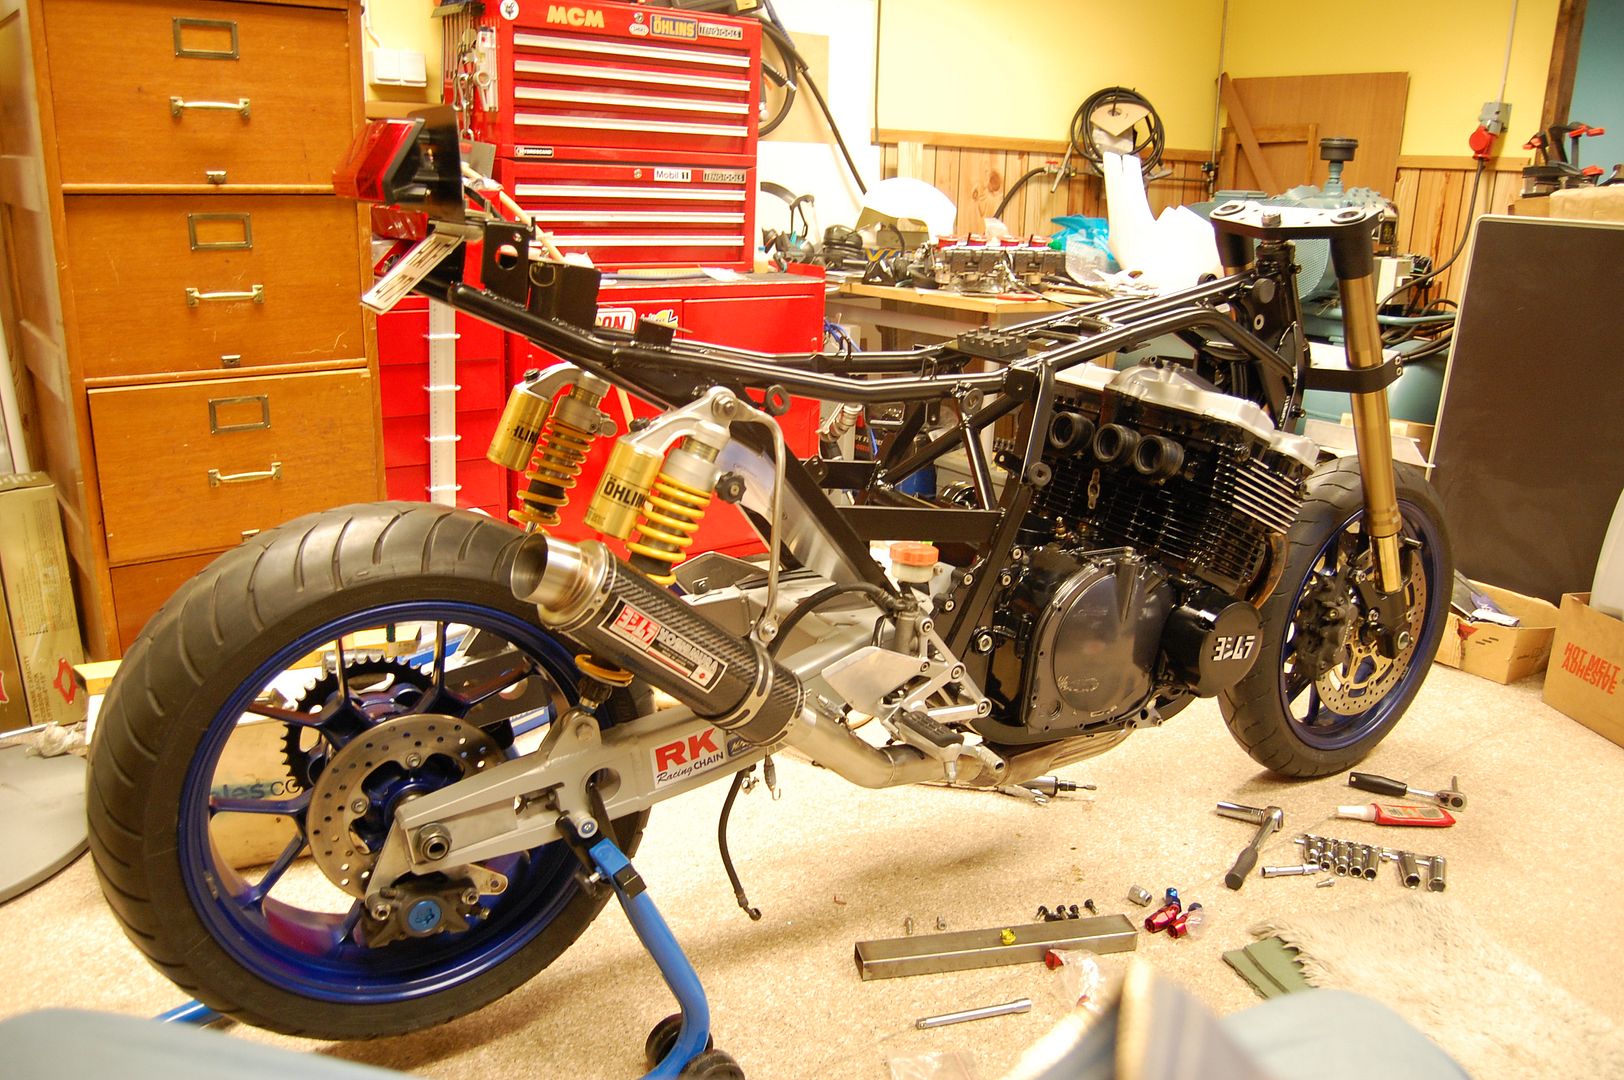
What's the plan on the seat?

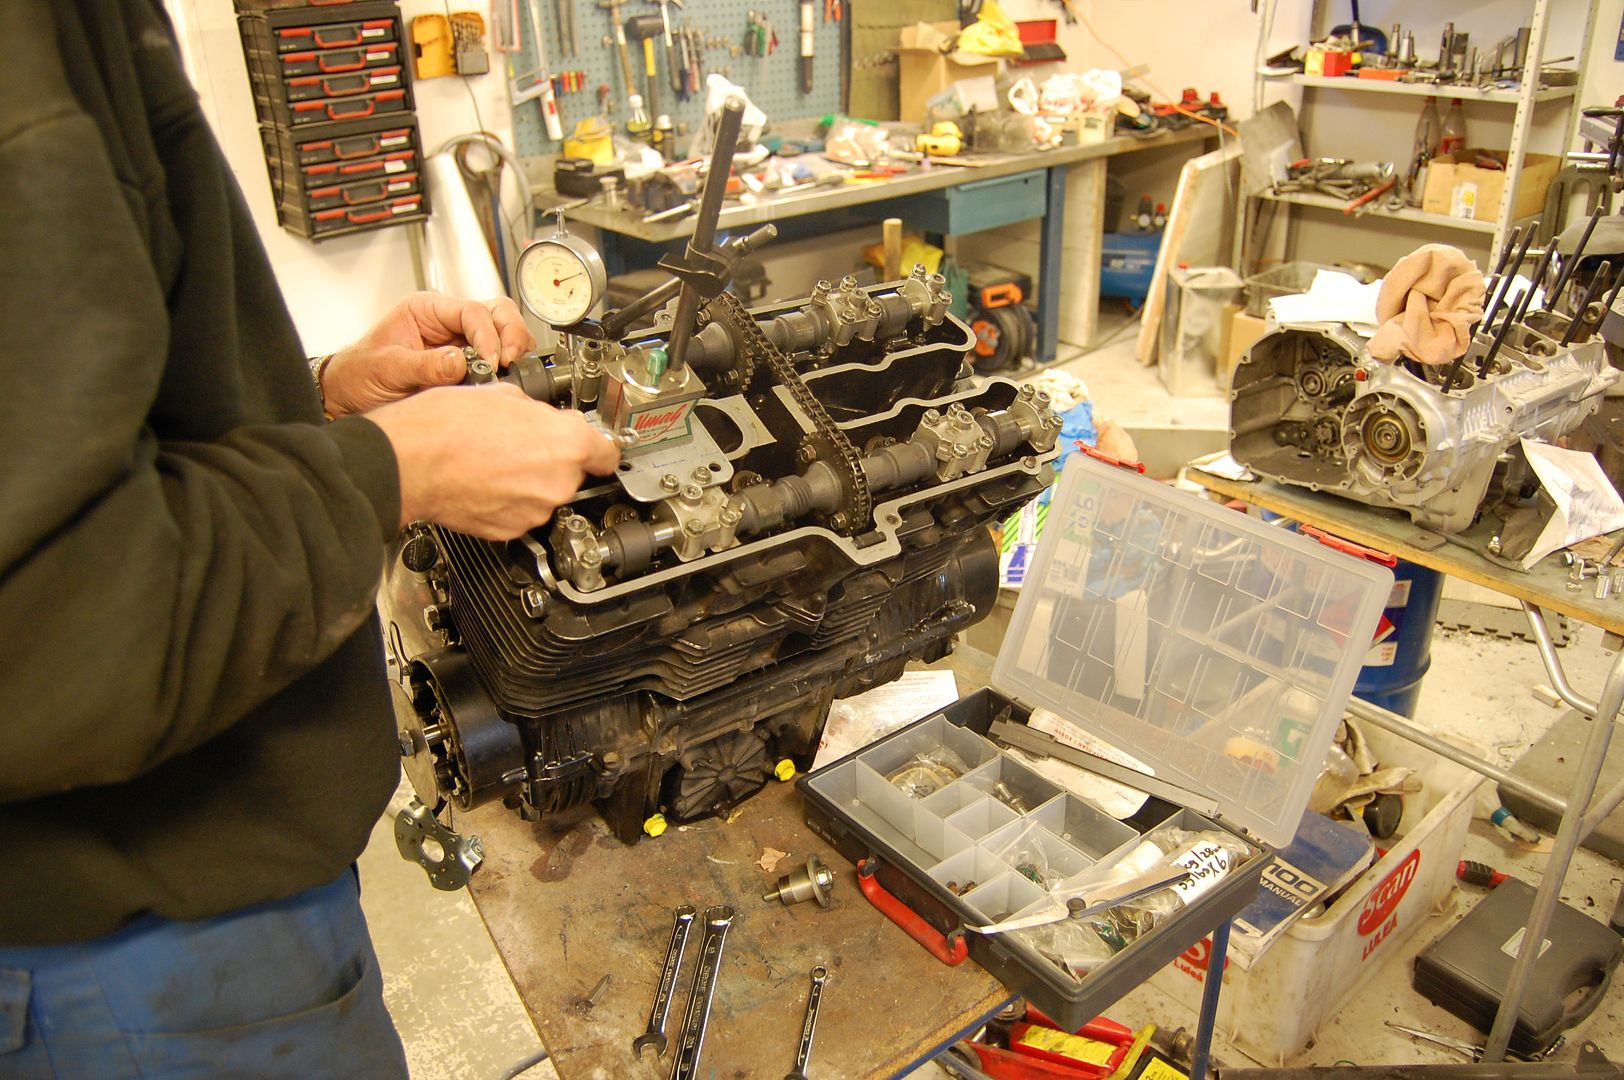

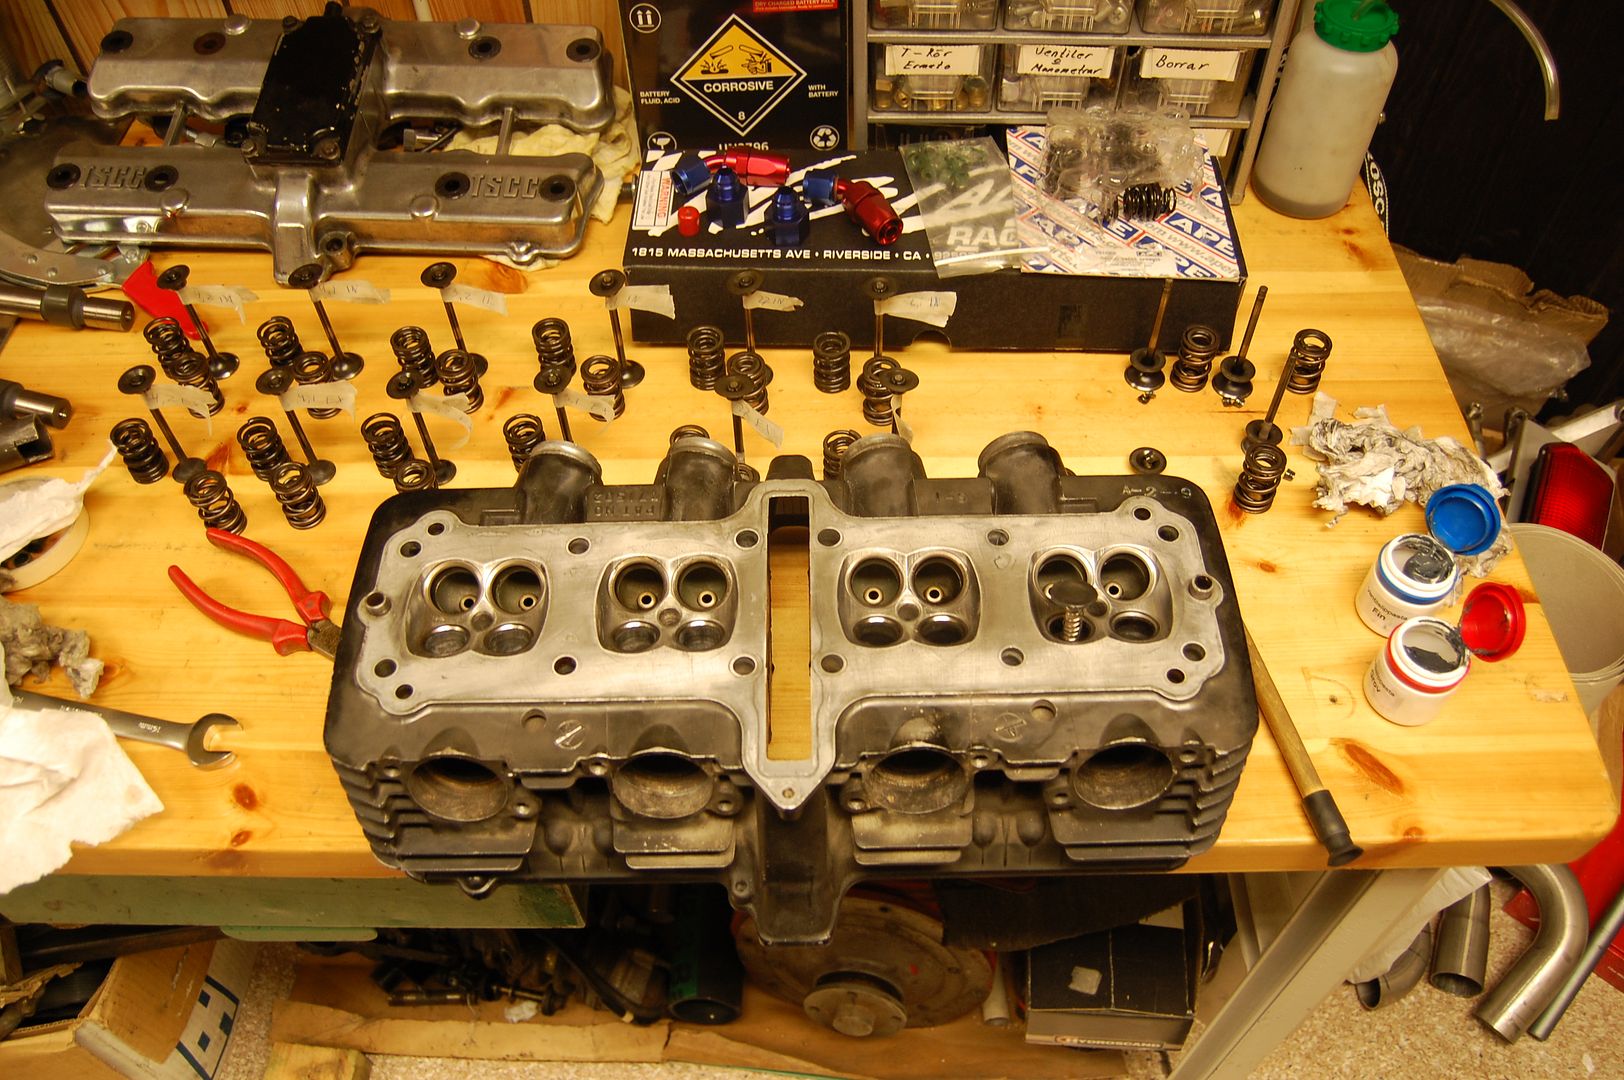
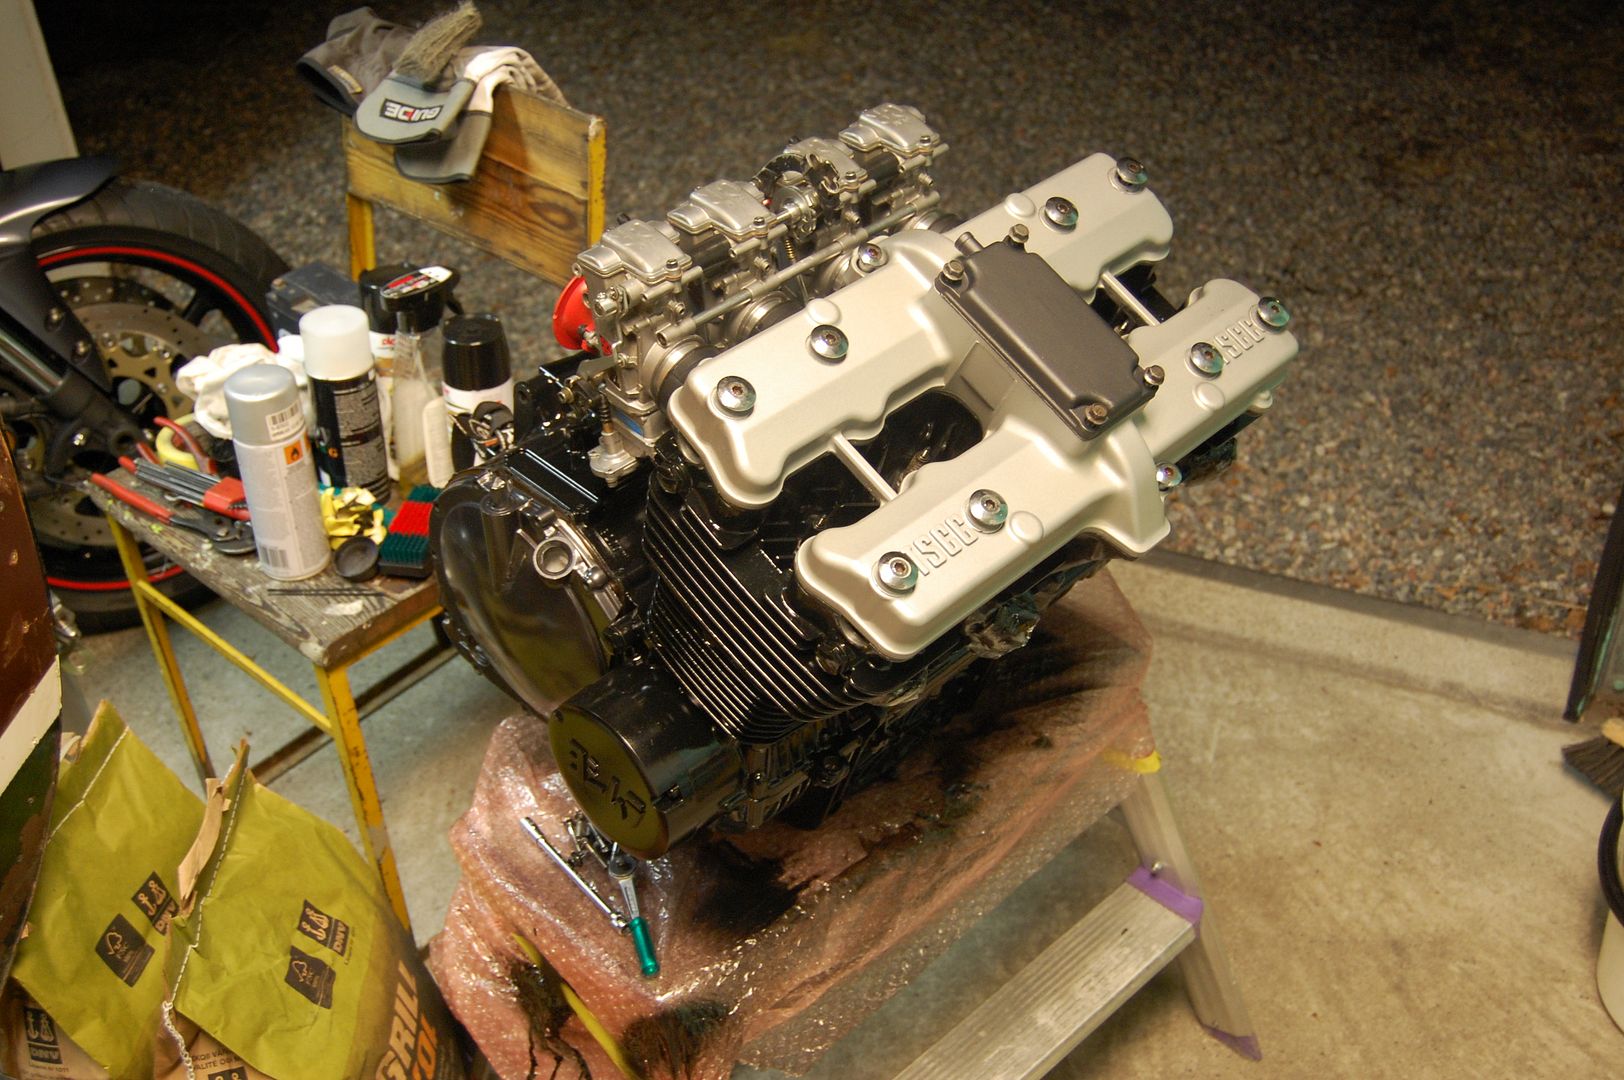
lookin good; I'm wondering why the valve clearance is so large? 3mm is way too loose. Did you miss a decimal place?
Also remember when you break those cam in, to start the motor and run it for about 10-15 minutes at 2500 RPM immediately on startup. This breaks in the cams( get a fan).
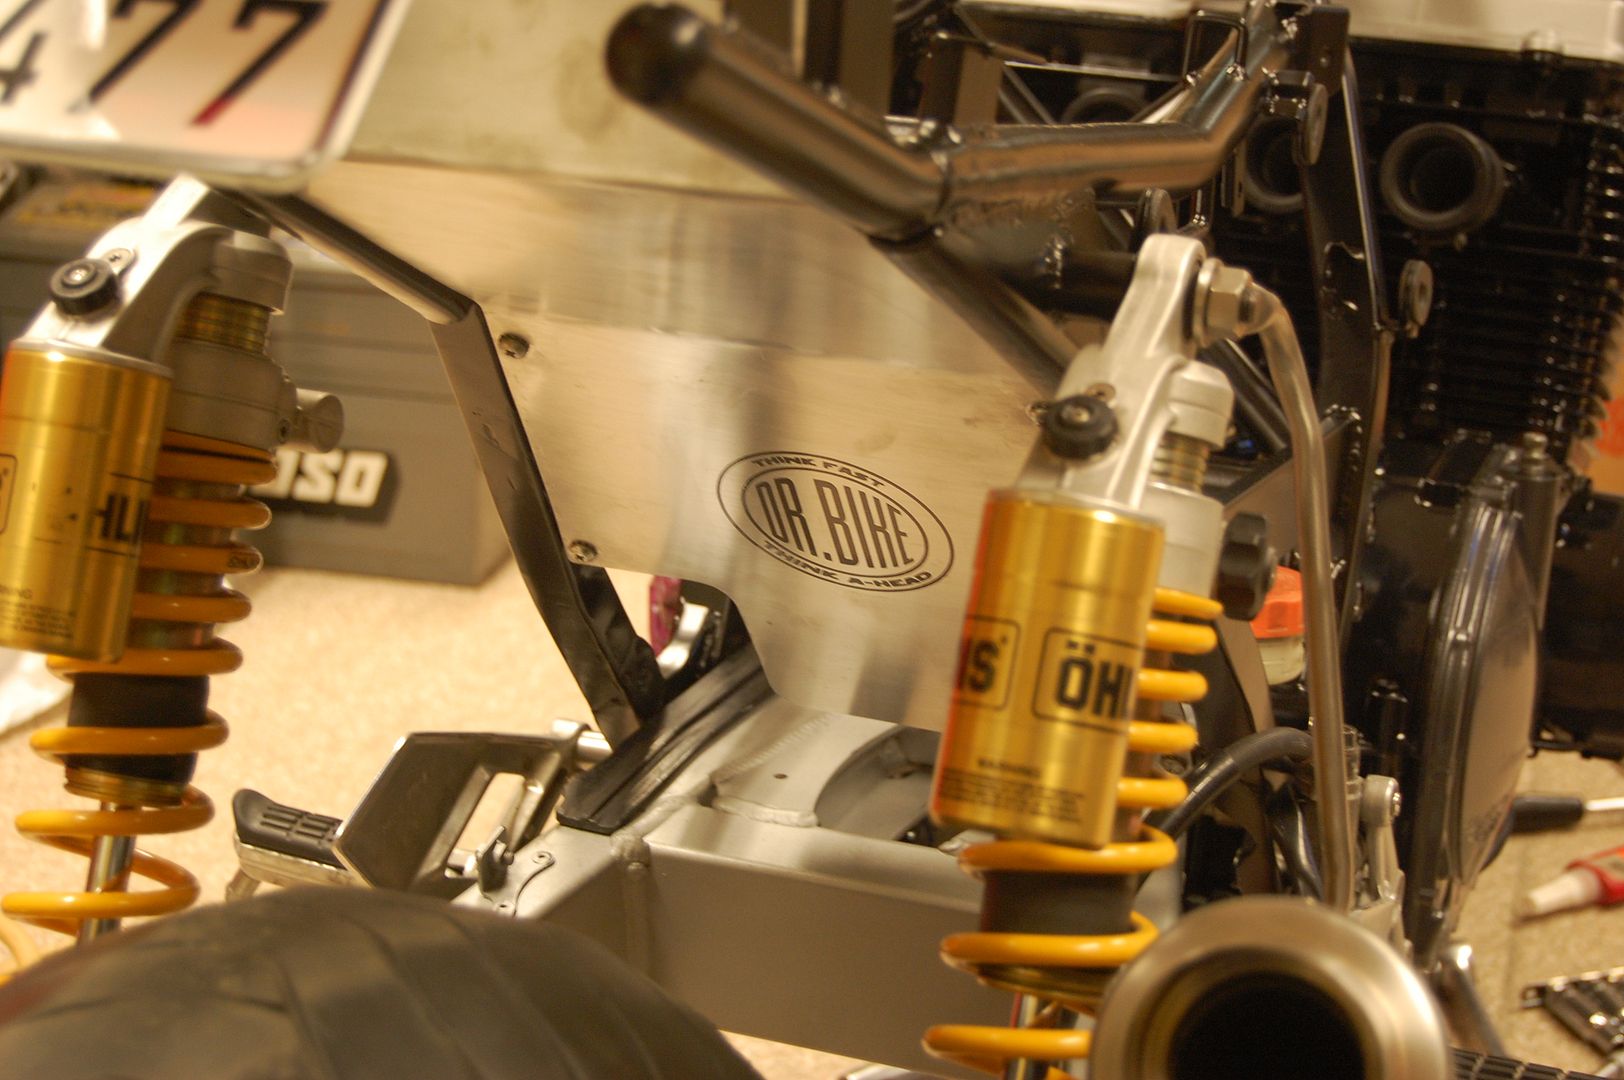
Is that overspray on the valve cover? or is it just in the pic?
Can't wait to see the trasformation
")
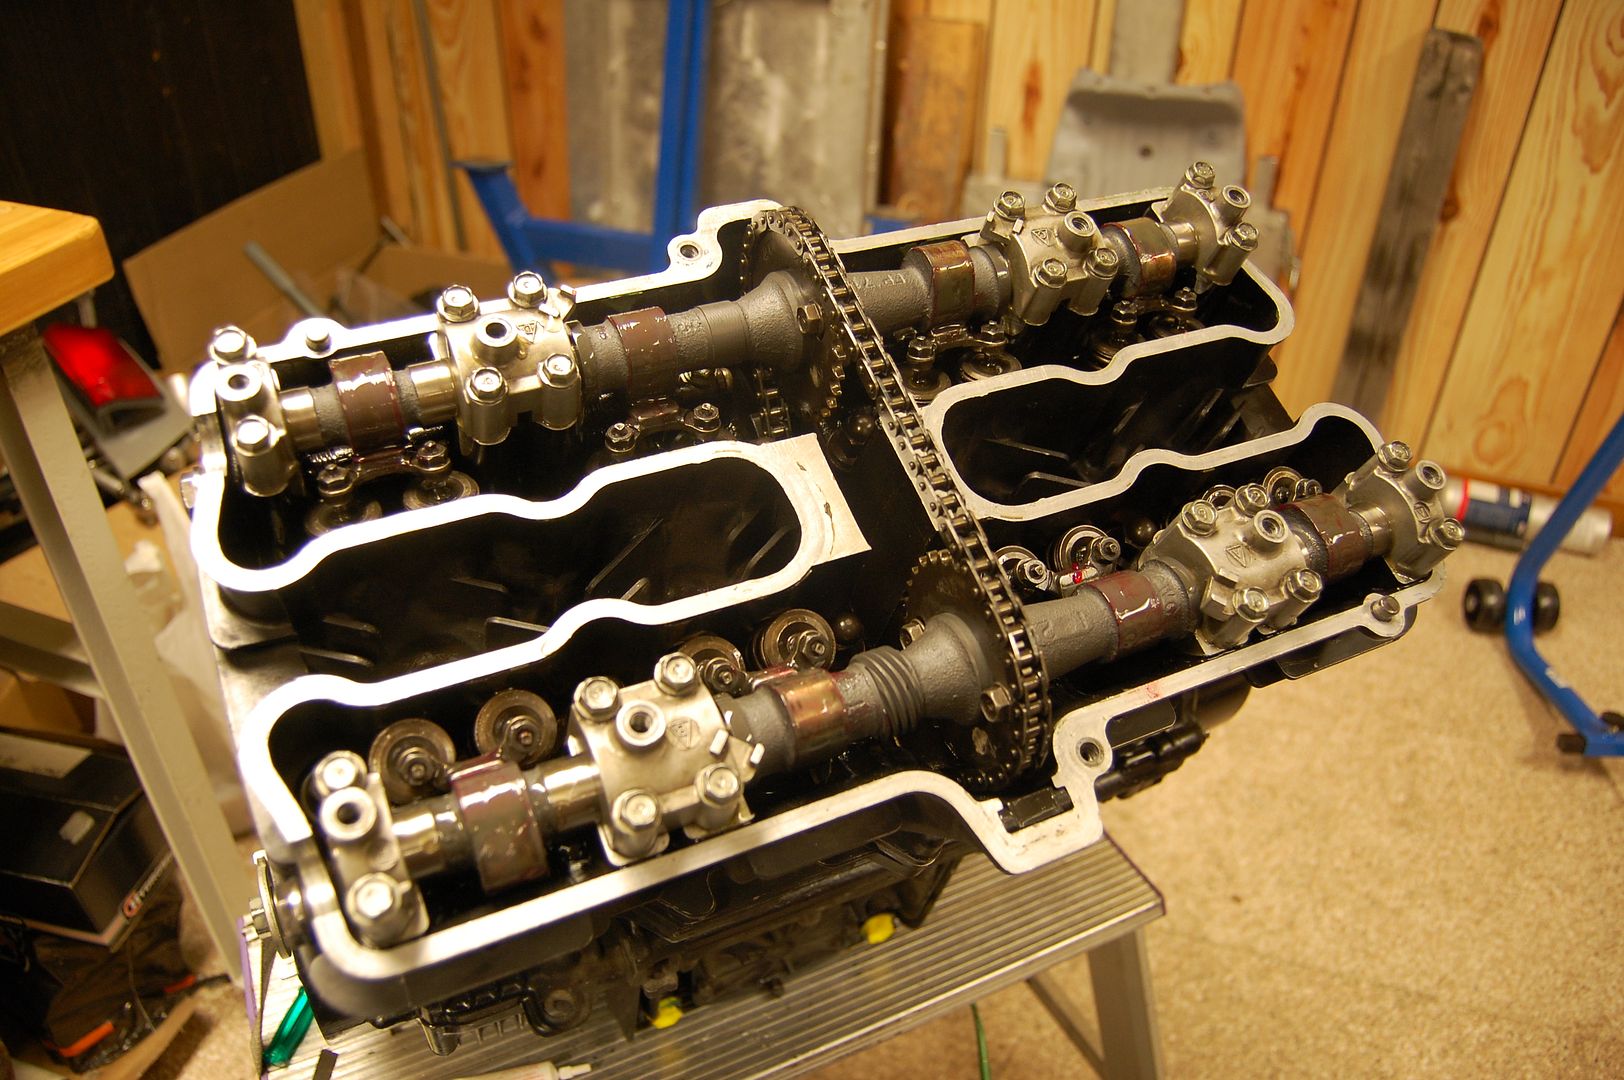
Because the backside of the cam lobes on the new .348 camshafts are much lower compared to the stock cams, resulting in a massive valve clearance. I set the valve clearance to 0,13mm which is 0,01mm outside the recommended value but it gets tighter after time anyway.
Should be 0,07-0,14mm on all valves but with the new high-lift cams it was more like 1-3mm (15-20 times outside the recommended value).
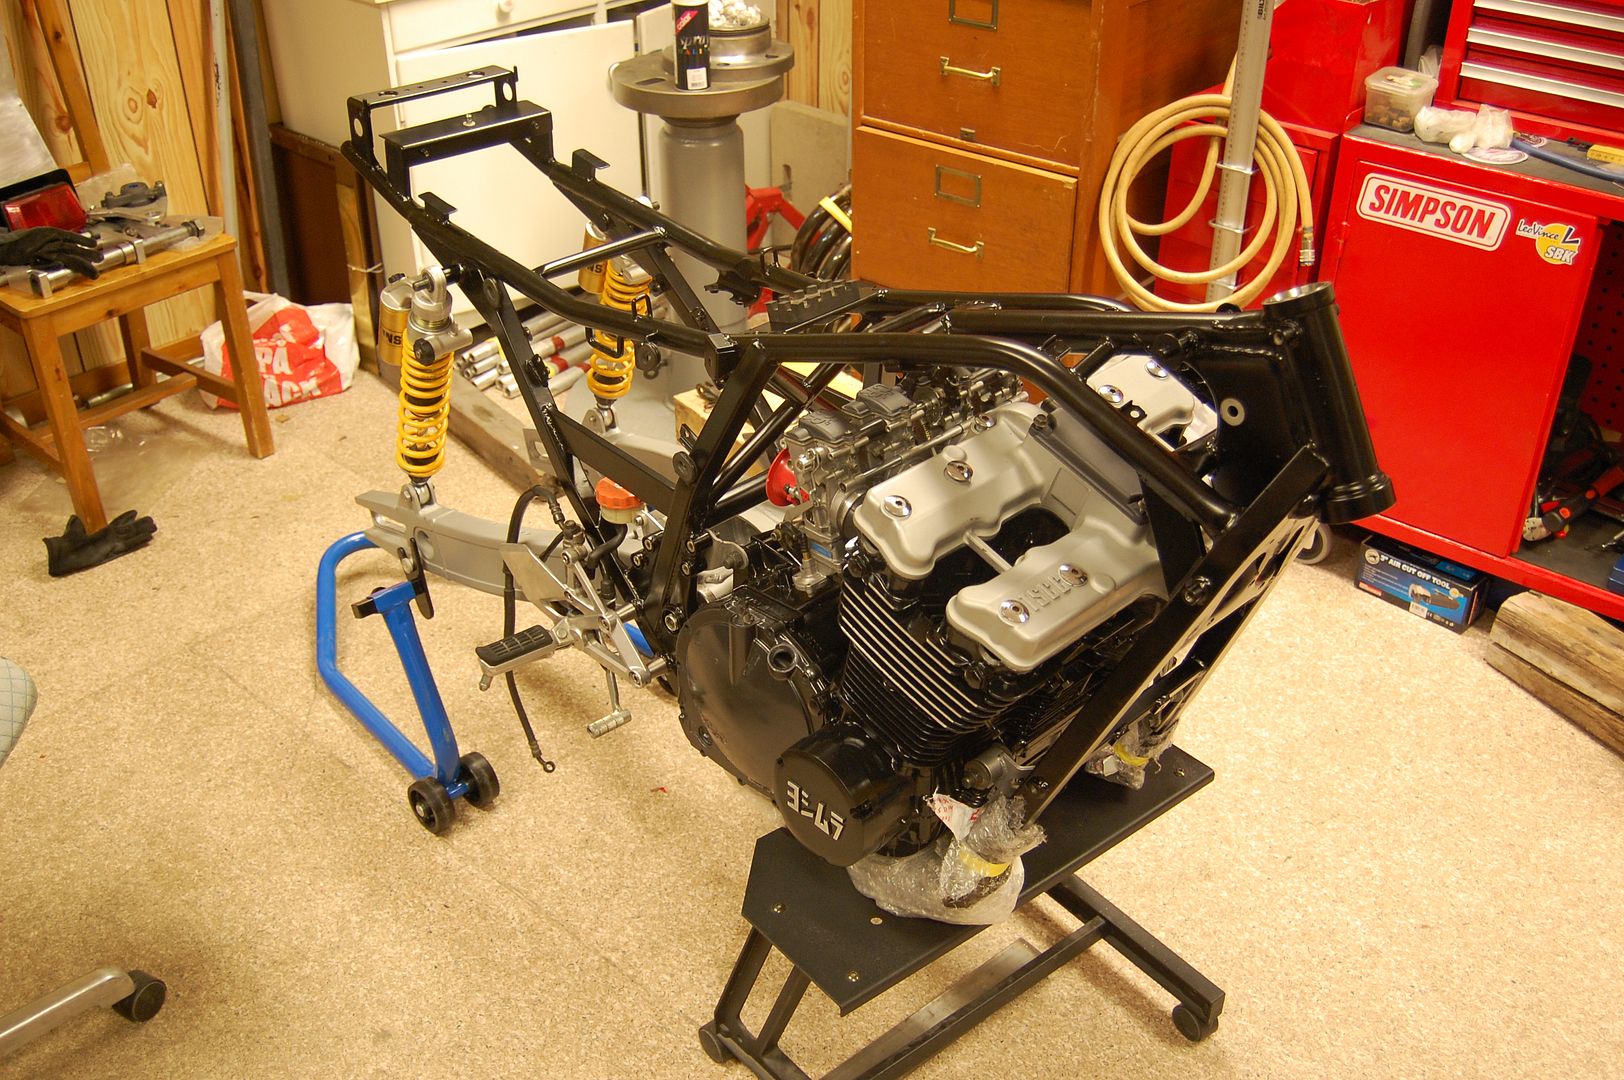
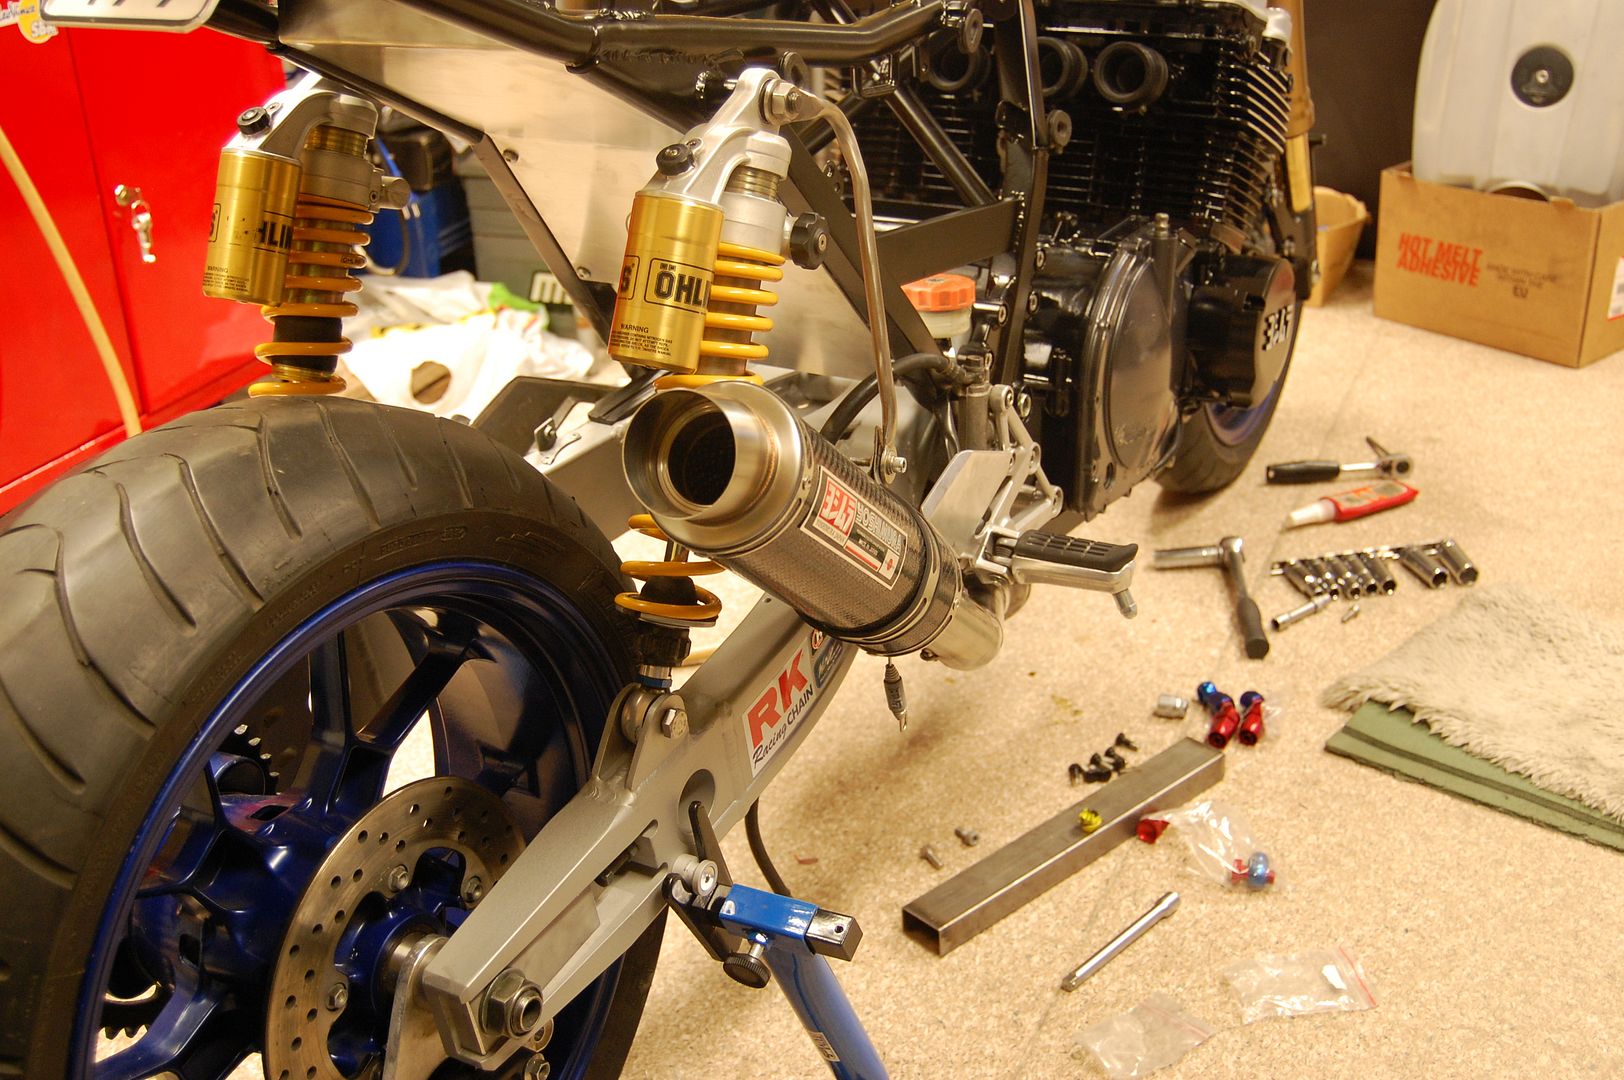
I have a little constructive criticism for you though it's too late but first off...I don't really understand why you changed from the stock monoshock setup the bike had even though the shocks are nice. and secondly...please for fighters all around the world...don't go with the giant plastic on the front end...you should really either go naked with just a nicely machined bracket for the headlight or find something a bit sleaker for the front end. ultimately its your bike and you decision to make but I think it would give it a much more agressive fighter style look.
I guess the above post has me confused; I'm running the Webcam 0.340's and the 0.348's are only marginally more lift. IIRC I run between .004" and .005" which I'm guessing is 0.1-0.12mm clearance. Not sure where the 3mm is coming from?
I have been following your build with much interest and admiration.
As the issue of the fairing has been raised, I was going to post this pic when you first posted that you were considering a small fairing of some sort but I was too slow. By the time I got around to it you had posted again and had found one you liked.
I am not buying into the pros and cons of naked verses semi but went back and had another look at the fairing and decided I would show you the MotoGuzzi 850 LeMans Mk4 fairing that I am eventually going to fit to my 'Baz'. I like the Guzzi fairing a whole lot more as the lines are more bullet like but still sharp edged (like your bike). I think it would blend in and enhance the shape of the rest of the bike.
I have mocked up a template to mount the fairing and light to the headlight ears (rather than frame mounted as on the Guzzi) The back edge of the sides of the fairing need to be cut back a little to allow full lock without scratching tank paint work (see bottom left pic for the area to be cut off) the angle of the cut happens to be parallel with the line of the recess in the tank. The planes and angled edges on the fairing work with those on the bike and can maybe make for some interesting paint options.
Hope you don't mind but I figured you might like to see another option.
P.S........ Awesome build. Thanks for posting all the details, it is very inspiring.


It's like watching surgery...except I sort of know what the doctor is doing.
Brilliant work!!!
-KR
")
Truth is, I have no idea what I'm doing.
Or maybe I do...?
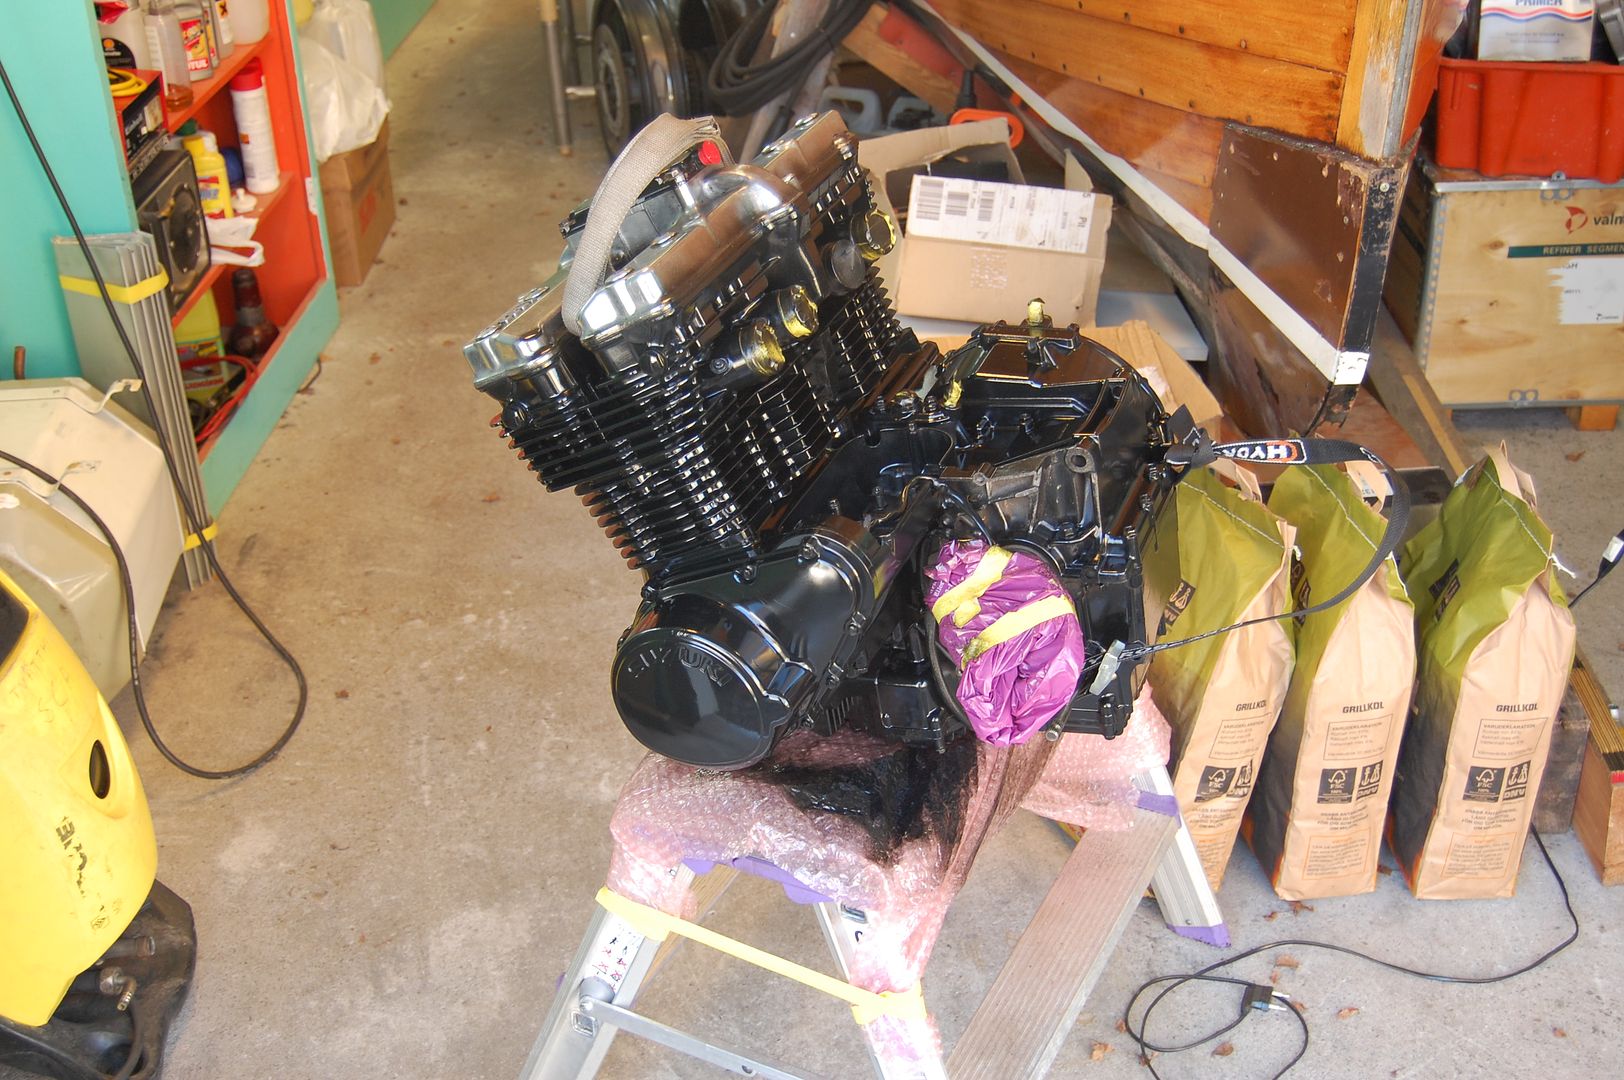
It runs!
..
Congrats, that must feel good to get it running and be a big motivator to finish. When are you painting?