Announcement

Collapse
No announcement yet.

'81 GS550 Cafe Build

Collapse
X
 
  • Filter
  • Time
  • Show
Clear All
new posts

  • D-Mac
    Guest replied
    Wow! It's been a while since I updated my build thread. Don't worry, I haven't been doing nothing, although I did get slowed up for a while.

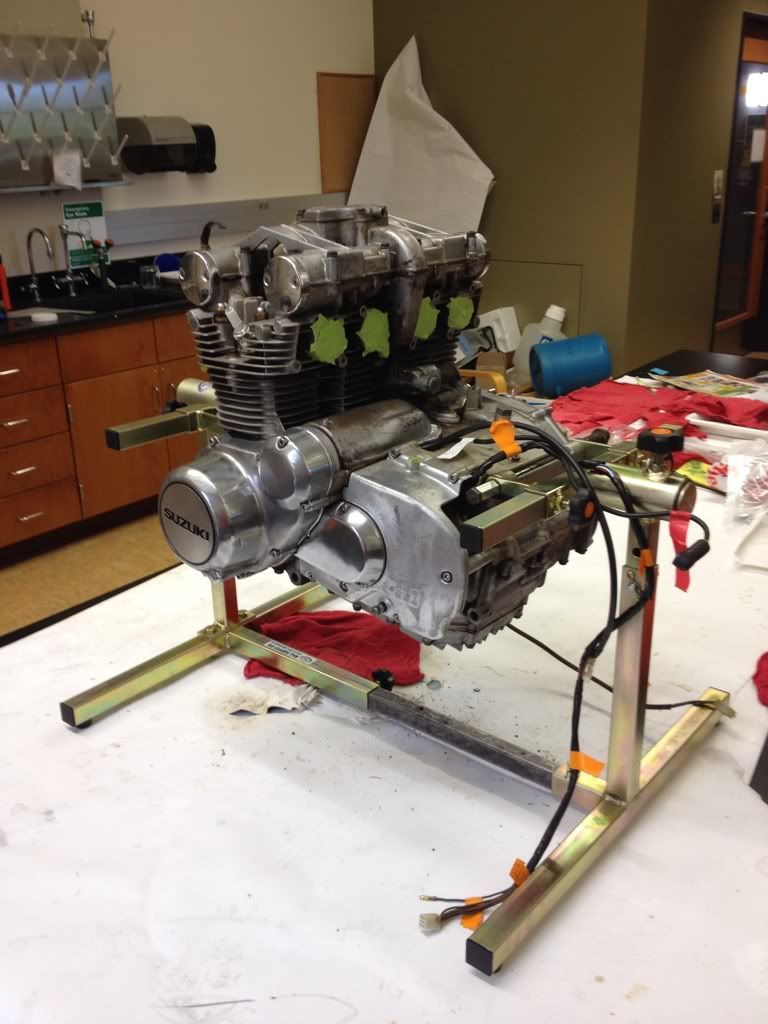
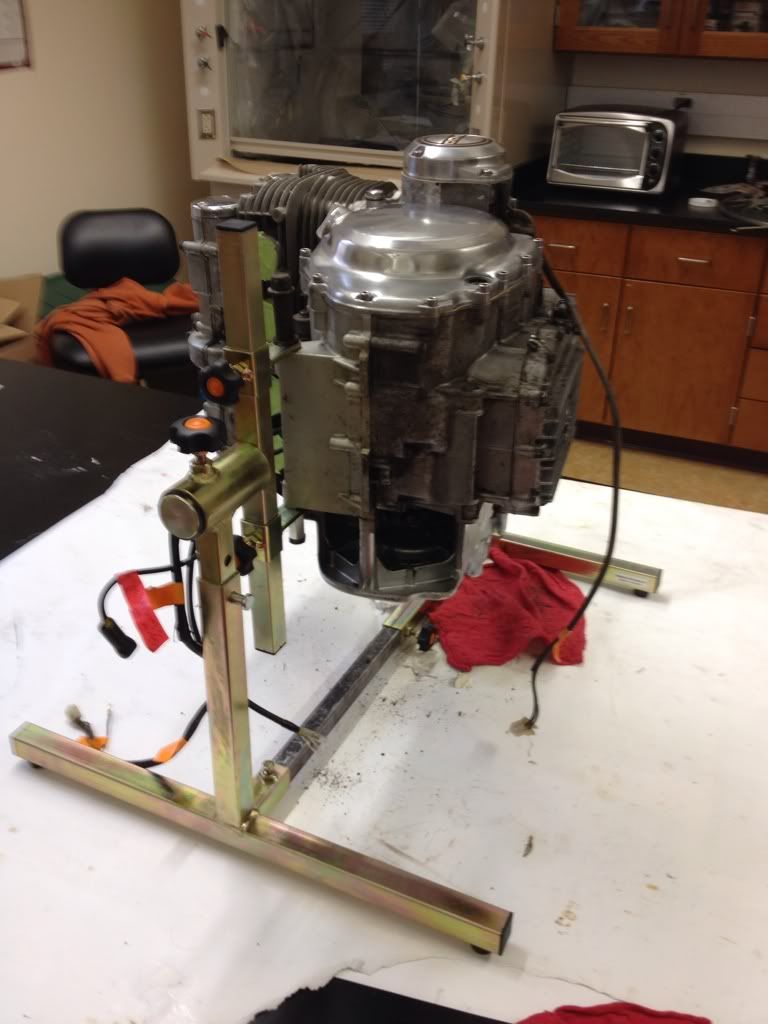
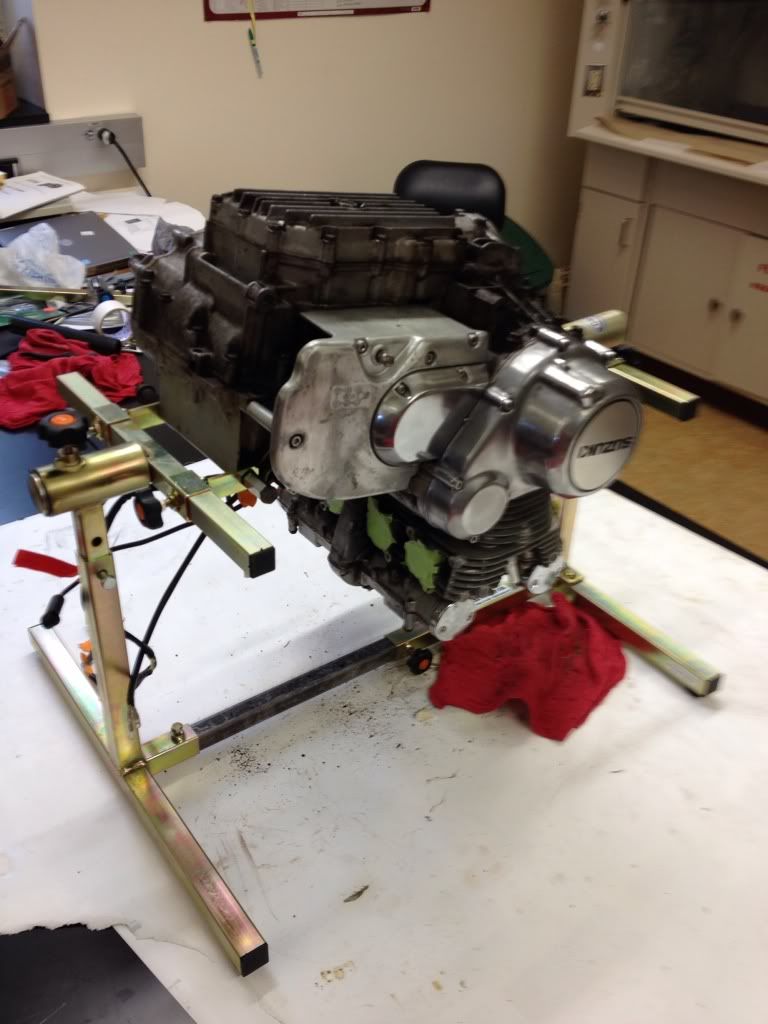
    Over the summer I moved. Beginning in mid-June, I had to store my tools and bike in storage while I staged my old house and moved into the new one. Everything got delayed for a month longer than planned, but I'm FINALLY moving in to the the new place now. I also took a machining course and another motorcycle class over the summer to keep my skills sharp. I spent about a month COMPLETELY disassembling, blueprinting, fixing, and reassembling a 2001 GSXR-1000 as part of one class. A GS is soooo simple compared to that thing! In the end, it ran like a top on the dyno, so I have more confidence that I can get my little GS running well this fall/winter.

    My new house has a 1200 square foot detached garage, which will be dedicated to motorcycle repair (there is also a 2-car garage attached to the house, which my wife gets for her stuff 
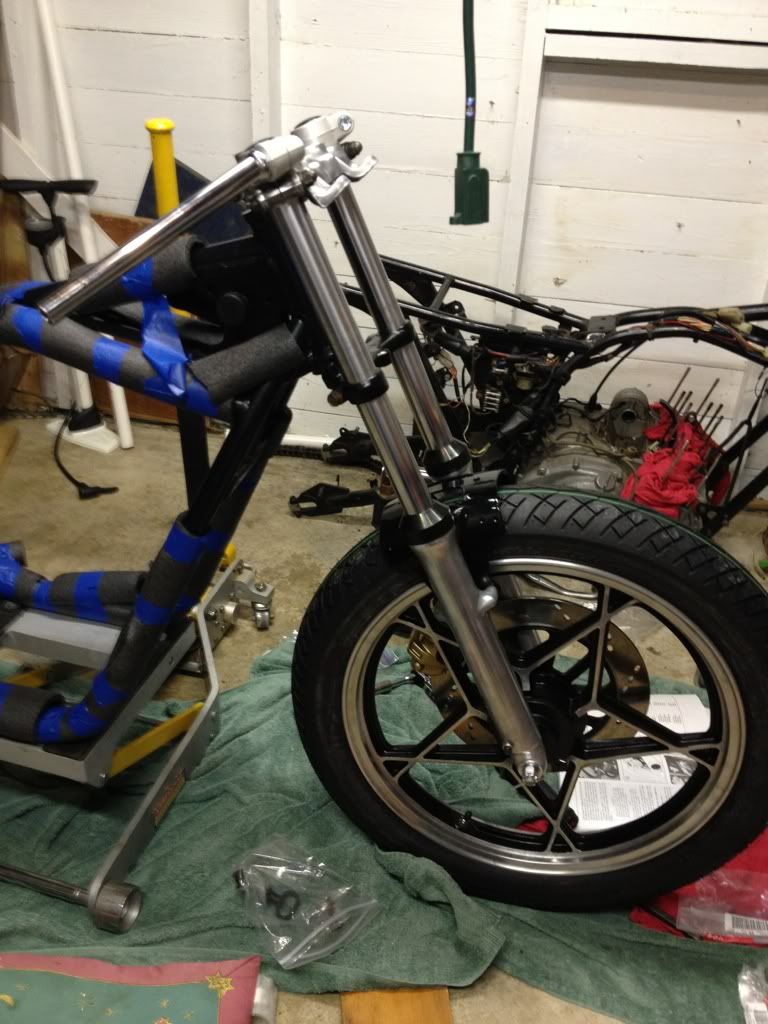
). Inside there is a large 500 sqft room, which I have been busy insulating, wiring, and cleaning for a shop space. In another week or so I should be done with the drywall, lighting, and cleaning, and I will FINALLY start working on the 550 again! Once I order rings, I will be ready to install the pistons, put the valves back in, and reassemble the top-end. Then I just need to paint the bottom end, do the wiring, and reassemble the whole bike!

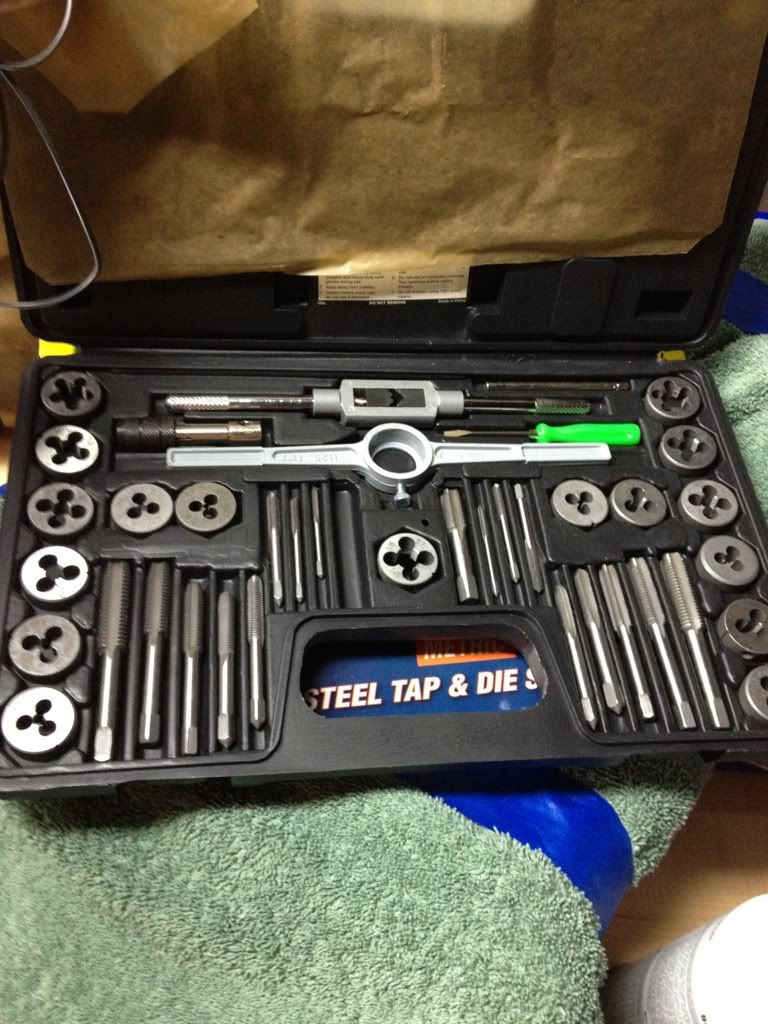
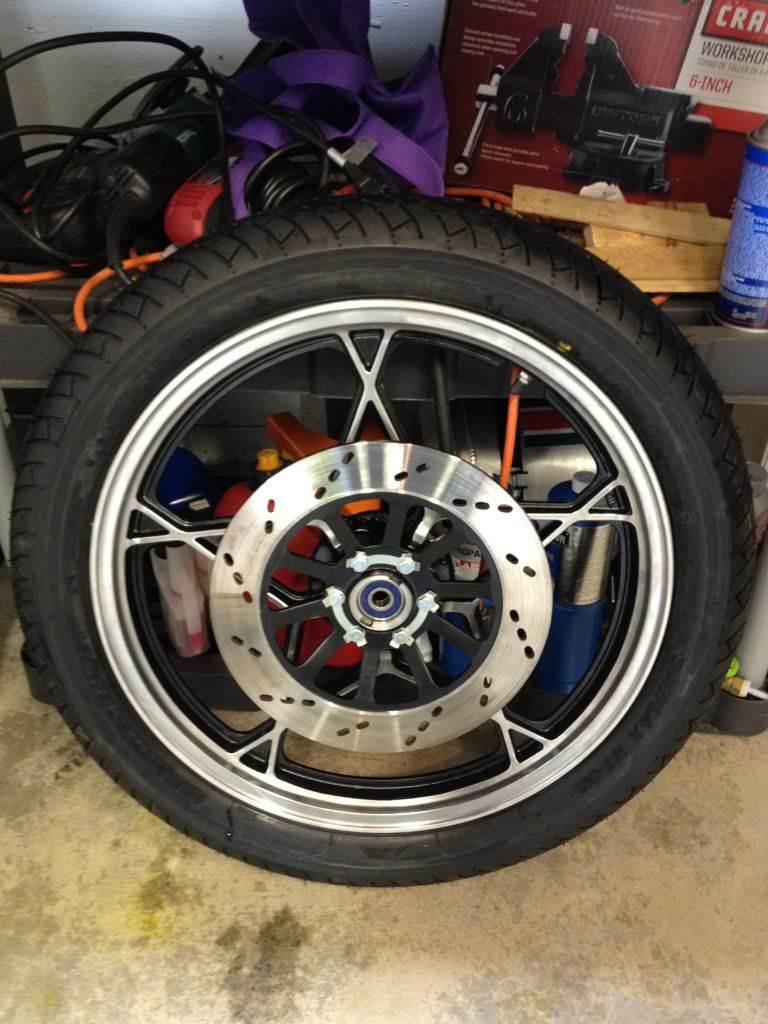
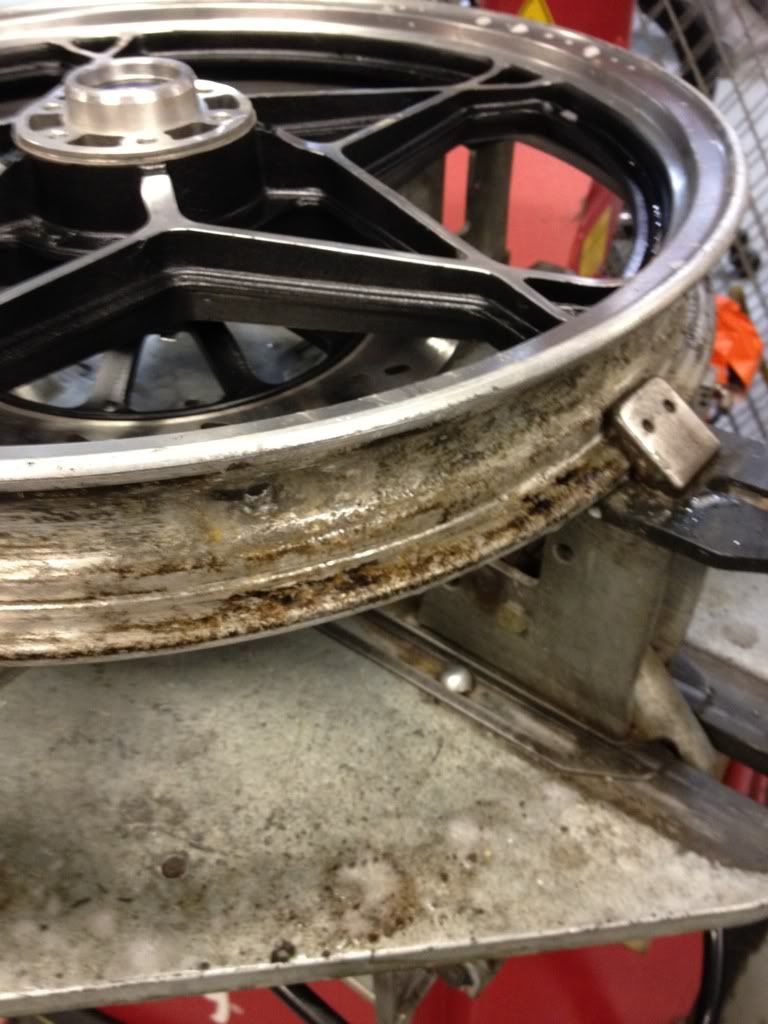
    I did manage to make some progress in June/July. Specifically, I cleaned up the valves and valve seats, re-honed the cylinders, and learned how to use all of the machined involved. I will post pics and a tutorial later this week. I also picked up some key tools for this project and future projects (e.g., wheel stand, vacuum gauge, more reliable compression tester, valve spring compression tool, etc.)

    I'm really looking forward to diving back into the GS! Stay tuned.

    Leave a comment:


  • D-Mac
    Guest replied
    The seat pan is from RocCity Cycles. There is a pic on their page of a GS with one (at least there used to be anyway).

    Leave a comment:


  • musicman
    Guest replied
    Gah, too many pages to find the answer to a silly question, haha. What seat pan is that if you don't mind me asking? I'm hunting around to change the seat on my bike and that one looks nice and long. Build is looking good so far

    Leave a comment:


  • Sci85
    replied
    She's really looking good D-Mac! I wish I had the funds to do the motor. This bike is going to run sooo sweet.

    Leave a comment:


  • kokar
    Guest replied
    Fantastic !!!!

    Leave a comment:


  • CCC-TT
    Guest replied
    Great buildup. This is the definition of no screw left unturned... cant wait to see the final product.

    Leave a comment:


  • C Dub G
    Guest replied
    This is a fantastic piece of documentation work, thank you for sharing. I'm hoping to do this one day to my 81' 550T but struggle with the fact that I'd be pulling apart a greasy but well running motorcycle.

    Excellent work, I can't wait to see the finished product.

    Leave a comment:


  • D-Mac
    Guest replied
    A few pics of the bike. Sidestand re-installed too. Since these were taken I’ve replaced a lot of fasteners, replaced the grips/levers, and I’m working on the footpegs and brake lever – removing rust, treating them, polishing them, and clearing them. I will do rearsets eventually, but I’m going back to stock for now.


    I also ordered and just received a K&L engine stand. I’ve wanted one for a long time. This will make any bottom-end work a snap, including painting the rest of the engine (recall that I’ve already painted the top-end components of my “parts engine” but I need to do the bottom end of the engine I plan to use). You can tear a bike down to the crank almost effortlessly since you can easily flip the engine upside down. The bottom piece seemed a little too long, so rather than cut the one that came with the stand, I bought a piece of square tube and cut it down a bit. In retrospect, the original piece might have “just” fit.

    Anyway, some pics of the “original” 550 engine in the stand.


    I ordered the Caswell gas tank liner so I can properly coat the tank. There is some old stuff in there (looks like Kreem?) that I will be removing first. A gallon of paint stripper, a jug of acetone, and some drywall screws oughta do it. After re-lining and stripping the paint off the tank I will assess the leak(s) (I know there is one already). If they are small, the Caswell liner should take care of them. If they are really bad I’ll learn how to solder the tank. Once the liner is done I’ll move on to patching the dent and painting it.

    There is still tons to do…..engine work and a dreaded electrical odyssey. I’m currently taking a course that includes honing motorcycle cylinders, and cutting valves and valve seats. I plan to do mine in about a month or so. I finally ordered new rings and piston pin clips, so I now have all of the stuff to re-build the top end.

    Leave a comment:


  • D-Mac
    Guest replied
    Originally posted by Sci85 View Post
    Wow, great progress D-Mac! Looking real good. Where did you get those rear shocks and was there any modification required to mount them up? Also, if you do decide to not use the center stand, I am currently in the market for one.
    Shocks were a straight bolt on. They are slightly taller than the originals, but given how rakes back these bikes are that's actually an improvement.

    I'll let you know about the center stand. I go back and forth about using it. I love the convenience and ability to sit it straight, but it adds weight and will probably look a little weird with the open design.

    Leave a comment:


  • Sci85
    replied
    Wow, great progress D-Mac! Looking real good. Where did you get those rear shocks and was there any modification required to mount them up? Also, if you do decide to not use the center stand, I am currently in the market for one.

    Leave a comment:


  • D-Mac
    Guest replied
    Some exciting news! Last week I got this project looking more like a motorcycle. I began by installing the rear tire on the rim and borrowing the “special” tool needed to torque the steering head nut correctly.

    Once this was done, I assembled the forks, front wheel, front caliper, inner fender and clip ons. I then pushed the forks up through the tree and re-clamped the clip-ons to the top. I checked and re-checked the rake and trail numbers and I still have lots of room to spare.

    Front wheel on:


    Front caliper installed:


    Headlight on:


    Swingarm installed:


    Rear wheel installed. Shocks partially done:


    Rear caliper and brake arm:


    Clip ons adjusted:


    Got new brake lines. Love these things!


    More pics in the next post….

    Leave a comment:


  • D-Mac
    Guest replied
    Continued….

    The headlight is easily the biggest improvement from powdercoating. It looks even better than the pics show. The powder covered all the scratches perfectly. I replaced all of the rusty fasteners and rotted rubber bits too. Some pics of this beauty.


    The new swingarm bearings went in with ease. After a night in the freezer I was able to tap them right in. Pleasant surprise. The powdercoater did an excellent plugging the holes and avoiding excessive build-up around them.

    Steering head races (especially the top one) were a little tougher to get on. I used some heat gun to warm up the neck a bit and dropped in frozen races. I ended up using the old races and a couple of sockets to drive them in fully. [I do have access to a great tool to gently force them in, but I was impatient and wanted to see if I could drive them on before borrowing or making something to do it]

    Top of head, before


    Race seated.


    Driving the lower bearing onto the steering stem was a pain. I had a perfect PVC pipe to drive it on, which made short work of it with a little caveman hammering. I put the stem in the freezer overnight beforehand. Yes….I remembered the little spacer/dust seal on the bottom, although I should have used the aftermarket one that came with my bearings because it fits better than what Suzuki uses. Oh well, this bike isn’t going to spend much time in the rain anyway. The original top dust seal fits well (better than the aftermarket one I had). I was sure to grease the bearings and everything else with enough high-impact grease to last a loooong time.

    The service manual calls for torquing the main steering head nut to ~30 ft-lbs and then loosening it ¼-1/2 turn until it “feels right” (checking for looseless via the fork tubes when they are assembled). Since the bearings are new, I want to do it right (I know what “feel” I’m ultimately looking for after that). Of course I don’t have the 4-pronged Suzuki tool for the stem nut (the nut pictured below is the top clamp nut that goes on top of it….different nut). I think the shop where I’m taking classes has one so I’m taking the frame and stem there tomorrow to do it. If that fails, I’ll have to make one. After that I can get the forks, swingarm, and wheels on.

    Here’s a pic with the top clamp just sitting on the head.


    Unfortunately, I’m away most of the week so it could be several days before I get back to it. After that I will have a lot of free time to work on the bike. Stay tuned…

    Leave a comment:


  • D-Mac
    Guest replied
    Continued. More powdercoat pics….

    Sidestand


    Front fender inner brace. Came out nice!


    Engine brackets


    Headlight (more on this below)


    Exhaust brackets


    A few other bits came in this week.

    Grips.


    Bar end mirror


    Headlight clamp (I’m ditching the ridiculously heavy, ugly, unadjustable thing Suzuki used, which will allow me to run clip ons).


    Some electrical stuff also arrived (not shown)

    I finally had a chance to use my thread chaser set. I prefer these chasers to taps where possible since they won’t undercut existing threads or cut new threads. They are designed to clean up old threads and they are good for removing bits of powdercoat, damage, and other crap.


    I also bought a cheap metric tap set to clean out the headlight threads (my chaser set doesn’t cover anything below M6 size).


    [continued in next post]

    Leave a comment:


  • D-Mac
    Guest replied
    Good week. Lots of pics….multiple postings.

    I spent quite a bit of time working on a friend’s old bike (a Yamaha triple), but on Tuesday my front tire arrived along with tubes for the front and rear.

    I have access to a tire changing machine where I’m taking motorcycle repair classes. Even with that, the front proved to be a little stubborn to change. The old tire was so hard and dry-rotted that it didn’t want to move. Then there was so much crud on the inside rim I spent 30 minutes just scrubbing it off. Then the tire didn’t want to seat evenly, so I ended up inflating and deflating it several times and leaving it as high as 75 psi for a few minutes so it could work itself into position.

    Front done!


    I also removed the rear tire and cleaned the rim. It was especially hard to get the old rear to sit down into the dogs on the tire changing machine. The old tire was badly rotted and 3 sizes too big, so it stuck out on the sides a lot. After a lot of wrestling and a bunch of tricks from guys in the shop I managed to get it off.

    Dirty!


    New rear tire arrived on Friday. I’m planning to spoon it on tomorrow.


    On Friday I picked up the frame and some bits from powdercoat. Here ya go…..

    Frame (satin finish)


    Protected for assembly.


    Swingarm (satin finish)


    Centerstand (not sure I’m using it so it might be for sale)


    [continued in next post]

    Leave a comment:


  • D-Mac
    Guest replied
    Originally posted by hsteil4356 View Post
    hi, d- mac.
    sure, the circlip is out. we tried: heat, cold, pb blaster soaking, carb cleaner soaking,
    air pressure ( are you kidding , how about 300 pounds per square inch?)
    If you have Billy Joel's master motorcycle mechanic behind you, how much more support do you need? Anyways, I rather spend a few bucks than kill myself with
    that%^&$#@. so to e bay I go. the thing with the photo- upload I dont get at all , to old for that. regards, and good luck with your project.
    ps. tremedous job taping off your parts. patience is a virtue. spelling wrong? to bad. immigrants have issues....If you give me an e mai l adress outside the forum I will send you pictures about how I solved the electrical issues. may be it helps.
    Wow! Sounds like you tried EVERYTHING! Definitely just replace it.

    When taping off my parts I've found it easiest to trim the tape with a scalpel (changing the blade every few minutes). I'm a biologist, so I have access to a lot of them )

    Leave a comment:

Working...
X