-
 Guest repliedVery nicely done.......
 -
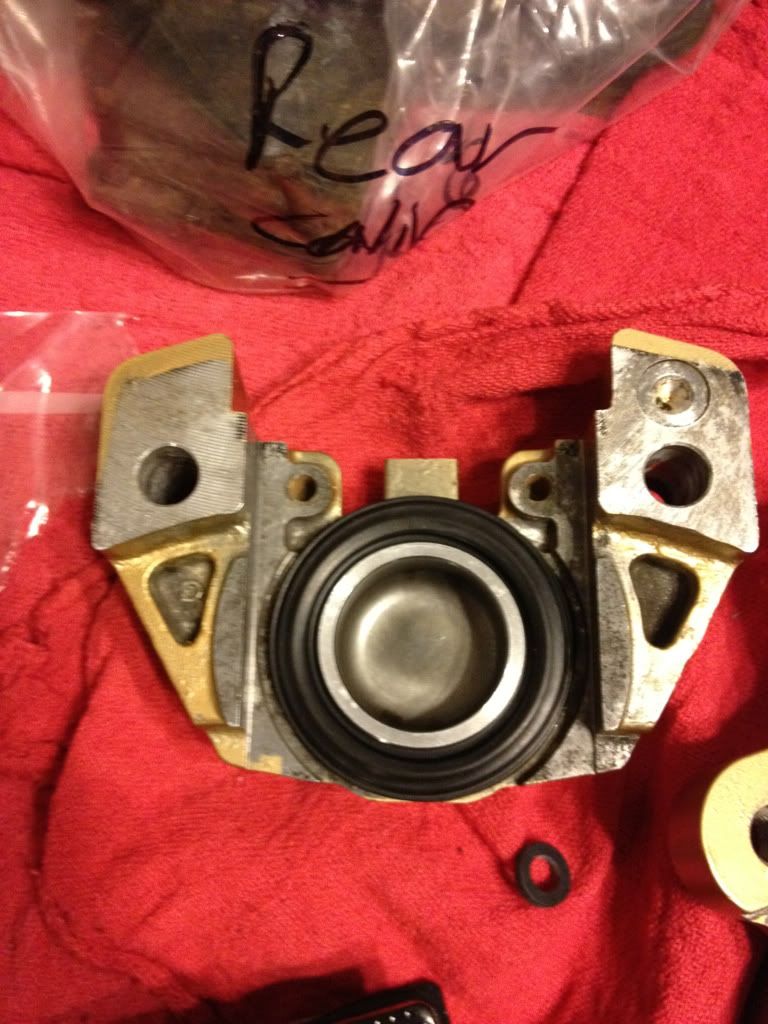
Guest repliedPart II: I finally got my brake calipers assembled today. You might remember that they were badly rusted and pretty much shot (frozen up solid). It took a while to finish painting and heat curing them. I?m still missing a bleeder valve for one of them (I could have sworn I had one, but it?s magically disappeared). I replaced the seals, dust covers, various rubber bits, o-ring, pads, shims, pins, and some of the fasteners.
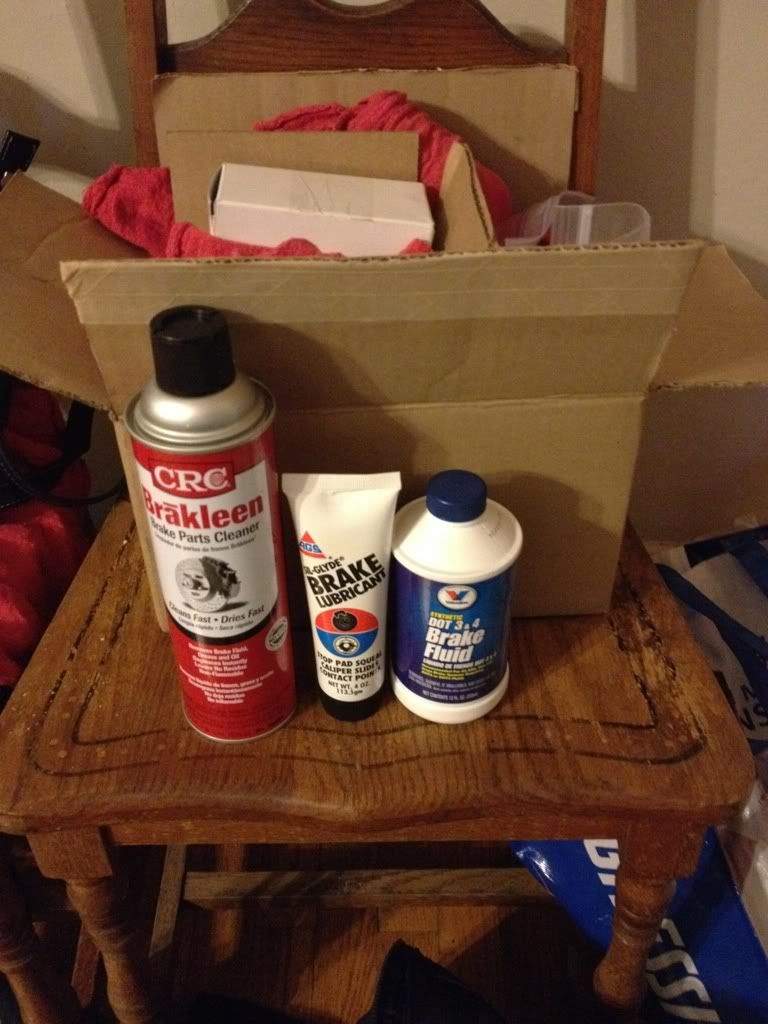
Supplies for the job.
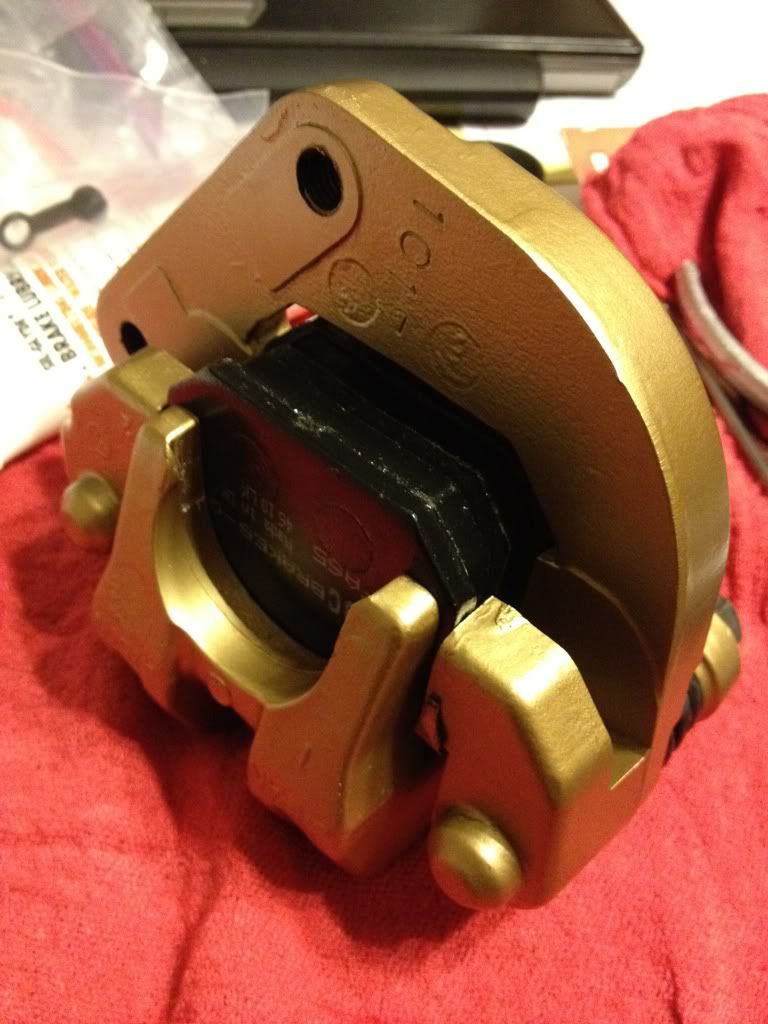
Here?s are the rear caliper parts during assembly. It went together easily enough once I got the pads oriented correctly.
Rear caliper assembled!

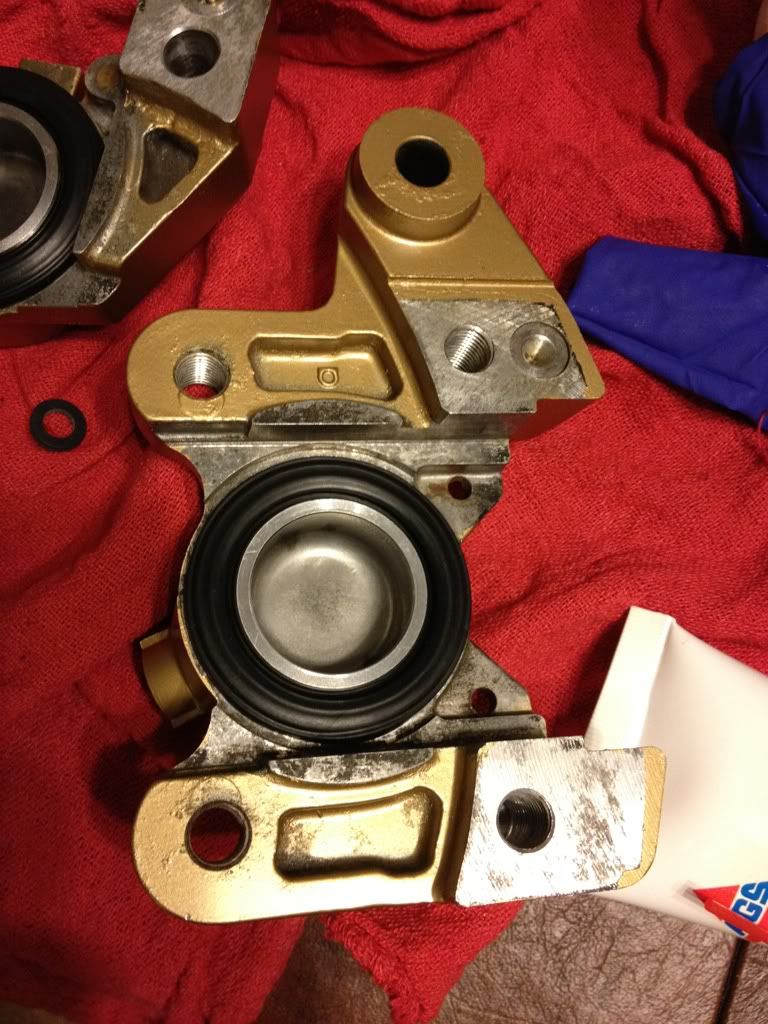
Front caliper. Piston back in place.
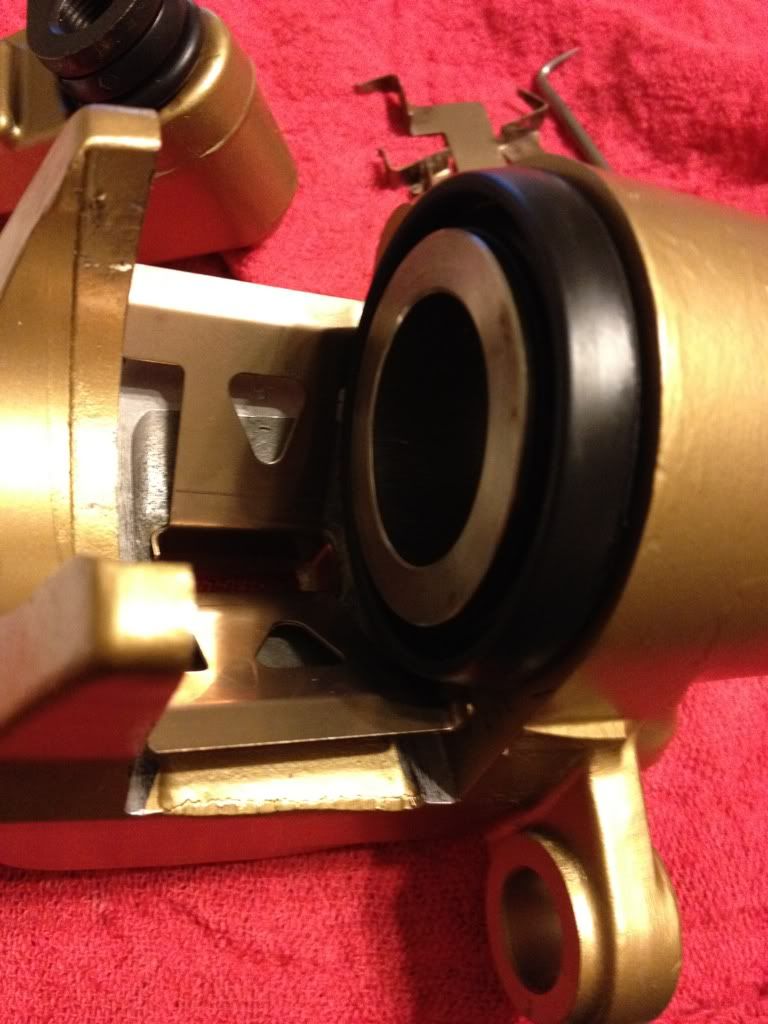
Other part of the front.

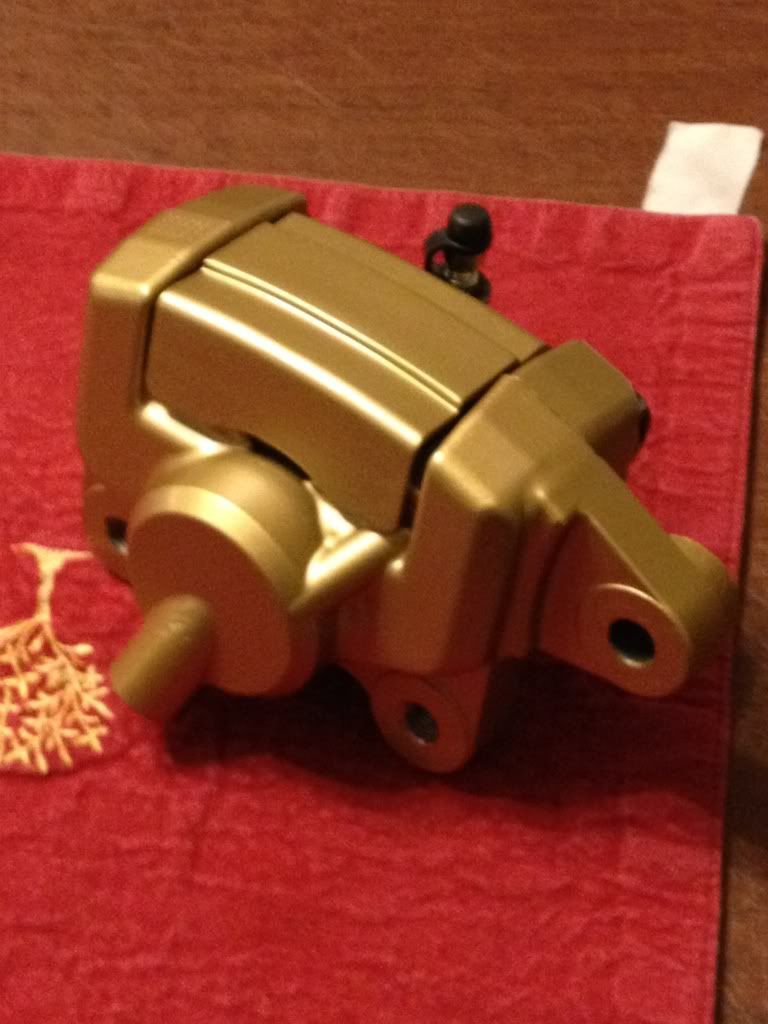
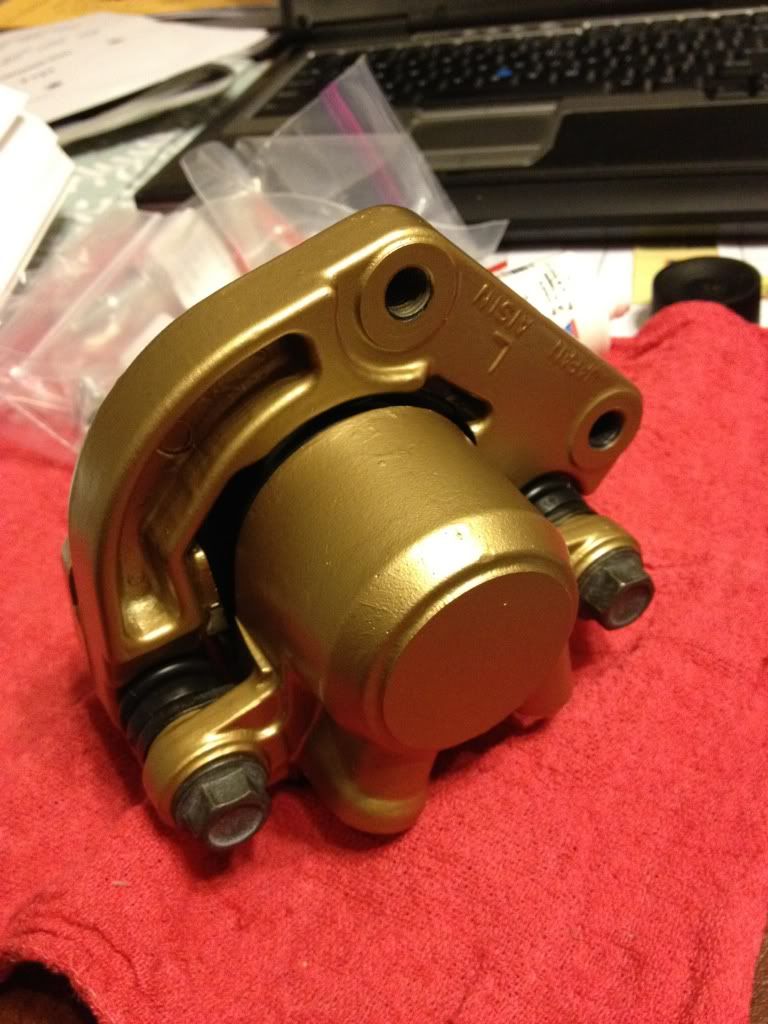
Front assembled!
The front one was tricky since the dust seal must go into a recess in the bore and another one in the piston. It took a while to get it in properly (thanks to photos and suggestions by ?pete? on page 29 of his GS450 rebuild I was able to get it without too much frustration).
The gold caliper paint is not a perfect match for the gold/yellow on the new rear shock, but it?s fairly close. The only other gold on the bike will be the trim on the paint job. Everything else will be black and polished aluminum.Leave a comment:
-
Guest repliedProgress!! [in two posts]
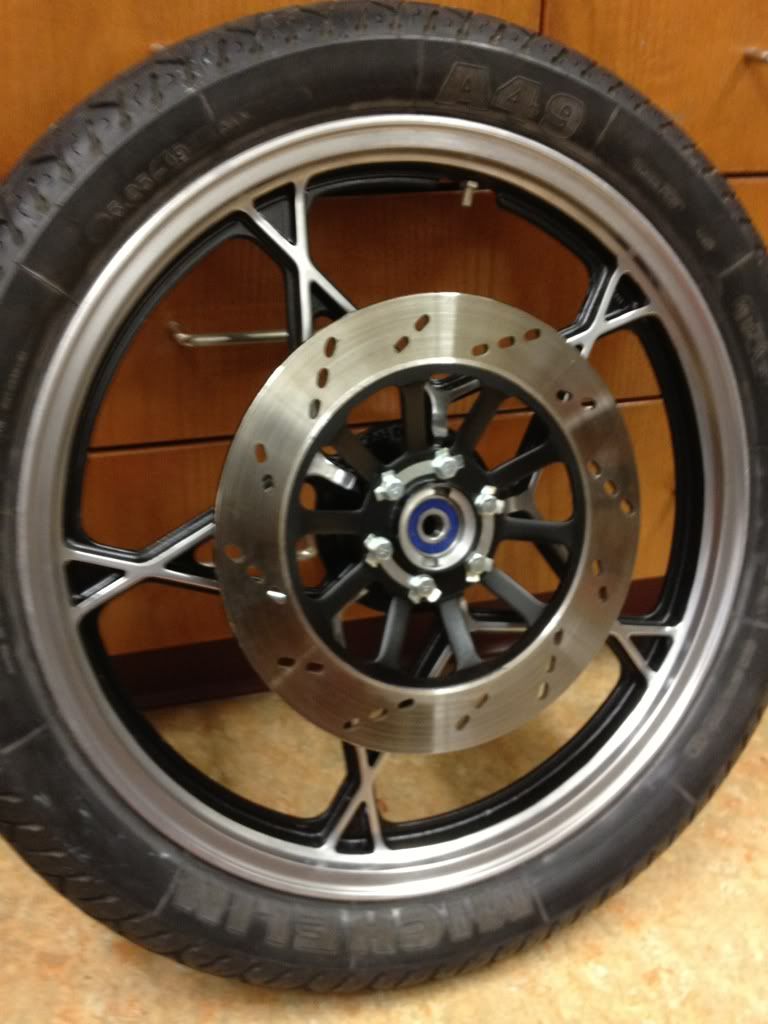
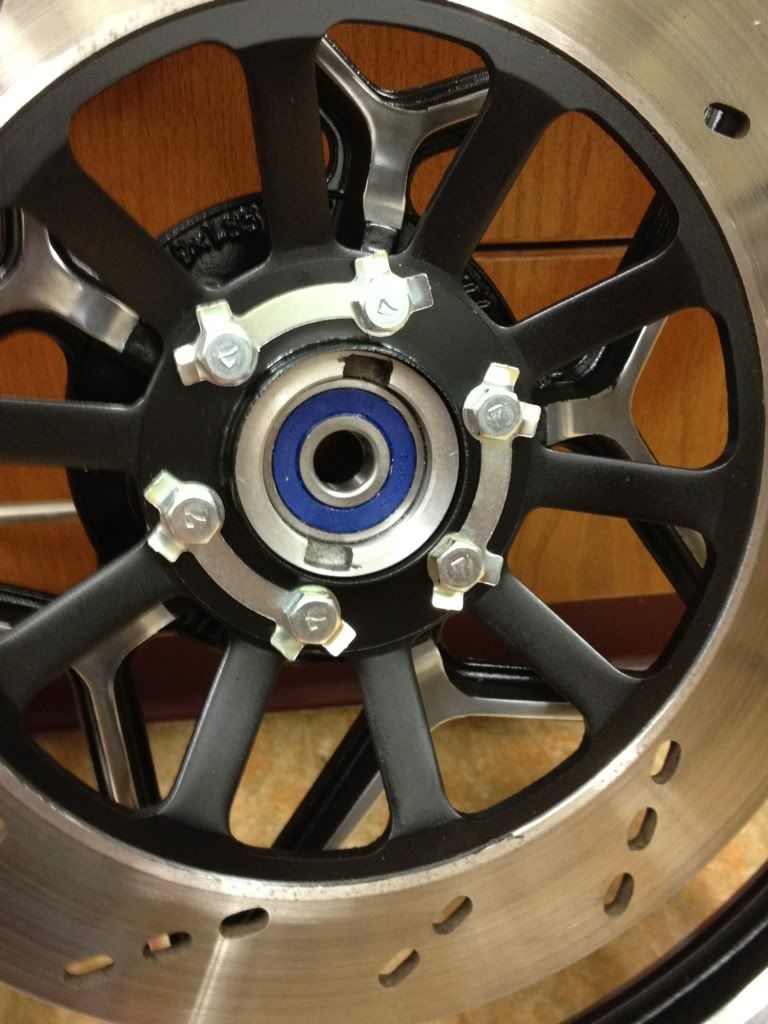
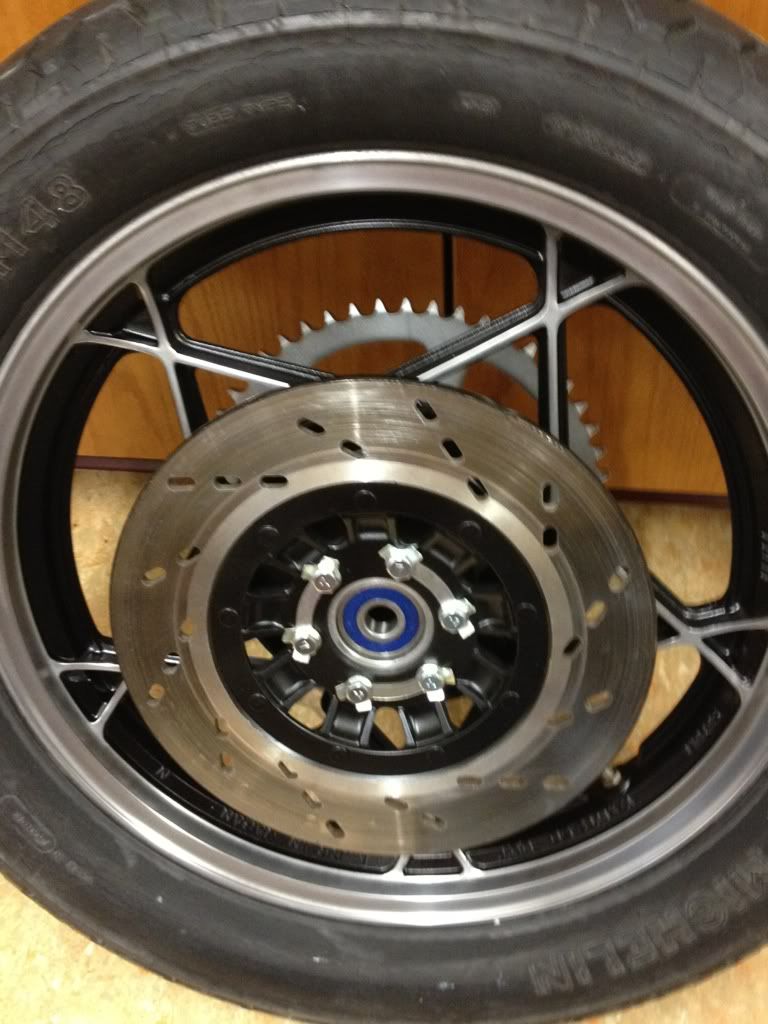
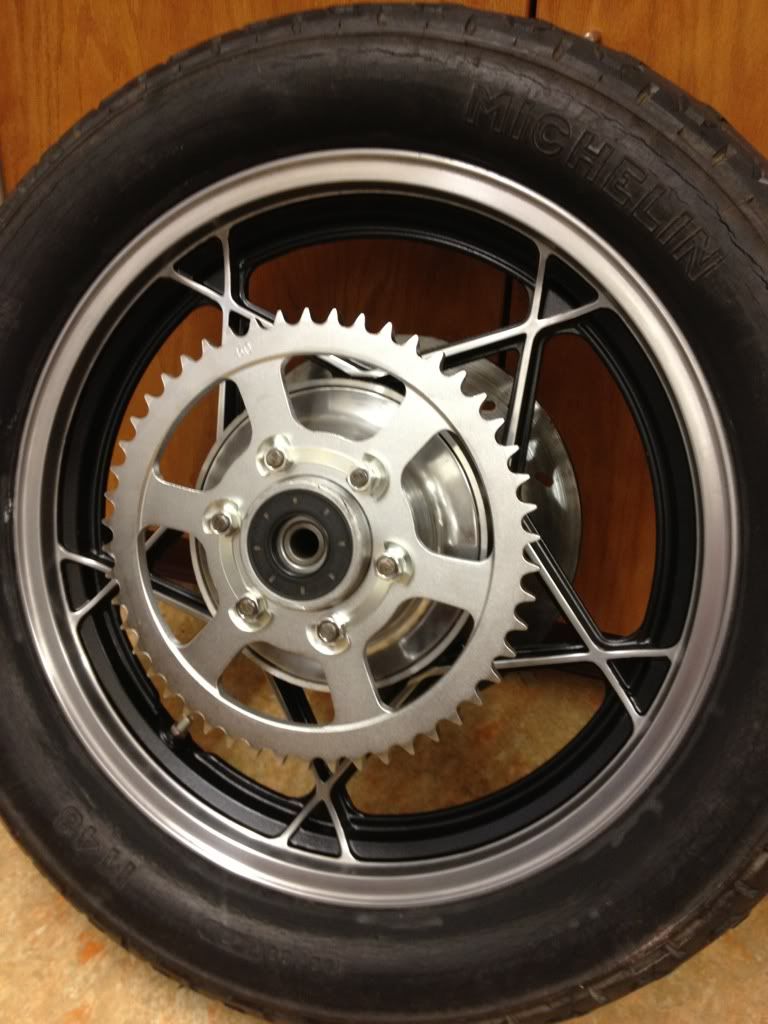
First: I replaced the wheel bearings and put the wheels/rotors back on. Here are final pics (yes?.I know I haven?t bent the lock tabs down yet in case I have to remove the rotors again for some reason).
Front wheel.
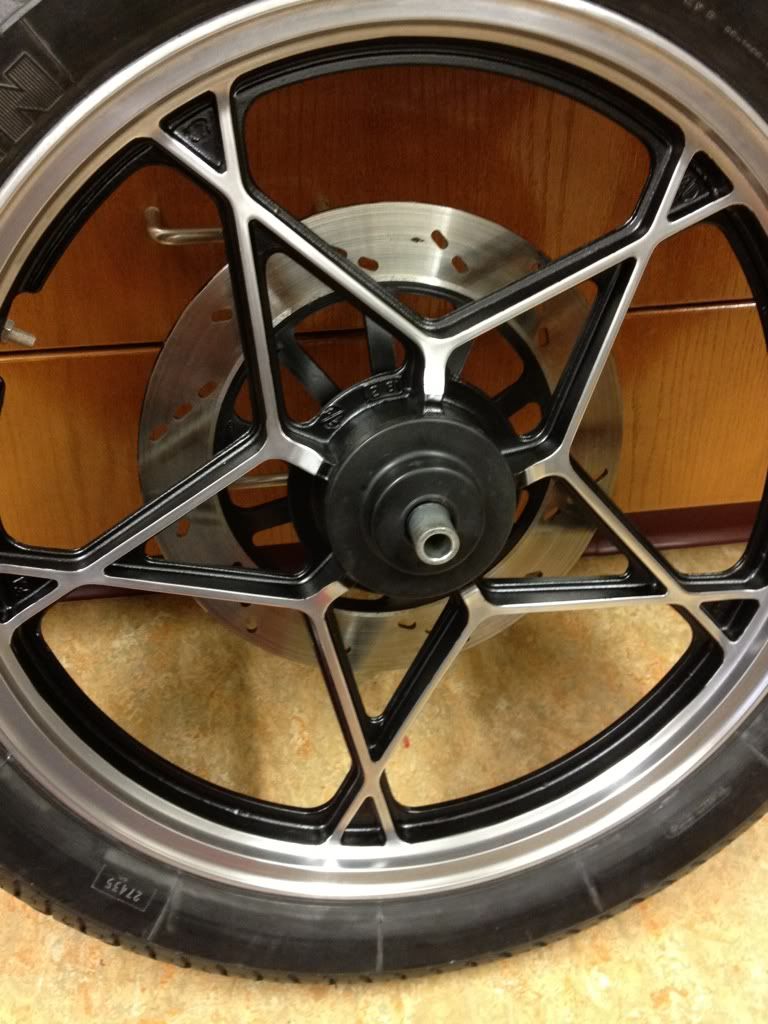
Rear wheel.
Leave a comment:
-
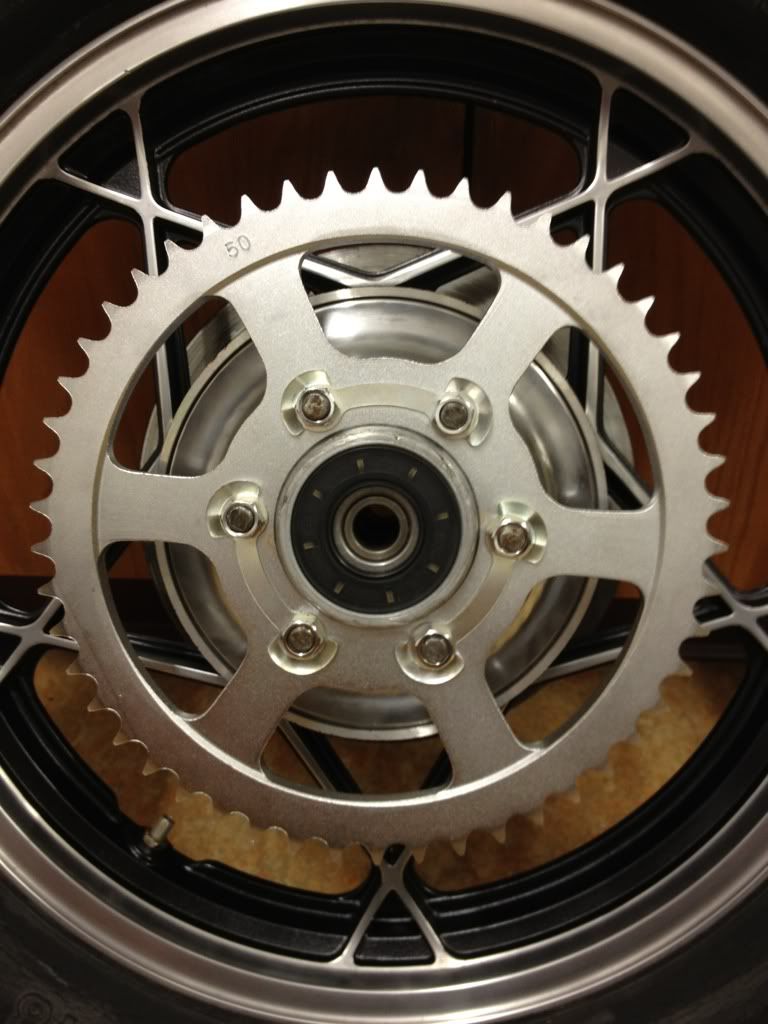
Guest repliedI cheated. The sprocket is new. You can tell by the shape of the holes in it. The old one isn't too bad, although there is a little hooking on it. The front sprocket is much worse and the chain is shot, so I figured I'd replace the rear sprocket as well.
Leave a comment:
-
Guest repliedIt looks almost as though you painted it ? I was going to do mine in black, but figured the chain would just chew up the paint and it would not look good very longLeave a comment:
-
Guest repliedHow did you clean that sprocket up? It looks fantastic.
Bruce.Leave a comment:
-
Guest repliedI was pretty busy this week (working on non-bike things), but I did manage to find a few minutes here and there to replace the wheel bearings. The front ones were especially stubborn. I hope I did them right.
Here is the rear sprocket drum back together. Check it out?..
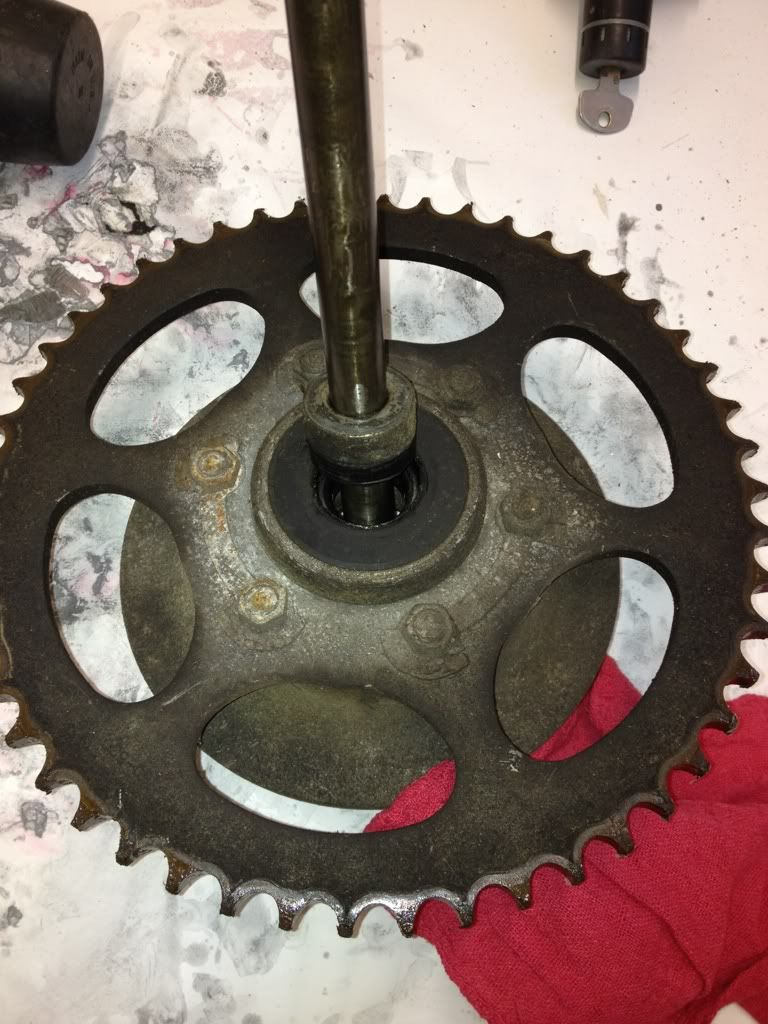
Before: A pile of greasy, gouged, and rusty metal.
After: Much better (I haven?t bent the tabs down yet in case I need to remove the sprocket for some reason before final assembly).

I also finished painting the rotors today. I went ahead and re-masked them so I could paint the edges. Here they are ready for paint.

This weekend I?m going to bake the rotors to cure the paint and re-mount them. Then the wheels will be done other than needing new tires. I will also touch up the calipers and bake them.
I also removed the lower steering head bearing/race from the stem. I had planned on using some special tools at the shop, but nothing fit quite right so I ended up breaking the bearing with a chisel and then using a drift to remove it from the stem. Whew! The lower tree will be re-painted black.Leave a comment:
-
Guest repliedYeah, it was a complete PIA. I had to use various tools and methods because mine were really badly rusted. Yours don't look so bad so you may have an easier go at it. Of course if you have a press then you are one lucky dude.
Good luck!Leave a comment:
-
Guest repliedI've been meaning to post a reply but got behind. I too have been working on my swingarm Dmac. Just recently removed the bearings (see separate thread on that struggle) and also powder coated mine. And yes, I have the exact same indention (brake side) on my swingarm so it must have been intentional.Last edited by Guest; 01-16-2012, 10:58 PM.Leave a comment:
-
Guest repliedThanks. It does beat the garage, which is small and freezing at this time of year. I'm planning to winterize it this year, but it's still a little small for anything beyond basic maintenance.
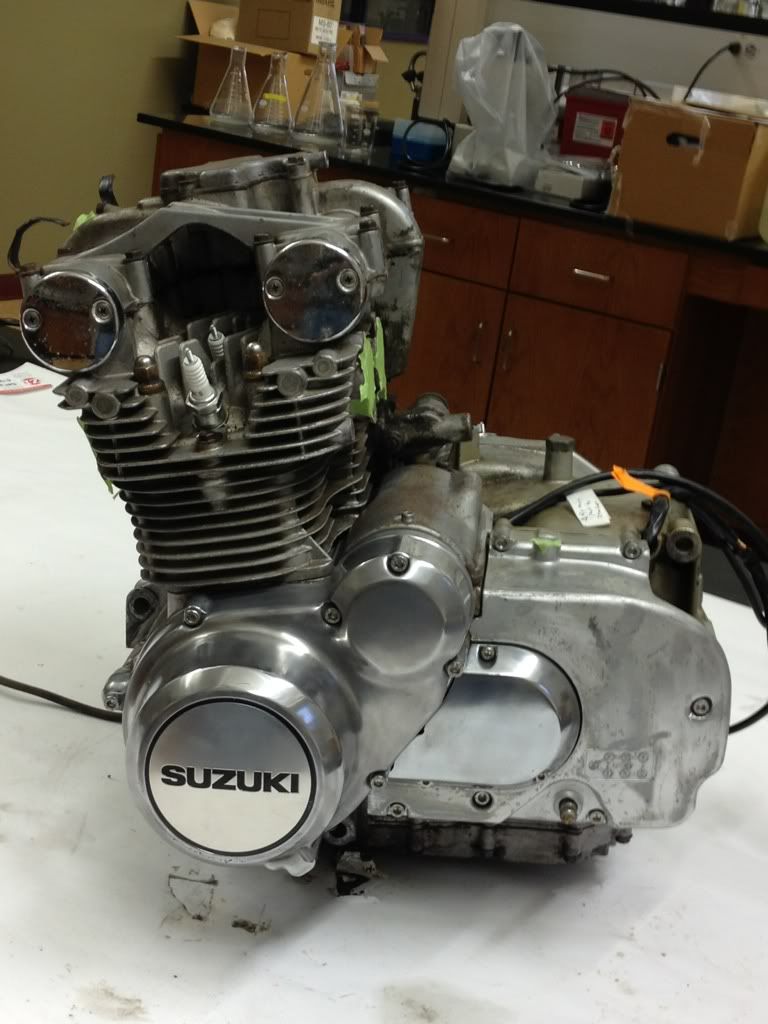
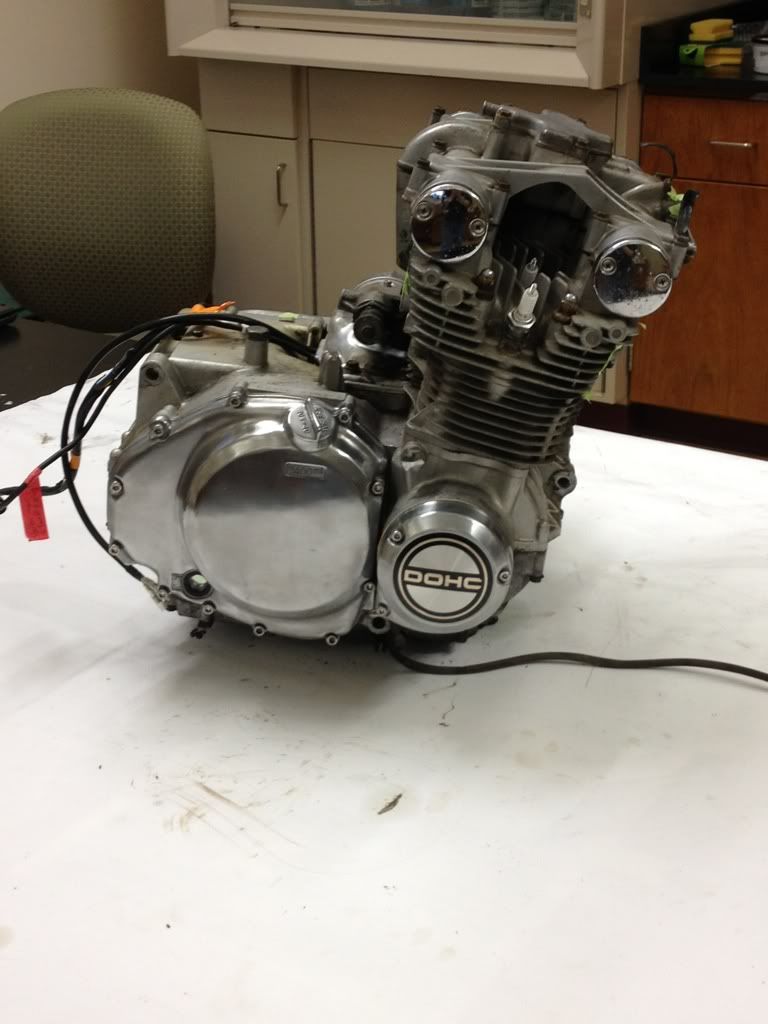
Painting the engine will be a big challenge. I'm already nervous about it. It's going to be a tough job just to get the prep done. The head cover, head, and cylinder will removed for blasting and painting (once I get the engine totally clean). The bottom end will likely be painted intact, although I might remove the oil pan if it becomes too tough.
My hood is a little small to paint an engine, although it might work since I'll have to paint it in stages anyway. Alternatively, I could just build a screen around the engine sitting on the table and paint it right there. The head and cylinder need work too, so it's gonna be a long road.Leave a comment:
-
Guest repliedI like your painting setup.....beats the hell out of painting in the garage....
love the polishing job on the engine covers, they look really good....Leave a comment:
-
Looks like it's coming along nicely. Good luck with the rest of it.Leave a comment:
-
Guest repliedI?ve been doing a few little things here and there. Still no sign of the seat I ordered yet. If it doesn?t come soon I might just make my own.
A few days ago I installed the new stator. It was a bit weird because the wires come out of it facing the opposite direction of the old one so I the wires do a 180 turn under the stator. Hmmmm. They don?t seem to stick up but there is very little clearance for the rotor. I?ll probably re-check it before I try and start the engine. It would suck to have the rotor take out the stator wires! After wrestling with the left-side cover I installed it as well as the covers on the right side. All covers got stainless steel fasteners (with anti-seize of course).
Left side newly reassembled. Somehow I managed to scratch the polish job. Oops. Rag must have been dirty. I haven?t decided whether I?m going to paint or polish the sprocket cover.
Right side reassembled. This is before I shined the covers again (looks a lot better now). I should probably have done the clutch springs too. I?ll likely do them and check the plates when I remove the cover again to paint the engine.
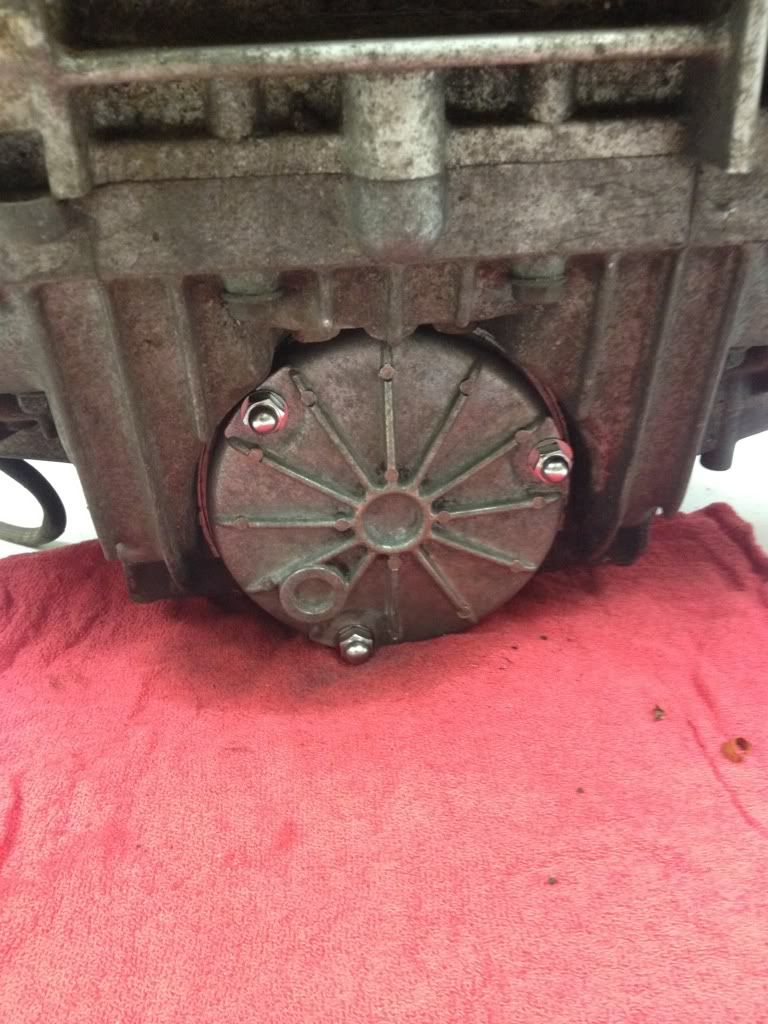
Then I decided to tackle the oil filter cover. When removing the filter a while back I noticed that one studs was stripped. I ordered replacement studs, washers, and nuts for it.
Double nut technique for stud removal. Worked like a charm!
New stud installed. I?ll probably replace the other two studs later since they look bad and the threads are pretty horrible them (they hold for now, but replacement is super easy).
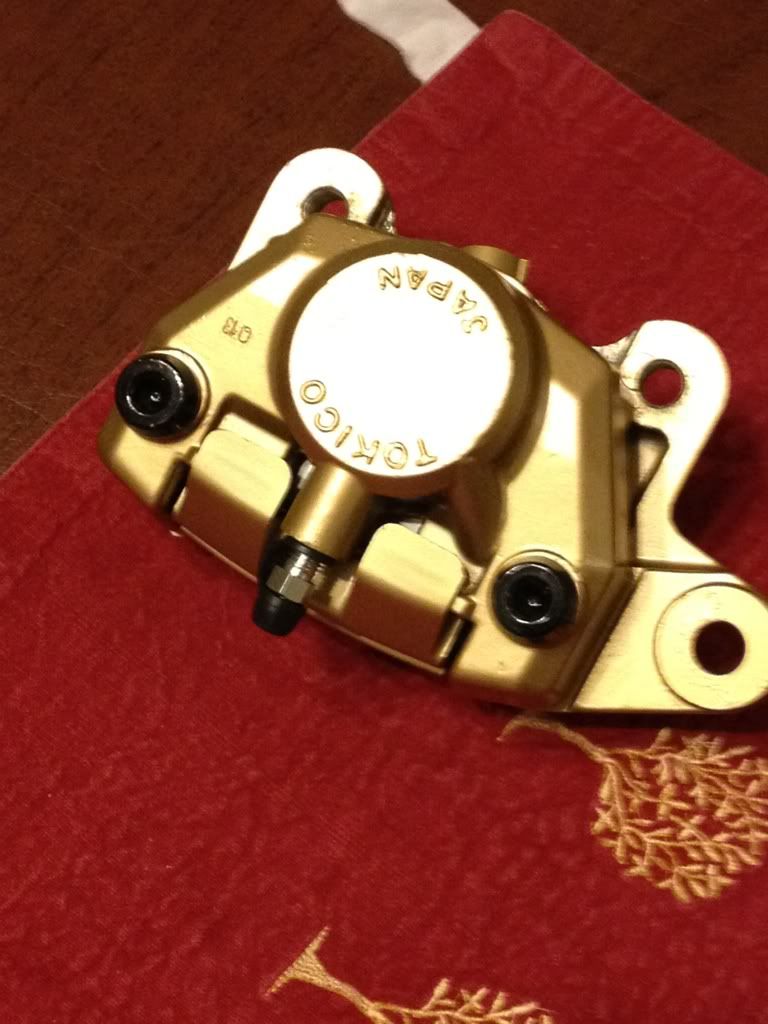
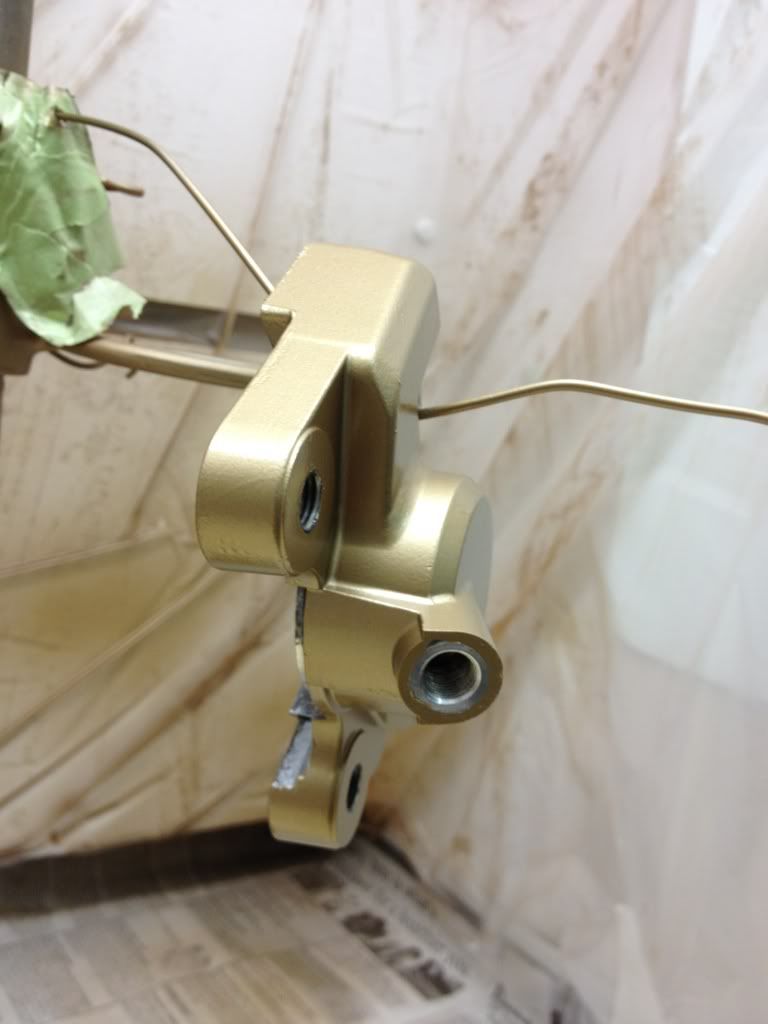
Last night and this afternoon I masked off and painted various bits of the calipers. I decided to go with gold (kind of weird ? I know). I?m thinking that they will match the trim color of the new shocks (it isn?t perfect, but fairly close) as well as the gold trim on the ?DOHC? case logo. I?m also planning some gold trim on the tank/fender. I missed a few spots so I?ll wait a week (as per instructions) and do the touch up before curing them.
Parts ready for paint. I used various lab holders to hold onto them. The threaded holes in the calipers were masked off with disposable ear plugs and rubber stoppers. Works awesome!
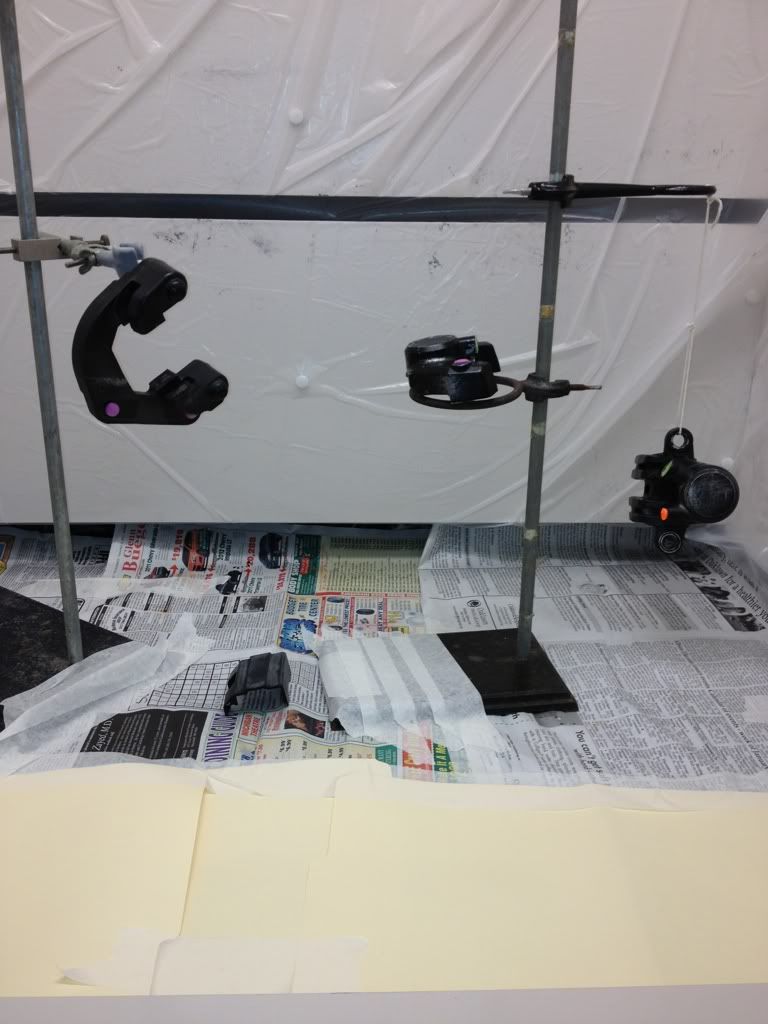
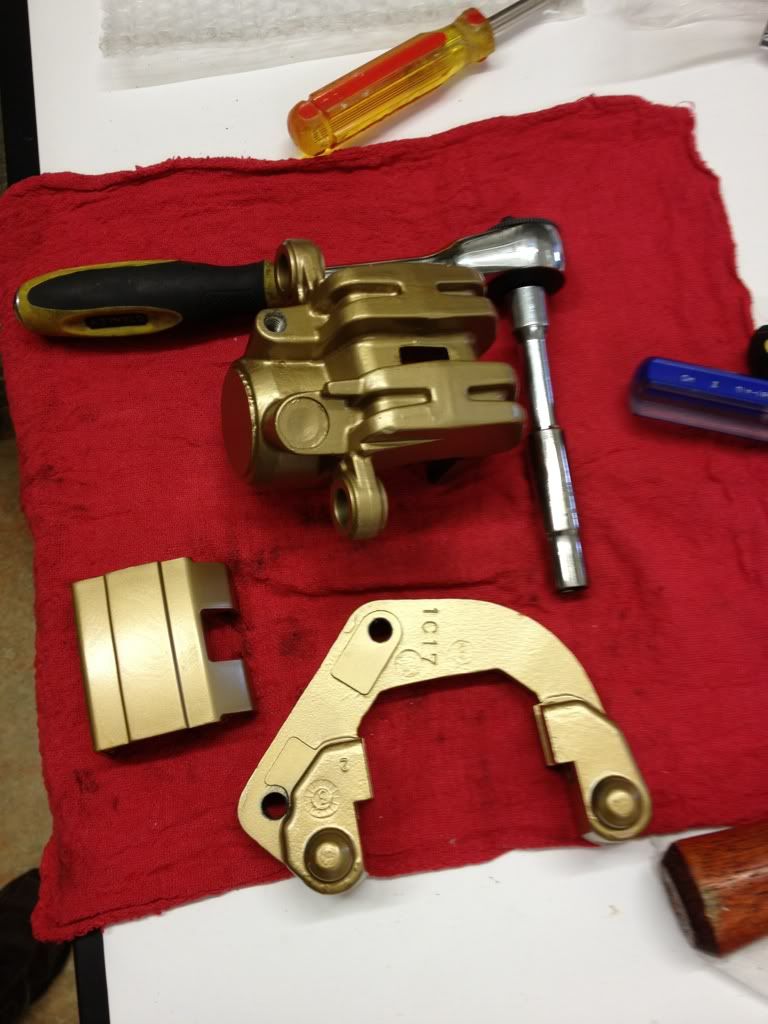
Painted bits.
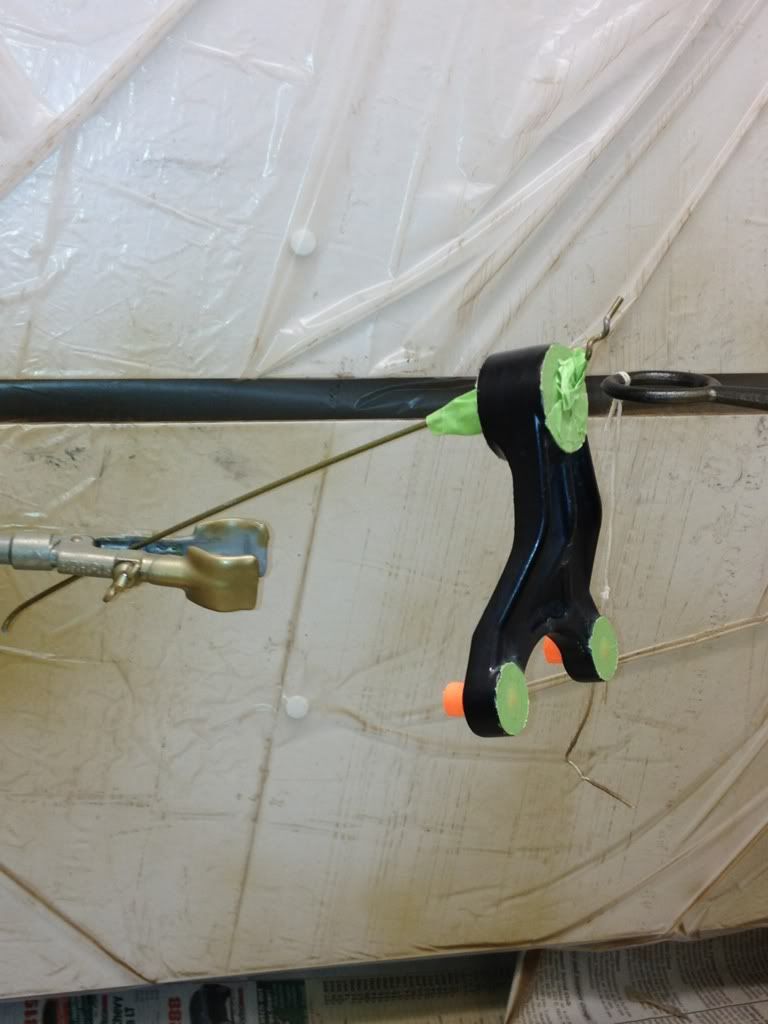
Re-painted this part that attaches to the wheel.
I picked up a little oven on sale for baking small parts to cure the paint. It would be nice to have a larger one for the wheels and engine bits, but it will work for now.
This week I?m planning to press the lower bearing off the steering head. I also need to remove the swingarm bearings at some point and reinstall the wheel bearings. All frame bearings must go since I?m having the frame and swingarm powdercoated.
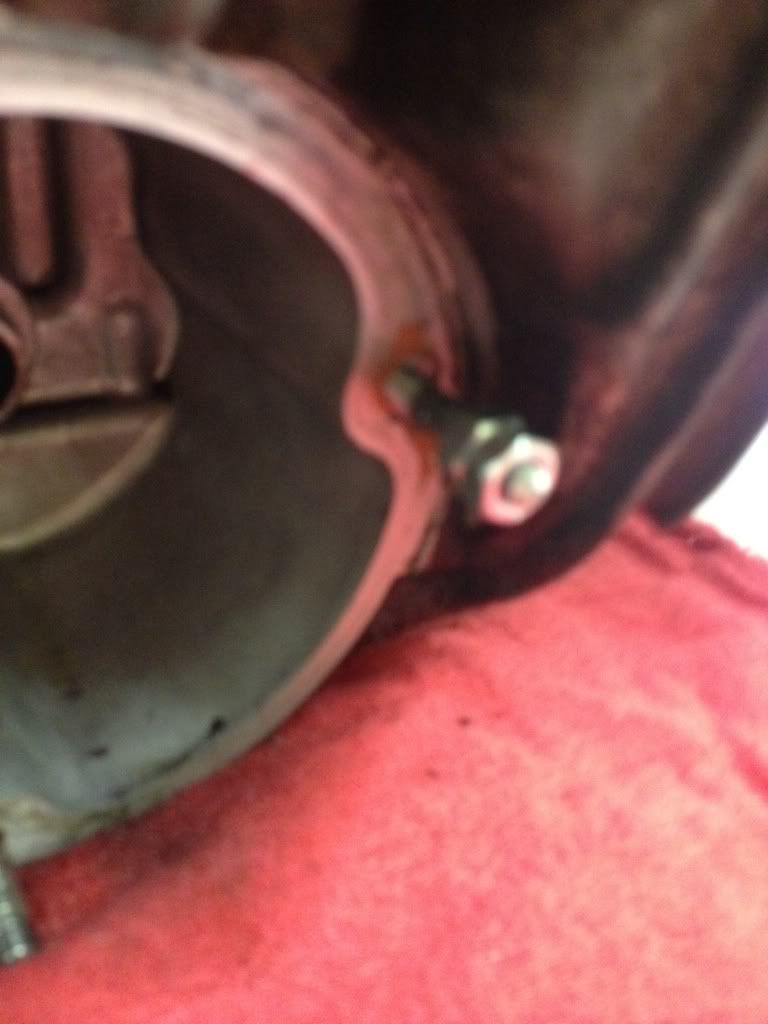
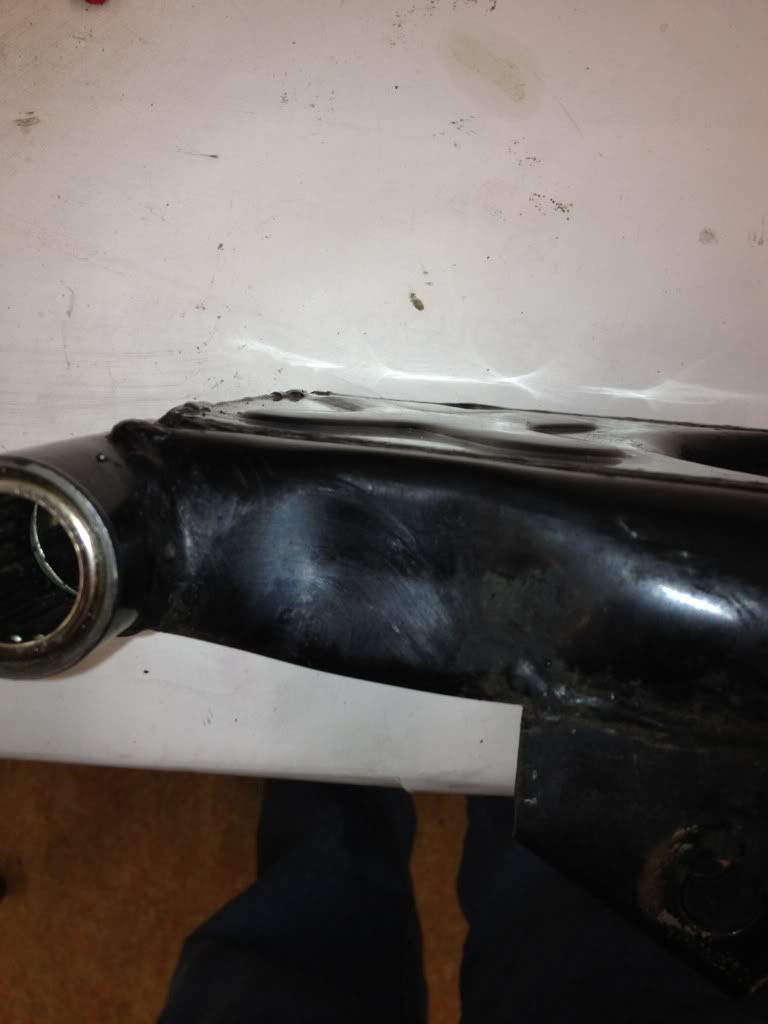
I?m cross-posting to two forums and only put this info on one. Bottom line: I discovered this week that the swingarm is dented. I?m probably going to use it anyway since it measures straight and it?s box welded behind the dent. Dent is visible here??.
Leave a comment:
-
Guest repliedThanks. I think I'm going to use it. I will be changing out the bearings since they're rusty (and I need to remove them to powdercoat the swingarm anyway), and I'll check the run-out of the swingarm pivot bolt.
The new exhaust should help hide the dent, and strangely enough I actually think it looks kind of better this way") I've seen lots of intentional dents in frames and had assumed this was just one of those. I have verified that it's not.
I've seen lots of intentional dents in frames and had assumed this was just one of those. I have verified that it's not.
Leave a comment:
Leave a comment: