-
 Guest repliedWell Dmac, chalk one up to sheer determination. Kudos to you in getting that sucker out. I am really looking forward to your engine rebuild and cleanup.
 -
Guest repliedExcellent day in the shop. Good work!!!!!Leave a comment:
-
Guest repliedExcellent advice. I sprung for a set of thread chasers (also called thread restorers) from SnapOn a while back. I've read that chasers are better for this kind of thing because they clean don't re-cut the threads, which can result in undercutting and loose-fitting fasteners (among other things).
That said, I know lots of guys who just re-tap them and they've never had a problem. Either method would be better than trying to force fasteners back in.Leave a comment:
-
Guest repliedGood work on the broken bolt, things are looking good. I take it from the soda blaster set up you going to blast that whole engine clean. Might I part some words of advice which from the sounds of things you might already know. Once everything has been blasted, rinsed, rinsed again, and blown out with an air hose, take the time and a good tap and die set, and re-tap all the holes. That was my biggest grief when I put mine back together after blasting. I am a restoration-newbie and learned that the hard way. I ended up snapping a bolt off after it bound up with grit as I was putting it back in.
Keep up the good work.
PaulLeave a comment:
-
Sounds like a long but productive day...good on you. Won't be too much longer and you'll be putting everything back together.Leave a comment:
-
Guest repliedToday was pretty productive. Rather than work at home, I decided to drive in to the shop where I?m taking my motorcycle service courses. They have lots of tools I don?t own and guys who know a lot more than I do.
I started with some engine work ? all on my ?parts engine? since I have the head/cylinder removed.
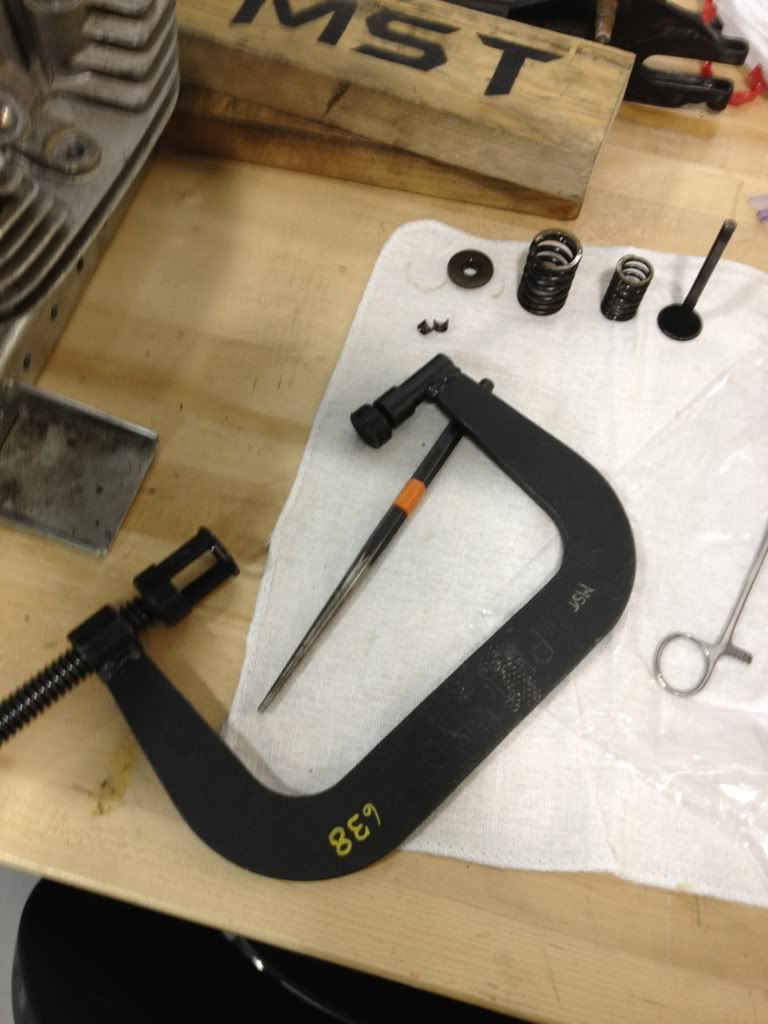
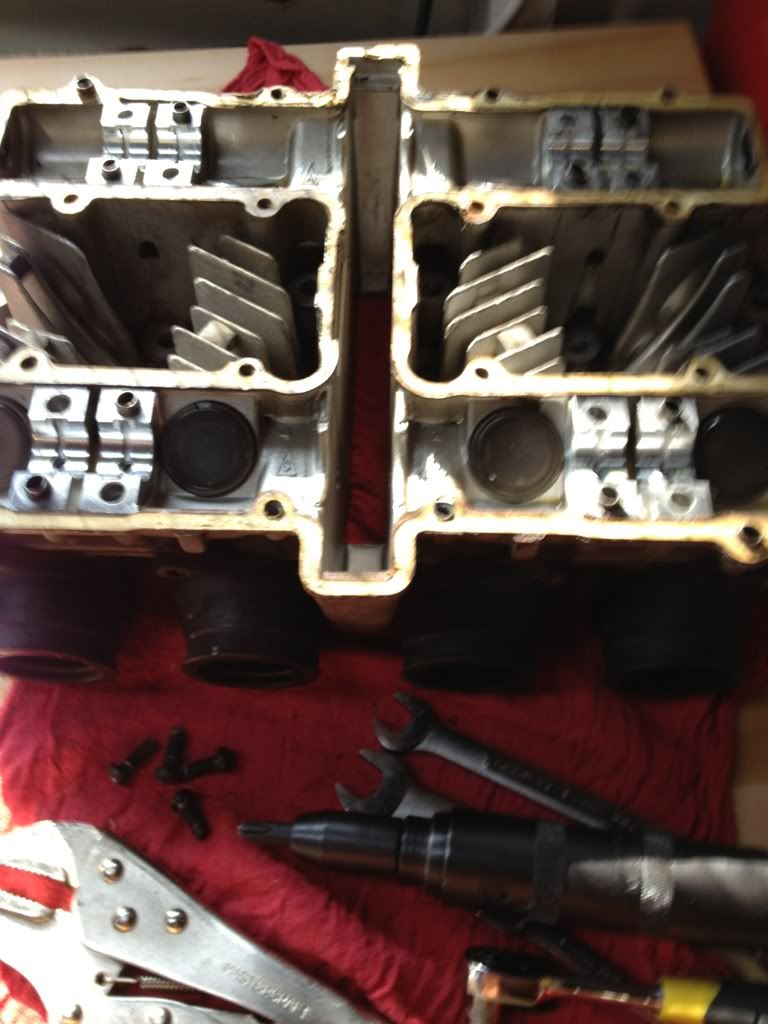
After hitting my broken exhaust bolt with some PB blaster (more on that later), I removed the valves from the head. The guys at the shop thought the valves looked really good, but since I?m planning to soda blast the head, they agreed that I should remove them first. I?d never done this before, but it?s REALLY easy with a good tool. It would be easy enough to make one myself (as many have done), but the shop has some good sets. Some pics?.
Valve removal tool (parts are from two different sets).
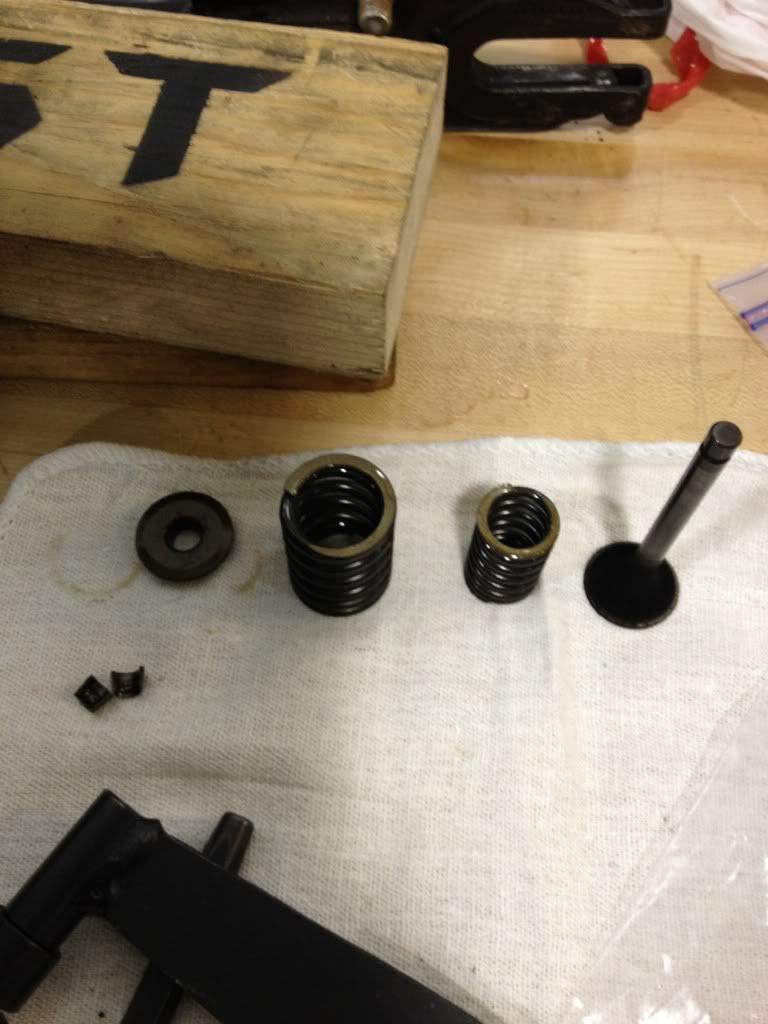
One valve and some of its components (keepers, valve, springs, top piece).
Here?s the head with valves removed.

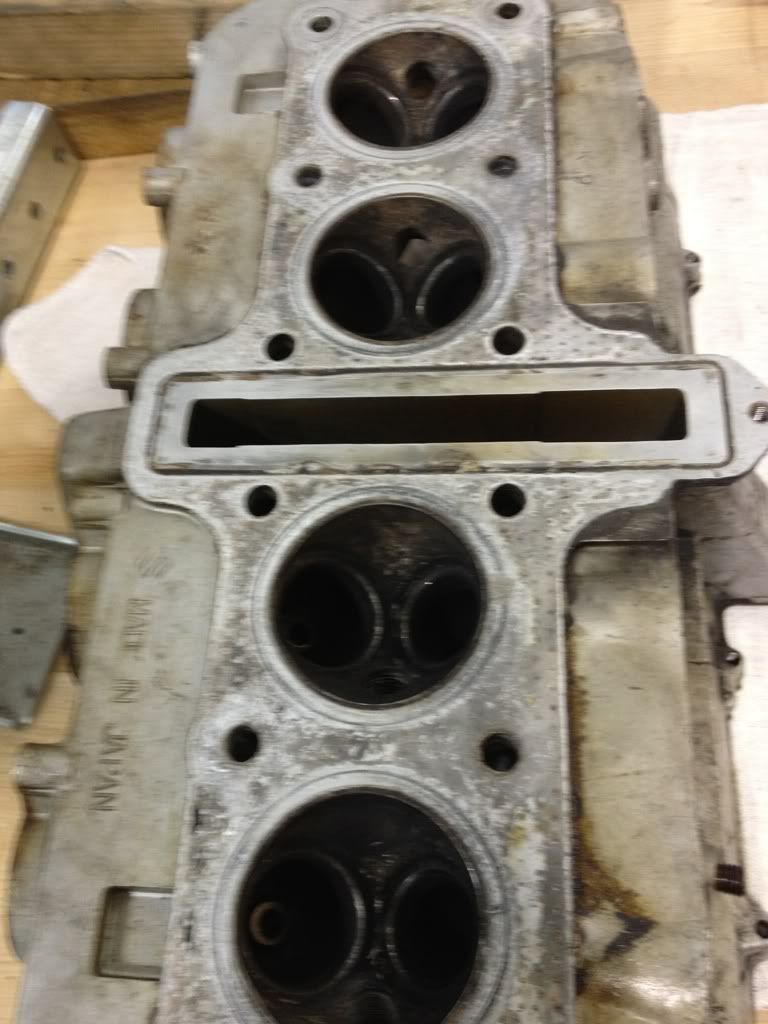
Some of the valves would have been open when the bike was put into storage, and those ones have some minor pitting/rust. I think I might re-cut the seats (really just lightly do them to remove any crud) and then lap them. Normally, I wouldn?t bother, but the shop has several cutting machines and I?ve been offered a chance to learn how to do it (and it?s free). On closer examination, one valve looks like it might be cracked, so that will need to be replaced. The guides will be checked (I?m pretty sure they?re fine), but the seals will be replaced before reassembly.
Next it was on to checking the cylinders. Using my trusty micrometer set and a borrowed bore gauge, the cylinders were all within spec (all measurements at least 20-ten-thousandths or more below the service limit, which is quite good). The walls are OK, although there is a little buildup above the ring lines and some minor build-up/rust from where the rings on each piston were sitting for so long. I?ll hone them, re-measure, and then decide if it?s ok. Worst-case-scenario I have another cylinder from the other engine I can use before I would have to consider a re-bore. I think it?ll be ok with just a little honing.
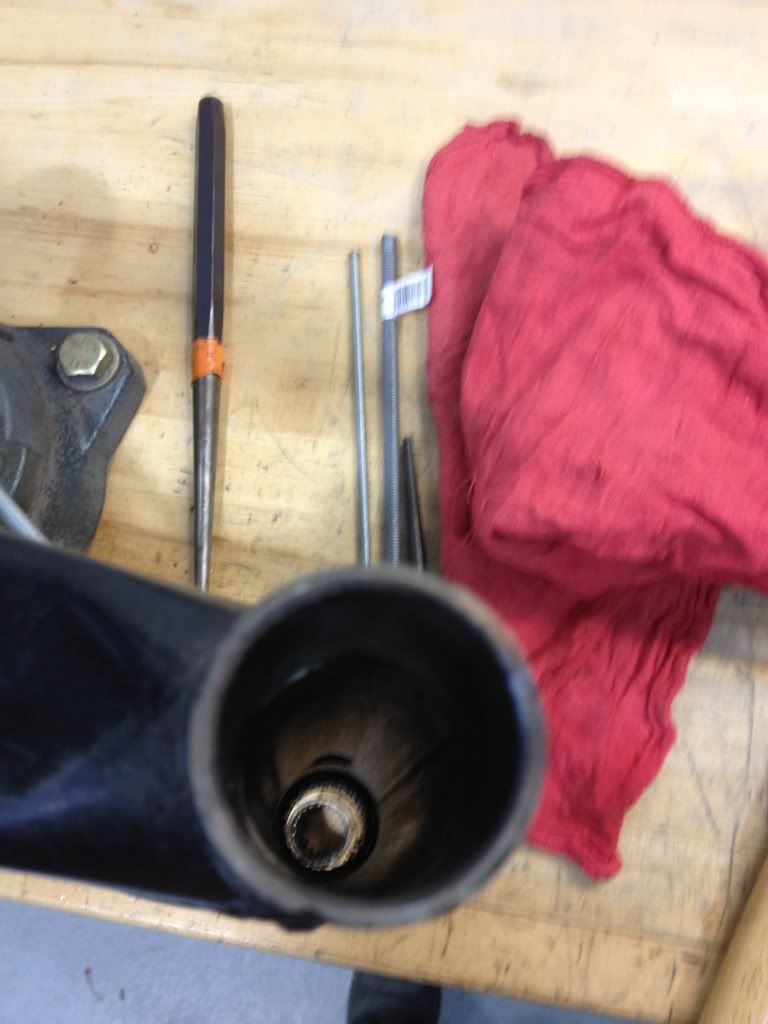
Next up, I tackled removing the swingarm bearings. I had tried it at home, but my drift wasn?t ?beefy? enough and I had trouble getting it into position. After setting up the swingarm in a vice and applying some heat, I was able to get them to drift out quite easily. Sweet. Again, I could probably have left them alone except that I?m going to powdercoat the swingarm. The left one was in worse shape ? likely from being leaned over on the sidestand and collecting more moisture over the decades.
Swingarm bearing removal setup.

Top done ? bottom still in at this point.
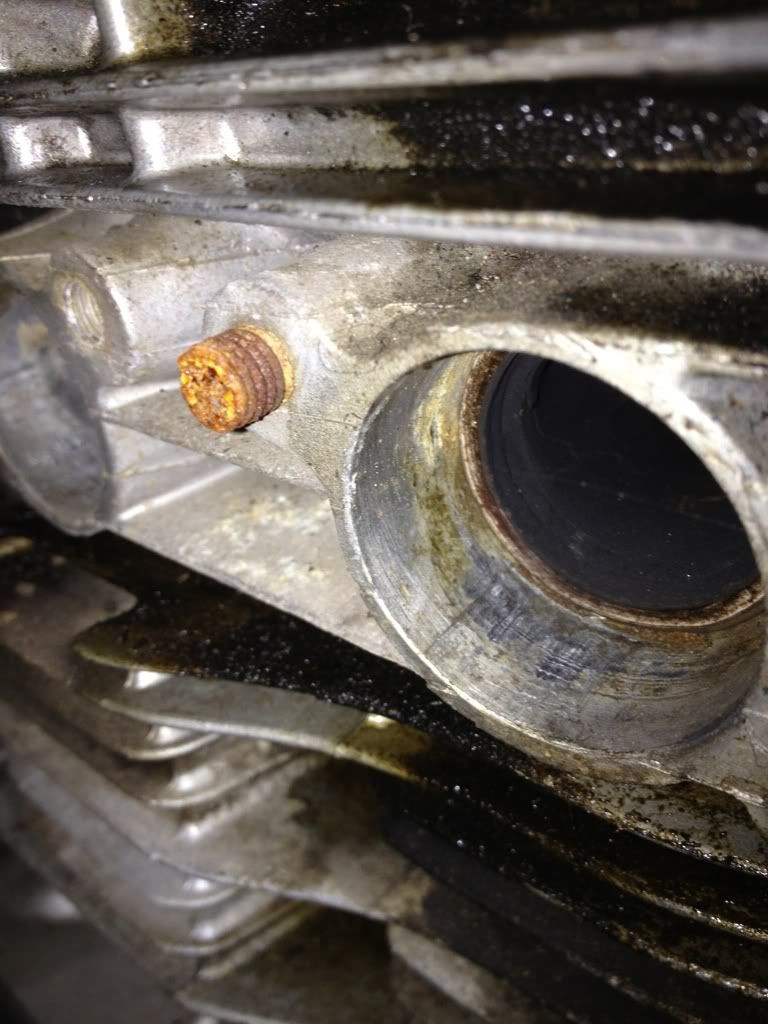
Finally, I tackled the broken exhaust bolt sticking out of the head. My plan for the day (after repeated PB blaster and heat treatments) was as follows ? in order:
(1) Vise grips to the max
(2) Weld nut or metal bar to ?stud? and try to turn
(3) Cut off stop and use left hand bit on a milling machine
(4) Continue drilling with larger bits and then use the largest EZ-out possible (after drilling all the way through to the end of the bolt)
(5) EDM (if/when the EZ-out broke)
One of the shop guys gave the vise grips a shot. Then another guy tried. Neither could get enough ?bite? to break the ?stud? loose. As one of you reported to me, this one looked pretty terrible ? likely YEARS of repeated exposure and corrosion, so I wasn?t hopeful that vise grips could work.
Then I gave the grips a shot. First, I gave the stud a firm smack with a hammer (I?ve heard that can help work things loose). Then I filed the sides a little to make them squarer, and smeared on a little grinding compound for better grip. Next, I cranked the grips down as hard as I could and used every ounce of strength I have to lock them on. Then I turned it HARD. Nothing. The grips had slipped again.
Come on you #^@%@#&*@#ARGH!!
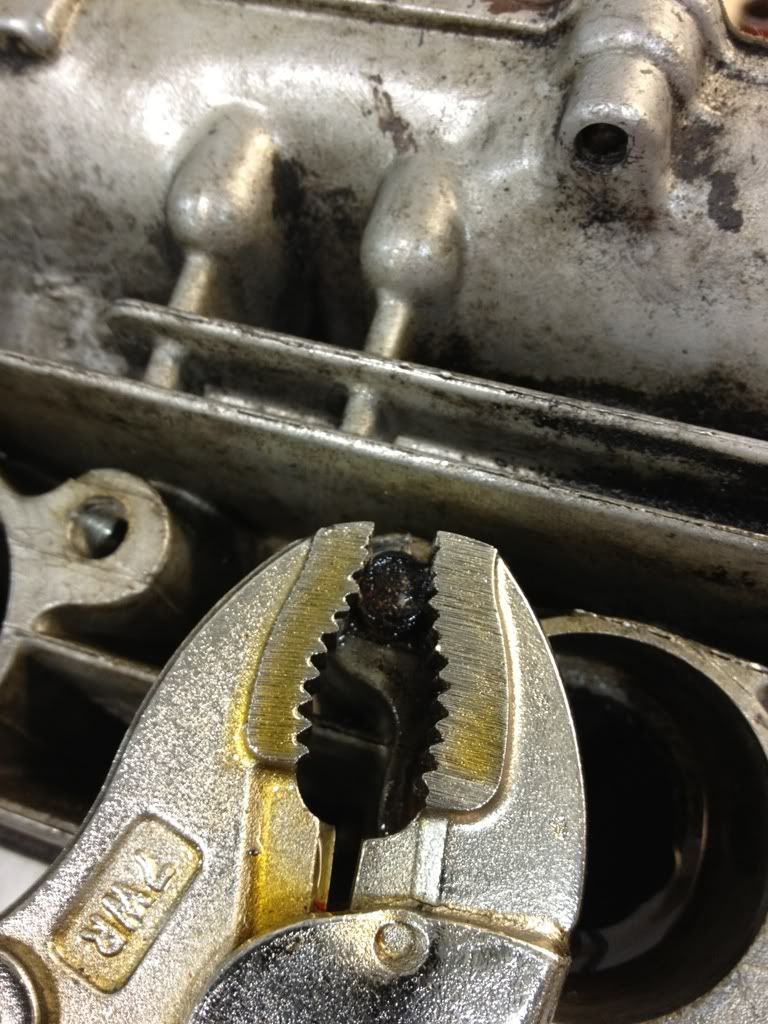
I tried one last time and then a miracle happened. The fastener MOVED! Just a tiny amount, but I saw it. As others on the GS forum have reported, there is NOTHING like the wonderful feeling of seeing one of these ?studs? start to back out.
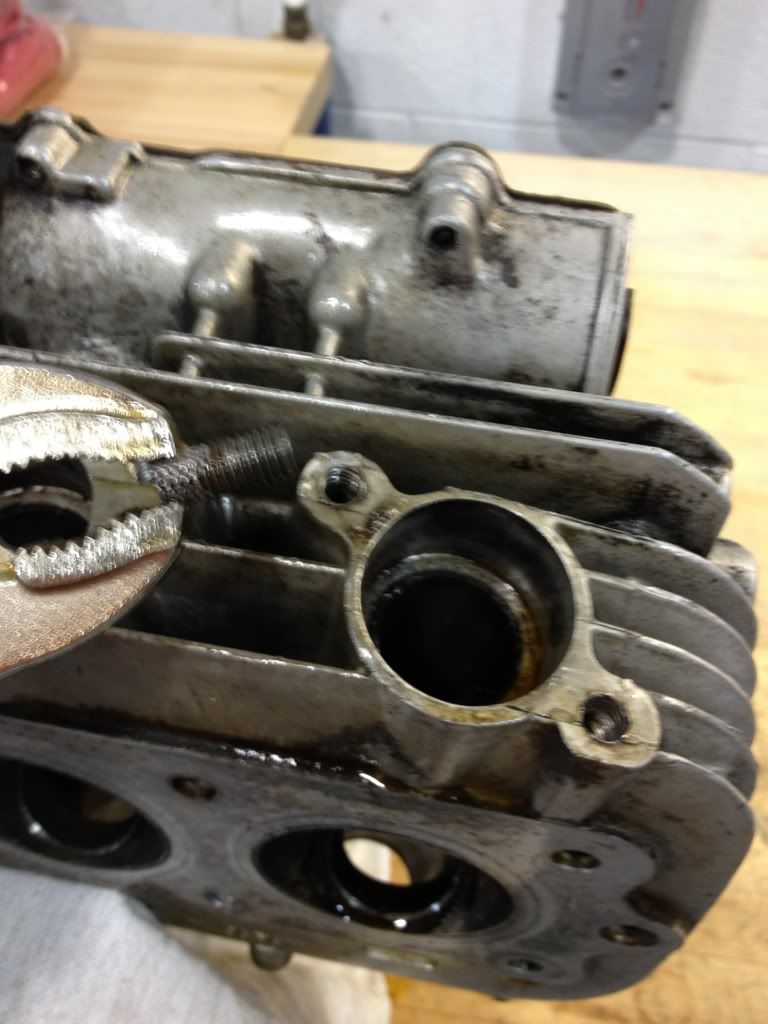
Still, I wasn?t out of the woods yet. I had a few tense moments while I thought that perhaps the stud was simply twisting off (again), but as I continued to work it slowly back and forth (with LOTS of PB Blaster) it became clear that it was really coming out. I took it very slow, and only turned it farther when it felt nice and loose. After about 30 minutes, I worked it free. I think the threads are still good too.
FREE AT LAST!!!!
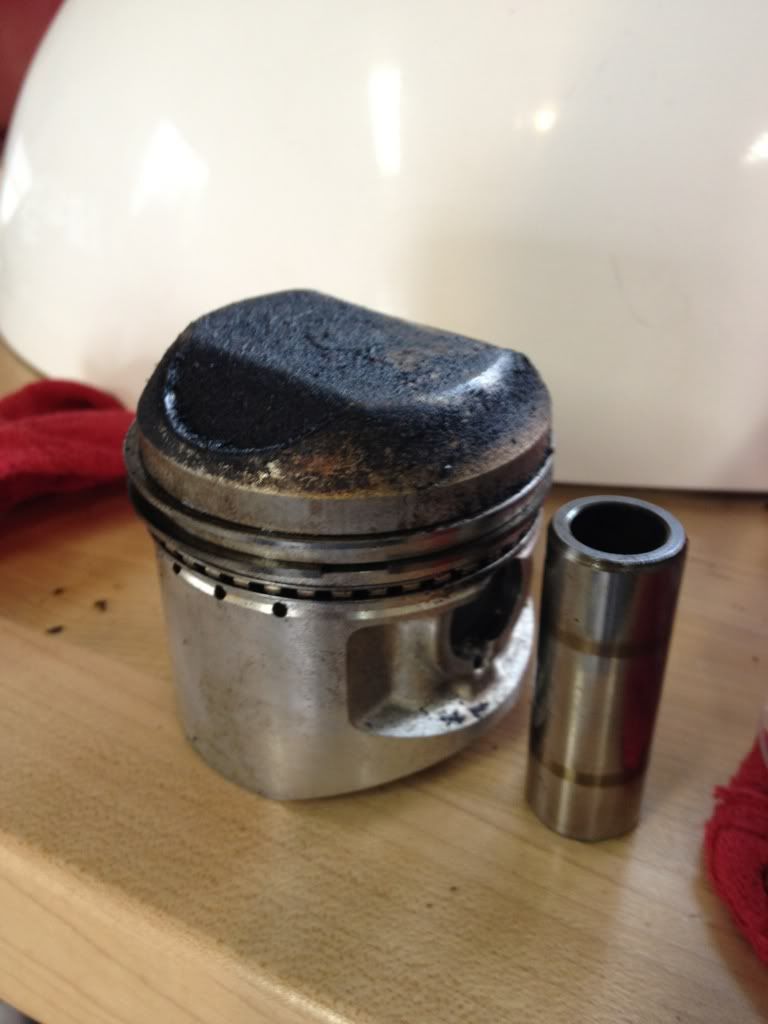
Later on, I got home decided to remove the pistons from their connecting rods. It went surprisingly easy. After removing the clips (yes, I will certainly replace them), I was able to push two pins out by hand, and the other two required only the slightest push/nudge with a socket to remove.
Piston #4. All are dirty, but look good. I?ll measure them to be sure. I?ll be replacing the rings of course.
All in all it was a good day. I will likely be soda blasting and removing gaskets soon.Leave a comment:
-
Guest repliedLeave a comment:
-
Guest repliedNice. Wish I had the funds for all those cool tools. Maybe on one of my trips to MI I can lug my head with me and stop by for a beer and blasting party hehe.
Oh, and I hate to say it but I don't think that broken stud is coming out. It looks like it has decomposed enough to weld itself to the aluminum. That one is going to be a stinker.Leave a comment:
-
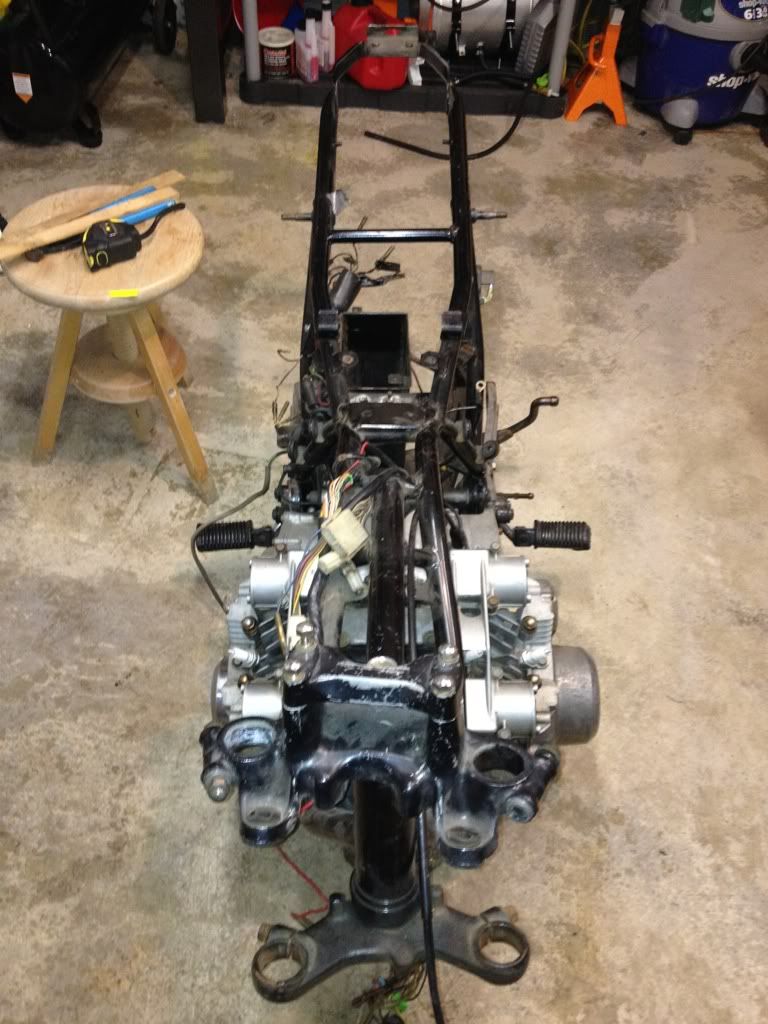
Guest repliedLast Sunday I picked up a parts engine for my project. It ended up having one broken exhaust stud (owner said it had none), but that?s still a heck of a lot better than the five broken studs on my bike! Not bad for $80. The engine was still in the frame (not titled, so basically useless), but the ignitor box, full harness, and other tasty bits are still attached to the frame.
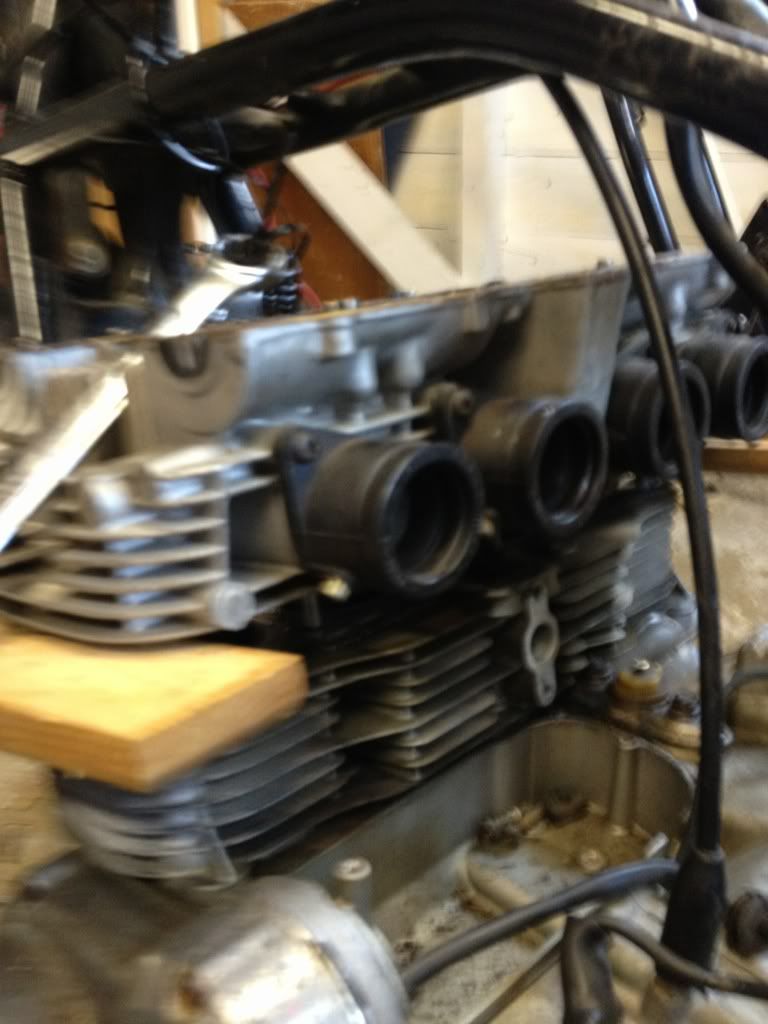
?parts? engine.
So much for the perfect head. At least this broken bolt is accessible.
The plan: Keep my ?main? engine in one piece for now (the one sitting on a bench in my lab) until I clean and paint the bottom end. Then I?ll remove the top end and replace it with the cylinder/head/valve cover from the parts bike (swapping out various internal components as needed ? assuming that the pistons and cylinders match of course).
Parts bike:
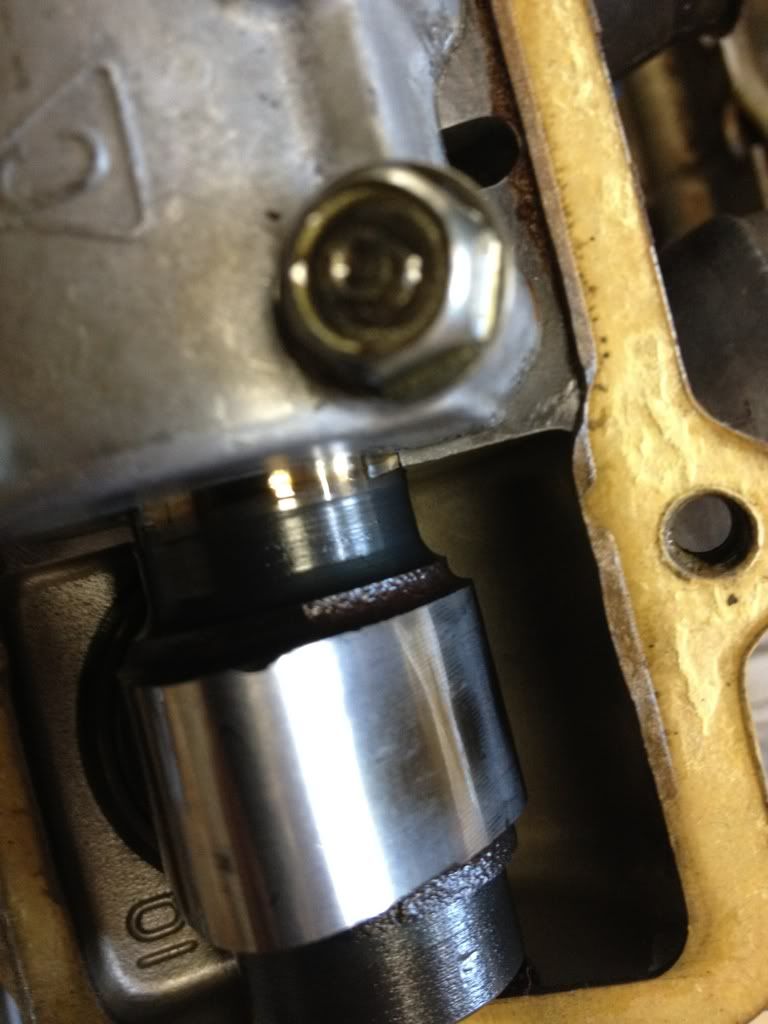
With my plan in mind, I immediately tore into the ?parts? engine and removed the valve cover, head, and cylinder. It was fun to finally get a look at this stuff. I checked the valves for the hell of it and discovered that ALL of the intakes and one exhaust were waaaaay too tight (at ?0?). Not good. In fact, one intake cam has a small piece missing from it (shown below). I?ll probably toss it and use the one from my ?main? engine ? assuming it?s in better condition of course.
Intake cam with a chip in it.
I see lots of gasket scraping in my future!
The head was really attached to the cylinder. My garage temperature is 3F, so it took a little heat and some firm tapping to break it loose.
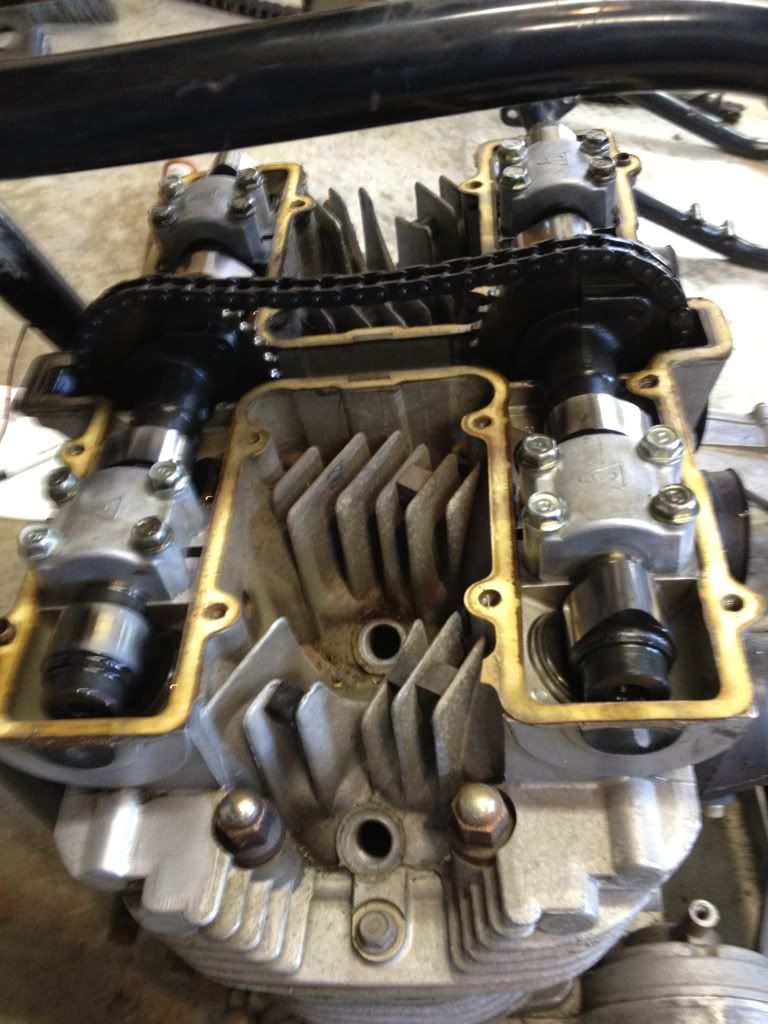
Finally, the head is coming loose.
Here is the head. One exhaust valve (not shown) looks funny ? like it might be burned or something. I?m going to check to see if they?re leaking first. Then I?ll pull the valves (probably with the homemade tool or possibly the ?shock? removal technique) and measure them. Seals will be replaced for sure. Hopefully the guides are ok, but I?ll check them as well.
Of course I managed to mix up the buckets/shims when I flipped over the head to remove the carb boots. Oh well, I?ll be swapping intake camshafts anyway so I?ll just sort it all out later.
Pistons. Cylinder has since been removed.
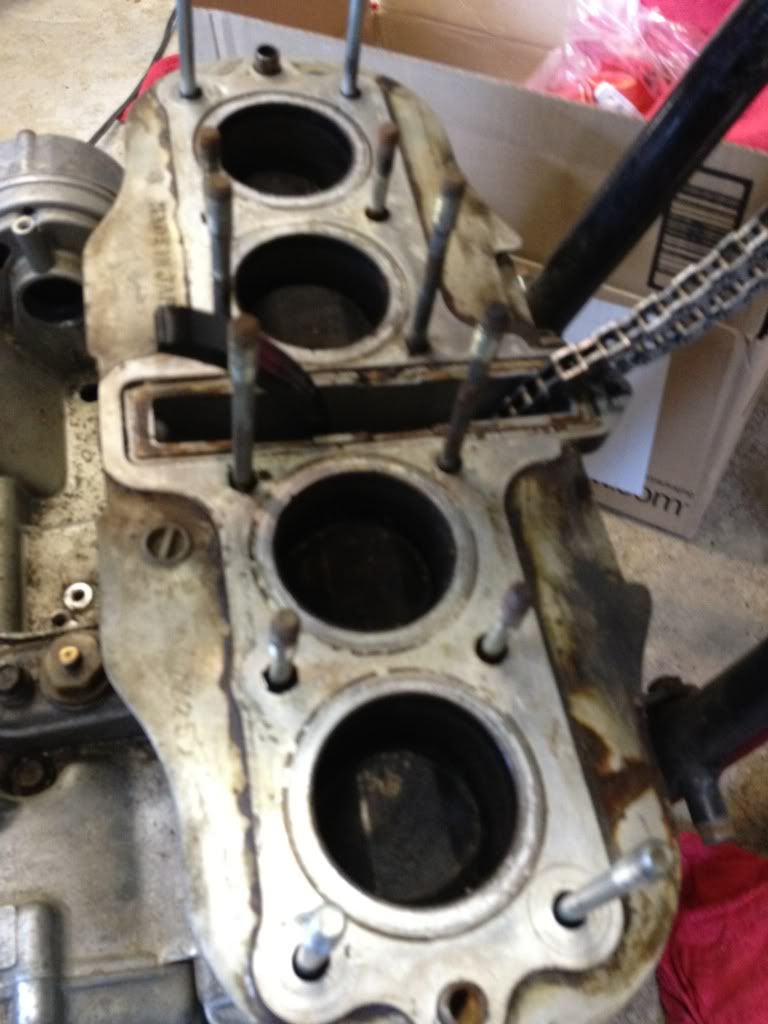
Pistons look ok. I?ll have a better look once I clean the area and get the clips/pins out. Clips and rings will be replaced, and assuming the cylinder and piston-wall clearance are ok (I still need to buy a bore gauge) I?ll just re-hone the cylinders and replace the rings/clips. If things aren?t so good, I?ll check the ?main? engine before I contemplate a re-bore on this one. One cylinder looks a little less than perfect, so we?ll see how it measures.
----
Having a blast?
I?m ready to repaint the valve cover and cylinder from the ?parts? bike, and the carb bodies look pretty rough, so I figured I?d look into soda blasting. Harbor Freight had their 40lb soda blaster advertised for more than half-off this week, so I went to the nearest store to check it out. My rule for HF is that I?ll buy their stuff when all of the following apply: (a)reviews are good, (b)the tool won?t kill me if (when) it breaks, (c) the tool won?t be used more often than monthly, and (d) the tool is comparable in quality to alternatives that cost more than 100% more. Arriving at the store I noticed that their blasting cabinet was also extra cheap too, and even cheaper with their ?insider club? price (costs $30 to join the stupid ?club?, but the cabinet was an additional $35 off with a membership and I got a $10 gift card I could use immediately as well, so I went for it). Anyway, I walked away with the blasting cabinet for under $80 and the blaster for under $140 (including the extended warranty on them). Not much risk. The cabinet is actually pretty nice, and it only needs a light to make it functional. My compressor will have trouble running the blaster for very long, but I think I?ll be ok for short bursts. I put everything in my basement (too noisy and messy for my office). I?ll post pics as things go along.
Hmmmm. Baking soda. Should I blast parts with it OR buy 20 gallons of vinegar and make the biggest ?volcano? of all time!?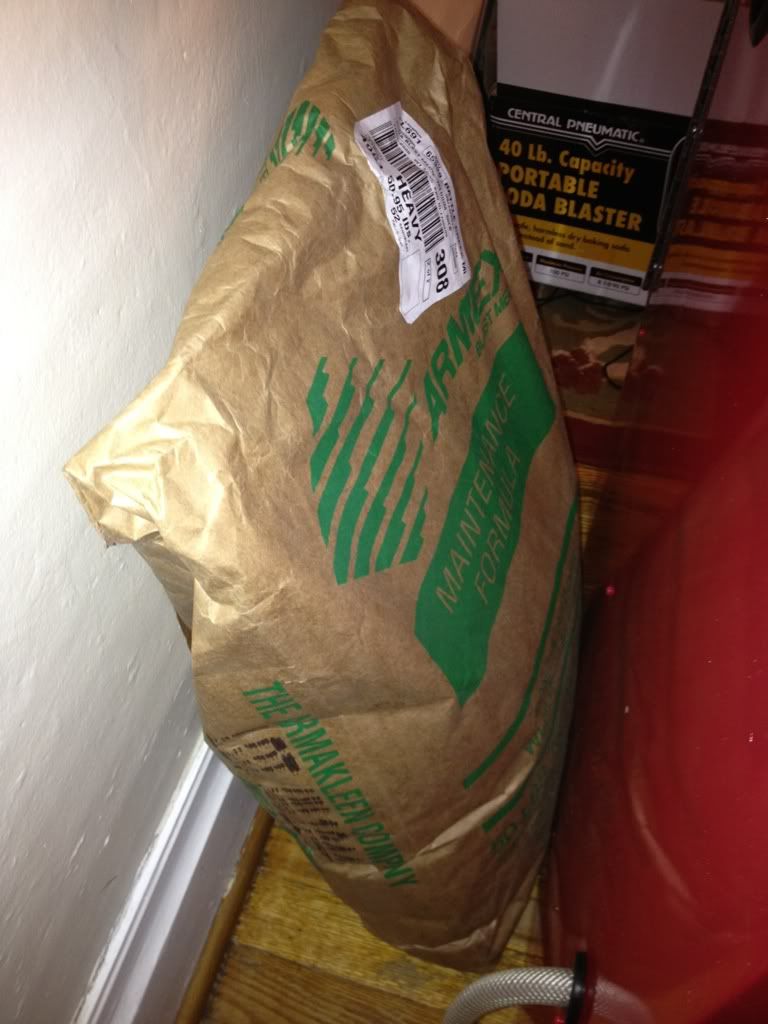
Cabinet.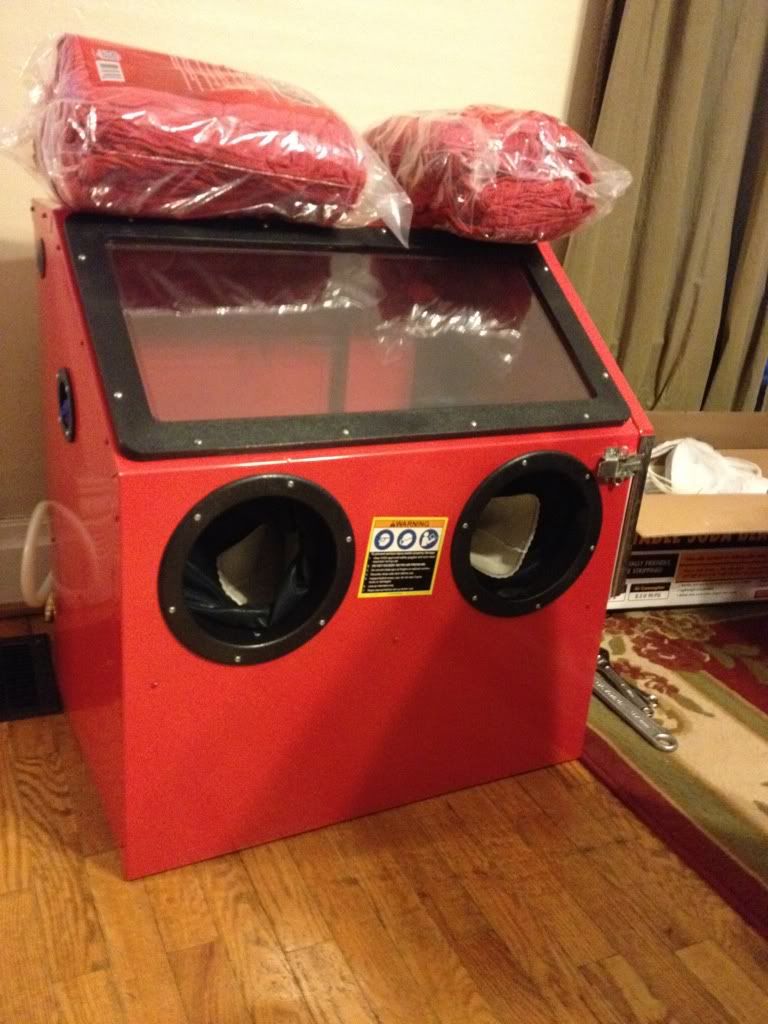
Set up.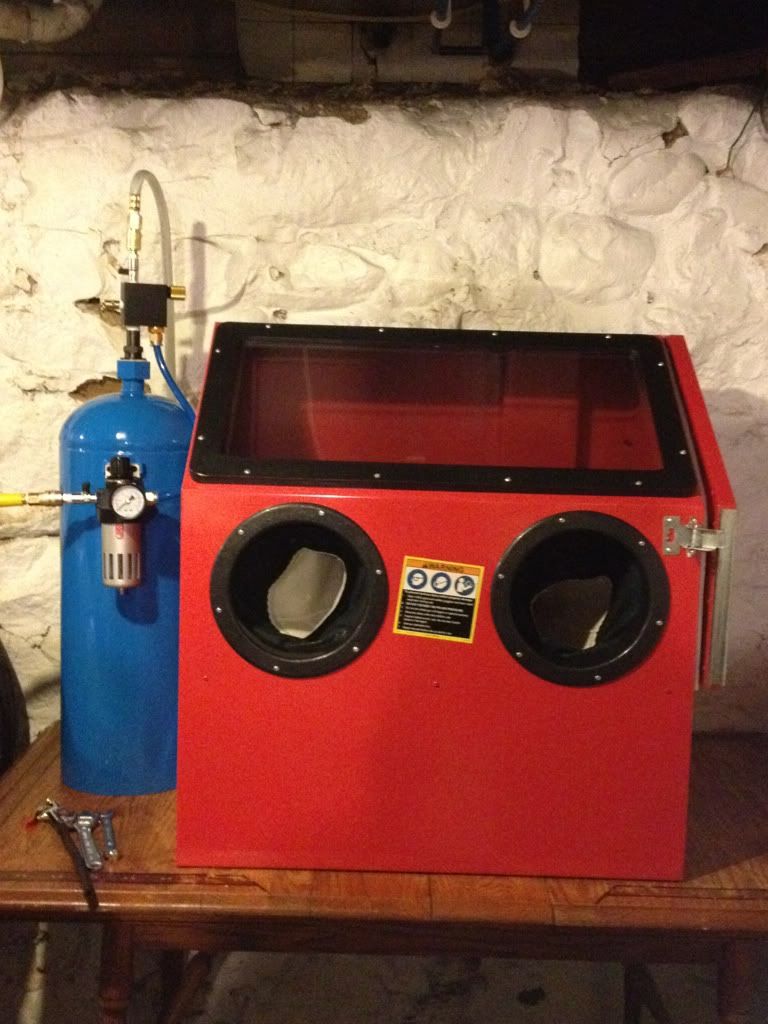
Leave a comment:
-
Guest repliedGReat progress Dmac. And yeah, parts get expensive one at a time. Thinking of getting a parts bike myself. Dang shipping charges alone are draining me!Leave a comment:
-
Guest repliedI bought it from Dime City Cycles. http://www.dimecitycycles.com/vintag...-roadster.html
It's made by Roccity (if you go to their website there is a pic of a GS with one).
Roccity shipped it to Dime City instead of sending it to me, so that was the reason for the delay (they didn't realize the error until I checked in with them a second time).
Dime City has a video on the web showing how you can build your own for about $50. I will try that with my next project.Leave a comment:
-
Guest repliedWhere is that seat from? I like it.Leave a comment:
-
Guest repliedCarbs/Engine/Seat: It's time to ratchet-up this project!
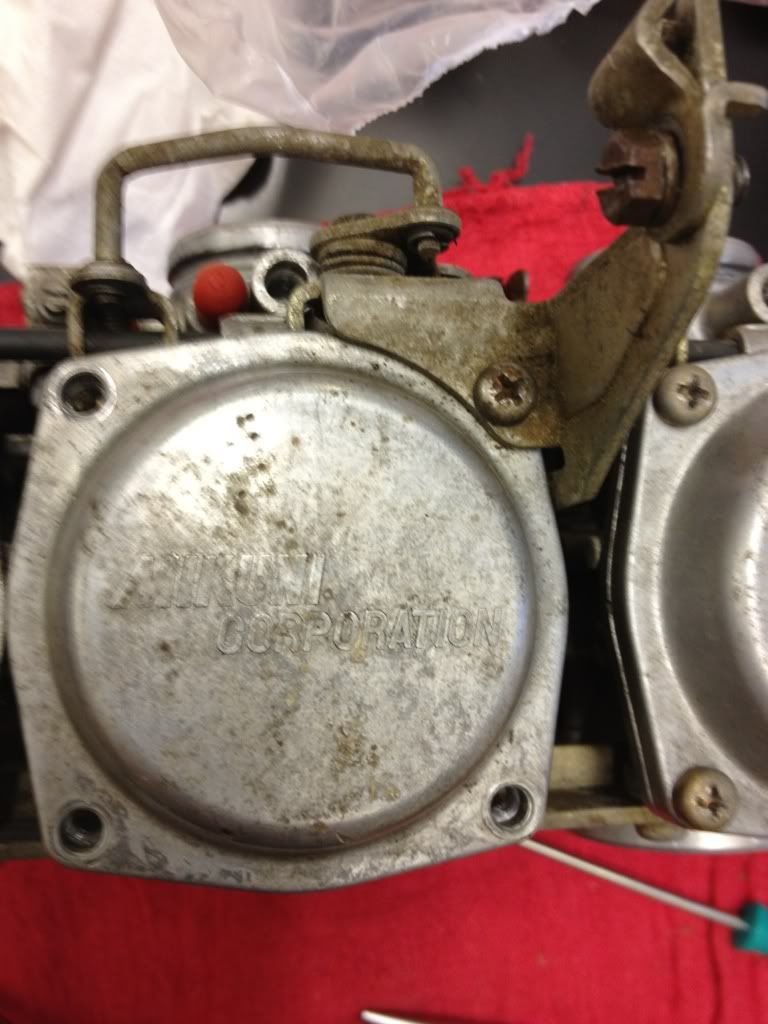
Last Sunday I opened up the carbs to have a peek. Yikes! Lots of crud/sand/varnish. We?re talking enough sand to make a little beach. Carb #3 was mangled inside with TWO broken float posts (!?) and gobs of JB-Weld almost everywhere in what looked like a blind-man?s repair (one of the main jets and needle jet were partially covered with it). I?m sure the carb could be salvaged, but I went ahead and ordered a $20 replacement carb body on eBay. Someone is selling a set of GS550 carbs individually for cheap thank God. On Tuesday I received the carb body and it looks perfect.
All of the jets are STOCK despite the aftermarket pods and exhaust mods on the bike. Lean city. I?ll be ordering much ?higher? mains and slightly ?higher? pilots to start with. Carbs will be dipped and cleaned completely of course and all o-rings will all be replaced (along with the brass float seats, which I managed to mangle when pulling them out). So pretty much everything that isn?t aluminum gets replaced (sigh). Eventually I?ll tune the bike on a dyno to get it right.
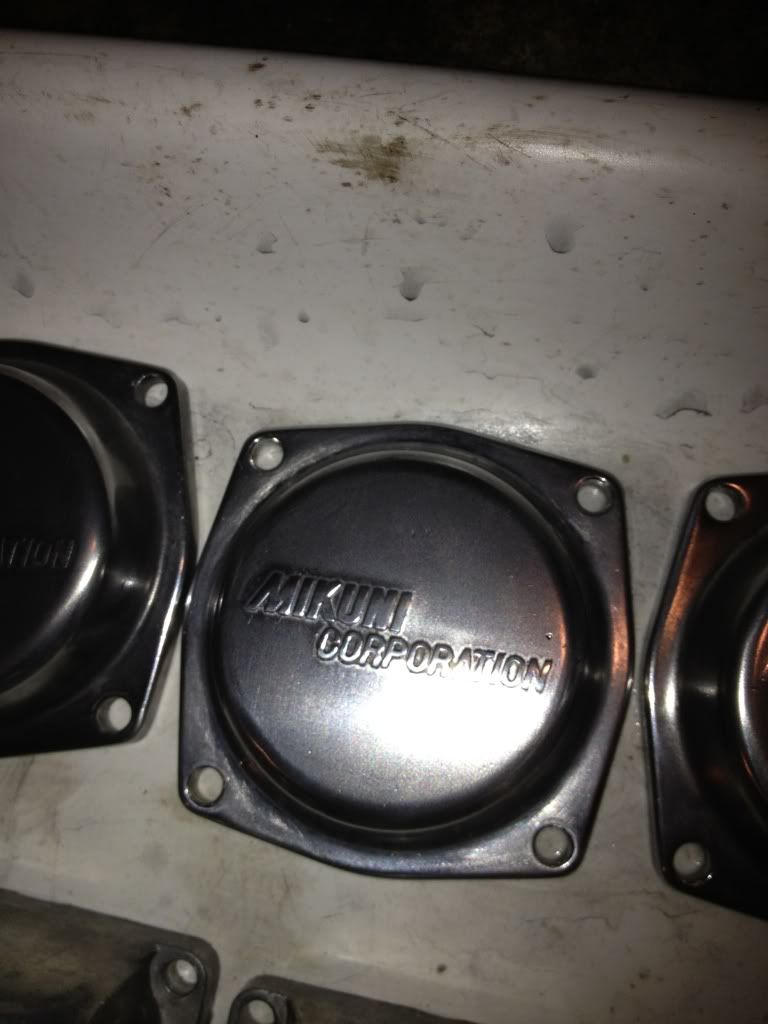
I've started the process of polishing the float bowls and tops. Before bit.
A little carb soak and sand/polish later.
BIGGER NEWS. After losing sleep over my FIVE broken exhaust studs on the head, worrying about a couple of torn carb air boots, and spending too much time wondering why the previous owner had disassembled the shifter mechanism on my bike (tranny problems?), I decided it was time to make another substantial purchase. Continuing to buy used parts piece-meal is getting expensive.
So I bid on (and won) an auction for a spare engine on eBay yesterday ? for under $100. It?s from a 1981 GS550 just like mine. The only catch is that I have to pick it up myself on Sunday??in Ohio (4.5 hours away). No broken exhaust studs and the plug holes are reported to be in good shape. Although I'm told it was a runner and has only 11,000 miles on it, I'll likely stick with most of my current engine and build off that one (since I know it really was a runner), swapping the head for the new one along with whatever other parts look best. We'll see. The new engine comes with carb boots as well, so hopefully I'll have four decent ones between the two engines.
The new engine also comes with a complete frame. It?s not titled like mine, so I won't be using it on this project. Maybe I'll take the spare parts and try to build a bobber someday.....
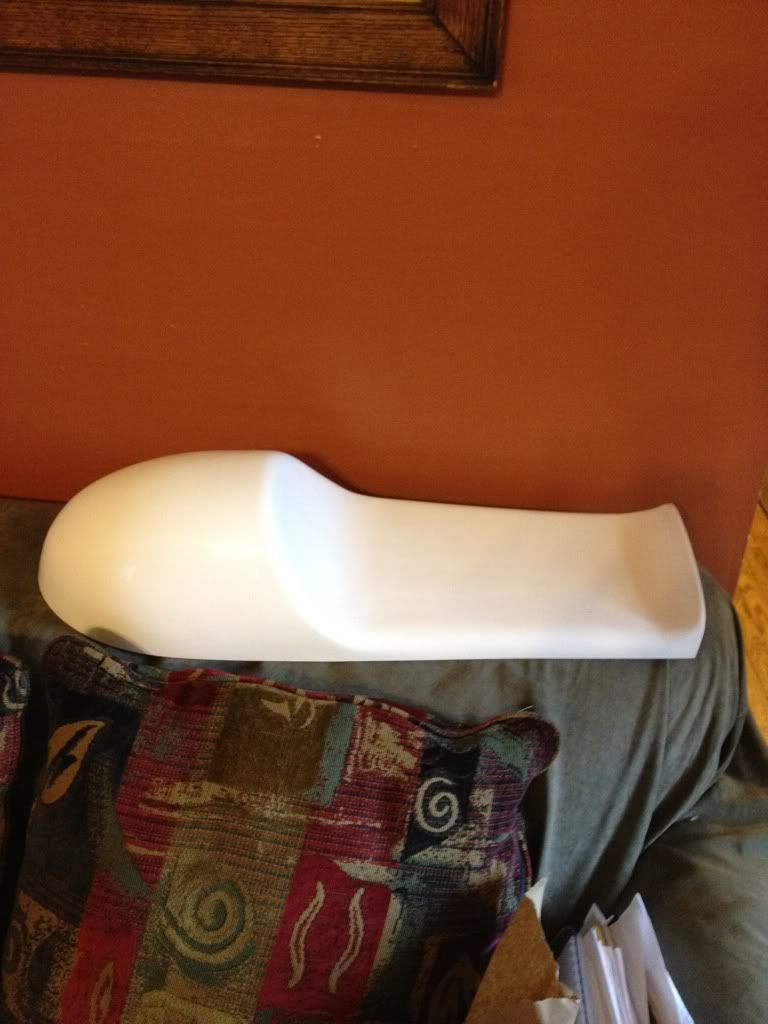
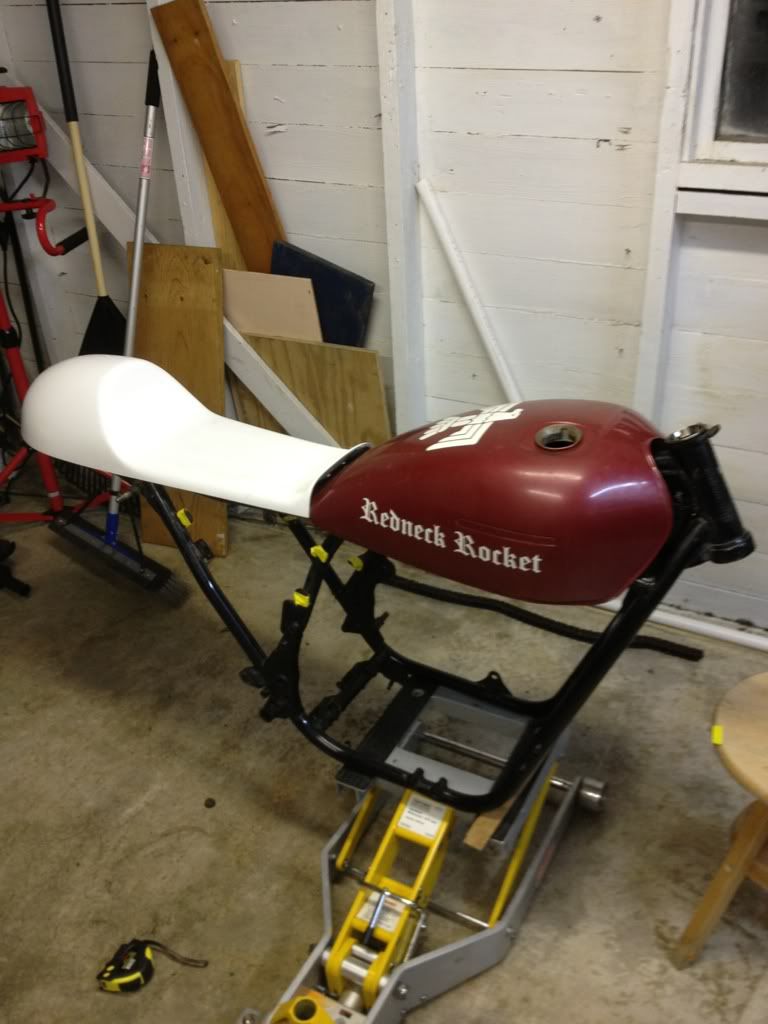
Finally, my SEAT is done! Recall my mock-up from December?

Well here?s the final product. In the end I cheated and bought one. Nearly twice the cost of making my own, but fiberglass just wasn?t something I wanted to mess with right now. It was my gift from my wife for Christmas, but due to a minor shipping fiasco it arrived a month late.
Fitting the seat gave me an excuse to break out the angle grinder and make my first cuts on the frame (removing the old seat tabs that were in the way). I think I?ve come up with a good way to attach the seat and hide the battery/electrical stuff.
Here?s a pick of the seat. It will likely sit a smidge higher on the rear and maybe a little lower on the front (if I trim off a bit where it meets the tank). At least I can start some fabrication work on the frame. It?s gonna take a while since I have to get a little farther into my welding class first. If only I had a plasma cutter and MIG setup. Hmmm???
Later next week I hope to open up the new engine and start to prep the top-end for paint (and whatever else it needs). My engine primer arrived this week, so I?m hoping to get the engine done and painted within a month or so.Leave a comment:
-
Guest repliedI think I am going to be sick.... Now I am going to have to go back and clean up and paint my rotors, buy new hardware ..... Thanks... .
.
Great Job. Those are some nice looking parts can't wait to see them all going back on the bike.
PaulLeave a comment:
Leave a comment: