Announcement

Collapse
No announcement yet.

1984 Katana 7/11

Collapse
X
 
  • Filter
  • Time
  • Show
Clear All
new posts

  • pete
    replied
    Yep I figured the same Larry, tape is easy removed if it's a no go, same with the tank decals I've got being posted to me at the moment. They're not red though, I'll leave them as a little surprise to see if they work out

    600 hey? That is definitely going to take some courage on my part! But yes 5 coats on, so as long as I'm careful I should be fine. I have all those grits available from doing the 450 still so I should be all set I think, although I'll try to get the satin black all finished up today.

    I guess worst case if I screw it up I can always go back and spray the clear again, I've got heaps left over.

    Leave a comment:


  • nvr2old
    replied
    Originally posted by Sam 78 GS750 View Post
    Yup... Just re-read Pete's post. The tape is between the engine bracket and the frame... I was thinking "man, but the shiny one is an exact match!"

    Reading is fundamental
    Double doh!! I didn't look that close. I thought it (the bracket) was a roll of pin striping tape. Lol. I, too, was thinking it matched so well. The matte finish might just be a nice contrast, though. I'll be anxious to see it. If not, it's easy to remove until something else can be found.

    If you have 5 coats of clear on that, Pete, I wouldn't be afraid to start with 600 just enough to cut that orange peel out. 1500 will never do it. It'll soften it, but it won't take it down flat. Move on to 800, 1000, 1500, 2000 and then the multi-step polishing process. 600 is your best friend here.
    Last edited by nvr2old; 04-07-2018, 11:56 AM.

    Leave a comment:


  • pete
    replied
    Aaah yep that is indeed the aforementioned engine bracket... I wish I could find shiny red tape like that! Unfortunately the satin finish tape is all I could get my grubby mitts on. Given where it will be I think it will be ok, will find out a bit later this week I think.

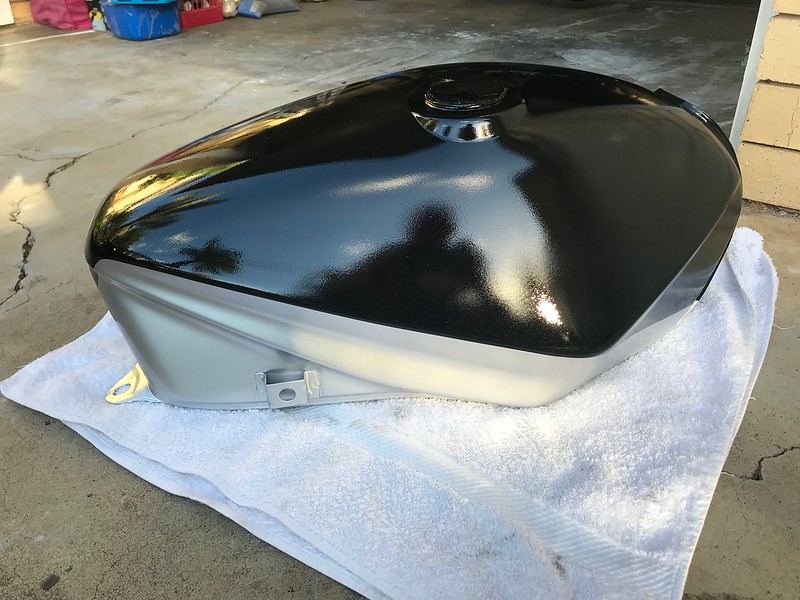
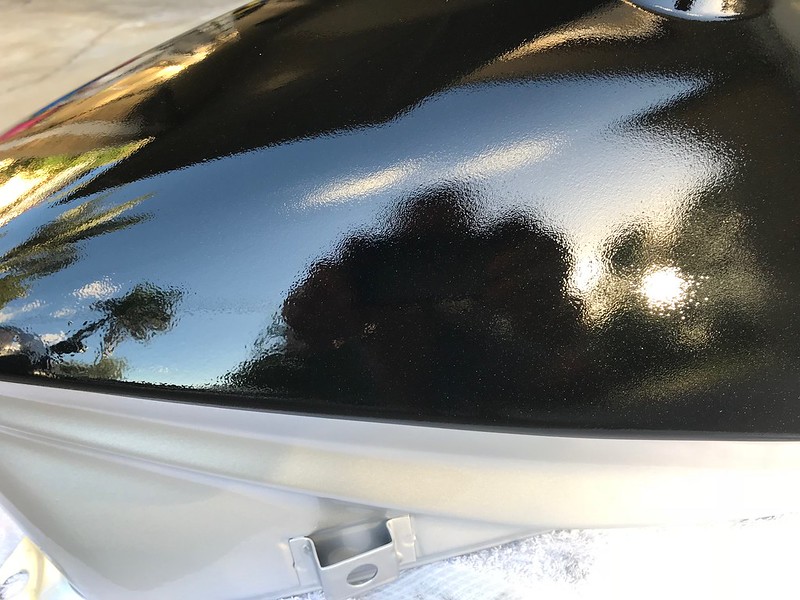
    I grabbed all the bits out of the shed later on this afternoon, too late to get them in the sun properly but you can sort of see the overspray issue on the tank.

    There's a little orange peel to deal with as well.

    At this stage I think it needs a bit more than a cut and polish, maybe some 1500 then 2000 grit wet and dry (gently does it) followed by a cut and polish.

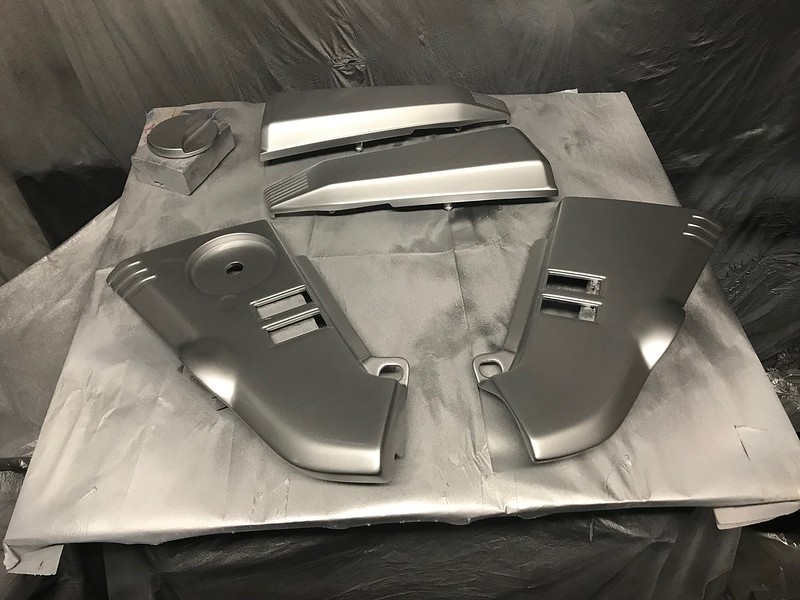
    While I pluck up the courage for that though I'll shoot some satin black on the inside of the cowl and tail piece as well as on a few other bits and pieces like the screen mounts, front brake hose brackets, and the mudflap bracket.

    Untitled by starpoint73, on Flickr

    Untitled by starpoint73, on Flickr

    Leave a comment:


  • Sam 78 GS750
    replied
    Originally posted by alke46 View Post
    hey guys, I may be wrong but that shiny red object he is holding looks like a piece of something he has painted. Doesn't look like tape to me.
    Yup... Just re-read Pete's post. The tape is between the engine bracket and the frame... I was thinking "man, but the shiny one is an exact match!"

    Reading is fundamental

    Leave a comment:


  • alke46
    replied
    hey guys, I may be wrong but that shiny red object he is holding looks like a piece of something he has painted. Doesn't look like tape to me.

    Leave a comment:


  • Sam 78 GS750
    replied
    Originally posted by nvr2old View Post
    Of those two, I like the 1/4" shiny red the best. My old-man brain forgot you had already planned on a red stripe..doh.. It really will bring it all together, as you already know (he chuckles, embarrassed, to himself).
    Cosign on the shiny red for the pin stripe...

    Looking good. Can't wait to see it on the bike.

    Leave a comment:


  • nvr2old
    replied
    Of those two, I like the 1/4" shiny red the best. My old-man brain forgot you had already planned on a red stripe..doh.. It really will bring it all together, as you already know (he chuckles, embarrassed, to himself).

    Leave a comment:


  • pete
    replied
    Cheers guys! Hopefully it still looks that good tomorrow out in the sun, but so far I'm a happy chappy indeed with how it turned out.

    Yep Larry, red pinstripe is the plan, I picked this tape up a little while back and held it between an engine bracket and the frame and it seems good, just hope it's not too matte to fit in properly.

    I really struggled to find a good red to suit it (pinstripe tapes seem to be rare these days) and ended up finding it in my local auto store.

    Untitled by starpoint73, on Flickr

    Leave a comment:


  • nvr2old
    replied
    Way to go, Pete! Strange how it pinched up on the side cover, but good on you for knowing how to fix it. Maybe an 1/8" red pinstripe (tape) to separate the colors and to tie it all into the frame and seat..(?)

    On your way to having a very unique looking Kat. Congrats, my friend.

    Leave a comment:


  • Charlie G
    replied
    Very nice Pete!

    Leave a comment:


  • Skinner
    replied
    Very nice!

    Leave a comment:


  • pete
    replied
    Cheers Larry, was that email come through today in time, not sure how well I did with the dry-ish coats but I didn't see any issues with clearing over the silver so I don't think I did too bad... and...

    It's done at last!

    I had some issues along the way and forgot just how long it takes to mask bits off properly, but I think it all turned out ok.

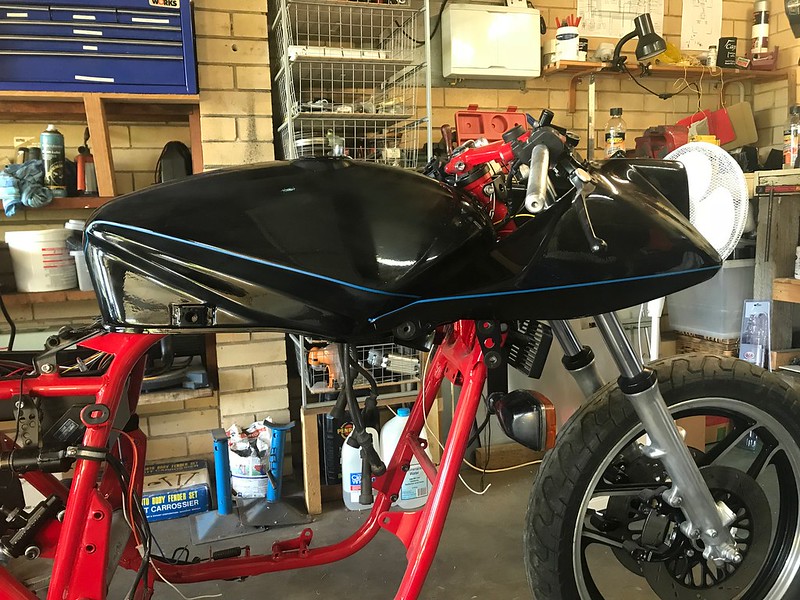
    I had the tank and cowl on the bike to get the masking line right, hopefully it's all straight and lines up properly. It looks a little off in the photo as the cowl's not screwed on, I had to hold it in place to make sure the alignment with the tank was right.

    Untitled by starpoint73, on Flickr

    Then I got four coats of silver on, and geez that PPG Deltron is good paint! It went on so nice despite my dodgy gun. No issues with striping, made sure I did perpendicular spray patterns with lots of overlap and kept the paint swirling around in the gun so the metallic bits didn't settle at the bottom.

    The only issue I encountered was some funkiness on the right side cover, no idea what happened there but obviously a reaction with something. I rubbed it back with 600 grit and re-sprayed it and it's all fine now.

    Untitled by starpoint73, on Flickr

    Then got the clear done finally... took 'til just after 7pm tonight after having to re-spray the side cover.

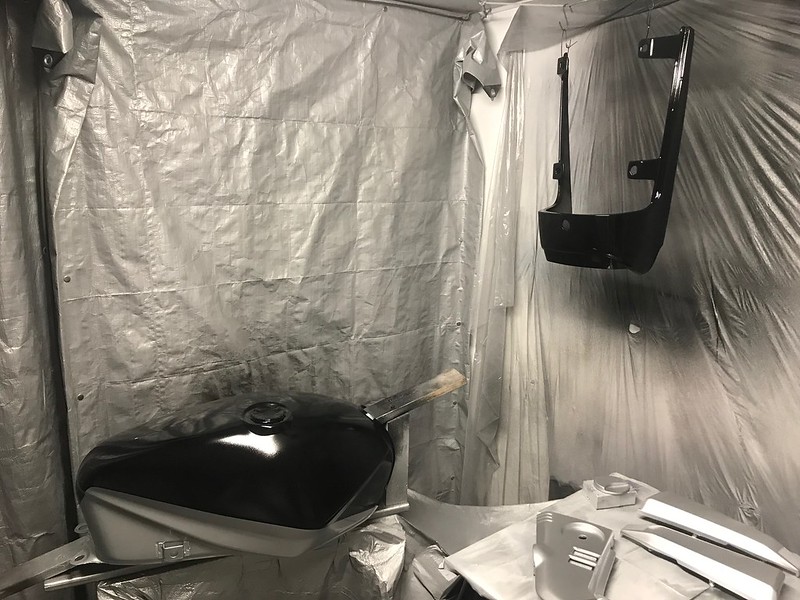
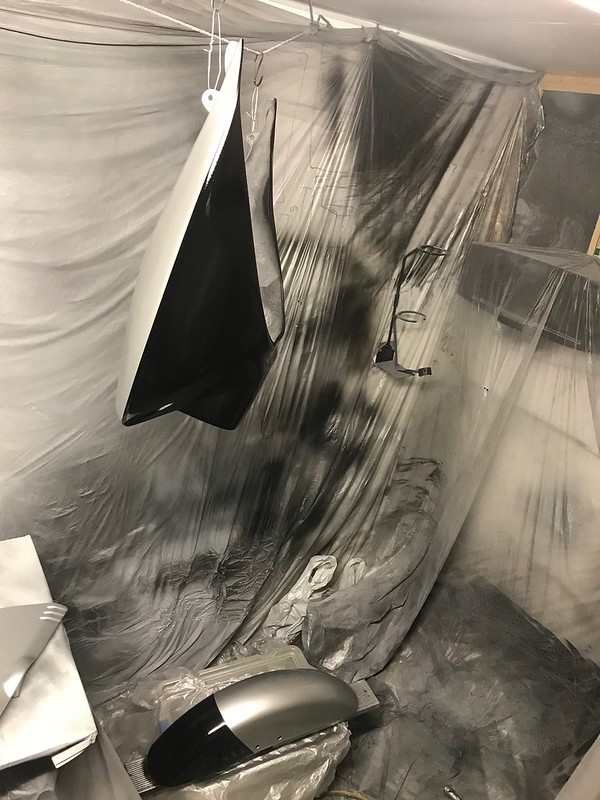
    I ended up with five coats of clear, hopefully all good. The only issue I discovered too late is that the inlet filter on my recirculation box was completely clogged by then so there was way too much overspray floating around during the clear coat, so that will likely need some sort of attention. Really high grit wet sand maybe? Dunno, have to wait and see once I can get it out into the sun for a proper look.

    Anyway, here's some dodgy photos in the shed for now...

    Untitled by starpoint73, on Flickr

    Untitled by starpoint73, on Flickr

    Untitled by starpoint73, on Flickr

    With any luck I can get them in the sun on Sunday for a proper look see.

    Leave a comment:


  • nvr2old
    replied
    Once you get to the clear, Pete..lay the first couple of coats kinda dry, so it doesn't melt the metallic you've just laid down. Patiently wait for it to flash, then bury that sh-t in wet coats. Oh Boy! Can't wait to see it.

    Leave a comment:


  • pete
    replied
    Cheers guys! I like your mentor's quote Larry

    I'll leave the fluid where it was, no worries there, and your suggestions of the 90 degree spray pattern makes sense to help too.

    I recall having issues with mottling on the 450 and the pearl colour I was using because I didn't know how to spray it, so trying to avoid the same results here, and I don't want striping either of course

    I'm aiming for four coats of the silver, mainly to make sure it gets good coverage over the black. The area is really quite minimal compared to the black though as it's only the bottom edge of the cowl and not much more on the tank, and just the rear of the mudguard.

    Anyway, I'm all keyed up for it so I'll finish my coffee while I wait for the sun to properly rise then it's off to take care of the runs and scuff it all back ready for masking.

    Leave a comment:


  • nvr2old
    replied
    Great feeling getting to put on some color, eh, Pete? Way to go. I agree with Fjbj40, he knows what he's talking about, too.

    My old painting mentor used to say.."getting a run is just one step..beyond..the perfect application.." It's easy to understand wanting to get smooth wet coats on for the base coat, but it's really not necessary, though. Just getting the color on evenly at this stage is the most important..especially the silver. I wouldn't worry too much about changing the fluid adjustment on your gun. You still want it to have some volume. Continually change up your spray pattern (as you're shooting) ninety degrees back and forth in all directions to lay the metallic evenly. Getting it too wet will cause stripes so be careful about that. The clear is what brings it all together and makes it pop. It's looking real nice, Pete.

    Leave a comment:

Working...
X