• Required reading for all forum users!!!

    Welcome!
    Register to access the full functionality of the GSResources forum. Until you register and activate your account you will not have full forum access, nor will you be able to post or reply to messages.

    A note to new registrants...
    All new forum registrations must be activated via email before you have full access to the forum.

    A Special Note about Email accounts!
    DO NOT SIGN UP USING hotmail, outlook, gmx, sbcglobal, att, bellsouth or email.com. They delete our forum signup emails.

    A note to old forum members...
    I receive numerous requests from people who can no longer log in because their accounts were deleted. As mentioned in the forum FAQ, user accounts are deleted if you haven't logged in for the past 6 months. If you can't log in, then create a new forum account. If you don't get an error message, then check your email account for an activation message. If you get a message stating that the email address is already in use, then your account still exists so follow the instructions in the forum FAQ for resetting your password.

    Have you forgotten your password or have a new email address? Then read the forum FAQ for details on how to reset it.

    Any email requests for "can't log in anymore" problems or "lost my password" problems will be deleted. Read the forum FAQ and follow the instructions there - that's what we have one for...

  • Returning Visitors

    If you are a returning visitor who never received your confirmation email, then odds are your email provider is blockinig emails from our server. The only thing that can be done to get around this is you will have to try creating another forum account using an email address from another domain.

    If you are a returning visitor to the forum and can't log in using your old forum name and password but used to be able to then chances are your account is deleted. Purges of the databases are done regularly. You will have to create a new forum account and you should be all set.

1980 GS850GLT Road-worthiness Project

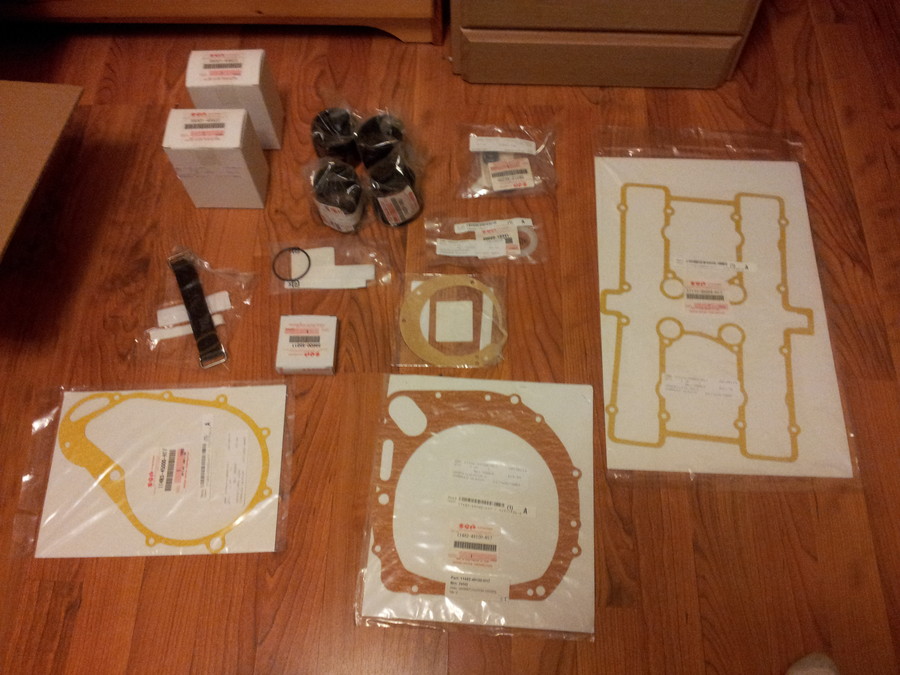
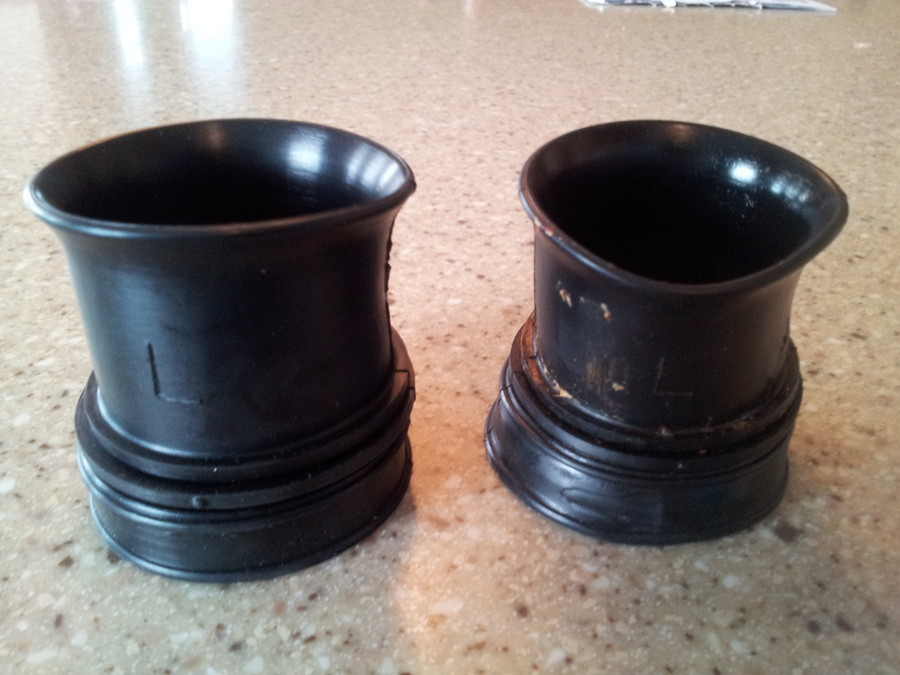
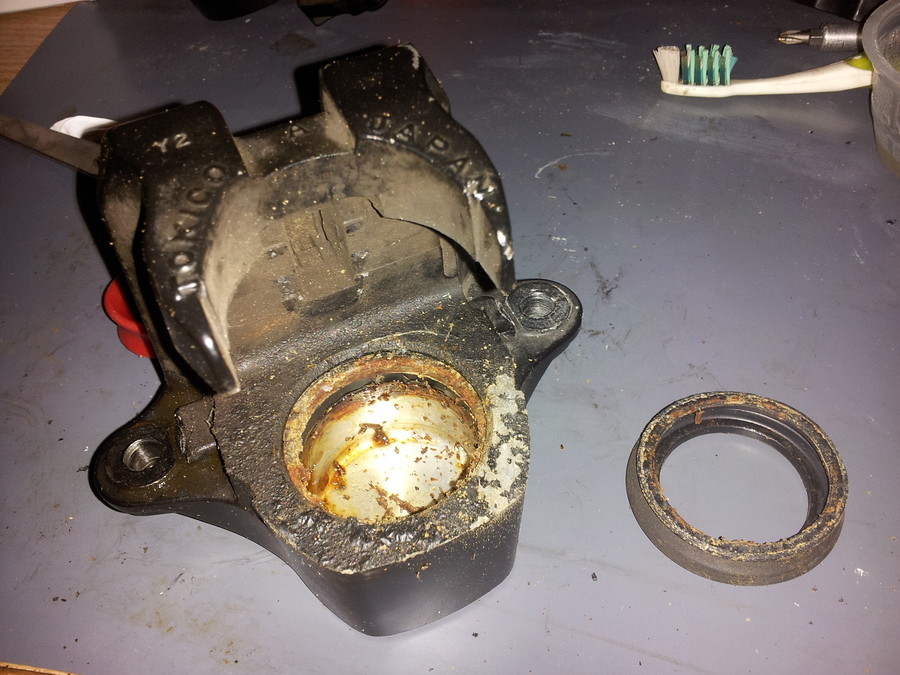
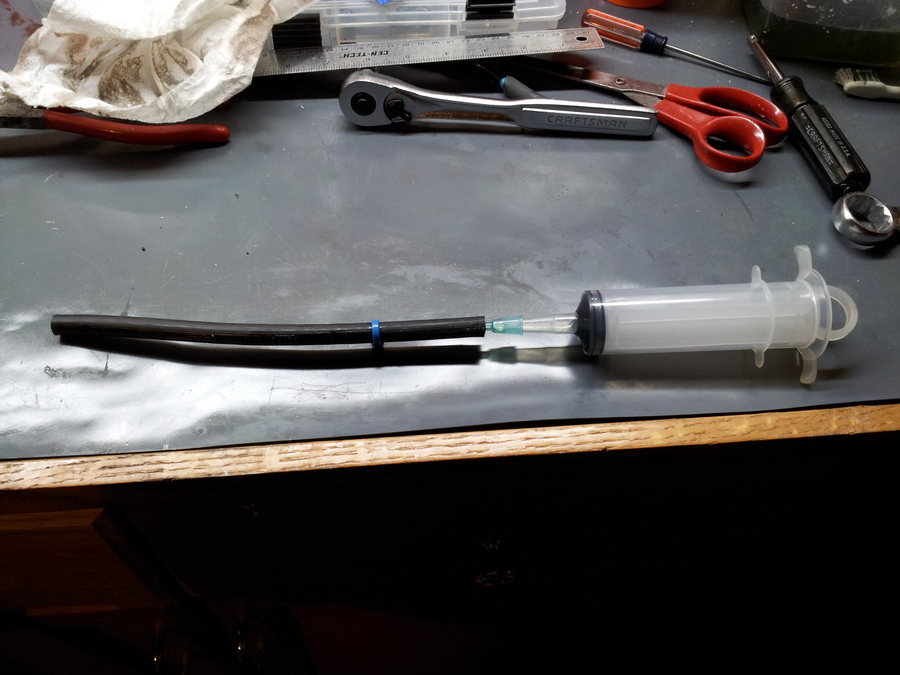
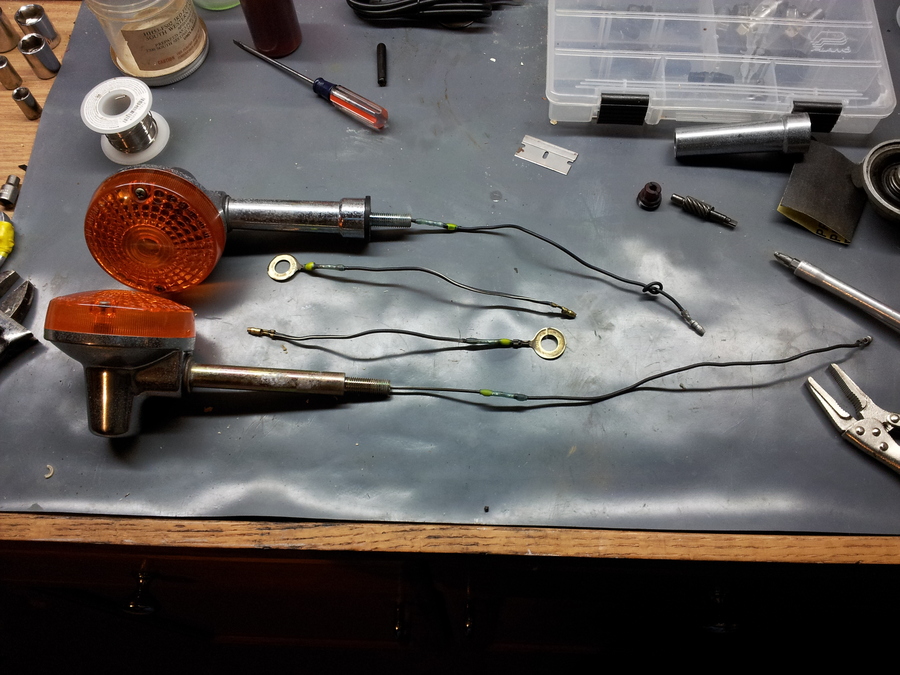
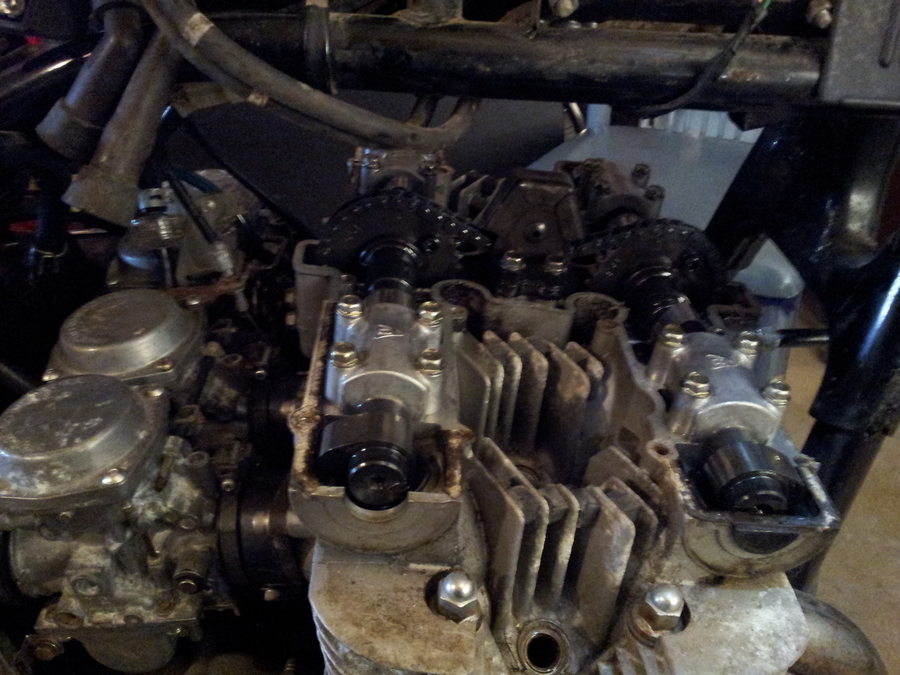
Nice thread! I also have a 1980 GS850GLT (slightly modified, has a G seat, bigger tank), I got it from a friend of mine at church for $850 in '05 with only 25k miles on it. I still haven't overhauled my brake system (I'm bad, I know) and my front is really due now. I've got all the parts and pieces, just haven't had the time yet. Besides, I've been riding my new (to me, only had it two years now) 1100G lately. I've more projects than time at the moment, my '74 Jeep CJ6 has to be in great working order before summer is over (rewiring + many other things to be done), house renovation projects, professional exams to be completed (1st class Class A Boiler license), pianos and pump organs to be rebuilt (the business I own is a Piano Tuning & Repair business), and concerts to play in (I belong to 2 symphony orchestras) as well as motorcycle safety classes to teach starting in May.
I can't figure out why I get tired and don't get everything done......:confused:

If you need a good petcock, mine was still working fine when I changed tanks, but it's been sitting for a couple of years now, so who knows?

I'm looking forward to hearing how your project comes out and the first test ride. Good luck! :D
 
Hi Dan,

You're a busy guy! Me too... since getting this bike, I've had to make a rule for myself: No going out to the garage on weeknights after work. Otherwise, my family would never see me. :)

I'll keep you in mind for that petcock. Really do appreciate the offer. I think I can make this one work with some trial and error. If not, you might hear from me. :)

Do the G seat and tank fit the L frame, or was there welding involved? I'm thinking I'll get this bike up and running and ride it over the summer. And then, depending on how well I like it, I might do a frame-off restoration next winter and see if I can't dispense with a few of the more glaring L-isms. I'm already planning to source some non-L handlebars soon. I've wondered about putting a G seat and rear fender on but wasn't sure whether they would fit. (And how I'd ever get to the seat lock with that tail piece on...)

I'm waiting on about $200 in parts from G&S Suzuki right now to get the engine running smoothly and rebuild the front brakes. Still have to look into ordering SS brake line bits and pieces. I'll be sure to post up everything I do.
Hi eil,
The G seat did need some mods to set it up. I'd already installed a larger tank (see this thread, the Saddlemen king/queen seat I'm willing to sell, by the way) http://www.thegsresources.com/_forum/showthread.php?t=160112, but with the addition of ears on the front of the G seat (82 and later already have them) and a couple of pieces of weld steel and bolts/nuts, it's an easy mount. You'll have to cut the front loops for the seat off the frame and raise them 1" (I used square tubing for this) so the seat will clear the fender properly. Not a big deal if you have a wire feed welder.
 
Hey Dan, thanks for the offer but I think I'll pass on the seat. I'm just gathering info on G and GL parts compatibility on the off-chance that I do a full restore on the bike next year.

Otherwise, I'm still largely in parts-waiting mode. I placed a big order from gssuzuki.com a week ago but haven't heard anything yet about it actually shipping.

- Cleaned up the MC and one caliper
- Bought new fiber washers for the petcock (tank has been sitting full of gas for two days and the petcock is still dry as a bone, so I'm calling that fixed)
- Bought parts for the SS brake lines from AN Plumbing
- Bought a left-hand headlight bracket from eBay because I discovered mine was bent, making the headlight point to the left instead of straight
- Working to buy a set of used bars from a forum member here

If nothing's arrived by this weekend I may start looking at electrical stuff. Cleaning connections, splicing together the wries that PO cut, etc.
 
...
- Bought new fiber washers for the petcock (tank has been sitting full of gas for two days and the petcock is still dry as a bone, so I'm calling that fixed)
...

Let us know if it acts like it's starving for fuel when you get it going well enough to run at sustained highway speeds. I'm not saying it definitely will happen...
 
Those washers have a special surface that helps seal them; getting something from a hardware store won't work due to its nature.

I replaced two on my GS1100E yesterday. The old ones were probably original, they were of a fiber material, one was broken. The new ones which I ordered from Suzuki were rubber in the center and the outer edge was steel, seemed to be a much better washer. I have used teflon, nylon washers in the past that I got from an auto parts store as a stop gap while I waited the correct ones from Suzuki, those worked out very well also.
 
I replaced two on my GS1100E yesterday. The old ones were probably original, they were of a fiber material, one was broken. The new ones which I ordered from Suzuki were rubber in the center and the outer edge was steel, seemed to be a much better washer. I have used teflon, nylon washers in the past that I got from an auto parts store as a stop gap while I waited the correct ones from Suzuki, those worked out very well also.

For a temporary washer on my 1000G, I used a washer I cut out of the hardened airbox boot I was replacing at the same time. I rediscovered the temporary washer two years after I forgot I had done it. No leaks. It has the proper washers now.
 
Let us know if it acts like it's starving for fuel when you get it going well enough to run at sustained highway speeds. I'm not saying it definitely will happen...

That's some months off but I'll be sure to keep an eye out for it!

I replaced two on my GS1100E yesterday. The old ones were probably original, they were of a fiber material, one was broken. The new ones which I ordered from Suzuki were rubber in the center and the outer edge was steel, seemed to be a much better washer. I have used teflon, nylon washers in the past that I got from an auto parts store as a stop gap while I waited the correct ones from Suzuki, those worked out very well also.

For a temporary washer on my 1000G, I used a washer I cut out of the hardened airbox boot I was replacing at the same time. I rediscovered the temporary washer two years after I forgot I had done it. No leaks. It has the proper washers now.

So far, no leaks with the new fiber washers. In hindsight, I think I would have preferred nylon or teflon but these are sealing just fine.
 
Made some progress today! I've been waiting on parts for about two weeks and had four packages arrive nearly on the same day.

20130118_231412.jpg


First, a batch of parts from gssuzuki.com. Good prices, but I don't like that they don't send out order status or shipping info. Perhaps I'm spoiled by Amazon. I got: Front brake parts, air box boots, a battery strap, and all of the engine gaskets I'll need short of a top- or bottom-end rebuild.

20130119_104544.jpg


Handlebars from forum member gk45011. He got this to me really quick-like and they're in near flawless condition. Although upon further consideration, I'm not totally sure I'll use them. These are for a smaller bike and they definitely look like it when mounted on the 850GL. I may keep looking for something taller and a smidgen wider.

Also pictured: SS brake line parts from AN plumbing and the left headlight mounting bracket that I found on eBay. I didn't notice until recently that mine was bent in a way that I couldn't figure out how to easily unbend. I'll have another pic of this below.

20130119_115042.jpg


One of these things is 33 years older than the other...

20130119_173639.jpg


Carnage! This is the left front caliper. The old brake fluid in this bike trashed the whole system. The fluid was pretty much never changed as far as I can tell. Moisture built up in the system, started rusting the steel parts, and then finally the old fluid worked its way under and around the seals and solidified, creating leaks. The master cylinder and both calipers were like this. (The rear brakes look like they might be in better shape, but I won't know until I tear them apart for a rebuild too.)

20130119_190047.jpg


Newly rebuilt calipers and master cylinder! Still ugly but hopefully functional now. Can always pretty them up later if I want.

20130119_215243.jpg


Old and new left headlight bracket. This will be the shiniest piece on the whole bike.

So after I got the airbox boots installed and the brakes rebuilt, I started tearing into the front end. For some reason, I thought I had to remove the headlight bucket and the whole triple tree to get the forks out, so I started disconnecting all the wires before I realized that the forks just slide out from the bottom. Blegh. Oh well, I guess I get to clean all of the contacts now and fix a couple of PO hacks.

20130119_225924.jpg


I need to replace the seals on both forks because they are leaking like crazy. The service manual says that the fork oil type is 10W/20. So I take this to mean I don't need any special fork oil on this bike?

Front wheel is out too. Bearings seem to be good. The speed sender (or whatever it's called) feels stiff. Probably needs to be taken apart, cleaned, and greased.

I'll have to order tires soon, but I have to wait for some budget to become available. Need some new tools too!

20130119_230120.jpg


The bike as she currently sits!
 
I like how you are up in the middle of the night posting to your build thread. Simply means you are eat up with it just like the rest of us.

After reading through this I keep asking myself why you don't just tear it all down and start painting? You're going to do it anyway. Guys who post at 2 in the morning do that kind of thing. Go ahead and get your carburetors cleaned up, rebuild the brakes and get some fork seals and learn in the process. Then take a day to take things off the frame, clean everything nice and shiny, figure out how to paint the frame and motor and put it back together. It is January and Michigan won't thaw out till the end of April at the earliest. I have a feeling that you will not be happy until you do. I subscribed and enjoy your updates.
 
Thanks!

Yeah, it got pretty late last night.. I just wanted to get the post up before I went to bed. I'm a night owl anyway so it's not terribly unusual for me. :)

The carbs and airbox are all cleaned up and done. Barring any surprises, what I have left is:

- Replace fork seals
- Valve clearance adjustment
- Carb sync
- Rebuild rear brakes
- Inspect driveshaft
- Inspect clutch
- Clean/fix up electrical system
- New tires
- Put the bodywork back on (fenders, side covers, lights, etc)

Some day I'll do a frame-off restoration, but not this year and probably not this bike. I don't have the budget or time for it right now. My goal is to just get it ride-able by spring and to teach myself something about fixing up old bikes. As long as it's in good mechanical shape, I'll be happy.

Where I live, we often get reasonable weather by March and even get some nice days in winter as well. Yesterday it was almost 50F here, which would have been just fine with some decent gear.
 
Impediments to progress:

1. Waiting on parts
2. Waiting on tools
3. One very cold garage
4. Two solid weeks of illness

Nevertheless, I managed to make it out to the garage for awhile yesterday. Main two things on the agenda are to take apart the forks and the rear brakes to see what else I need to order.

Rear master cylinder guts:

20130126_141315.jpg


The rear caliper was in roughly the same shape as the front calipers.

20130126_150008.jpg


I got the pistons out using the same bicycle pump method that I used on the front calipers. To do one piston at a time, I put a piece of rubber between the brake fluid ports and screwed them back together. On the larger half of the caliper, I left the bleeder screw in and pumped air into the brake line hole. On the smaller half, I removed the bleeder screw and pumped air into it.

20130126_152823.jpg


These pistons are not usable either, but I was expecting that.

20130126_163625.jpg


And now a question. The brake pads above, are they still usable? There is plenty of "meat" still left on them, and they are pretty flat. However, there are random chunks missing along the edges. The damage is not enough, I would think, to harm braking performance noticeably. But I don't know if this will affect how the rotors wear or if this indicates that the quality of the pads is suspect.

I predict the answer will be, "when in doubt, throw them out," but I'm curious if there are any other opinions.
 
Oh yes, forgot about the forks. Only one fork was leaking but I want to replace both of the oil seals anyway. The good one looked like it had been recently done (as in, sometime in the last decade or two) and came out with a bit of compressed air (maybe 100psi). But the other one, which might be factory original, wouldn't budge with any amount of air.

My only option at this point is to disassemble the whole fork, which unfortunately requires a special tool. Since I don't have a welder, it looks like it's going to be a bit of trial and error.
 
You say your pistons are not useable ? why ?
Can you take pictures of the pistons. wipe them off, clean them up and take a pic
 
The lines in the brake pads are wear indicators, no lines = no good.
Well atleast it's getting close to time for new ones when the lines are gone, you still have useable material, but it's getting pretty thin by then.
 
If you happen to have an impact wrench, that will back the screw out of the bottom of the fork without making the special tool. You'll still need to build the special tool if you want to put it back together with a torque wrench, though.
 
You say your pistons are not useable ? why ?
Can you take pictures of the pistons. wipe them off, clean them up and take a pic

No need, they're both deeply pitted all over, just like the front calipers were. They're paper weights now!

The lines in the brake pads are wear indicators, no lines = no good.
Well atleast it's getting close to time for new ones when the lines are gone, you still have useable material, but it's getting pretty thin by then.

I should have taken a profile pic as well (or at least better pics), but no, the pads are not worn down to the wear line. The problem is that there are little chunks missing around the edges of the pad material and I don't know enough about brakes to tell whether or not this is a show-stopper.

Read this thread - http://www.thegsresources.com/_forum/showthread.php?t=188443&highlight=fork+special+tool

You only need to leave it together and use a drill with a allen screw socket to remove the bolt or make up the special tool listed inside.

If you happen to have an impact wrench, that will back the screw out of the bottom of the fork without making the special tool. You'll still need to build the special tool if you want to put it back together with a torque wrench, though.

cowboy: Thanks for the link to that thread. I was wondering if I could just use two nuts on the end of a threaded rod, nice to know that it will probably work.
 
So finally after weeks of waiting on parts, tools, and free time, I managed to get something done today: the forks!

I was trying to get the fork seals out via the high air pressure method. That worked for one seal (which turned out to be an aftermarket one), but not for the other. (The one which was actually leaking). I tried turning the allen bolt with the spring, spacer, and end-cap installed but that didn't work. I could hear/feel the damping rod turning inside.

I don't have a welder, I don't have an impact gun... So, satisfied that I was not going to get these forks apart without the special fork disassmembly tool, I finally broke down and bought a threaded rod and four 19mm nuts. Here's my fork disassembly setup:

20130223_140708.jpg


The allen bolts came out super easy. You probably can't see it in the photo, but the far left nut has a combination wrench on it. When I turn the ratchet on the left, the wrench tries to rotate up but is trapped at the top of the counter. Disassembly, reassembly, cleaning, was almost a breeze after this. I should try doing things the right way more often!

20130223_160417.jpg


I said almost a breeze, because of this. This OEM Suzuki fork seal from 1980 was rather attached to the fork it was in. I spent at least an hour trying to get this sucker out. The damage at 9-12 o'clock was from me. This seal has a flat metal ring on the inside which seats inside the fork _very_ well. I only got it out because I got angry, threw caution to the wind, and levered that fscker out with a large screwdriver and all the strength I had. (Did not damage the fork, thankfully.) I'm fully convinced that the 200psi air pressure trick only works with pliable, squishy, aftermarket seals.

20130223_215551.jpg


Above: two freshly rebuilt forks. Caution: fork tubes are shorter than they appear.

20130223_215634.jpg


Above: My home-made fork oil measuring device made from a cheap syringe and old OEM brake hose. I may try to use this to bleed the brakes too.

20130223_221458.jpg


Above: Grungy speedo hub. I'd like to clean this up, but I was only partially successful at disassembling it. I got the snap ring off and the worm gear out, but it looks like there's a rubber seal holding the other gear in and I can't figure out how get it out. Should I just clean/lube it up as best as I can as-is? Is moly grease good for this?

Next steps:

- Put forks, headlight, handlebars, wheel back on and assemble new stainless steel brake lines.

- One of the wire bundles is too short and ends up really tight when the steering head is turned full right. Need to re-route or add some slack somehow. Doesn't look like it's caused any damage yet, but it sure will in time if not addressed.

- Valve clearance adjustment.

- Crack open the clutch cover and see how things are going in there.
 
Recent progress:

I got the forks put back together and on the bike. Getting them back on, with all the little rings and rubber bushings and that decorative piece over the lower clamps was an exercise in patience. Not looking forward to the next time I have to do that.

I also took a break and decided to inspect and reinstall the front turn signals. Previous owner diked the wires because he was going to turn the bike into a chopper. Even though unplugging the bullet connectors would have taken about 30 seconds. So I soldered those back together. But not before I disassembled each turn signal and found a "twist the wires together and wrap the with electrical tape" splice. Total of five solder splices.

20130303_181601.jpg


These splice coverings you see here are something that's used on avionics repairs. If I recall, you solder the wires into a metal splice and then these go over it, and then you heat these. Each end has a rubber ring that makes an air-tight seal when heat shrunk. I should have covered them in black heat shrink for good measure, if I cared at all about looks.

20130305_203806.jpg


Tool time! I bought these calipers off Amazon after reading many, many reviews. I think they were in the area of $35. They simply are the best digital calipers that you can get without stepping up to the $100+ Mitutoyo ones. They seem to be accurate to within at least a hundredth of a millimeter. How do I know this?

20130305_203745.jpg


Because I bought this set of metric feeler gauges off eBay for $4, shipping included. Out of curiosity, I measured them with the calipers and the readout always matched what was printed on the blades up to 0.10mm. (Because that's where I stopped testing.) At that price, I should have picked up two of them. Yay for cheap Chinese tools! :)

I set about removing the valve cover to do the valve clearance adjustment. Broke my first bolt removing the air breather cover:

20130305_224713.jpg


It didn't feel right backing it off and soon I found out why. It broke off flush with the hole, so left-hand-drilling it out is the only way. Not sure I'm man enough to tackle this myself. In a way, this is the best possible place for a bolt to break because it's on a portable piece (easy to transport to a machine shop, if need be) and I think I could get away with not replacing this one since its nearest neighbor is so close. Undecided what to ultimately do at this point, but I have some time to think about it.

I suspect it was over-torqued by the PO because it wasn't hard to turn at any point, just "sticky", like the bolt was covered in rubber cement before screwed in. It may actually be the wrong bolt since I found a rusty old one identical to the good one hiding in one of the nooks on top of the engine!

20130305_224732.jpg


Camshafts! I checked the clearances and five were out of spec:

Code:
    1     2     3      4
IN 0.06 <0.02  0.03 <0.02
EX 0.04 <0.02 <0.02 <0.02

So I'll be doing some shim-swapping in the upcoming weeks. I'll probably try to get all of them at or above 0.05mm. Getting nervous, I believe I'm only about 50% of the way toward road-worthiness and it's almost mid-March. The nice weather is not far away!

Question: is this the right stuff to use in the secondary and final drive?

20130305_203236.jpg
 
Last edited:
Back
Top