D
D-Mac
Guest
Looks like you're making good progress. Keep us posted.
Required reading for all forum users!!!
Welcome!
Register to access the full functionality of the GSResources forum. Until you register and activate your account you will not have full forum access, nor will you be able to post or reply to messages.
A note to new registrants...
All new forum registrations must be activated via email before you have full access to the forum.
A Special Note about Email accounts!
DO NOT SIGN UP USING hotmail, outlook, gmx, sbcglobal, att, bellsouth or email.com. They delete our forum signup emails.
A note to old forum members...
I receive numerous requests from people who can no longer log in because their accounts were deleted. As mentioned in the forum FAQ, user accounts are deleted if you haven't logged in for the past 6 months. If you can't log in, then create a new forum account. If you don't get an error message, then check your email account for an activation message. If you get a message stating that the email address is already in use, then your account still exists so follow the instructions in the forum FAQ for resetting your password.
Have you forgotten your password or have a new email address? Then read the forum FAQ for details on how to reset it.
Any email requests for "can't log in anymore" problems or "lost my password" problems will be deleted. Read the forum FAQ and follow the instructions there - that's what we have one for...
If you are a returning visitor who never received your confirmation email, then odds are your email provider is blockinig emails from our server. The only thing that can be done to get around this is you will have to try creating another forum account using an email address from another domain.
If you are a returning visitor to the forum and can't log in using your old forum name and password but used to be able to then chances are your account is deleted. Purges of the databases are done regularly. You will have to create a new forum account and you should be all set.
Yes, it is written in Excel, but is saved as a '97-2003 document, so you don't need the latest version (or even the one before that) to run it.Your spreadsheet, does it require Microsoft Excel?
 ) and use that. Several people on this forum have done that.
")
")
New boots will do wonders for the ease of installation. Just so you know, the 850 is probably the EASIEST bike to remove/re-install the carbs, when the boots are in good shape.It needs a good carb sync yet and I'm sure I have massive vacuum leaks. Those air box boots that I made the judgement call on? Yeah, upon further consideration: they're toast. They've shrunk and don't make a good fit with the air box or the carbs. I have to order new intake boots as well. Those aren't nearly as bad, but it was a huge PITA getting the carbs back on. I had to have a heat gun and a strong nephew just to do the reinstall.
Exactly what parts are you planning on buying and where do you plan on getting them? We might be able to help you with parts selection and vendor to save you some money.Next steps:
- Order up around $150 in parts to complete the fuel/air box/carb side of things
When you are ordering your carb boots, get a valve cover gasket, too. Might also want the breather cover gasket, but that one is not as critical, and usually comes off OK, and can be re-used.Next steps:
- Do a valve clearance check/adjustment


New boots will do wonders for the ease of installation. Just so you know, the 850 is probably the EASIEST bike to remove/re-install the carbs, when the boots are in good shape.
Exactly what parts are you planning on buying and where do you plan on getting them? We might be able to help you with parts selection and vendor to save you some money.
Email sent, thanks!When you are ordering your carb boots, get a valve cover gasket, too. Might also want the breather cover gasket, but that one is not as critical, and usually comes off OK, and can be re-used.
While you are doing this job, you should also get that free spreadsheet from the guy that offers it in his signature.
Understood. I may put off the carb sync until it warms up a little outside (two months, at least) since I'll have to do it with the garage door open...Keep in mind that you should always sync your carbs after a valve adjustment, not before.
I'll check out McMaster's for bolts. (I've ordered from them before, but it was a long time ago.) Someone mentioned Fastenal in another thread and I see that there's one on Ellsworth, do you know if that's worth checking out?
It's a darned good thing I bought a Suzuki GS because this is the single most helpful forum I've ever come across on the Internet and I've been to a _lot_ of forums. You guys have helped me so much already and I've only had the bike three weeks!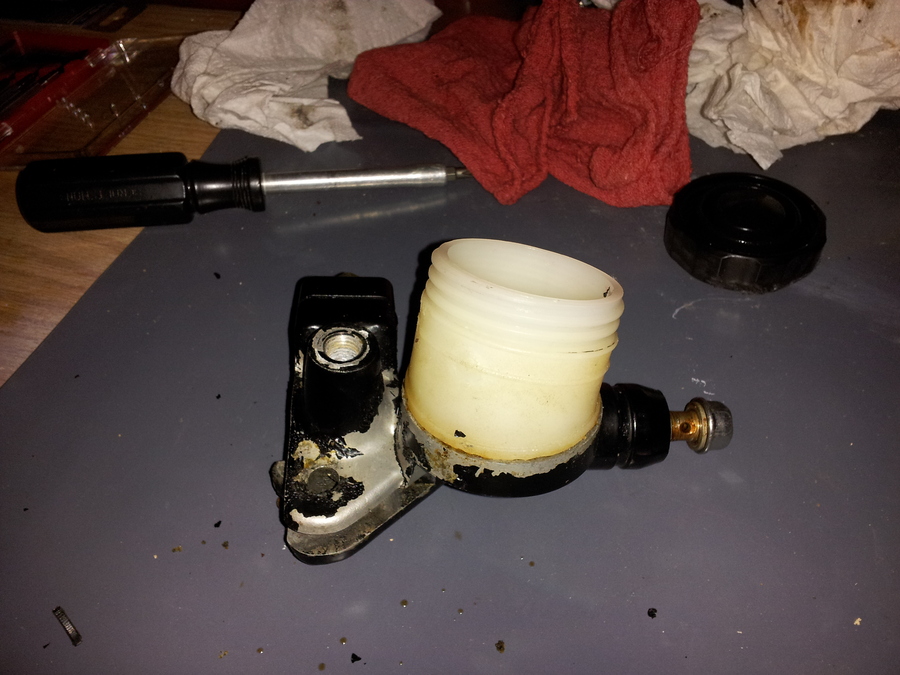
Until you can VERIFY any of the claims, you should automatically assume they are all lies.PO was basically lying through his teeth when he said it was running a year or two ago. By my estimation, it hasn't been roadworthy in at least a decade, so there's a good chance he never had it on the road at all.
Three weeks and that thing is not on the road yet???It's a darned good thing I bought a Suzuki GS because this is the single most helpful forum I've ever come across on the Internet and I've been to a _lot_ of forums. You guys have helped me so much already and I've only had the bike three weeks!

Just so you know, you can get the whole switch assembly for about $10. That includes the circuit board with the contacts (includes the wires that go into the headlight bucket), the U-shaped slider, the spring, the plastic piece that goes into the brake handle, the outer cover and the two screws that hold everything together. Not a bad deal, and that way, EVERYTHING will be new.I noted in an earlier post that the brake light switch was rather hosed. Mostly it just needs a good cleaning, but the more pressing issue was the rusted up spring which basically crumbled to dust between my fingers. I don't have a picture of it, but I ended up rifling through my pen and pencil collection trying to find a small enough spring that might work. I sacrificed a Bic mechanical pencil just to see what kind of spring it had inside it and it looks like it fits perfectly! It's a little wider and longer than the old spring but it should do. One less thing I have to buy! Woot!
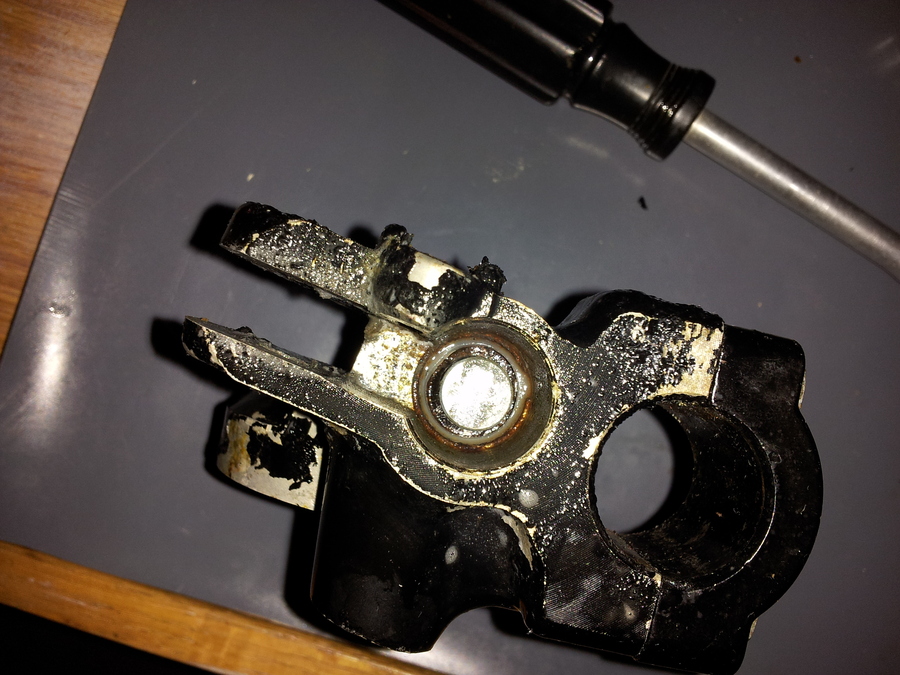
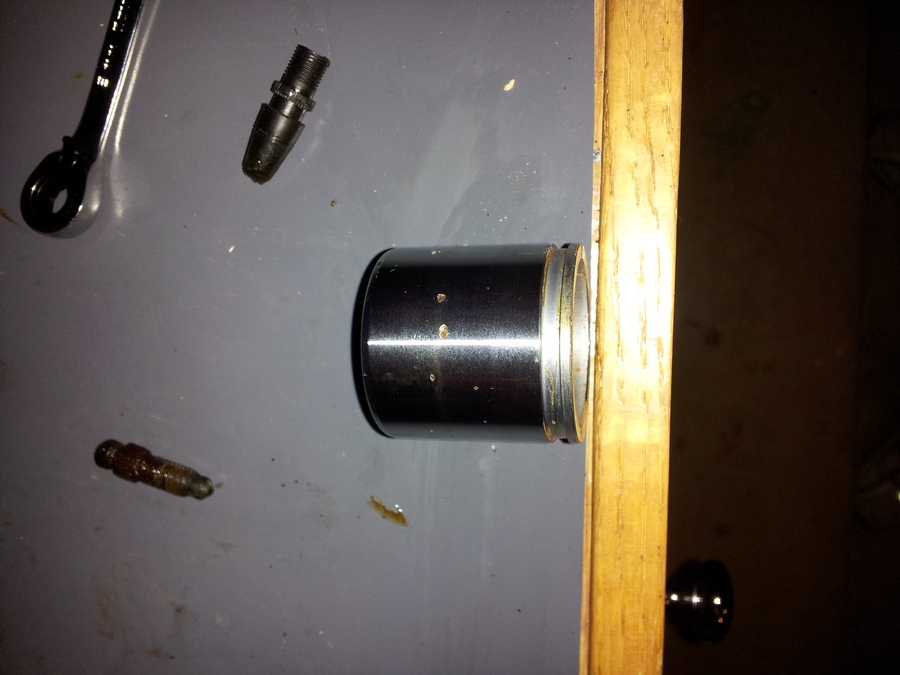
That would depend on your source. If you order from one of our favorite online dealers and get OEM stuff (highly recommended), you can see on the parts fiche that item #1 in the diagram is called "PISTON SET", and it also includes parts 2 and 3, which are "SEAL, PISTON" and "BOOT, PISTON". If you order after-market parts, you will have to contact the supplier to see if the seals are included.I have no reason to believe the left piston is any better, so I'll be ordering 2 piston kits. (Based on reading other caliper rebuild threads, it sounds like the piston kits come with all the seals and boots needed for rebuilding one caliper. Can anyone confirm this?)
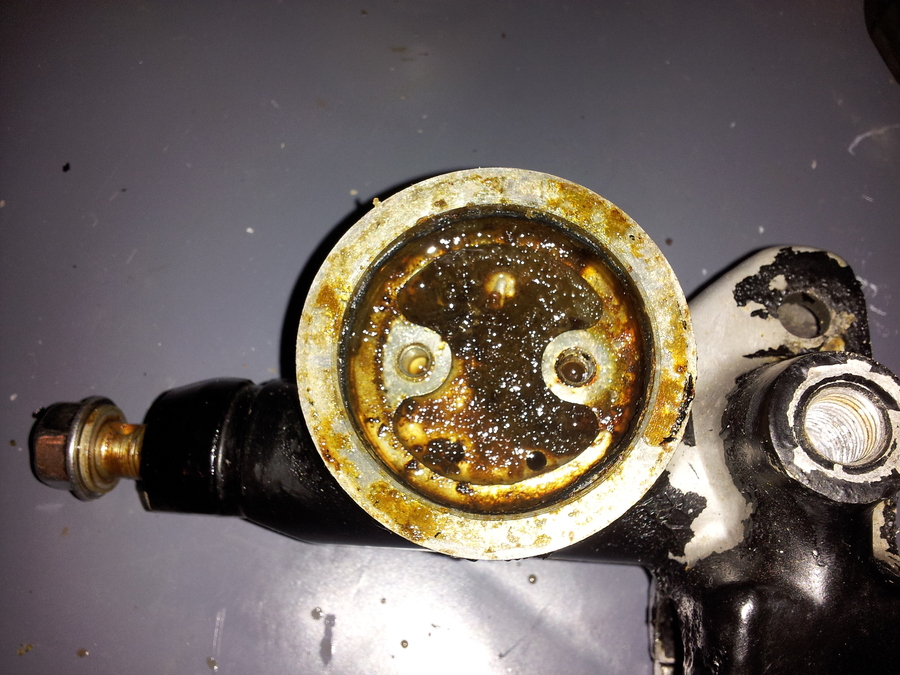
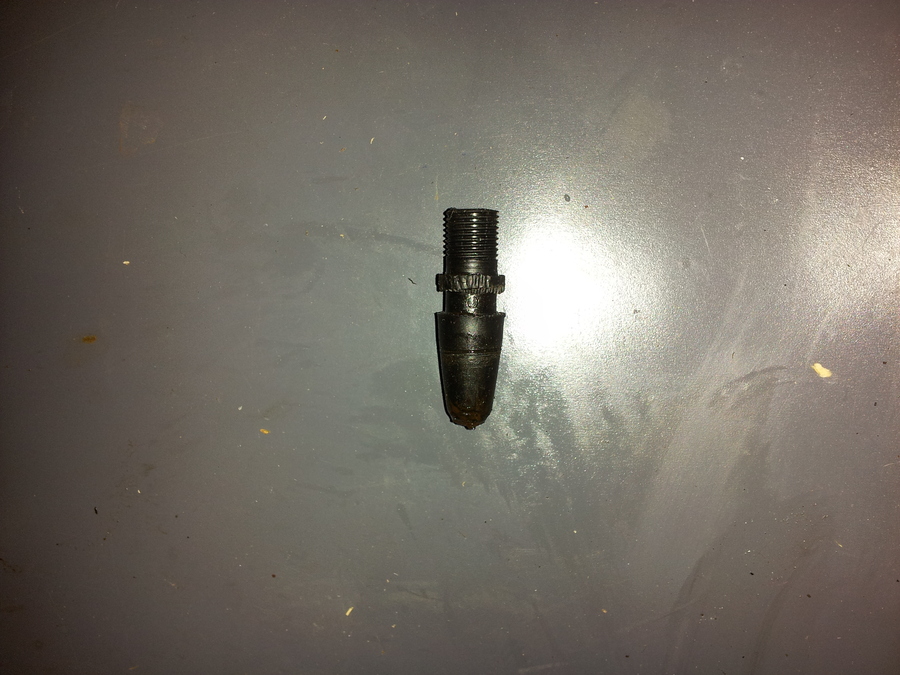
You might be able to find either/both of them at Auto Zone (or similar), but both items are available on the same parts fiche for the piston sets. Look at items #13 and 14.You can also see one of the bleeder screws in the image above. Didn't get a good picture of it, but these are severely rusted on both of my front calipers and had no cap on them. I was going to try to order new ones (do they make them in brass or stainless steel?), but based on how things are going so far with this bike, I'd rather just see if I can clean these up and reuse them. I'm going to try giving them the vinegar treatment. I suppose painting them would be silly. Anyone have good tips on sourcing/making makeshift caps?
I have not noticed any seasonal variation on tire prices. I got my Shinko 230s from Motorcycle Superstore two years ago and paid about the same price. And, that was around the first of June, the start of the prime riding season.Also decided on purchasing brand-new front and rear tires and having a stab at mounting them myself. Shinko 230's, $130 for the set. I won't be buying them until I get the engine and brakes sorted, though. (Or would it be better to buy them now? Is the price guaranteed to go up in the spring?)
Just so you know, you can get the whole switch assembly for about $10. That includes the circuit board with the contacts (includes the wires that go into the headlight bucket), the U-shaped slider, the spring, the plastic piece that goes into the brake handle, the outer cover and the two screws that hold everything together. Not a bad deal, and that way, EVERYTHING will be new.
I thought I read a thread somewhere on here where a guy got his "piston set" and it included the caliper bolt boots as well. I need those too since mine are shot. I'll have to see if I can dig that up. (Although it was a different model bike, so may not apply...)That would depend on your source. If you order from one of our favorite online dealers and get OEM stuff (highly recommended), you can see on the parts fiche that item #1 in the diagram is called "PISTON SET", and it also includes parts 2 and 3, which are "SEAL, PISTON" and "BOOT, PISTON". If you order after-market parts, you will have to contact the supplier to see if the seals are included.
Cool, I'll just wait awhile then. I might even set up some price alerts to watch and see if they go on sale. (Unlikely, but can't hurt.)I have not noticed any seasonal variation on tire prices. I got my Shinko 230s from Motorcycle Superstore two years ago and paid about the same price. And, that was around the first of June, the start of the prime riding season.
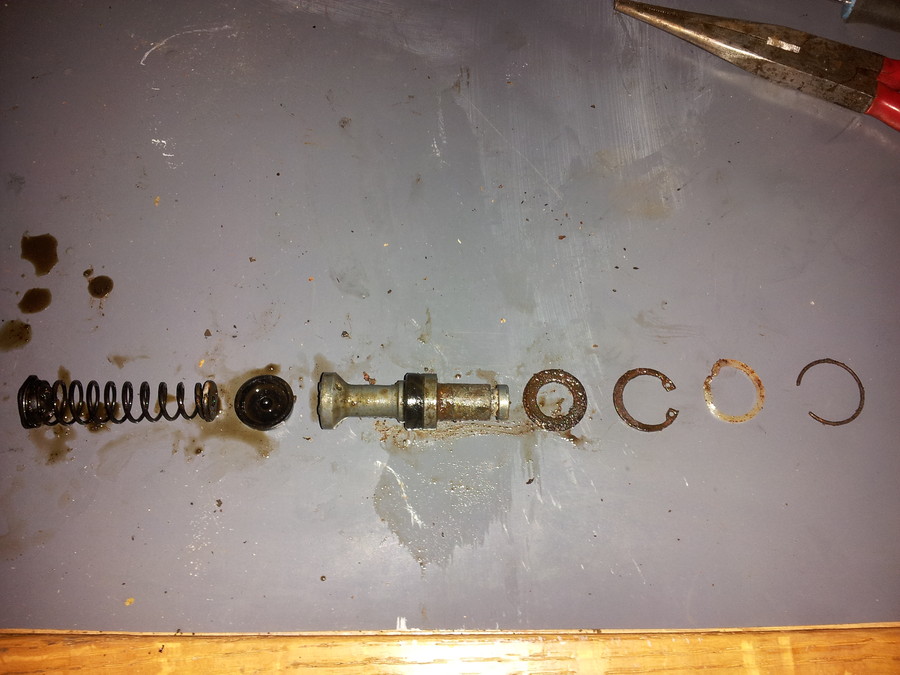

Those washers have a special surface that helps seal them; getting something from a hardware store won't work due to its nature.