eil
Forum Sage
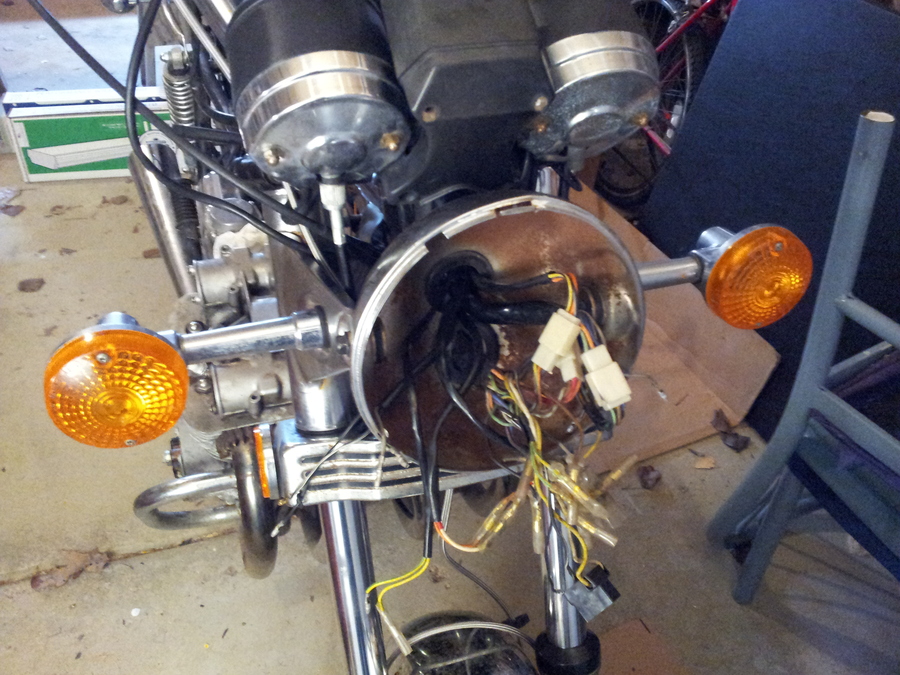
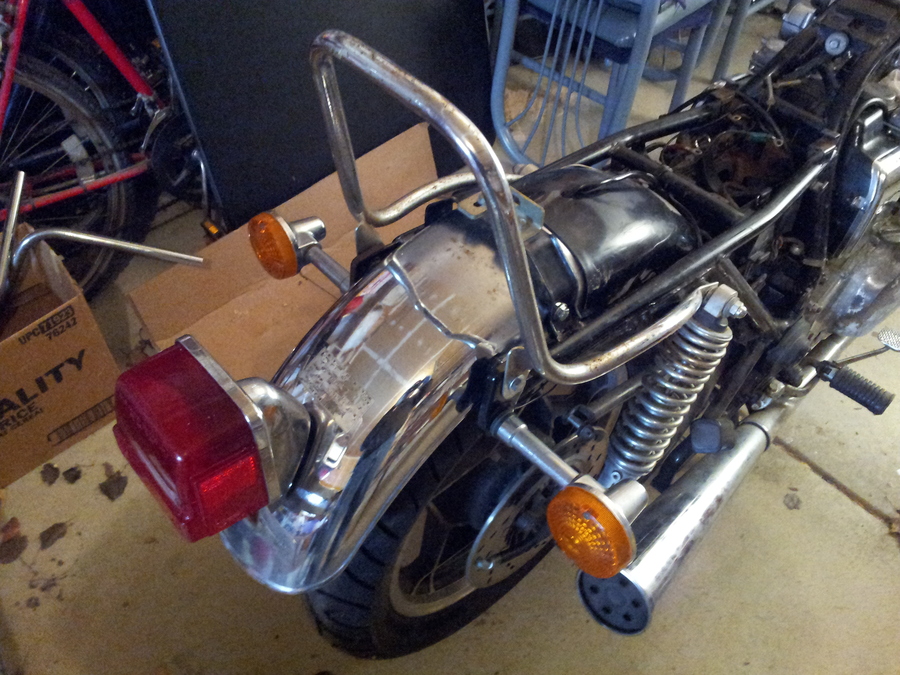
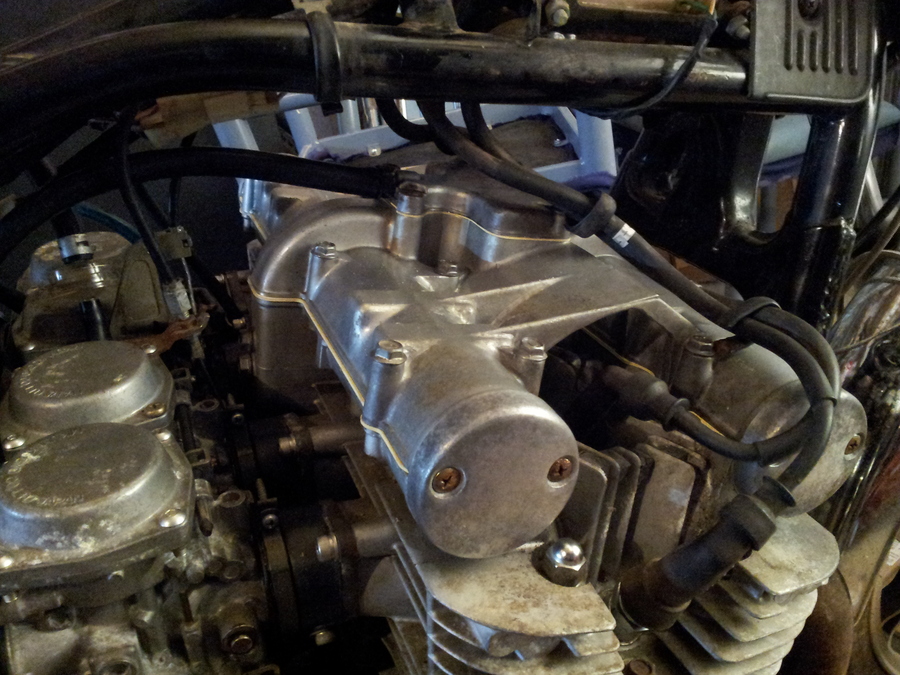
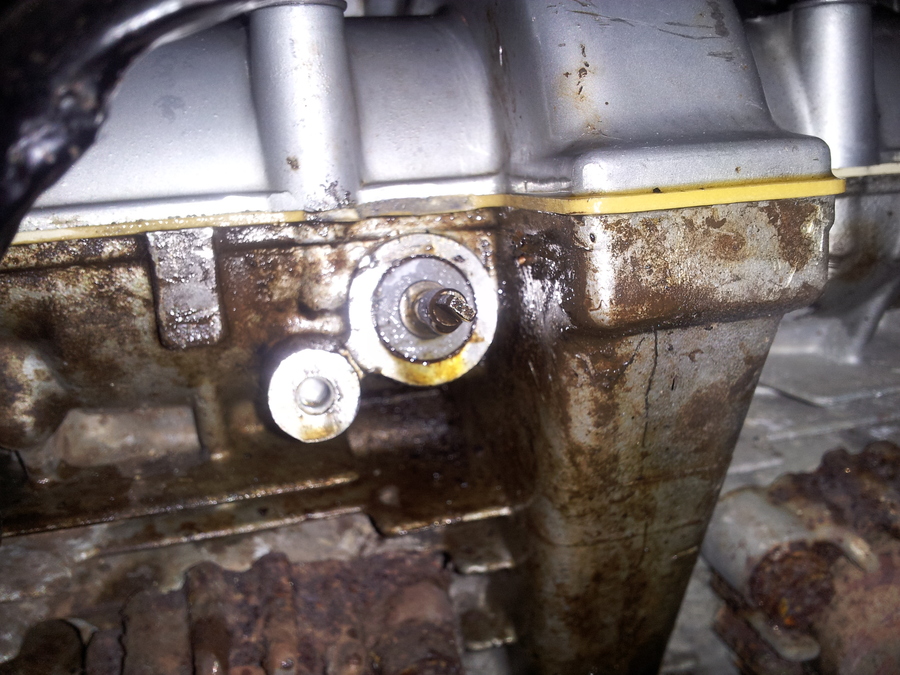
No pics today, but the nice 65 degree (F) weather had me itching to get some maintenance done so I can hopefully have this thing on the road ASAP.
Boy am I going to be disappointed when I finally get it all running like a top and have to spend every spare weekend traveling for weddings, graduations, and the like. :/
Anyways, I mounted up the new tach that I bought from another GSR member (sorry, I don't recall your username off the top of my head.) Perfect replacement, although it makes my old speedo look all manky by comparison.
I also took a stab at swapping some shims around so I don't have to replace as many. Easier said than done... the ones I was hoping would swap, don't. I thought I would have to step down two shim sizes on the ones which measure < 0.02mm in clearance but on each one that I tried, it put the clearance well above 0.08. I've been in contact with Ray from the shim club, but I'm not sure how I'm going to go about removing 5 shims without removing the camshafts. Grumble, grumble. I may just buy the ones I need from Z1 and hope for the best.
Next big thing to tackle was the front brakes. I've had everything necessary to put the lines together for some time, just hadn't had the opportunity yet. I put the new 850G handlebars on, the front wheel back on, and mounted the calipers.
So, I set about making the brake lines from the Earl's parts and boy, that was a hassle. Lots of people have said that they made their own lines with no trouble at all, but I didn't find it to be terribly easy. I'm switching from a three-line setup in the front to a two-line setup: one line goes from the master cylinder to the left caliper, and the second line loops over the wheel from the left caliper to the right. First of all, cutting the line with a chisel didn't work well for me. It seemed to cut without much effort but both times that I tried, it creased the soft teflon tube enough to cause a longitudinal cut where the olive goes. The dremel method worked a lot better, at the cost of one cut-off disk per cut.
Then I had a ridiculously hard time getting the olive over the teflon on the first line. Not sure what I was doing wrong, the teflon just seemed too thick for some reason. No similar issues on the second line, though. However, getting the connectors "clocked" properly was an exercise in futility. I thought I could save a couple of bucks by getting non-adjustable fittings for each end and tightening them down on the bike but I found out the hard way that it doesn't work like that. Once the nut end of the fitting "bites" into the SS braid, it wants to turn the braid. So they're installed now, but twisted about 90 degrees from what they should be. I'm not sure what the long-term effects will be. I might buy adjustable fittings when I buy the parts to do the second brake, or I might just scrap the whole experiment and buy a set premade SS lines.
Things started looking up a bit once everything was finally assembled. I was able to bleed the brakes and get a nice firm handle with very little effort, which was a pleasant surprise after reading all the difficulties that more experienced people have had with bleeding. Even though the brake handle was pretty firm, I felt that there was still room for improvement so I tied the handle back and left it for an hour. Came back an hour later to find that the connector on the right caliper was weeping. Grr, that was one of the "easy" ones too. Maybe I can just tighten it, but that's going to twist the line further. Bugger!
Next steps:
- Order parts
- Wait
- Wrap up the valve clearance adjustment
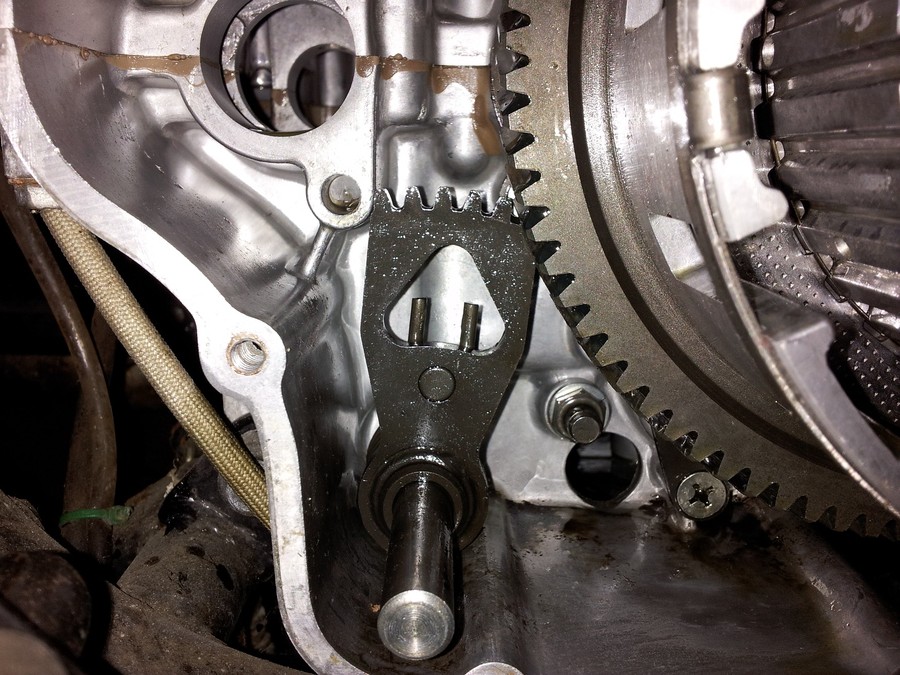
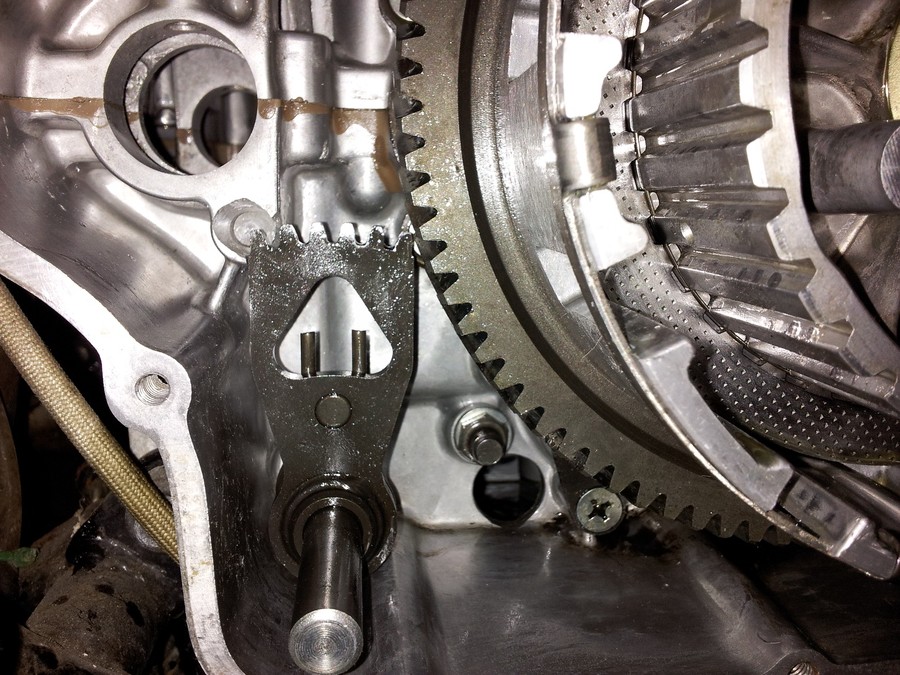
- Replace leaky tach drive seal
- Buy or build new rear brake line
- Drain old oil
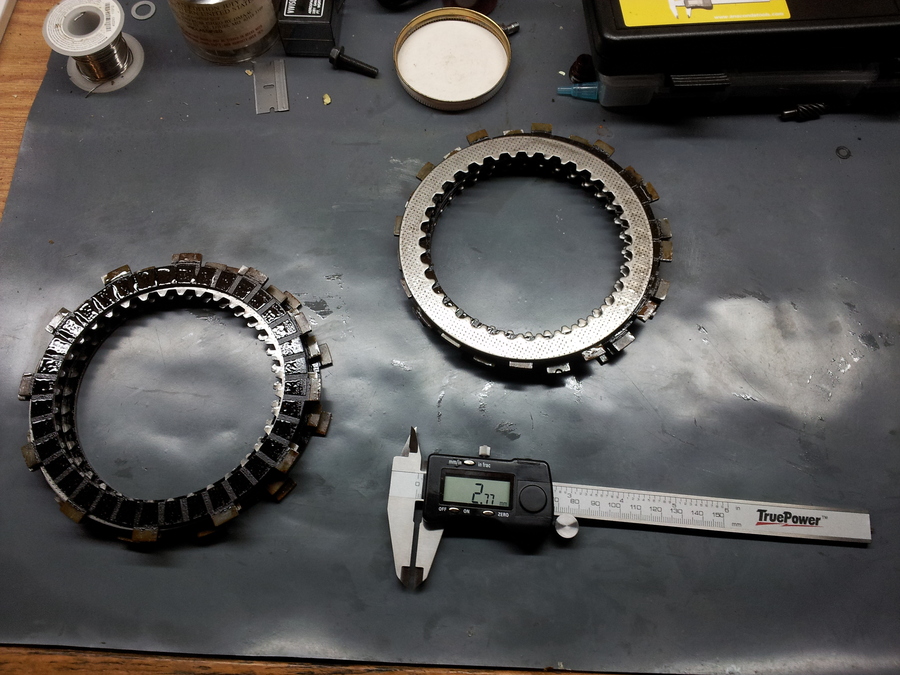
- Inspect clutch
- Replace leaky shift shaft seal
- Drain/refill secondary and final drive units
- Order new tires
- Wait
- Mount new tires
- Lube/adjust all cables
- Balance carbs (if my budget has not been thoroughly murdered too much to import a CarbTune)
- Go for a ride?
Boy am I going to be disappointed when I finally get it all running like a top and have to spend every spare weekend traveling for weddings, graduations, and the like. :/
Anyways, I mounted up the new tach that I bought from another GSR member (sorry, I don't recall your username off the top of my head.) Perfect replacement, although it makes my old speedo look all manky by comparison.
I also took a stab at swapping some shims around so I don't have to replace as many. Easier said than done... the ones I was hoping would swap, don't. I thought I would have to step down two shim sizes on the ones which measure < 0.02mm in clearance but on each one that I tried, it put the clearance well above 0.08. I've been in contact with Ray from the shim club, but I'm not sure how I'm going to go about removing 5 shims without removing the camshafts. Grumble, grumble. I may just buy the ones I need from Z1 and hope for the best.
Next big thing to tackle was the front brakes. I've had everything necessary to put the lines together for some time, just hadn't had the opportunity yet. I put the new 850G handlebars on, the front wheel back on, and mounted the calipers.
So, I set about making the brake lines from the Earl's parts and boy, that was a hassle. Lots of people have said that they made their own lines with no trouble at all, but I didn't find it to be terribly easy. I'm switching from a three-line setup in the front to a two-line setup: one line goes from the master cylinder to the left caliper, and the second line loops over the wheel from the left caliper to the right. First of all, cutting the line with a chisel didn't work well for me. It seemed to cut without much effort but both times that I tried, it creased the soft teflon tube enough to cause a longitudinal cut where the olive goes. The dremel method worked a lot better, at the cost of one cut-off disk per cut.
Then I had a ridiculously hard time getting the olive over the teflon on the first line. Not sure what I was doing wrong, the teflon just seemed too thick for some reason. No similar issues on the second line, though. However, getting the connectors "clocked" properly was an exercise in futility. I thought I could save a couple of bucks by getting non-adjustable fittings for each end and tightening them down on the bike but I found out the hard way that it doesn't work like that. Once the nut end of the fitting "bites" into the SS braid, it wants to turn the braid. So they're installed now, but twisted about 90 degrees from what they should be. I'm not sure what the long-term effects will be. I might buy adjustable fittings when I buy the parts to do the second brake, or I might just scrap the whole experiment and buy a set premade SS lines.
Things started looking up a bit once everything was finally assembled. I was able to bleed the brakes and get a nice firm handle with very little effort, which was a pleasant surprise after reading all the difficulties that more experienced people have had with bleeding. Even though the brake handle was pretty firm, I felt that there was still room for improvement so I tied the handle back and left it for an hour. Came back an hour later to find that the connector on the right caliper was weeping. Grr, that was one of the "easy" ones too. Maybe I can just tighten it, but that's going to twist the line further. Bugger!
Next steps:
- Order parts
- Wait
- Wrap up the valve clearance adjustment
- Replace leaky tach drive seal
- Buy or build new rear brake line
- Drain old oil
- Inspect clutch
- Replace leaky shift shaft seal
- Drain/refill secondary and final drive units
- Order new tires
- Wait
- Mount new tires
- Lube/adjust all cables
- Balance carbs (if my budget has not been thoroughly murdered too much to import a CarbTune)
- Go for a ride?
")
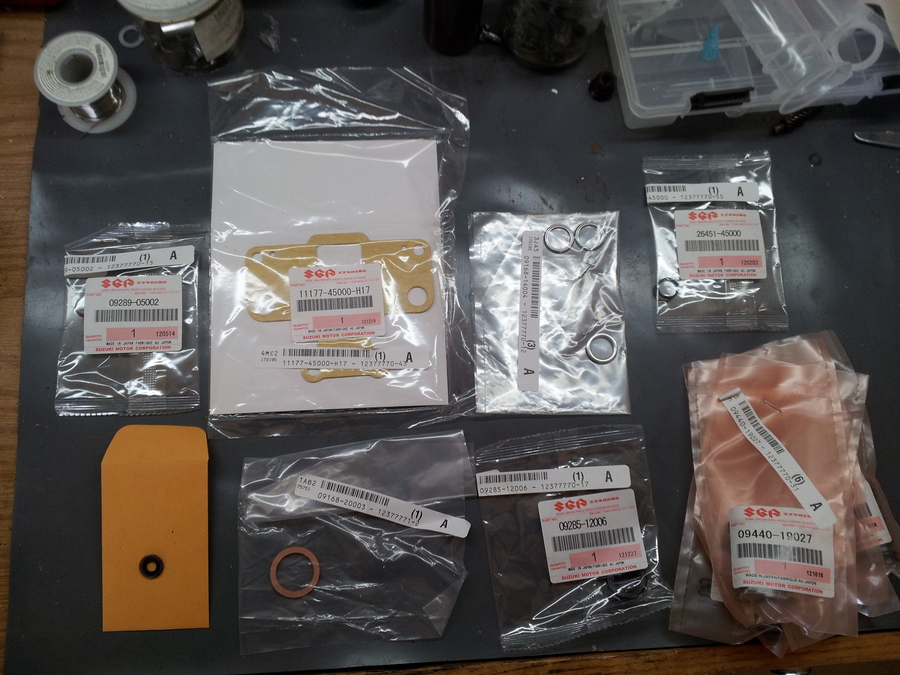
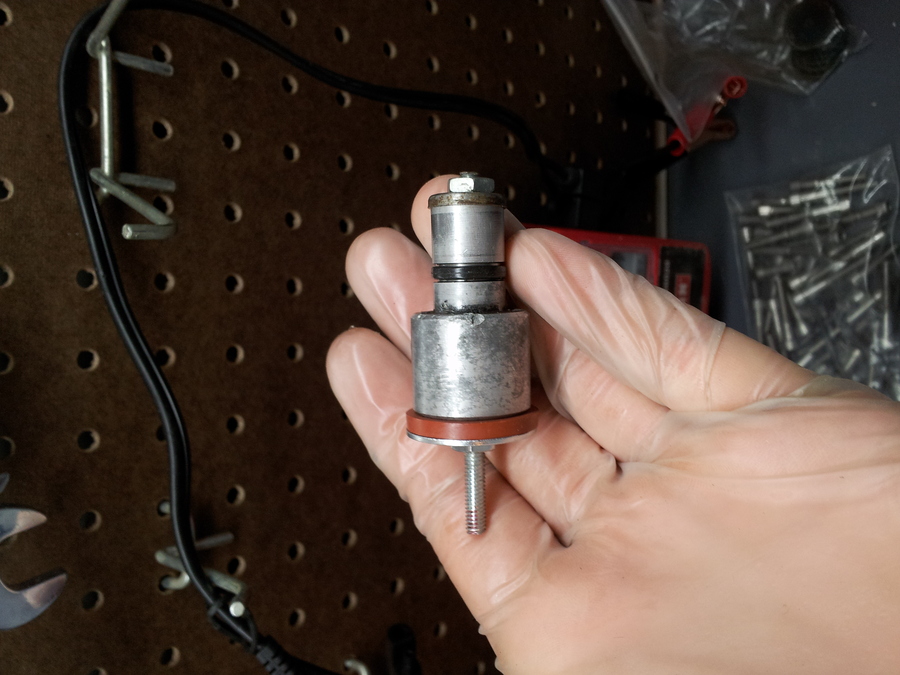
 I was mostly surprised that it came in an unmarked envelope instead of the familiar SGP packaging. All I can find on the fiche is that it's used on the petcock bolts and somewhere in the crank case. Neither of which I bought it for. Oh well, I'll hold onto it until I remember. (Could also be that I copied a part number down wrong and am now short on some other washer or seal now...)