• Required reading for all forum users!!!

    Welcome!
    Register to access the full functionality of the GSResources forum. Until you register and activate your account you will not have full forum access, nor will you be able to post or reply to messages.

    A note to new registrants...
    All new forum registrations must be activated via email before you have full access to the forum.

    A Special Note about Email accounts!
    DO NOT SIGN UP USING hotmail, outlook, gmx, sbcglobal, att, bellsouth or email.com. They delete our forum signup emails.

    A note to old forum members...
    I receive numerous requests from people who can no longer log in because their accounts were deleted. As mentioned in the forum FAQ, user accounts are deleted if you haven't logged in for the past 6 months. If you can't log in, then create a new forum account. If you don't get an error message, then check your email account for an activation message. If you get a message stating that the email address is already in use, then your account still exists so follow the instructions in the forum FAQ for resetting your password.

    Have you forgotten your password or have a new email address? Then read the forum FAQ for details on how to reset it.

    Any email requests for "can't log in anymore" problems or "lost my password" problems will be deleted. Read the forum FAQ and follow the instructions there - that's what we have one for...

  • Returning Visitors

    If you are a returning visitor who never received your confirmation email, then odds are your email provider is blockinig emails from our server. The only thing that can be done to get around this is you will have to try creating another forum account using an email address from another domain.

    If you are a returning visitor to the forum and can't log in using your old forum name and password but used to be able to then chances are your account is deleted. Purges of the databases are done regularly. You will have to create a new forum account and you should be all set.

1982 GS300 Project - Where do I start

  • Thread starter Thread starter hjacobmiller
  • Start date Start date

1982 GS300 Project - Where do I start

  • Black (back to stock)

    Votes: 2 66.7%
  • Pearl with black trim

    Votes: 1 33.3%
  • Telecaster/57 chevy green with white pin stripes

    Votes: 0 0.0%
  • Red with gold trim

    Votes: 0 0.0%

  • Total voters
    3
The exhaust gaskets are on there believe it or not :) The copper gaskets squish almost paper thin when you install them. Funny story when I worked for a bike shop a person brings in their bike or ATV complaining their exhaust header leaks even though they replaced the gasket twice... You end up digging out like 3 or 4 gaskets from the years of owners thinking there is no gasket on there :lol:

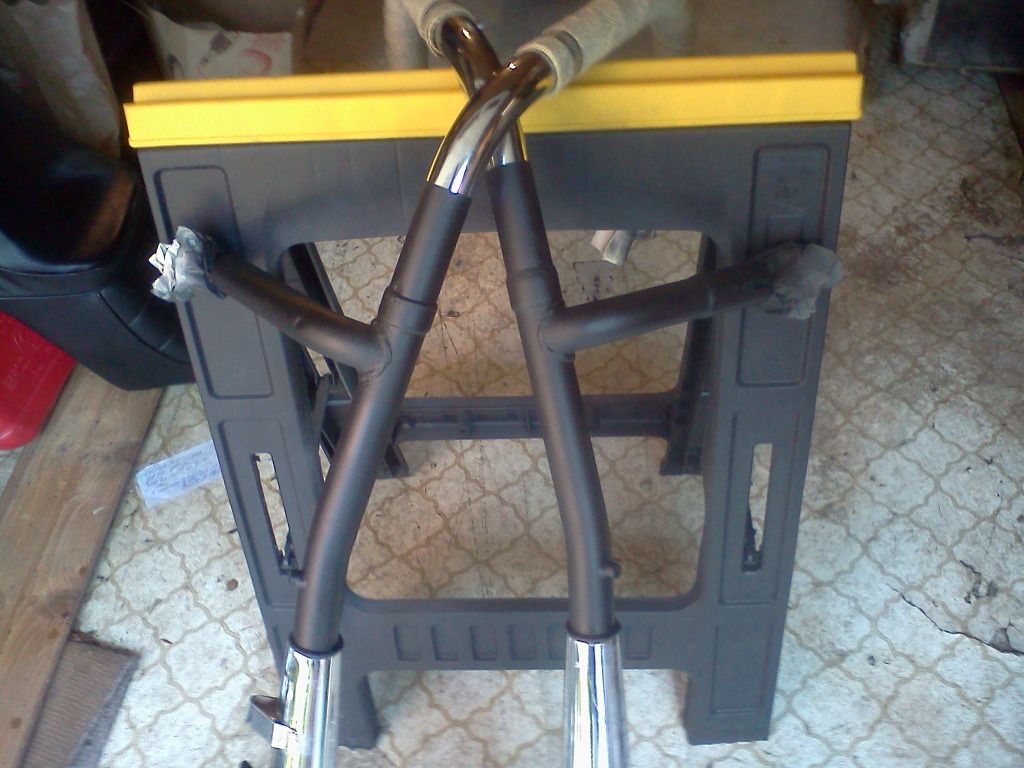
I wouldn't worry too much about getting the collar off. It is likely Suzuki made that one unit with the exhaust pipe. You would have to cut the pipe to get it off.

The white soot on the exhaust valves is normal... I have seen that on countless bike and car exhaust valves... it's the **** modern fuels with all the additives they tell us are good for the engine... they aren't.
 
OK well I ordered new ones just in case. I'll try later tonight to see if I can pull the old ones out.

Are the collars supposed to go over the ring on the header though? Because I couldn't get mine over them. It seems like they were out of round or something.

If they just sit on the edge of that ring and then press the header into the gasket then it all is fine. If it supposed to go over it then I may have some issues.
 
The collars don't need to be flush to the head, they are just meant to pull the pipe into the head and crush the gasket.
 
The collars don't need to be flush to the head, they are just meant to pull the pipe into the head and crush the gasket.

OK good. I don't think mine can anyways. I'm guessing that means that they won't go over the header ring either then. Like I said, mine seem to be a bit out of round which prevents them from sitting flush against the head.

If they don't have to, no biggie I guess.
 
Nah it's all good. The sealing surface is on the pipe itself. You don't want to tighten that collar too much... you could crack the collar, strip the threads out of the head or break an exhaust bolt. It doesn't take that much to seal the crush exhaust gaskets.
 
When setting the static timing, I didn't hold it at full advance, it's too bloody hard!

I used the F mark for the right cylinder (couldn't see one for the left) and used that to set the static timing.

Then, I used the timing light and did the final adjustment for both cylinders at full advance.

I ended up having to adjust the plate a little to get the left cylinder advance spot on, and I then had to adjust the module for the right cylinder a little to get it spot on.

Don't forget each module has some adjustment available separate to the plate so if they're not perfectly aligned on the plate like mine was you can sort it out.

I also just had a thought... you could potentially pull the rotor bolt off, put a washer underneath, set it to full advance and lock it in place.

That would let you set static advance without having to hold it in place manually, just don't forget to remove the washer afterwards and be sure to double check it with the timing light.
 
Thanks. Yeah it is darn near impossible to do that.

I emailed Dynatek and they gave me a couple suggestions.

I'm thinking while I have the exhaust off to replace the gaskets I could wrap it. I wanted to do that anyway and I'm not going to be riding for a couple of days anyways.

This look like good wrap?

http://www.google.com/products/cata...a=X&ei=FtoAUK-OCNDo2gXj8_mPCw&ved=0CHMQ8wIwAQ

PS - Razor - thanks for the vid on the timing light. I think I understand it now. Don't know if I can afford one right now let alone find one close by.
 
Last edited:
What were the Dynatek suggestions? Curious to know...

Got a spare $13.99? http://www.harborfreight.com/xenon-timing-light-3343.html

You only need the most basic timing light for this, that video was trying to sell you expensive stuff ;)

No idea on the wrap either, not really my sorta thing unless the pipes are really crappy...

Well, my pipes are kinda crappy ha ha. :D

I picked up a timing gun around here to try out. Do I just set the choke so that it runs at a higher RPM and moves the advance to the full position?

I don't have one with an advance setting on it to offset for the curve I guess it what I'm trying to say.

I can't try it out until my exhaust gaskets come in as the exhaust is off right now. Or I could do it, and then not hear anything for a while :lol:

I didn't even realize there was HFT near me! I could have saved a ton of money!
 
Cool... what you want to do is warm her up a bit until she'll run off choke.

Then check the timing at idle.

Once you've verified that and adjusted the plate appropriately, you'll need to hold the throttle open until she's at something like 3000 - 3500RPM where the ignition should be at full advance.

Then check the timing against the advance marks.

Forget not having advance on the gun, checking with the higher rev's will take care of that. If you were using fancy electronic ignition with programmable electronic advance then having an advance setup on the gun would be handy...
 
Thanks!

I just forwarded the note from Dynatek. You answered my question from the email.
 
Well it looks like the g/f and I will be making a quick run to HFT this evening.

:dancing:

Going to pick up some exhaust wrap & paint too.

Update: XMAS in July.

0714122126.jpg
 
Last edited:
So I think I got the static timing set right!

I noticed the advance doesn't have a full advance mark for the left cylinder.

Any suggestions how to set that side?

Threw the comp gauges on for giggles and 150 steady on right and 143 steady on left.

A little low, but that may just mean I know to go back and triple check my clearances.

Got the headers painted and hopefully going to pick up some wrap on the cheap tomorrow and get that done before the gaskets come in.
 
Last edited:
Interesting, I had the opposite issue... no F mark for the left cylinder, just one for the right cylinder, but full advance marks are there for both cylinders... are you sure you're lining up with the right mark?

You can either just set it according to what marks you have available, or you can pull the advance mechanism out and mark 100% accurately 180 degrees from the existing mark...

Nice haul on the tools too! I need a set of vernier calipers, the one critical tool I'm still missing...

I wanted to get a digital set but the plastic one was $1 so I couldn't say no ha ha ha.

Yeah I'm 99% sure I have the right marks. I basically just set the modules so the light comes on at the exact point of the rotors travel when it is advanced.

I may take it out though and do like your saying by marking it.

I'm going to do another comp test today and see if I can get those numbers up any higher. Just didn't want to crank on the starter forever last night.
 
Hrmmm....

The compression tester your using... is it one that would normally go on a car? I ask because the teeny tiny displacement of these engines will likely give a false low reading. A lot of compression testers I have seen have the one way valve up by the gauge. This reduces the cost to make the gauge adapters. However the diameter of the hose is actually enough to throw off a reading especially in smaller engines.

Put it this way... if you have a 5/16" hose on your gauge 6" long you are essentially adding 7.5cc of volume to the combustion chamber. That might not make a discernible difference to a small block chevy with 5700cc but on a 299cc engine it could throw the reading way off.
 
Razor - thanks for the input!

I actually went back today to check it again because I couldn't remember if I held WOT while I checked it, and I also wanted to let it crank a little longer than I had last night.

After letting it crank about 5 or 6 times with WOT I checked and well over 160 on each cylinder.

So here is what I have been up to:

0716121359.jpg

0716121402-1.jpg

0716121402a.jpg

0716121534a.jpg

0716121742.jpg


Does anyone have any tips for getting the exhaust back on and installing the new exhaust gaskets?

Wrapping was a pain and I almost regret doing it. I have to wait until it dries out and then I have to coat it with the silicone stuff.

Hopefully my parts will be in tomorrow.
 
Back
Top