S
smarzinski
Guest
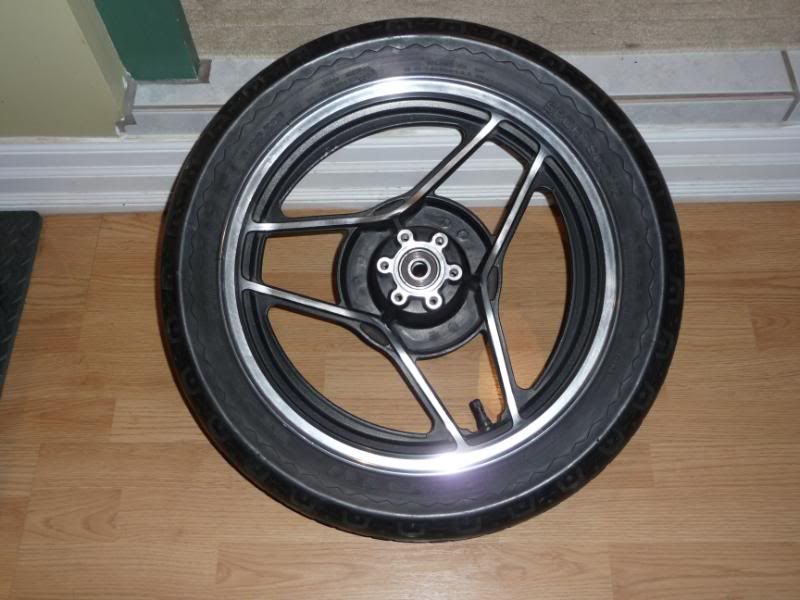
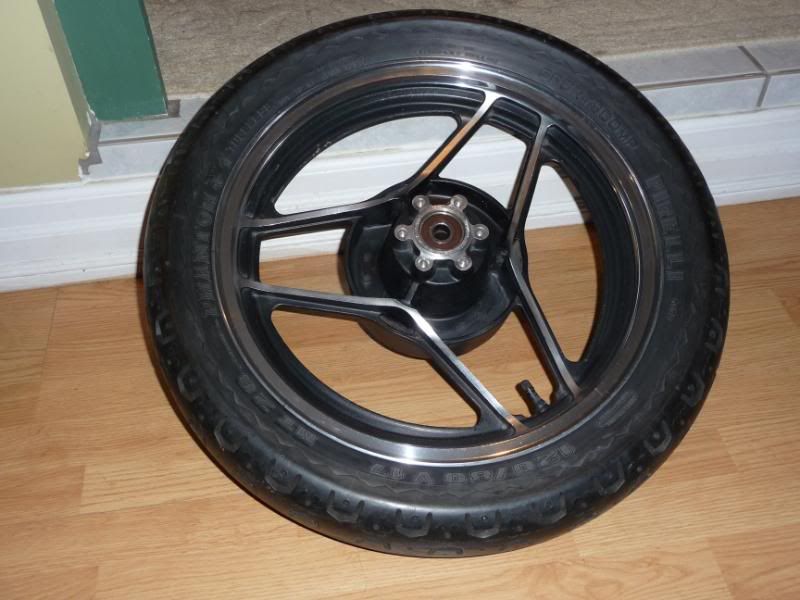
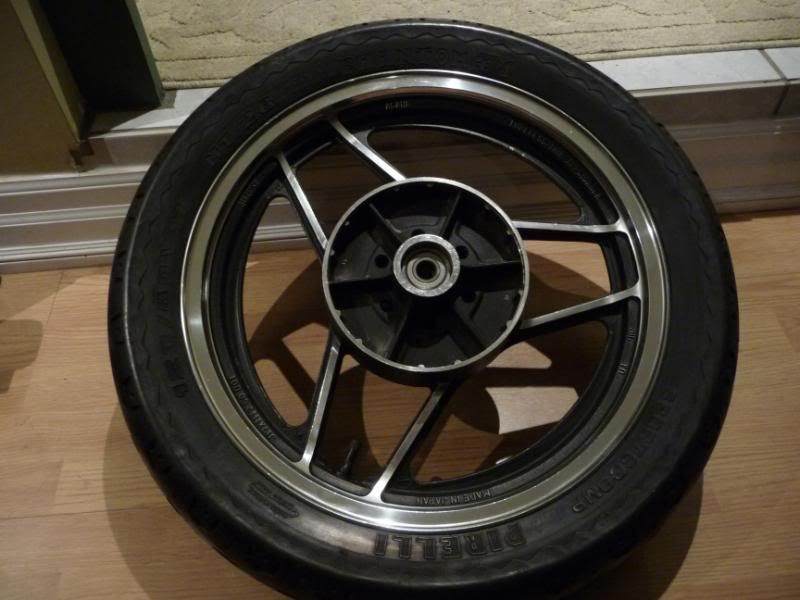
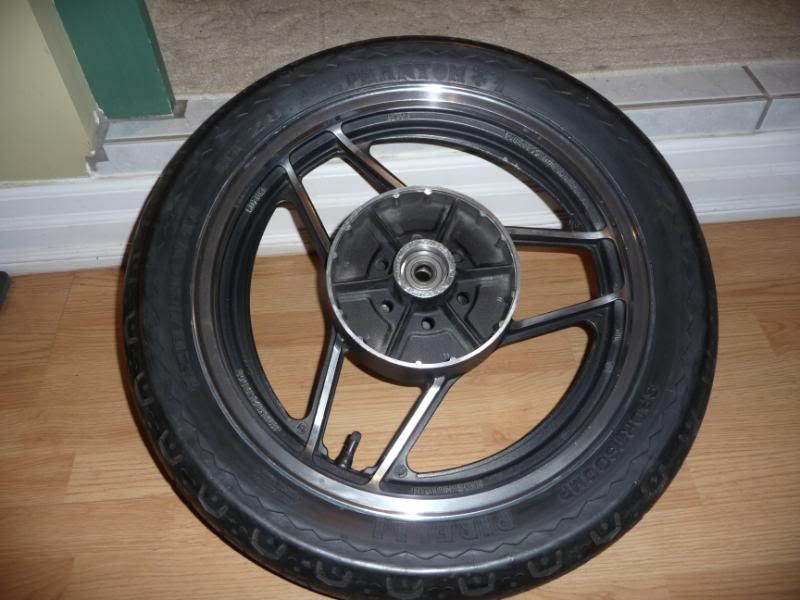
if your looking for parts let me know. I have a complete engine, carbs, front end, fairing and windscreen, rims.......etc.
Required reading for all forum users!!!
Welcome!
Register to access the full functionality of the GSResources forum. Until you register and activate your account you will not have full forum access, nor will you be able to post or reply to messages.
A note to new registrants...
All new forum registrations must be activated via email before you have full access to the forum.
A Special Note about Email accounts!
DO NOT SIGN UP USING hotmail, outlook, gmx, sbcglobal, att, bellsouth or email.com. They delete our forum signup emails.
A note to old forum members...
I receive numerous requests from people who can no longer log in because their accounts were deleted. As mentioned in the forum FAQ, user accounts are deleted if you haven't logged in for the past 6 months. If you can't log in, then create a new forum account. If you don't get an error message, then check your email account for an activation message. If you get a message stating that the email address is already in use, then your account still exists so follow the instructions in the forum FAQ for resetting your password.
Have you forgotten your password or have a new email address? Then read the forum FAQ for details on how to reset it.
Any email requests for "can't log in anymore" problems or "lost my password" problems will be deleted. Read the forum FAQ and follow the instructions there - that's what we have one for...
If you are a returning visitor who never received your confirmation email, then odds are your email provider is blockinig emails from our server. The only thing that can be done to get around this is you will have to try creating another forum account using an email address from another domain.
If you are a returning visitor to the forum and can't log in using your old forum name and password but used to be able to then chances are your account is deleted. Purges of the databases are done regularly. You will have to create a new forum account and you should be all set.
if your looking for parts let me know. I have a complete engine, carbs, front end, fairing and windscreen, rims.......etc.
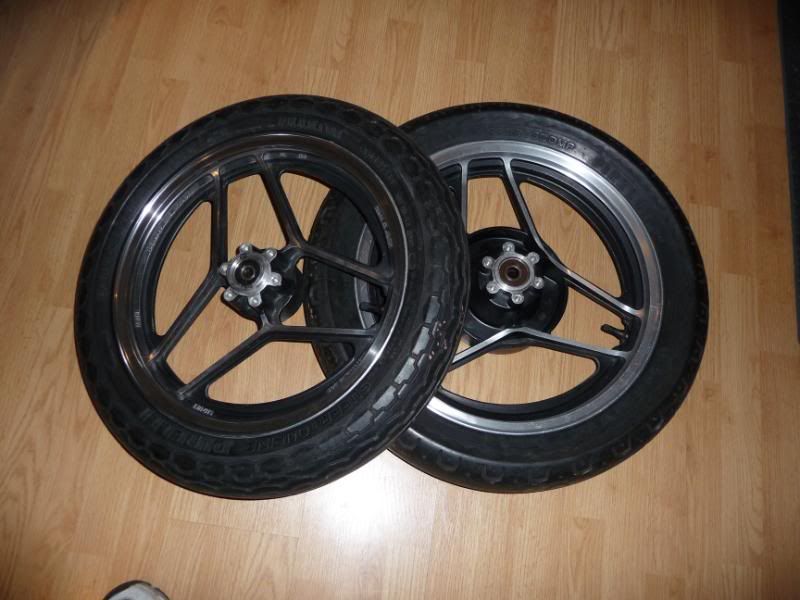
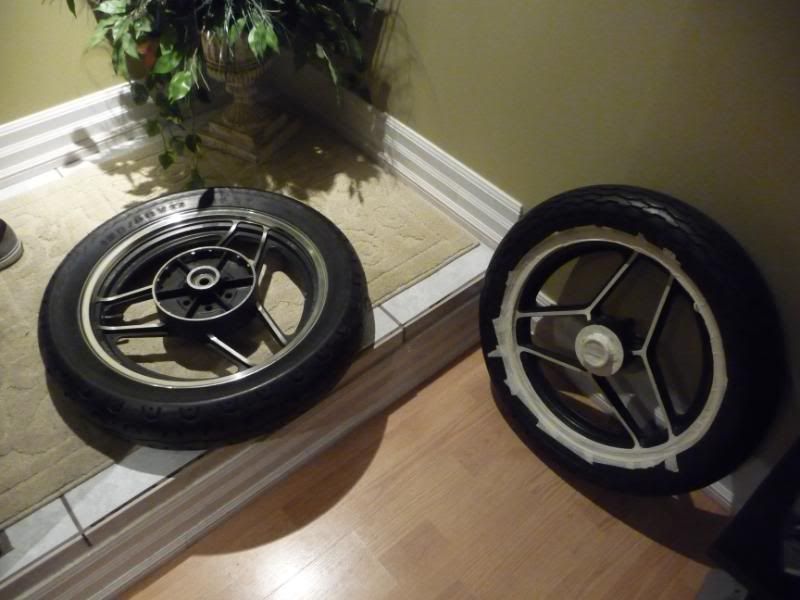
Looking great GK! Can't wait to see the final product after paint. You gonna clear them after you paint?
Sci85


Gatekeeper, I think your frame needs some attention.
The pipe looks crushed, while the frame as a whole may not be distorted, theres a whole lot of strength missing right there, a weak point that will flex. Just bogging it over with JB weld wont put the strength back.
Here's a suggestion.
Source some square tube about the same size and bend it to the same radius bend as that part of the frame. (use a bender die so it dosnt chrush) Split this tube diagonally at the corners, so you wind up with a right angle section but with the curve in it. weld this over the crushed section.
This will be stronger than cuting the piece out and butt welding, plus theres less chance of distorting the frame with the cutting and welding.
Do it neat with tapered ends and on both down tubes of the frame and it may well look like it was made that way.
")
Sorry GK, but JB Weld only adheres to the surface which means its holding strength will not be strong enough once you place any torque on the hole. Great stuff for filling holes and such but cannot be used for areas under stress.
Another option is to find a solid welder who can weld the hole up with aluminum and then redrill and tap it. Have to find a guy who has real experience with aluminum though. I've seen this done before with good results.
And sorry to hear about your issue with your bro. I've got two myself and sometimes can be a real PIA. But you know, in the end, they are family and nobody can love you like family. Hope you can Find a way to work it out.
Sci85
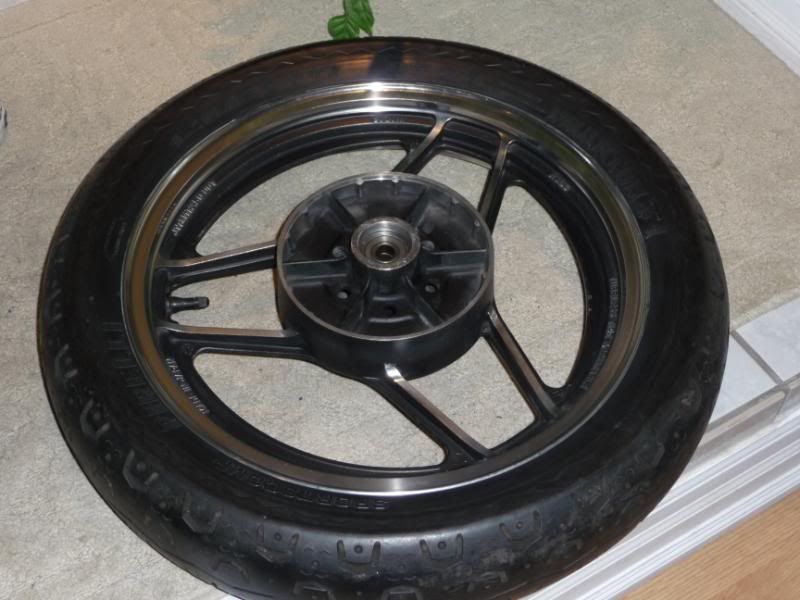
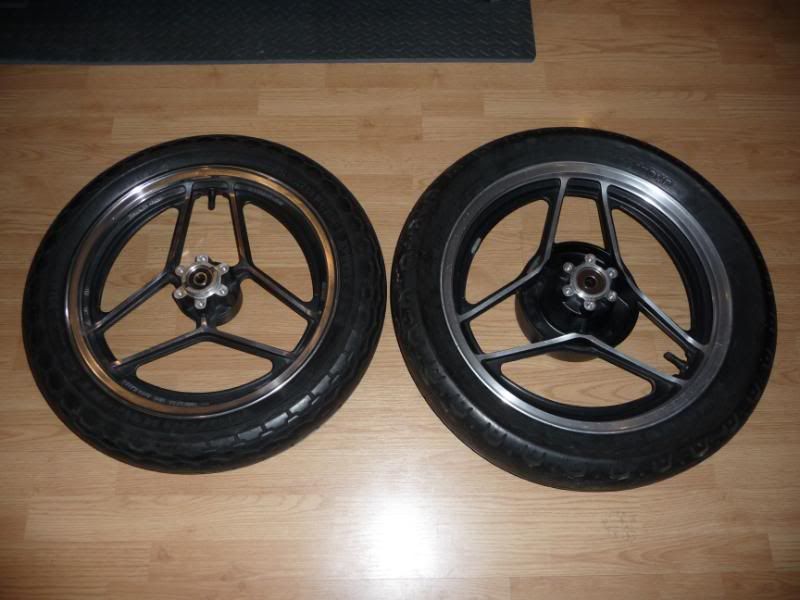
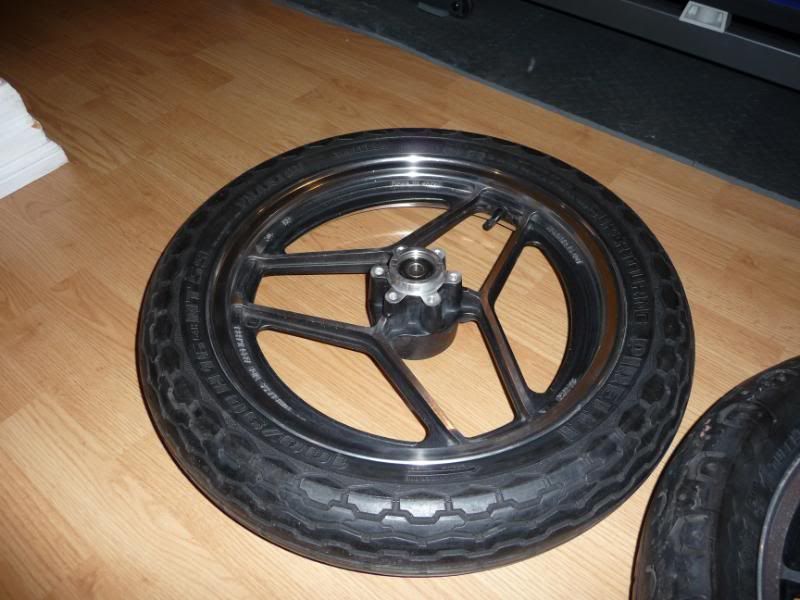
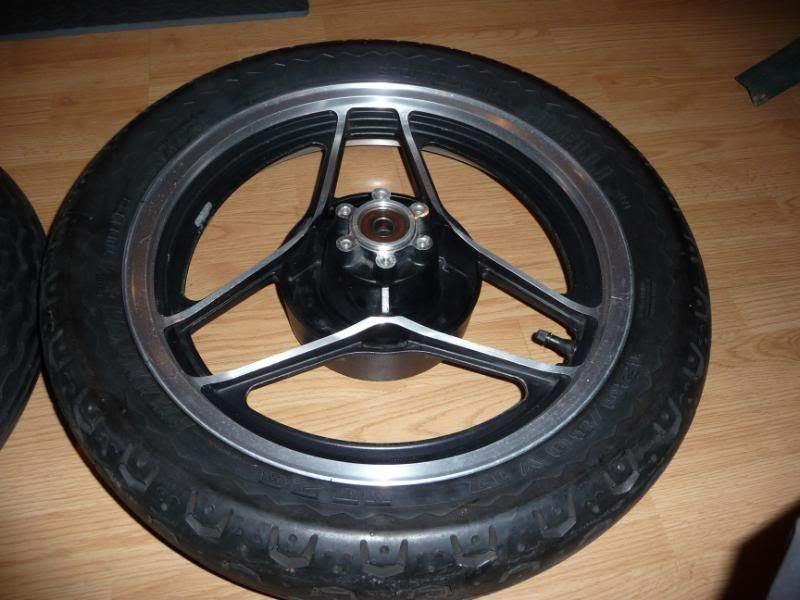
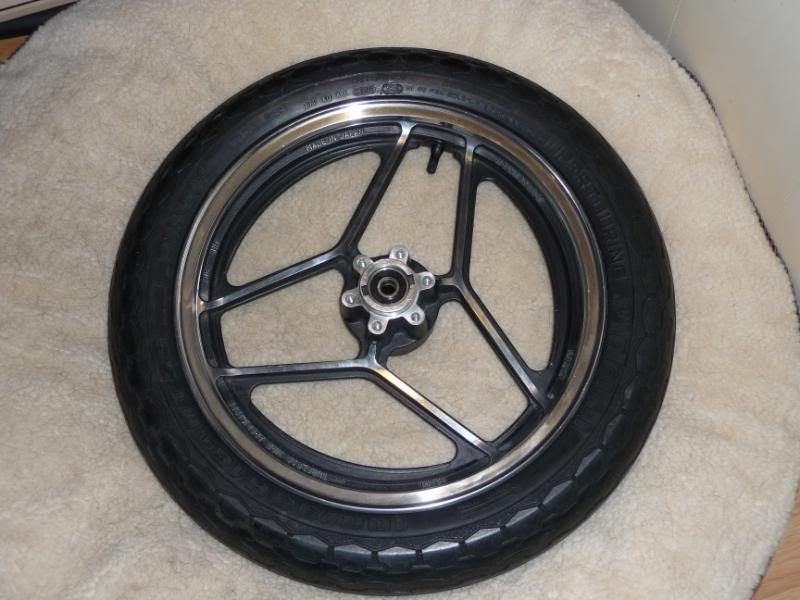
That polished wheel looks fantastic!