• Required reading for all forum users!!!

    Welcome!
    Register to access the full functionality of the GSResources forum. Until you register and activate your account you will not have full forum access, nor will you be able to post or reply to messages.

    A note to new registrants...
    All new forum registrations must be activated via email before you have full access to the forum.

    A Special Note about Email accounts!
    DO NOT SIGN UP USING hotmail, outlook, gmx, sbcglobal, att, bellsouth or email.com. They delete our forum signup emails.

    A note to old forum members...
    I receive numerous requests from people who can no longer log in because their accounts were deleted. As mentioned in the forum FAQ, user accounts are deleted if you haven't logged in for the past 6 months. If you can't log in, then create a new forum account. If you don't get an error message, then check your email account for an activation message. If you get a message stating that the email address is already in use, then your account still exists so follow the instructions in the forum FAQ for resetting your password.

    Have you forgotten your password or have a new email address? Then read the forum FAQ for details on how to reset it.

    Any email requests for "can't log in anymore" problems or "lost my password" problems will be deleted. Read the forum FAQ and follow the instructions there - that's what we have one for...

  • Returning Visitors

    If you are a returning visitor who never received your confirmation email, then odds are your email provider is blockinig emails from our server. The only thing that can be done to get around this is you will have to try creating another forum account using an email address from another domain.

    If you are a returning visitor to the forum and can't log in using your old forum name and password but used to be able to then chances are your account is deleted. Purges of the databases are done regularly. You will have to create a new forum account and you should be all set.

1984 Katana 7/11

  • Thread starter Thread starter Guest
  • Start date Start date
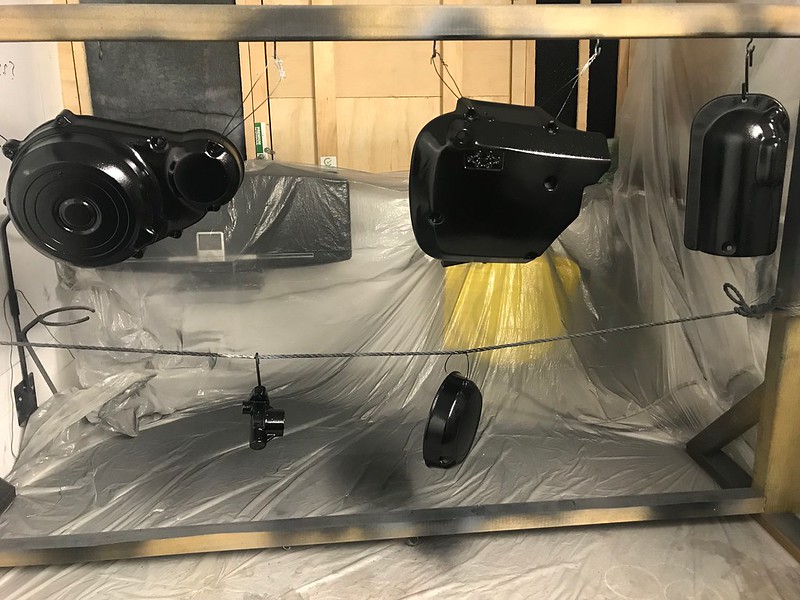
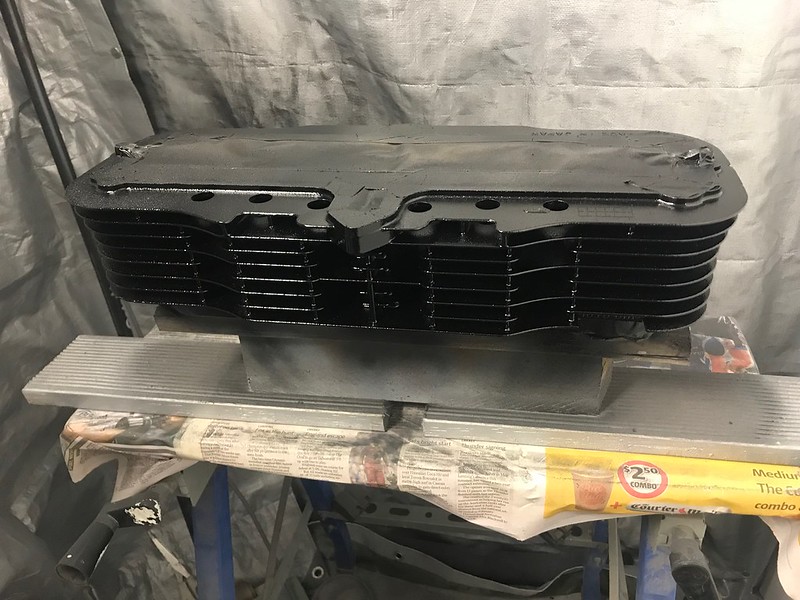
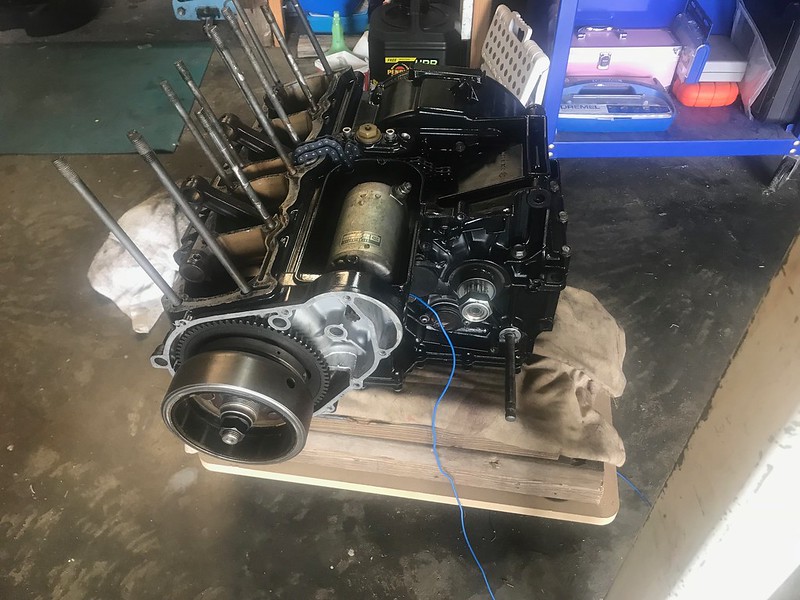
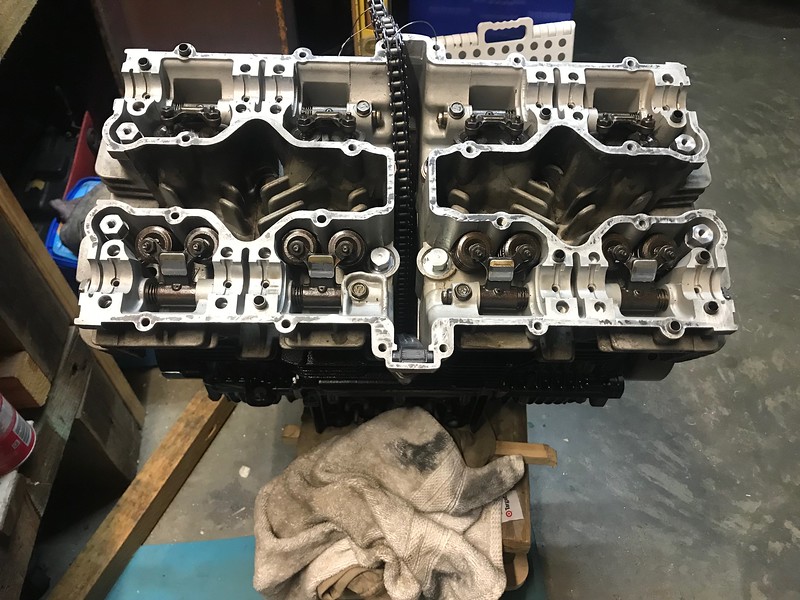
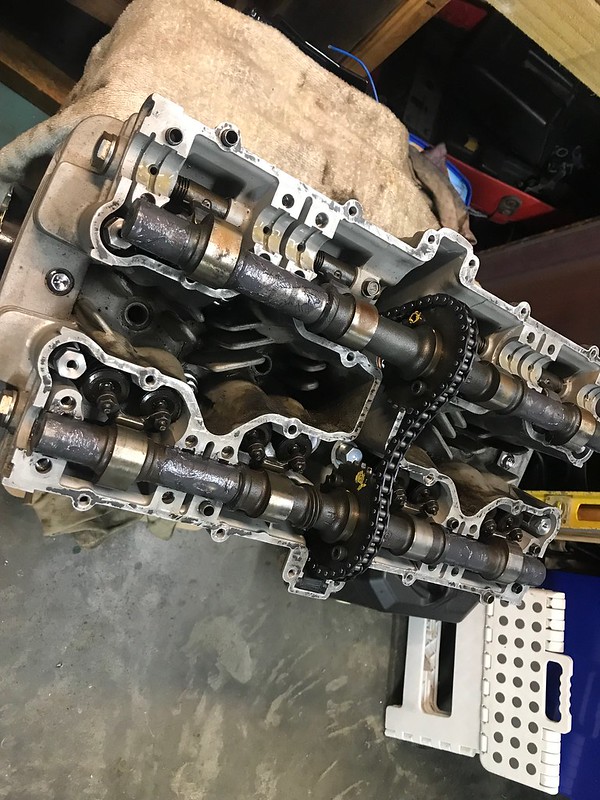
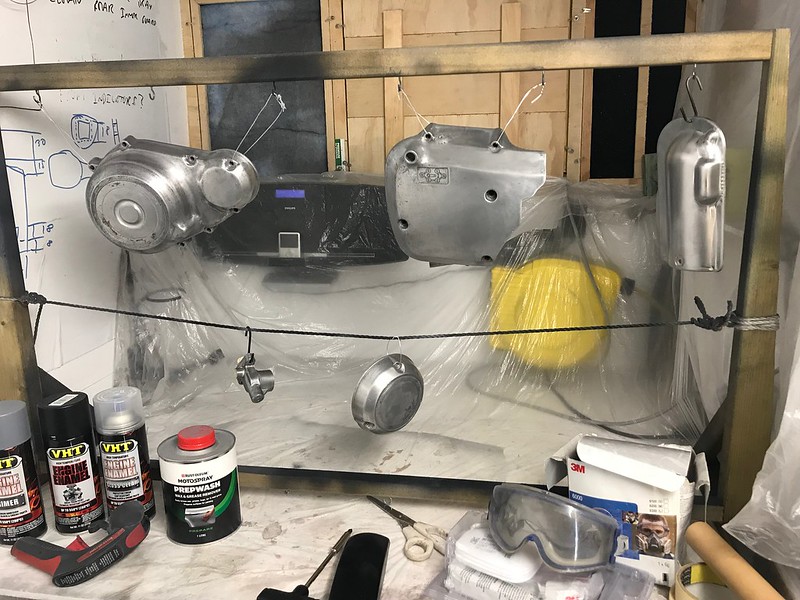
Still not much to report, weather still wasn't good for painting today but at least I should be prepared for next weekend. I broke out the grey scotchbrite pad and gave the bits a rub down and got them hung up and laid out ready.

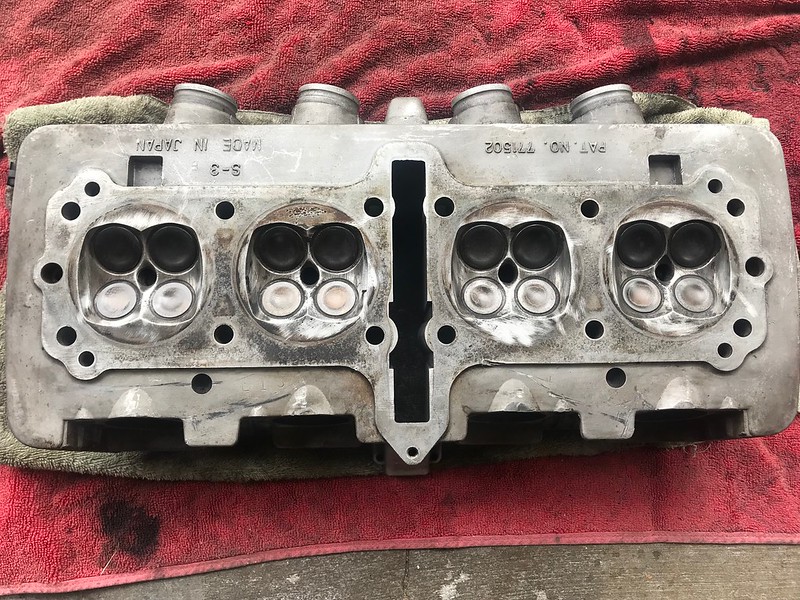
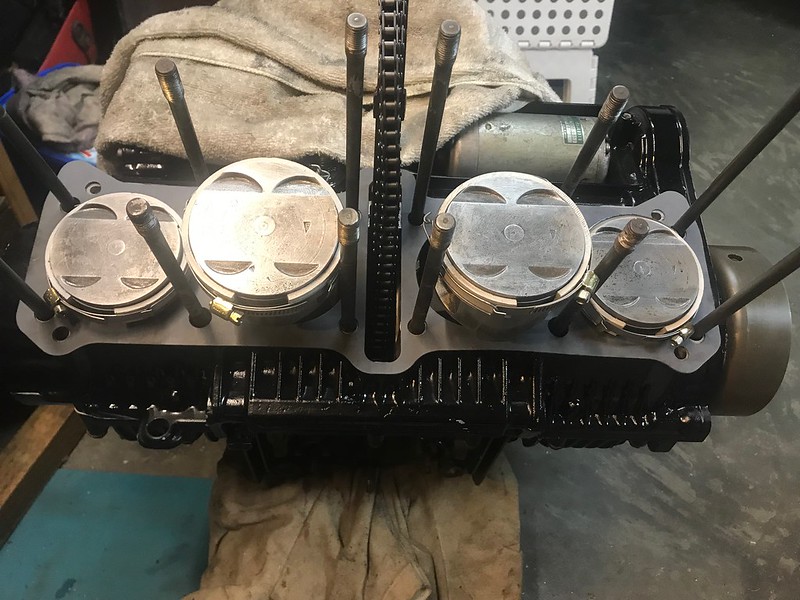
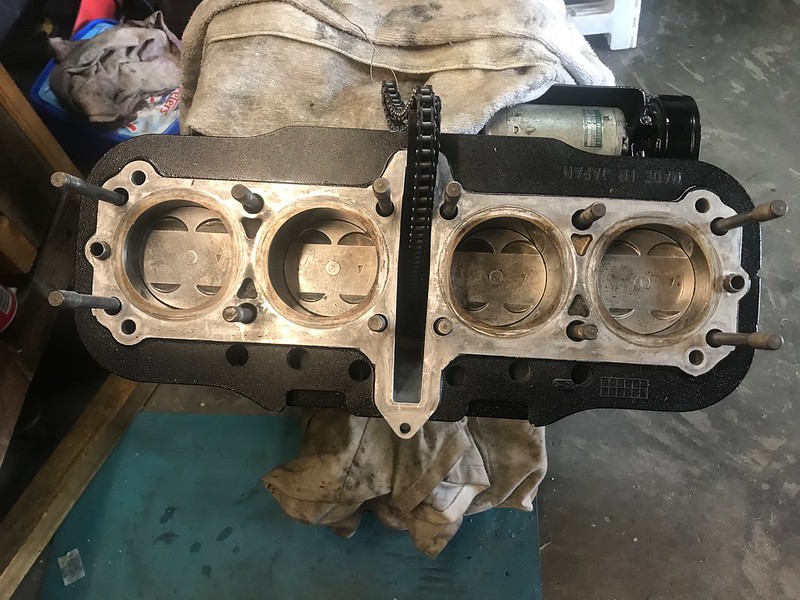
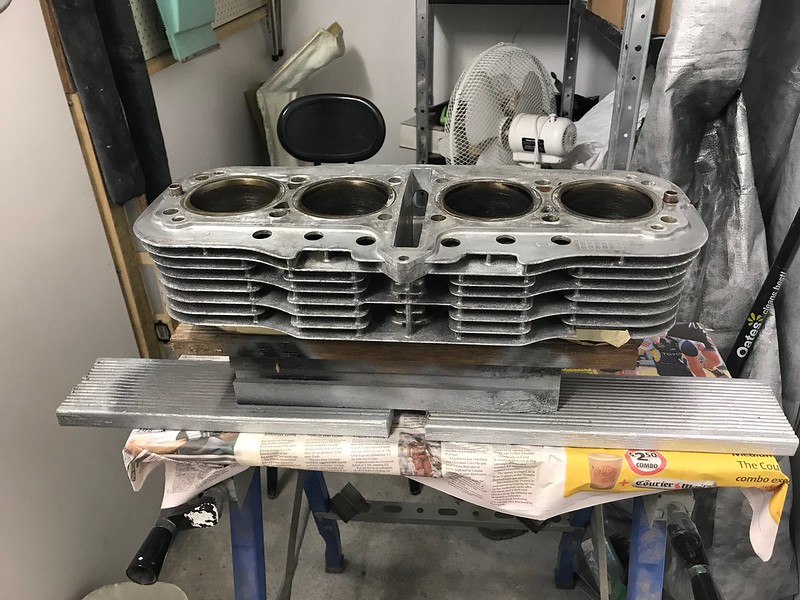
I still have some masking to do for the cylinders yet, and everything will need a good go over with wax and grease remover also.

The weather prediction looks a little more promising for next weekend too.

Untitled by starpoint73, on Flickr

Untitled by starpoint73, on Flickr

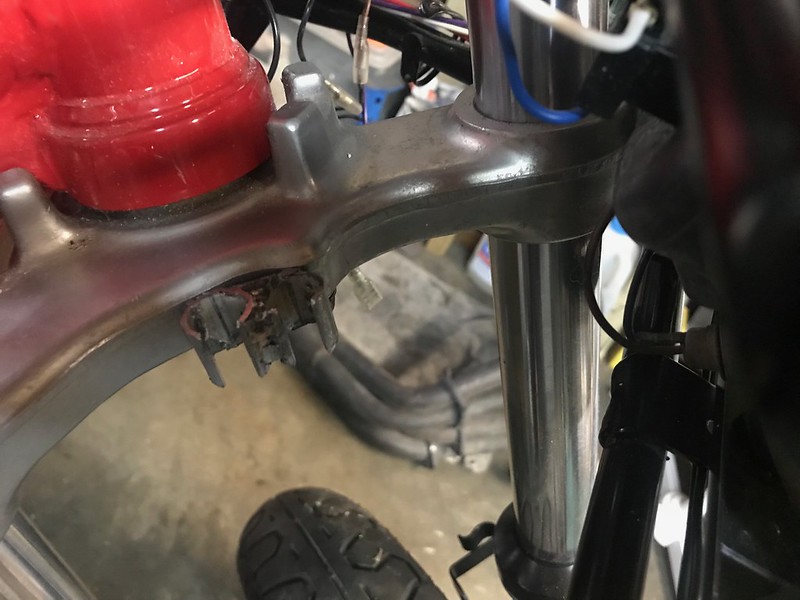
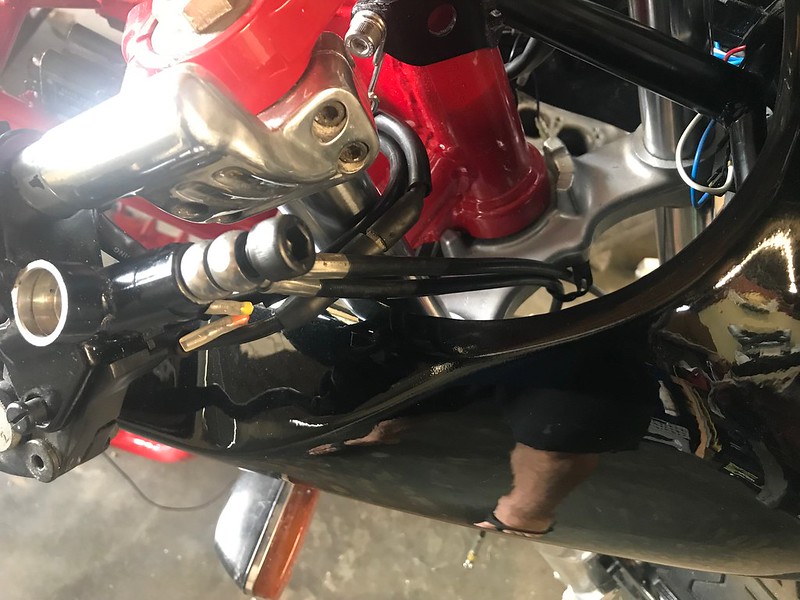
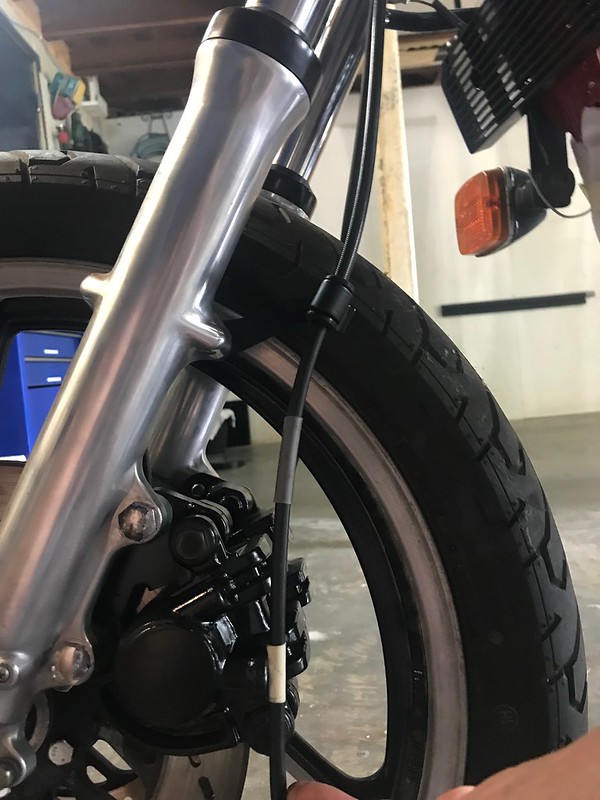
I also mocked up a loaned set of braided brake lines for the front to figure out the banjo angles and lengths of both lines. I needed to make sure all sat well with the location of the GSX-R750 master and front cowl.

Clearance is good by the looks at full lock. Left lock does have the left line nudging the front cowl support bracket but it's just a nudge so no issues there.

Untitled by starpoint73, on Flickr

Untitled by starpoint73, on Flickr

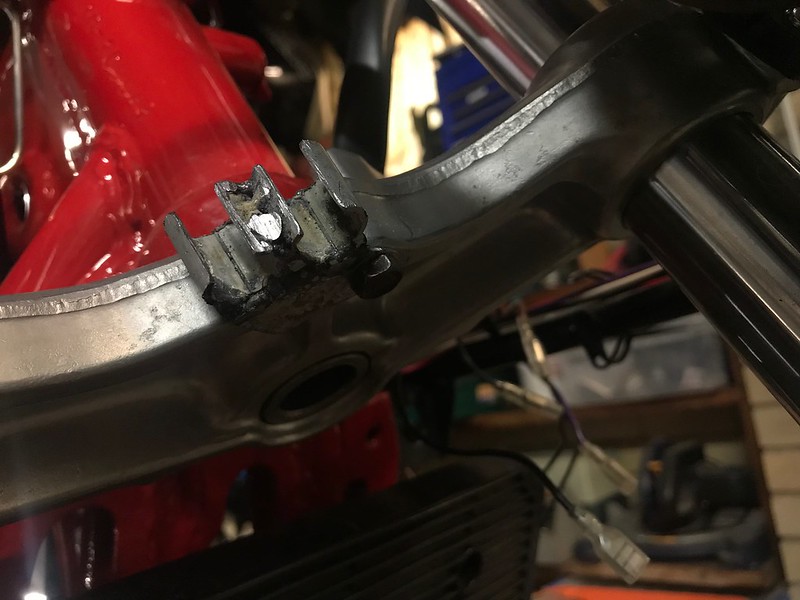
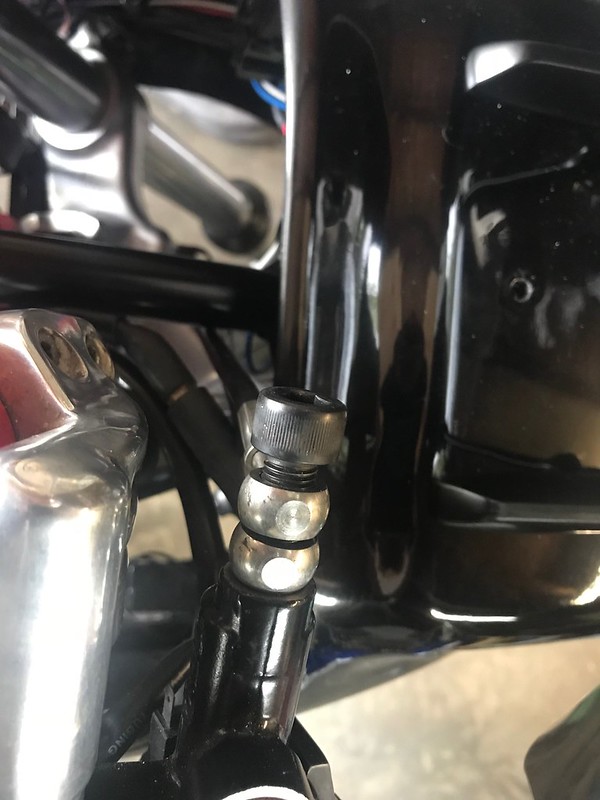
I'll probably try to find a better way to locate the lines against the bottom triple clamp but the cable clamp worked for the mock up.

Untitled by starpoint73, on Flickr

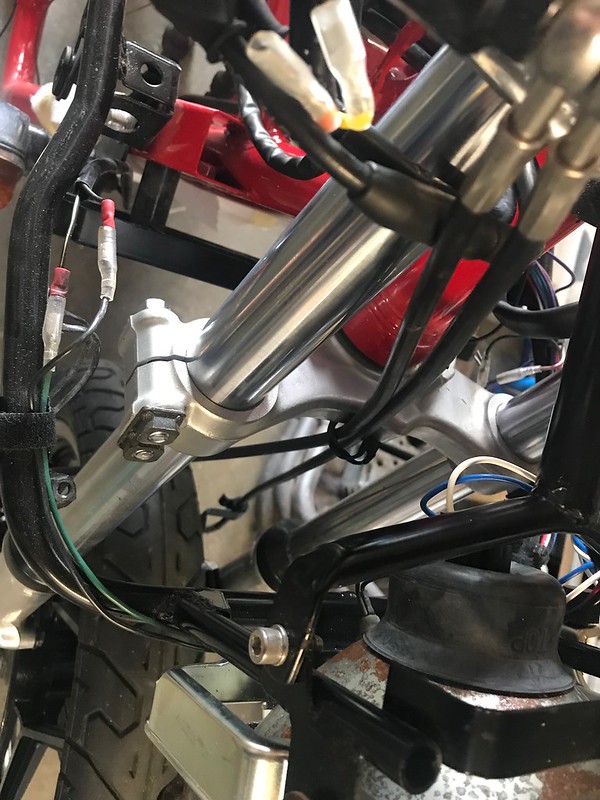
I used masking tape to mark where the end of the banjo bolts will be as that's the measurement the guy at HEL uses to make the lines.

Untitled by starpoint73, on Flickr

Untitled by starpoint73, on Flickr

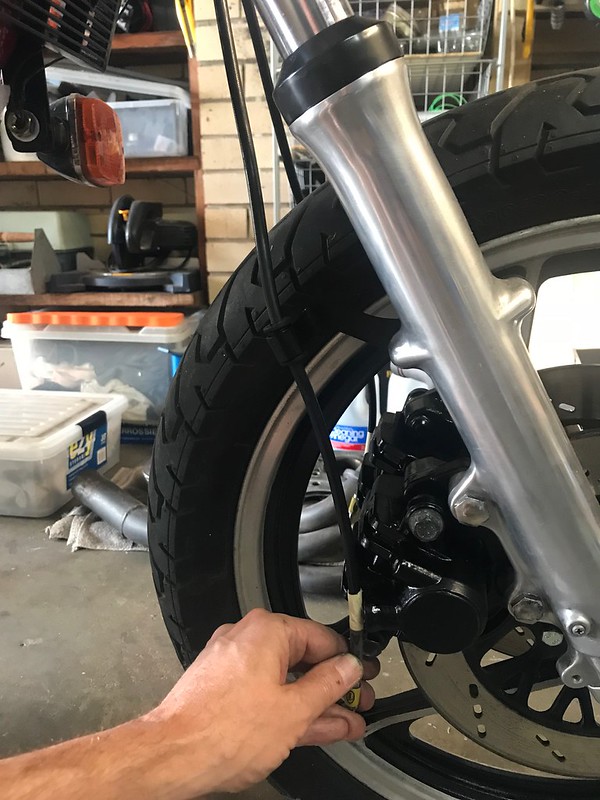
Looks like I know what I need now... 20 degree angle on the master end of the banjo fittings and a 765mm and 775mm line plus the rear line, should be able to grab those next pay.

I'm also going DOT 5 fluid so I can at least get the brakes built soon and get at least a little satisfaction while I play the waiting game to build some more funds back up for the rest.
 
Cheers Larry, will feel good to get it done at last! And yep two weekends in a row of rain and as a result the weekend just gone was very humid. Started to dry out and get nice and sunny today and the forecast for this weekend is good so far, so fingers crossed! I do need to get out there between now and then to finish the masking and give everything a good clean with wax and grease remover too.
 
Finally! Perfect painting weather today, so the cylinders, crankcase covers, and camchain tensioner are at last painted.

Untitled by starpoint73, on Flickr

Untitled by starpoint73, on Flickr

I have a nagging feeling my prep on the cylinders wasn't as good as on the crankcases but I guess we'll see how the paint holds up.

I also made a bracket to secure the brake lines against the lower triple clamp.

I have some steel tube with an inside diameter spot on for the rubber grommets on the loaned brake lines, so I simply cut two lengths of that and welded them to a 1.5mm thick bit of steel bent to shape.

I need to file the openings a bit wider yet for the grommets and lines to squeeze in but should do the trick nicely. It'll get some satin black at some point.

Untitled by starpoint73, on Flickr

Untitled by starpoint73, on Flickr

Might see if I can get the crankcase off the engine mount and up the right way next weekend so I can start some assembly.
 
Toss that factory tensioner. Get a manual tensioner.
Or conversely, I saw somewhere, a modified factory one that functioned as a manual tensioner.
 
I'm not too stressed on it Greg, got plenty of mates with hotted up Kats that still run the stock auto tensioner with no problems.

I've got new seals ready to rebuild it and will give it the proper tension and locktite treatment so it should be good to rock and roll.
 
fwiw, I repainted my engine with the vht and i am SURE my prep was not as good as yours and it is holding up well 3 years in... Only issues I had were with the paint chipping when bolts got tightened up.... Always good to see progress on this project, looking good!!
 
Cheers Greg and that's good to know, some of the other guys locally have had good success with it also so fingers crossed mine holds up as well. I also had a few chips when doing the bottom end bolts but I at least expected that due to the paint being soft at that point.

I did see a tip on another forum to give the parts a once over with a heatgun which won't do the same cure as proper oven heating, but should at least help with tightening bolts etc. I'll give that a shot especially with the case covers to see if that helps them hold up a bit more while doing the bolts up.
 
Hi Pete,
Been quite a while since I've been able to check in - took me several hours of reading to "Katch" up!
You're doing awesome! Your Kat looks amazing!!! What amazing work you are doing - very inspiring.
And, of course, your fellow GS'Rs (and Kat mates) helping with their expert advice.

Keep it up and THANK YOU for sharing!!
 
Cheers Scott! It's felt a bit like I've been getting nowhere lately so it's nice to have made some progress again. Between this forum, the Katana Australia forum, and another UK based one I'm on there's heaps of advice and help around and it's absolutely awesome, makes life so much easier when I'm encountering stuff that's new to me and I'm just not sure on.

As for today, it may not look like much but it was an exciting day for me... the motor is upright on a trolley ready to start top end assembly!

Untitled by starpoint73, on Flickr

I also got some satin black on my brake line bracket for the lower triple clamp.

Untitled by starpoint73, on Flickr

I've figured out all the missing fasteners (I think) to get the case covers on so will have them in hand soon.

I also have a week off from the 19th November which should see me heading over to HEL for some brake lines as well as picking up a few other bits and pieces, so hopefully there'll be some decent progress over the coming weeks.
 
I didn't end up with as much time as I normally get on a Sunday, so not as much progress as I'd hoped.

I did at least get the loaned head somewhat degreased, cleaned up the gasket surfaces, and wire wheeled the carbon build up from the valves.

Untitled by starpoint73, on Flickr

Untitled by starpoint73, on Flickr

I at least got all four sets of rings on the pistons and got the pistons installed.

Untitled by starpoint73, on Flickr

I'll be out tomorrow but hopefully Tuesday morning I'll be able to get the cylinders on.

Got a few other things on the go for my week off so if I can at least get the head on before I go back to work next week I'll be happy. I'd really like to get the motor in the frame but that could be a bit ambitious.
 
That's some good progress, Pete. I may have missed something, but why a loaner head? Are you saying you're going to assemble and then give the head back to someone at some point?
 
Cheers Sam, yeah you must've missed my inspection of the valves etc.

Basically my head is screwed and needs rebuilding. There are a couple of options available, but basically if I do the head now the Kat's not going to be done any time soon. The best option is to get the guy who did my crank straightening to rebuild it which will end up with new valves, guides, springs, and the head decked if it needs it etc. That, however, will set me back ~$AU1200 depending how much work it is.

One of my mates came to the rescue and has loaned me his spare head which he's not planning on using any time soon. When he took it off it was working well, no smoking etc. so I'm just cleaning it up and using it to get on the road while I build up $$ to get my head sorted.

I have good mates :D
 
I got some unexpected time and a win yesterday.

Put some loaned you-beaut DIY piston ring compressors to good use.

Untitled by starpoint73, on Flickr

Got the 30 something year old O rings removed from around the base of the cylinders after realising I hadn't done that yet, and they were like plastic.

New O rings and base gasket installed and cylinders are on.

Untitled by starpoint73, on Flickr

Then a new head gasket went on along with the loaner head and all head nuts torqued up to spec.

Untitled by starpoint73, on Flickr

Camshafts still to go in, then it'll be time to get the motor in the frame.
 
Last edited:
Ha! "Loaner" head that will never go back! Buy that friend of yours lots of beer!
 
Cheers guys! Yep Ed, I owe him alright! Definitely still need to rebuild my own head though... I actually owe him a fibreglass single seat setup similar to mine which I hope to do soon, least I can do to pay back his generosity. I still have all the materials from doing mine so it's just time and effort.

I did hit a bit of a set back tonight though and something just ain't right getting the camshafts in.

Lined up the timing marks to do the cam timing, got the exhaust cam in, and immediately I could see that the inlet cam isn't going to have enough chain to sit in the journals, and I was right.

Untitled by starpoint73, on Flickr

I can't see that the chain is bunched up in the bottom and it certainly feels like it rotates properly when I turn the crank.

I'm wondering if there's something screwy with the rear cam chain guide?

Hard to get any pic's down the tunnel but I tried..

Untitled by starpoint73, on Flickr

Untitled by starpoint73, on Flickr

I went back through my Mick Hone orders and the cam chain I ordered was the right one (120 links - 12760-45040), and I always check off the part numbers ordered against what I received, so I know I ordered and received the right part number.

Is there something I'm missing here? Can I have the rear cam chain guide out of whack somehow so it's tensioning the chain or something like that?

At this point in time I see no choice but to rip the head off again.
 
Sometimes the cam chain bunches up around the crank in a way you can't see when looking down the tunnel. Salty_Monk (Dan) and I had this issue recently when assembling his 1100G engine. You might want to try holding up the cam chain while turning over the engine a few times with a wrench to make sure the chain is free on the bottom.
 
Cheers Ed, will give that a shot. I'm thinking surely it has to be something simple? I'm also thinking having the front chain guide in may be preventing unbunching as well so I'll see if I can get that out to help.
 
Back
Top