-
Required reading for all forum users!!!
Welcome!
Register to access the full functionality of the GSResources forum. Until you register and activate your account you will not have full forum access, nor will you be able to post or reply to messages.A note to new registrants...
All new forum registrations must be activated via email before you have full access to the forum.A Special Note about Email accounts!
DO NOT SIGN UP USING hotmail, outlook, gmx, sbcglobal, att, bellsouth or email.com. They delete our forum signup emails.A note to old forum members...
I receive numerous requests from people who can no longer log in because their accounts were deleted. As mentioned in the forum FAQ, user accounts are deleted if you haven't logged in for the past 6 months. If you can't log in, then create a new forum account. If you don't get an error message, then check your email account for an activation message. If you get a message stating that the email address is already in use, then your account still exists so follow the instructions in the forum FAQ for resetting your password.Have you forgotten your password or have a new email address? Then read the forum FAQ for details on how to reset it.
Any email requests for "can't log in anymore" problems or "lost my password" problems will be deleted. Read the forum FAQ and follow the instructions there - that's what we have one for...
-
Returning Visitors
If you are a returning visitor who never received your confirmation email, then odds are your email provider is blockinig emails from our server. The only thing that can be done to get around this is you will have to try creating another forum account using an email address from another domain.
If you are a returning visitor to the forum and can't log in using your old forum name and password but used to be able to then chances are your account is deleted. Purges of the databases are done regularly. You will have to create a new forum account and you should be all set.
You should upgrade or use an alternative browser.
Guest
Guest

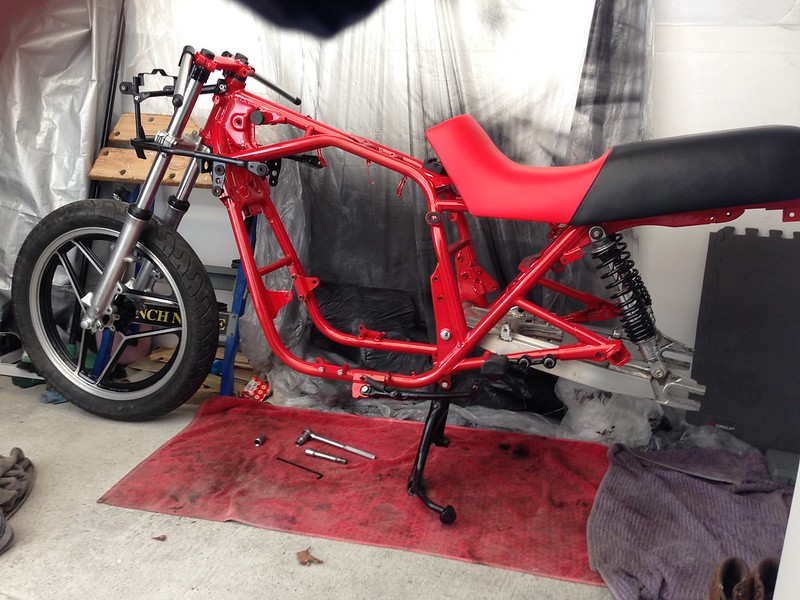
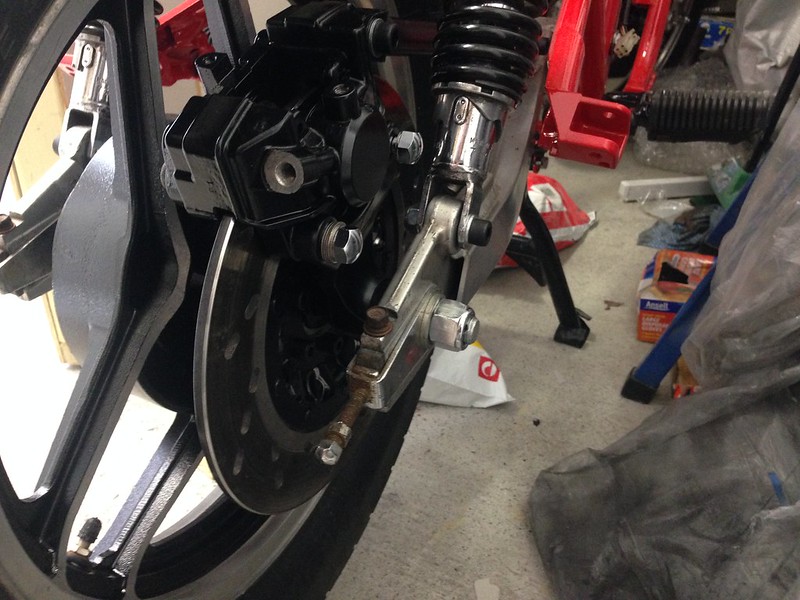
I got the rear caliper bracket and the wheel spacer re-sprayed yesterday, waiting for them to dry before I can put the back wheel on.
I got the new steering head bearing races in and oil in the forks as well.
Dug out all the rubbery bits and put them on.
Then started some assembly. Nothing's torqued up yet, just finger tight or nipped up for the moment. I've just loosely put most of the engine mounts on to see how they look.
 Untitled by starpoint73, on Flickr
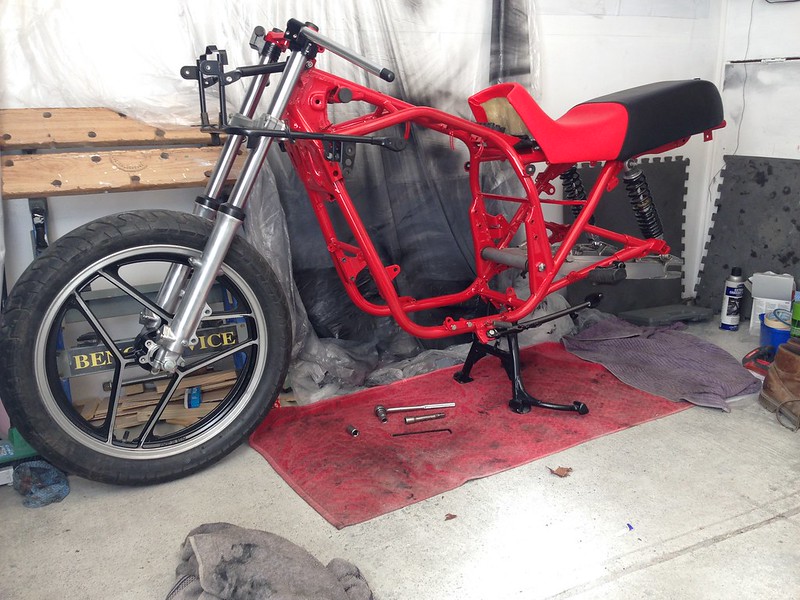 Untitled by starpoint73, on Flickr
I got the wheels and spacers done yesterday.
Sat them in the sun for a few minutes to get the edge of the cold off. The masking isn't real flash so I expect to have some overspray to clean off but I can cope with that.
Untitled by starpoint73, on Flickr
Untitled by starpoint73, on Flickr
VHT primer, satin black, and clear coat done.
I hope it works ok as apparently I don't understand the concept of a thin coat. You're supposed to do 2 thin coats then a medium wet coat, but I reckon my thin coats are more like their wet coat as I didn't get 3 coats on everything and ran out of paint. Worst case is the fun of doing them again I guess... although I suspect it will be fine.
I did however drop the wheel spacer at the top right while turning it around during the clear coat, so I will have to figure something out with that. I have to fix a run on the rear caliper bracket so I'll probably do it with that.
Untitled by starpoint73, on Flickr
Untitled by starpoint73, on Flickr
Pete looking good, love the PC colour choice.
Just a hint on painting with spray cans, warm up the can and the part if the temps are below 20 celsius, and try to keep the can upright and about 12" or so from the part, then you can control the thickness of the coat better, too close too much paint usually.
Did you use satin clear as well? I have been happy with just the finish coat and find the clear coat makes it look too thick and glossy so I no longer go that route.
Keep up the great work.
David.
Guest
Guest
David, for the wheels I did the 3 stage recommended VHT treatment... engine primer, satin black, then clear coat. That's pretty much the method I used for the spraying but I find I still tend to put too much on each coat, something that I've been trying to improve but struggle with.
Guest
Guest
 Untitled by starpoint73, on Flickr
thebrandonbeezy
Forum Mentor
Guest
Guest
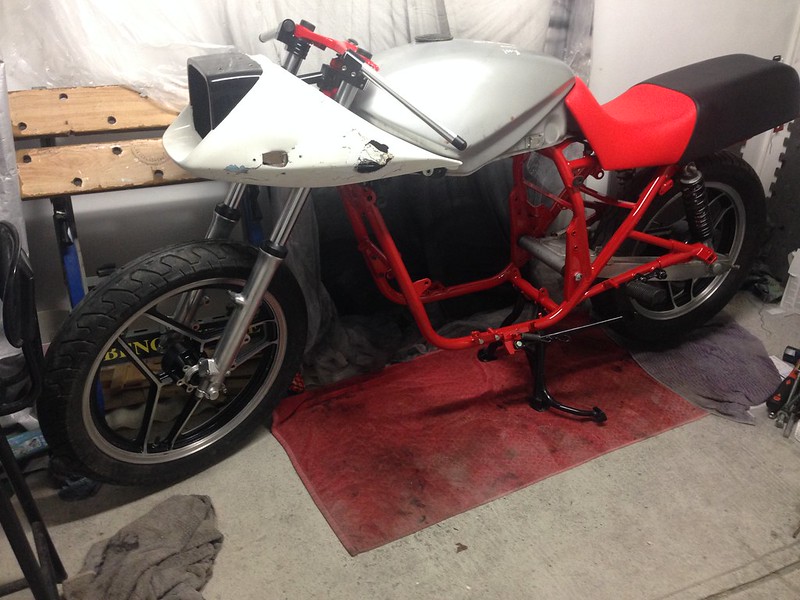
The foam ends with the red Larry, the stitching is pretty much the edge of the foam. There's a maximum length the foam part of the seat can be to be able to legally register it as a single seater which I had to adhere to, and fortunately it's about the length of the rider's seat. It did end up lining up well which I'm really happy with too! I know I'm not exactly riding it but that seat feels real comfy just sitting on it in the shed...
I'm getting real excited about the progress now and I'm starting to look at making the harness and finishing the electrics tray, inner guard, etc. so more things can bolt on and stay on.
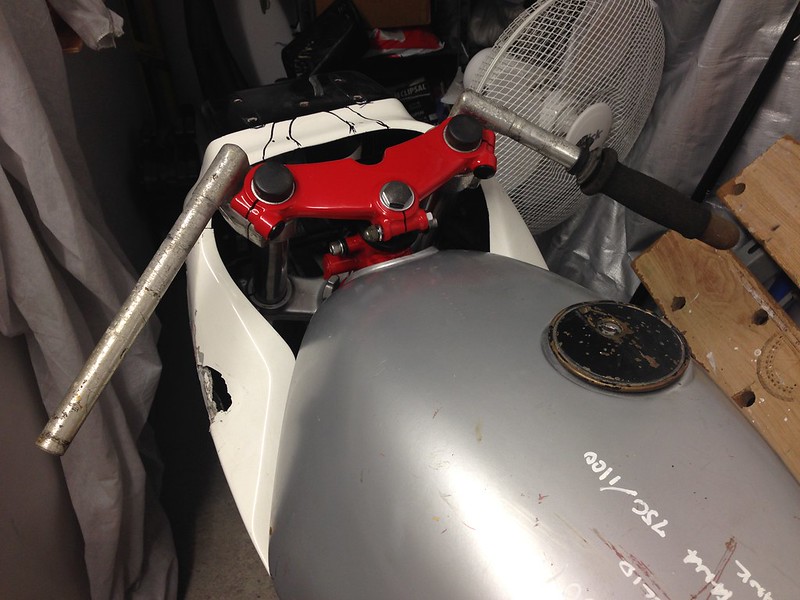
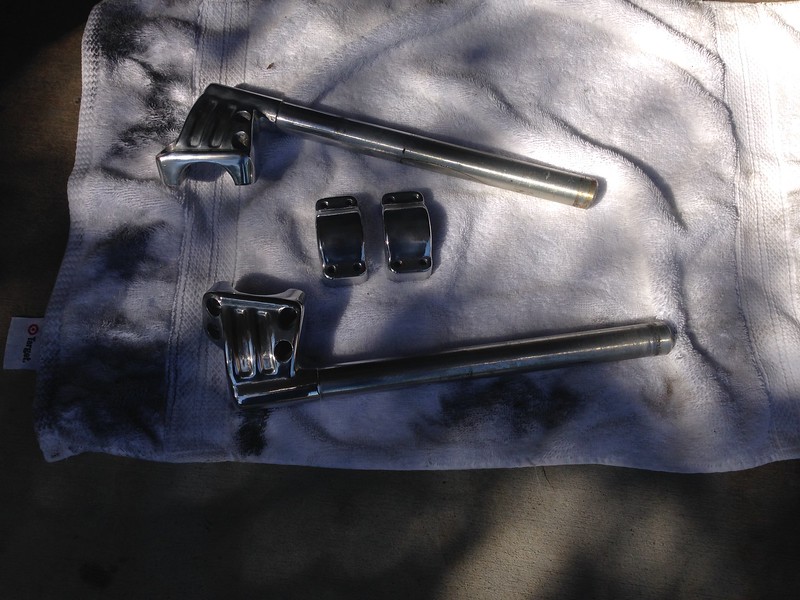
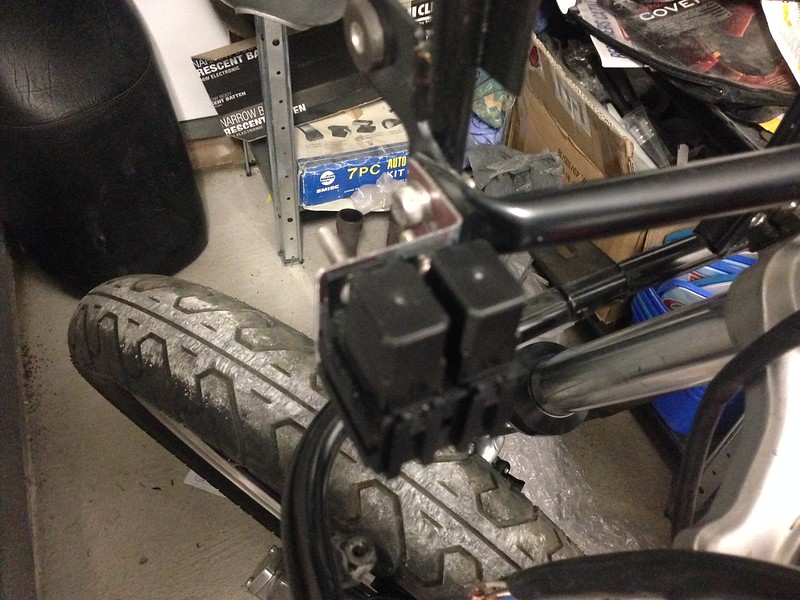
I also received a PM on another forum yesterday from a fella who has had first hand experience with the cheap Chinese clipons and it's not good. He had a set that no matter how much he tightened up they would always start moving around, and another fella had one break.
So, as luck would have it, there was a genuine set on Gumtree (similar to Craigslist) which are now being sent to me. That'll make me much happier.
Guest
Guest
The price of genuine bar end weights made my eyes bulge... has anyone found a good after market set they've found and are happy with? I had a brief look but most seem designed for clamping inside 7/8" or 1" bars rather than just being screwed in the end like these. I'll get some new bolts for the clamps too, reckon these are safe for stainless or better off with high tensile?
 Untitled by starpoint73, on Flickr
Guest
Guest
")
Guest
Guest
 Untitled by starpoint73, on Flickr
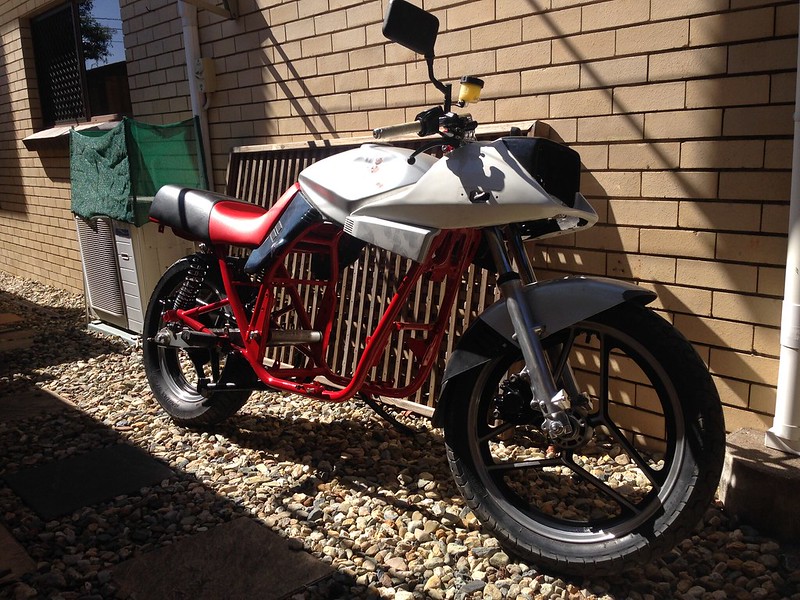
Then instead of doing what I'd planned to do which was cleaning up the battery/electrics tray and getting it in, I decided to give myself some inspiration/motivation by putting a bunch of stuff on to see how complete it's getting.
I also managed to get it in some proper sun as well, definitely happy with that colour!
 Untitled by starpoint73, on Flickr
 Untitled by starpoint73, on Flickr
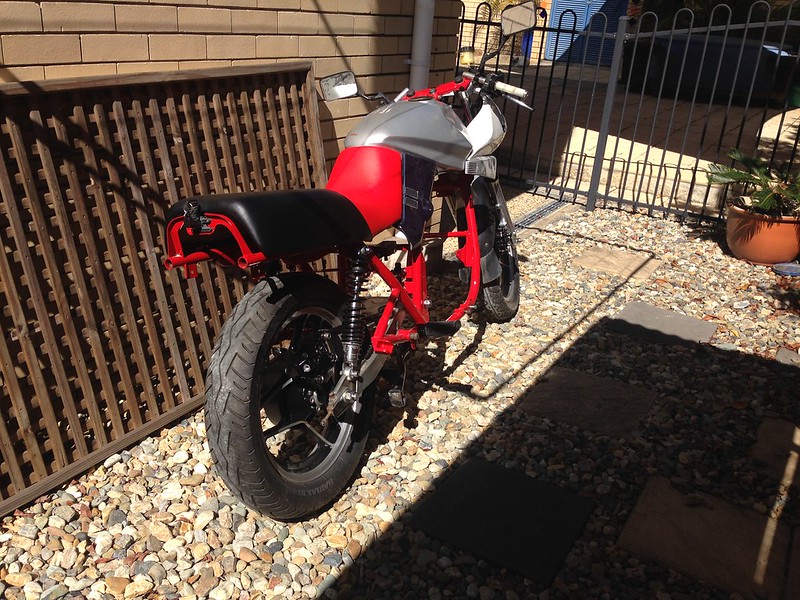 Untitled by starpoint73, on Flickr
Hopefully I can get some time at night this week to get back to the battery/electrics tray and start running the harness.
Guest
Guest
 Mock Up 1 by starpoint73, on Flickr
Guest
Guest
Guest
Guest
 Untitled by starpoint73, on Flickr
I've been doing a bit of standing around trying to find a starting point for the harness.
Spent 5 minutes making a bracket for the headlight relays.
 Untitled by starpoint73, on Flickr
I cleaned up the dodgy aluminium welding somewhat on the battery/electrics tray and it's in so I can work out where all the bits need to go. I'll mock up a Shorai battery to stick in there also.
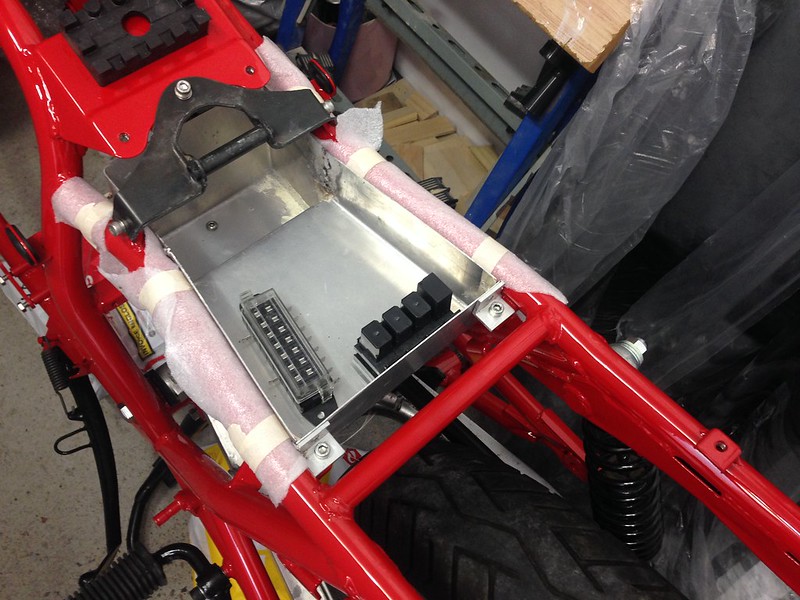 Untitled by starpoint73, on Flickr