-
Required reading for all forum users!!!
Welcome!
Register to access the full functionality of the GSResources forum. Until you register and activate your account you will not have full forum access, nor will you be able to post or reply to messages.A note to new registrants...
All new forum registrations must be activated via email before you have full access to the forum.A Special Note about Email accounts!
DO NOT SIGN UP USING hotmail, outlook, gmx, sbcglobal, att, bellsouth or email.com. They delete our forum signup emails.A note to old forum members...
I receive numerous requests from people who can no longer log in because their accounts were deleted. As mentioned in the forum FAQ, user accounts are deleted if you haven't logged in for the past 6 months. If you can't log in, then create a new forum account. If you don't get an error message, then check your email account for an activation message. If you get a message stating that the email address is already in use, then your account still exists so follow the instructions in the forum FAQ for resetting your password.Have you forgotten your password or have a new email address? Then read the forum FAQ for details on how to reset it.
Any email requests for "can't log in anymore" problems or "lost my password" problems will be deleted. Read the forum FAQ and follow the instructions there - that's what we have one for...
-
Returning Visitors
If you are a returning visitor who never received your confirmation email, then odds are your email provider is blockinig emails from our server. The only thing that can be done to get around this is you will have to try creating another forum account using an email address from another domain.
If you are a returning visitor to the forum and can't log in using your old forum name and password but used to be able to then chances are your account is deleted. Purges of the databases are done regularly. You will have to create a new forum account and you should be all set.
You should upgrade or use an alternative browser.
Guest
Guest

Guest
Guest
Everything is prep'd ready and has had a once over with wax and grease remover, I do need to give the number plate mount a quick once over with rust converter though.
 Untitled by starpoint73, on Flickr
Incidentally I'm really happy with how the shed turned out. Takes about 15 to 20 minutes to expand it and get the tarps and plastic up to seal it. The sealing's been great with the aerosol paint too, have to wait and see if it's effective with the compressor and two pack though.
Guest
Guest
Two coats of self etching primer, two coats of primer surfacer done.
 Untitled by starpoint73, on Flickr
Got another break yesterday avo and got four coats of satin black done.
 Untitled by starpoint73, on Flickr
Guest
Guest
I ended up with a major disaster yesterday, I think I screwed the tank good and proper.
It was suggested that before I give it to the panel beater, I give some heat and compressed air a shot to pop at least some of the dent out. It made sense to me and I still think it was good advice, I just should've asked more questions. I believe the execution was poor on my part.
Anyway, in all of about 10 seconds the dent started to pop and I thought yay, then almost instantly after that the left side of the tank (the good side) popped as well, distorting it.
I can only assume not enough heat (although the paint was blistering) and too much pressure.
So now I don't know if I have a completely buggered tank or an even more expensive repair on my hands but I'll have to find out soon so I know what to do.
 Untitled by starpoint73, on Flickr
nvr2old
Forum Sage
Guest
Guest
Larry, the right side in that pic is ok, the dent is on the outside of that which you can't see. The issue is the left side in that pic. The crease in the tunnel I believe is the biggest issue as well as the flat-ish spot at the front just above the frame mount. I think/hope if that crease and flat spot can be returned to normal, that side will mostly return to shape. You're the second person who knows what they're talking about to tell me it can be fixed, so there is hope yet
") In future I will stick to my original plan... leave dent repair like this to the experts.
In future I will stick to my original plan... leave dent repair like this to the experts.Guest
Guest
Now I need some time when it's not raining to get the Kat back in the shed and start mounting them up.
I also need to get the front cowl back off so I can start the repair work.
 Untitled by starpoint73, on Flickr
Guest
Guest
Attached the storage box to the inner tray and made the lid for it out of some acrylic perspex I had here.
It's a friction fit and seems to sit ok, should be firm enough to stay on with bumps and vibrations, see how it goes.
 Untitled by starpoint73, on Flickr
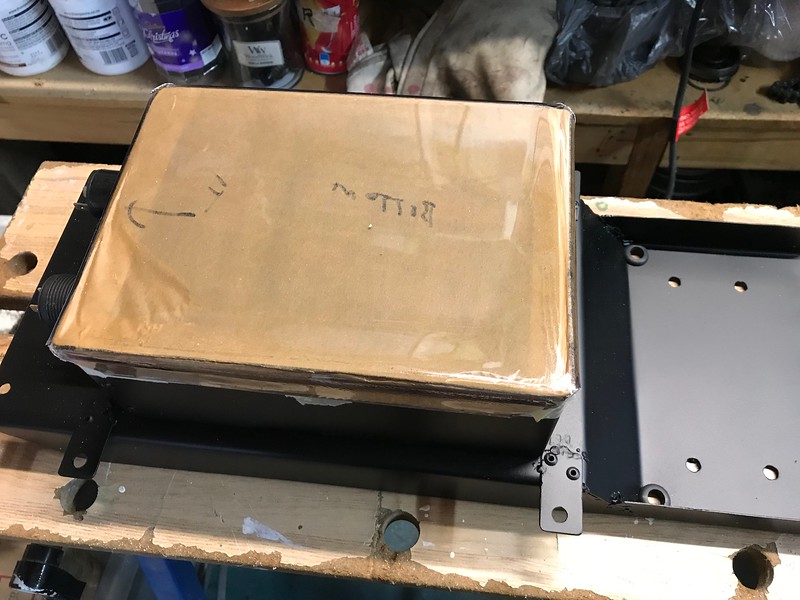 Untitled by starpoint73, on Flickr
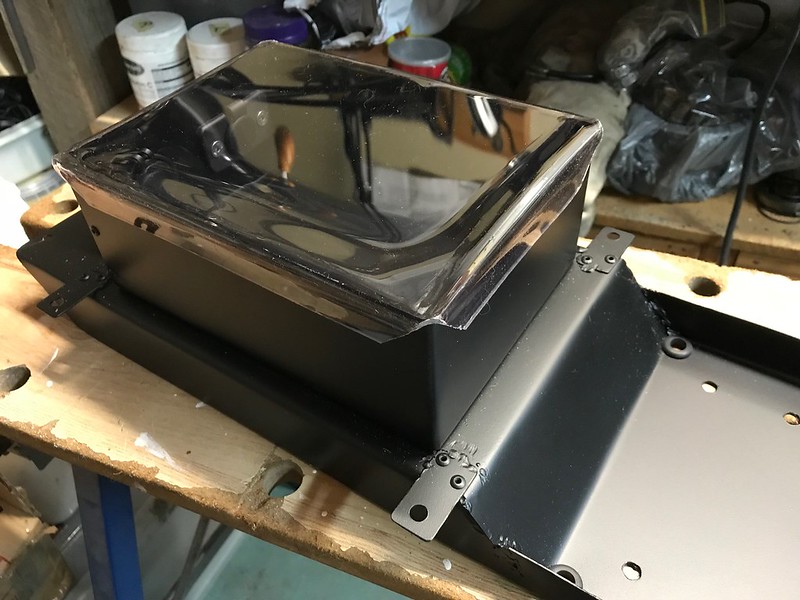 Untitled by starpoint73, on Flickr
While I had the heat gun out I moulded some U channel to shape for the electrics tray. Just need to stick it in place today.
 Untitled by starpoint73, on Flickr
Guest
Guest
I completely forgot to mask off where the starter relay will sit so I sanded that back to ensure it gets grounded well.
 Untitled by starpoint73, on Flickr
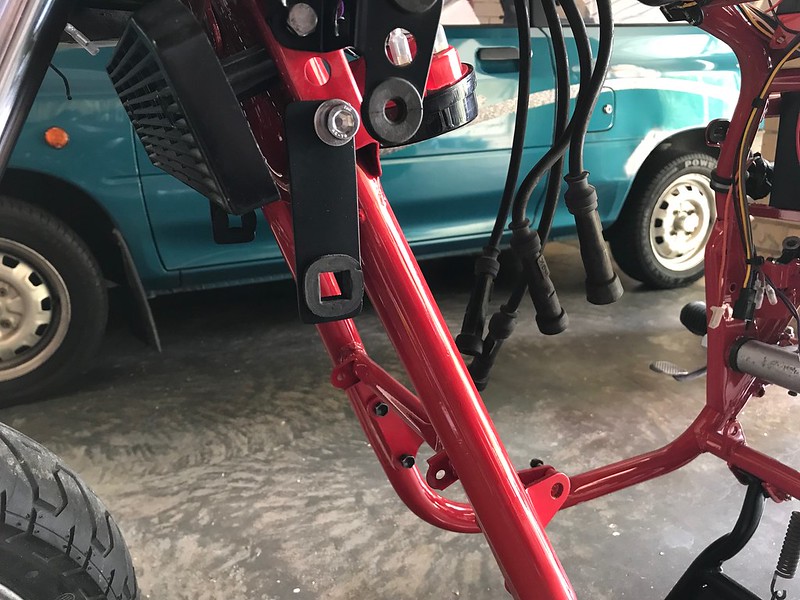
Indicator brackets on.
 Untitled by starpoint73, on Flickr
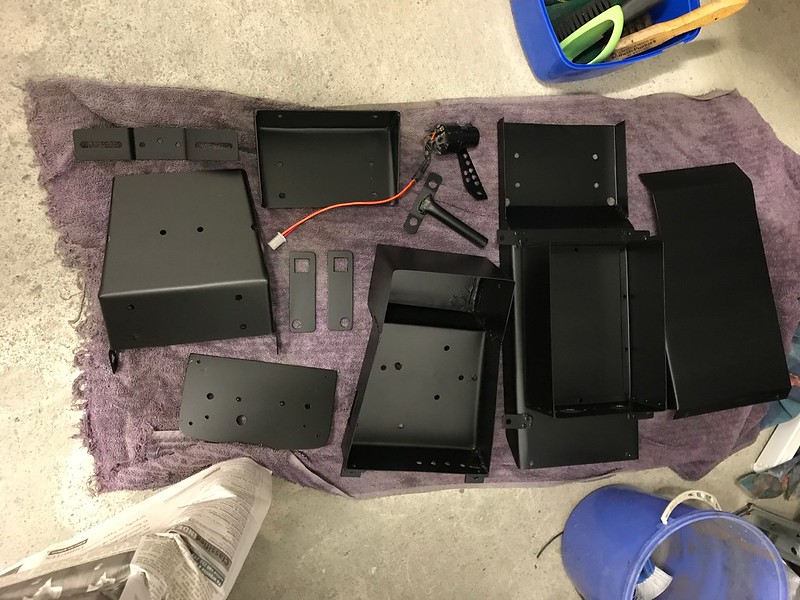
All the trays and guards on.
 Untitled by starpoint73, on Flickr
And the ignition switch.
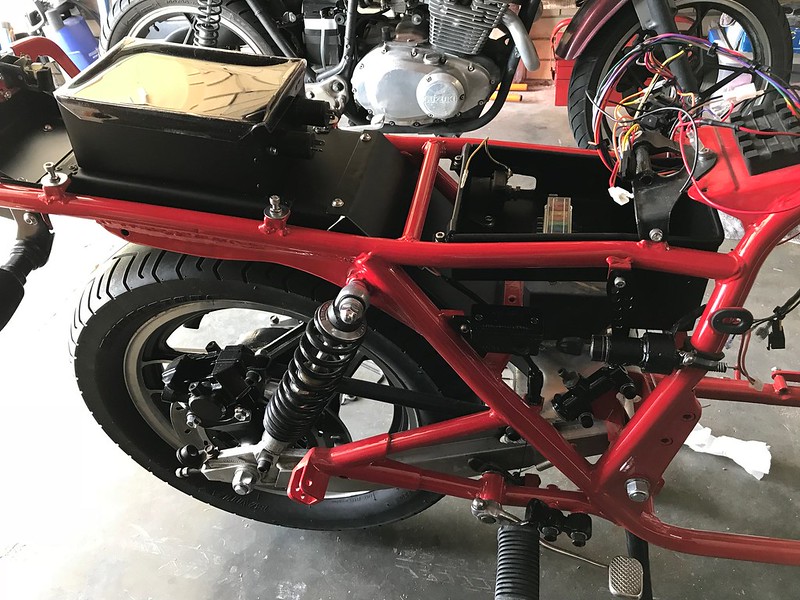 Untitled by starpoint73, on Flickr
I just love that colour...
 Untitled by starpoint73, on Flickr
Guest
Guest
blackhammer
Forum Mentor
Thought about out getting some large heat shrink for that loom?
Guest
Guest
I'm planning on using some self amalgamating tape for the loom at this stage. That's the stuff that will stick to itself as you stretch/wrap it around, but it doesn't stick to the wires themselves, so if for any reason you need to take it off again you don't have a sticky mess to deal with. It's not particularly cheap but my understanding is two rolls should more than do the job and it's worth the extra over the cheaper alternatives.
http://au.rs-online.com/web/p/self-amalgamating-tapes/0494449/
Guest
Guest
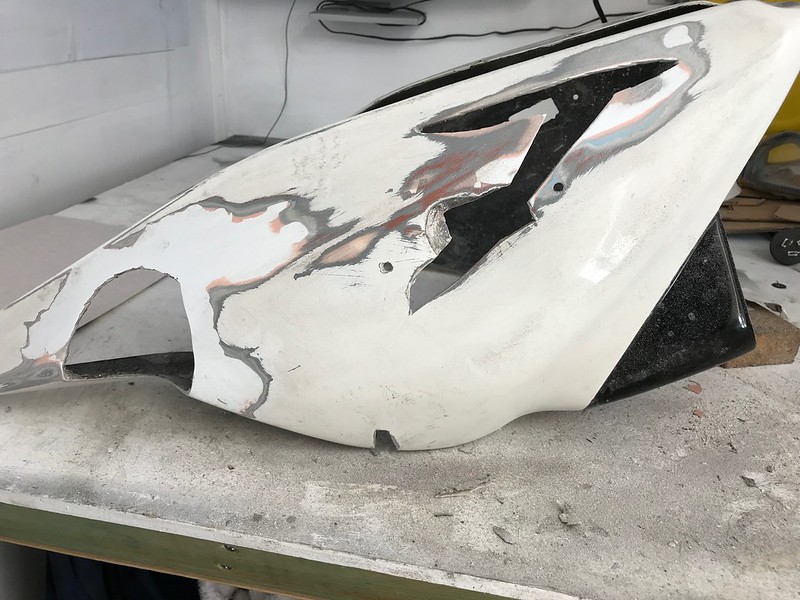
Popped a cutting wheel on the dremel and cut out the broken/cracked parts, ended up a little more gone than I thought but still definitely repairable.
 Untitled by starpoint73, on Flickr
Started sanding back the paint and cracked gel coat, definitely need some more aggresive grit paper though, I'll be at this the rest of the year with the 80 grit I have at the moment.
 Untitled by starpoint73, on Flickr
To replicate the correct shape for the repairs, I'll use some scrap 1mm aluminium I have and get it bent/moulded to shape using the loaner front cowl to use as moulds.
Also, hopefully tonight I'll be taking the tank up to another fella for a better look-see at my abortion of an attempt to pop the dent out.
Guest
Guest
I've got one of those attachments here somewhere but this will be night time work so power tools are out, but that's ok I need the exercise
Also, I got a better suggestion over on the Kat forum for shaping the repairs... make a fibreglass mould from the loaner cowl rather than using aluminium, makes much better sense!
nvr2old
Forum Sage
I've also used modeling clay from behind to bridge gaps like that and easily shaped it to the correct size and shape, too, Pete. The fiberglass mat sets into it very nicely and is the correct thickness when it dries. It leaves a nice smooth back when you pull the clay off, too. Inexpensive, and you just toss it when done.