-
Required reading for all forum users!!!
Welcome!
Register to access the full functionality of the GSResources forum. Until you register and activate your account you will not have full forum access, nor will you be able to post or reply to messages.A note to new registrants...
All new forum registrations must be activated via email before you have full access to the forum.A Special Note about Email accounts!
DO NOT SIGN UP USING hotmail, outlook, gmx, sbcglobal, att, bellsouth or email.com. They delete our forum signup emails.A note to old forum members...
I receive numerous requests from people who can no longer log in because their accounts were deleted. As mentioned in the forum FAQ, user accounts are deleted if you haven't logged in for the past 6 months. If you can't log in, then create a new forum account. If you don't get an error message, then check your email account for an activation message. If you get a message stating that the email address is already in use, then your account still exists so follow the instructions in the forum FAQ for resetting your password.Have you forgotten your password or have a new email address? Then read the forum FAQ for details on how to reset it.
Any email requests for "can't log in anymore" problems or "lost my password" problems will be deleted. Read the forum FAQ and follow the instructions there - that's what we have one for...
-
Returning Visitors
If you are a returning visitor who never received your confirmation email, then odds are your email provider is blockinig emails from our server. The only thing that can be done to get around this is you will have to try creating another forum account using an email address from another domain.
If you are a returning visitor to the forum and can't log in using your old forum name and password but used to be able to then chances are your account is deleted. Purges of the databases are done regularly. You will have to create a new forum account and you should be all set.
You should upgrade or use an alternative browser.
Guest
Guest
Nice to have you along for the ride Charlie

I hope to get back into the sanding today but will likely finish it up tomorrow as it's supposed to be a bit wet. Wednesday should be a good day for the next lot of high build to get laid down.
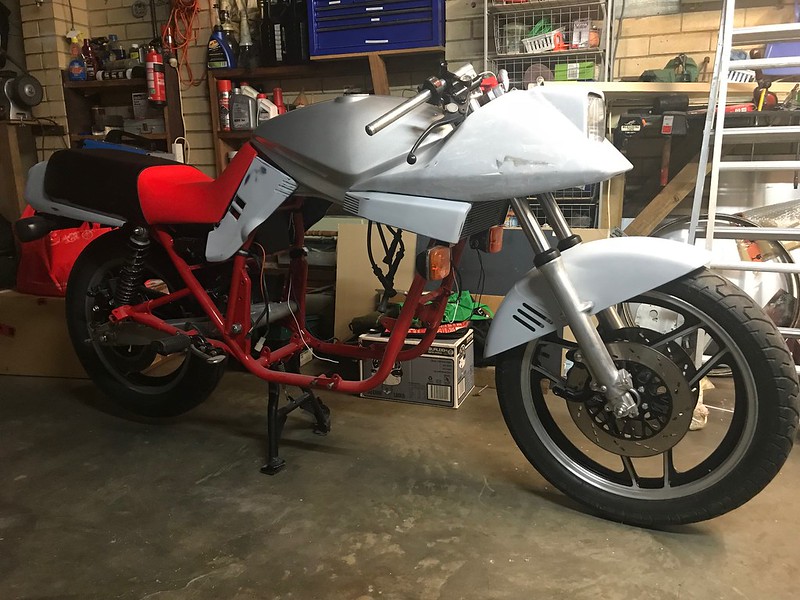
Yesterday was occupied getting the Kat its new home in the garage, no more sitting outside under a cover. The old Festiva is getting put out to pasture later this week so there's going to be a lot more room in the garage later today. Excuse the mess, still a lot to sort out, but it's exciting having both bikes in side by side
 Untitled by starpoint73, on Flickr
Guest
Guest
Definitely need more high build primer.
There are a couple of spots on the tail piece that may need something more substantial like some blade putty, and the spot I had to plastic weld on the rear of the front mudguard will likely need that as well. They're a touch more than just a low spot.
Aside from those spots, looking good!
 Untitled by starpoint73, on Flickr
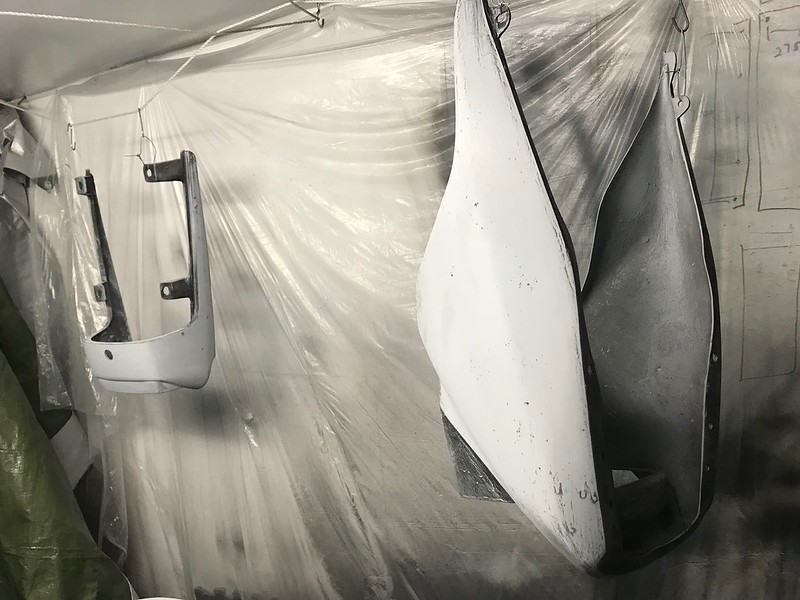 Untitled by starpoint73, on Flickr
nvr2old
Forum Sage
") From what I can see in your pics, your guide coat is doing exactly what it should be doing. Don't be afraid to sand it with the 180 till you hit plastic filler again. Sometimes that's necessary to get it down as far as it needs to go, plus it keeps the build-up to a minimum. If you go that far and there are still a few pinholes or what not, maybe use a bit more filler. Your second round of primer will do wonders. Your parts are coming along very nicely. You'll be really happy with the results. I can already tell.
From what I can see in your pics, your guide coat is doing exactly what it should be doing. Don't be afraid to sand it with the 180 till you hit plastic filler again. Sometimes that's necessary to get it down as far as it needs to go, plus it keeps the build-up to a minimum. If you go that far and there are still a few pinholes or what not, maybe use a bit more filler. Your second round of primer will do wonders. Your parts are coming along very nicely. You'll be really happy with the results. I can already tell.Guest
Guest
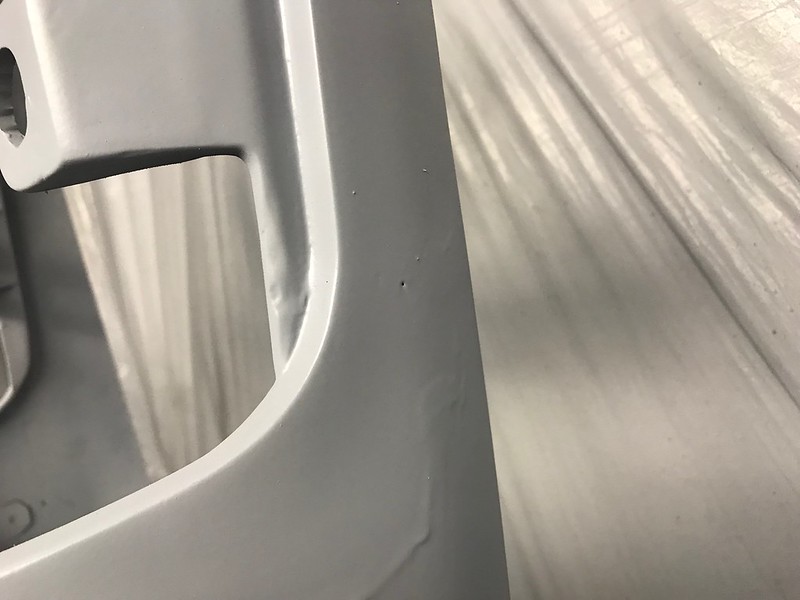
All sanded ready to go for the next lot of high build primer. I gave them a real good wash down with the hose but tomorrow I'll give them a go over with high pressure air then wax and grease remover.
I had to go through to the fibreglass and plastic in places but it's all nice and smooth, but definitely needs another go round.
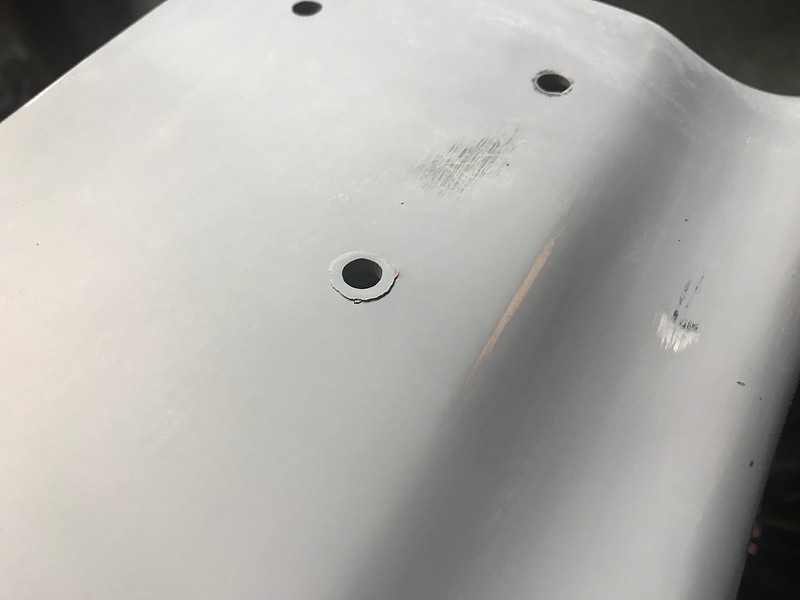
I did find some big pits and divets I'd managed to miss on all three pieces, so I did add a little body filler in a few places to fix those up. You can see one spot on the mudguard there.
 Untitled by starpoint73, on Flickr
The side covers are pretty much ready for primer so if tomorrow works out I'll try to prime those as well. I should've finished sanding them today but I forgot all about them.
Fingers crossed the weather's good for it tomorrow, today's "shower or two" turned into a storm with torrential rain.
nvr2old
Forum Sage
Guest
Guest
I'm still taking a bit of a shortcut by not bothering about what the inside of the parts look like, or under the front mudguard (although I did give them a clean at least), but the time spent making the parts right as a base for the paint is time well spent.
The painting really is the easy bit as long as you know how to set the gun up right (which I learnt from the very helpful fellas on here last time 'round).
The prep work is really where it's at, and it really is worth putting the extra time and effort into it, the paint really won't mask poor prep work.
The same goes for aerosol jobs too, not just 2K applications. I've learnt that the hard way also
And cheers Larry! I'm keen to make this a good job for sure.
Humidity right now is a little higher than it should be but forecast to drop, so fingers crossed by the time I get the side covers prep'd and everything cleaned down it'll be low enough to get that second lot of primer done.
nvr2old
Forum Sage
I'm still taking a bit of a shortcut by not bothering about what the inside of the parts look like, or under the front mudguard (although I did give them a clean at least), but the time spent making the parts right as a base for the paint is time well spent.
Aww c'mon, Pete. It only takes..another..hour or so to spray the inside of the fairing, back of side covers and under the fender with satin black.. You'll be glad you did. It's those little touches that take em to the next level.
Guest
Guest
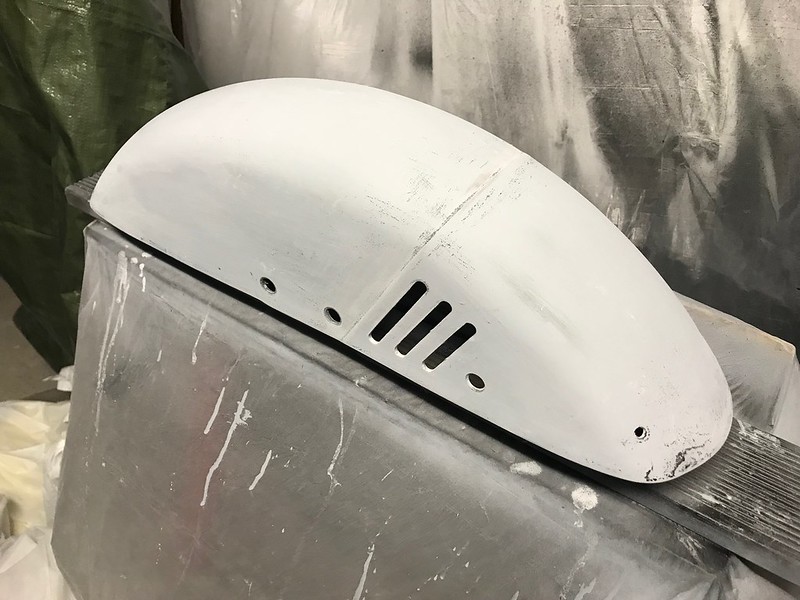
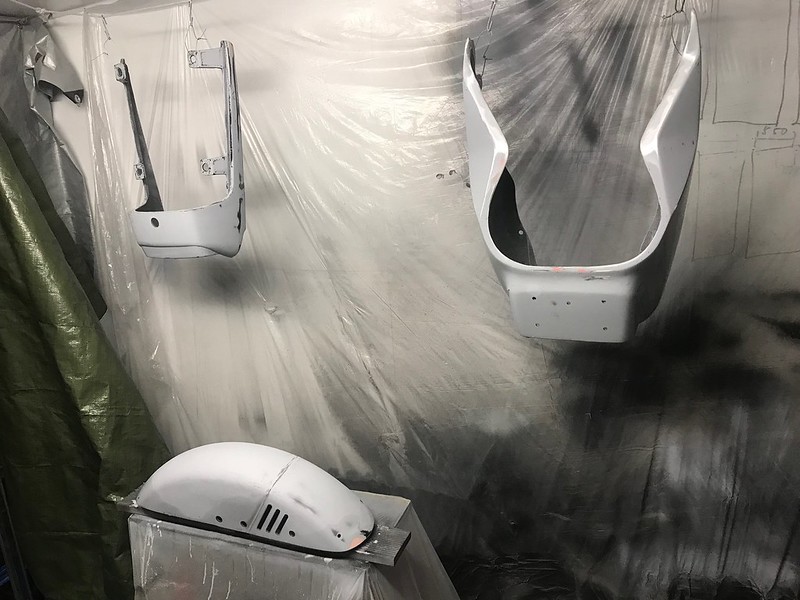
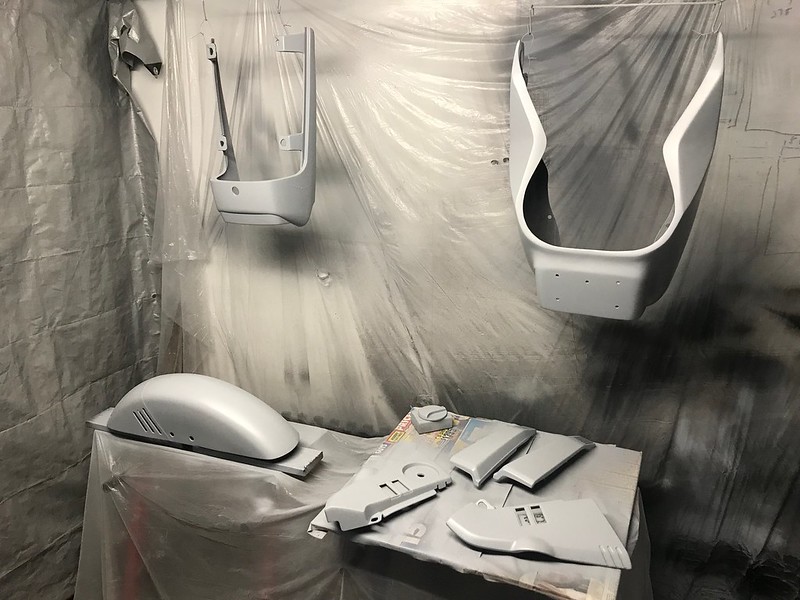
I got the second round of high build primer done today including the side covers and choke lever.
I definitely noticed some little pits and things though, so it all definitely needs another good sanding. I noticed some bits show up on the side covers so I'm glad they got the high build as well.
 Untitled by starpoint73, on Flickr
I also made a decent run on the tail piece just below this nice big divet I found... not sure what the deal is with that! Might have to brush a little primer on it or something then rub it back.
 Untitled by starpoint73, on Flickr
It's all had a guide coat applied as well.
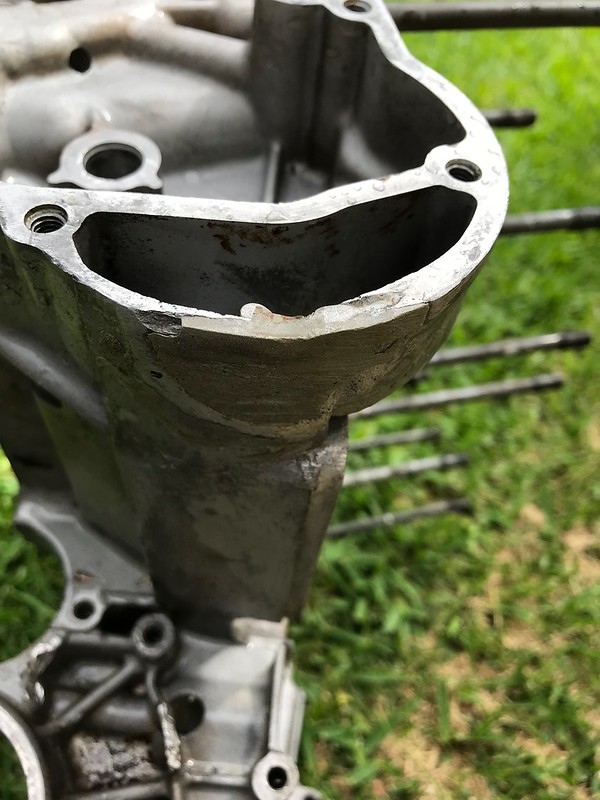
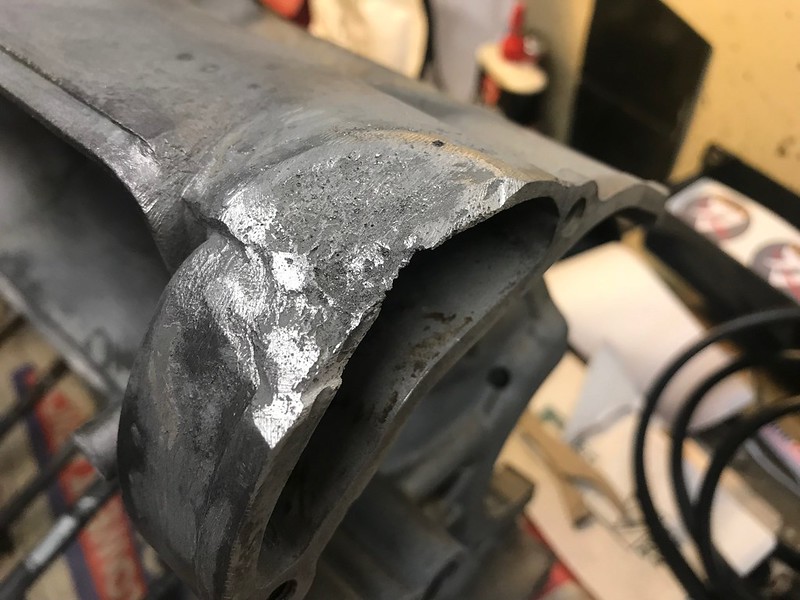
While moving the crankcases during the garage clean up I got reminded of an issue I need to fix in the stator area of the top case. It looked like a bit of a dodgy repair to me.
 Untitled by starpoint73, on Flickr
So tonight I broke out the files and got stuck in.
I have no idea what was used but it's way too brittle and flaky to be JB Weld and it just came off real easy without too much effort with the files. The gasket surface part of the repair was extremely uneven and there's no way that would be oil tight without a bunch of gasket goo or something.
It needs a go over with a dremel to clean it up properly but I'll have to wait for daytime when I can make some noise to do that.
Anyone got some photos of this area I can use as a reference when building it up properly with JB Weld? Need to get myself a stator cover to help with that too! There's one on eBay I'm eyeing off, I need a GSX1100 rather than a Kat one as I have the larger GSX type stator/rotor setup.
 Untitled by starpoint73, on Flickr
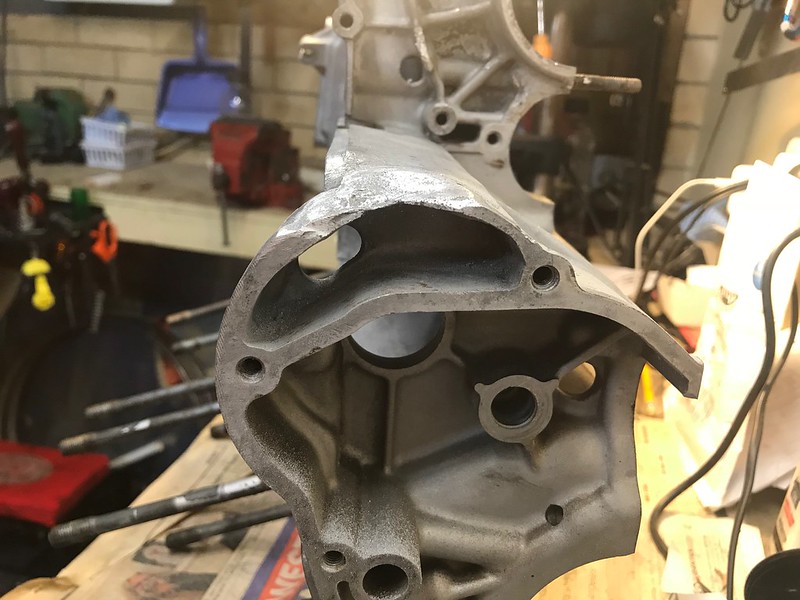 Untitled by starpoint73, on Flickr
nvr2old
Forum Sage
I've fixed an area like that on your engine with JB Weld before, too. Even re-made, drilled and re-threaded a mounting boss. Such a versatile product.
Guest
Guest
Stupid question time... once it's all sanded back and smooth, I still need a go over with the primer as a surfacer prior to the base colour coat right? I'm mainly thinking of colour coat over the putty or filler not being a great idea. Then sand with the 600 ready for colour.
I remember the JB on your CB cooling fin I'm pretty sure it was? It's good stuff alright! I did that mounting post in the rear master cylinder reservoir earlier in this build.
I figure the same idea with some scrap aluminium coated in anti seize to form the inside curve of the repair should make it a much neater end result than what was there. I'll just make sure to build it up above the gasket surface, file it back close, then finish off with sandpaper so it's smooth and oil tight to match with the rest of the gasket surface.
Just need my hands on a stator cover to match the outside shape up neatly and I'm hoping one of the Katana folk or someone with an 1100 can snap some pic's of the area so I can hopefully get it close to looking how it should.
nvr2old
Forum Sage
Stupid question time... once it's all sanded back and smooth, I still need a go over with the primer as a surfacer prior to the base colour coat right? I'm mainly thinking of colour coat over the putty or filler not being a great idea. Then sand with the 600 ready for colour.
Not a stupid question at all, Pete. Yeah, I would spray a couple of coats of primer mixed about 50% thinner as a sealer before spraying your base coats (really try to avoid runs at this stage) and, yes, a final sand with 600. That should give you a nice, smooth, consistent finish for color.
Guest
Guest
I'm hoping I can get started on some sanding later today, but the weather's not looking great for my ride tomorrow nor getting the paint done next week, forecast is definitely looking dodgy for painting.

Guest
Guest
I've still got a few areas on the front cowl to finish sanding in the morning but fingers crossed the next lot of primer will end up all set for the colour coats.
I decided to give myself a little distraction tonight and throw all the bodywork on the Kat with the new tank and have a double check for fitment. Nothing bolted or screwed so they're not all sitting quite right but looks good to me. Excuse the mess, still a bit to sort out in the garage yet.
 Untitled by starpoint73, on Flickr
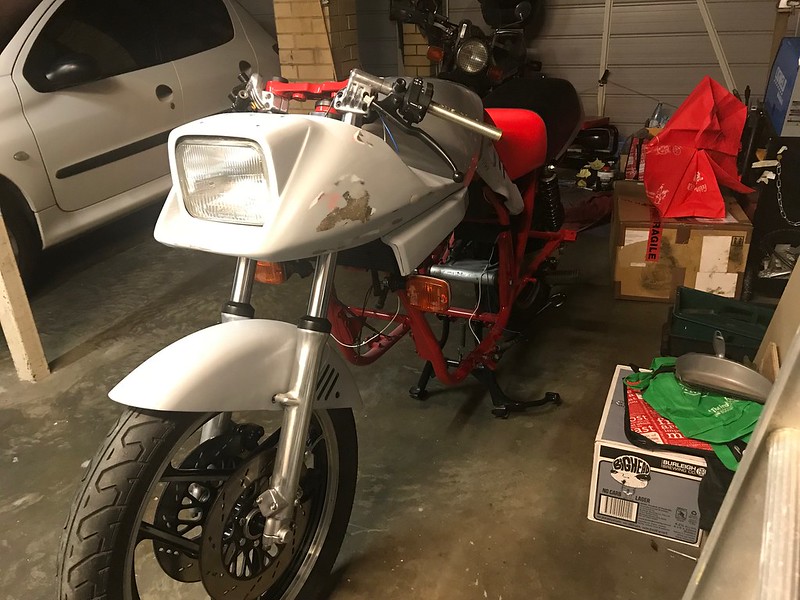 Untitled by starpoint73, on Flickr
On the downside, I did discover an issue where the fibreglass around the top mounting hole for the front cowl has cracked. Not sure how I didn't find this earlier, very frustrating!
 Untitled by starpoint73, on Flickr
The only thing I can think of doing is sand it right back underneath to bare fiberglass so I can add a layer of matting to it. I can't build it up any higher as that will lift the front of the cowl up too much and interfere with the headlight.
Of course that will put paid to any chance of getting the next round of primer on tomorrow, although the forecast isn't all that brilliant for painting anyway.
However, I'd rather find that now so I can fix it before the colour goes on... I'd be a bit peeved if I saw that crack the gloss black and clear when I mounted it!
btw, your garage isn't even close to being messy. haha.
nvr2old
Forum Sage
Guest
Guest
And cheers Larry, I was hoping not to touch the top surface if I can avoid it but I'll see how it goes after I sand back underneath to the source of the troubles.
As it is now the cowl actually does seem to sit a little high as there's more of a gap at the top of the headlight than the bottom, but after looking at as many Kats as possible it seems probably 50% of cowls aren't even around the headlight, so I didn't think it was an issue. That's the other bright side with this crack I guess... it's an opportunity to make it sit a little more level.
After looking at what I had to do to the cowl to try to get those low spots gone yesterday, I wouldn't be surprised in the slightest if it does indeed need another round of primer, see how it goes. If I get cracking early enough this morning I still may get the next lot of primer done today, the weather is not what they were predicting (again).
Guest
Guest
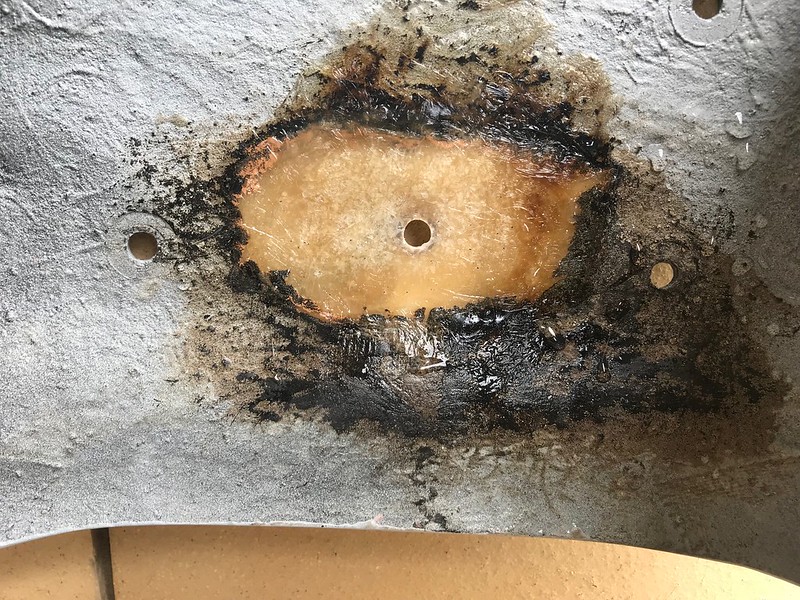
I broke out the 80 grit wet and dry and took as much material from underneath the cracked area as I could to make sure the repair didn't lift the cowl up.
Looks like I simply found someone else's dodgy repair. I think that area had been damaged previously as what was revealed appears to be a circular piece of body filler that was painted over with no reinforcing.
It could actually be removed from the hole...
 Untitled by starpoint73, on Flickr
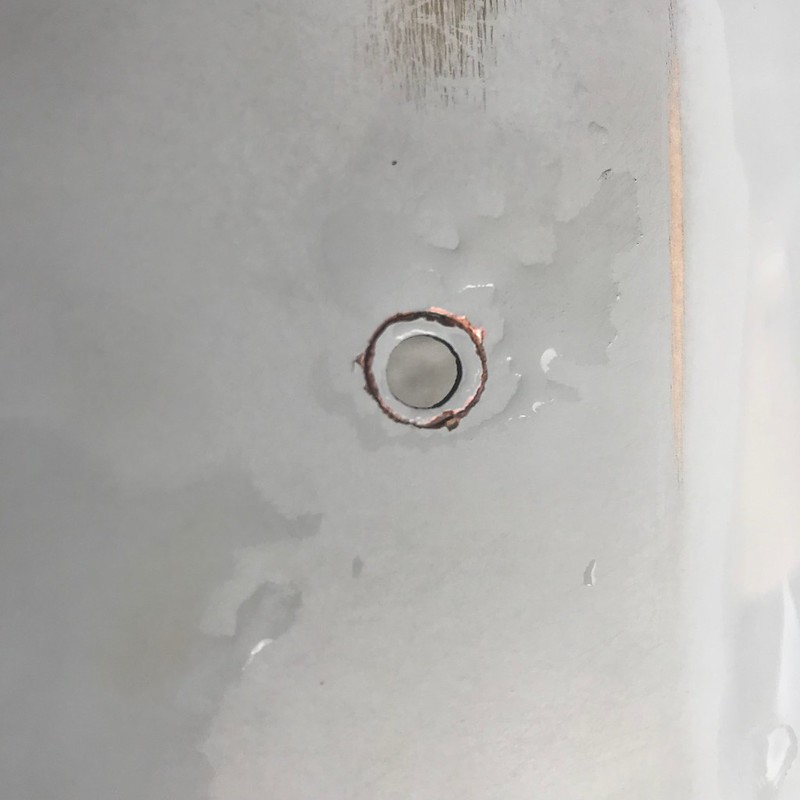 Untitled by starpoint73, on Flickr
Anyway, best I could think of was to put two layers of fibreglass underneath for a proper repair but keep that bit of body filler so I didn't lose the hole location.
I managed to get enough sun on it and went a bit heavy on the MEKP so the resin cured nice and quick so I was able to get the top sanded back nicely with a touch up of filler around the cracked area.
 Untitled by starpoint73, on Flickr
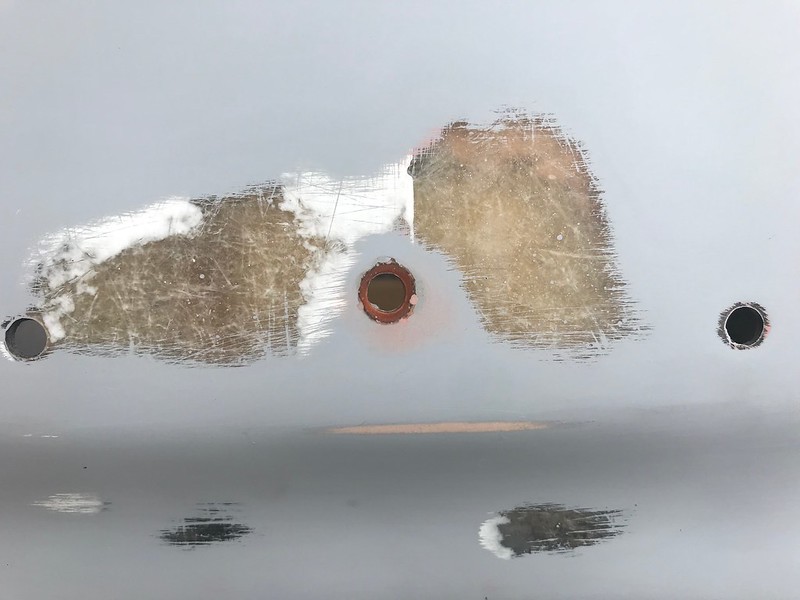 Untitled by starpoint73, on Flickr
While I didn't test mount it again I did put a fair amount of pressure from underneath and all that happened was the top flexed, which is what I was hoping for.
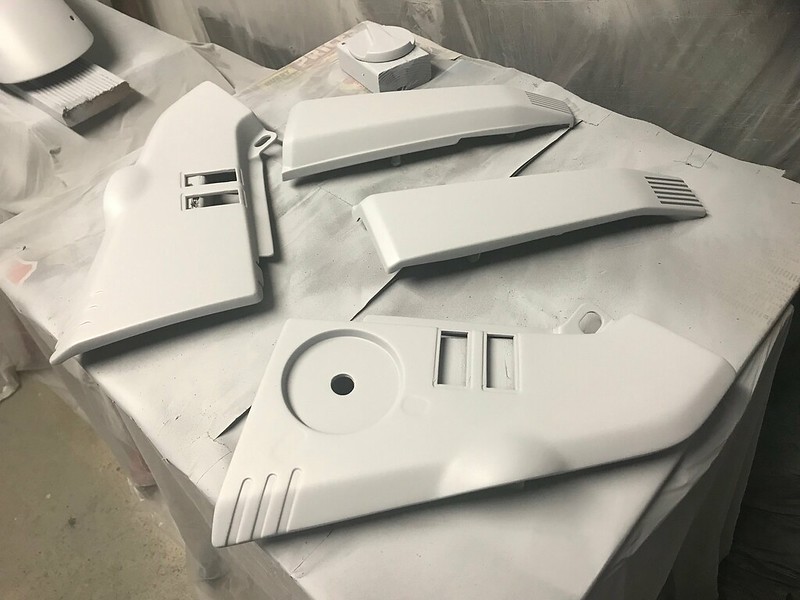
Then I got done with hopefully the last round of primer, although the front cowl of course is the big question mark. Everything got three coats but I had enough to give the cowl a fourth which I hope helps.
I decided to be brave/stupid/optimistic (take your pick) and not do a guide coat this time around. I'm pretty confident the front guard, tail piece, and side covers are good with just a rub back with 600, but the front cowl still seems to have a few pin pricks on the left side, just have to see how deep they are with the 400 first before deciding if it will need a final go with primer or not.
 Untitled by starpoint73, on Flickr
 Untitled by starpoint73, on Flickr
 Untitled by starpoint73, on Flickr
 Untitled by starpoint73, on Flickr
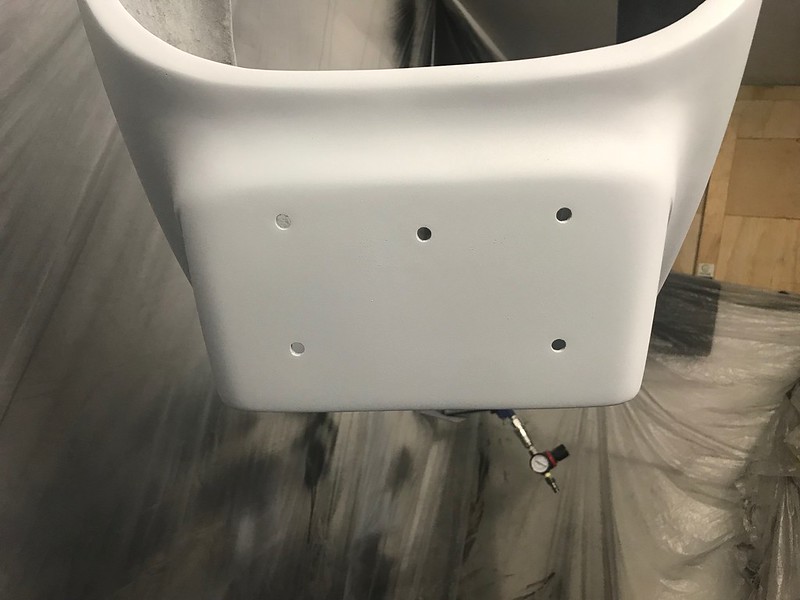 Untitled by starpoint73, on Flickr