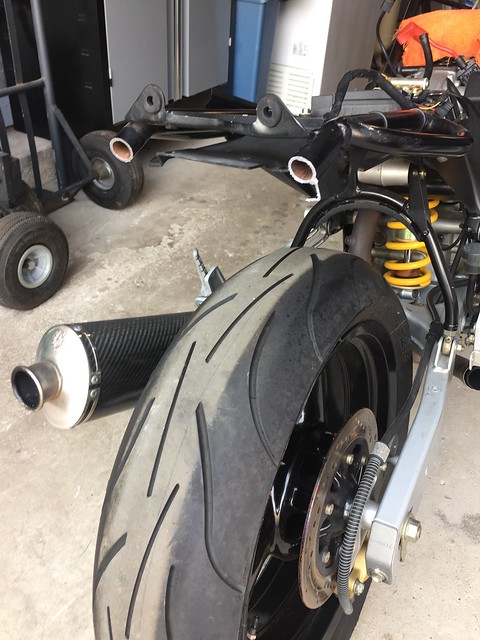
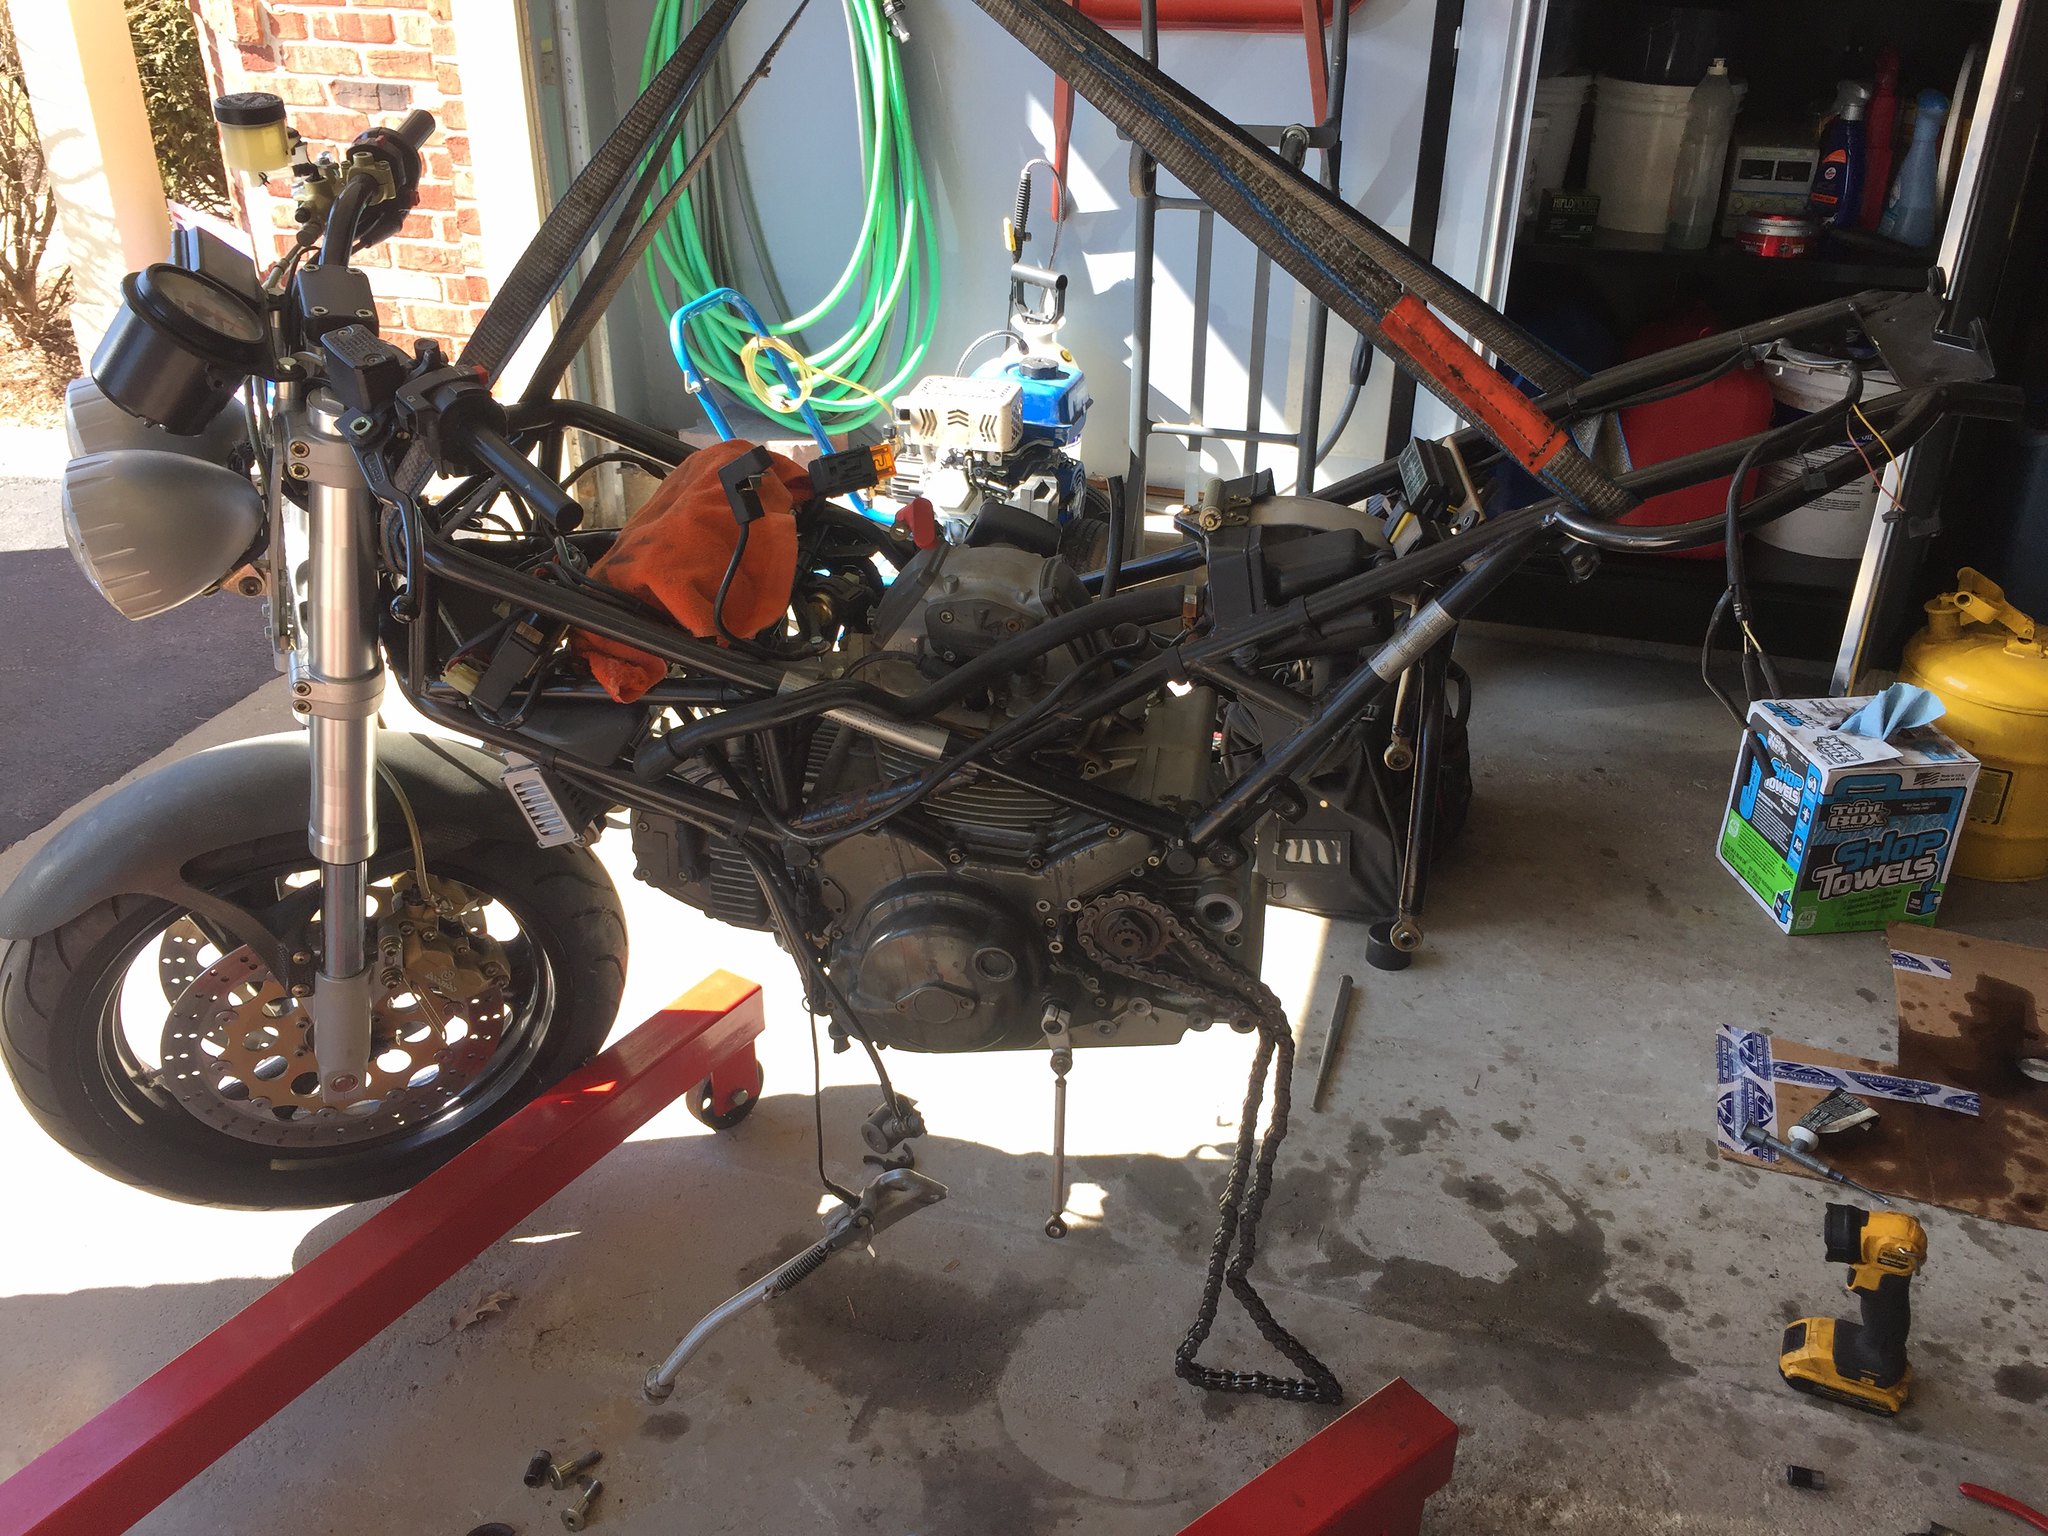
Now that my 1978 GS1000 is done (http://www.thegsresources.com/_foru...-1978-GS1000E-Restoration-Performance-Rebuild), I decided to finally get the Ducati running. She's been sitting in my garage for 2 years, picked her up for $500 from a friend.
 IMG_1067 by Anthony Monteleone, on Flickr
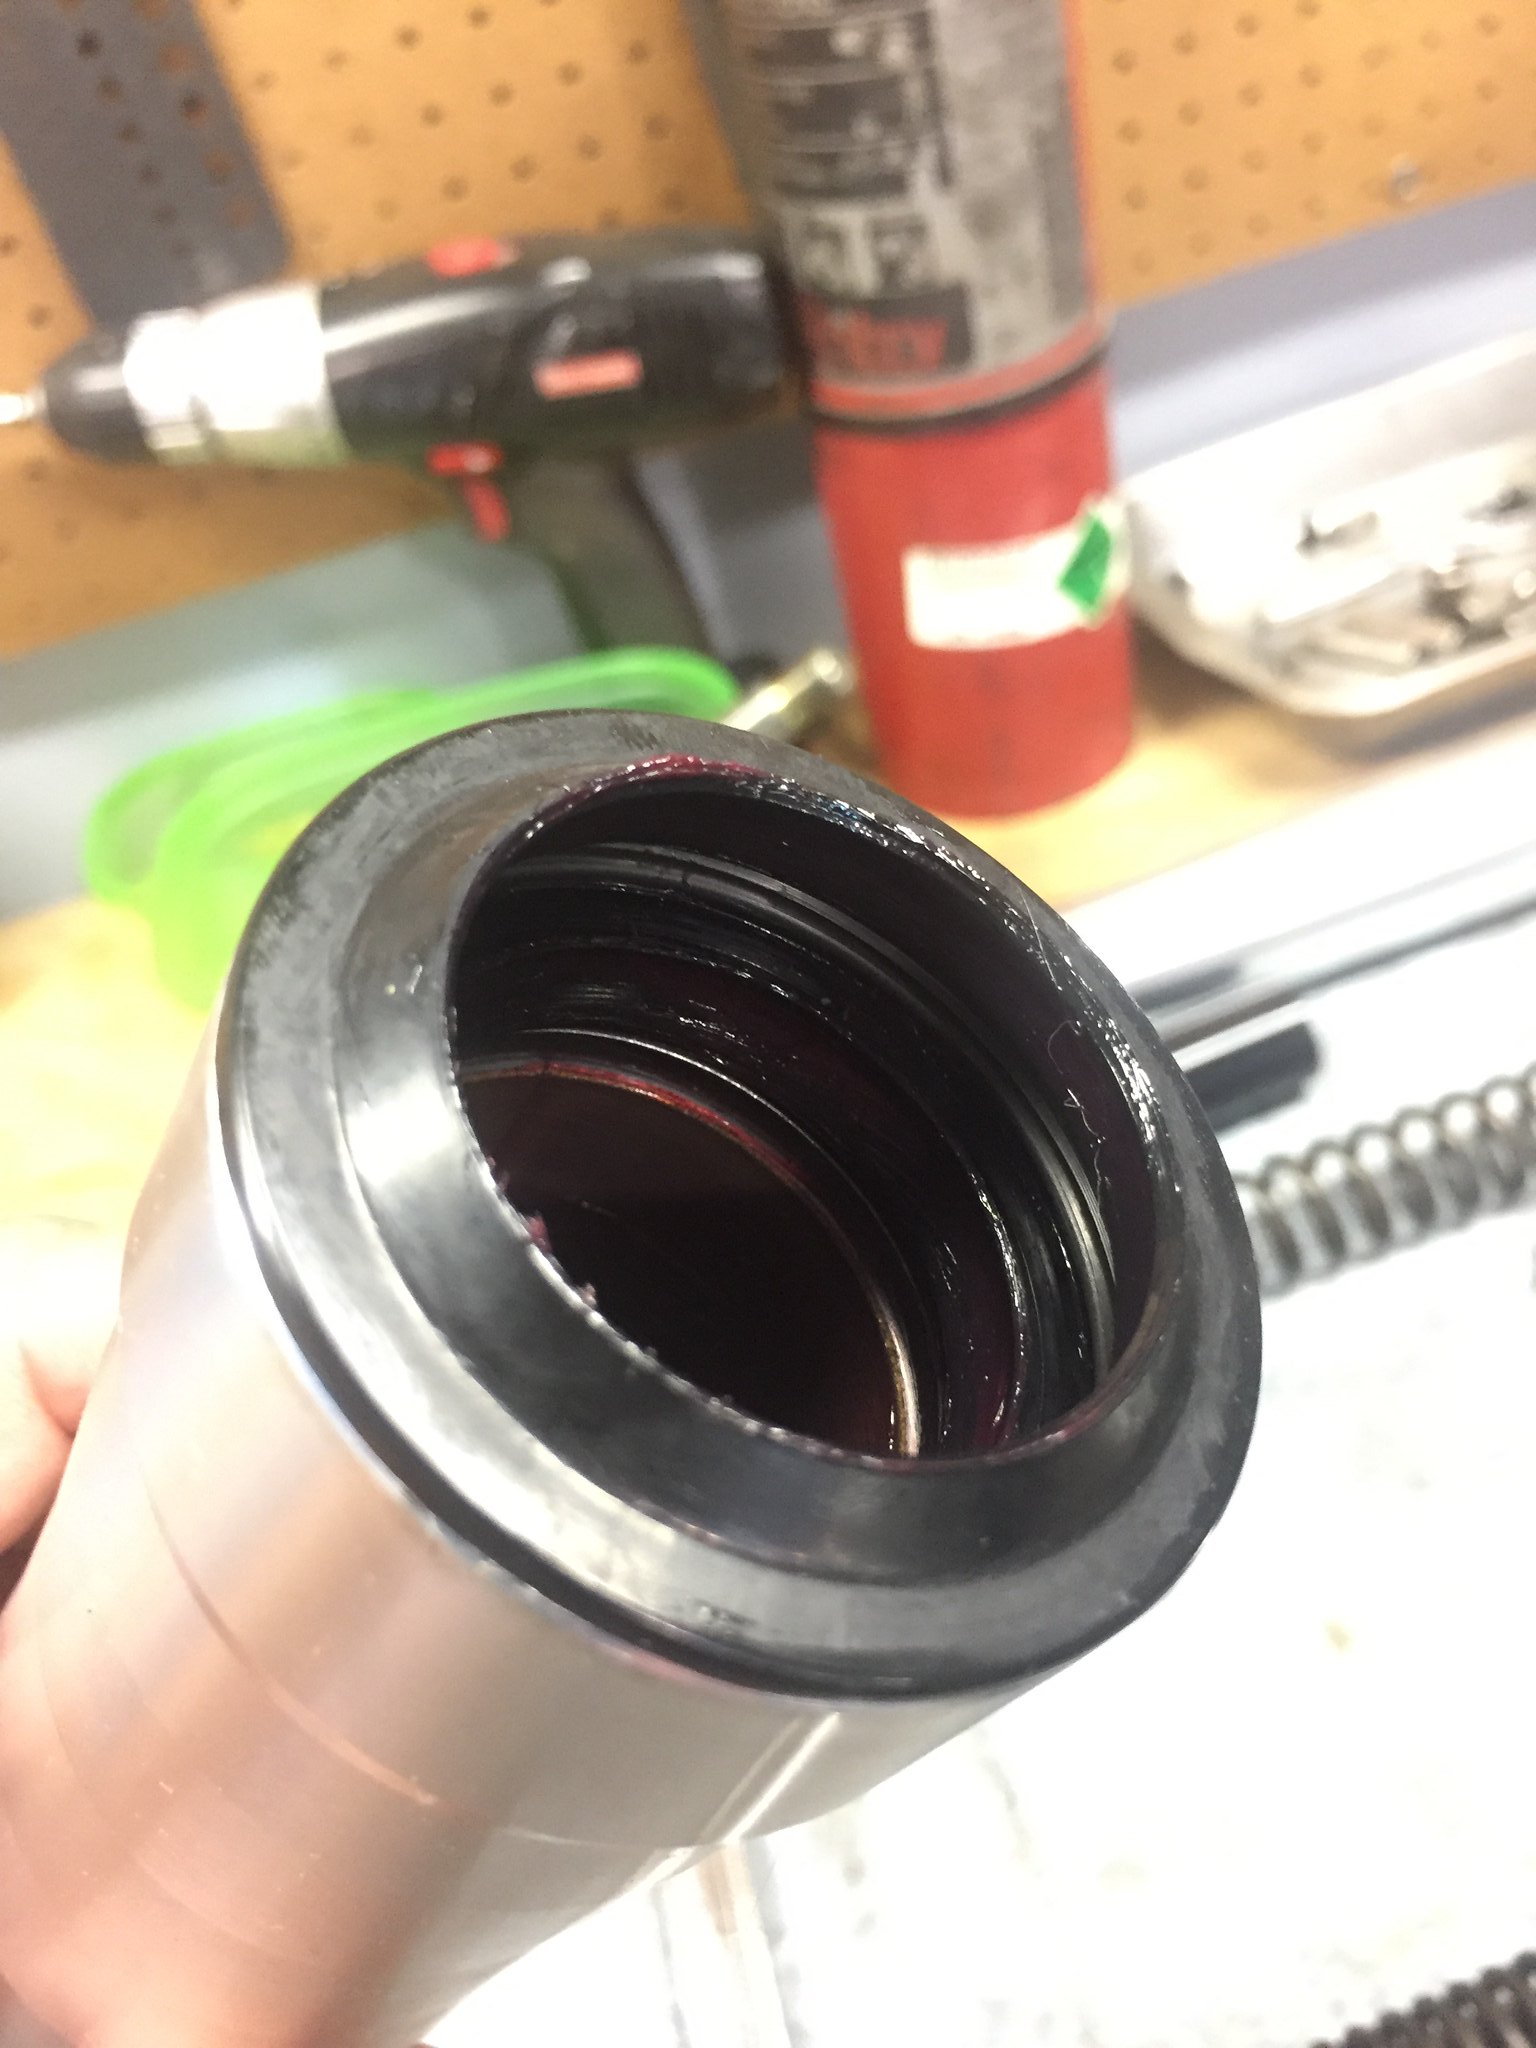
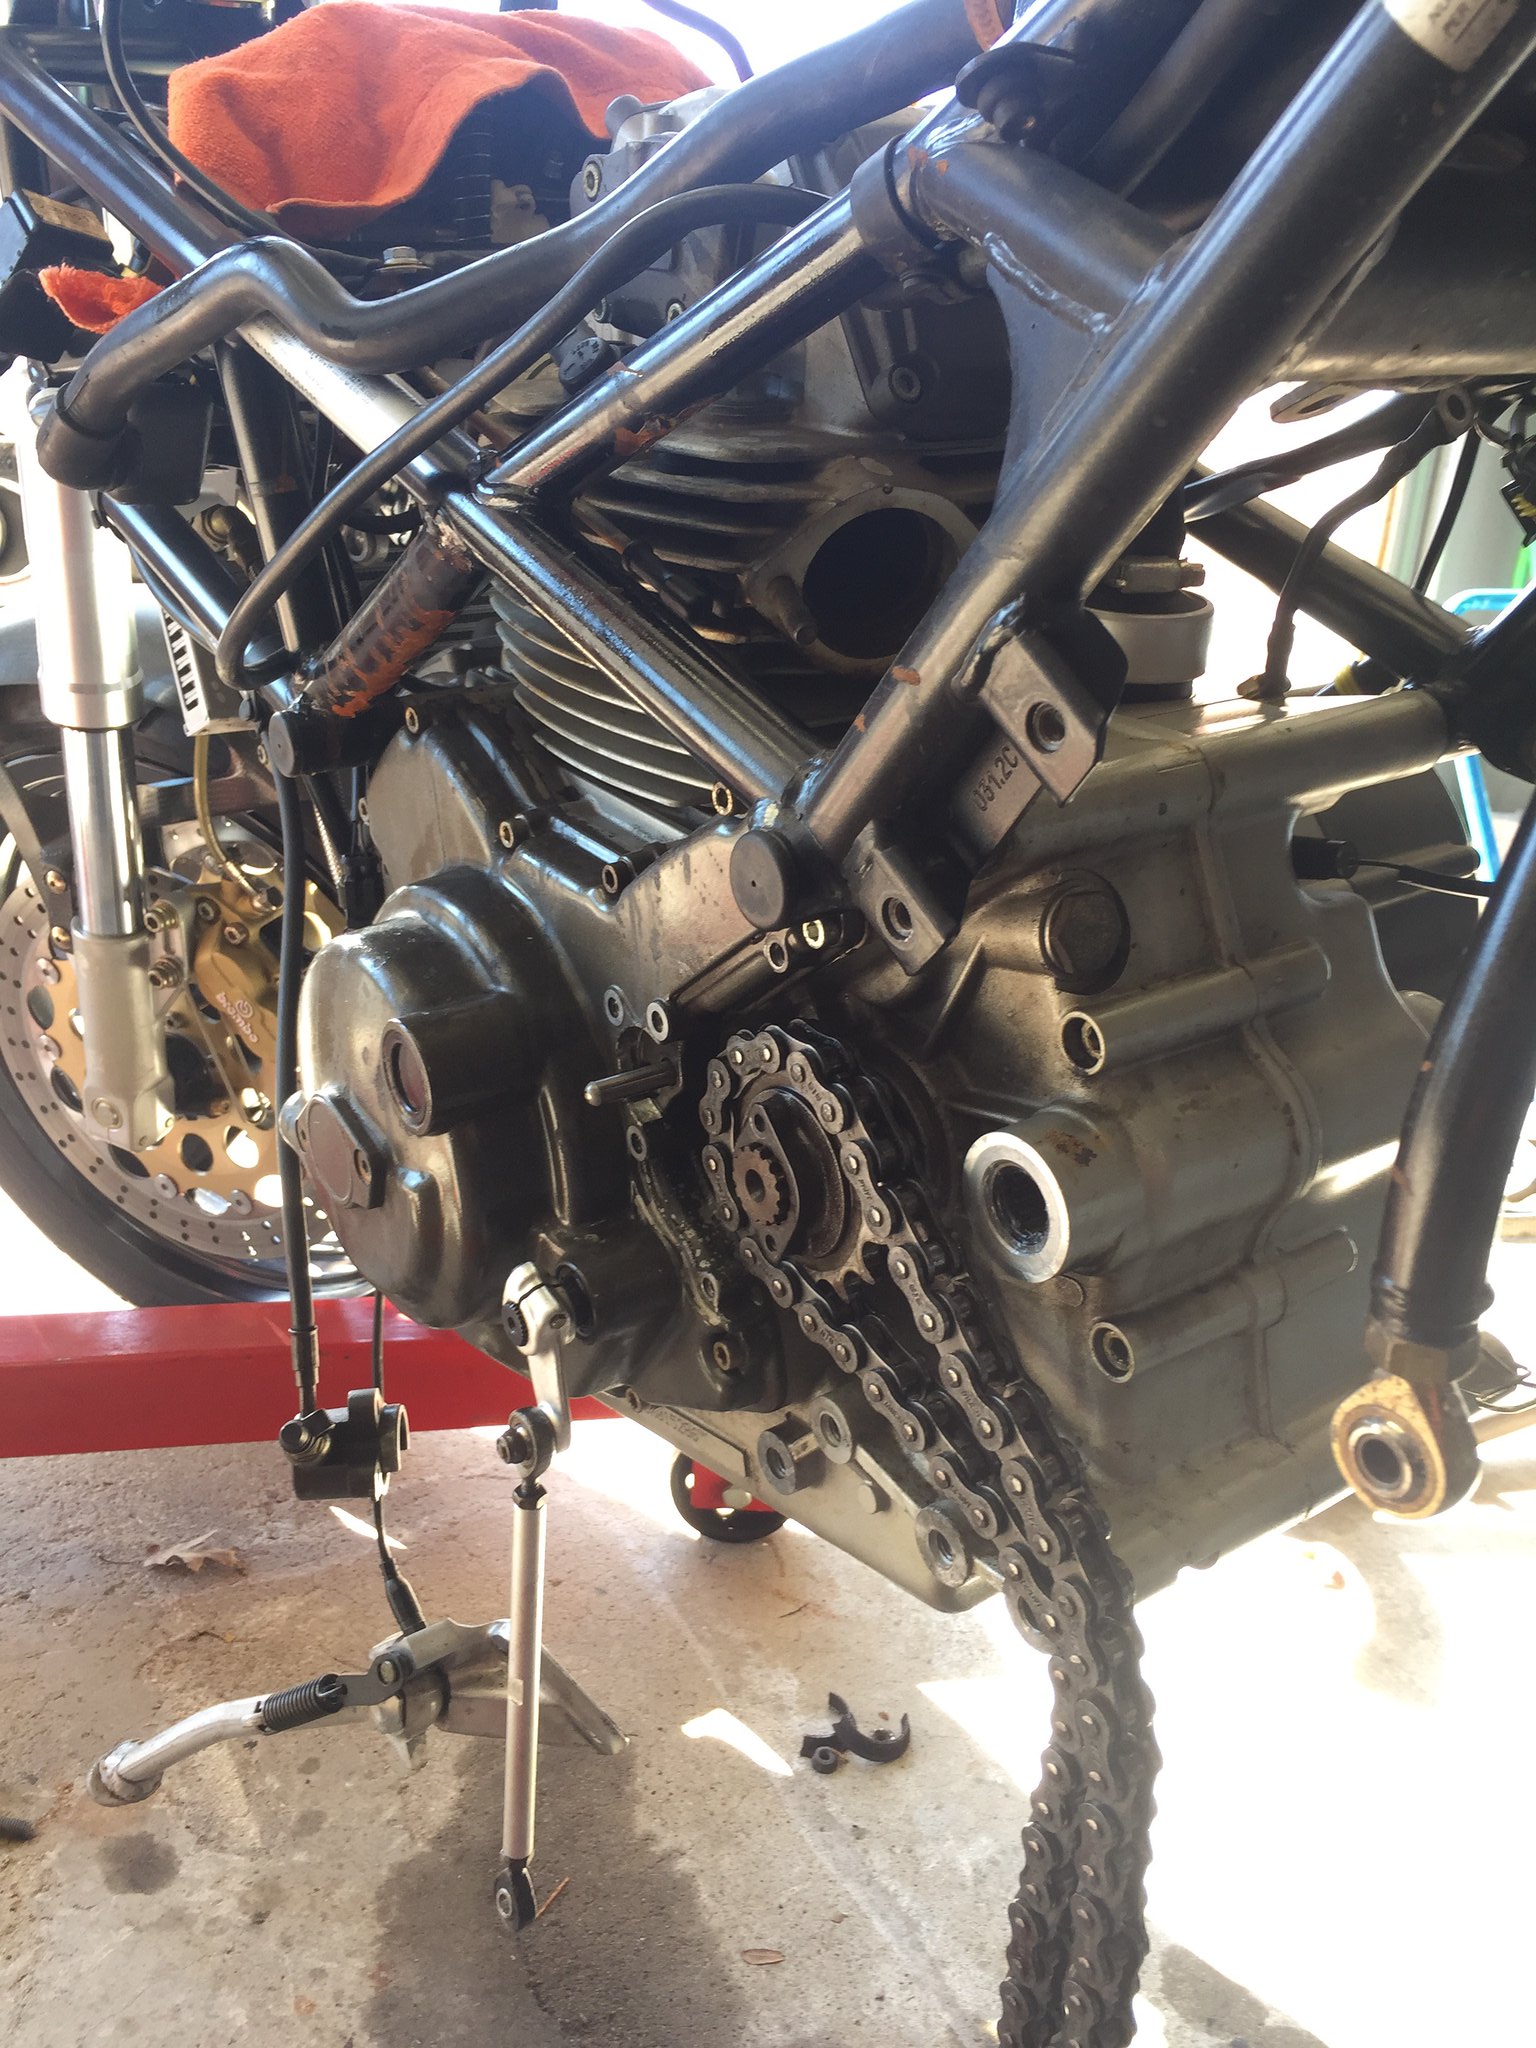
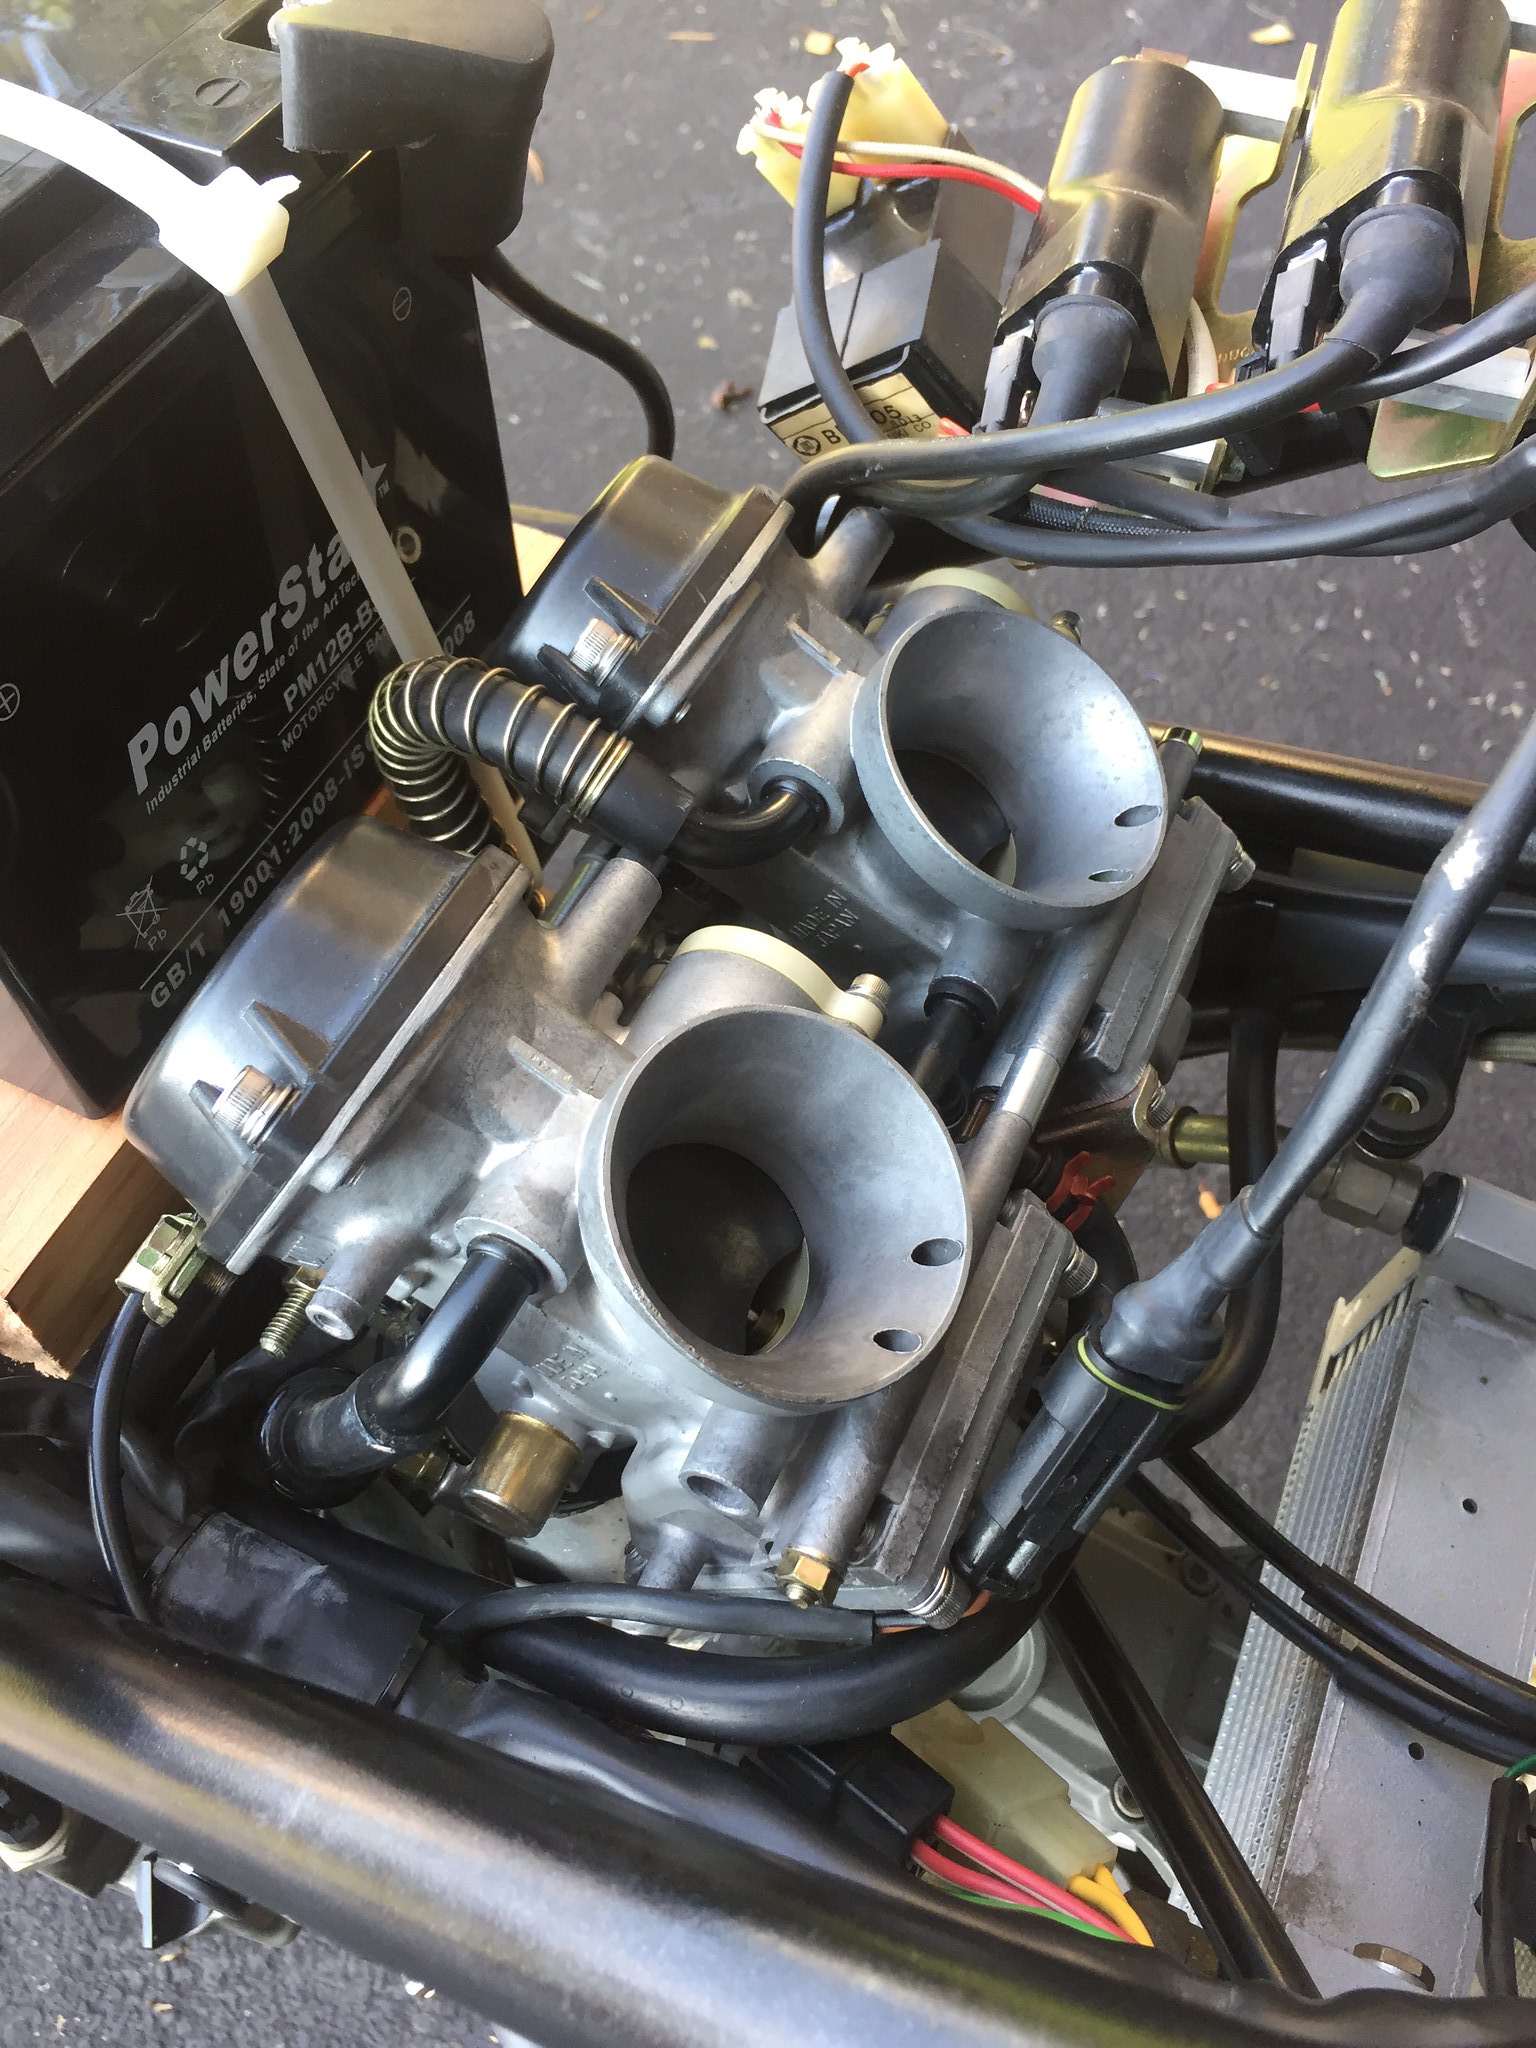
The engine ran at one time, and the bike has been sitting since 2010. Carbs are literally glued shut from varnish.
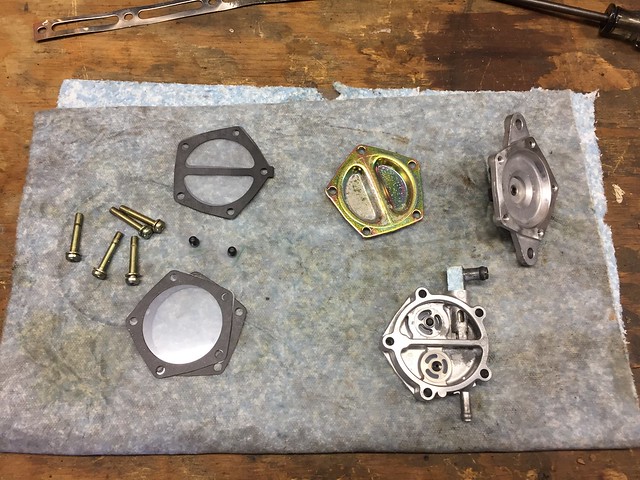
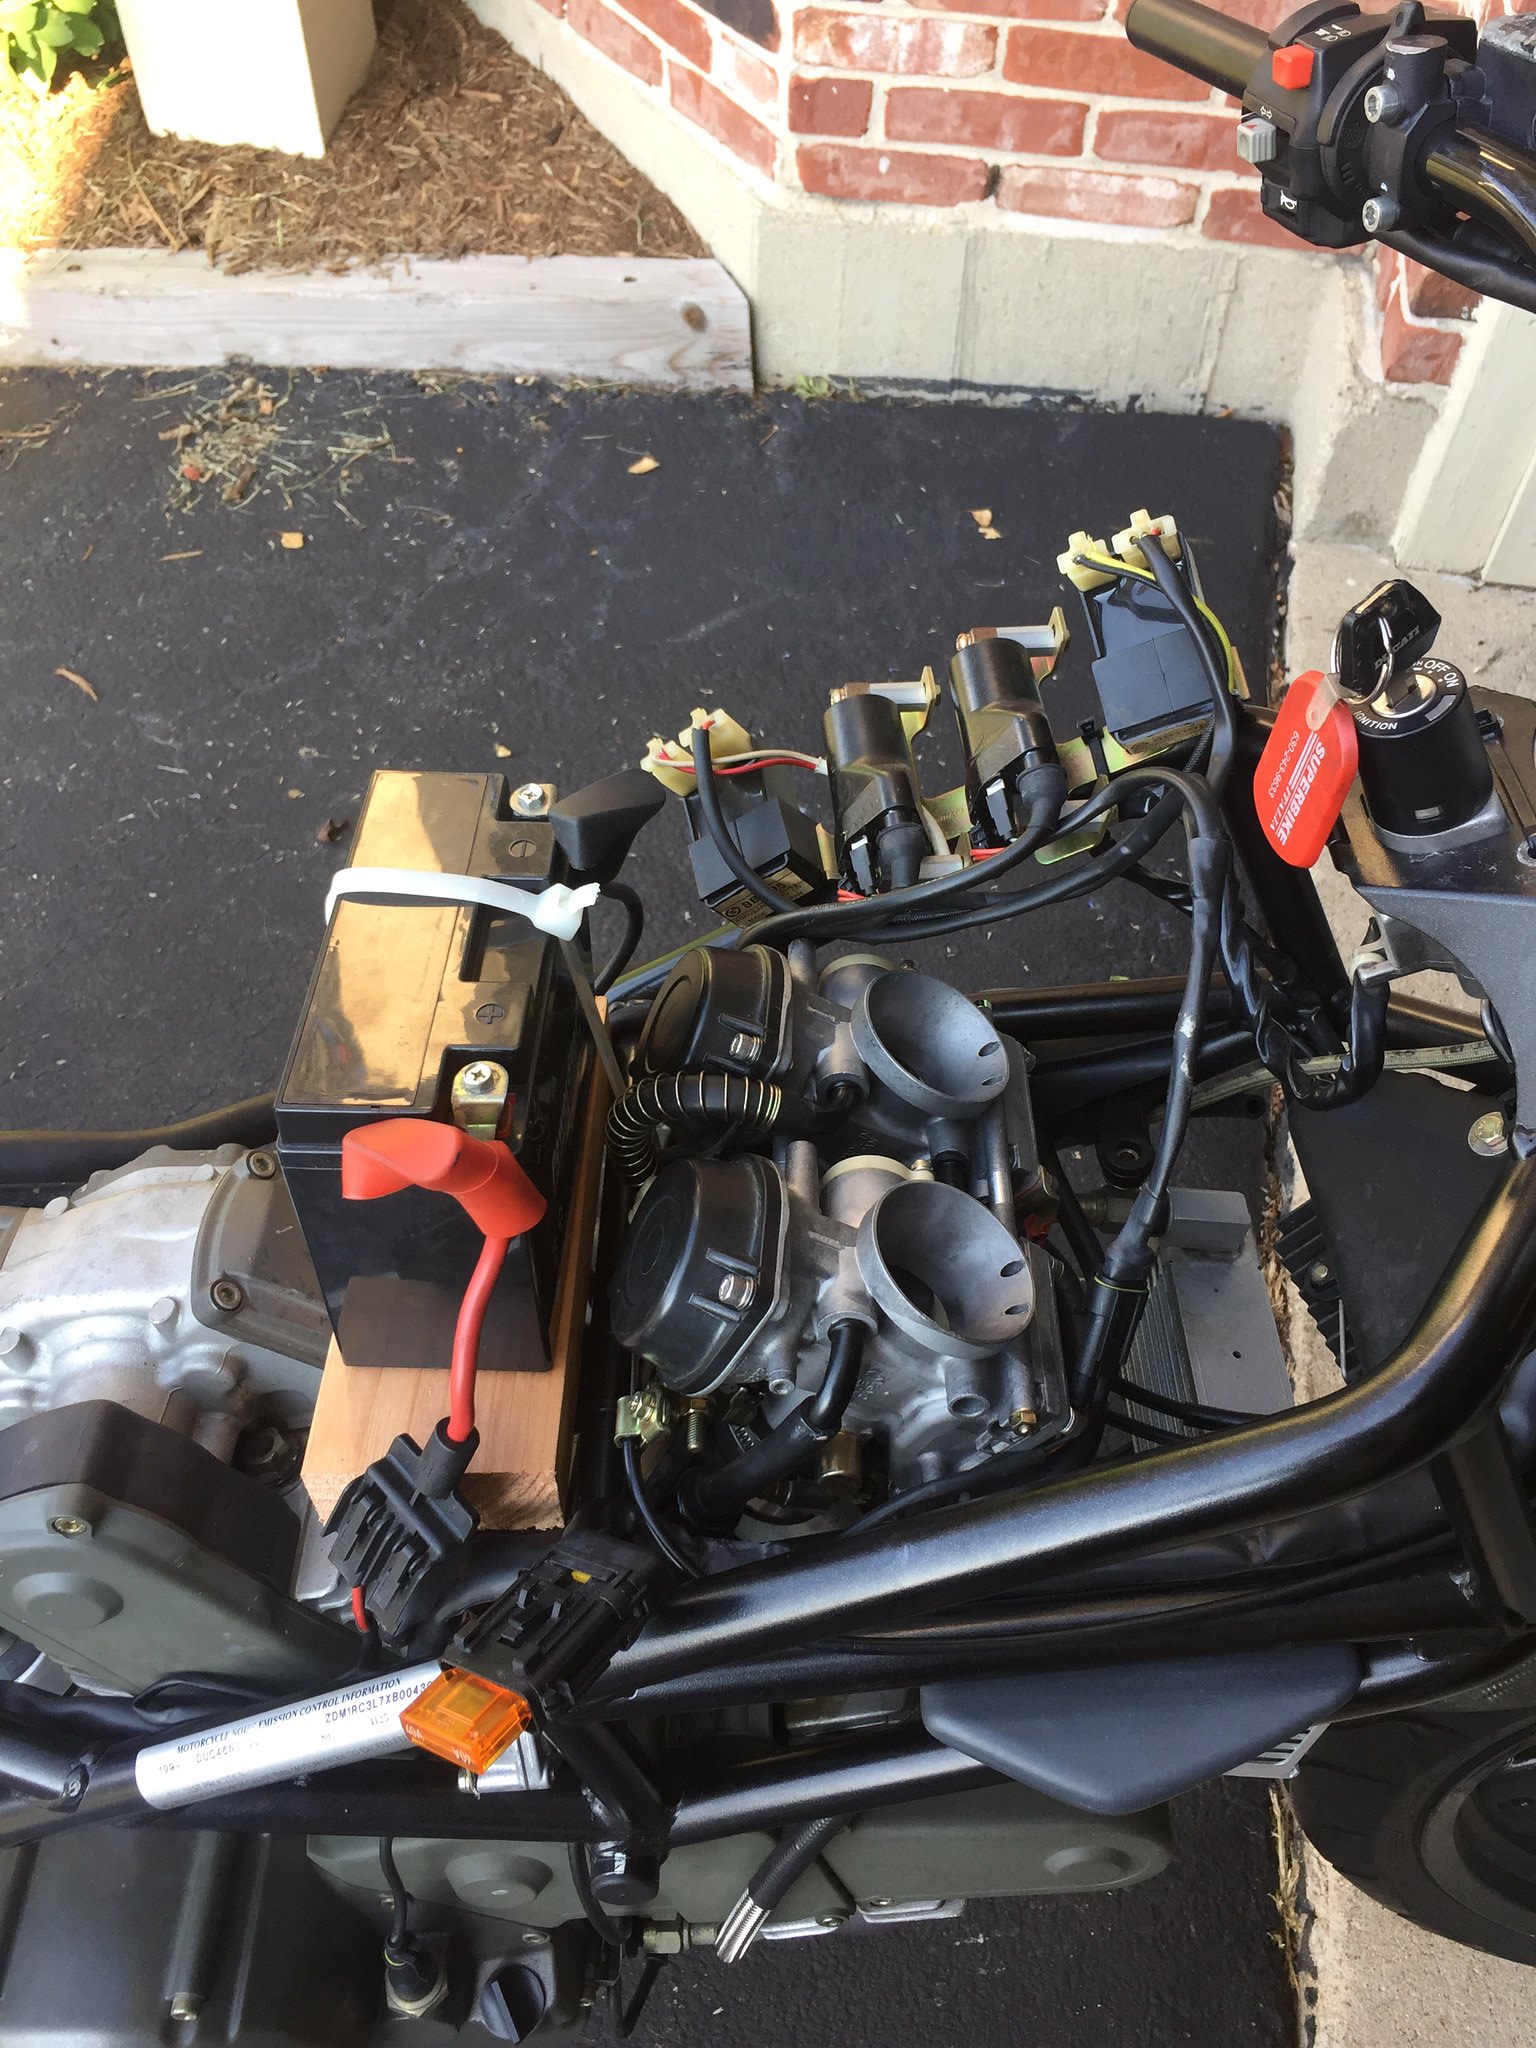
Last week, I yanked the carbs and began a full disassembly - had to soak each body for a week just to get the throttle shafts to move. These are Mikuni BDST carbs - I found a supplier in Thailand (http://www.litetek.co) that provides a complete oring and gasket kit for them
 IMG_2517 by Anthony Monteleone, on Flickr
 IMG_2531 by Anthony Monteleone, on Flickr
The carb dip ate the zinc off the throttle parts, so, I will need to re-plate them this weekend.
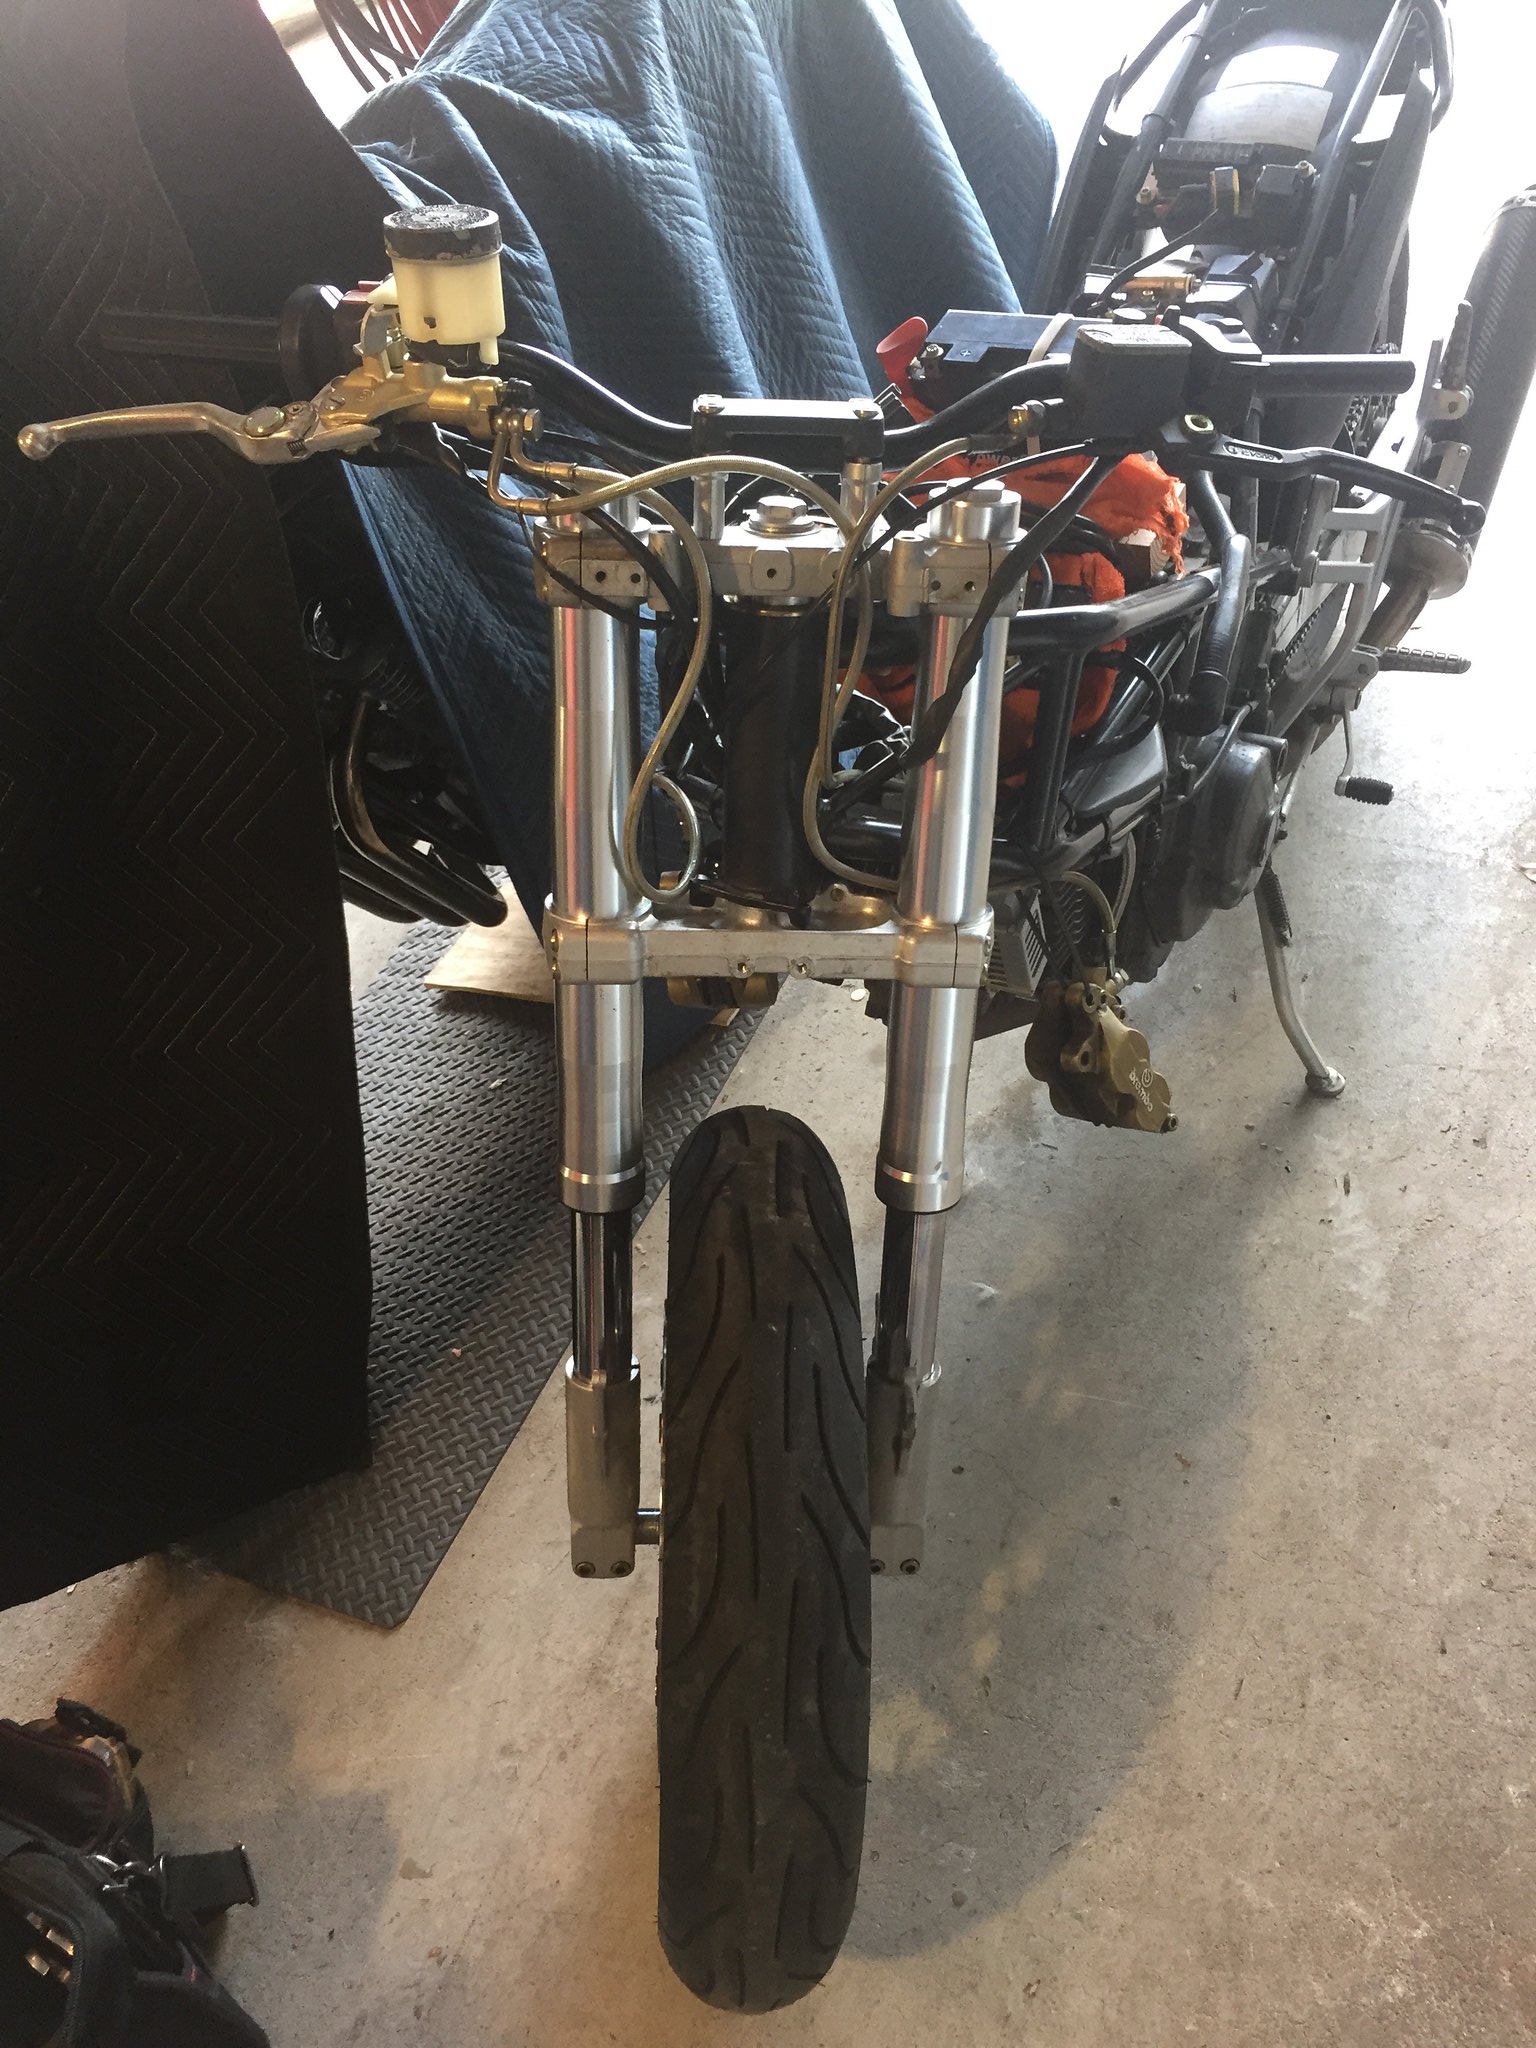
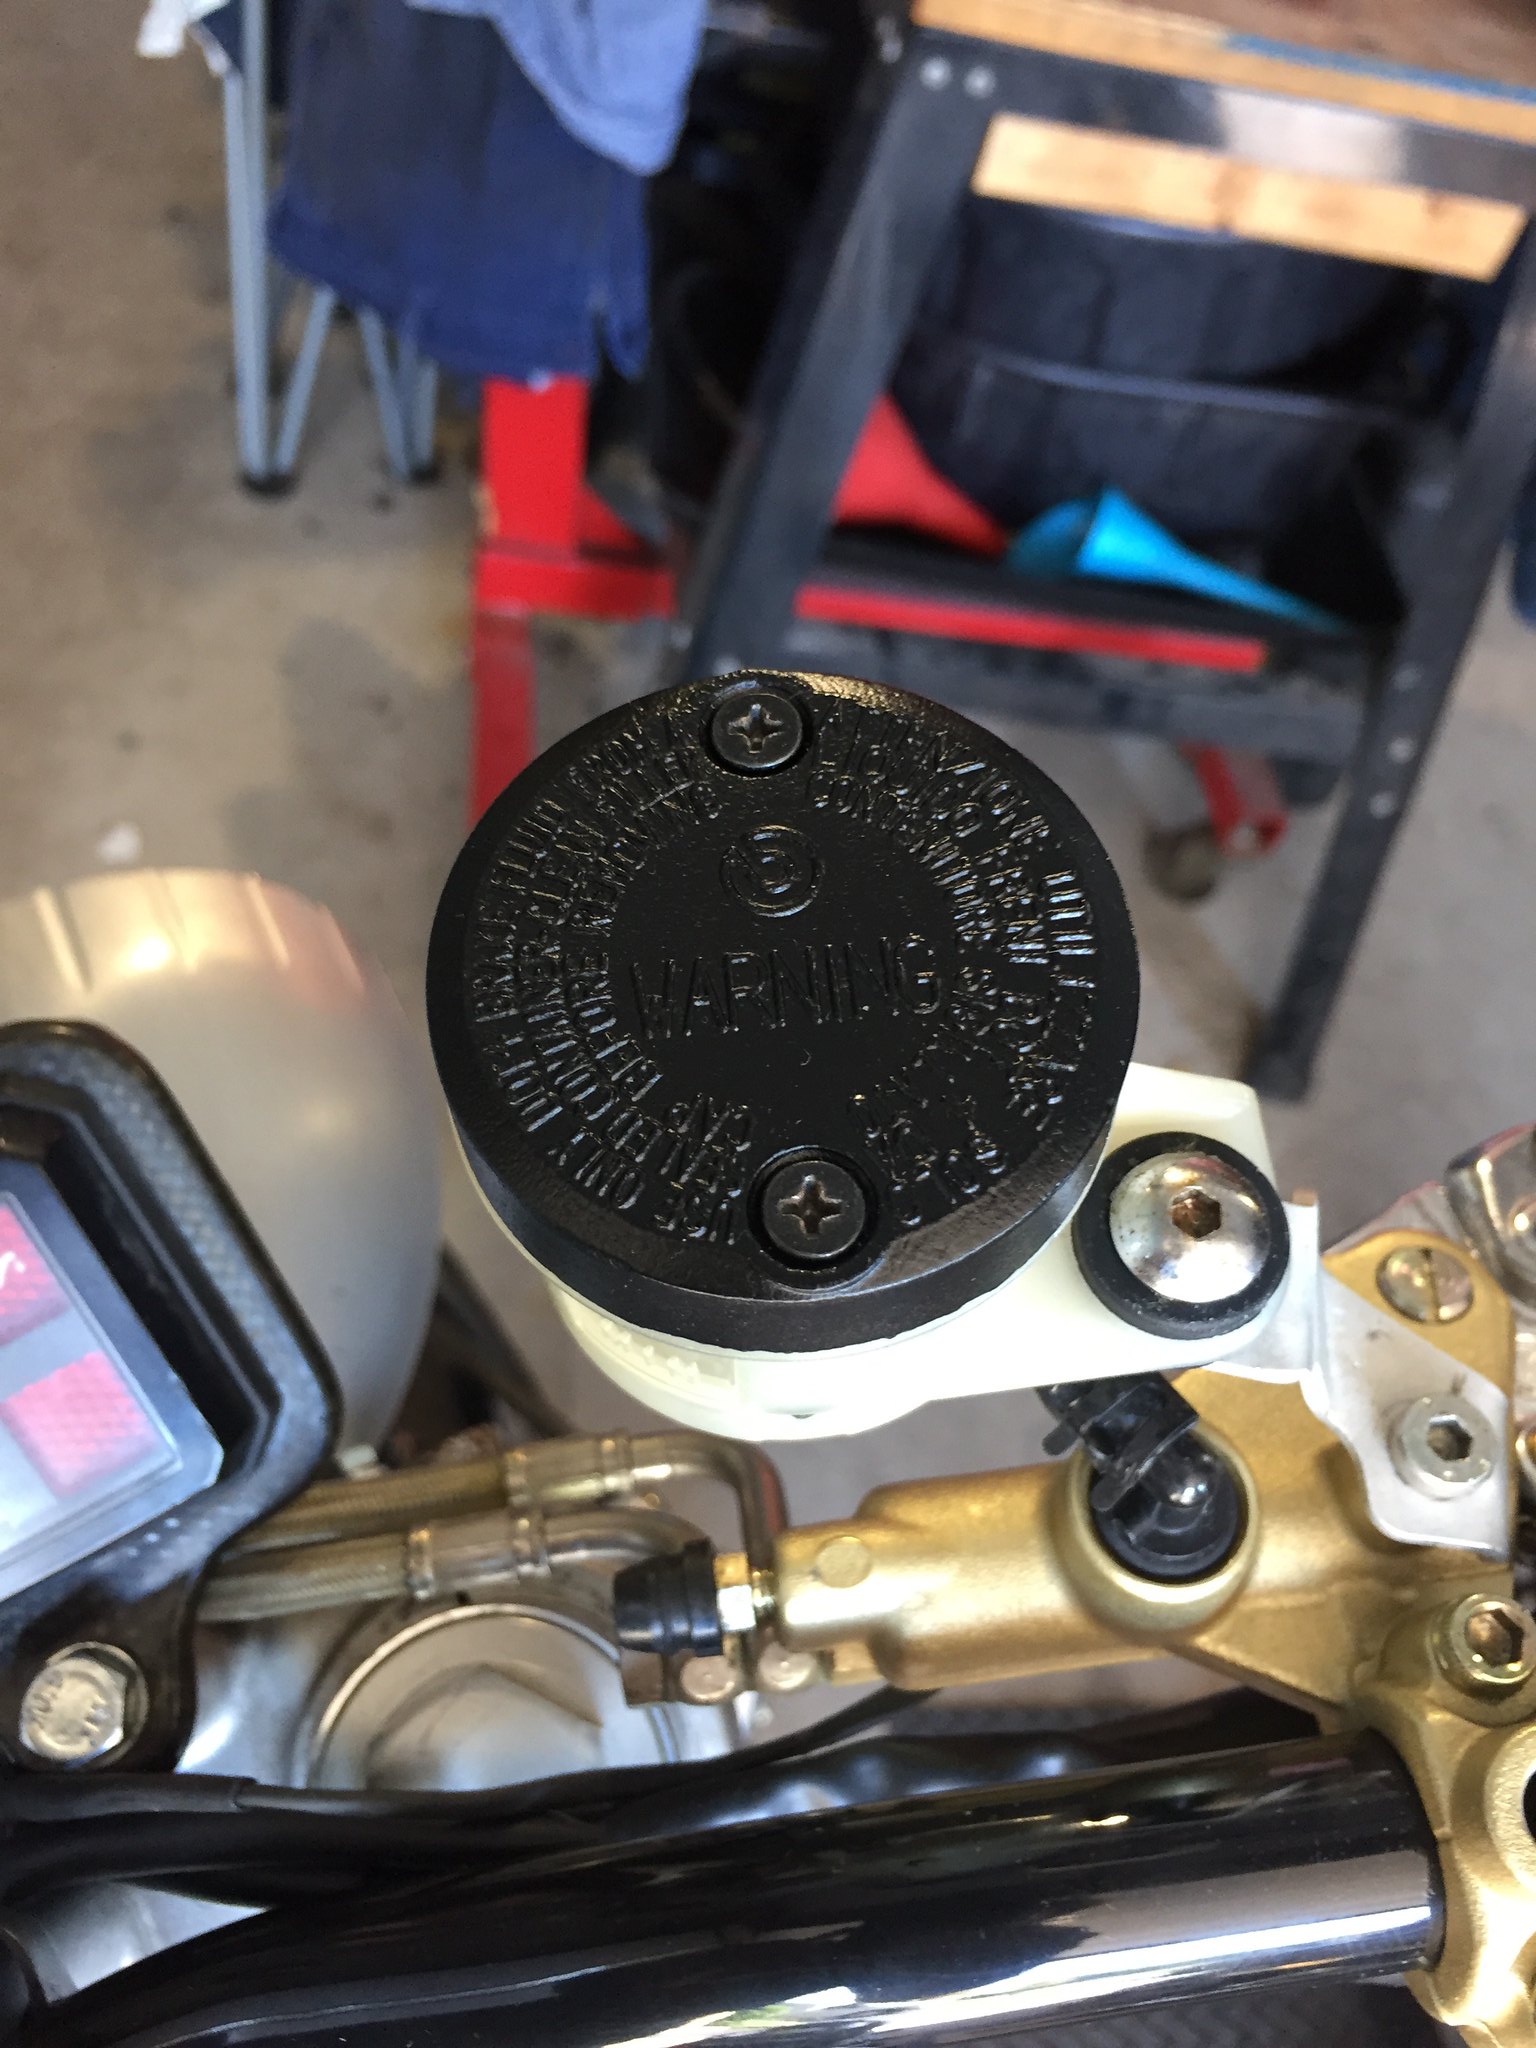
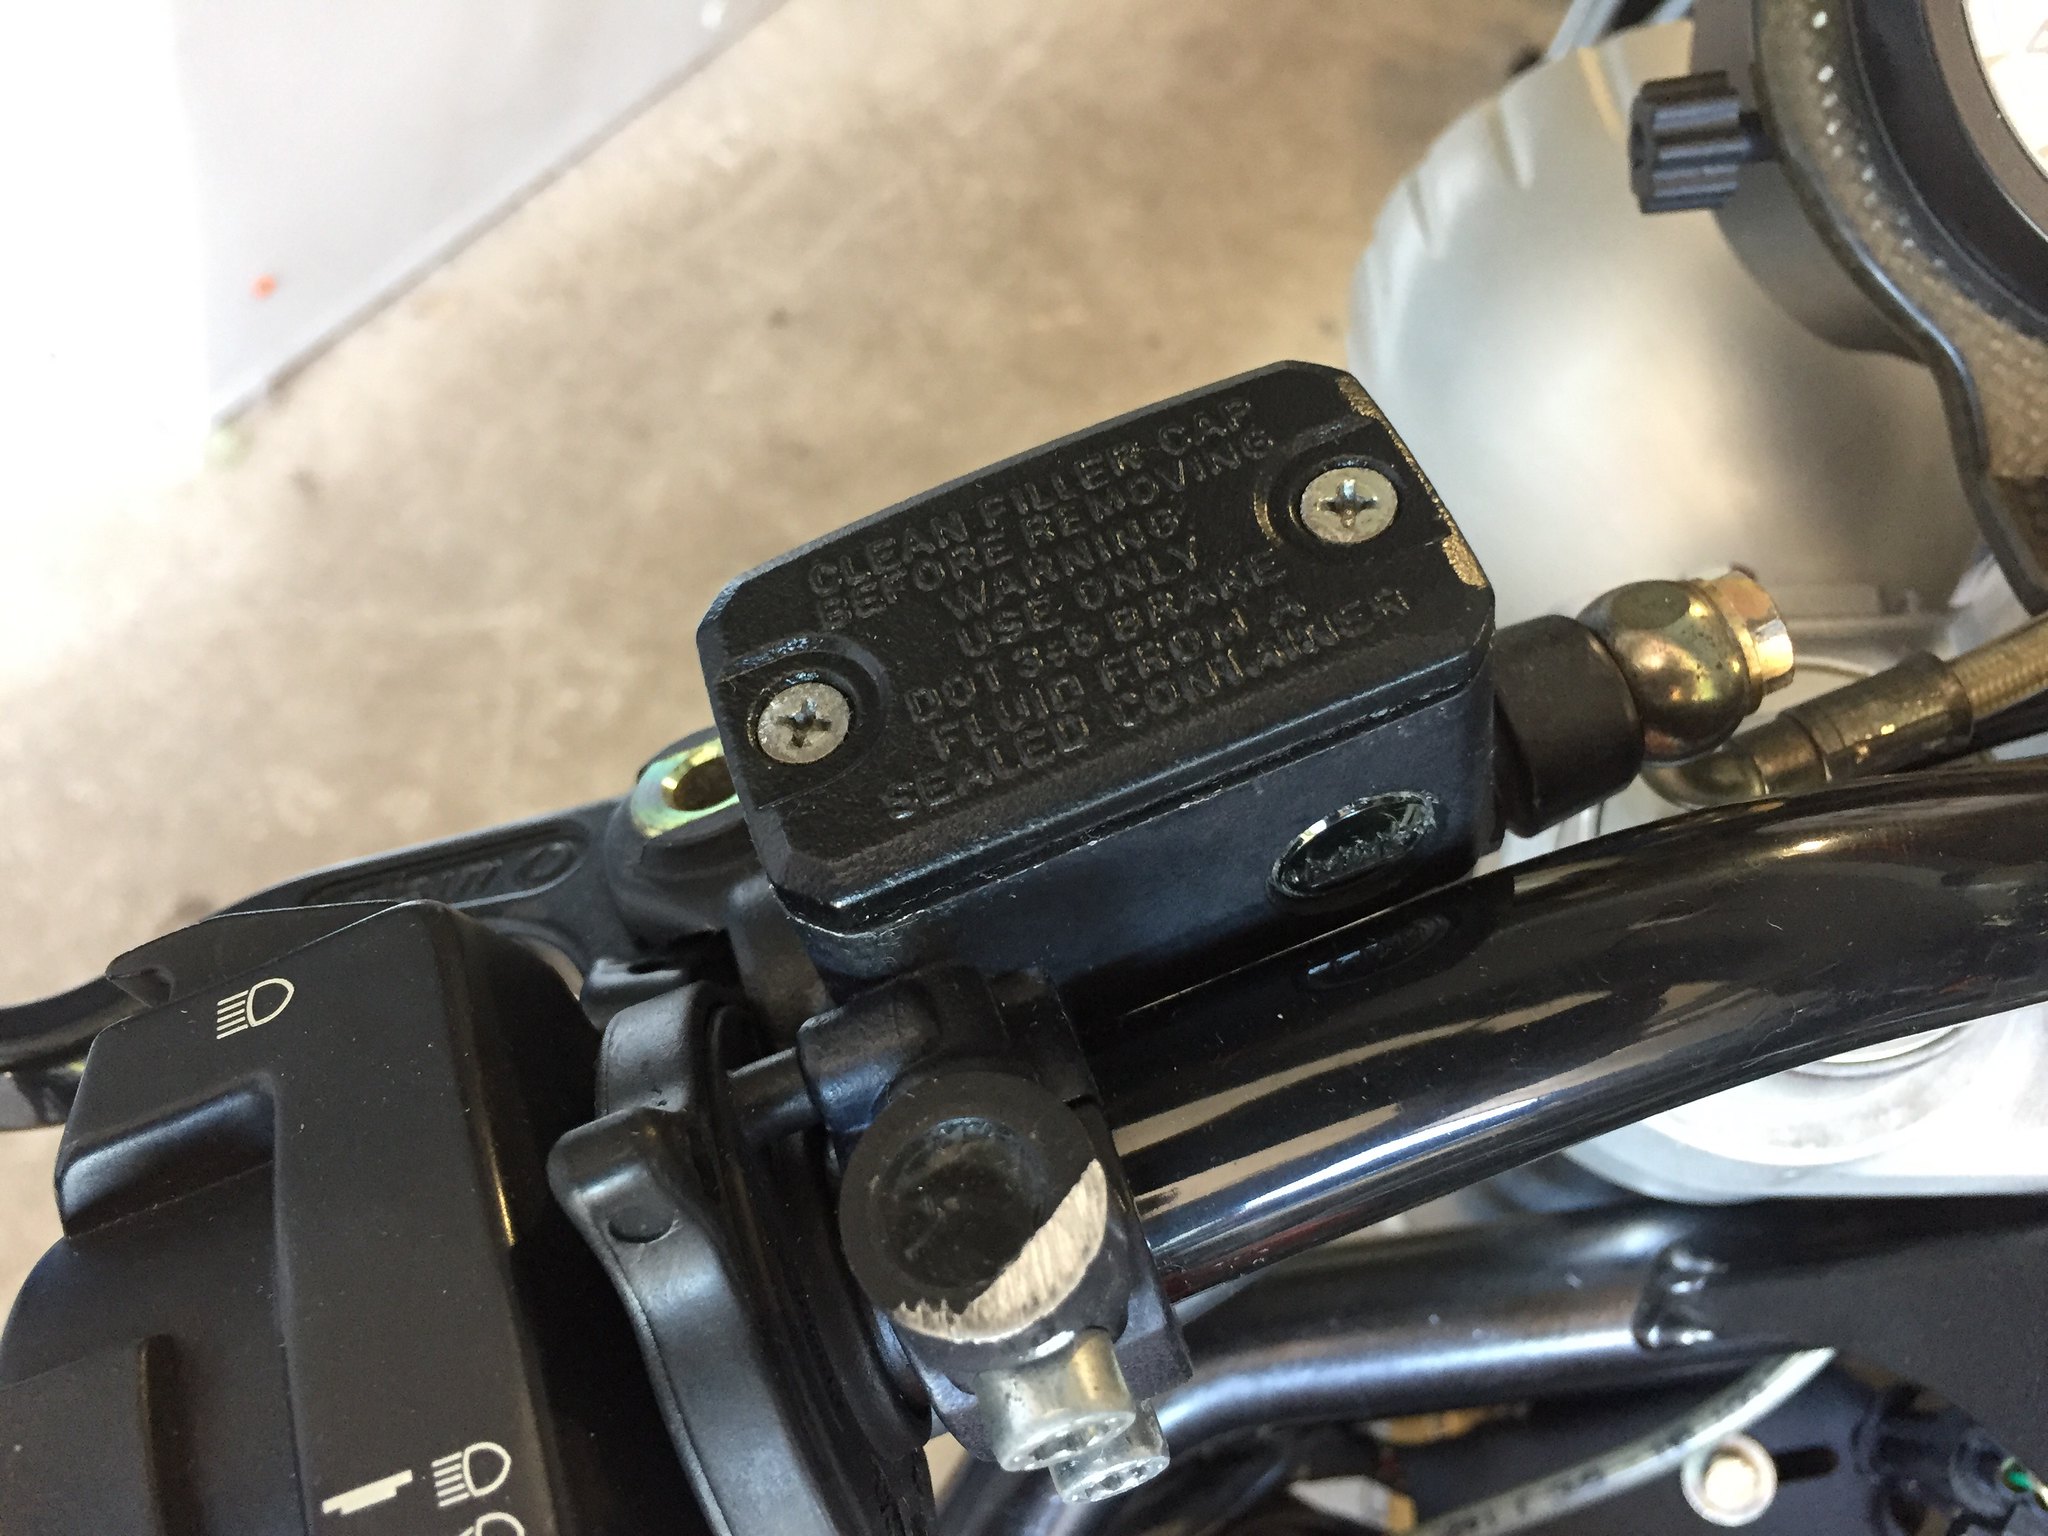
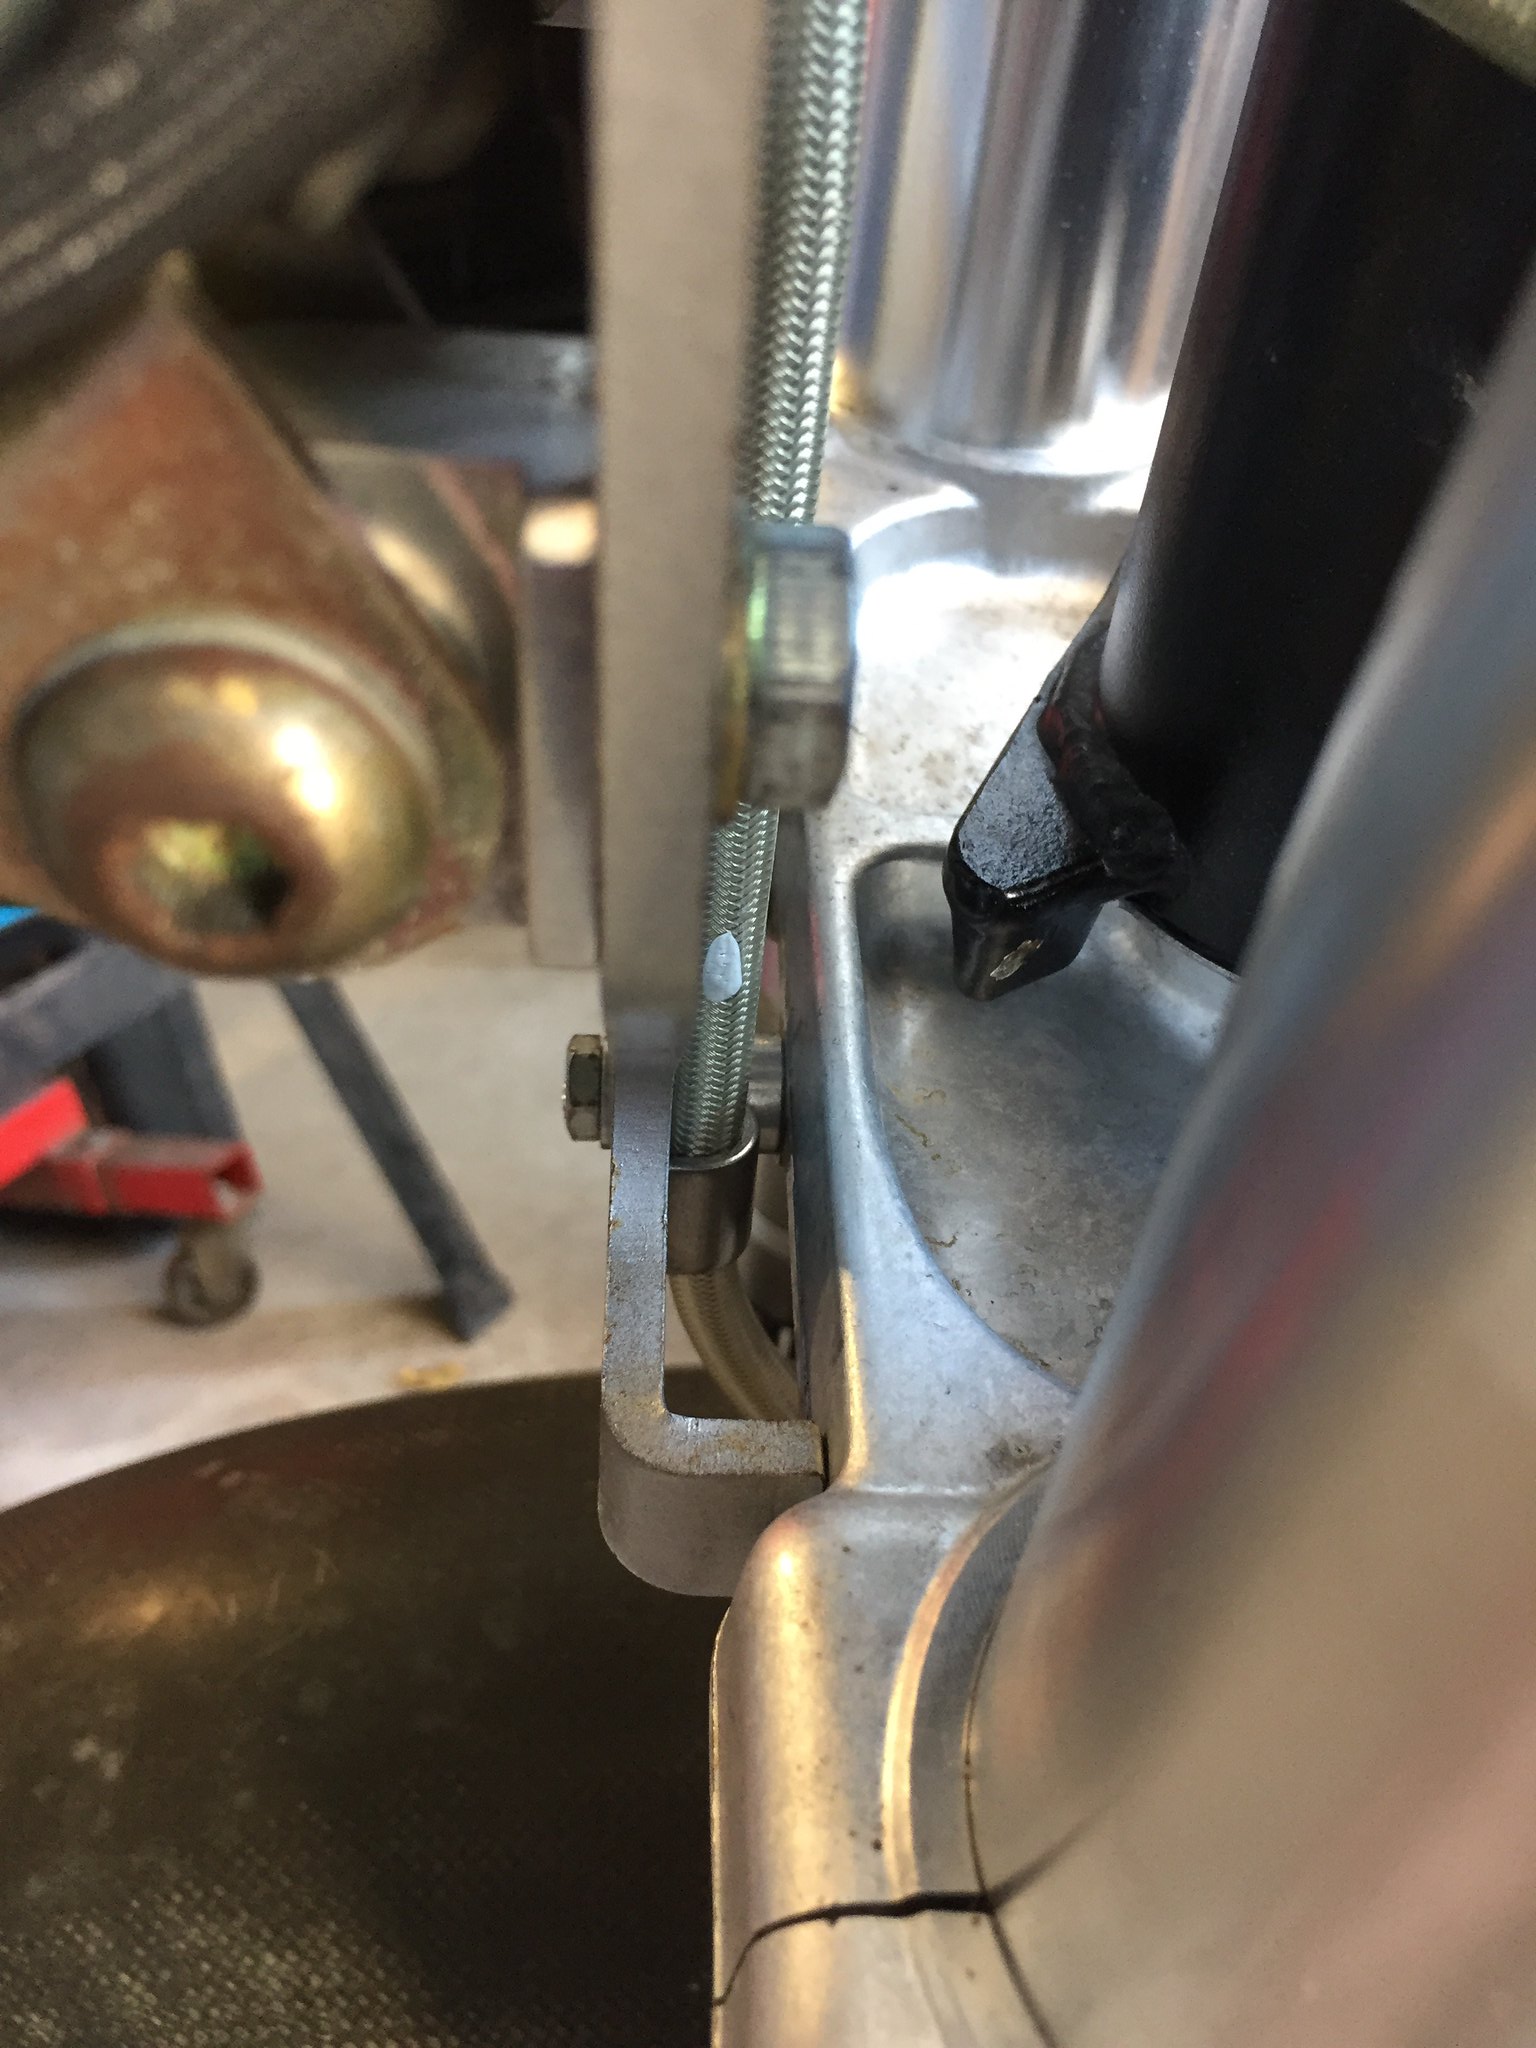
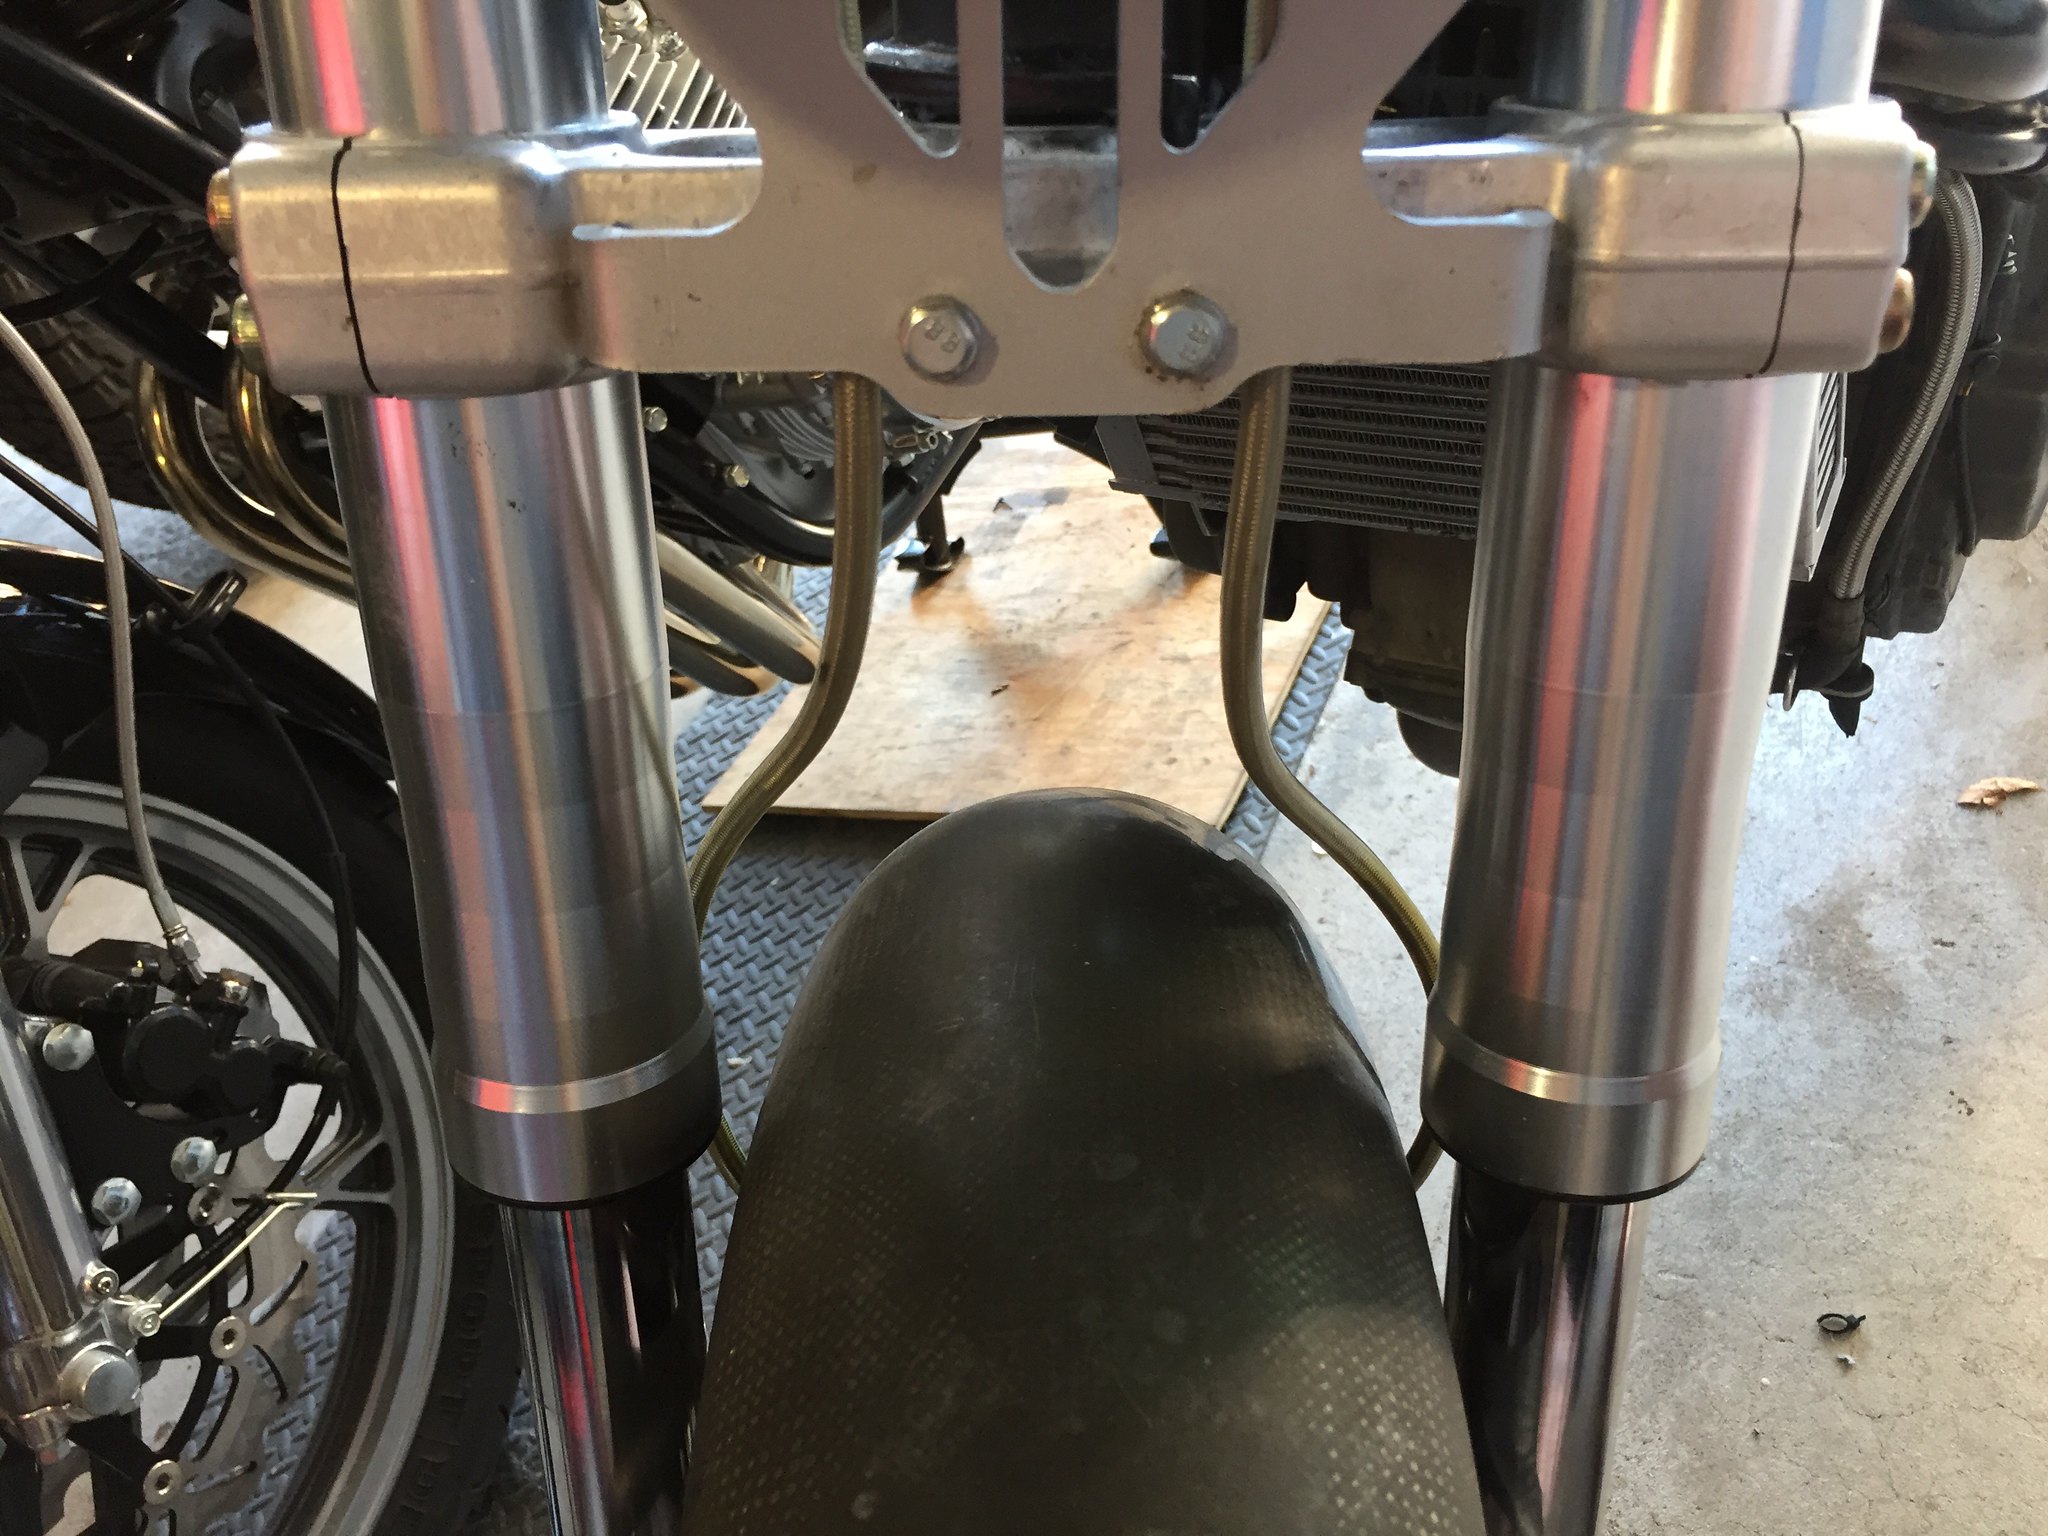
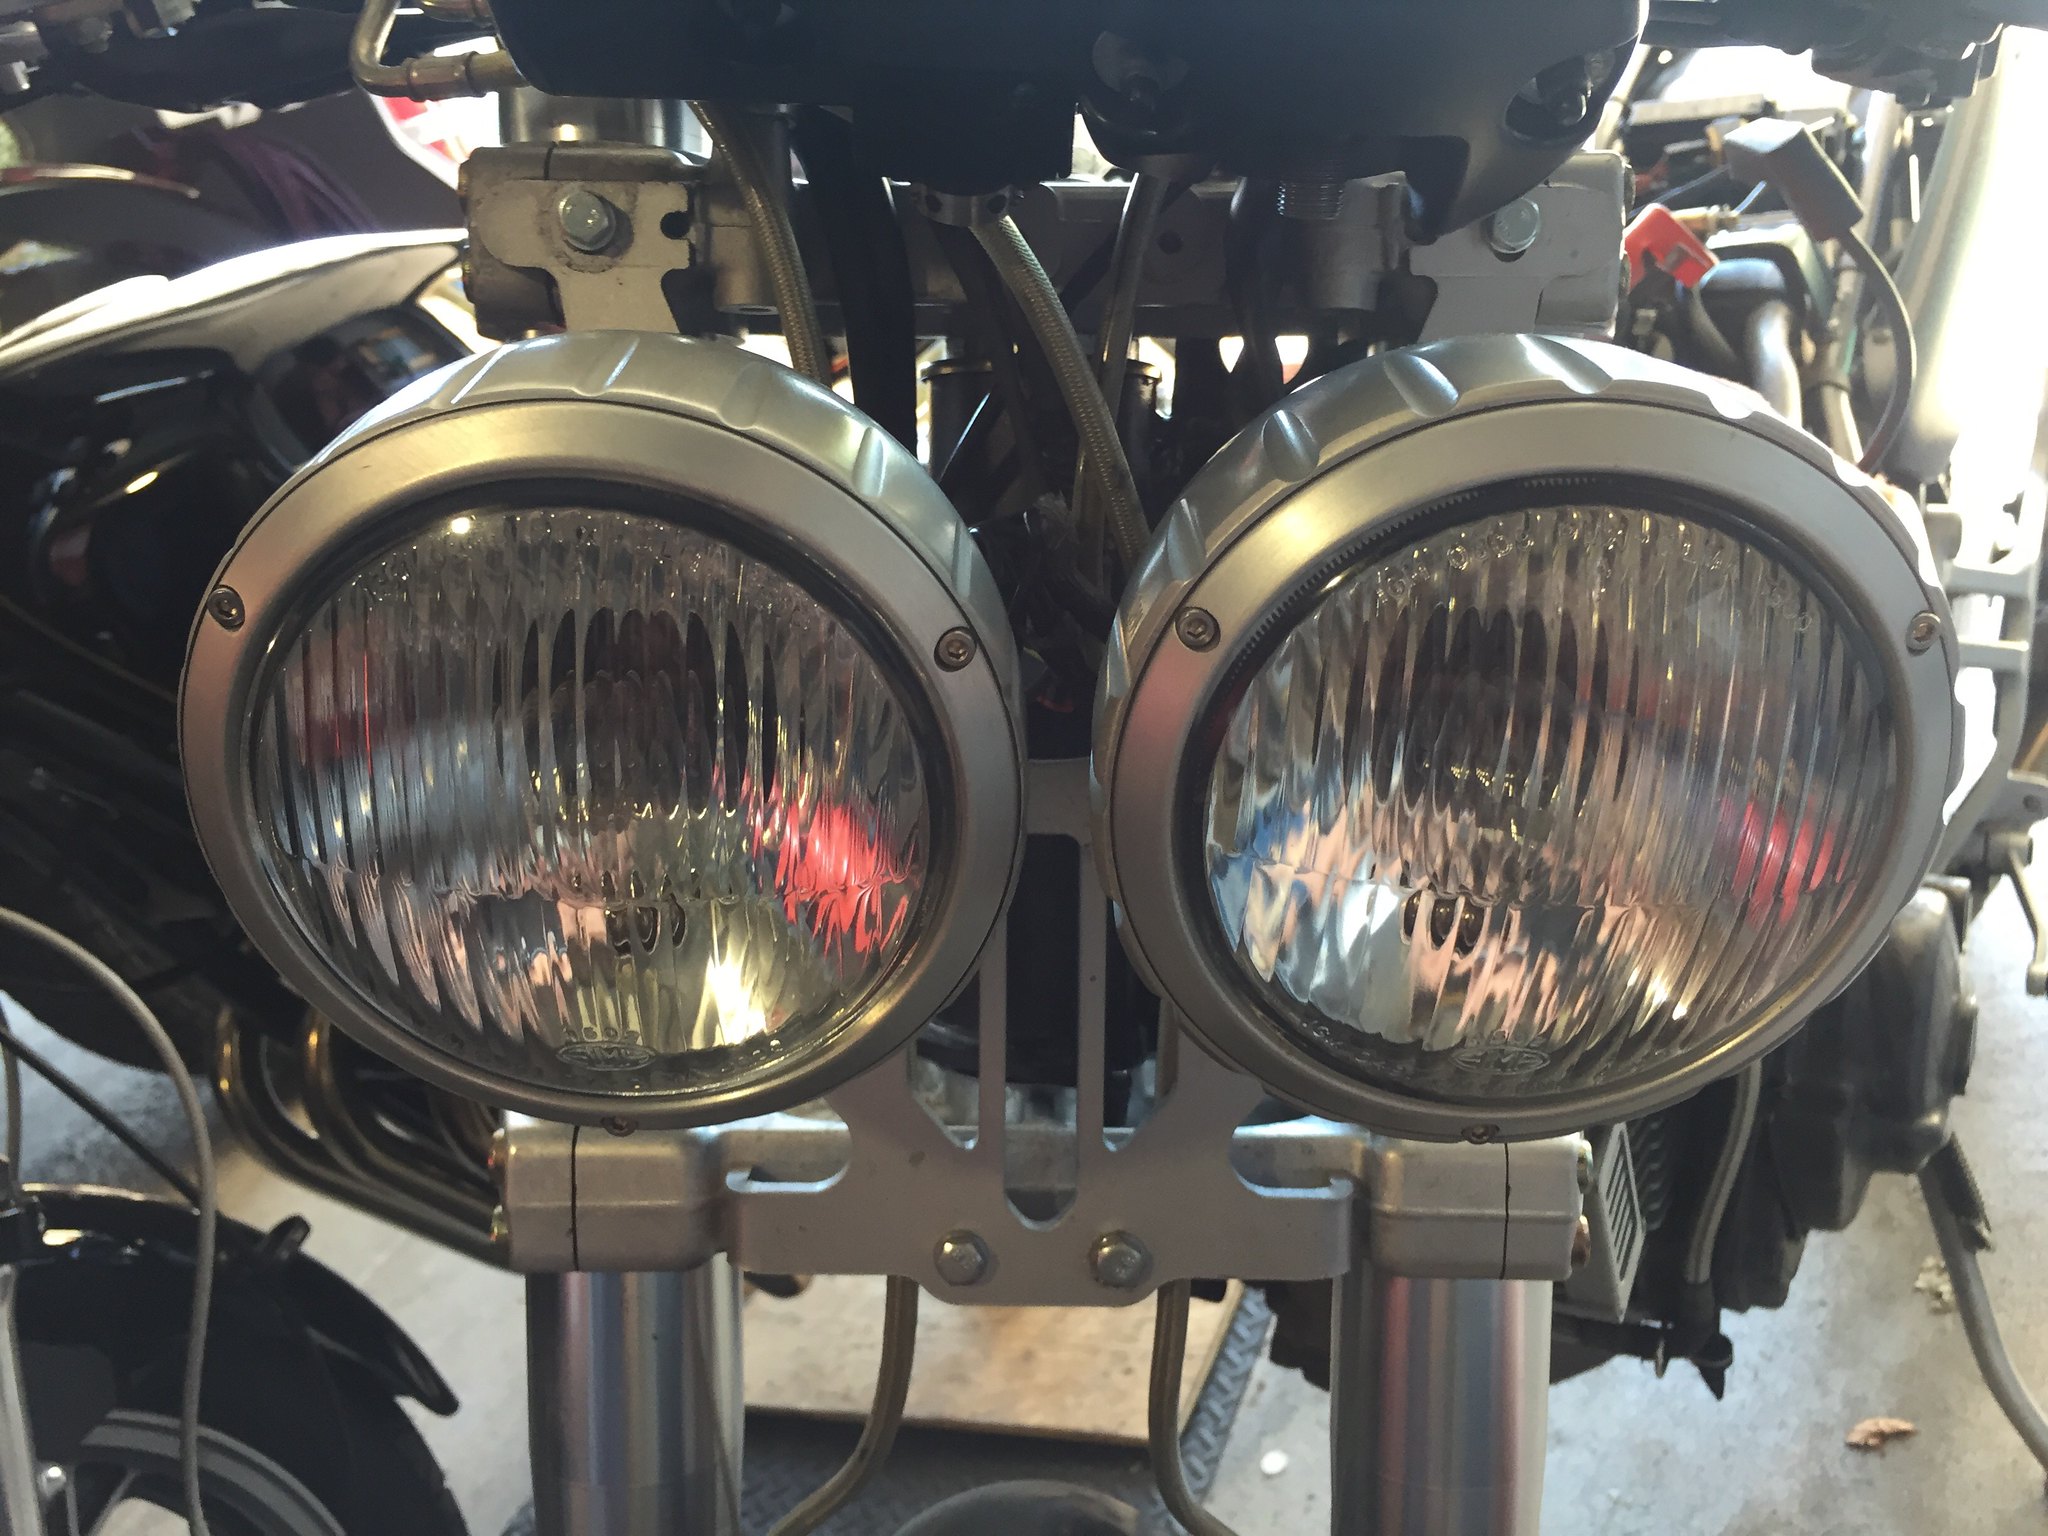
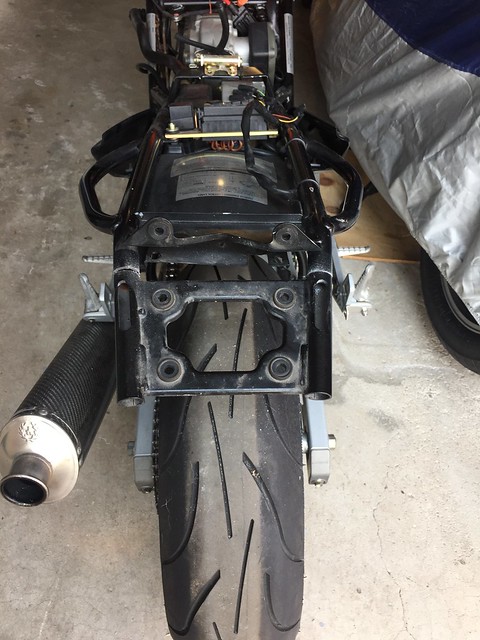
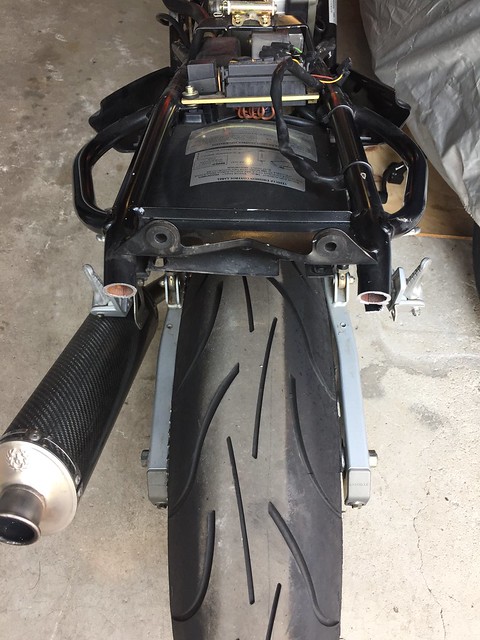
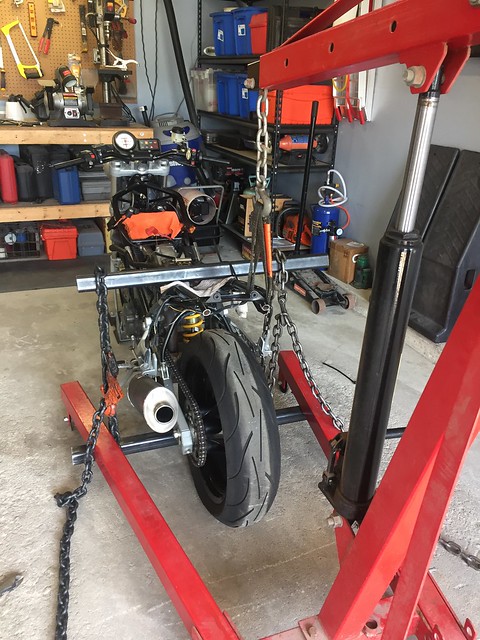
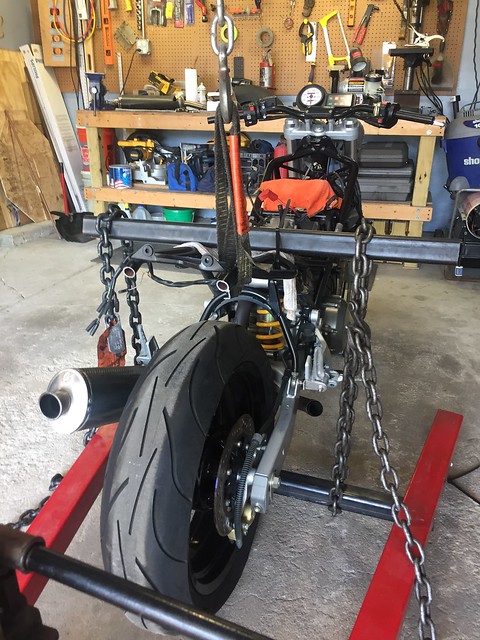
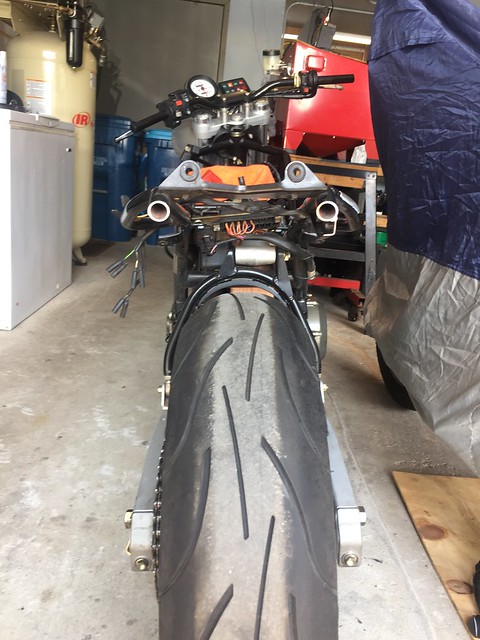
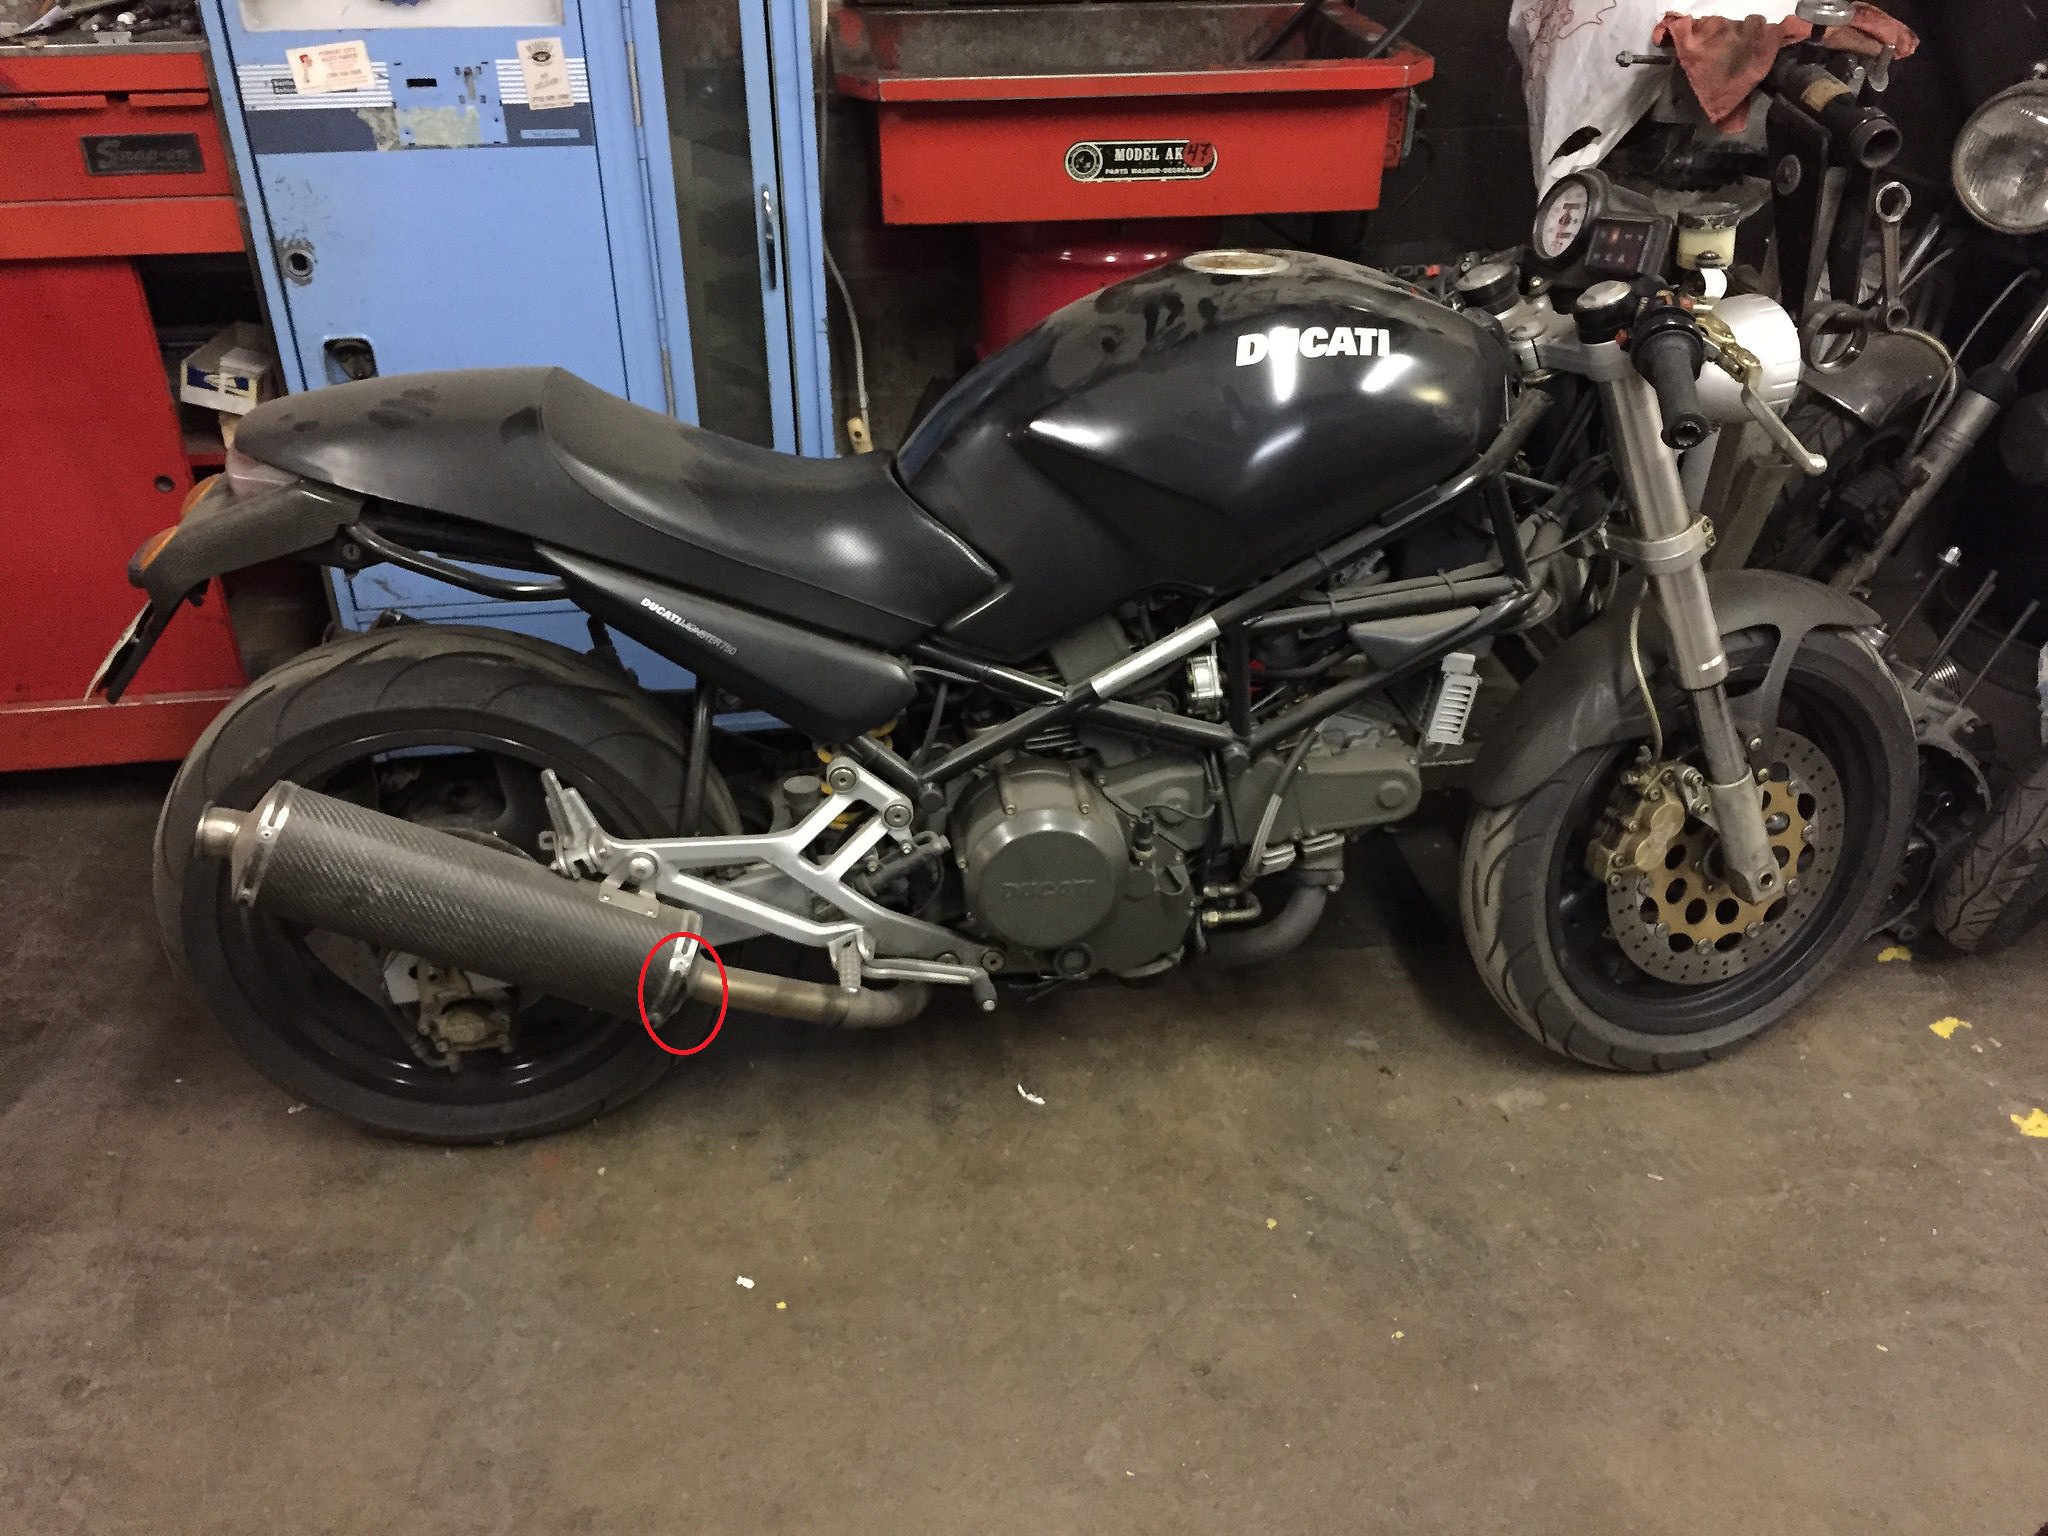
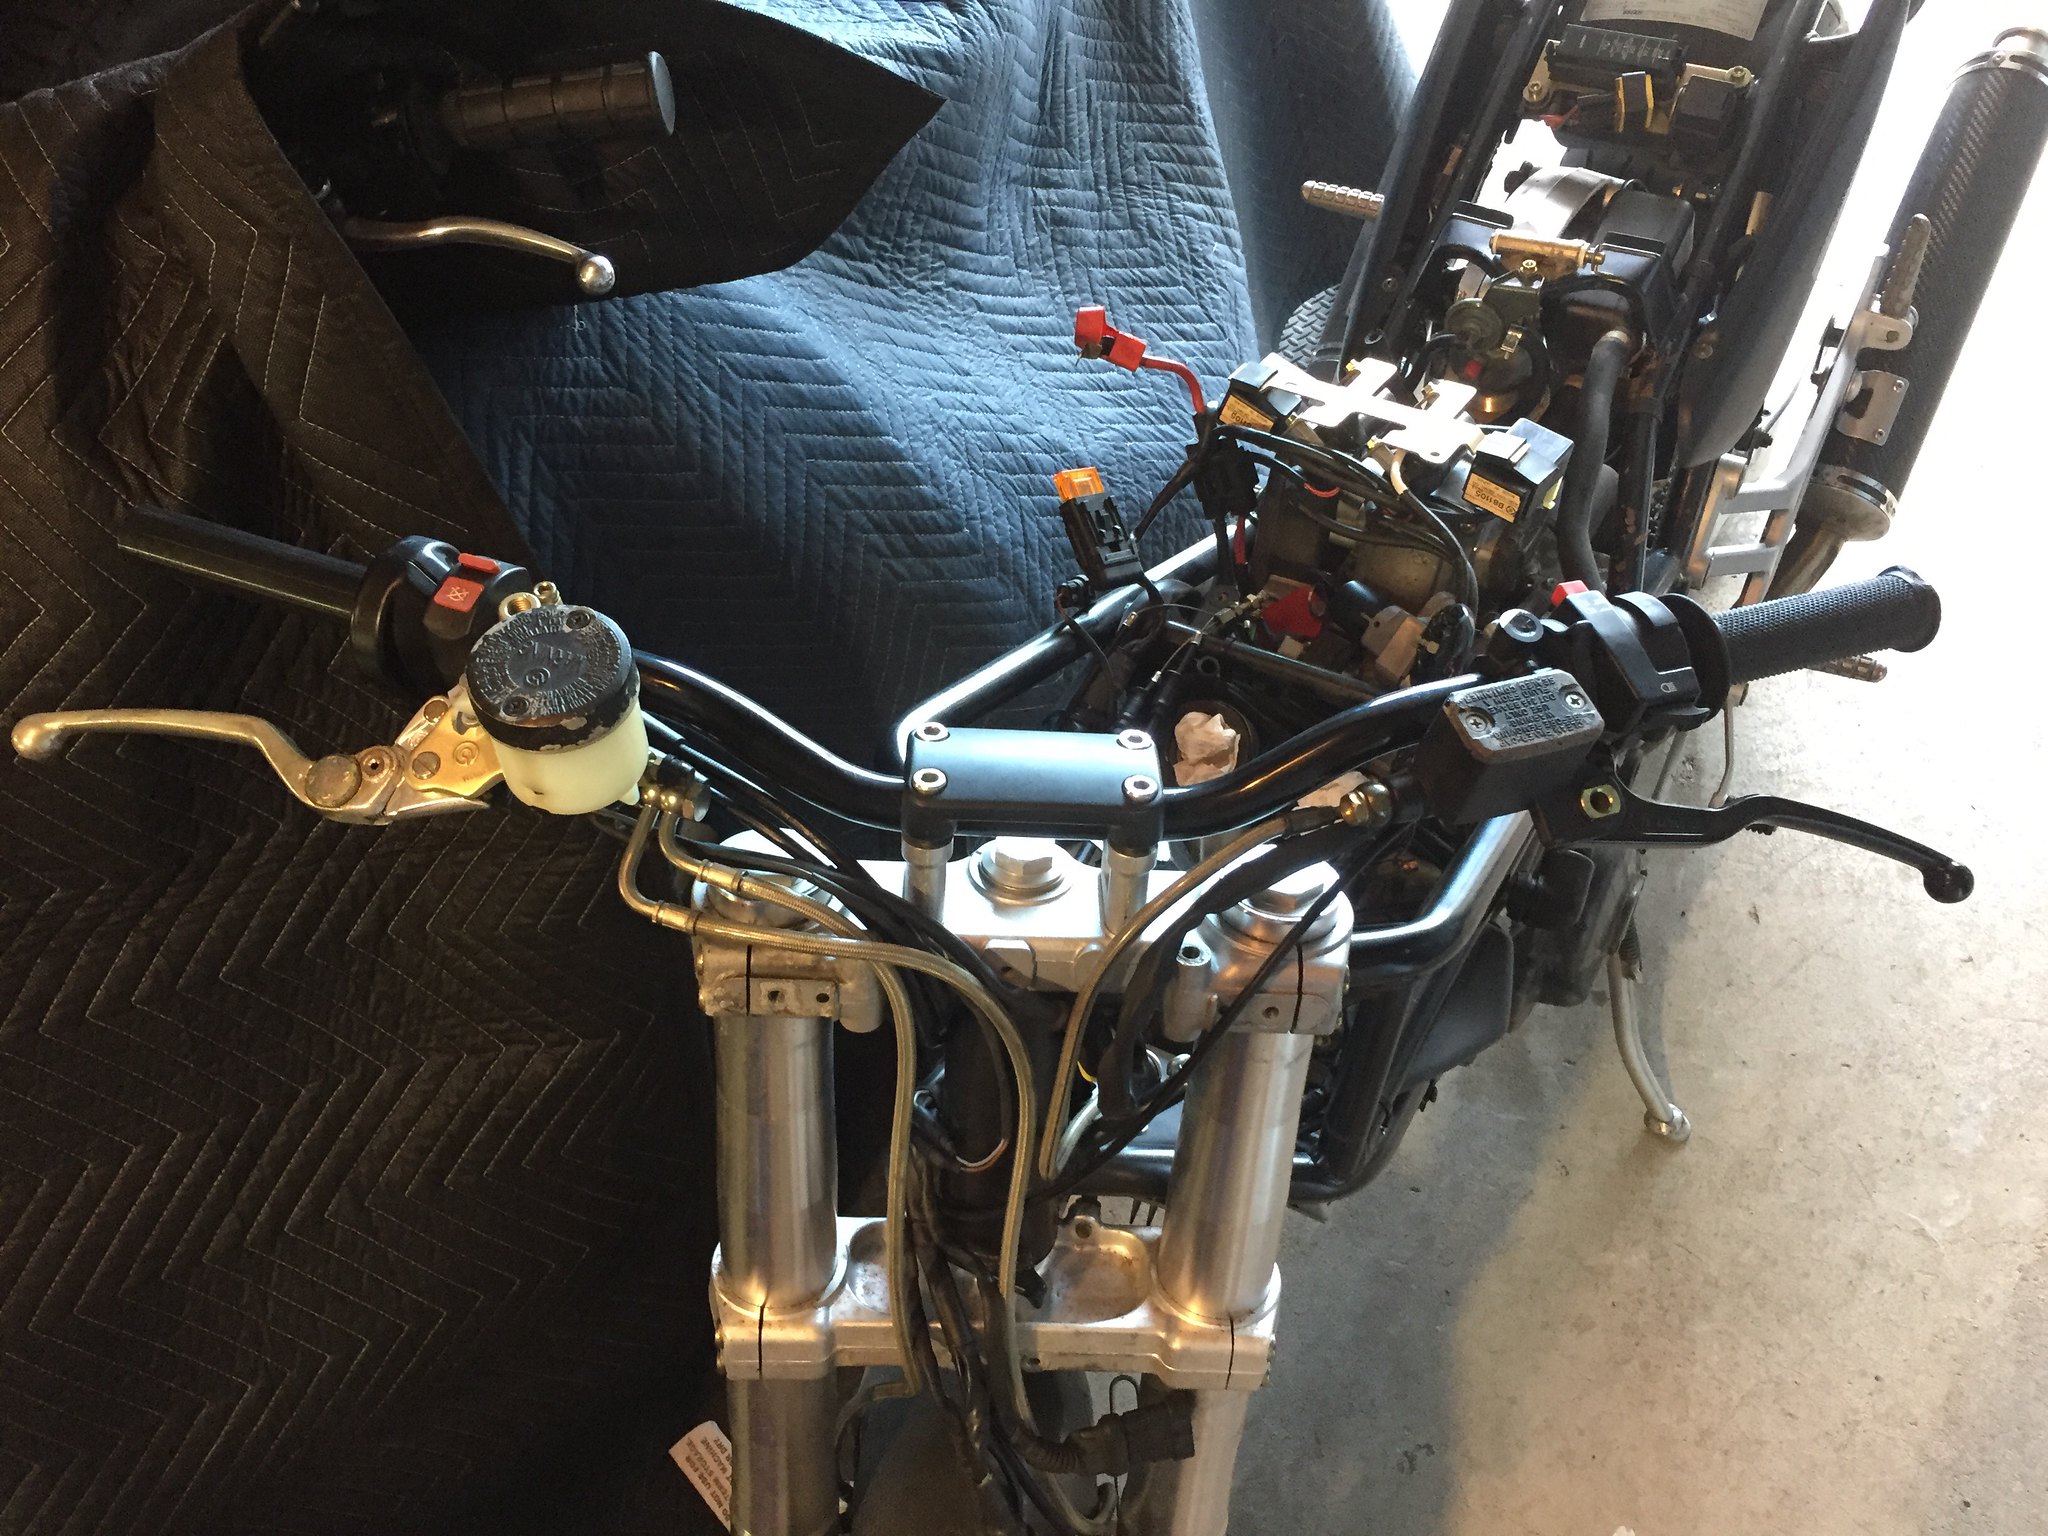
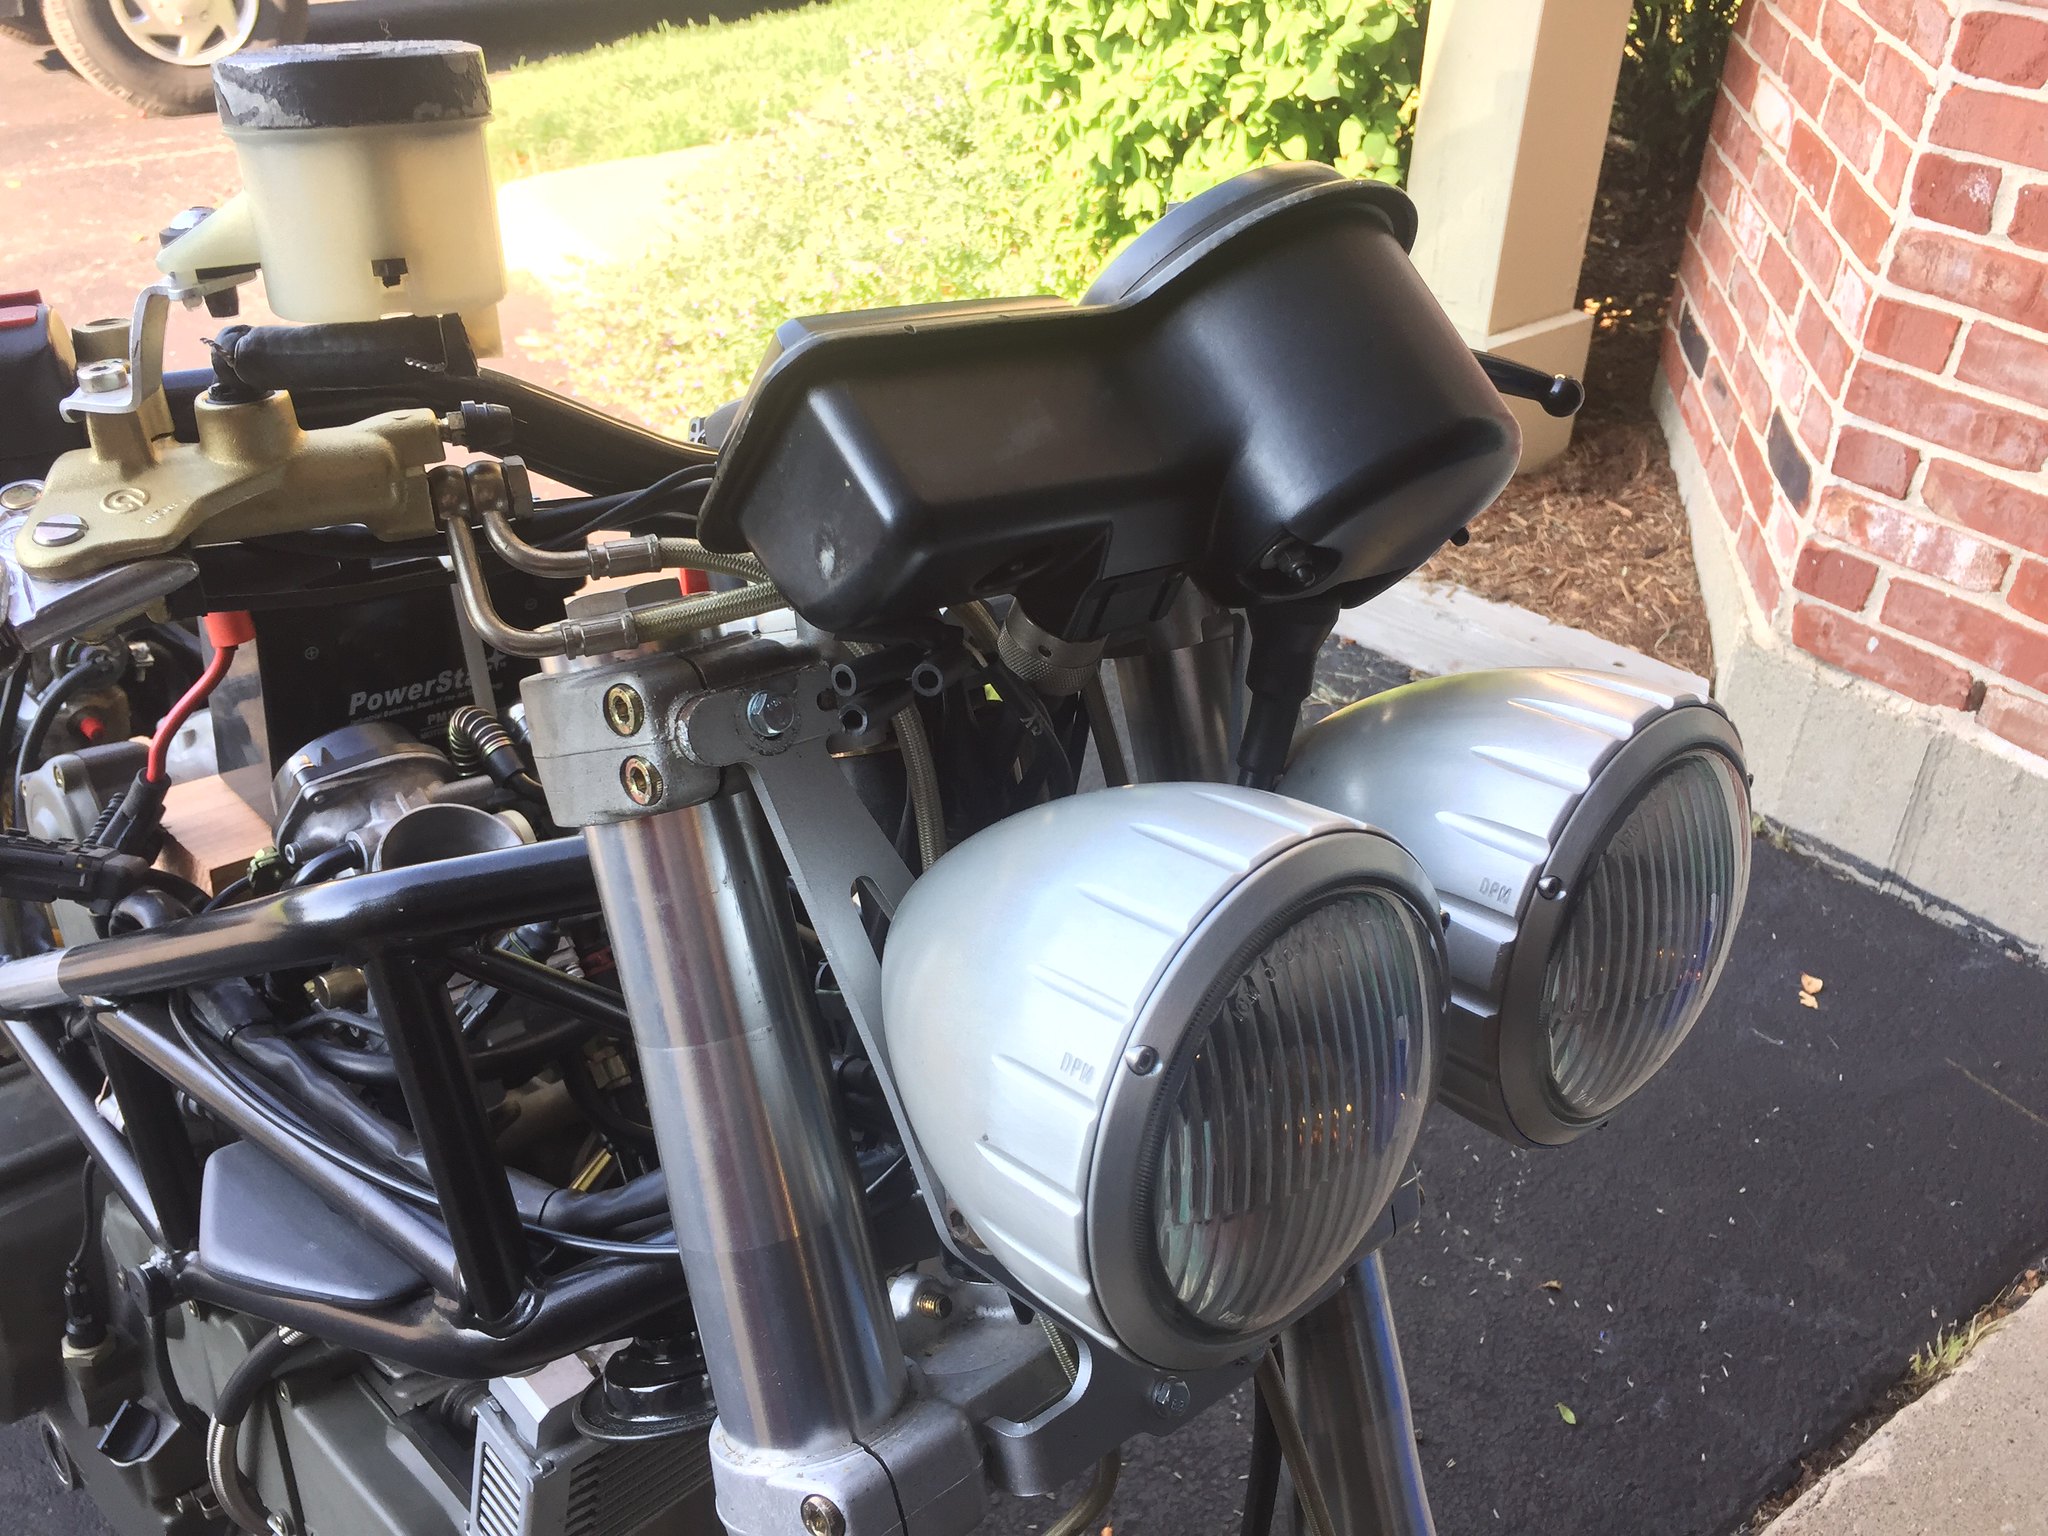
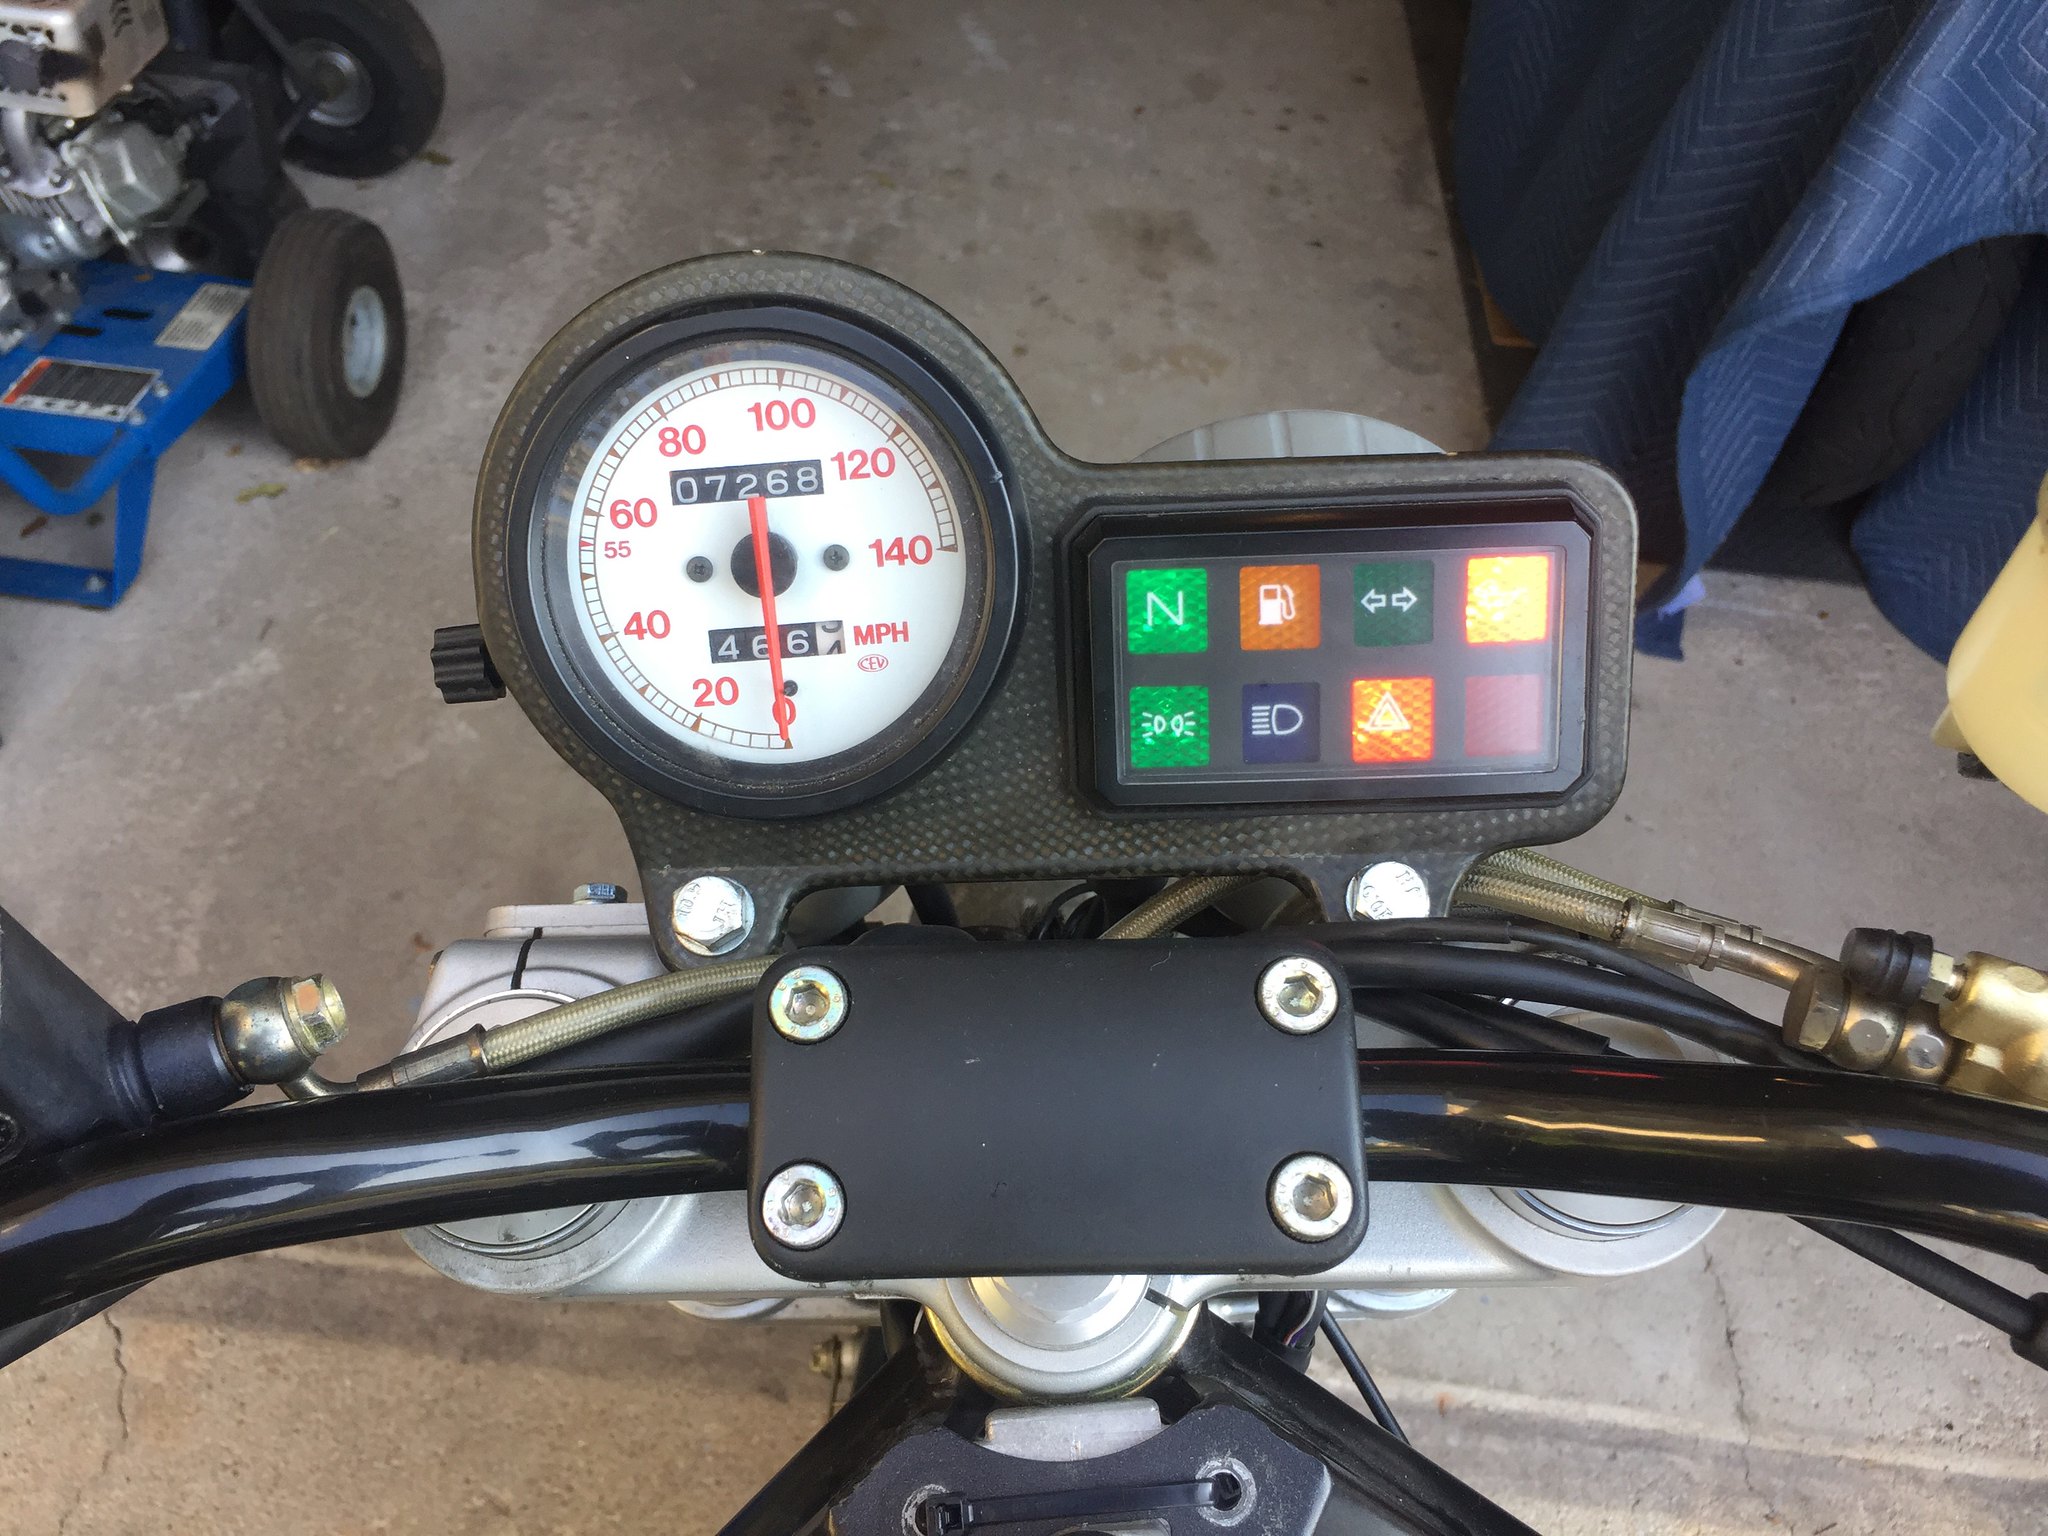
Also, I got around to swapping the bars back to originals - the previous owner had installed a set of clip-ons (see first photo) that didn't allow the fork legs to sit at the correct height and the lines from the master cylinder and clutch slave were too long and sitting at weird angles. Fixed.
 IMG_2532 by Anthony Monteleone, on Flickr
This weekend, I plan to get the carbs completely back together. More to follow...
IMG_1067 by Anthony Monteleone, on FlickrThe engine ran at one time, and the bike has been sitting since 2010. Carbs are literally glued shut from varnish.
Last week, I yanked the carbs and began a full disassembly - had to soak each body for a week just to get the throttle shafts to move. These are Mikuni BDST carbs - I found a supplier in Thailand (http://www.litetek.co) that provides a complete oring and gasket kit for them
IMG_2517 by Anthony Monteleone, on FlickrIMG_2531 by Anthony Monteleone, on FlickrThe carb dip ate the zinc off the throttle parts, so, I will need to re-plate them this weekend.
Also, I got around to swapping the bars back to originals - the previous owner had installed a set of clip-ons (see first photo) that didn't allow the fork legs to sit at the correct height and the lines from the master cylinder and clutch slave were too long and sitting at weird angles. Fixed.
IMG_2532 by Anthony Monteleone, on FlickrThis weekend, I plan to get the carbs completely back together. More to follow...
Last edited:


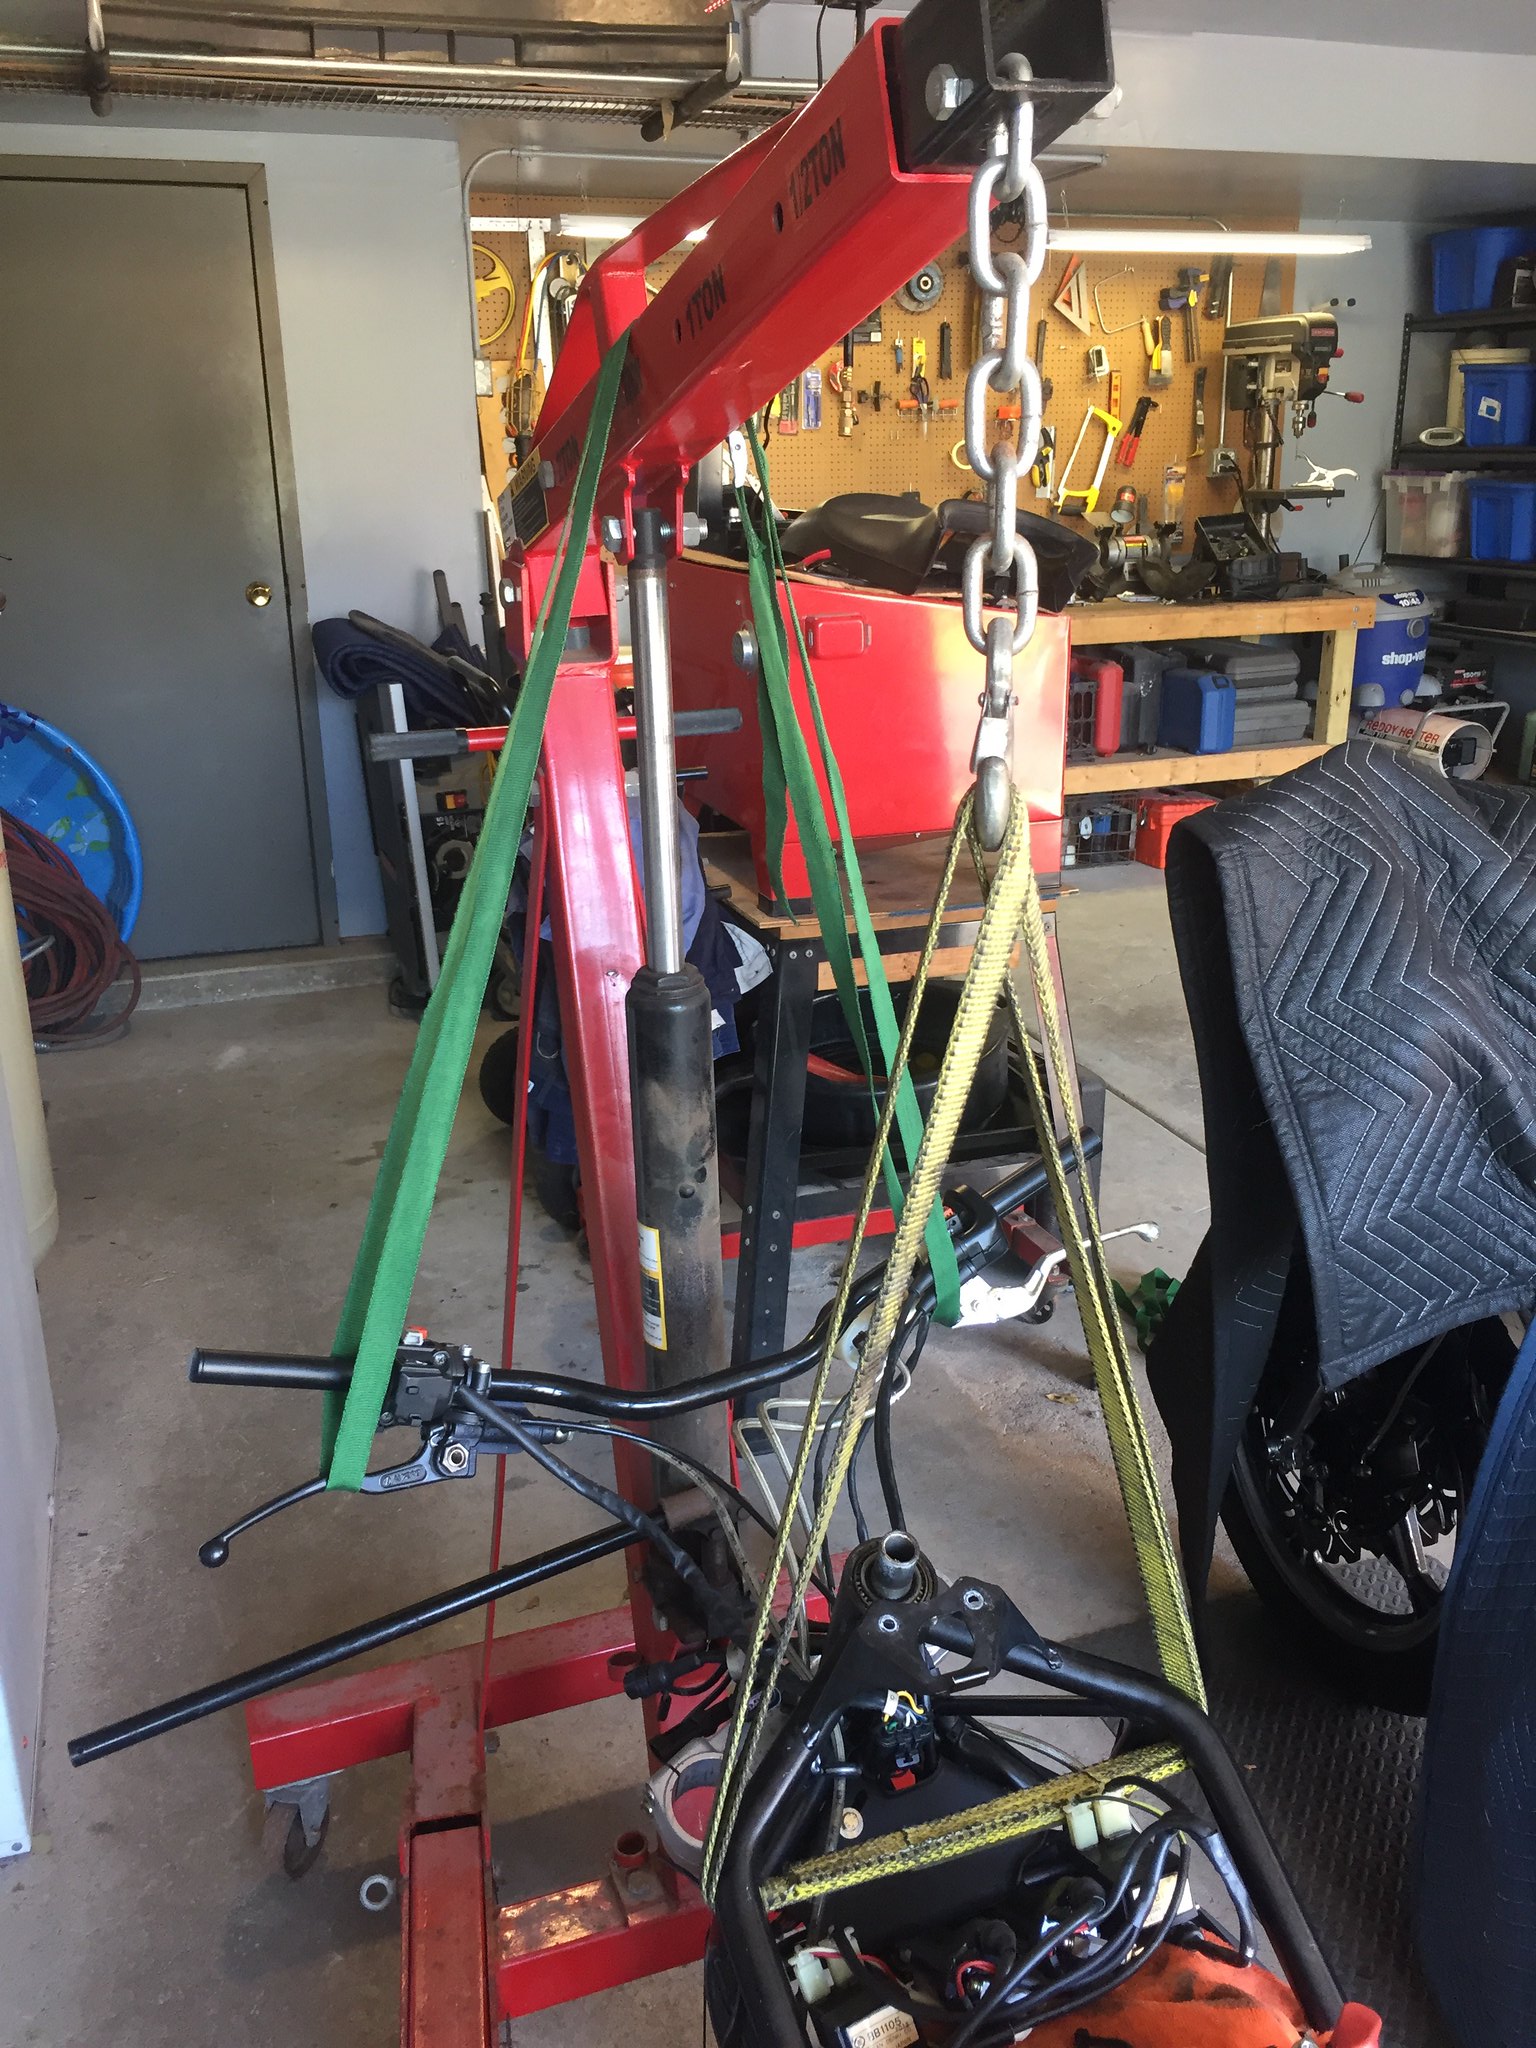
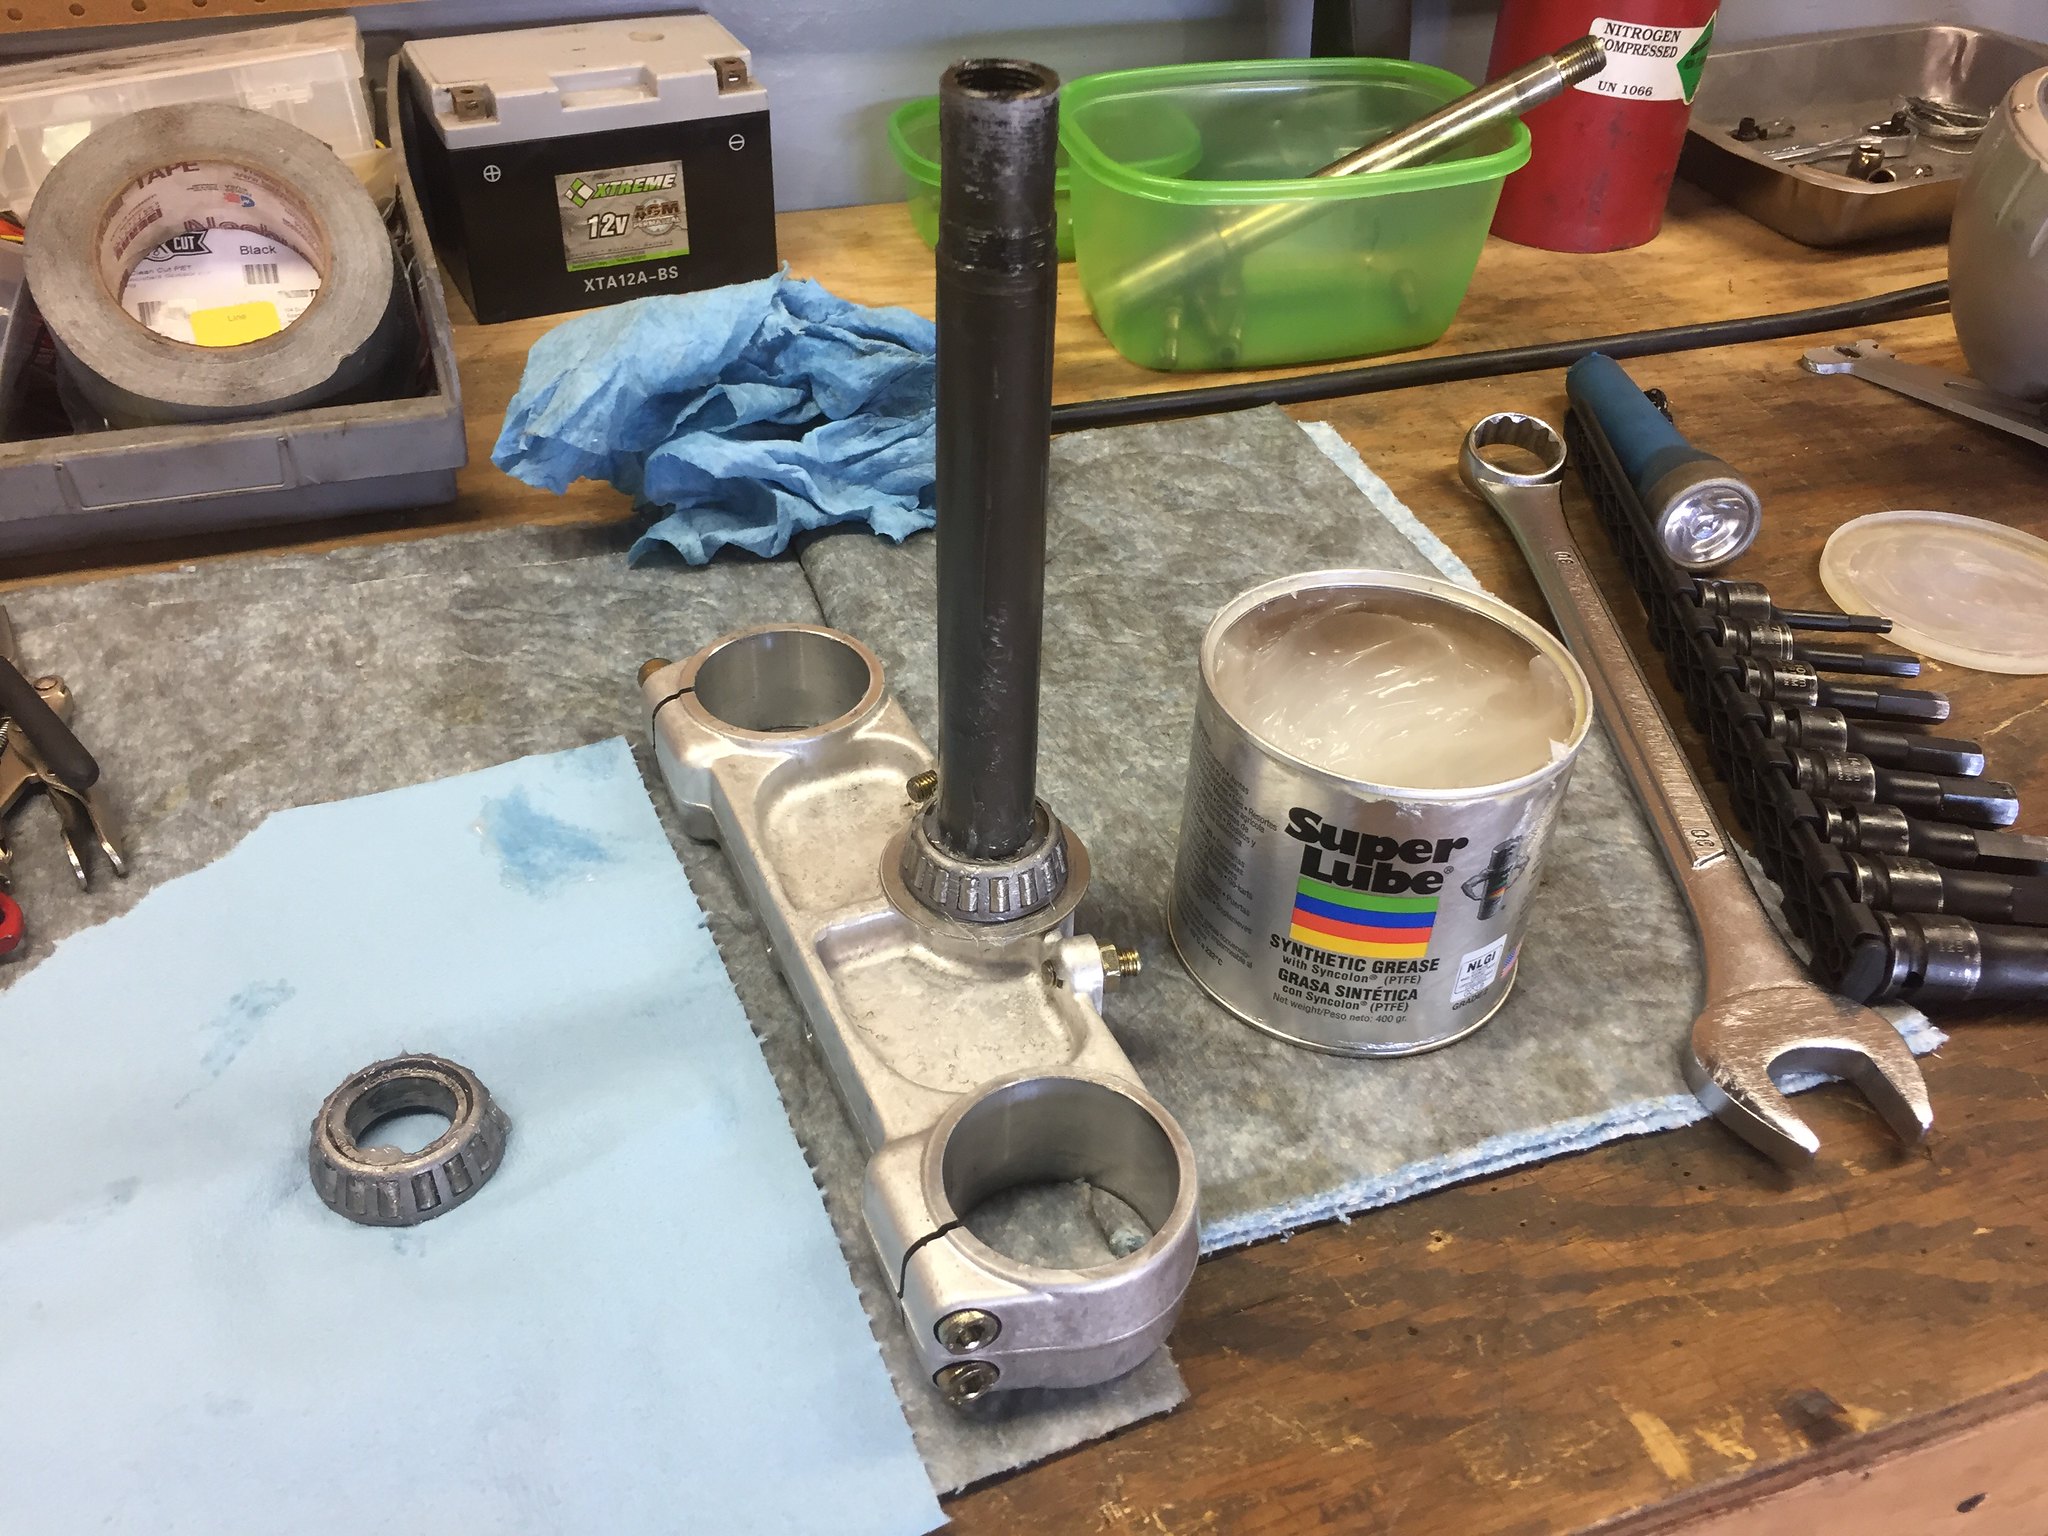
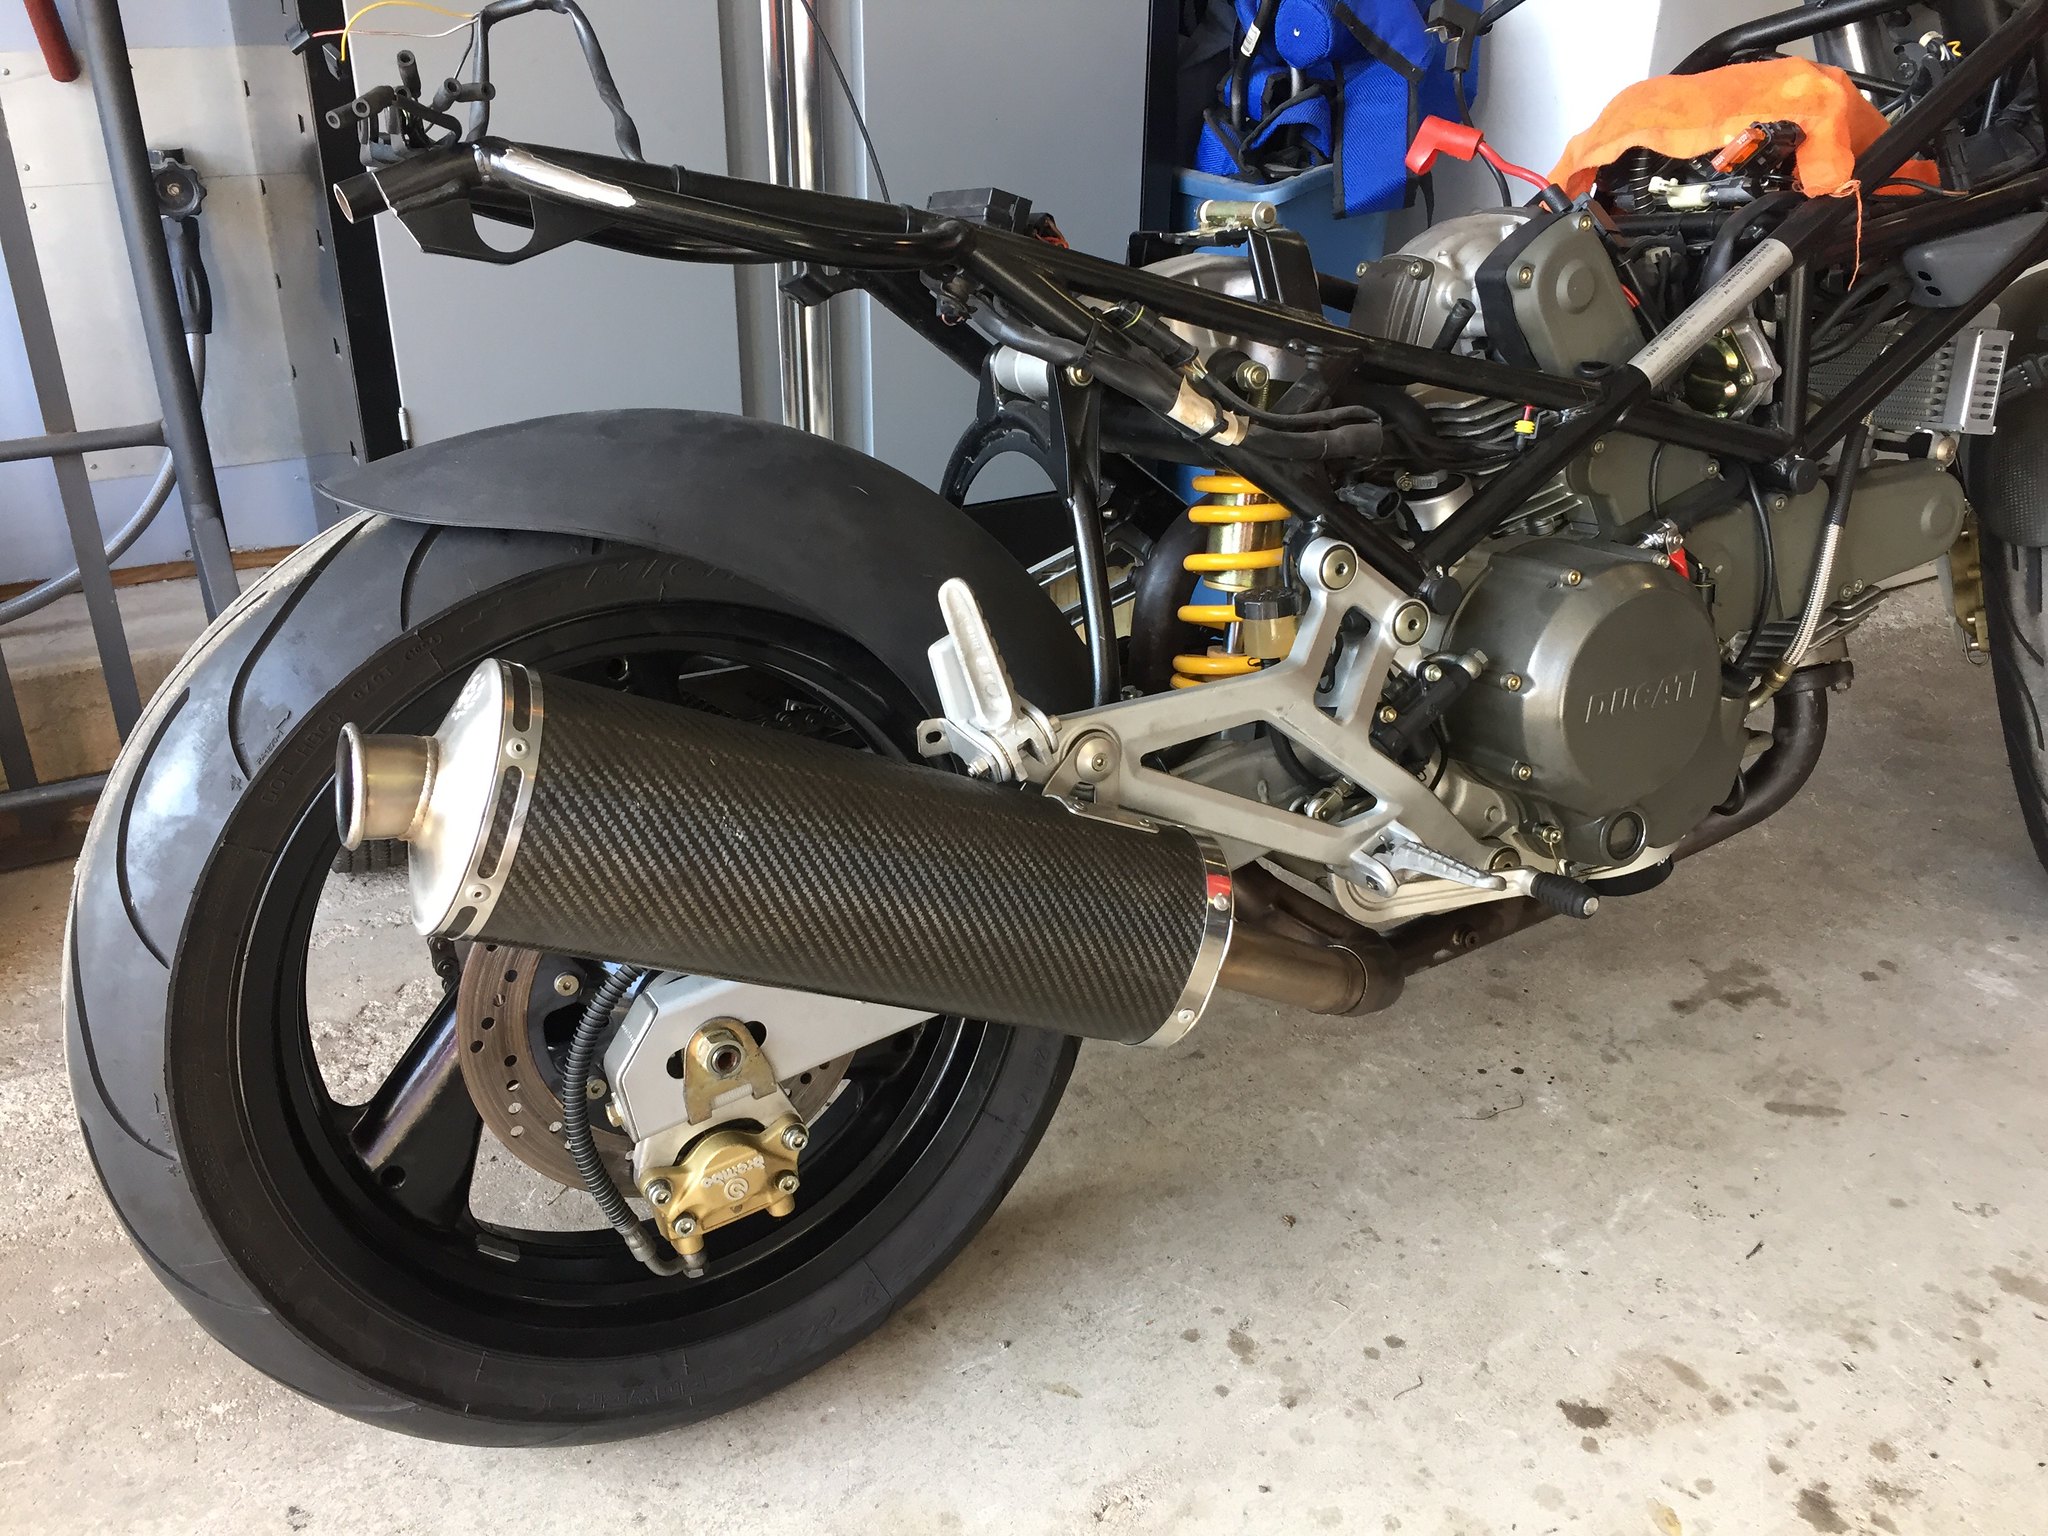
") Fork rebuild to be next week's project!
Fork rebuild to be next week's project!