• Required reading for all forum users!!!

    Welcome!
    Register to access the full functionality of the GSResources forum. Until you register and activate your account you will not have full forum access, nor will you be able to post or reply to messages.

    A note to new registrants...
    All new forum registrations must be activated via email before you have full access to the forum.

    A Special Note about Email accounts!
    DO NOT SIGN UP USING hotmail, outlook, gmx, sbcglobal, att, bellsouth or email.com. They delete our forum signup emails.

    A note to old forum members...
    I receive numerous requests from people who can no longer log in because their accounts were deleted. As mentioned in the forum FAQ, user accounts are deleted if you haven't logged in for the past 6 months. If you can't log in, then create a new forum account. If you don't get an error message, then check your email account for an activation message. If you get a message stating that the email address is already in use, then your account still exists so follow the instructions in the forum FAQ for resetting your password.

    Have you forgotten your password or have a new email address? Then read the forum FAQ for details on how to reset it.

    Any email requests for "can't log in anymore" problems or "lost my password" problems will be deleted. Read the forum FAQ and follow the instructions there - that's what we have one for...

  • Returning Visitors

    If you are a returning visitor who never received your confirmation email, then odds are your email provider is blockinig emails from our server. The only thing that can be done to get around this is you will have to try creating another forum account using an email address from another domain.

    If you are a returning visitor to the forum and can't log in using your old forum name and password but used to be able to then chances are your account is deleted. Purges of the databases are done regularly. You will have to create a new forum account and you should be all set.

Byrdmans "SCUD" cafe project

  • Thread starter Thread starter byrdman76
  • Start date Start date
B

byrdman76

Guest
Figured I would start a thread so that this project wast scattered throughout this forum.

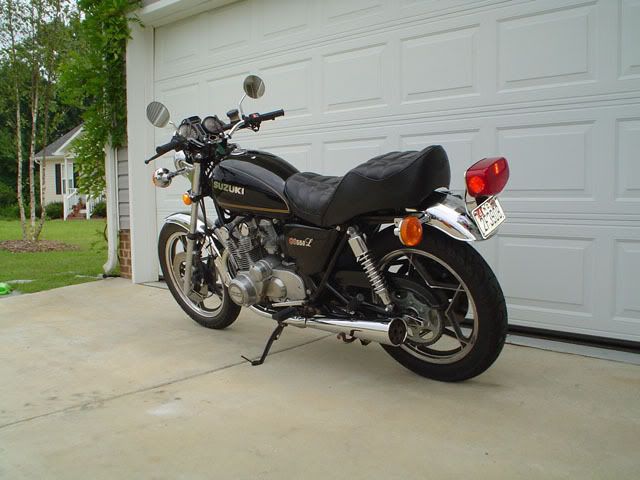
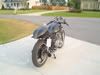
I brought the bike a few years ago and did a quick restoration to get the bike running and on the road. I rode it quite a bit once I got done with it and took it to work every once in a while. Below is a grainy photo of the day I brought the "SCUD" home.

various175.jpg


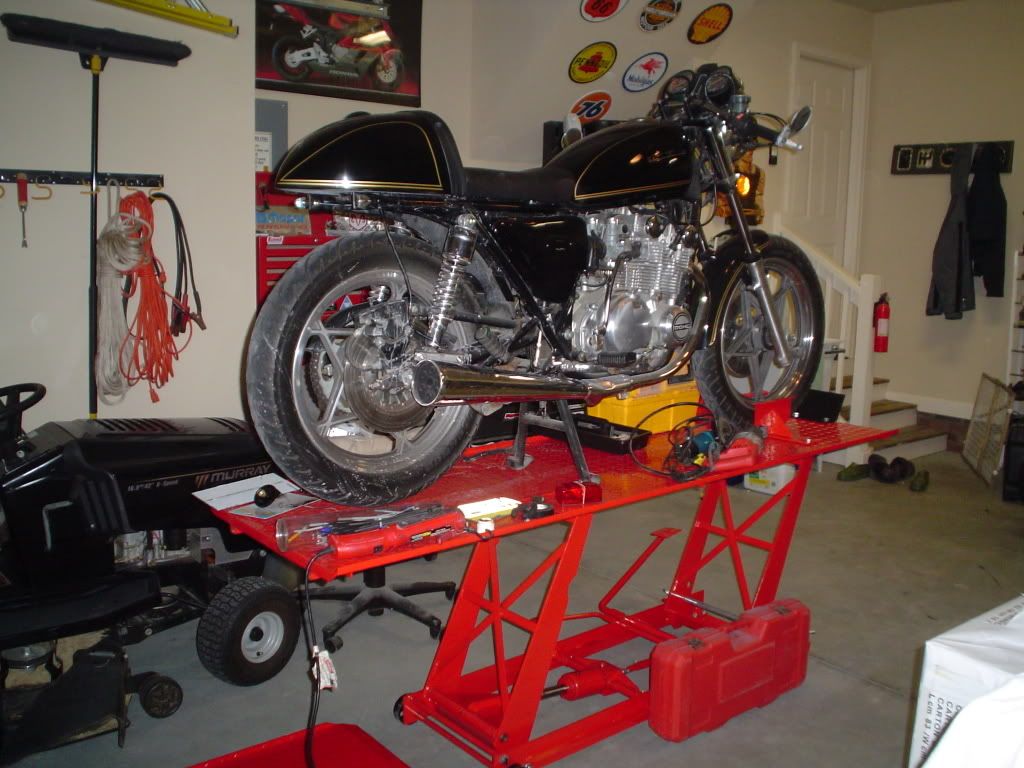
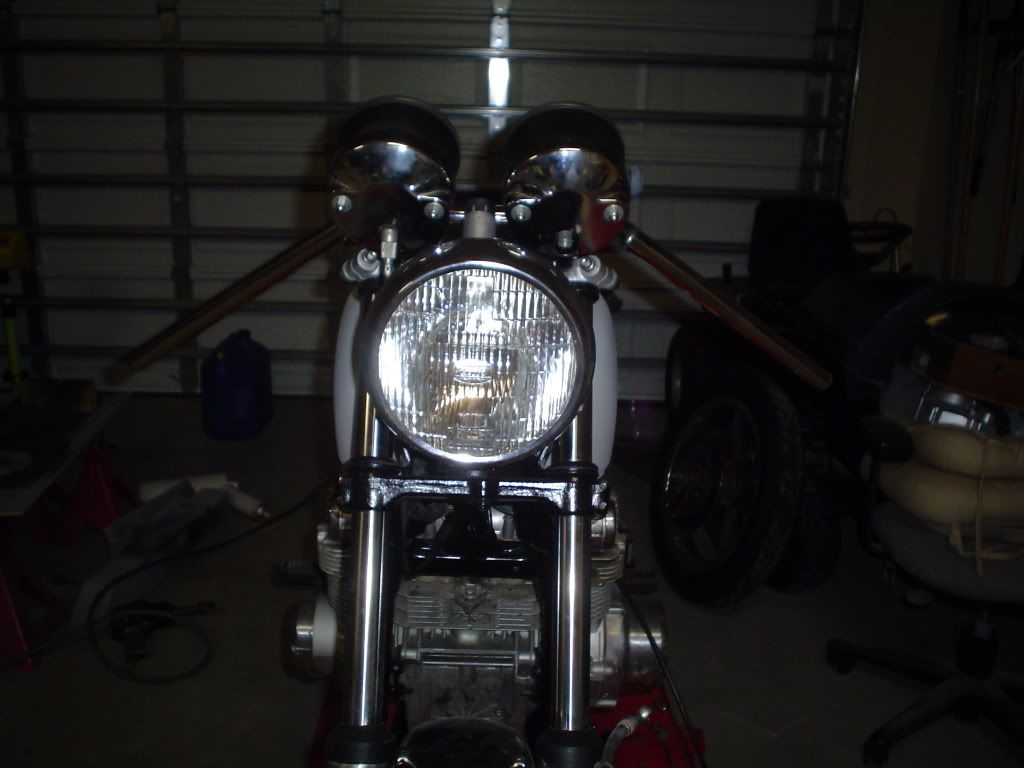
I rebuilt the carbs, cremed the tank, and just pretty much cleaned it up and got it rode worthy. I also removed the cow horns and replaced them with a lower set of bars.

550before.jpg


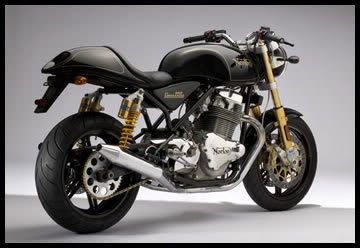
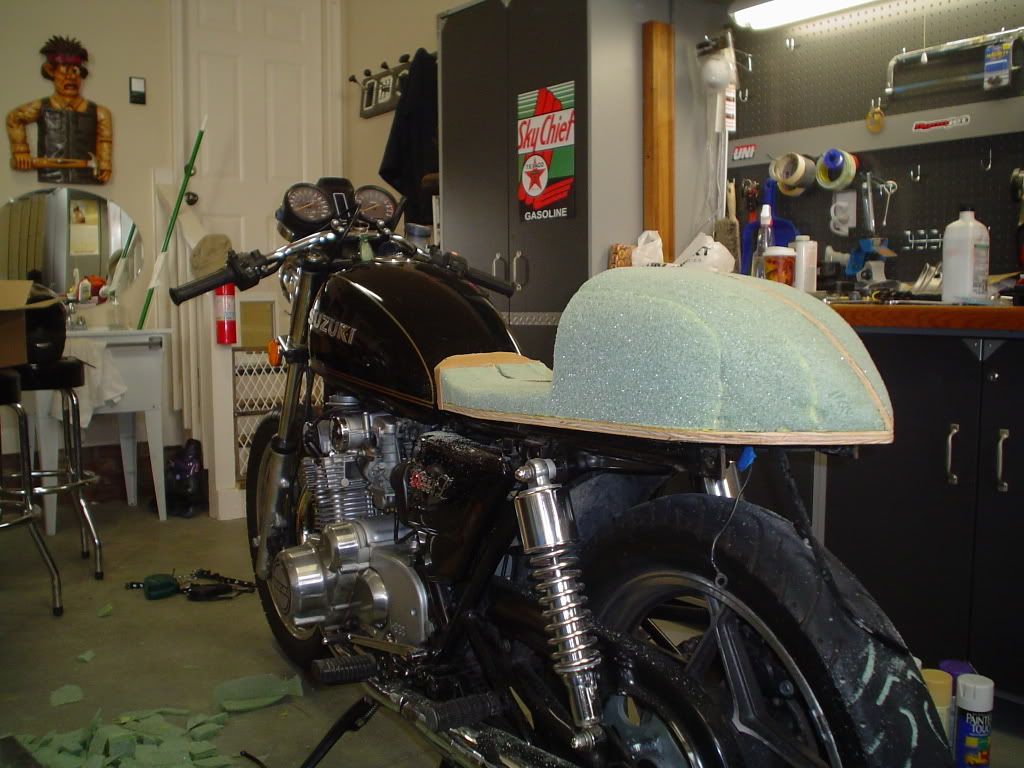
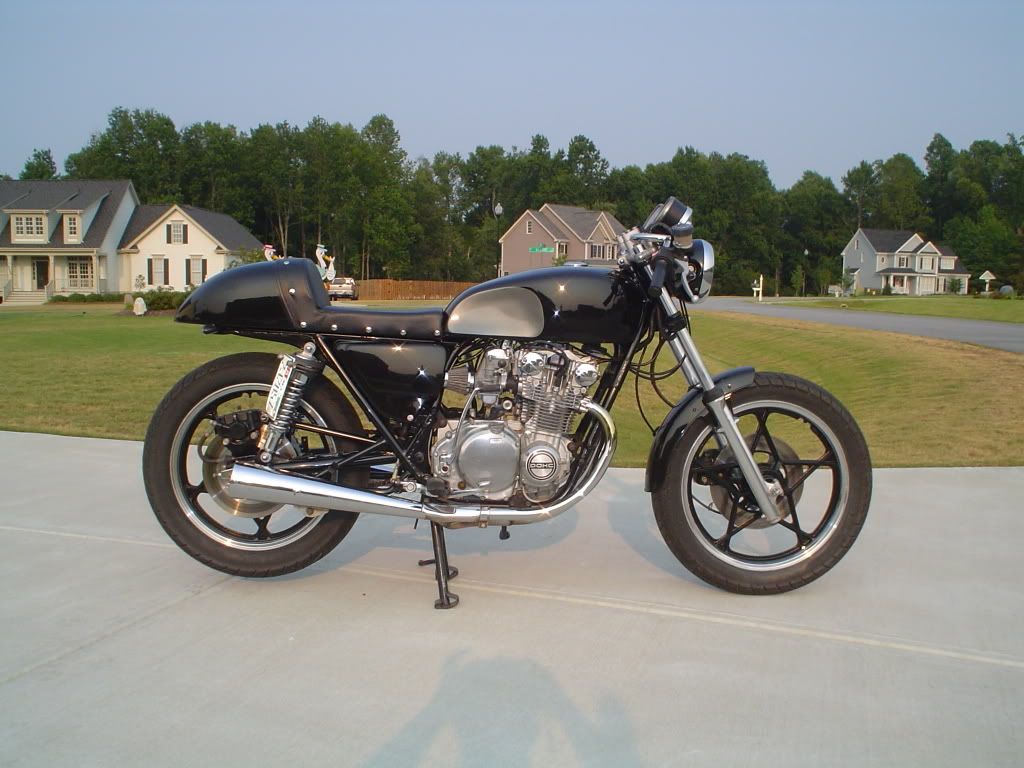
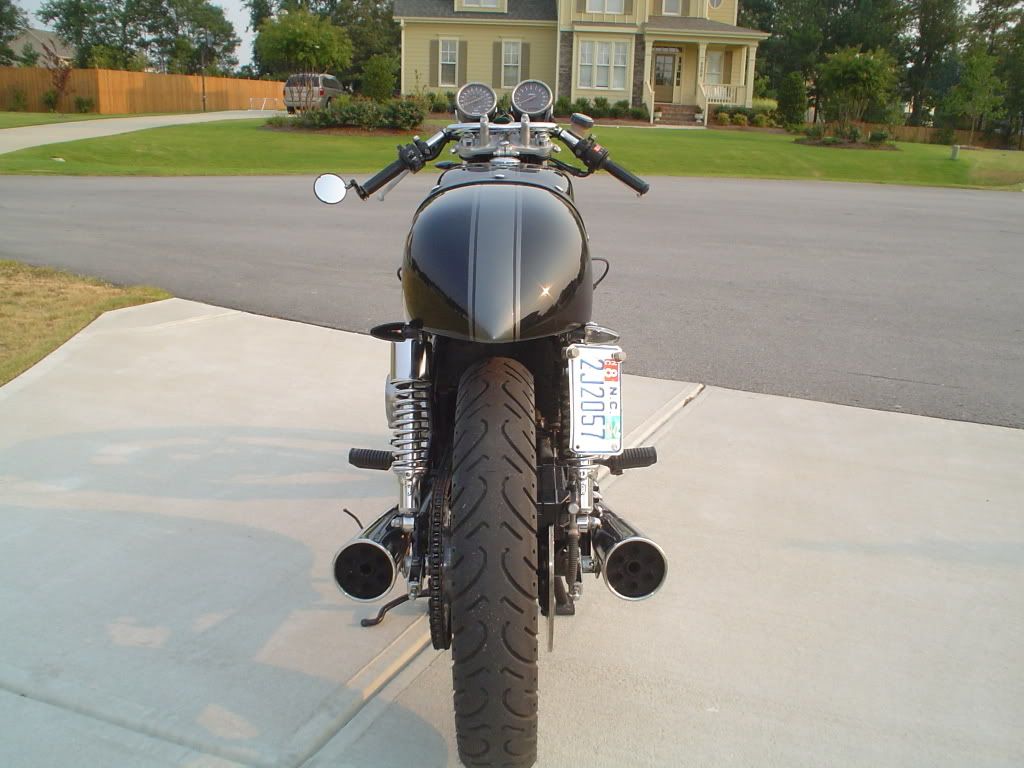
The bike remained this way until this past year when I read BHPPY's 550 cafe post. From that point forward the bike started its transformation. I removed the stock seat and started working up a profile for the new tailsection. It was my first attempt with fiberglass or any body work for that matter so there was a few hicups along the way.

Picture019.jpg


Picture025.jpg
 
[FONT=&quot]I finally finshed the bodywork on the tailsection and sprayed it with duplicolor gloss black and duplicolor clear. Wet sanded with 2000 between coats and taped it off in gold trim to match the tank. This is how the bike received its name the "SCUD" since the guys that i ride with all told me the tail section looked like a SCUD missle - haters! I like it so I guess that all that matters.

gs550007.jpg


I never really liked the look of the L tank on the bike so I scored a GS550E tank on ebay that I began grafting onto the L frame. The front and rear mounts had to be removed and relocated on the frame. I used the original rear mount and just moved it back on the frame to accomodate the larger tank. I had to add a cross member but it all worked out pretty well.

sv_650020.jpg


gs550012.jpg


gs550017.jpg


[/FONT]
 
I then realized that the headlight ears would need to be changed out for E versions along with adding 1/4 inch stops to keep the forks from hitting the tank. It worked out well and I didnt loose that much travel. I also had to relieve the headlight a bit to clear the keyswitch - a little effort with a brass hammer solved that pretty quick. I added a set of clubmans and removed the idiot gauges. I replaced the idiot lights with LED's installed in the headlight bucket.

gs550023.jpg


gs550022.jpg


I have added pod filters and rebuilt the carbs adding 100 mains and moved the needle into its highest position. I drilled the Exhaust out and I'll hopefully get it fired up this week. Still need to recover the seat again, install the Dyna S ignition and coils, and paint it. Same black with gold trim but i'll be spraying automotive paint this go round now that i have an idea of what i would like it to look like. Still have a long way to go before its done but at least you guys can see the progress in one location.

Byrd
 
VERY NICE!! Wish I posessed that sort of talent and patience! Well done, sir.:-D
 
Looking good! I love it when a project starts to come together.
 
WOW!!

Looks factory! In a good way.
You should be very proud fo your work.


Keep us updated
 
Very nice indeed. I like the black/gold combo.

I am also crazy impressed with the cleanliness of your garage.
 
Thanks for everyones comments, its been a blast - ok sometimes its been a blast. Bodywork for the most part sucks. I just hope this thing runs after i get done with it.

Got the Dyna Coils installed tonight and wired into the electrical system. Couple of questions. has anyone else that installed these coils feel that the terminals were very close to the mounting post? I ended up putting heat shrink tubing on the mounting posts to protect it from an accidental short to ground. The original coils has the terminals 90 degrees from the mounting post to eliminate this issue. Just want to make sure that im not missing something here...

Thanks again,

Byrd
 
Update on the SCUD

Update on the SCUD

Had to take some time off from the SCUD project to get a few other things done around the house and a few other projects took priority. The wife and I found out that our first pregnancy turned out to be a double header! Dont know what they will be (not going to find out) but they are fraternal so maybe we'll get lucky and have one of each - right now we just hope their healthy. Finally got back into working on the bike last week and got it mostly back together except for paint.

First off I would like to say thanks to Keith for you recommendations on jet sizing, needle adjustment, and both pilot and air screw adjustments. I also promised to post up my current set up to all of us faithful GS550 owners.

I drilled and removed the stock exhaust baffle basically a 1" hole in each pipe Sounds great, not too loud but with the pods it has some serious character. I installed the cheap ebay K&N knock off pod filters, ebay K&L carb rebuild kits, dipped the carbs in berrymans, installed a Dyna S ignition, dyna coils, and dyna wires.

I set the carbs up with 100 mains (ebay 32 jets for about 30 bucks), stock pilot jets, set the pilot fuel screws 2 turns out, air screw mixture 2 turns out, standard float height, and highest needle position. bench synced and put them back on.

The Dyna ignition is truly unreal. When I first fired the bike up and took it down the road for the first time it ran great. I got back to the house with the bike running pretty well. It had gotten a little sluggish on take off, but it cleared its self up once I got the rpms up and was still idleing fairly smoothly. I pulled all four plugs and they looked horrible - I couldnt believe the bike was even running. I would have had to throw them away in the past - you know these Suzuki's can be tempermental if the plugs get even close to being fouled. I sprayed them off with carb cleaner, put them back it and adjusted the air screws for the highest rpm on each carb. Jumped back on the bike and rode the **** out of it for 20-30 mins. Got back and the plugs looked great and the bike sounded like a sewing machine at idle. Still need to throw on the merc sticks, and plug chop it a few times (just to be thourough) but i am truly amazed how well this thing runs.


Couple of things to point out regarding the changes. No bottom end loss if anything it has improved, no flat spots in the power band - bike hauls butt to 100MPH, adjustments were minimal - air screws and fine tuning the ignition timing with a gun were the only adjustments made, and I rode it probably 100 miles this week (same spark plugs). Higher RPM's 8-9000 are smoother and quicker to obtain. Im totally happy with the performance, now i just have to make it look as good as it runs. I'll post some pics once I get done painting it.

Later,

Byrd

 
We'll were into the final stretch now...

We'll were into the final stretch now...

Paint is done and the seat is covered permanently.

Still need to fabricate the tail light/license plate light. I picked up a 32 ford tail light off Ebay with the plate light incorporated.

Here's a few pic's of the progress.

gs550006.jpg
gs550007-1.jpg
gs550005.jpg
 
I have the same bike! I'm planning to cafe it as well and this is total motivation. :-D


what year is she?
 
I have the same bike! I'm planning to cafe it as well and this is total motivation. :-D


what year is she?

Thanks for all of the comments. Good luck on your project! Plenty of people on this site ready and willing to help you along the way.

She was a '79 GS550L

Byrd
 
Seriously nice looking bike man. I can only hope mine turns out as well. Course, if it does, I might not want to sell it...
 
The wife and I found out that our first pregnancy turned out to be a double header!

CONGRATS!

You best work on the bike before you can't...heck, get another one to finish before the kids come! :)

Excellent work on that thing, it's a beaut! I'm doing similar work on my CB500 project, except I'm going to keep the stock flat seat for now. I love your paint!

~Adam
 
Go back to the first photo and look above the tail section...

Go back to the first photo and look above the tail section...

CONGRATS!

You best work on the bike before you can't...heck, get another one to finish before the kids come! :)

Excellent work on that thing, it's a beaut! I'm doing similar work on my CB500 project, except I'm going to keep the stock flat seat for now. I love your paint!

~Adam

We introduced Corbin Daniel and Emma Grace into the world on Friday the 10th of Aug. During the weeks leading up, I nearly burnt myself out trying to get the bike to a somewhat complete status and also trying to get everything else in my life taken care of before the big day.

Needless to say were both still walking on air. We never found out what they were during the pregnancy so when one of each came out we both nearly lost our minds. I know I did.

Ive got a 71 CB750 waiting for its transformation now. Building an 836 motor with late model front forks and a late model rear but I will retain the dual springs only upgraded to reservoir versions. I want to build something that resembles the new Norton Commando. Unfortunately Ive found that there is seriously not another web site around like the GS resources for older Hondas. The step by step builds and information on this site make you realize that you have gotten pretty spoiled when you begin to look around for information about bikes.

Keep up the great work!

Byrd
961_06.jpg
 
Back
Top