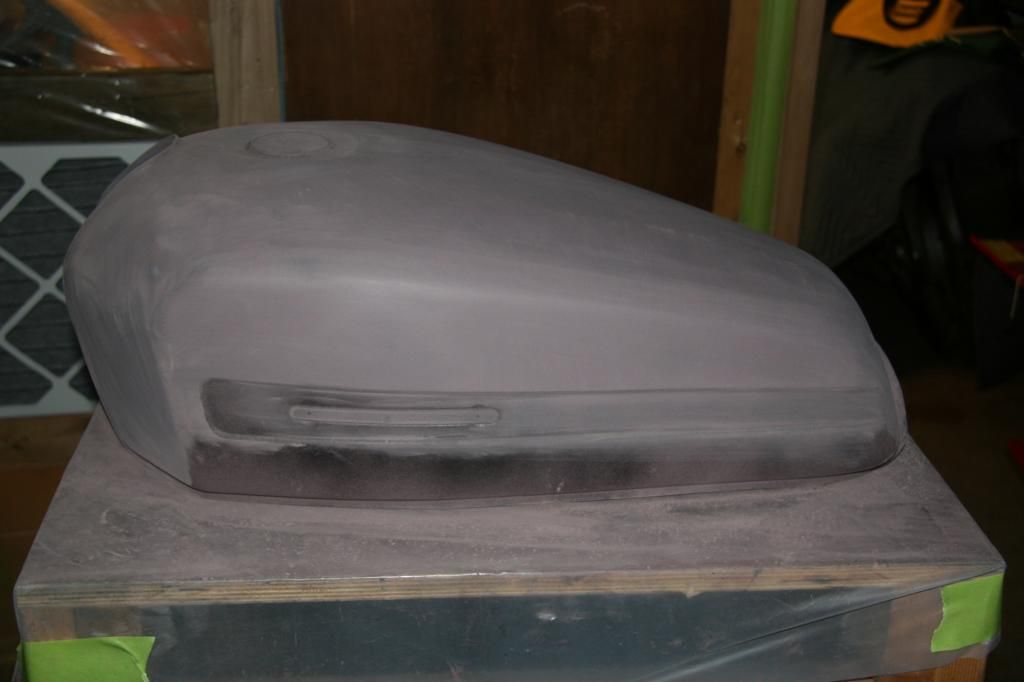
Spent five or six hours today out in the garage block sanding the seat trim, mixing up the sandable primer, shooting it and blocking out a good portion of the tank. This time I added in 1 part of reducer making the primer easier to spray. Put on another two coats, guide coated it and whipped out the sand paper.
Yesterday I found a slight black line in the tailpiece which at first I thought was a hair off one of the dogs. Unfortunately it wasn't. It ended up being a crack in in the ABS.
Tomorrow I'll mix up a bit of ABS slurry and take a die grinder to the crack opening it up enough so it can be filled. Hopefully I can get it repaired in time for it to be primed and block sanded before the coming weekend.
Dog hair...
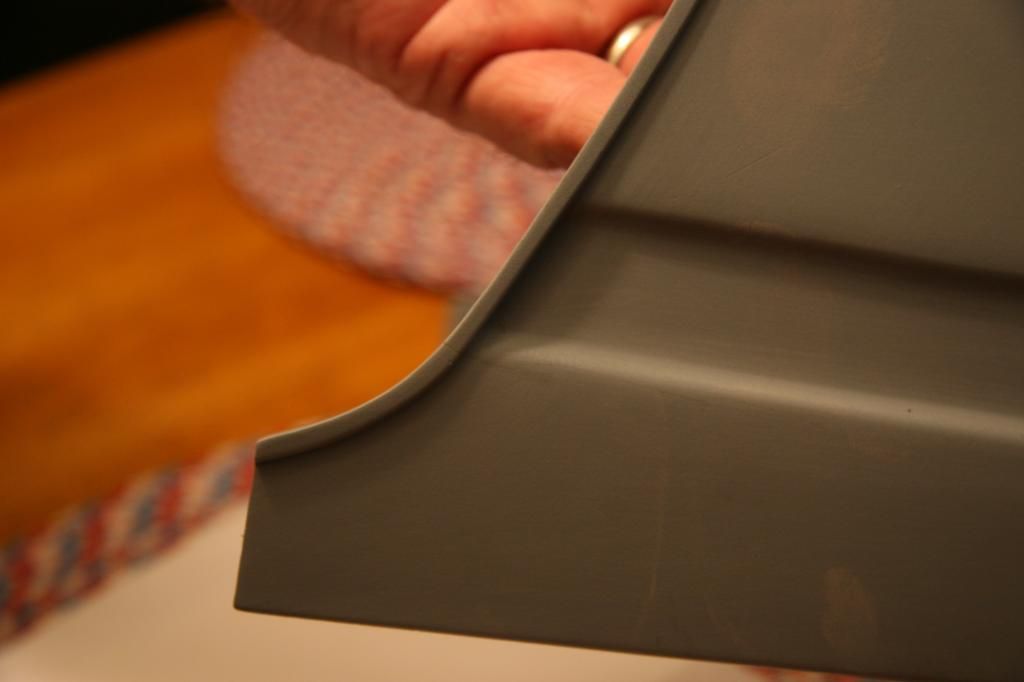
Not!
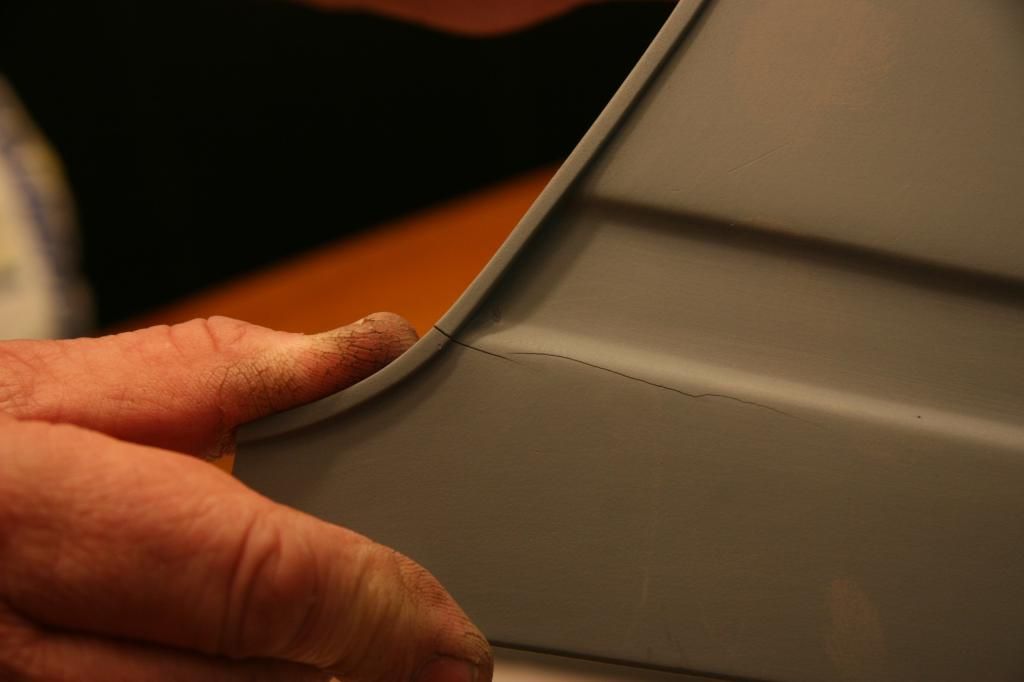

Last edited:


