• Required reading for all forum users!!!

    Welcome!
    Register to access the full functionality of the GSResources forum. Until you register and activate your account you will not have full forum access, nor will you be able to post or reply to messages.

    A note to new registrants...
    All new forum registrations must be activated via email before you have full access to the forum.

    A Special Note about Email accounts!
    DO NOT SIGN UP USING hotmail, outlook, gmx, sbcglobal, att, bellsouth or email.com. They delete our forum signup emails.

    A note to old forum members...
    I receive numerous requests from people who can no longer log in because their accounts were deleted. As mentioned in the forum FAQ, user accounts are deleted if you haven't logged in for the past 6 months. If you can't log in, then create a new forum account. If you don't get an error message, then check your email account for an activation message. If you get a message stating that the email address is already in use, then your account still exists so follow the instructions in the forum FAQ for resetting your password.

    Have you forgotten your password or have a new email address? Then read the forum FAQ for details on how to reset it.

    Any email requests for "can't log in anymore" problems or "lost my password" problems will be deleted. Read the forum FAQ and follow the instructions there - that's what we have one for...

  • Returning Visitors

    If you are a returning visitor who never received your confirmation email, then odds are your email provider is blockinig emails from our server. The only thing that can be done to get around this is you will have to try creating another forum account using an email address from another domain.

    If you are a returning visitor to the forum and can't log in using your old forum name and password but used to be able to then chances are your account is deleted. Purges of the databases are done regularly. You will have to create a new forum account and you should be all set.

De-stinking Penelope

Yeah thats the BIITCH of the digitals..as you ever so slightly roll the cams the numbers click by so fast its hard to get a perfect sweet spot to get readings. Thats why in the PM I said i was gonna look for a set of dual read mechanicals..I tend to have much more faith in them than the digitals. Now you know 100% for sure the crank and upper half is of good quality..piece of mind is priceless.
Chuck, I don't even know if my calipers are still accurate. As far as I know they haven't been against a gauge block in YEARS. I do know my cousin Lloyd who used to work on these things, said they were in beautiful condition.

I do know when I hold them up to light while looking through my eye loupe, the jaws look perfectly parallel with just a slight amount of wear out at the very edge of tips. I'm guessing somewhere around .0001"

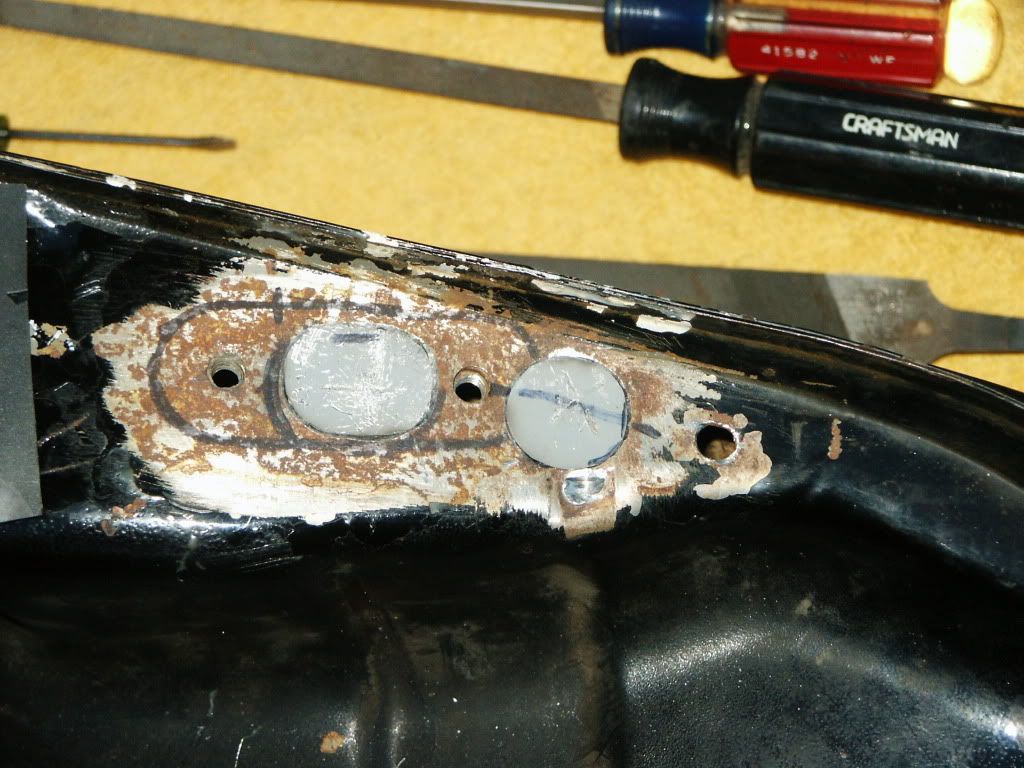
Not bad for somewhere around $33 shipped
 
Take your calipers to work and see if one of the techs has a set of guage blocks and see if they measure correctly over a few of them. I fequently checked and recalibrated the ones at the shop especially when i had some crazy tight tolerance that i had to hold on a part. Thats why i have a confidence problem with digitals..ball park yes..precise..NOT!!!!!
 
Spent a few hours yesterday cleaning up the 'drop' section on the wheel I got from Nessism. The plan is to strip the clear and hit it with some GlistenPC which should make it look fresh and new again. Pretty nice don't you think for being 34 years old?

IMG_2704.jpg


IMG_2706.jpg


The front wheel I got from Chuck will need repainting from being in the Texas sun and like the rear, is in excellent condition.

IMG_2705.jpg
 
Last edited:
Bike in a box..

Bike in a box..

While I'm waiting for stan's newest bike to arrive, I did a bit of house cleaning and brought up a few things I had stored in the basement. That's about a third of what I have for Her.

IMG_2711.jpg


I washed up the lower engine case at work yesterday. Cleaned up the gasket material on the case half with paint stripper, a rag and a few razor blades. It should be an easy clean up in preparation for painting the cases.
 
That's a nice collection of parts there Dale... but Stan's new bike??? Can I assume we're not talking Flyboy Stan here?
 
While I'm waiting for stan's newest bike to arrive, I did a bit of house cleaning and brought up a few things I had stored in the basement. That's about a third of what I have for Her.

IMG_2711.jpg


I washed up the lower engine case at work yesterday. Cleaned up the gasket material on the case half with paint stripper, a rag and a few razor blades. It should be an easy clean up in preparation for painting the cases.


Everything in perfect condition and that's only a 1/3 rd of the parts in the picture!
I expected nothing less anyway! Good going Dale! She's going to be a beaut!:)
 
That's a nice collection of parts there Dale... but Stan's new bike??? Can I assume we're not talking Flyboy Stan here?
None other! Yes, Stan bought a bike which should have arrived last night but got delayed a bit. It's now due to arrive this AM and my wife and daughter are to home waiting for it to get there.

I'll let Stan fill you in on the rest when proper time comes and a few pictures are taken.
 
None other! Yes, Stan bought a bike which should have arrived last night but got delayed a bit. It's now due to arrive this AM and my wife and daughter are to home waiting for it to get there.

I'll let Stan fill you in on the rest when proper time comes and a few pictures are taken.

I see! Just have to wait for Stan to 'fess up then I guess...
 
Ah Chuck, this is Africa a hundred bill sorts out any problems one may have with the law.;)
 
I started repairing the extra holes in the fuel tank this evening on a fuel tank I bought a year or so ago off of Ebay. By the way the holes were modified, it looked like the tank might have been used as a drag tank, judging by the way someone added the extra holes for an aftermarket petcock or add on fuel tap. You can see how much metal they hacked away by comparing it to the un-alterated fuel tank on the left side of this picture.

PICT3485.jpg


I started the repair by taking my die grinder to the spot welded in place wiring loom retainer and ground away at the spot weld until it could be removed.

The loom retainer will be welded back in place when I finish welding up the 'extra' holes.

PICT3492.jpg


Next I took the die grinder to the holes in order to make them a bit more symmetrical and make it easier to 'fit up' a metal repair plug to each hole. After I straightened out the holes needing to be repaired, I beveled the edges to allow the repair plugs to fit flush with the tanks surface and to keep them from falling into the tank as I weld.

The repair plugs will have a similar bevel on their undersides.

PICT3494.jpg


I started making the repair plugs by cutting a 1mm thick piece of metal to the approximate size and ground it down on my bench grinder until it was very close to the needed size, then finished fitting it to the hole by hand with a file. I also beveled the edges of each plug to match the bevel on the two 'extra' holes in the tank.

I made a pattern so that I can remake the correct size fuel tap hole after the extra holes are repaired.

PICT3495.jpg


Here are both plugs properly fitted in place ready to be hard soldered in place.

PICT3497.jpg


More than likely I won't get a chance to 'hard solder" (braze) the plugs until late Saturday or Sunday afternoon. I'll take pictures of the completed repair and post them up as soon as I can after it's finished and the new opening for the tap is cut.
 
:clap::clap::clap: We will make a boilermaker out of you yet Doc. ;)
Now pay attention people, there is a perfect example of the difference between a good build and a stunning build, attention to detail.
How many people would have just brazed a square patch over the whole shooting match and called it done??????
Awesome work Doc.
 
I may have cut an entire rectangle out and fitted new nuts to the inside of the repair patch...then did as Dale did. Few tack welds just to hold it till the brazing was done, grind smooth, retouch any imperfections and resmooth. Another benefit to the rectangle would be that it allows a thicker guage metal to be used to weld new nuts too. And I would mig the nuts as braze can sometimes release from a twisting pressure such as tightening the bolts.
 
Dale..Im sure youve thought of this too. But just a reminder. Be sure you get the seating area for the petcock gasket as absolutely flat and even as possible to prevent any leaks.
 
Looks good to me.:D I've blasted down hills at 50 mph on bicycle frames I brazed together. No worry.
 
I may have cut an entire rectangle out and fitted new nuts to the inside of the repair patch...then did as Dale did.
Chuck, you don't know how close I came to cutting the section out of the unaltered tank and using it to repair Penelope's tank.

Rodger the flatness thought. I'm hoping to keep the heat from the torches down so there will be the least amount of flattening to do afterwards.
 
Back
Top