Got down and dirty on the bike the last couple days. (don't mind the old Wing in the background :-\\\ )
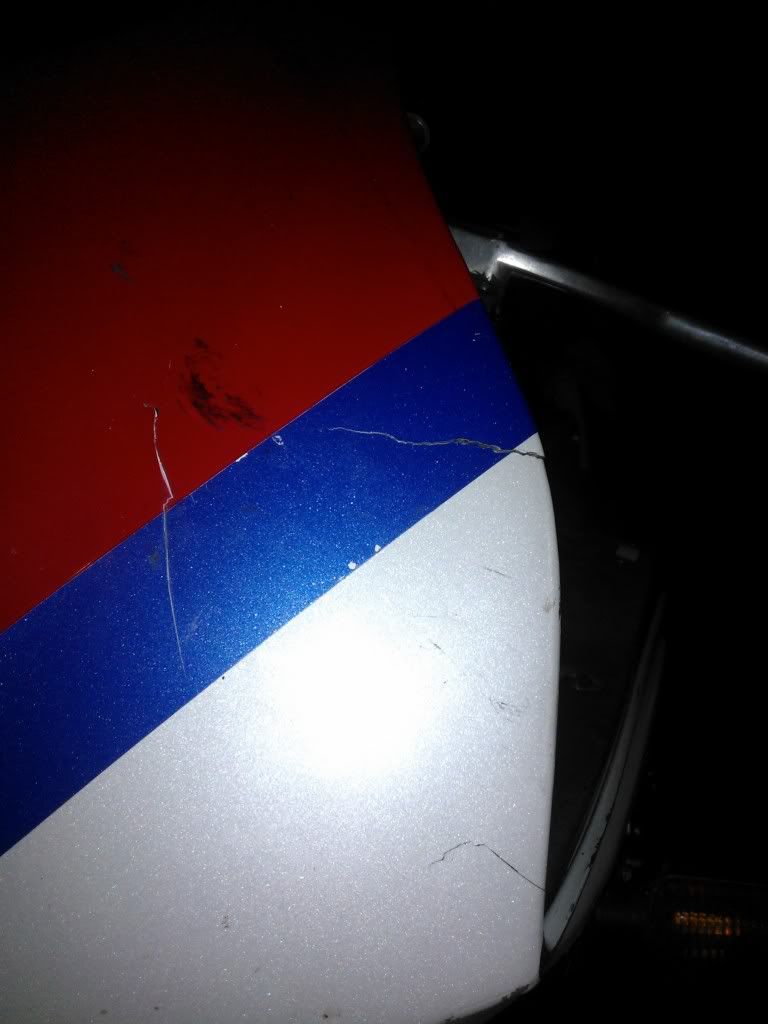
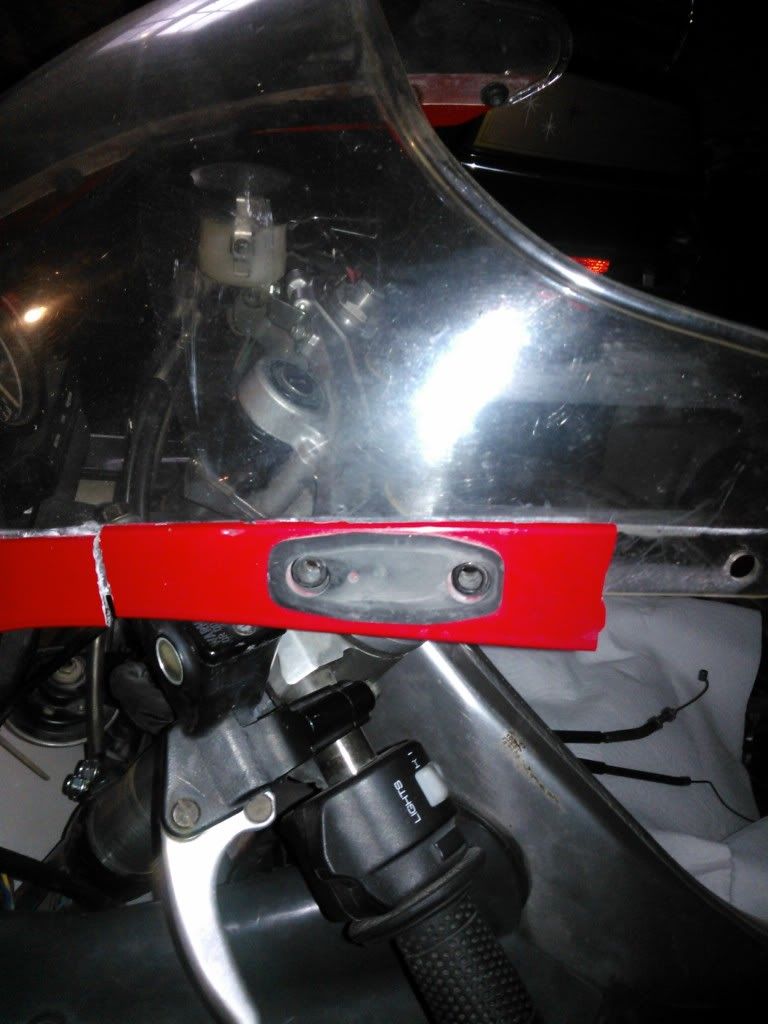
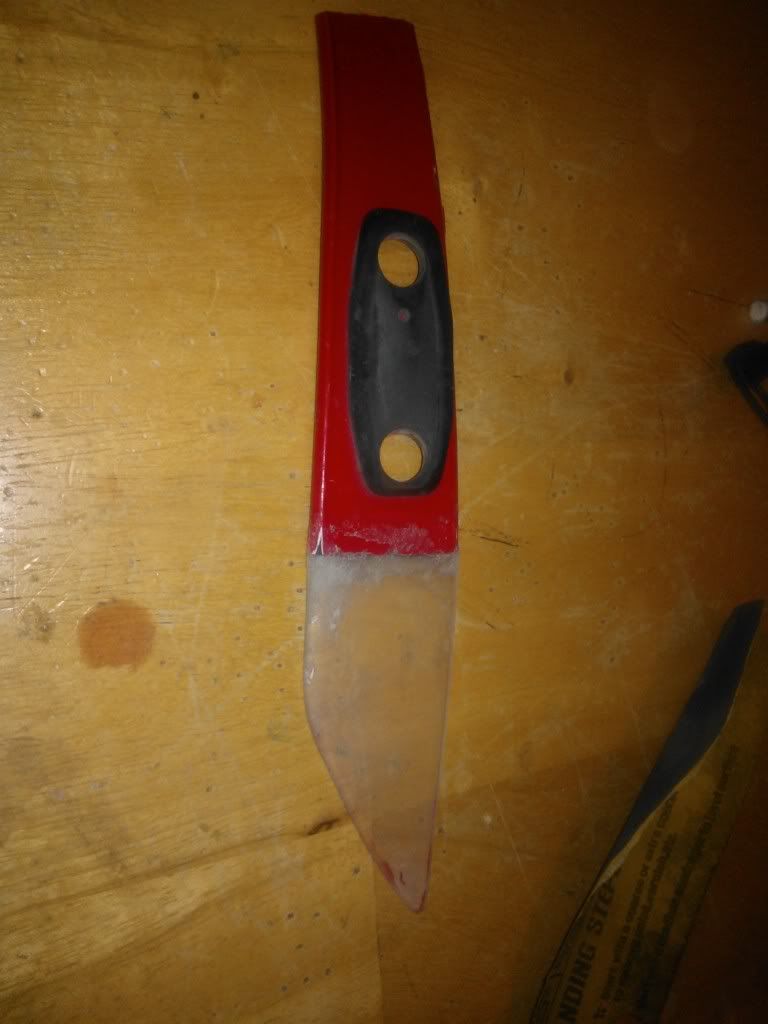
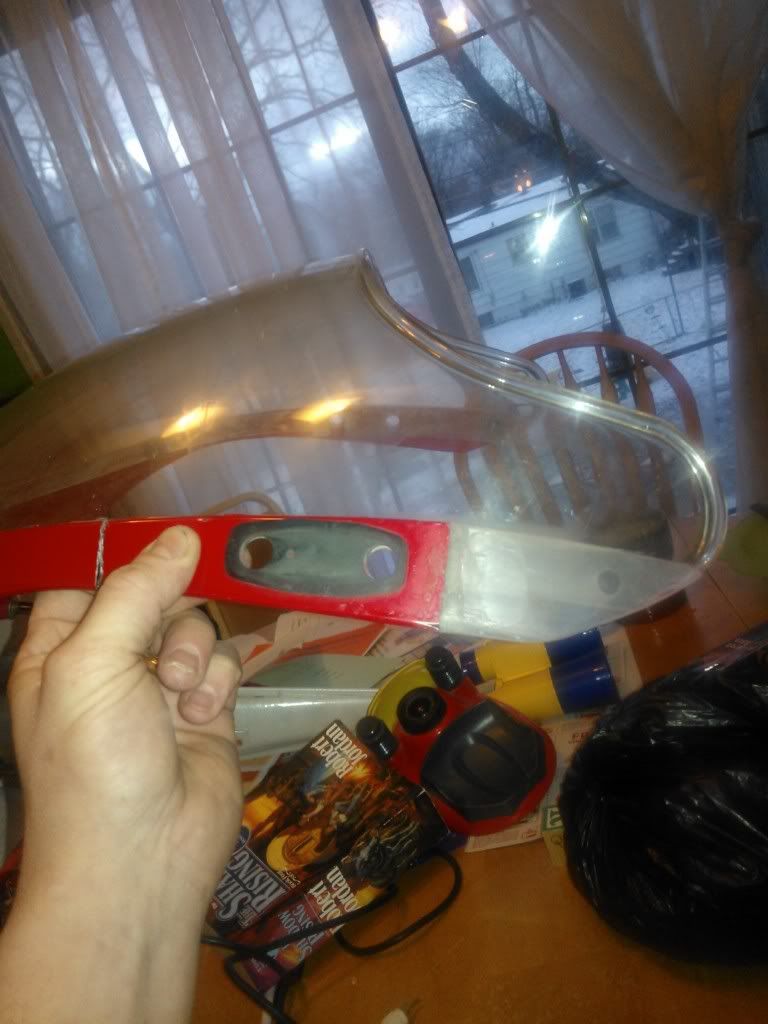
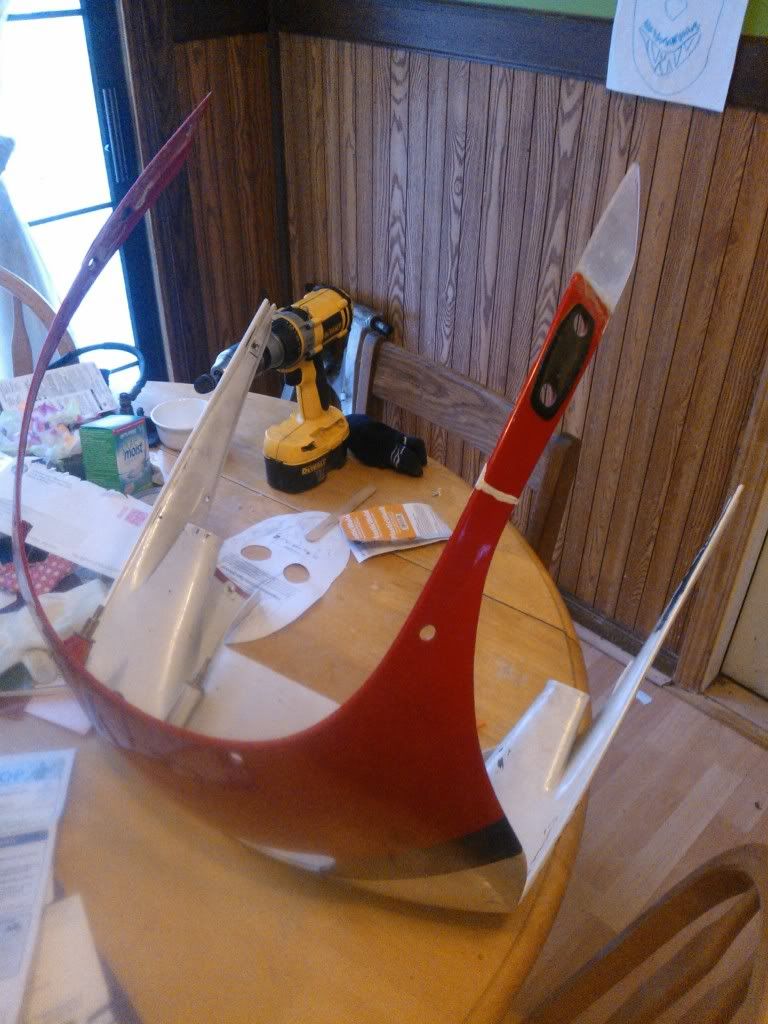
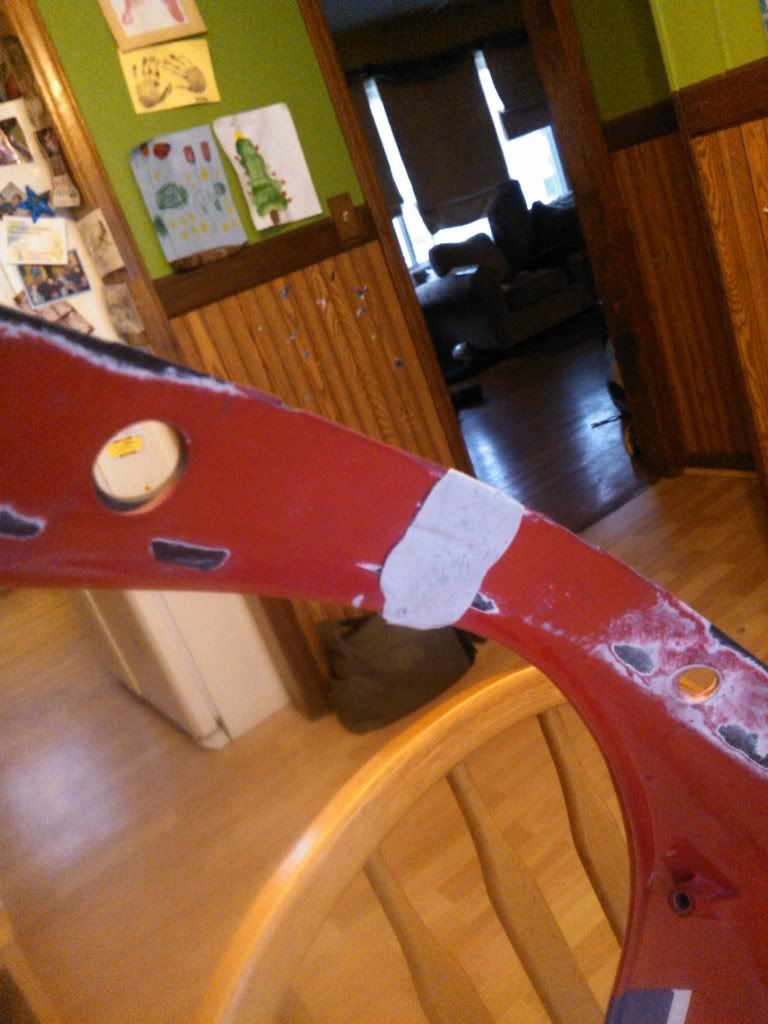
First thing was to get it up on the stands. Removed the front plastics and head light. Front nose fairing had a few more cracks that became visible as the plastic was flexed slightly upon removal. Should be easy fix though, and I'll probably be repainting everything red white and blue anyway.
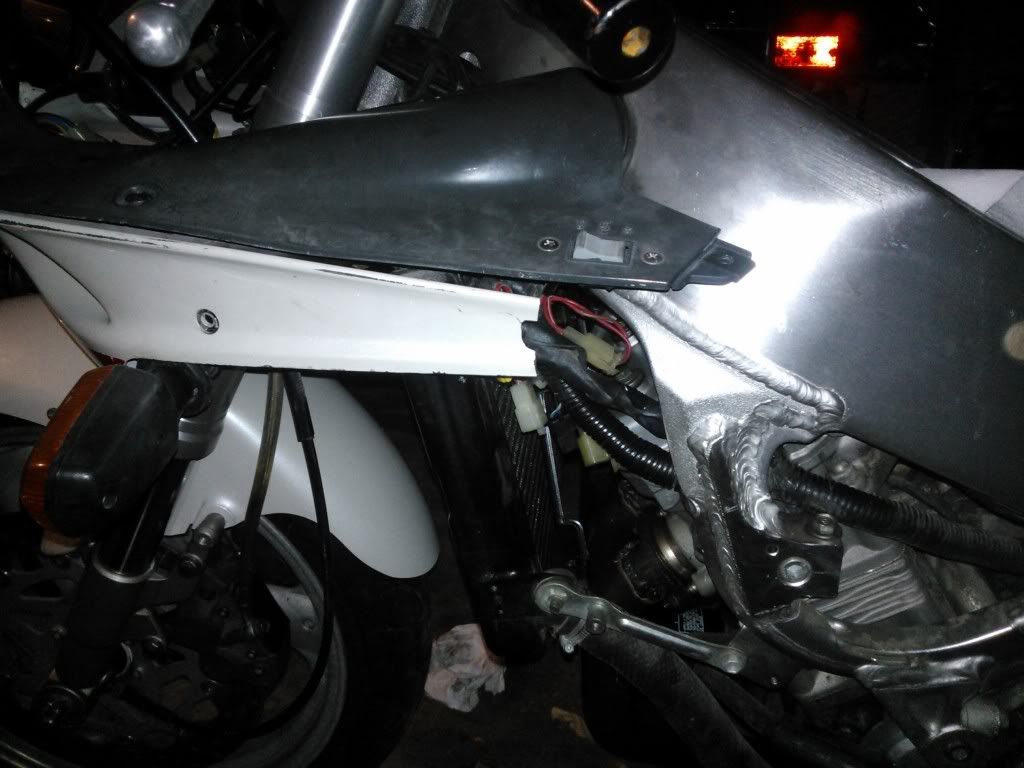
The front was a bit tough since the PO had dropped the triples so far down on the forks.
I wound up having to take the front fender off first to get enough room. Front fender mounts were all cracked, 1 broken and there was a crack running the almost all the way through the fender. I opted to buy a new one. Found one on ebay NOS $70 shipped from South Africa of all places .
.
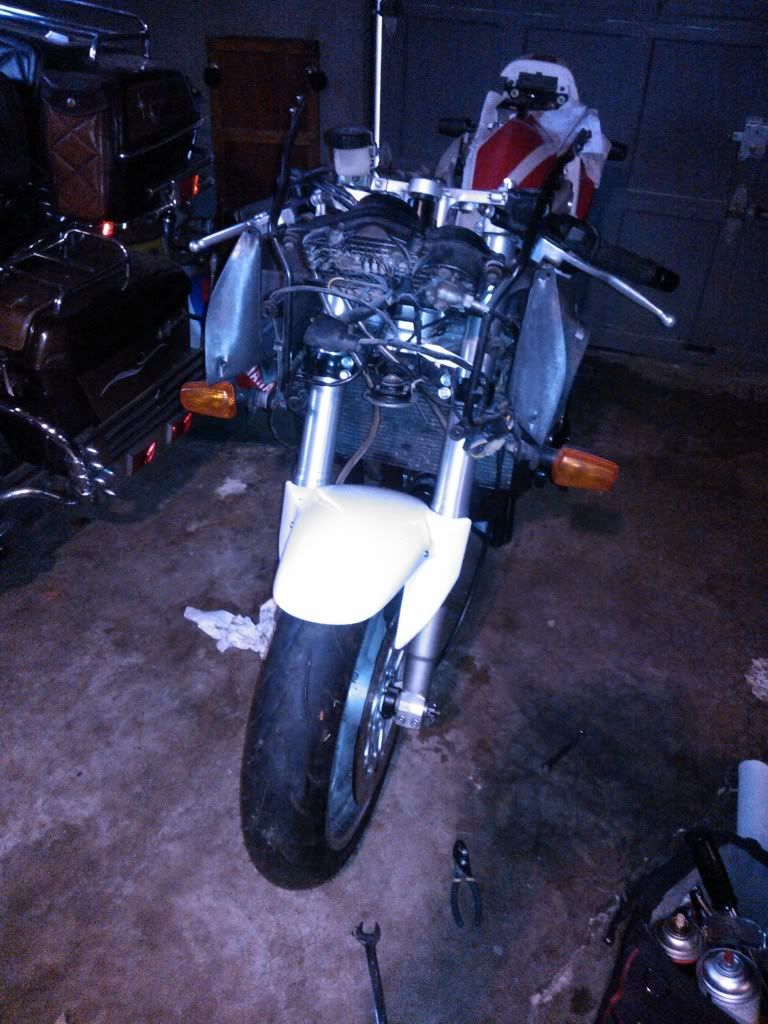
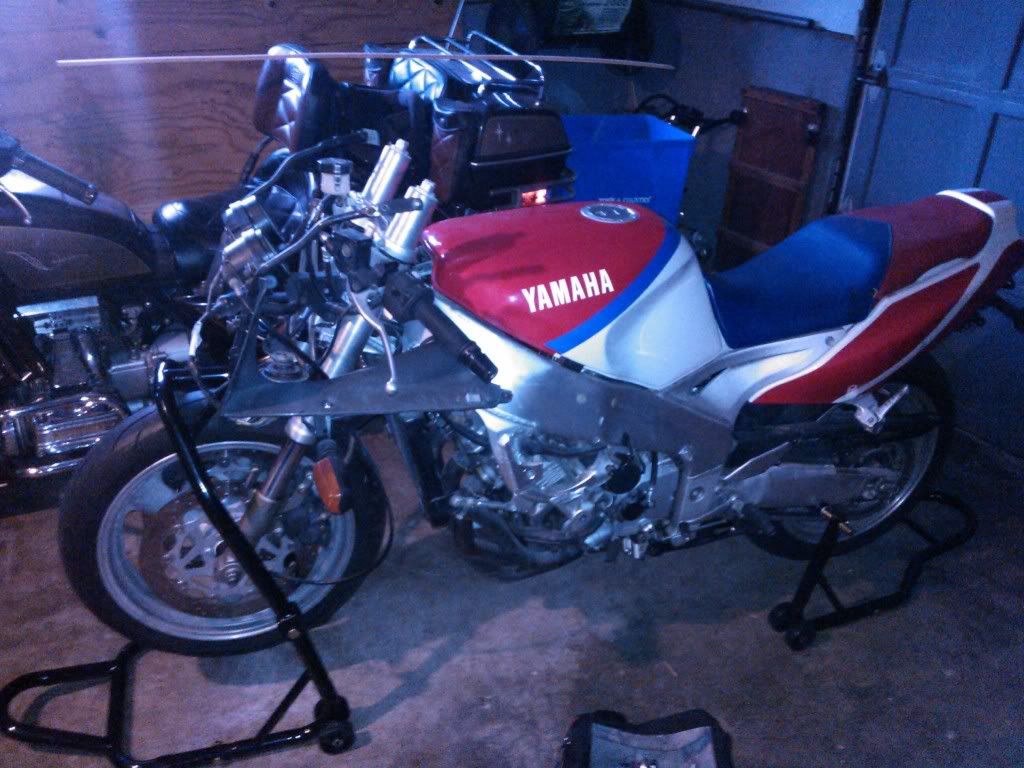
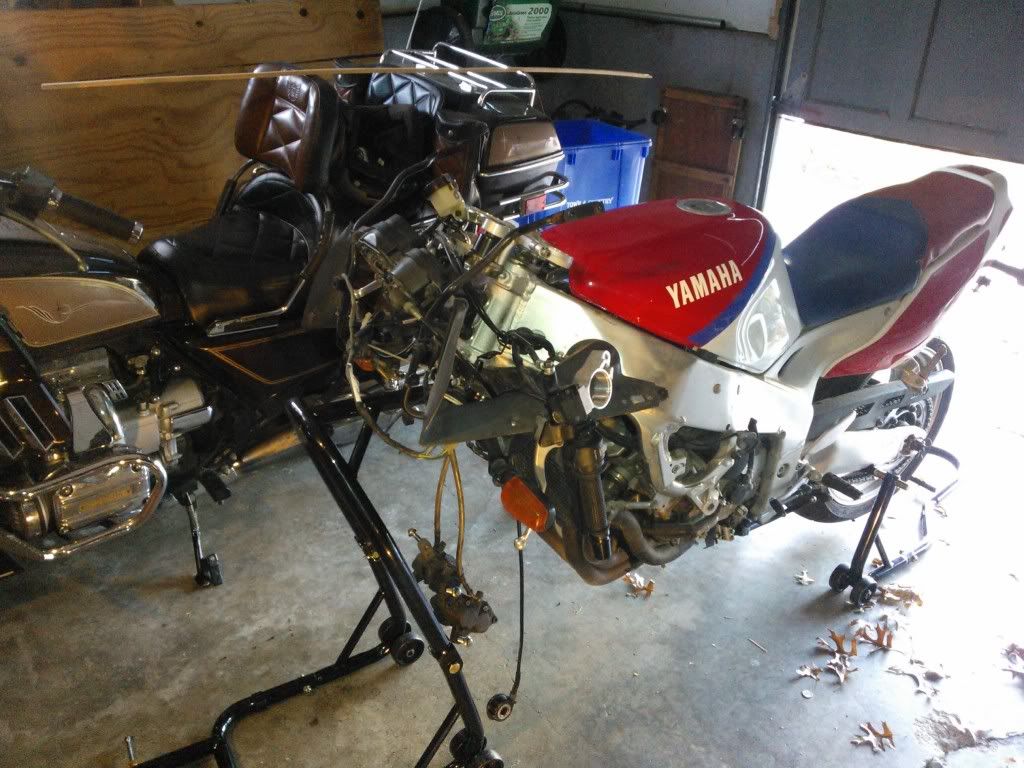
Bike on stands:
Getting the front wheel off kinda gave me a challenge. The calipers really sit deep in the well of the wheel, so I would up having to pull the right caliper first, wiggle it off the rotor and out of the wheel well, then wiggle the other caliper out.
Nuts and bolts needed a bit of PB Blaster to move.
I've GOT NO LEGS~!
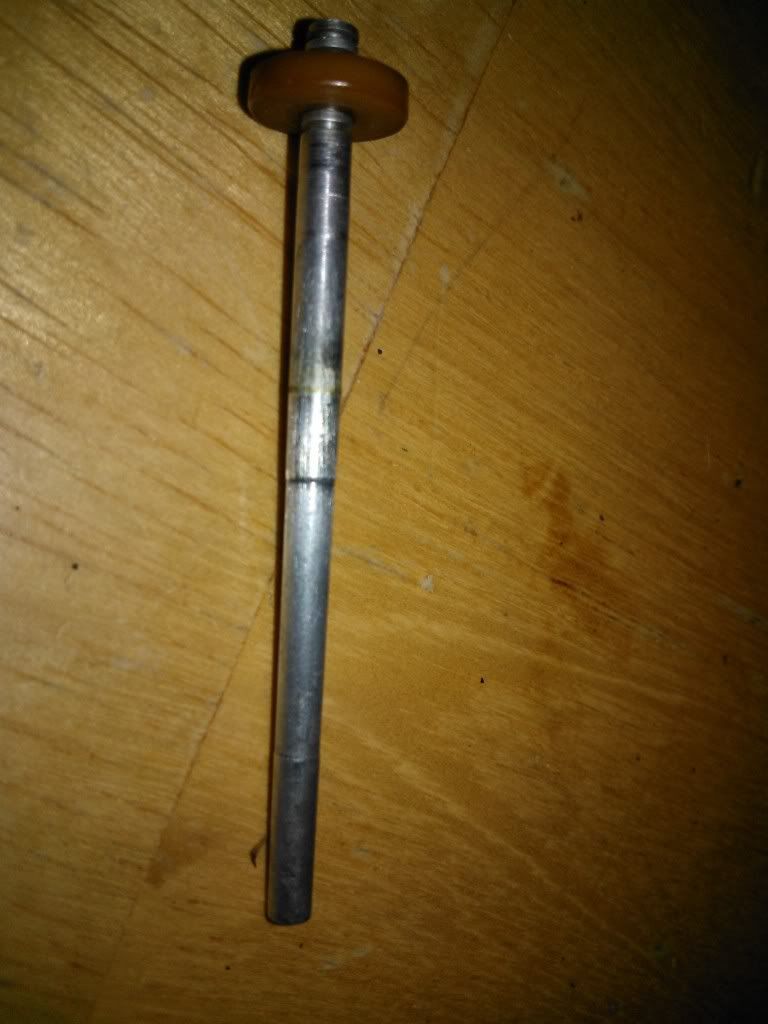
Fork seals were trash, fortunately the chrome tubes are nice and shiney once they were wiped off with some W-D.
Forks have the same dimensions as the GSXR 750 forks of that era 50mm upper and 54mm lower. FZR 1000 are KYB forks and GSXR 750 are Showa. The inner slider tube is 41mm same as the 91-93 gsxr 750. They are a bit longer, more along the length of a GSXR 1100 tube The fzr tubes have preload adjustment but no dampening adjusters. The GSXR tubes have both.
Side by side comparison with 95 GSXR 750 forks:
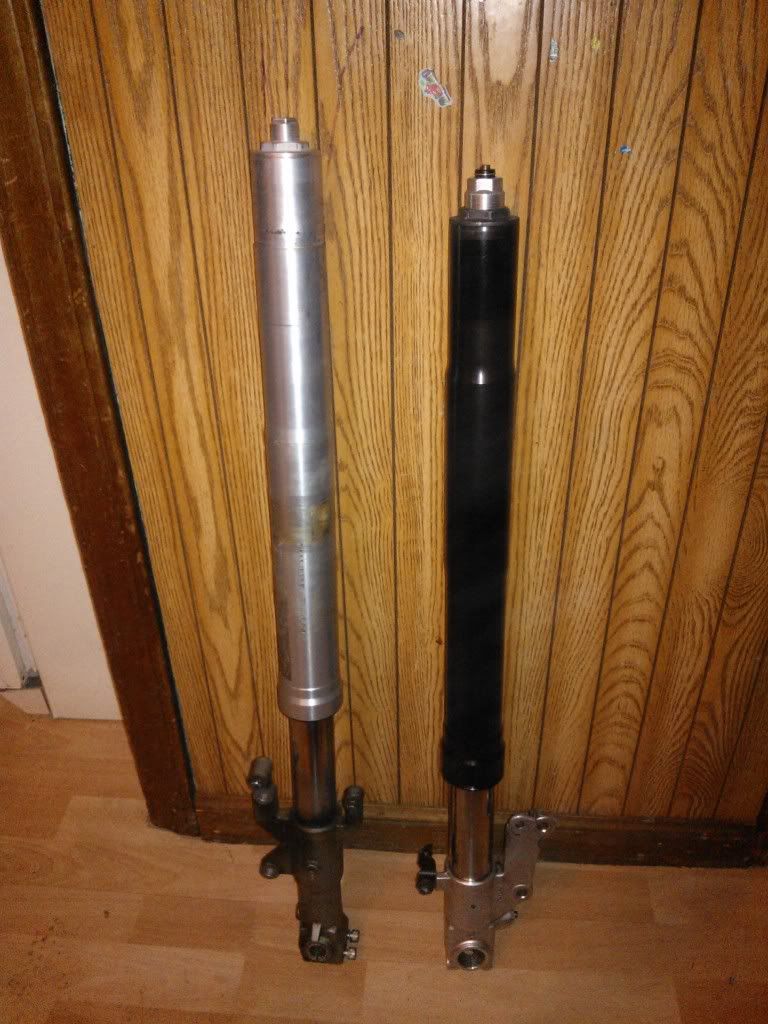
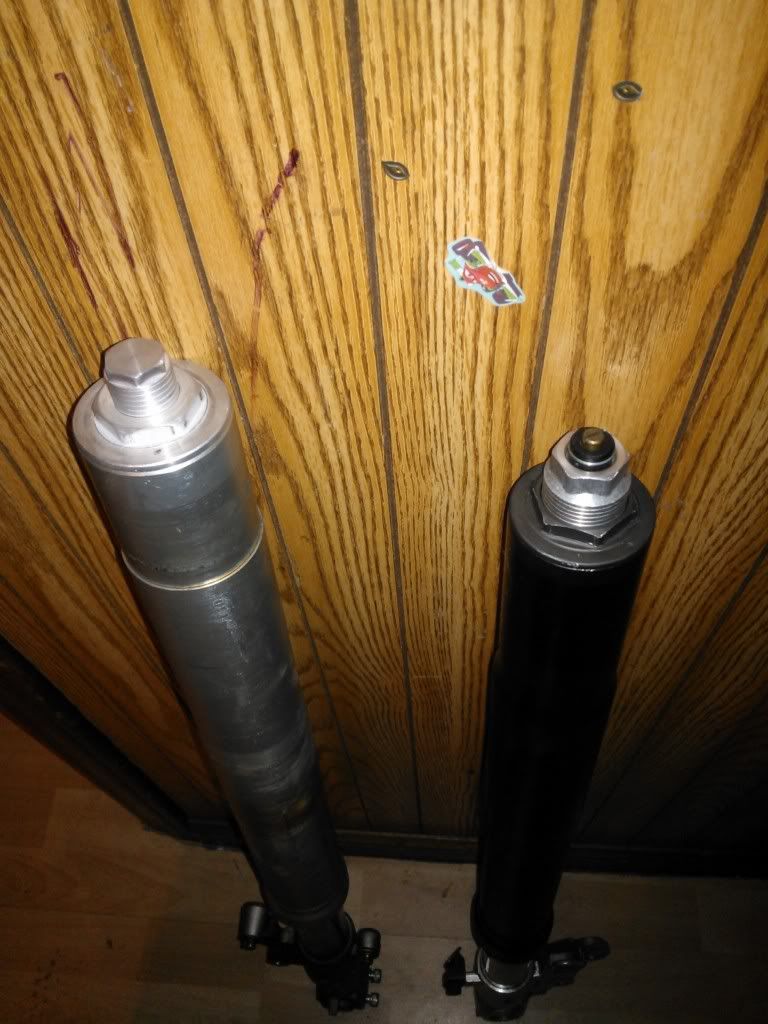
I thought about switching out the front for a 95-94 GSXR but I think for now I'm just going to update the stock forks with Trac Dynamics internals.
New springs at a minimum.
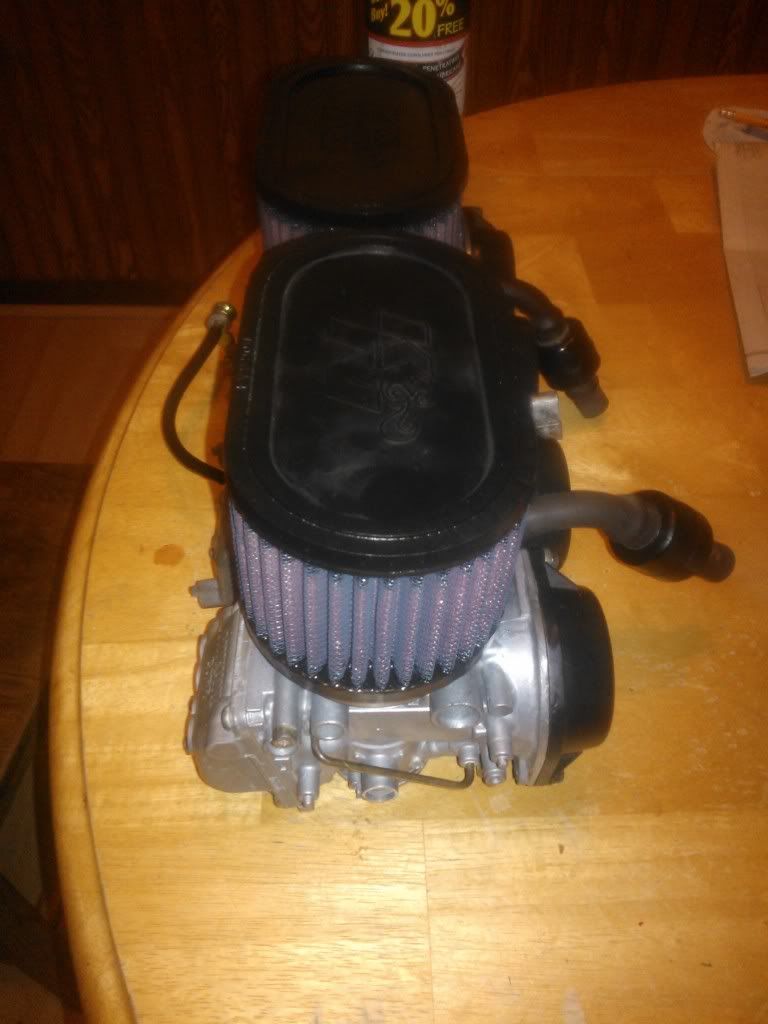
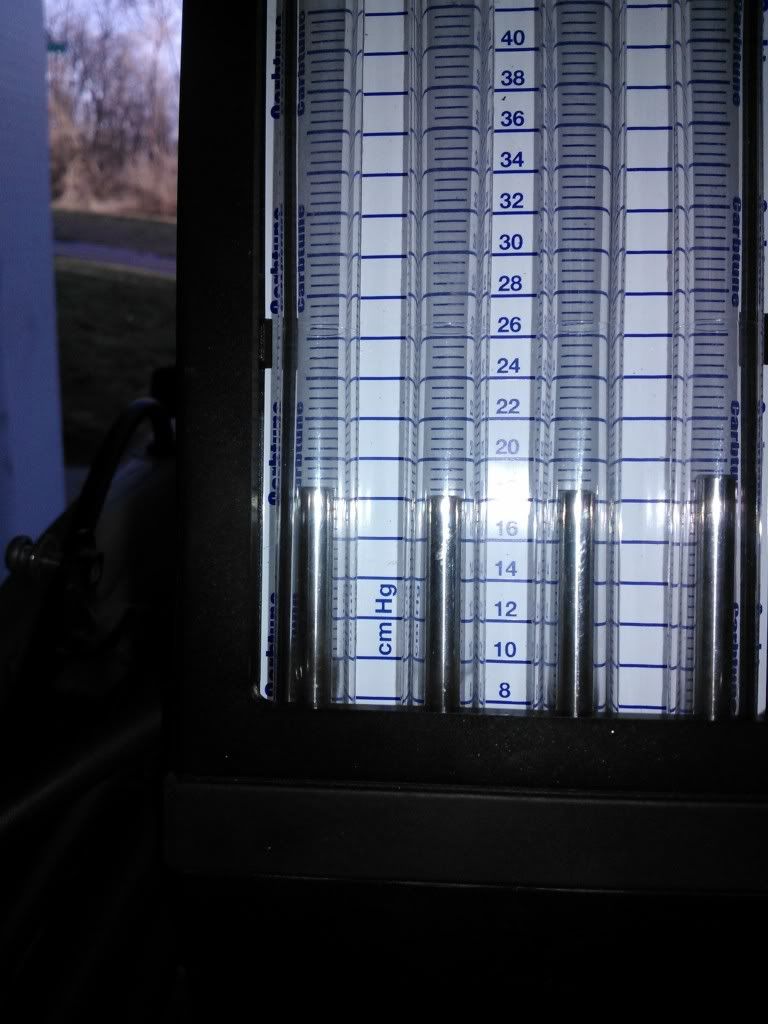
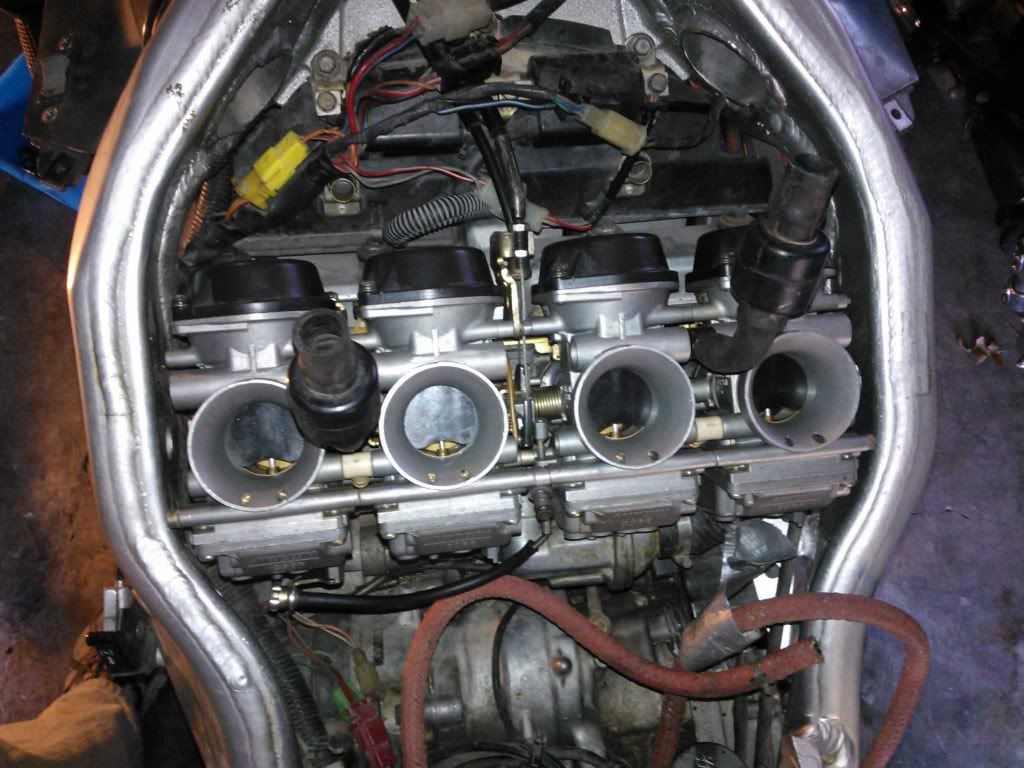
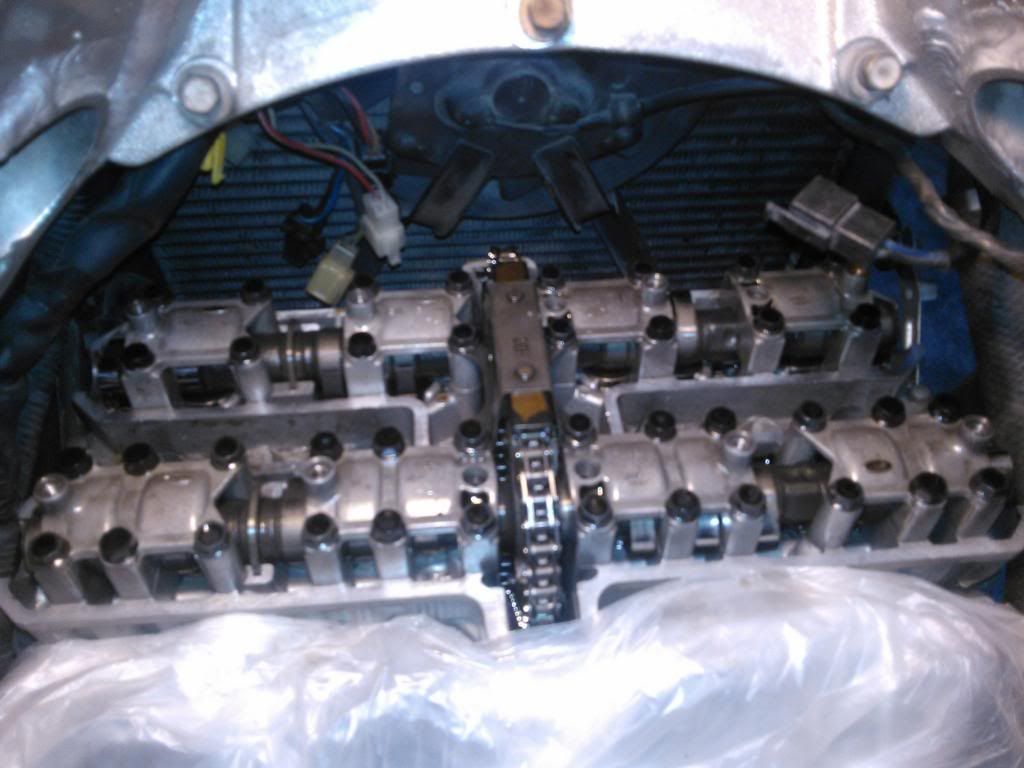
Carbs and Valve clearances next, while I'm waiting on seals and springs to arrive for the forks.
Nic
First thing was to get it up on the stands. Removed the front plastics and head light. Front nose fairing had a few more cracks that became visible as the plastic was flexed slightly upon removal. Should be easy fix though, and I'll probably be repainting everything red white and blue anyway.
The front was a bit tough since the PO had dropped the triples so far down on the forks.
I wound up having to take the front fender off first to get enough room. Front fender mounts were all cracked, 1 broken and there was a crack running the almost all the way through the fender. I opted to buy a new one. Found one on ebay NOS $70 shipped from South Africa of all places
.Bike on stands:
Getting the front wheel off kinda gave me a challenge. The calipers really sit deep in the well of the wheel, so I would up having to pull the right caliper first, wiggle it off the rotor and out of the wheel well, then wiggle the other caliper out.
Nuts and bolts needed a bit of PB Blaster to move.
I've GOT NO LEGS~!
Fork seals were trash, fortunately the chrome tubes are nice and shiney once they were wiped off with some W-D.
Forks have the same dimensions as the GSXR 750 forks of that era 50mm upper and 54mm lower. FZR 1000 are KYB forks and GSXR 750 are Showa. The inner slider tube is 41mm same as the 91-93 gsxr 750. They are a bit longer, more along the length of a GSXR 1100 tube The fzr tubes have preload adjustment but no dampening adjusters. The GSXR tubes have both.
Side by side comparison with 95 GSXR 750 forks:
I thought about switching out the front for a 95-94 GSXR but I think for now I'm just going to update the stock forks with Trac Dynamics internals.
New springs at a minimum.
Carbs and Valve clearances next, while I'm waiting on seals and springs to arrive for the forks.
Nic
")