dpep
Administrator
Staff member
Super Site Supporter
Past Site Supporter
TGSR Superstar
Charter Member
Okay, what is the trick? I finally got around to putting the black chrome exhaust I picked up from Joe onto my 1100E. Everything was fine until I tried to slide the pipes into the exhaust ports. they go part of the way in and stop. I have tried wiggling and pounding them in with the heel of my hand but nothing moves that last half inch. I obviously don't want to pound with any tool that could dent the pipe. It seems like the most resistance is coming from 2 and 3, the two inside pipes with the little flange thingies you have to put on them. The flange pieces clear the hole; they are not catching, but they don't go in much farther.

I get the feeling there is some simple technique here of which I am totally ignorant.
...
I get the feeling there is some simple technique here of which I am totally ignorant.
...
 ray:.
ray:. 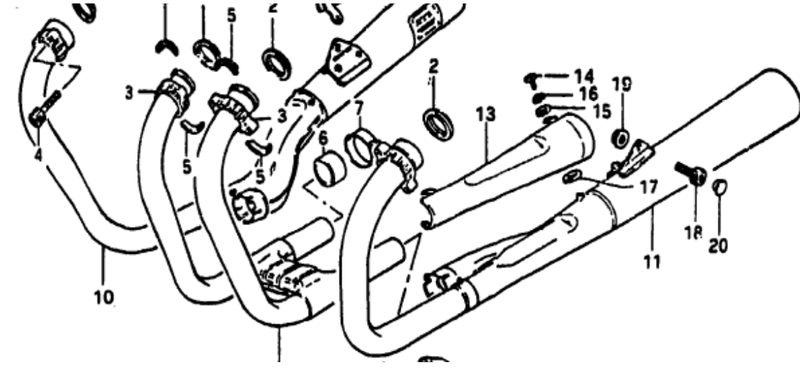
 :-\\\
:-\\\