W
Woodsy
Guest
Looking good flyboy! Wow you actually get replies from Ashley at Boulevarde ive been waiting 2 months for them to send me a paypal invoice so i can buy my parts
Required reading for all forum users!!!
Welcome!
Register to access the full functionality of the GSResources forum. Until you register and activate your account you will not have full forum access, nor will you be able to post or reply to messages.
A note to new registrants...
All new forum registrations must be activated via email before you have full access to the forum.
A Special Note about Email accounts!
DO NOT SIGN UP USING hotmail, outlook, gmx, sbcglobal, att, bellsouth or email.com. They delete our forum signup emails.
A note to old forum members...
I receive numerous requests from people who can no longer log in because their accounts were deleted. As mentioned in the forum FAQ, user accounts are deleted if you haven't logged in for the past 6 months. If you can't log in, then create a new forum account. If you don't get an error message, then check your email account for an activation message. If you get a message stating that the email address is already in use, then your account still exists so follow the instructions in the forum FAQ for resetting your password.
Have you forgotten your password or have a new email address? Then read the forum FAQ for details on how to reset it.
Any email requests for "can't log in anymore" problems or "lost my password" problems will be deleted. Read the forum FAQ and follow the instructions there - that's what we have one for...
If you are a returning visitor who never received your confirmation email, then odds are your email provider is blockinig emails from our server. The only thing that can be done to get around this is you will have to try creating another forum account using an email address from another domain.
If you are a returning visitor to the forum and can't log in using your old forum name and password but used to be able to then chances are your account is deleted. Purges of the databases are done regularly. You will have to create a new forum account and you should be all set.
he replied ...


")
Thanks Pete, we try buddy, we try, but just a little inside info, that tail is as good as it gets, paint is going on there, no doubt my guide coat will have a few surprises and have me back with sanding block in hand, which is not half as much fun as .........never mind, Oi, what you doing here anyway, havn't you got a bike to ride?
Sod off now, shoooo, go ride that nice bike of yours, out, shooo, out, out out.
he replied to me quite quickly initially, but when i asked if the parts were readily available all communication stopped from them
one item was a nipple...
So, be careful not to order a pet cock !
Or, a shaft !


A
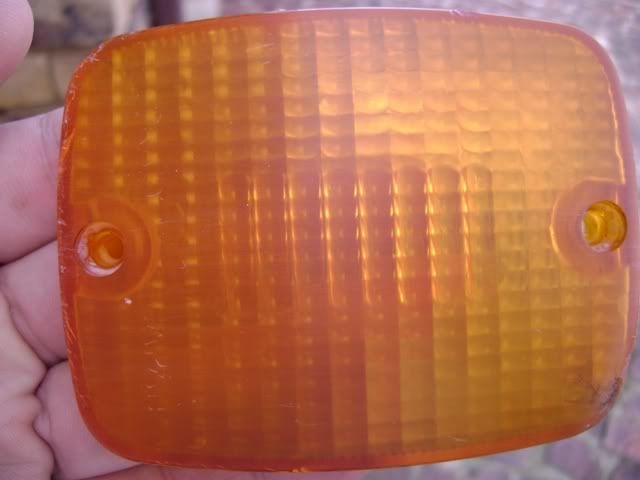
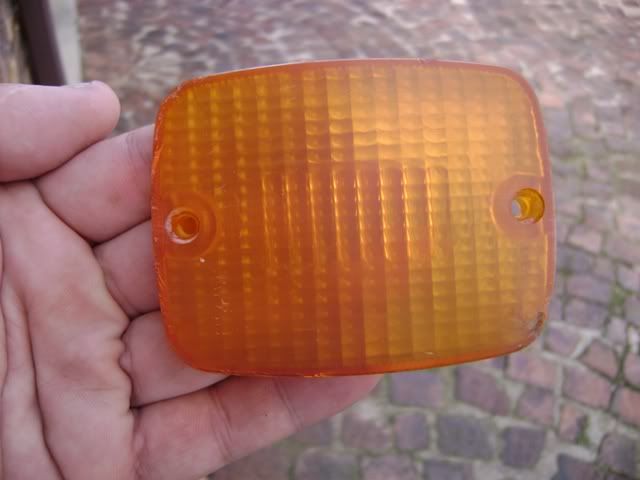
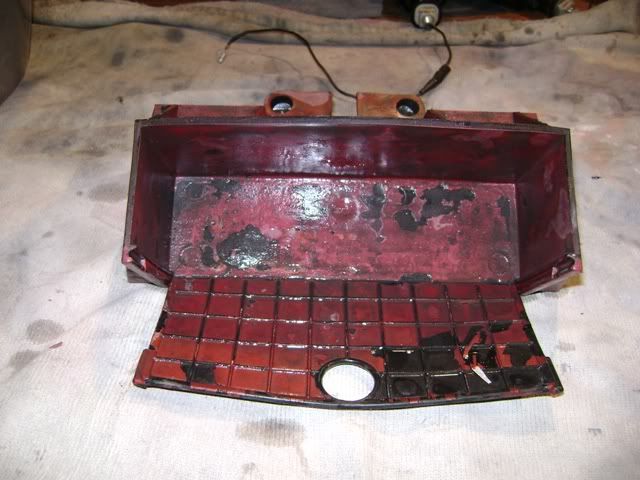
I scrubbed it down with Cleen Green and a toothbrush, removed all the dirt and grime, now am a little stumped on how to strip all the paint off without hurting the plastic, any ideas are welcome here.
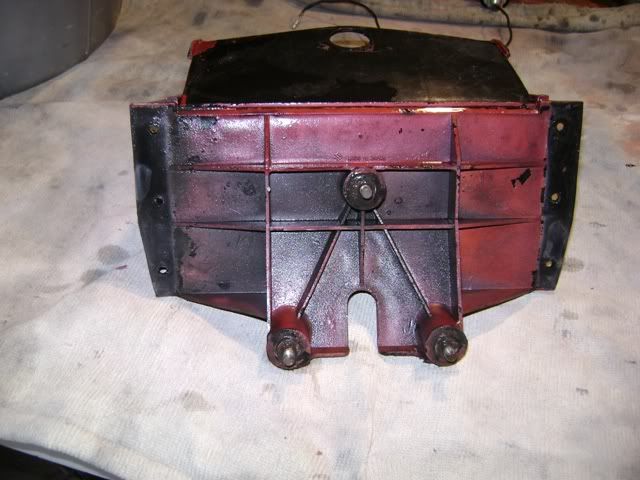
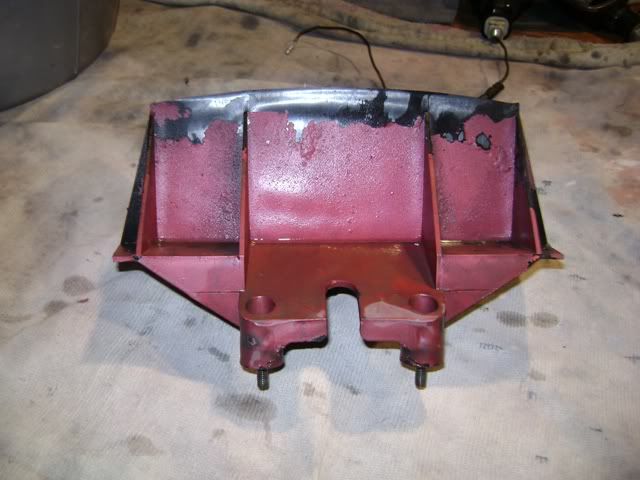
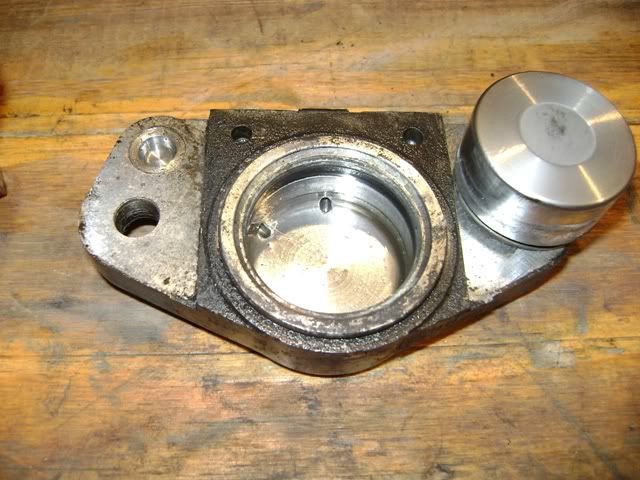
Let me see if the compartment is the same as the 'old' one from my 78. if it is, you are welcome to it. Steve (sedelen) gave me a spare 79 tail piece and I'm using the trunk from it on my 78.Also got around to getting a start on the storage locker under the tailpiece today, as well as the rear caliper.
I scrubbed it down with Cleen Green and a toothbrush, removed all the dirt and grime, now am a little stumped on how to strip all the paint off without hurting the plastic, any ideas are welcome here.
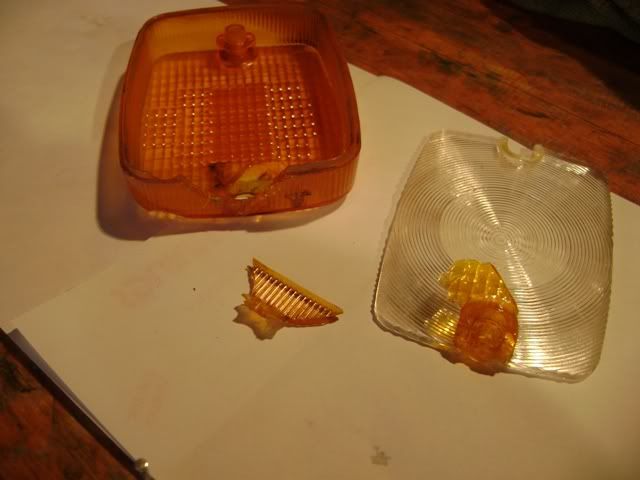
You have three lenses 'in stock' to choose from.Thanks guys, GK not worried about that lense, I have a set of long stalk units lying at Dale's place which I will need for the front to clear the S fairing, so there will be a good lense there.
") She's simply "Ashley" on here...
She's simply "Ashley" on here...