Not much got done on Jennifer this weekend, with the honey do list, pretty much just worked on continuing to get the storage bin that lives under the tail piece cleaned up and free of the red paint. Anyway, thanks to a bottle of brake fluid it is almost there.
I didn't have time for much else, so I never got a start on the wiring harness, but a few guys asked me about putting new connectors onto the harness, so I quickly just grabbed an indicator to get a few pics for you all, hope it makes sense.
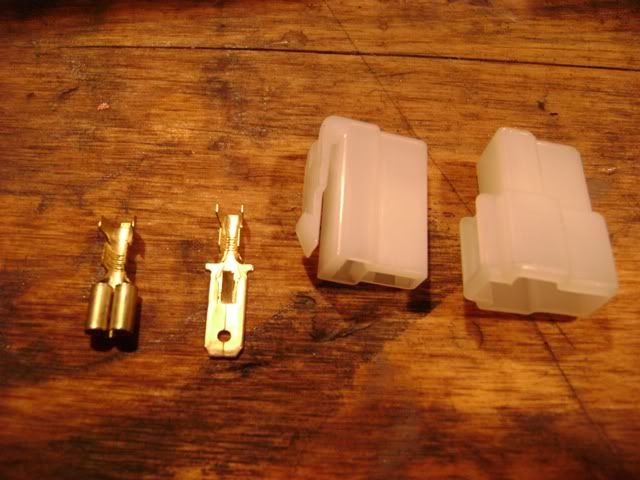
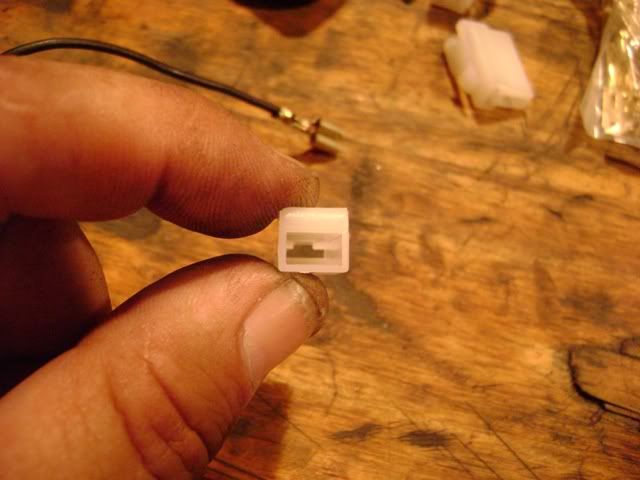
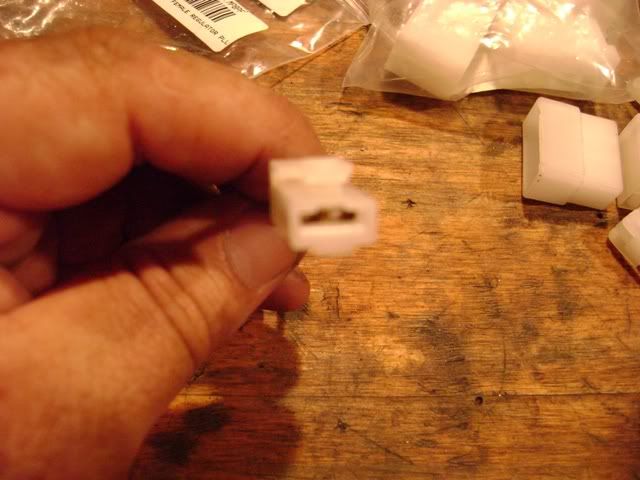
The connector itself is is a two piece affair, the housing and the actual connector.
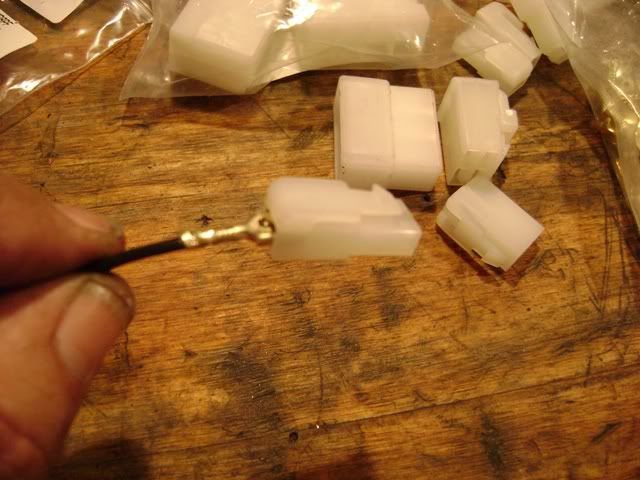
The connectors can be bought in whatever configuration you need, 1,2,3,4 connectors, up to 8 I think, 8 is the biggest I have.
The terminals come in little packs of 100 in a pack, they are a few bucks for a pack.
The female terminal fits into the male housing and the male terminal fits into the female housing, here you can see them.
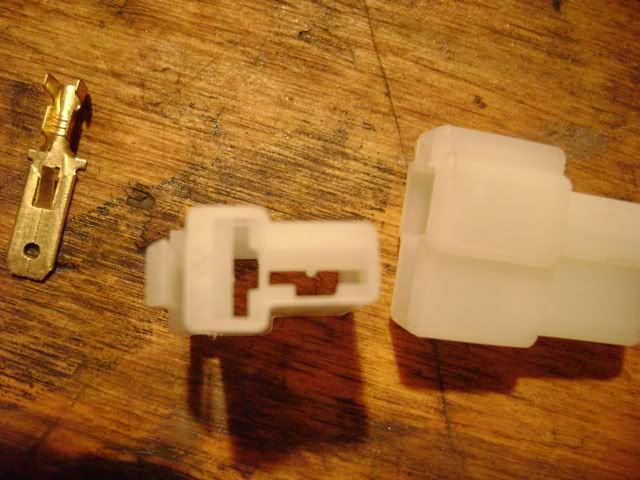
You can see that the housing has a groove in it at 90 degrees to the slot where the terminal fits in, it also has a step in this groove to locate the little tang on the terminal, this tang works like a barb on a fishing hook, once it is in, it cannot pull out backwards.
Here you can see the groove with the step and the tangs on the terminals
These terminals do not require any solder, they simply crimp over the wire, you can add a drop of solder if you feel strongly about it, but I have been using them for 20 years and never had a problem with any of the wires ever coming loose, or bad contacts, I also find that if you do solder them, it makes the terminals difficult to bend over and grip the wire, also difficult to fit into the plastic housing.
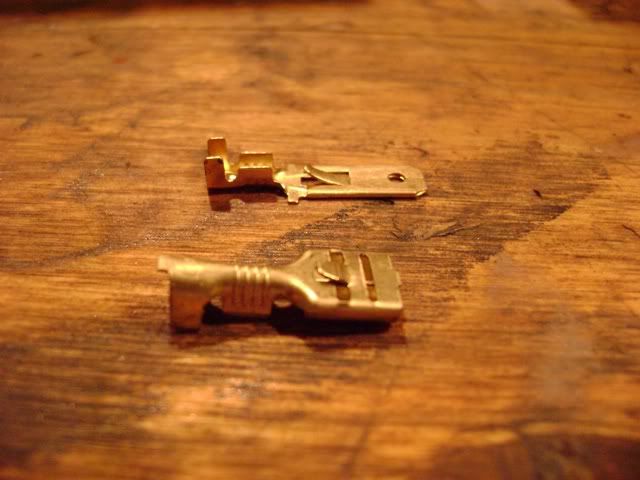
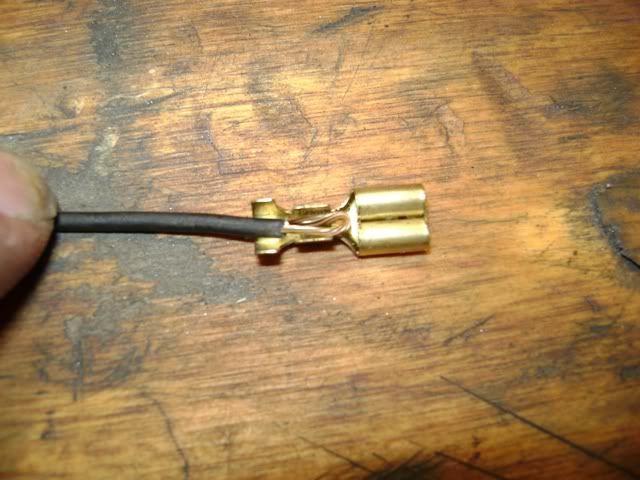
Ok, the terminal has two sets of "ears" that get bent over the wire to grip it and secure it to the terminal itself.
Here you can see them, the shorter front ones, to grip the bare wire and make contact, and the longer ones at the rear, go over the insulation to grip the wire and protect it from being pulled out of the terminal should it be pulled on, here you can see how it supposed to lie in the terminal, note the back pieces that fold over just over the insulation.
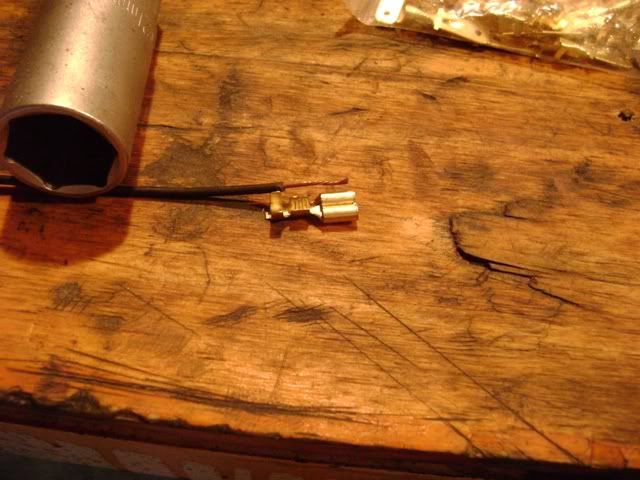
This wire on our bikes is pretty thin, so I strip a piece off, twice the length I need, fold it double to give it more wire to grip.
Here you can see the wire folded double and layed in place, where it will be crimped in.
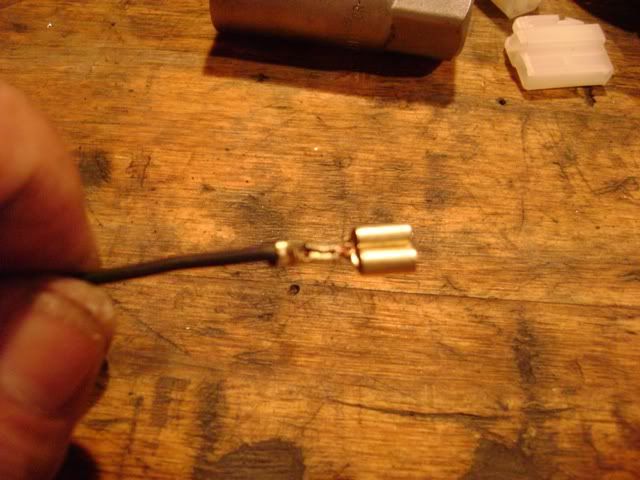
Here is the terminal crimped onto the wire, ready to go into the plasyic housing, note the slot for the tang on the terminal.
Insert the terminal in from the back of the connector and push it all the way forward until you hear the tang, click into place behind the step in the connector.
Give it a good tug to make sure it is locked in properly and the wire is secure in the terminal and call it done.
Easier than falling off a log.
Hope it made sense and helped someone a bit.

")


")