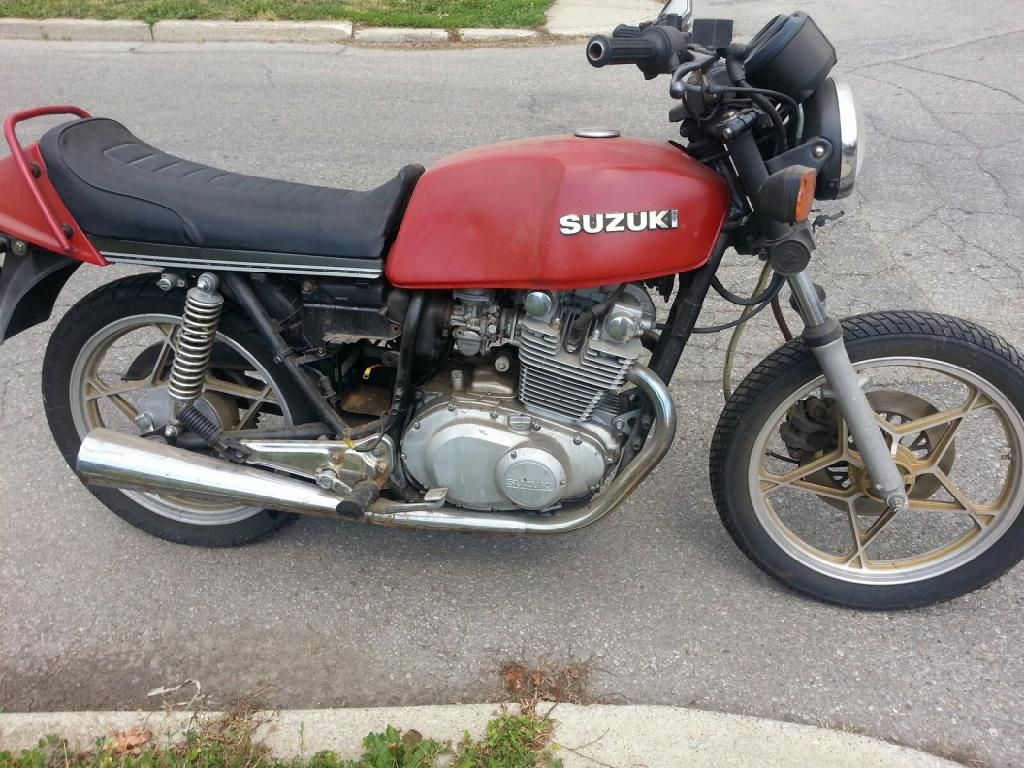
Picked up this one for $250 !! Missing side panels and front fender and hasn't run in three years, but, I couldn't pass it up !!
After I got it home we started to get to know each other.
I was told that it may be an "S" model, so, I took some pics of the tabs that used to hold on the cowling.
Here's a pic of the engine number that may help to identify if it is an "S" or not.

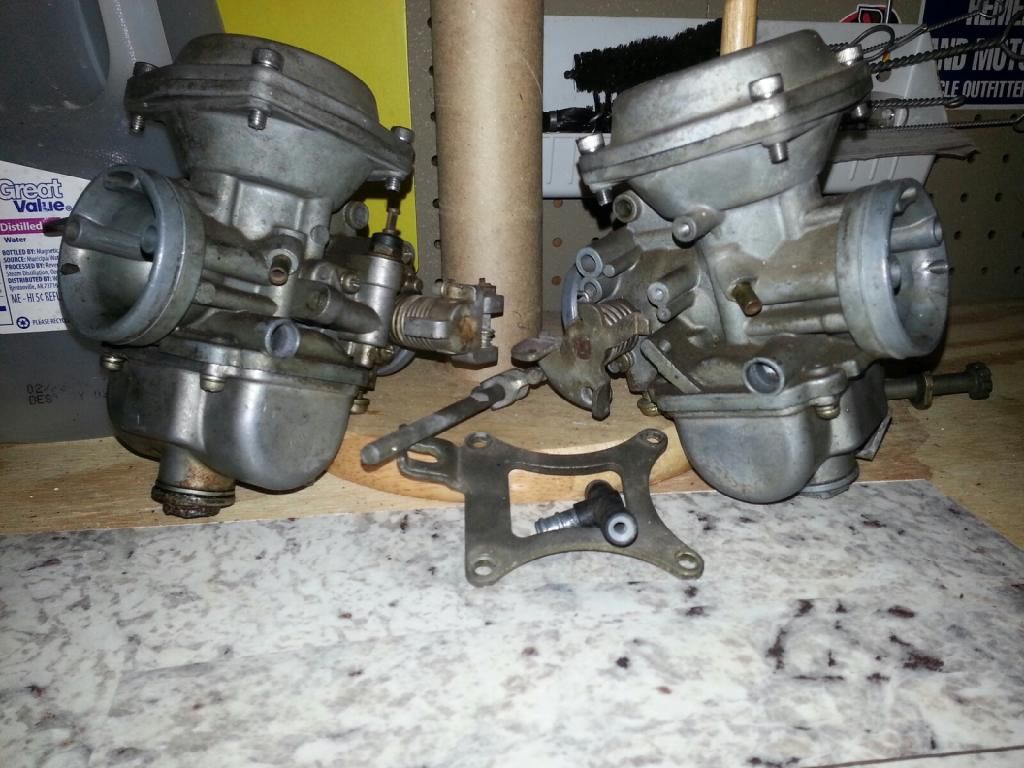
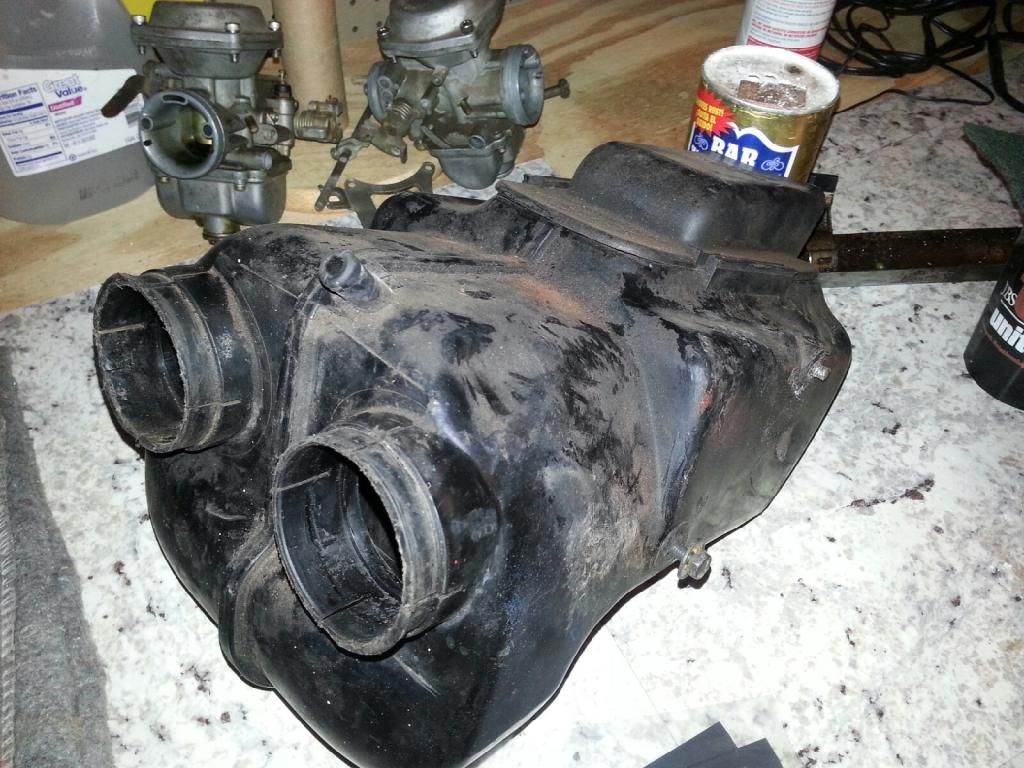
Here are the carbs all apart and loosened up awaiting a carb kit from Mr. Barr and I did figure out how to remove this crazy big airbox.
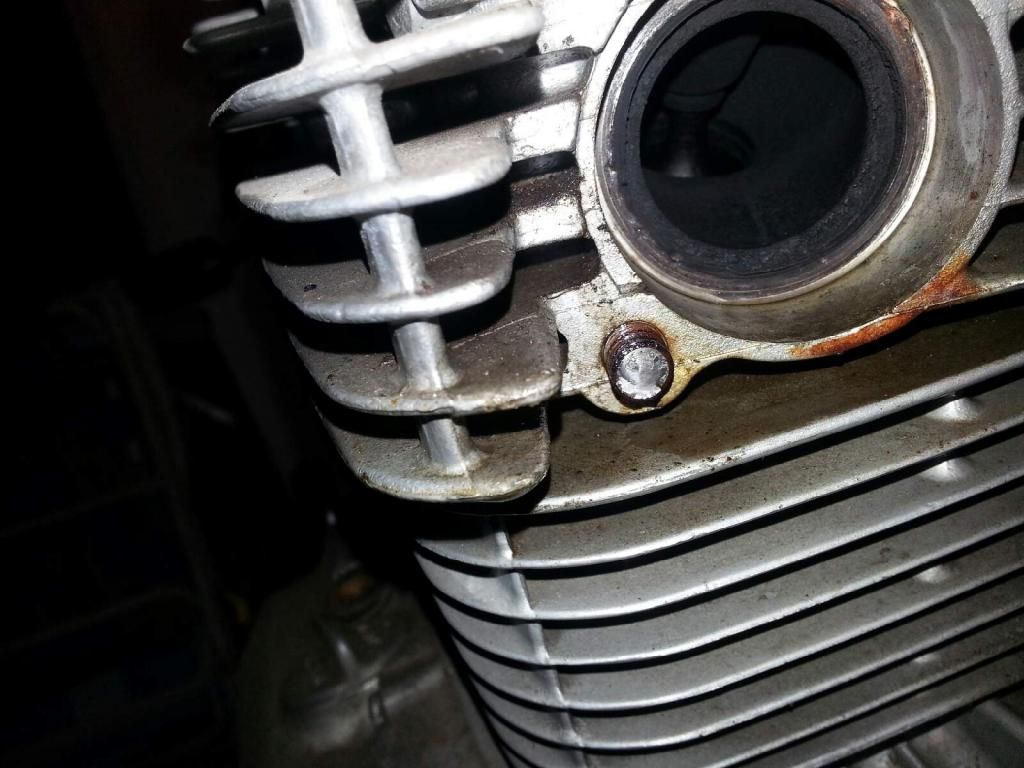
I did snap off an exhaust bolt, but, that's a project for another day. I also stopped by the BMV yesterday and got the title transferred.")

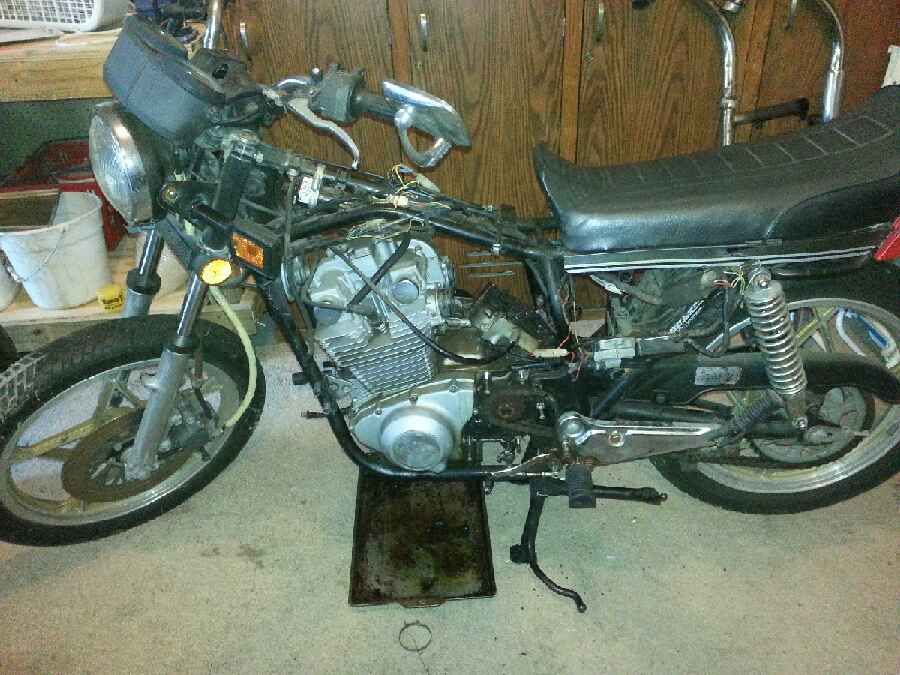
After I got it home we started to get to know each other.

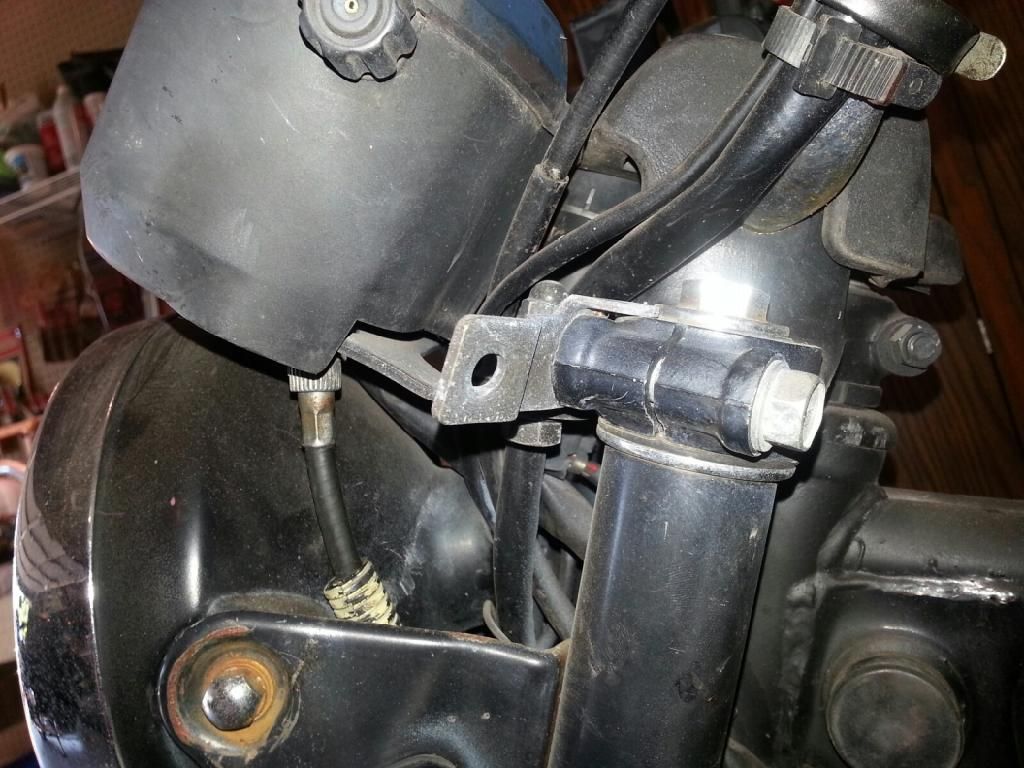
I was told that it may be an "S" model, so, I took some pics of the tabs that used to hold on the cowling.


Here's a pic of the engine number that may help to identify if it is an "S" or not.

Here are the carbs all apart and loosened up awaiting a carb kit from Mr. Barr and I did figure out how to remove this crazy big airbox.


I did snap off an exhaust bolt, but, that's a project for another day. I also stopped by the BMV yesterday and got the title transferred.

Last edited:


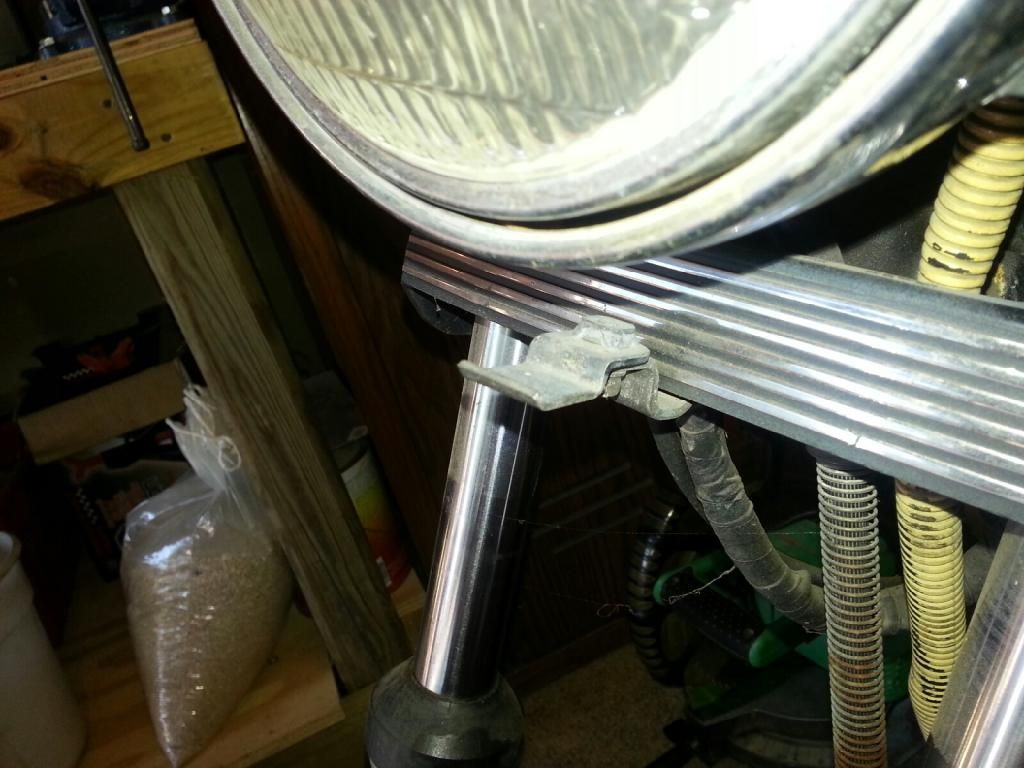
 Is there some kind of weird captive nut on the back ? I took a good look and it seemed just like a regular bolt to me.