• Required reading for all forum users!!!

    Welcome!
    Register to access the full functionality of the GSResources forum. Until you register and activate your account you will not have full forum access, nor will you be able to post or reply to messages.

    A note to new registrants...
    All new forum registrations must be activated via email before you have full access to the forum.

    A Special Note about Email accounts!
    DO NOT SIGN UP USING hotmail, outlook, gmx, sbcglobal, att, bellsouth or email.com. They delete our forum signup emails.

    A note to old forum members...
    I receive numerous requests from people who can no longer log in because their accounts were deleted. As mentioned in the forum FAQ, user accounts are deleted if you haven't logged in for the past 6 months. If you can't log in, then create a new forum account. If you don't get an error message, then check your email account for an activation message. If you get a message stating that the email address is already in use, then your account still exists so follow the instructions in the forum FAQ for resetting your password.

    Have you forgotten your password or have a new email address? Then read the forum FAQ for details on how to reset it.

    Any email requests for "can't log in anymore" problems or "lost my password" problems will be deleted. Read the forum FAQ and follow the instructions there - that's what we have one for...

  • Returning Visitors

    If you are a returning visitor who never received your confirmation email, then odds are your email provider is blockinig emails from our server. The only thing that can be done to get around this is you will have to try creating another forum account using an email address from another domain.

    If you are a returning visitor to the forum and can't log in using your old forum name and password but used to be able to then chances are your account is deleted. Purges of the databases are done regularly. You will have to create a new forum account and you should be all set.

1984 Katana 7/11

  • Thread starter Thread starter Guest
  • Start date Start date
Ended up having a pretty successful day today.

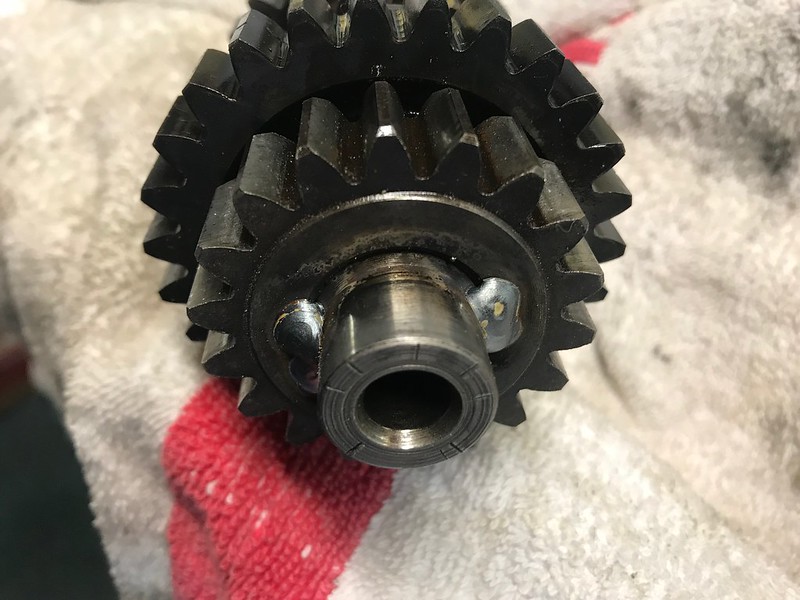
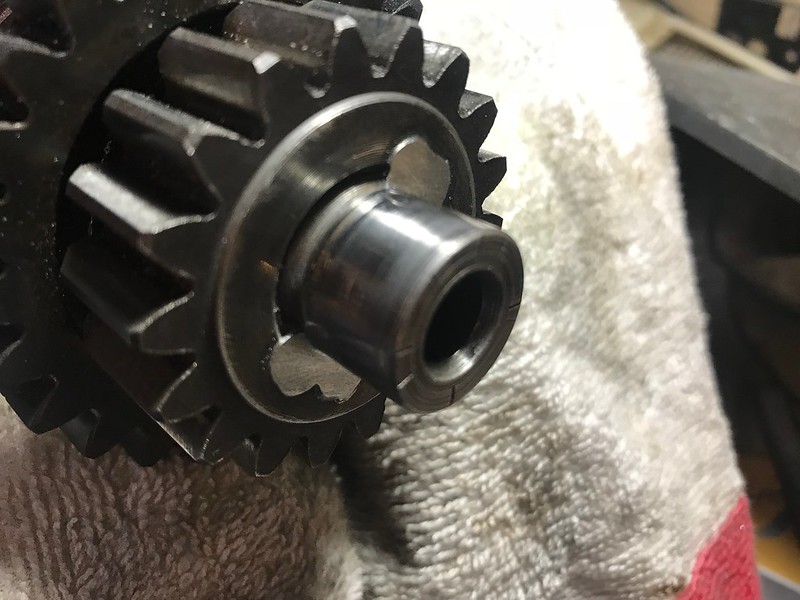
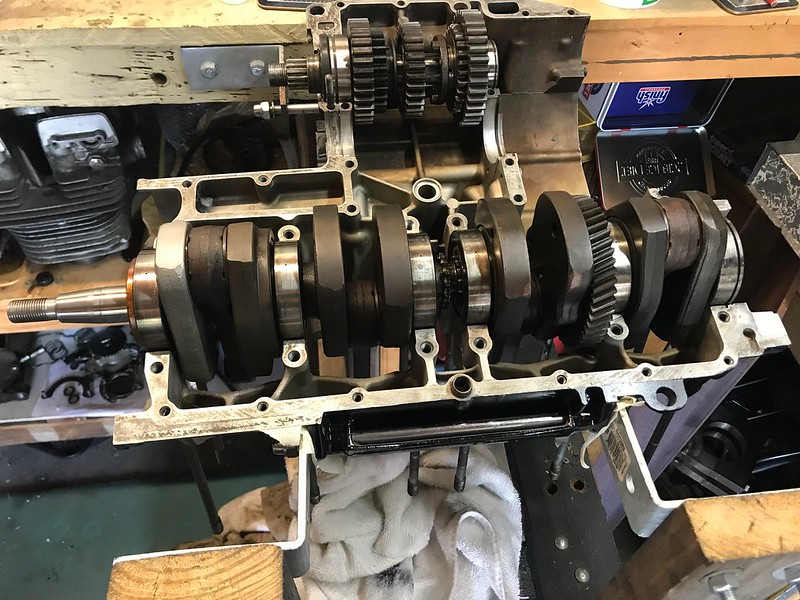
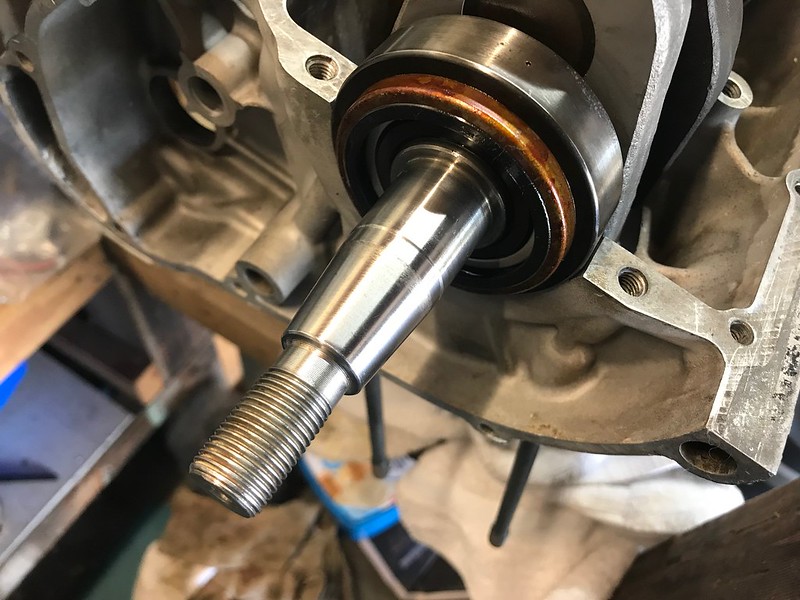
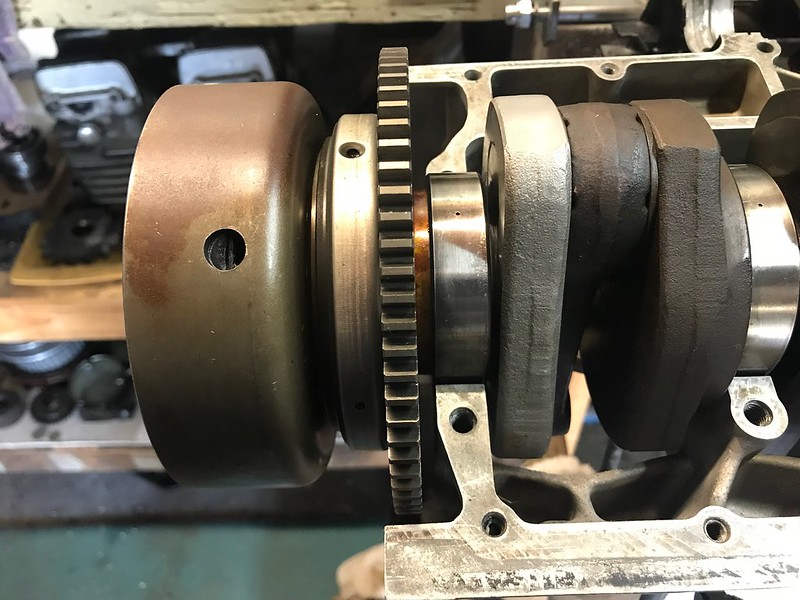
Most importantly I picked my crankshaft up, complete with a like-new tapered end on it! I loaded all the bearings up with fresh engine oil and sat it in place, spins all nice and freely and the taper spins nice and true.

It needs to come back out to get the cam chain in but I'll unpack the chain closer to when I'm ready to put the two halves together.

Untitled by starpoint73, on Flickr

Untitled by starpoint73, on Flickr

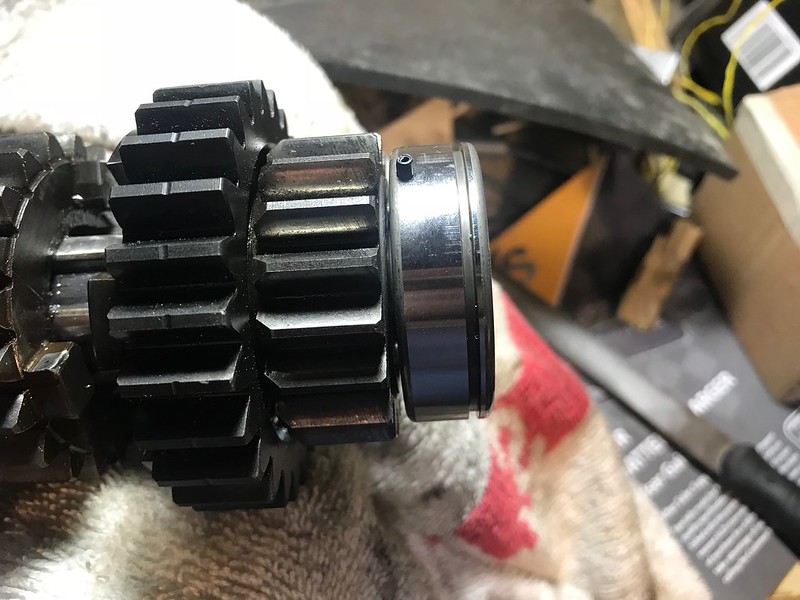
The starter clutch and rotor sit on nicely too.

Untitled by starpoint73, on Flickr

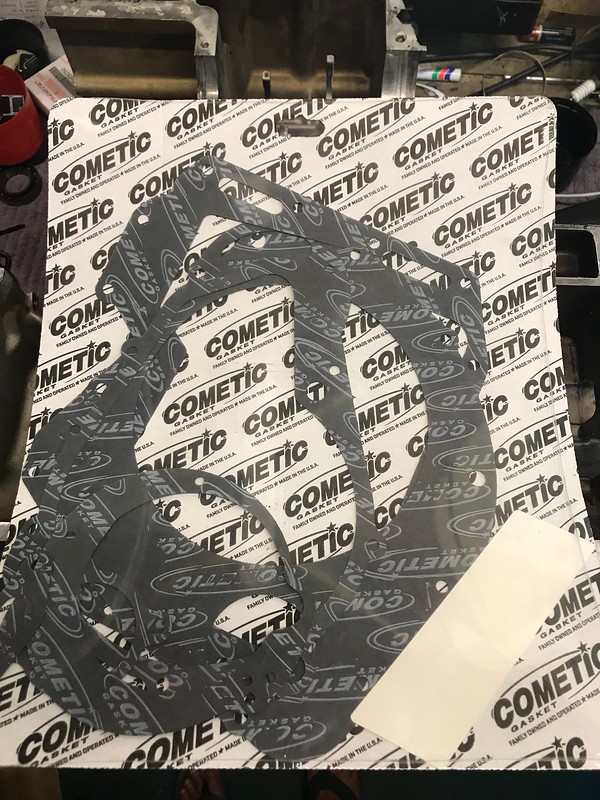
I also picked up a set of all the case cover gaskets etc. from him. I'm happy using Cometic brand, and for $35 the price is good too, and he'll be able to sort me out for the rest of the top end gaskets once I'm ready to. He uses these on drag and racing motors so there shouldn't be any quality issues.

Untitled by starpoint73, on Flickr

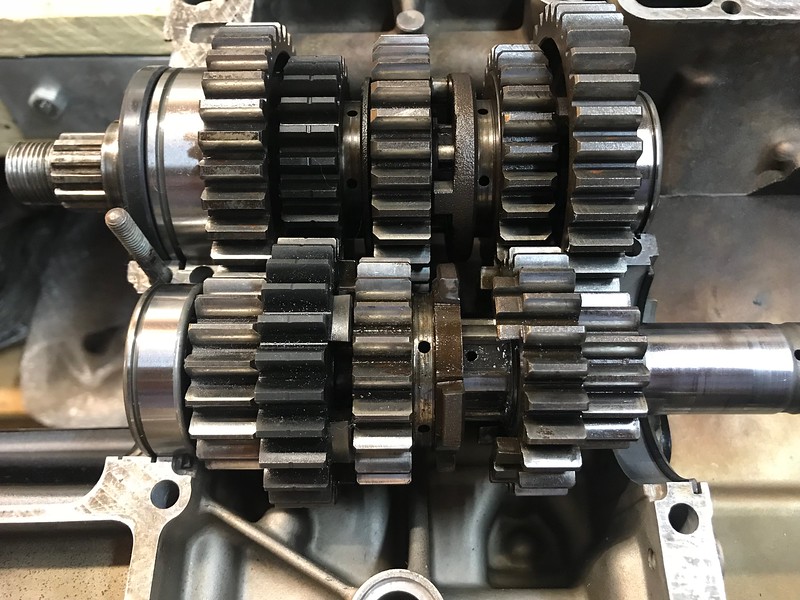
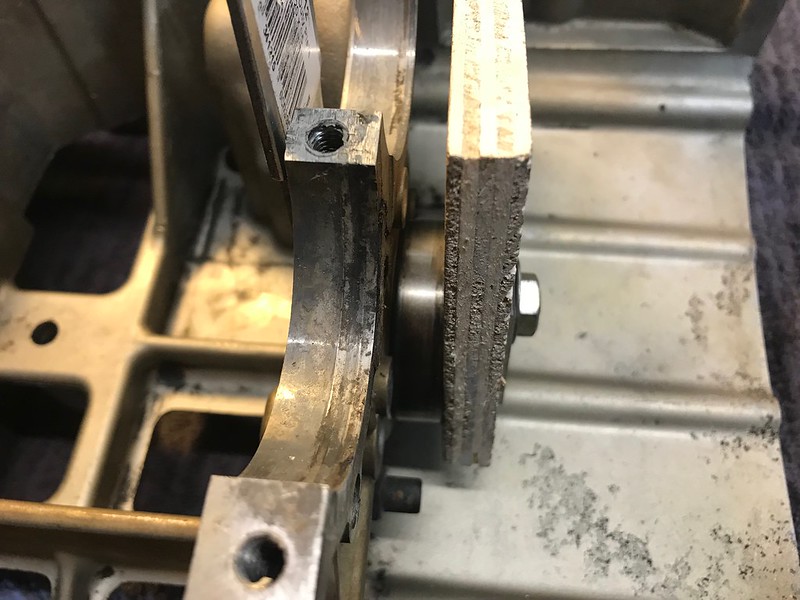
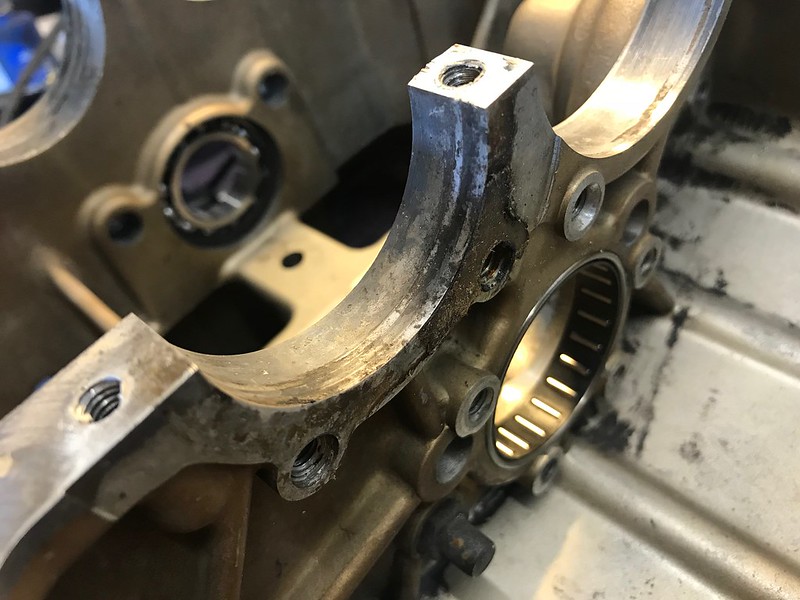
Back to the lower case, and I got the right hand shift drum bearing in today. I heated the case up much more than last night but it still didn't want to just drop in, so I used the bolt, steel, timber, and old bearing I prepared earlier and got it pressed in nicely, no damage and spins nice and freely.

Both bearings loaded up with fresh engine oil also.

Untitled by starpoint73, on Flickr

Untitled by starpoint73, on Flickr

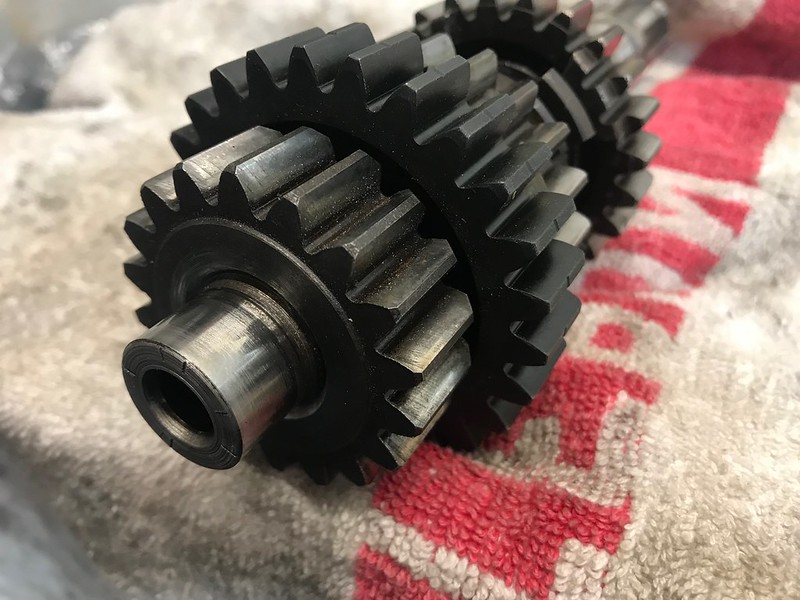
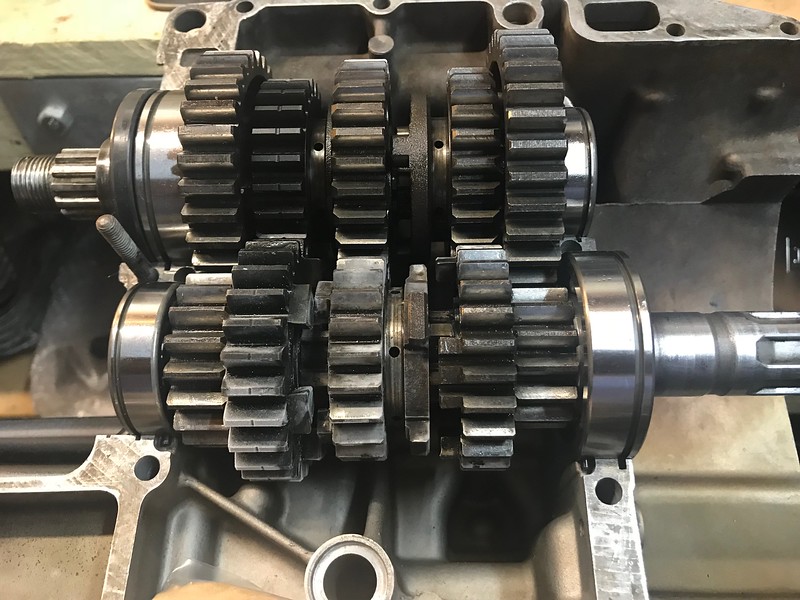
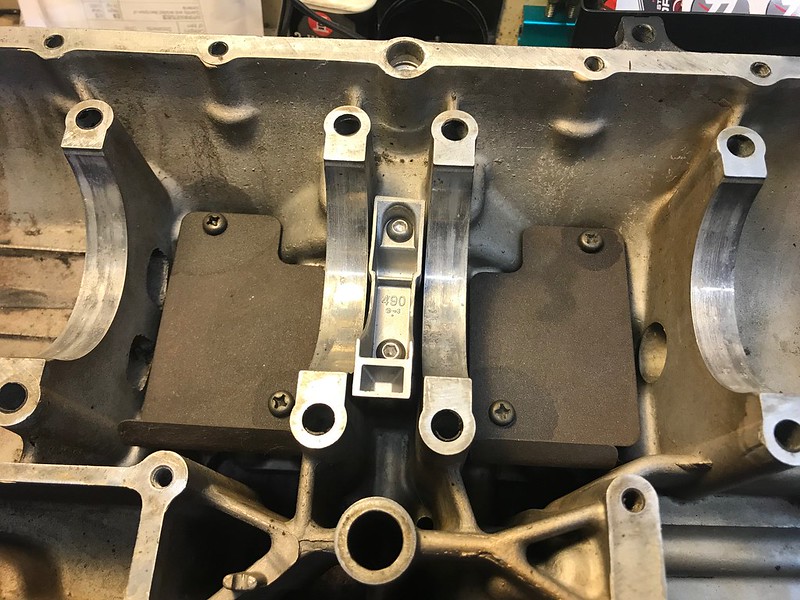
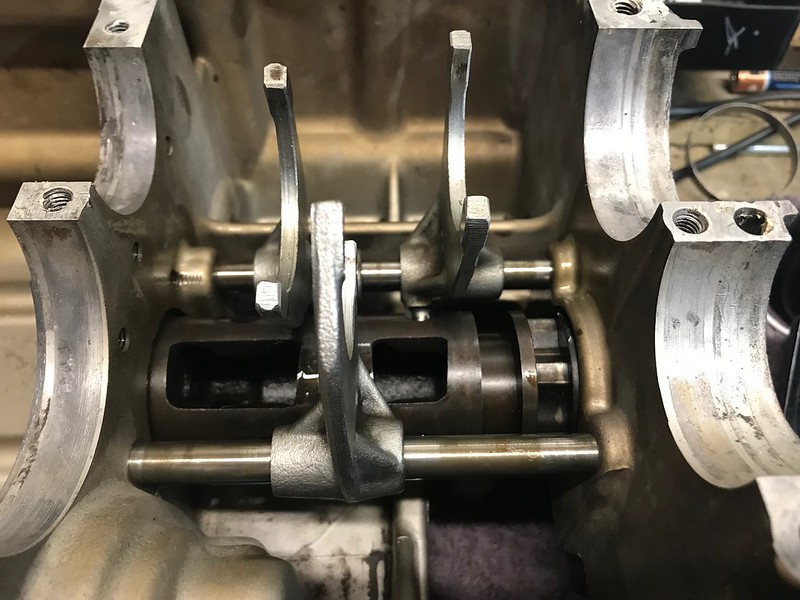
Oil splash plates, cam chain guide holder, shift drum and forks are in.

Untitled by starpoint73, on Flickr

Untitled by starpoint73, on Flickr

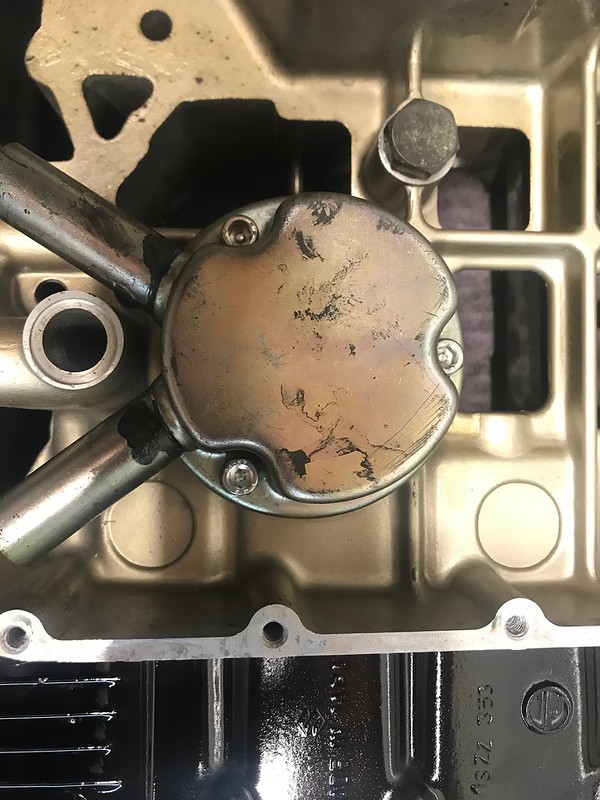
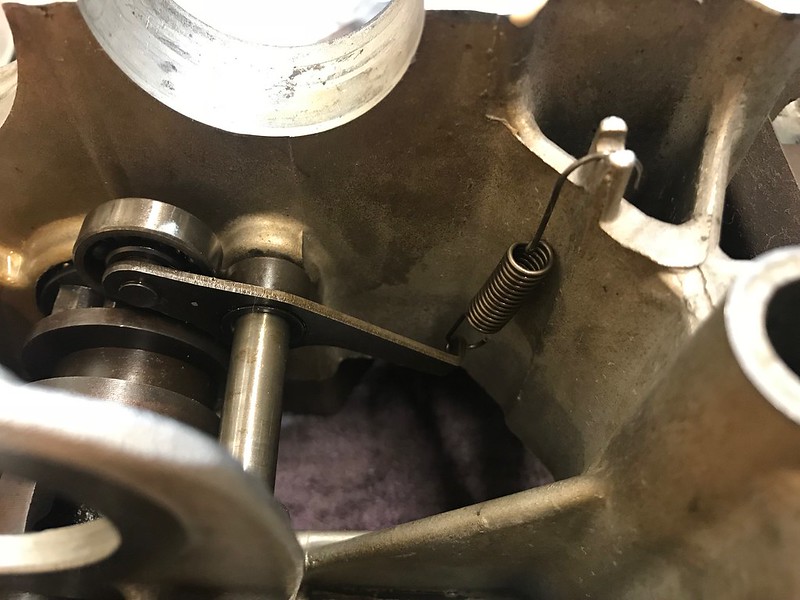
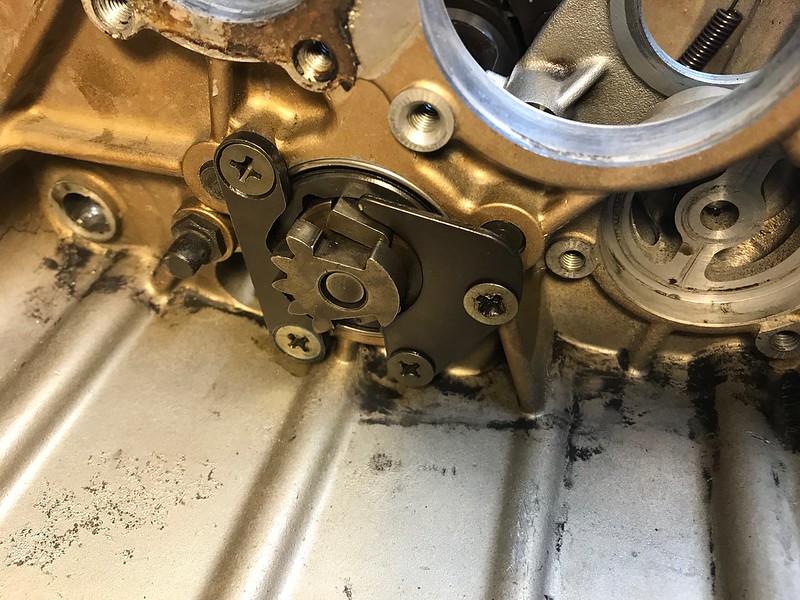
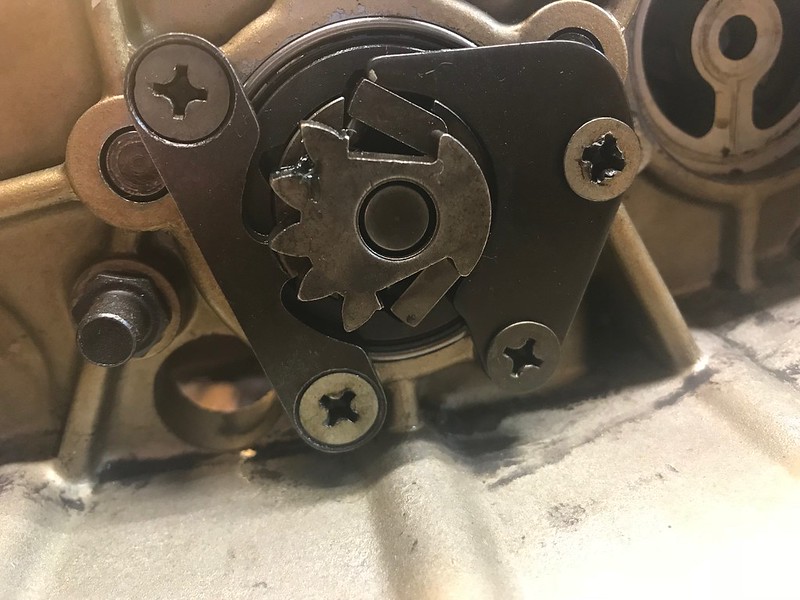
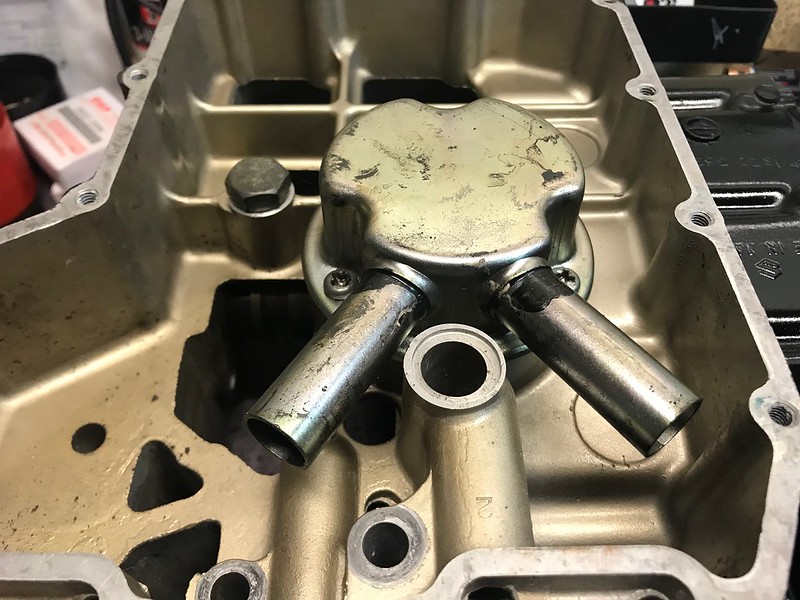
Flipped it over and got the strainer(?) and neutral locator in.

Untitled by starpoint73, on Flickr

Getting very close to the bottom end being done!
 
It needs to come back out to get the cam chain in but I'll unpack the chain closer to when I'm ready to put the two halves together.

Just don't don't get so excited when you have everything "ready to go" and forget all about the cam chain... I almost put the halves together before I realized... :-\\\
 
Yes indeed Larry! Pretty on the inside is a definite must have also, as long as it's functional pretty of course :)

Just don't don't get so excited when you have everything "ready to go" and forget all about the cam chain... I almost put the halves together before I realized... :-\\\

I already got a bit excited yesterday thinking that's it, crank's in, no need to move it again! Then I realised... so I've actually sat the cam chain in it's packaging on the top case so I have to move it before I can do anything else :D
 
Don't forget the oil pickup o-ring either Pete! Use three bond and glue it on there, like the factory did.

Looking just fantastic, as all the other work preceding this.

Cheers,
Daryl
 
Cheers Daryl! Are you referring to the O ring between the case halves? I have it ready to install but didn't realise they stuck it in place, will do so for sure!

Arron, that is one tasty Kat, I like it! Don't stress on posting in here, I'm not averse to more Kat pic's in my thread and in fact the more the merrier :D

Have you got any details on your voltage/temp gauge? Not sure if you saw but someone's put an oil temp sensor in my pressure switch cover, haven't looked around to see if it's worth the effort to utilise it yet or not, but I haven't made a final decision on which dash/gauge setup I'll go with yet either.
 
That's the one Pete. Every engine I have been in has it bonded to one of the halves, just go light on the adhesive.

That crank sure looks purdy!
 
Cheers Daryl thanks for the tip! Yep, a very light touch up with threebond ought to sort that nicely, and yes that crank is purdy indeed!

I got a little done yesterday...

I met a mate who took me out to his mate's place where we pressed him into action and got second gear on.

We reached a consensus not to do the welding though as he only has a MIG and wasn't comfortable he couldn't do it in such a tight area without adverse effects.

I have to work from home on Wednesday for something else so I'll take the opportunity to take it up to an engine reconditioning shop as they'll likely be able to take care of it.

Untitled by starpoint73, on Flickr

I also took some timely advice and swapped out the cheese head strainer screws for some cap heads.

Untitled by starpoint73, on Flickr

The shift drum stopper arm is in as well and it looks and feels right to me, but the black and white photo in the manual makes it almost impossible to see properly, so let me know if anything's not quite right.

Untitled by starpoint73, on Flickr

The cam end of the shift drum is all sorted as well, and I stuck the shift shaft in temporarily to make sure it seemed to shift well which it did. One screw head looks a little dodgy, but it's actually ok with the correct fitting screw driver.

Untitled by starpoint73, on Flickr

Not much I can really do bottom end wise now until second is finished up, but then I should be able to test fit the cases together to make sure the gearbox is all smooth before buttoning it up ready to invert for the rest of the build.
 
Looks like we took opposite approaches to our builds... We both started by getting a rolling chassis, but then I finished up the engine while you finished up the chassis.

Now you're working on things I finished up awhile ago and vice versa.

I think you'll have the engine buttoned up and in the frame, way before I have my tank in paint, and everthing back on the frame though.

I'm almost as anxious to see your bike done as I am my own...
 
That's the approach I took on the 450 Sam, got the engine done before the body work. The issue I found with that method was I was so excited to get it on the road I started cutting a few corners... not painting or tidying bits I probably should and so forth, and now she's showing up all those spots I didn't pay attention to.

I promised myself no rushing or short cuts on the Kat and so far I've kept to that as far as funds allow anyway, hopefully I can keep it up!

Mind you it didn't help the 450 had been off the road for nearly 10 years by the time I was done and I had no other bike... I was getting pretty desperate to ride again!

I did some sums with the stuff I have to procure yet (tyres, gaskets, chain/sprockets, dash, etc.) and it looks like the project's going to stall sooner rather than later while I wait for some $$ to build up. I can only put so much aside each month for it and that's really going to hold me up once all the time and effort bits are done.
 
It'll be worth the time, effort, and money that you've invested, Pete. This bike is probably going to be with you for a long time. When it's all done you can take a moment, stand back, remember what went into it, how many times you laid your hands on it and then cruise off on it with a smile on your face knowing you did it right.
 
Yep that's very true Larry! The 450's not going anywhere soon and the Kat will be the same I reckon. The Kat's basically my dream bike so I can't see me getting rid of it any time soon after she's done... possibly not until I'm too old and senile to ride any more :)

Second gear's all welded up!

The job ended up a little... chunkier... than I anticipated and it did encroach on the bearing surface, but the guys who did it are auto restoration guys and this sort of work is not their forte. They just did two opposite sides to avoid overheating it, and they let it cool naturally to prevent it going brittle as well. They're certainly good solid welds!

Untitled by starpoint73, on Flickr

About 45 minutes taking care with a file got it all sorted and the bearing goes on properly with just finger pressure as it should, so definitely no screw ups from the welding job or my filing which is excellent.

I haven't forgotten the wave washers either, it's only a test fit with the bearing and I'll get those on once the bearing on the other side is pressed on.

Untitled by starpoint73, on Flickr

Untitled by starpoint73, on Flickr

As best I can tell without the other bearing on, the two shafts seem to line up and sit nicely so I should be good to go once the other bearing is sorted.

Untitled by starpoint73, on Flickr

I've chucked the countershaft in the freezer and will leave it there until tomorrow night, then I'll sneak the other bearing into the oven for a bit so it expands and in theory it should be nice and easy to install.
 
Pete, sorry if I missed it, but what is the purpose of welding the gear on? Repair or pre-emptive?
 
Well, a little bit of both in this instance.

Second gear is a press fit on the countershaft, held in place by friction and high strength thread locker.

They say you can replace the gear twice before having to replace the shaft, and due to first being integral with the shaft, to replace any other gears you need to press second off and back on again, and of course I have no idea how many times that may have been done already. In this case fifth needed replacing, so second had to come off.

When we got second off, we noticed marks/burring on the shaft and inside of second that indicate it may have spun a little already.

So, given all the above, welding was the recommended course of action and is a very common fix to sort the issues.

In my mind it's also part of trying to make sure the bottom end is as solid as can be to avoid needing to pull it apart again any time soon.
 
No worries!

Stuck the bearing in the oven for 10 minutes tonight, grabbed the countershaft out of the freezer, and it literally dropped into place. Too easy!

Yes, you can see frost on the countershaft :)

Untitled by starpoint73, on Flickr

I did the test fit with the lower case and it all went together nicely, however it just doesn't seem to want to shift via the shift lever.

If I rotate the shift drum by hand it seems to move just fine, just not via the shift lever and cam on the end of the drum.

Any thoughts or tips on what I may have screwed up here? Pretty sure I've assembled it right but there might be some trick I'm missing.

Untitled by starpoint73, on Flickr
 
Check to make sure that the shift pawls aren't backwards. Keep the round part at the bottom, but try switching them around. The two aren't interchangeable. One is meant to go on the top, and one is meant to go on the bottom. I had the same issue, and that's what it was for me...

Also, doesn't the shift lever insert from the side that's in the pic, not the other side?
 
Last edited:
Back
Top