• Required reading for all forum users!!!

    Welcome!
    Register to access the full functionality of the GSResources forum. Until you register and activate your account you will not have full forum access, nor will you be able to post or reply to messages.

    A note to new registrants...
    All new forum registrations must be activated via email before you have full access to the forum.

    A Special Note about Email accounts!
    DO NOT SIGN UP USING hotmail, outlook, gmx, sbcglobal, att, bellsouth or email.com. They delete our forum signup emails.

    A note to old forum members...
    I receive numerous requests from people who can no longer log in because their accounts were deleted. As mentioned in the forum FAQ, user accounts are deleted if you haven't logged in for the past 6 months. If you can't log in, then create a new forum account. If you don't get an error message, then check your email account for an activation message. If you get a message stating that the email address is already in use, then your account still exists so follow the instructions in the forum FAQ for resetting your password.

    Have you forgotten your password or have a new email address? Then read the forum FAQ for details on how to reset it.

    Any email requests for "can't log in anymore" problems or "lost my password" problems will be deleted. Read the forum FAQ and follow the instructions there - that's what we have one for...

  • Returning Visitors

    If you are a returning visitor who never received your confirmation email, then odds are your email provider is blockinig emails from our server. The only thing that can be done to get around this is you will have to try creating another forum account using an email address from another domain.

    If you are a returning visitor to the forum and can't log in using your old forum name and password but used to be able to then chances are your account is deleted. Purges of the databases are done regularly. You will have to create a new forum account and you should be all set.

'81 GS550 Cafe Build

  • Thread starter Thread starter D-Mac
  • Start date Start date
D-Mac, I'm rebuilding a 82 550L and I really like the Dime City speedo and tach that you are using. Which DC speedo matches up to the factory speedo cable and what is the tach ratio?

I will check. I have the ratios and part numbers written down at home (I found them through a search on here).
 
That's a real bummer d-mac. Great job on the deduction. Good part is that you will have a fresh engine that runs strong and lasts forever.
 
sorry to hear about your bad news but i think the good news is that you should be able to proceed with the crank swap as you intend (your points 1) to 3) in your post above)

i would however at the same time want to make sure that the crank casing is internally all as it should be so when you drop the new crank shaft in it works as it should
 
Very impressive build D-MAC, I have just started a very similar build on a 1982 GS550e. Just got it iin November and been tinkering a bit.. I must say that You have amazing tenacity, and have produced an amazing result. A real inspiration.
 
Well?..as I take about 2000 steps backward, I guess I do have SOME progress to report.

You might recall that I bought a parts engine a long time ago, and used the top-end for the rebuild. So I still have the bottom-end of that junker.

PARTS ENGINE ADVENTURE:
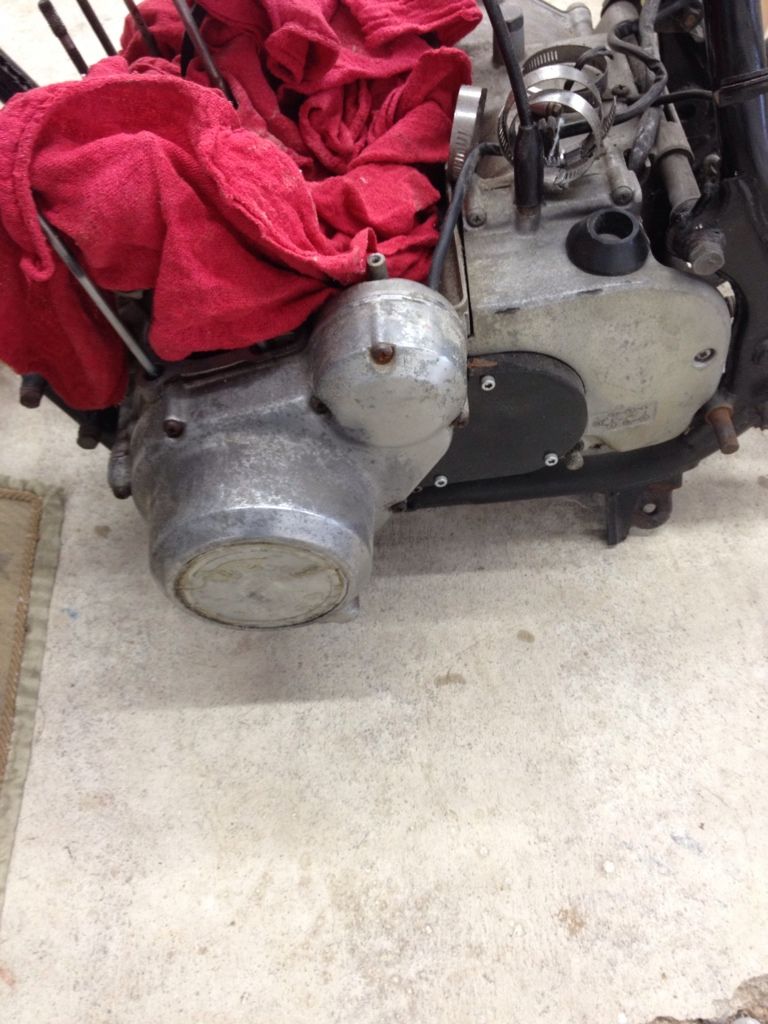
I hauled my parts engine back into the shop yesterday with a little help from my son. It?s still sitting in its frame in this pic. Note the WOODEN inner cover. WTF. I think this bike is even more ?redneck? than the Redneck Rocket!! The frame of this thing has been haphazardly been rattle-canned a few times too.
6DCFEB58-9881-40B3-BD0B-A3686C14B59E-5219-0000061C6C894FA2.jpg


After wrestling what?s left of this engine from the frame, we managed to get it into my engine stand, drained the oil, and pulled the filter.

Then I spent a little while today removing the pre-stripped screws on the side covers. Damn I?m getting good at this. I had to Dremel slots into about 10 of them in order to get a good-enough grip with my manual impact driver to force ?em loose. They were on TIGHT.

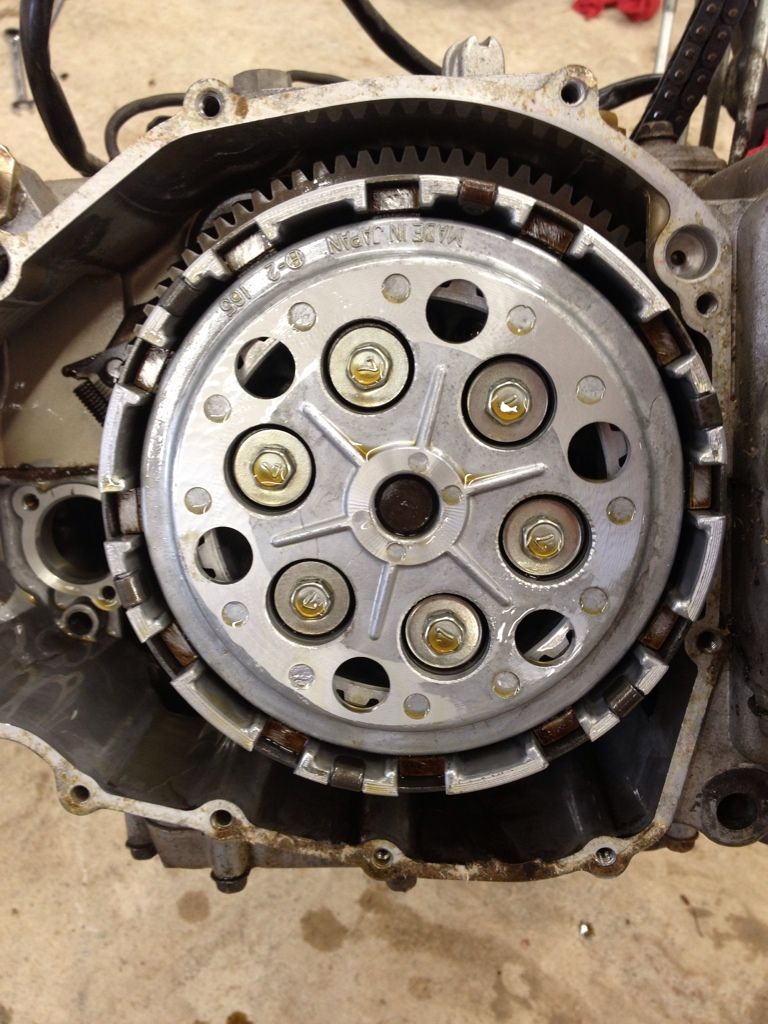
Once the covers were off, I removed the counter-sprocket (loose already ? just like the one on my main engine (!)) and then I pulled the locking plate on the left side. Turning to the right-side, I tackled the clutch plates + basket. A few pics of the right-side process:

Clutch basket. I will check the plates and springs on both bikes and see what?s still good.
39DABECD-9DFC-47F4-906A-064D1BB36759-5219-0000061C748BD114.jpg


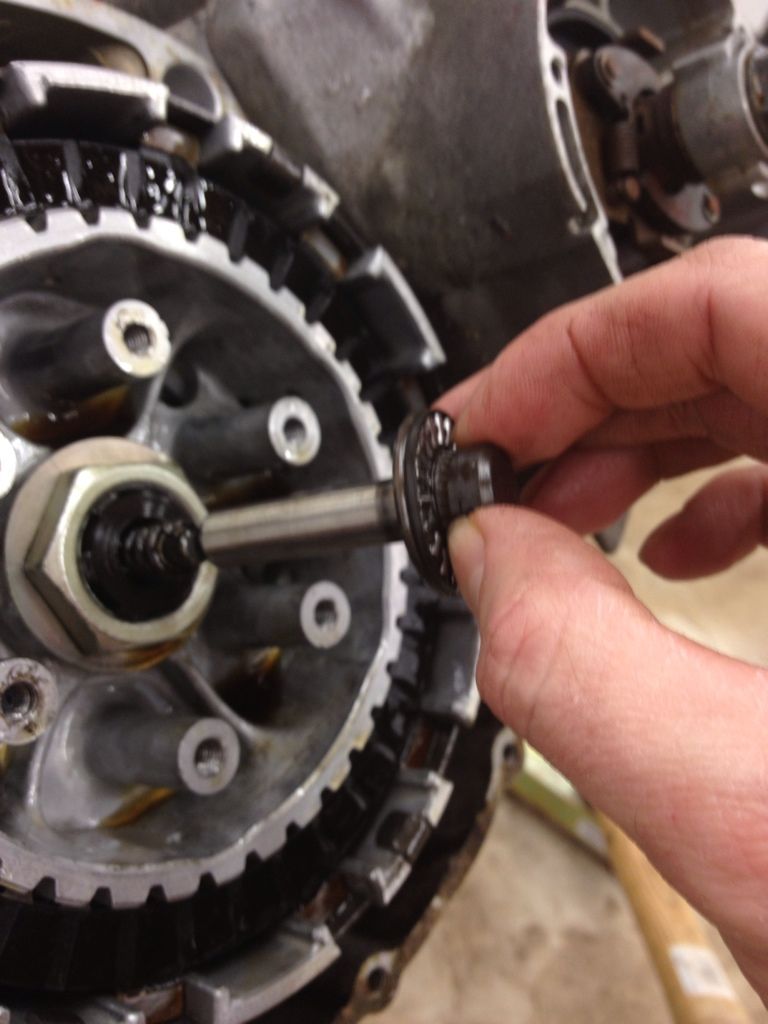
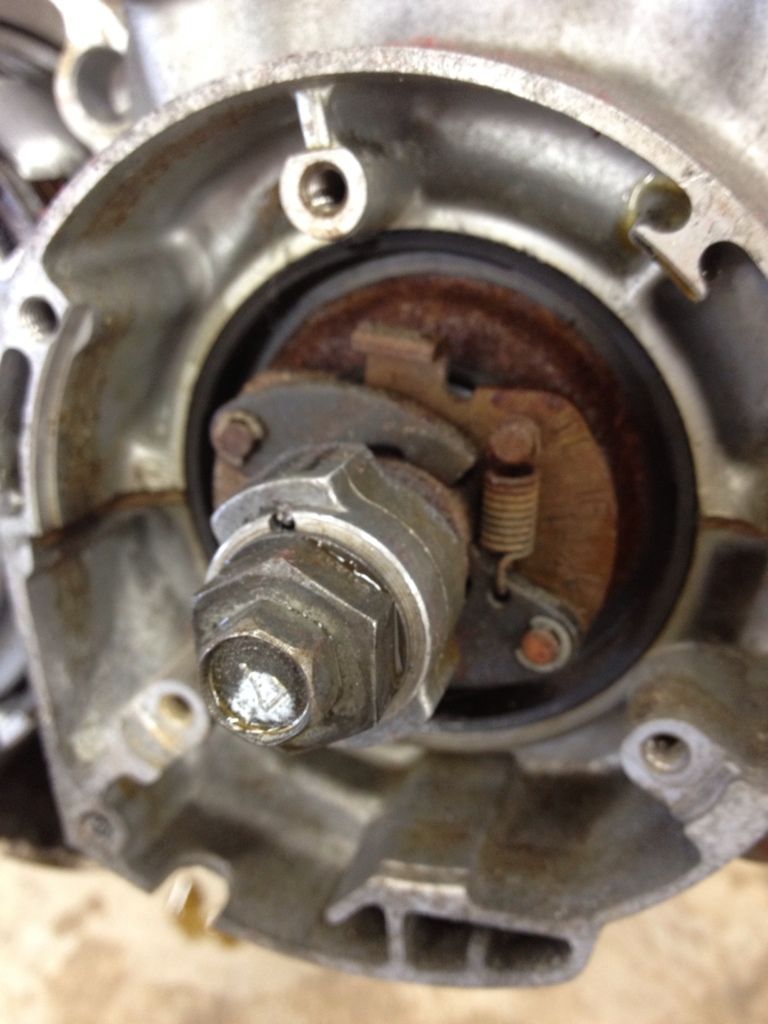
Below I?m shown pulling out the various rods that actuate the clutch. The OEM long rod can only be removed from this side, but the one in my Main bike is actually a bunch of shorter rods that don?t look stock and come out of both sides (!) I?ll likely use this assembly (stock) in the Main bike when I put it back together. You can also see the 32mm clutch hub nut in this photo.
A520B189-CCCB-418F-A79A-A5E7661220DE-5219-0000061C7D2B7506.jpg


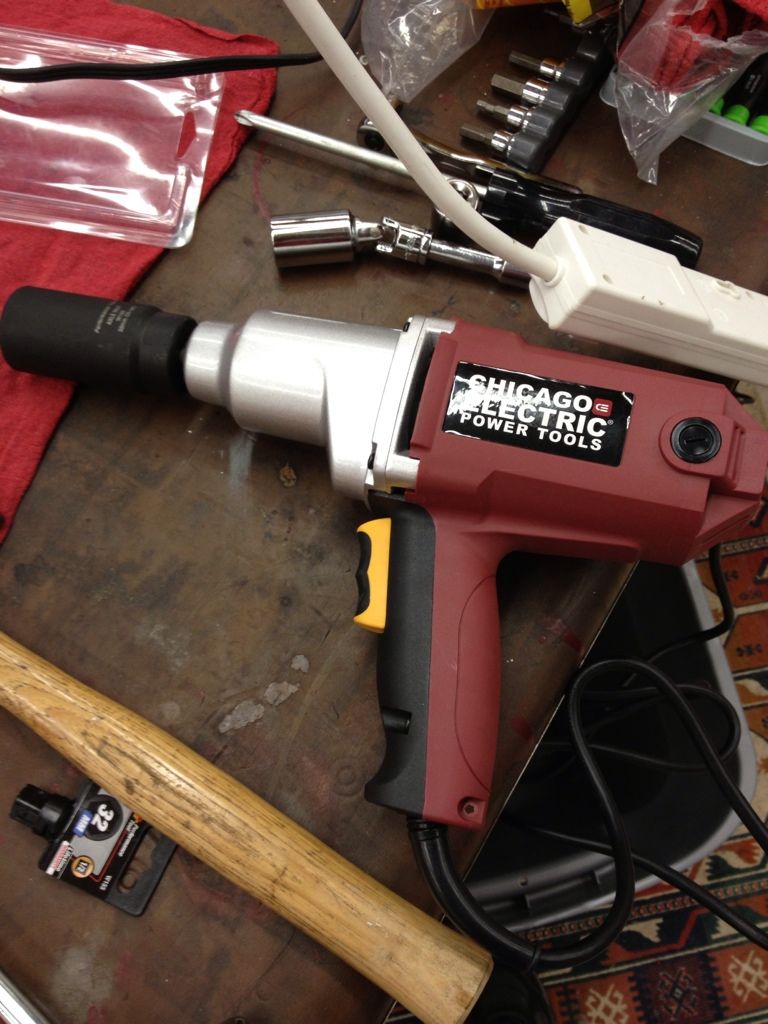
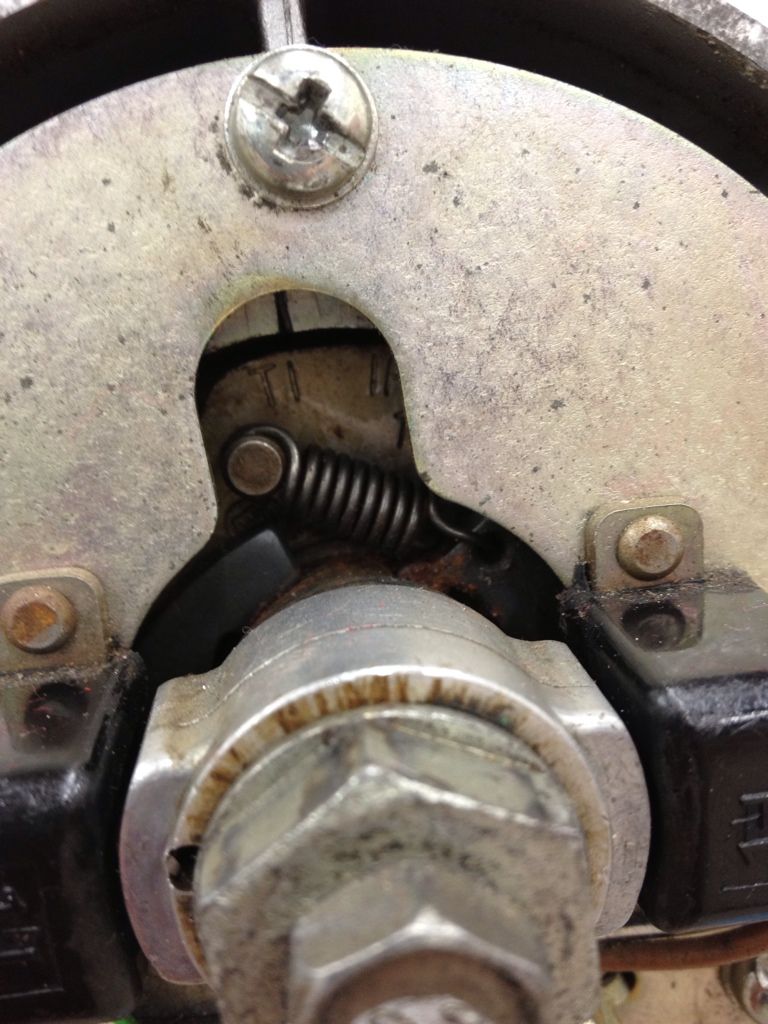
I?ve wrestled with too many clutch hub nuts in my life. While I?m a big fan of using a holder tool (homemade or otherwise) to torque them back on correctly, there?s only one way to remove them in my opinion??. So off to a parts store for a 32mm impact socket and to Harbor Freight for a cheap, but highly rated, impact driver.
AF8C66E9-8484-4F17-B340-D95366BA6805-5219-0000061C841BC70B.jpg


The nut came off easily. Sweet. I?ll either fab or spend a few bucks on a clutch holder for reassembly when I get to that point.

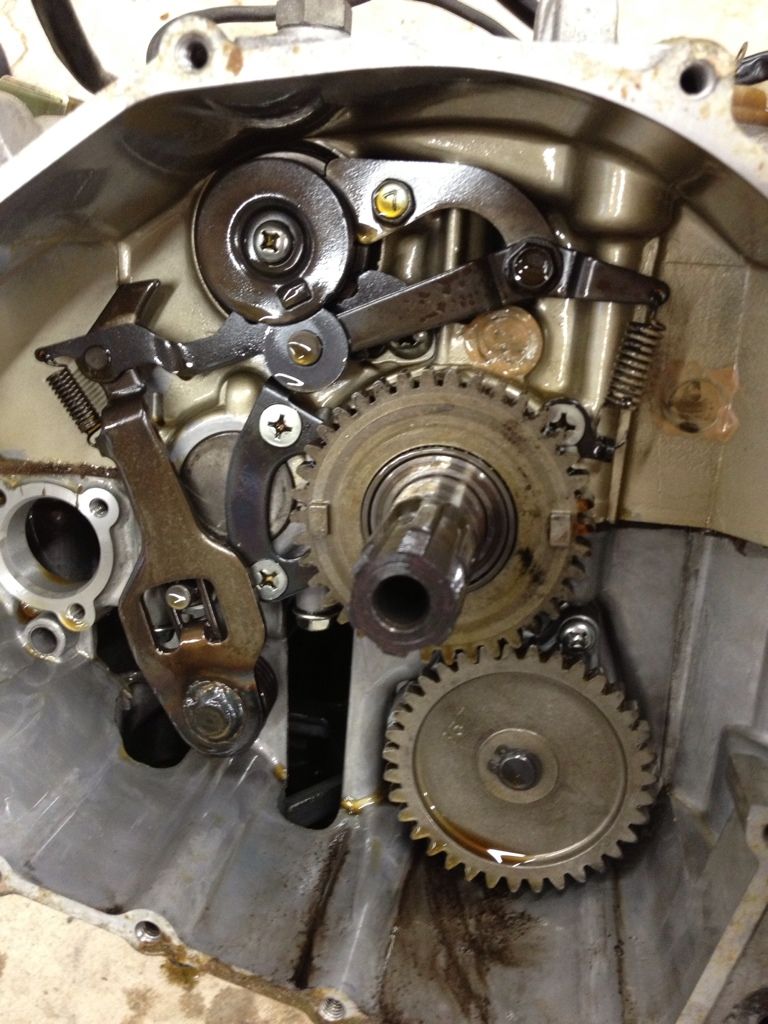
After removing the basket, a bunch of washers, various needle bearings, spacers, sprockets, more bearings, etc. etc. etc. I reached this point (below). Later this week I will pull the shift mechanism and start removing the >30 bolts holding the cases together. I?m a little worried at the rusty, corroded, and cheap quality of the case fasteners. I have a feeling I might end up having to drill them out?..hopefully only on this bike. I?d like to keep both sets of cases in good shape.
EDA19C8C-75F3-4143-92C8-0D3287FF5AC8-5219-0000061C97642B3A.jpg


I?m not going to use the mechanical advancer on this parts bike. The one on my Main bike is much cleaner. Note all the rust in the background on what looks to be the metal part of a crank seal?..I wonder how hard that one is to replace because it looks awful.
CF0A3B6B-E2A1-4564-99E3-D14DE73E7481-5219-0000061C70DF04E2.jpg


A friend just got back from Haiti and brought me this. Perfect timing! I need a drink?..
49BF1A4E-3B2D-4AE6-B234-660ED4A90B54-5219-0000061C626BC9CF.jpg
 
A quick look at the parts fiche shows that the crank seal shown above swaps easily enough and should be replaced anyway. That's a bit of good news.
 
I might be missing something here but I don't see the tool, could you please redirect or spell it out to me because I am wrestling with that issue at the moment and all help is appreciated!

You might want to PM Sci85.

I think you're referring to removing the lower steering head bearing race? If so, I didn't end up buying any tools to do the job. I welded a bead around the inside of the race. Old trick. The heat and weld causes the race to shrink. It'll fall right out! (If it doesn't, the weld provides a nice bump to tap it out from above). Just make sure you don't weld the race to the steering head by mistake! I have a pic of it somewhere in this thread. Any welding shop can do it in 5 minutes if you don't have a setup.

I believe the tool is some sort of pipe with slots cut in it that will "pop" out around the race if you put it down the head. Grabs the edges of the race and allows you to pound it out from above. Try MotionPro. ?
 
You might want to PM Sci85.

I think you're referring to removing the lower steering head bearing race? If so, I didn't end up buying any tools to do the job. I welded a bead around the inside of the race. Old trick. ?

Yip, I think I'm going to give this a go. I just bought a welder for this project so it may as well get some use! Thanks guys!
 
I might be missing something here but I don't see the tool, could you please redirect or spell it out to me because I am wrestling with that issue at the moment and all help is appreciated!

Sorry, I've been travelling and haven't been on the site in a bit.

The tool is just over half way down the thread page. It's basically using the rear engine bolt with a big washer on it. Follow the link then scroll down the page and you will find it.

Sci85
 
Between work and personal stuff it?s been really hard to get back to this project lately. It feels good to be back in the shop!

To do it right, I decided to pull the top-end again. This time I decided to remove it before trying to wrestle the engine from the frame.
After removing more bits than I can remember, I got the cams and head off easily enough. Here are some pics showing what I believe to be a twisted crankshaft. Pistons 1&2 are off.

Timing mark for pistons in cylinders 1&4 lined up. Both pistons should be at TDC at this point.
AEE0AD3A-F384-48A6-96BF-2523D786B87C-880-000001060FA53FDD_zpsc48103ac.jpg


Here is Piston 4 ? right at TDC on the mark. Good.
9D866A5C-BC04-4869-B470-07F303AA87E6-880-000001061965E5D6_zps7f1c7690.jpg


Not so for Piston 1! It?s already on the way back down when the mark is lined up. If you compare the two photos above, you?ll see what I mean. Here?s Piston 1 with the mark lined up. Ugh.
8FB77E53-DD18-4B79-8F2A-1220477B2C20-880-000001061DF74BF3_zps0361c06b.jpg


Then I set the timing mark for pistons 2&3. Piston #3 is at TDC as it should be (2 pics)
64458AAD-D55A-4839-8713-C9AC7D53A903-880-0000010627A8E02A_zpse7312eaa.jpg


E3A9BBB6-F282-4F93-B792-38C27BA10A67-880-000001062C744AAB_zpsb2ef84e6.jpg


Not so for Piston #2! It?s not as far off the mark as #1, but it?s still bad. Here are 2 pics.
ABFF3F08-FF66-4A89-9D80-5EEB4A94E38F-880-0000010635C0A4C5_zps740a66ea.jpg


4D06F98C-C0A9-4D0D-B936-B3C604FE1F8A-880-0000010630F26A1C_zpsa4e317c0.jpg


Photo across the cylinders. Note the difference in height of Pistons 2&3.
A00A19CF-0478-4818-9C9A-11BAAFB54996-880-000001063A4614C8_zps4b8bd2a3.jpg


The next steps are to get the pistons off, pull the engine out and into my stand, and start disassembling the cases. If I can find time to get that done over the next week, I?ll be happy. Then I?ll have to order the rest of the seals, fasteners, etc. and wait 3-4 weeks to get ?em all. Only then can I start what I hope will be final assembly!

The head gasket looks good, but I?ll be replacing it anyway. Ditto with the base gasket and various o-rings that have been compressed.
 
Filters

Filters

Tell us about those K&N filters . Dual filters I think they are called. Where did you find those and what K&N part number are they. I like the look and it looks like they fit nice. Please advise and thanks. Its what I need on my GS550 .
 
SUZUKI GS550 Katana 1982 K&N Universal Clamp-On Filter RC-2382

Been eyeing them out myself but also thinking of some stacks
 
How are things progressing D-Mac? After the engine fiasco, hopefully you haven't lost the motivation to finish her up...
 
Just spent 2 hours reading this thread and it ends like this ? :confused:
It's like someone ripped the last page from a novel :mad:
Come on D Mac what happened ? Hope you didn't sell on the bay as an unfinished project :eek:
 
Agreed, this was a huge inspiration for me. Dying to see e finished product
 
Just read through this build GREAT JOB! I bought my 1980 GS550E last month as my first bike and have been working on it since.
 
Was the front end of the bike lowered? I see the forks look pushed through the triple trees enough so the clipons can attach? I'm thinking of doing the same.
 
Last edited:
Back
Top