T
turkeyroll60
Guest
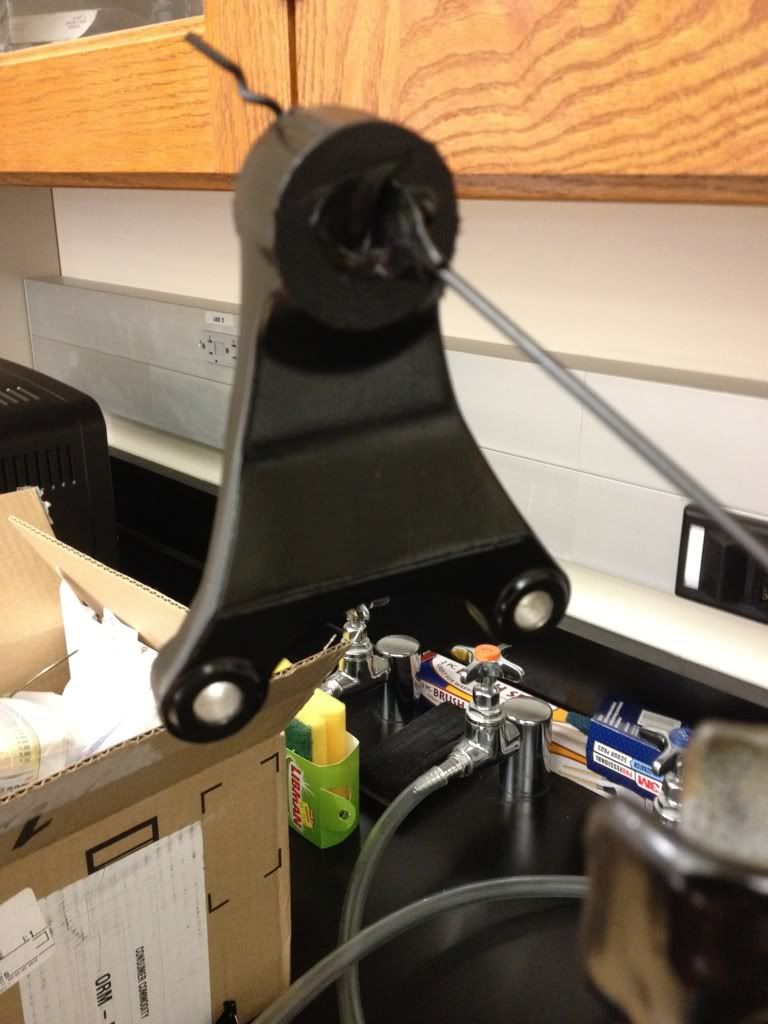
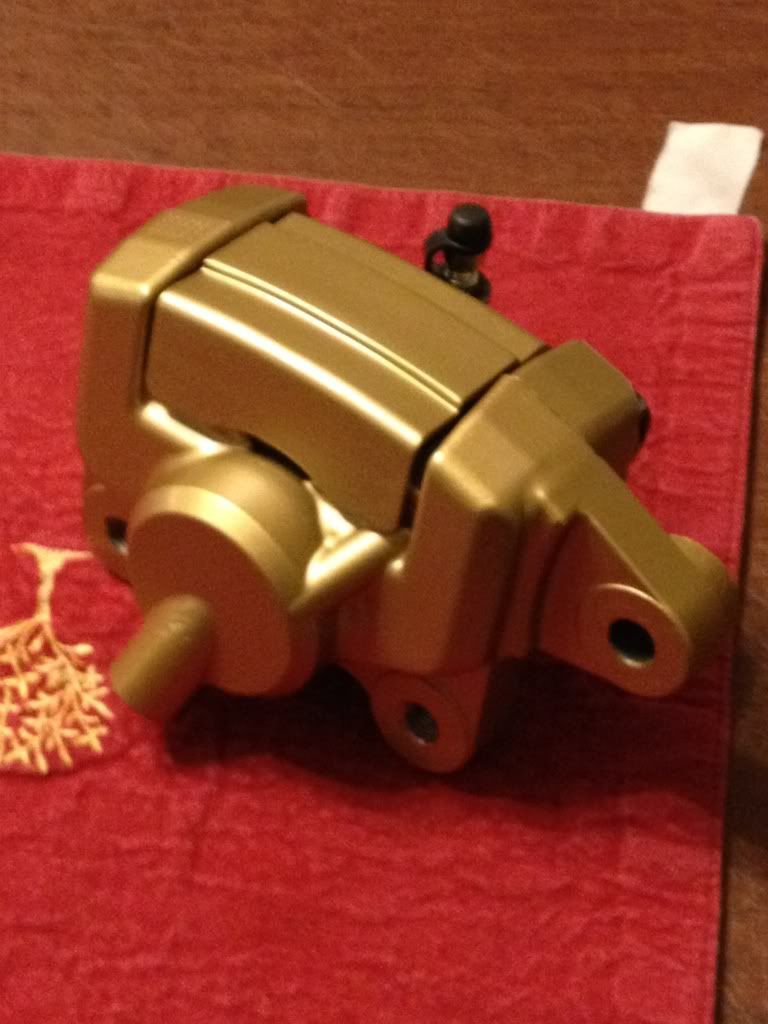
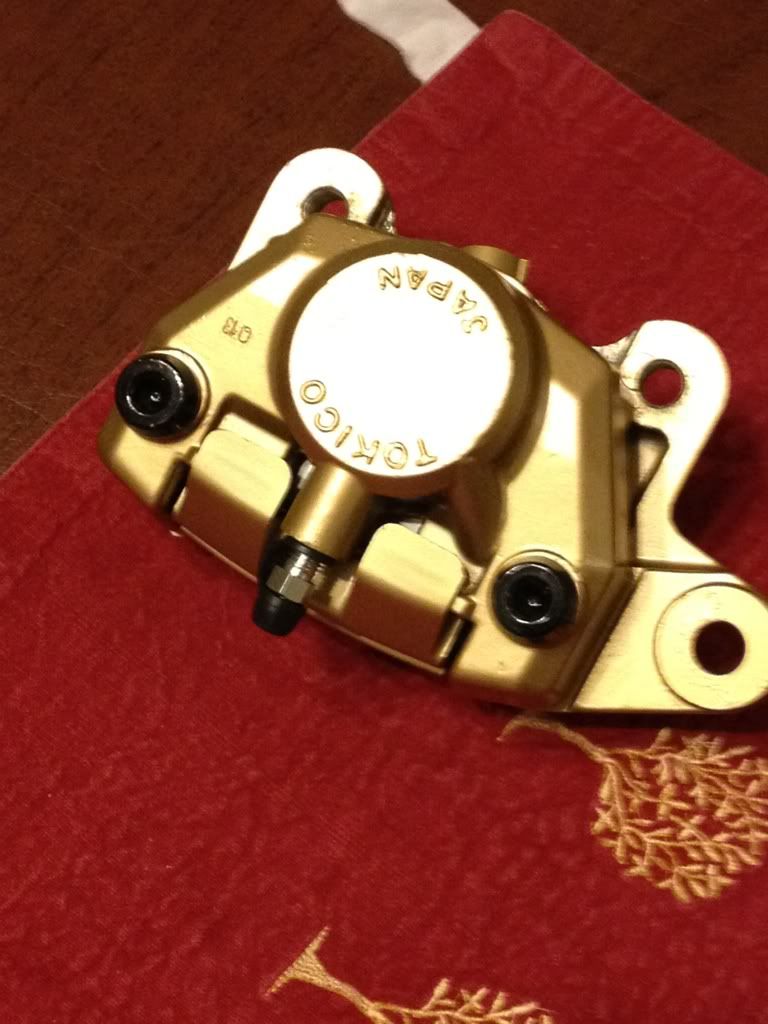
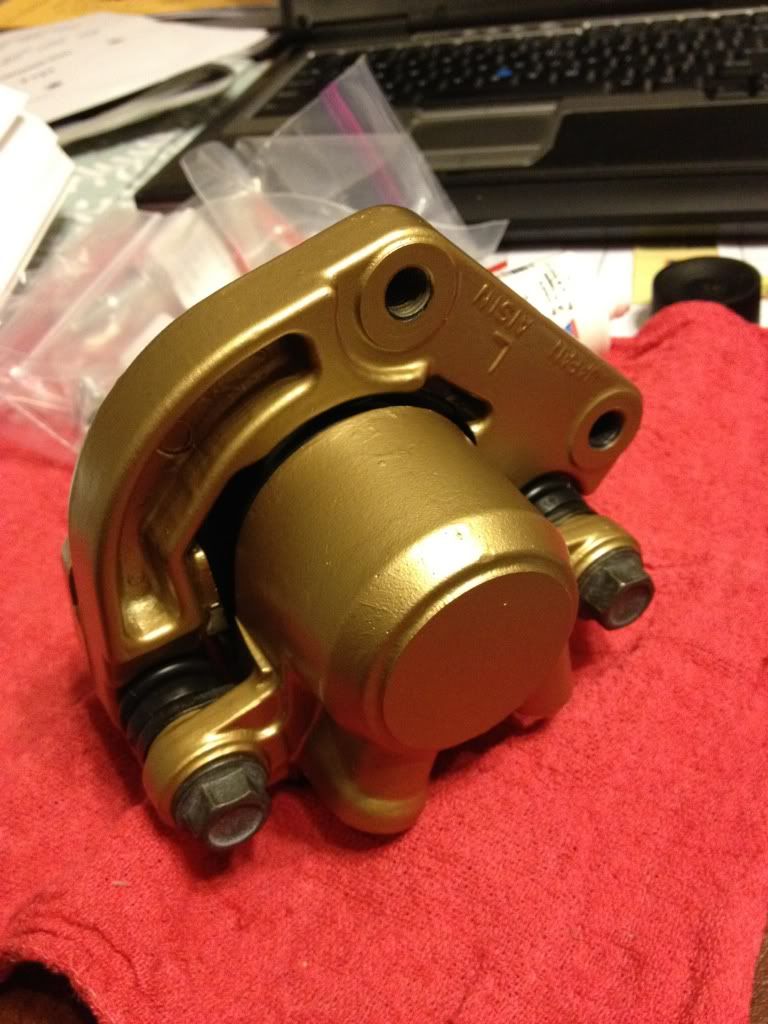
Can it maybe be from/for the rear torque link?
Required reading for all forum users!!!
Welcome!
Register to access the full functionality of the GSResources forum. Until you register and activate your account you will not have full forum access, nor will you be able to post or reply to messages.
A note to new registrants...
All new forum registrations must be activated via email before you have full access to the forum.
A Special Note about Email accounts!
DO NOT SIGN UP USING hotmail, outlook, gmx, sbcglobal, att, bellsouth or email.com. They delete our forum signup emails.
A note to old forum members...
I receive numerous requests from people who can no longer log in because their accounts were deleted. As mentioned in the forum FAQ, user accounts are deleted if you haven't logged in for the past 6 months. If you can't log in, then create a new forum account. If you don't get an error message, then check your email account for an activation message. If you get a message stating that the email address is already in use, then your account still exists so follow the instructions in the forum FAQ for resetting your password.
Have you forgotten your password or have a new email address? Then read the forum FAQ for details on how to reset it.
Any email requests for "can't log in anymore" problems or "lost my password" problems will be deleted. Read the forum FAQ and follow the instructions there - that's what we have one for...
If you are a returning visitor who never received your confirmation email, then odds are your email provider is blockinig emails from our server. The only thing that can be done to get around this is you will have to try creating another forum account using an email address from another domain.
If you are a returning visitor to the forum and can't log in using your old forum name and password but used to be able to then chances are your account is deleted. Purges of the databases are done regularly. You will have to create a new forum account and you should be all set.
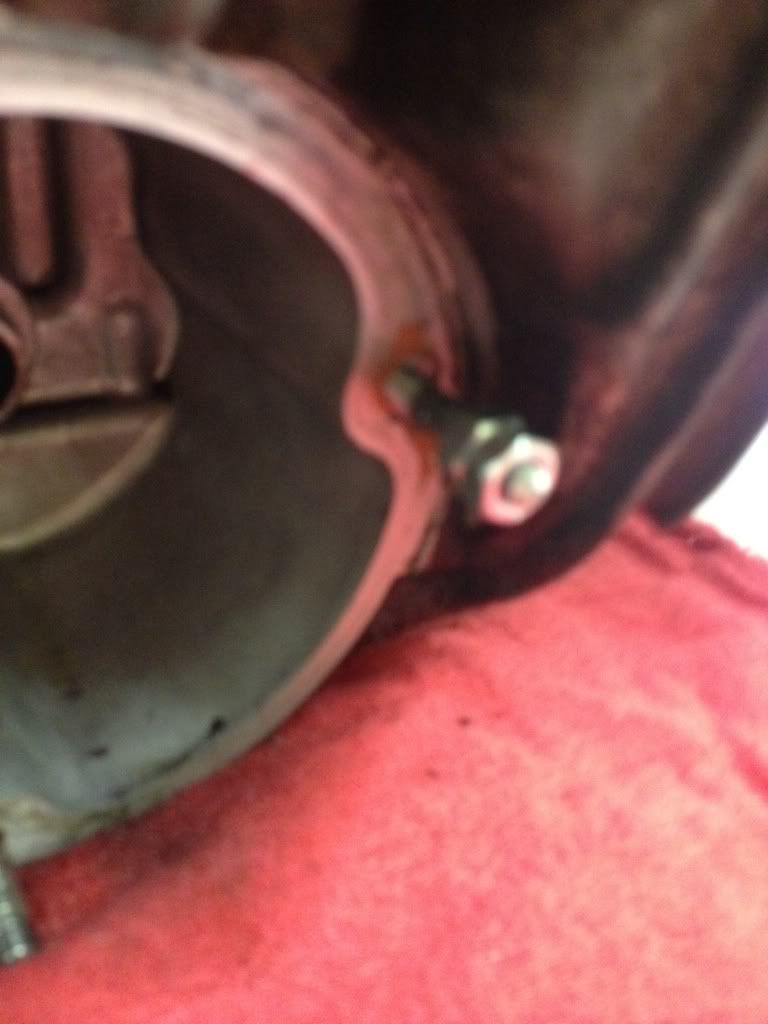
 I've seen lots of intentional dents in frames and had assumed this was just one of those. I have verified that it's not.
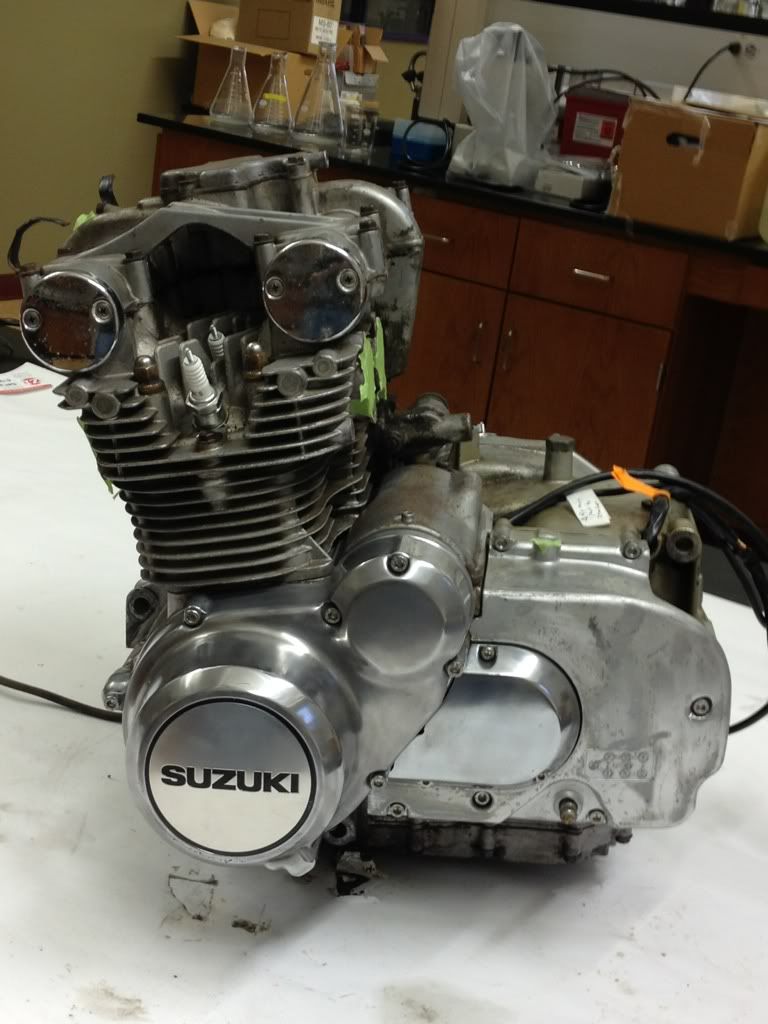
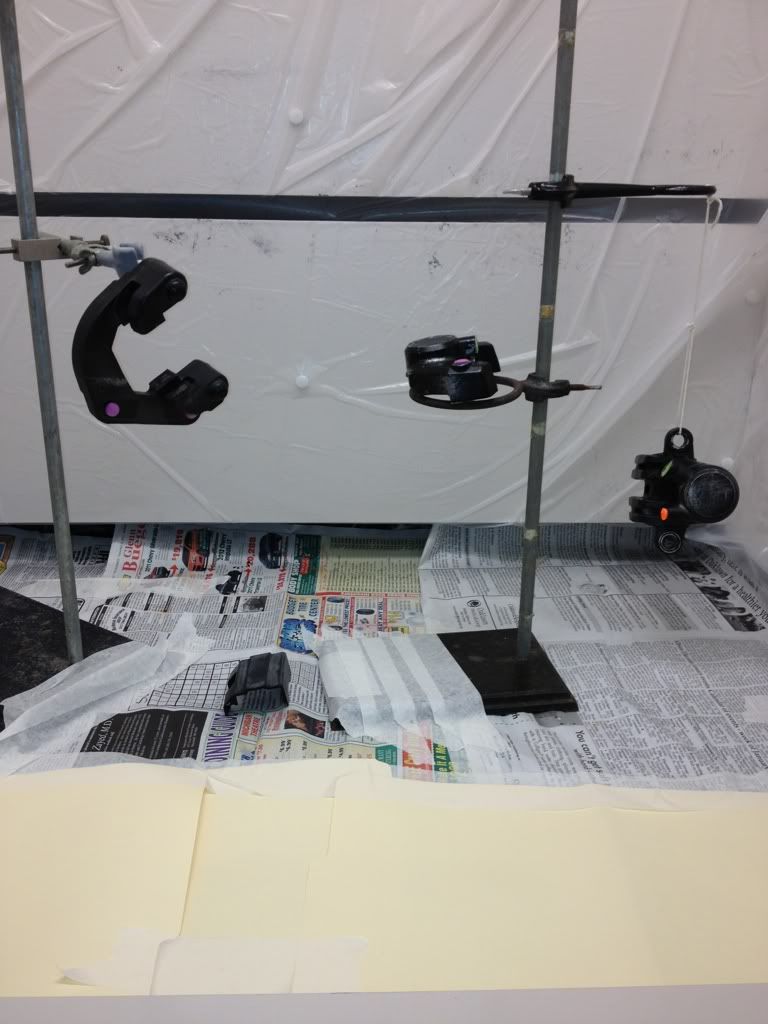
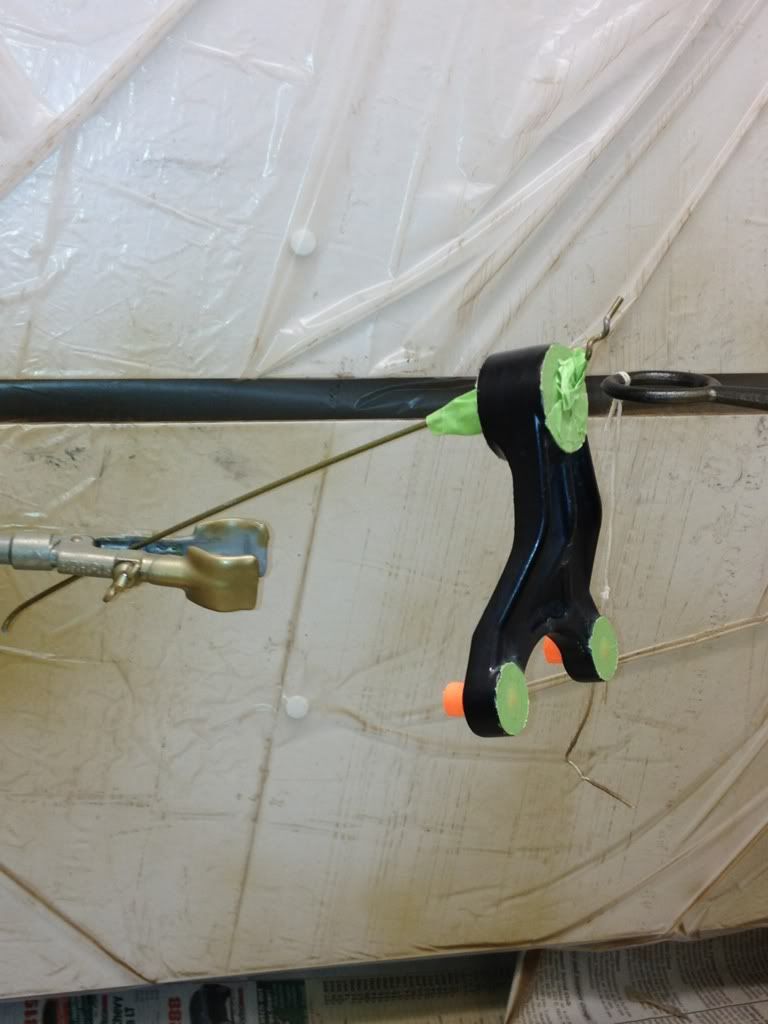
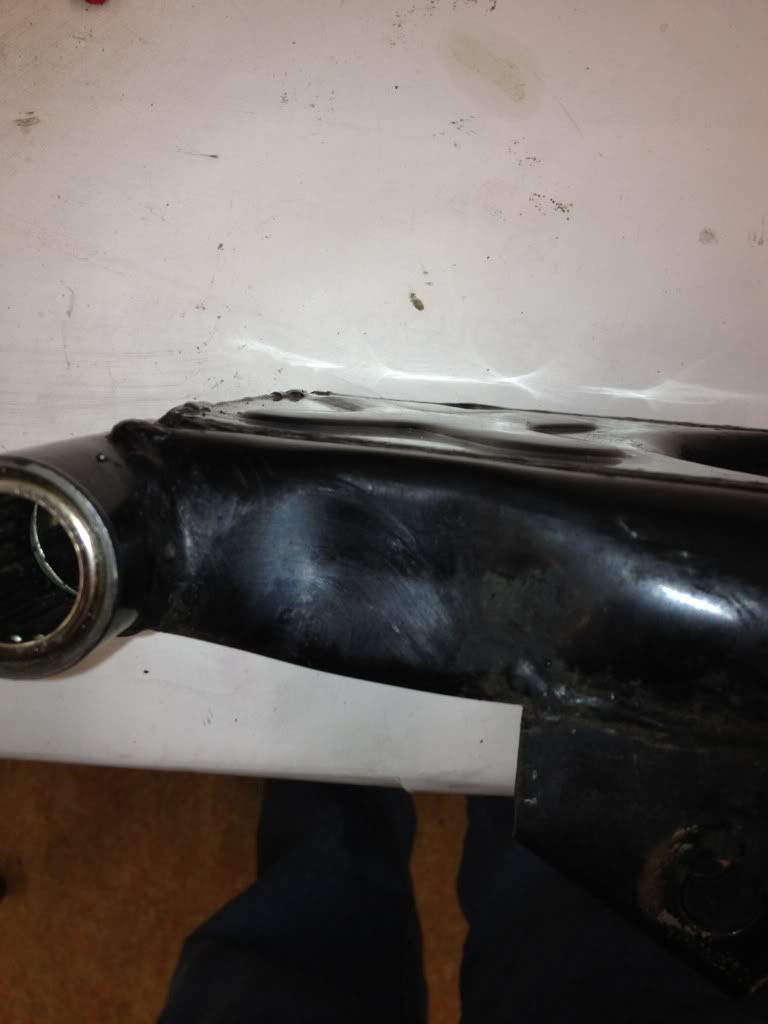
I like your painting setup.....beats the hell out of painting in the garage....
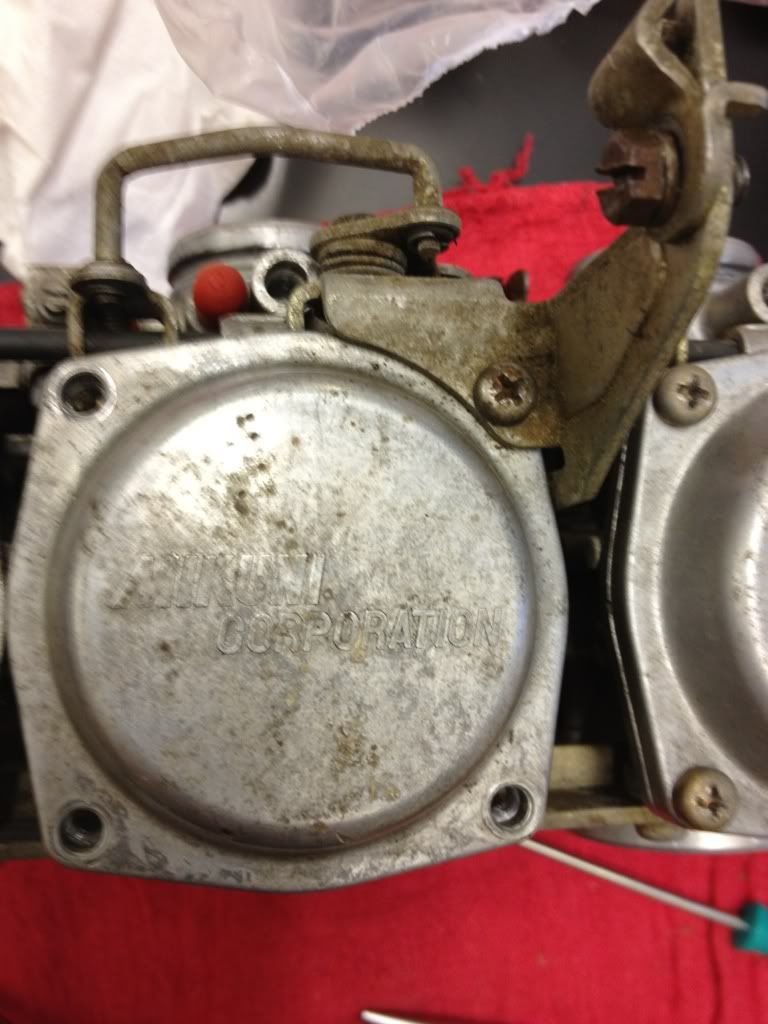
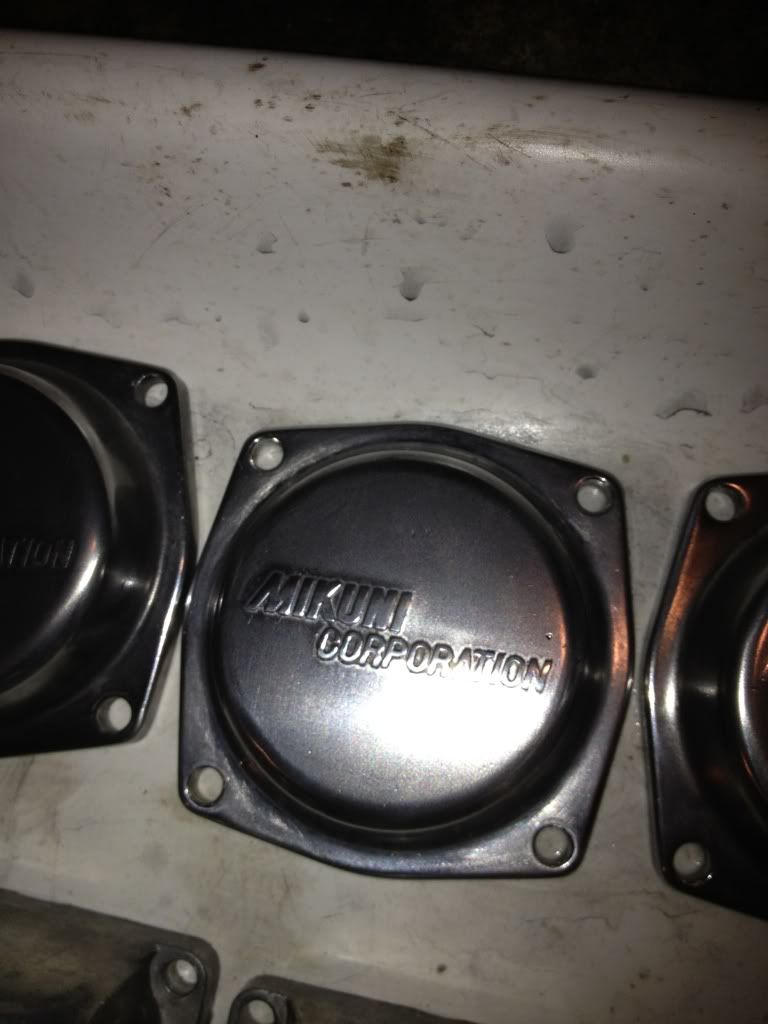
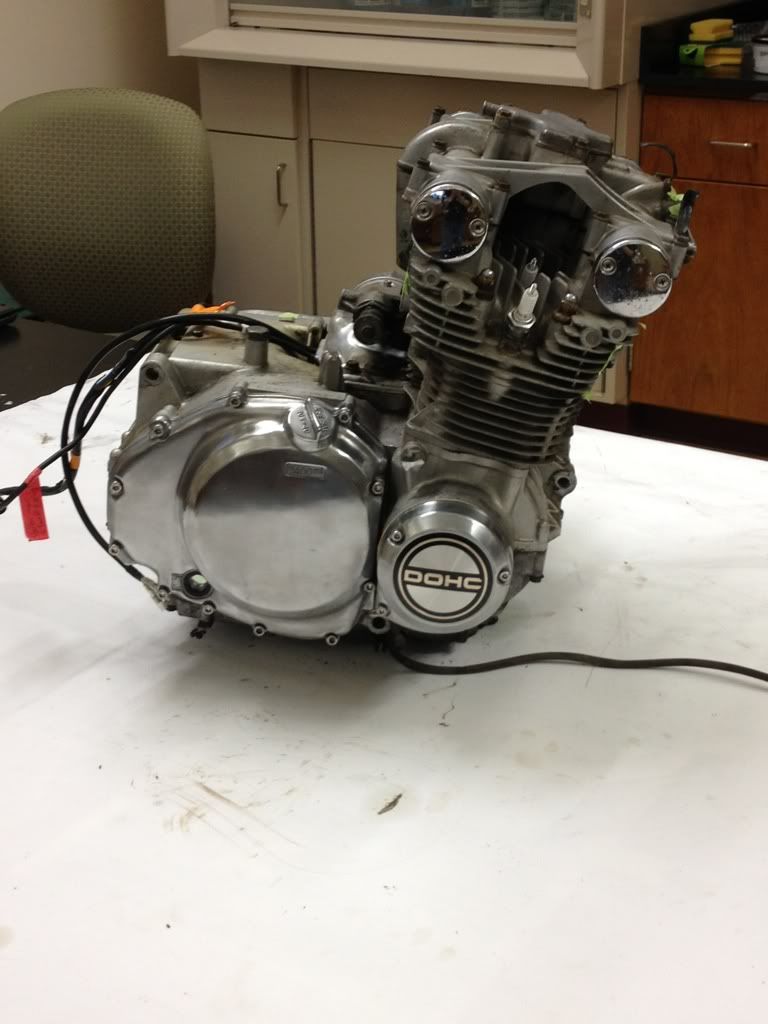
love the polishing job on the engine covers, they look really good....
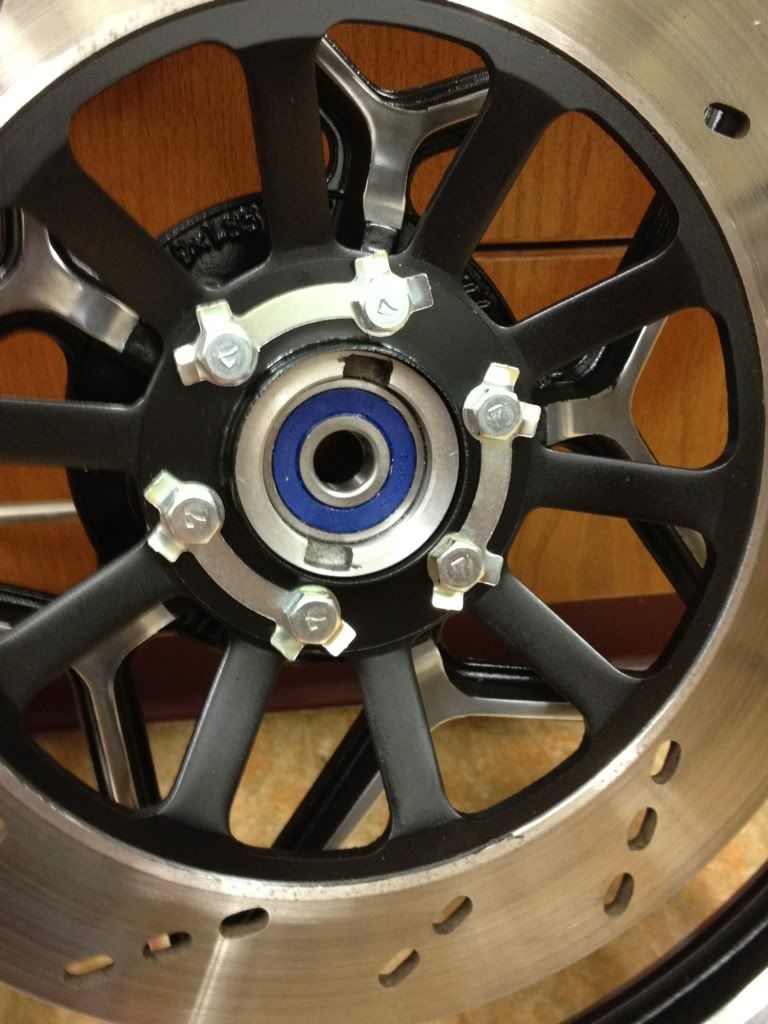
Thanks. I think I'm going to use it. I will be changing out the bearings since they're rusty (and I need to remove them to powdercoat the swingarm anyway), and I'll check the run-out of the swingarm pivot bolt.
The new exhaust should help hide the dent, and strangely enough I actually think it looks kind of better this way
I've been meaning to post a reply but got behind. I too have been working on my swingarm Dmac. Just recently removed the bearings (see separate thread on that struggle) and also powder coated mine. And yes, I have the exact same indention (brake side) on my swingarm so it must have been intentional.
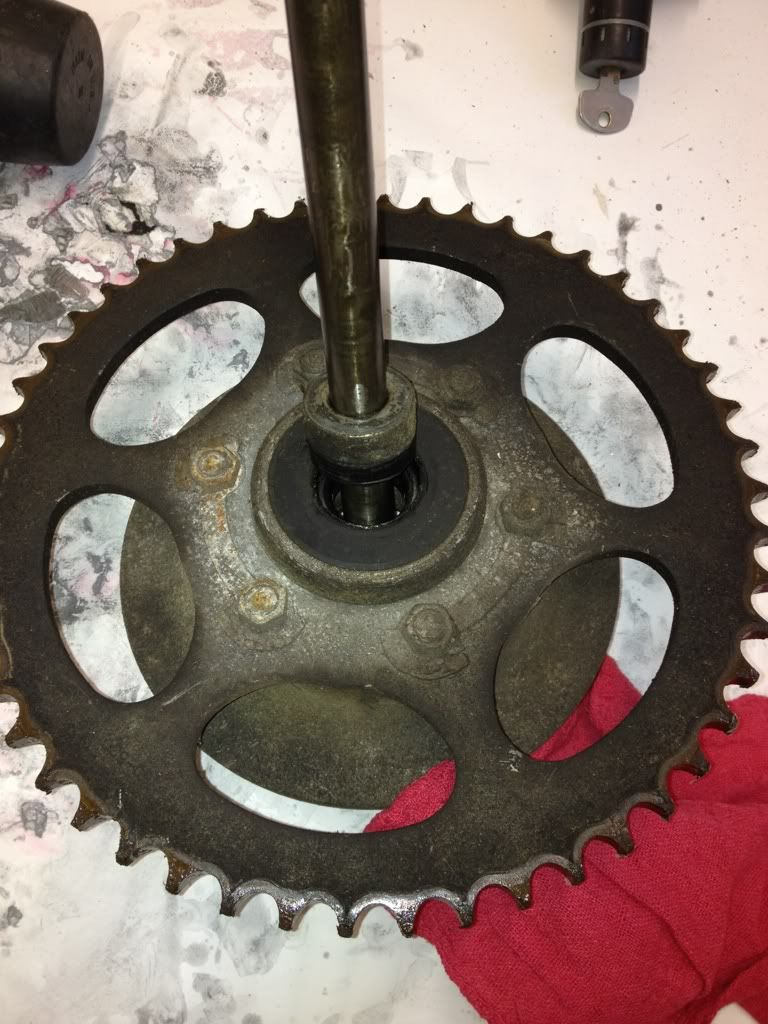


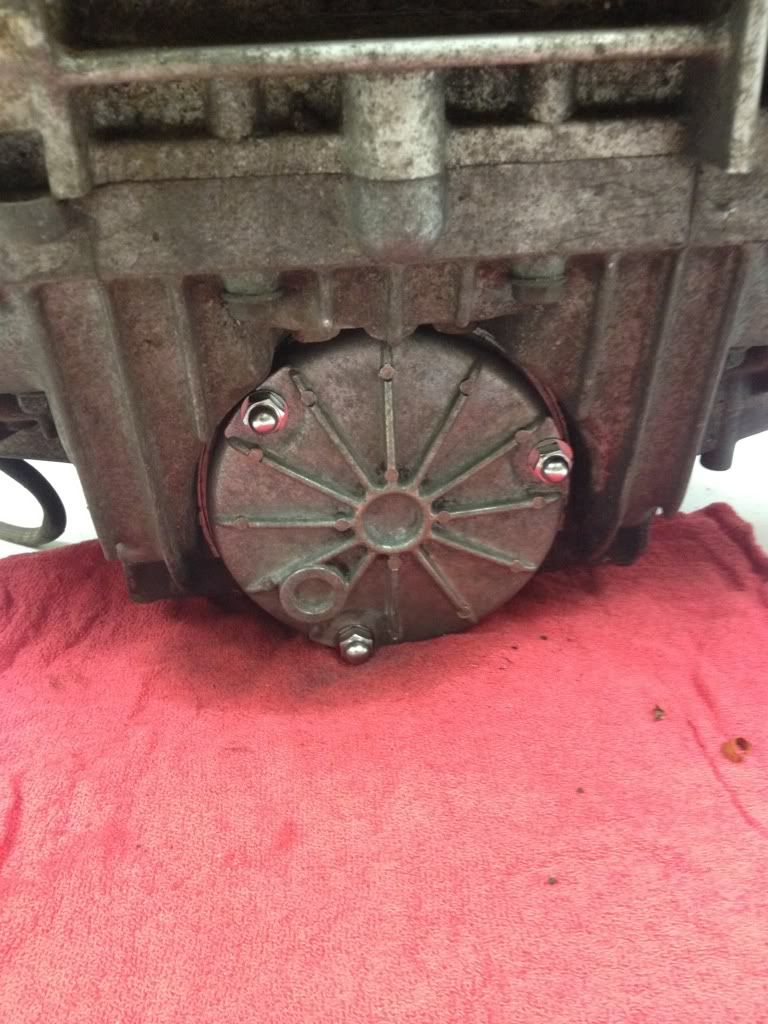
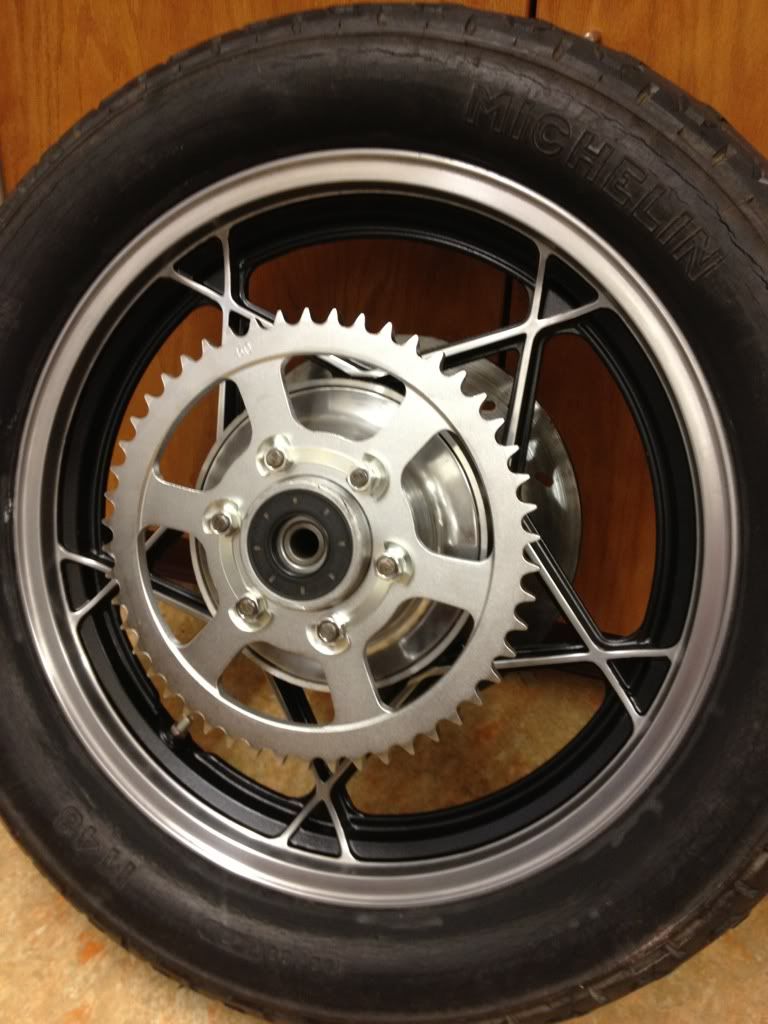
 You can tell by the shape of the holes in it. The old one isn't too bad, although there is a little hooking on it. The front sprocket is much worse and the chain is shot, so I figured I'd replace the rear sprocket as well.


 .
.