As I zero-in on the end of the year, I?ve made steady progress on re-wiring the bike. After studying three wiring diagrams for my bike (Clymer, Haynes, and Suzuki manuals), lots of patience, and much practice soldering, crimping, and heat-shrinking, here?s a short report.
First off, you know your harness is rough when you are CONSTANTLY cleaning out spider nests in every nook and cranny. Here?s one inside of a terminal cover.
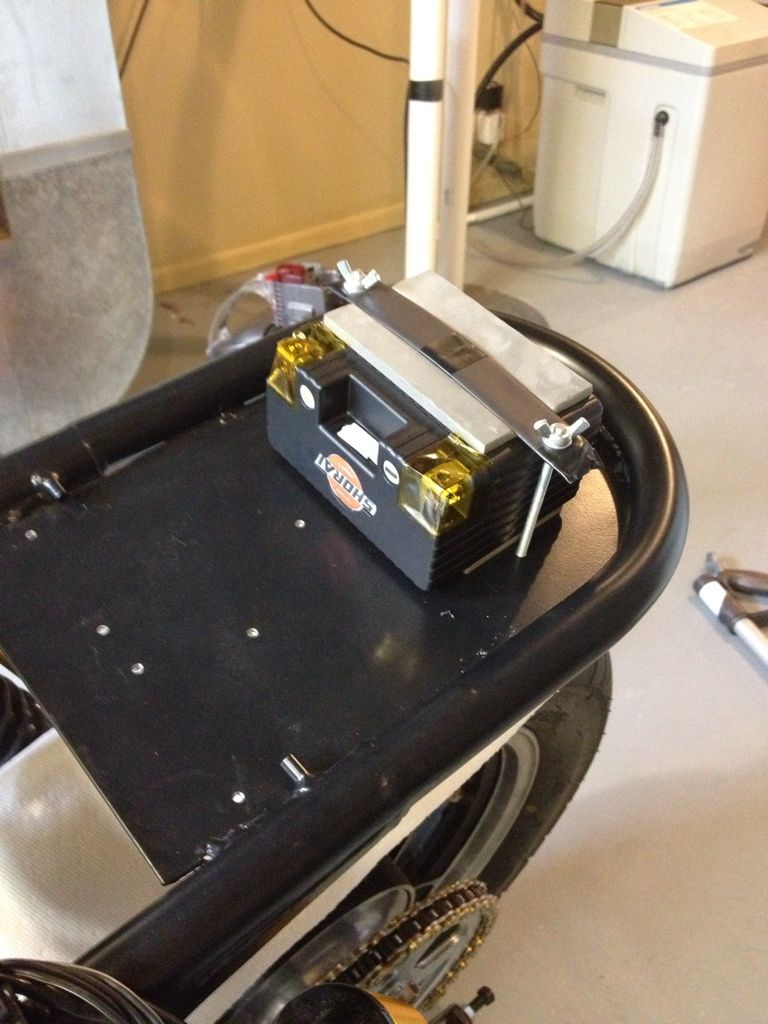
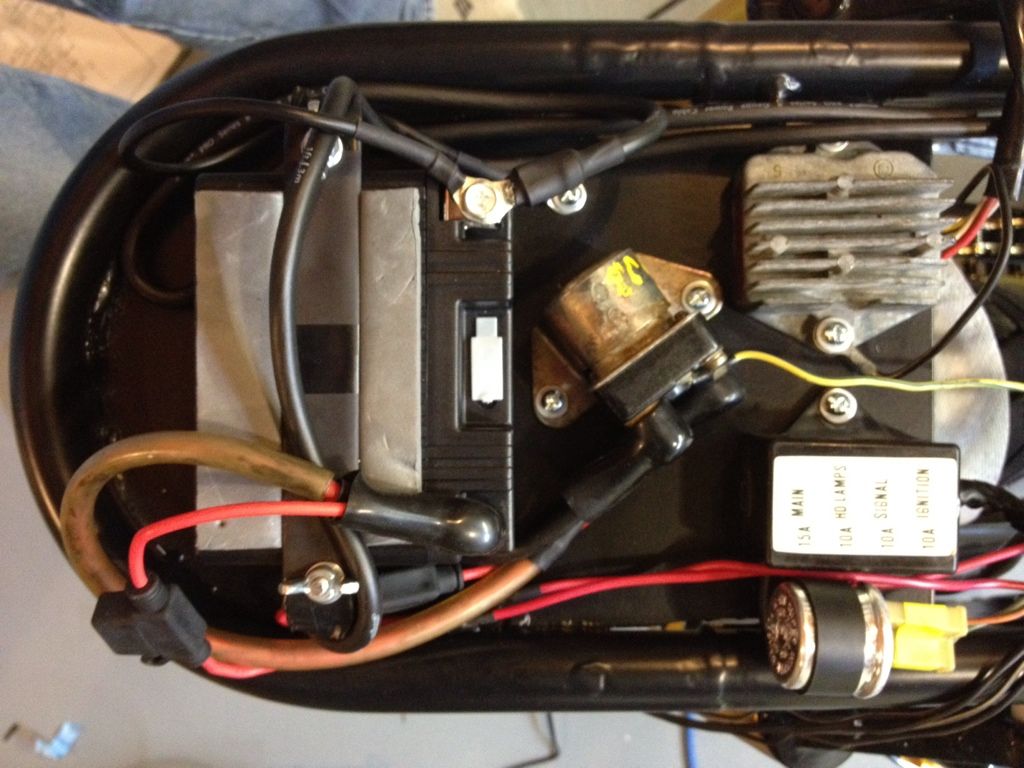
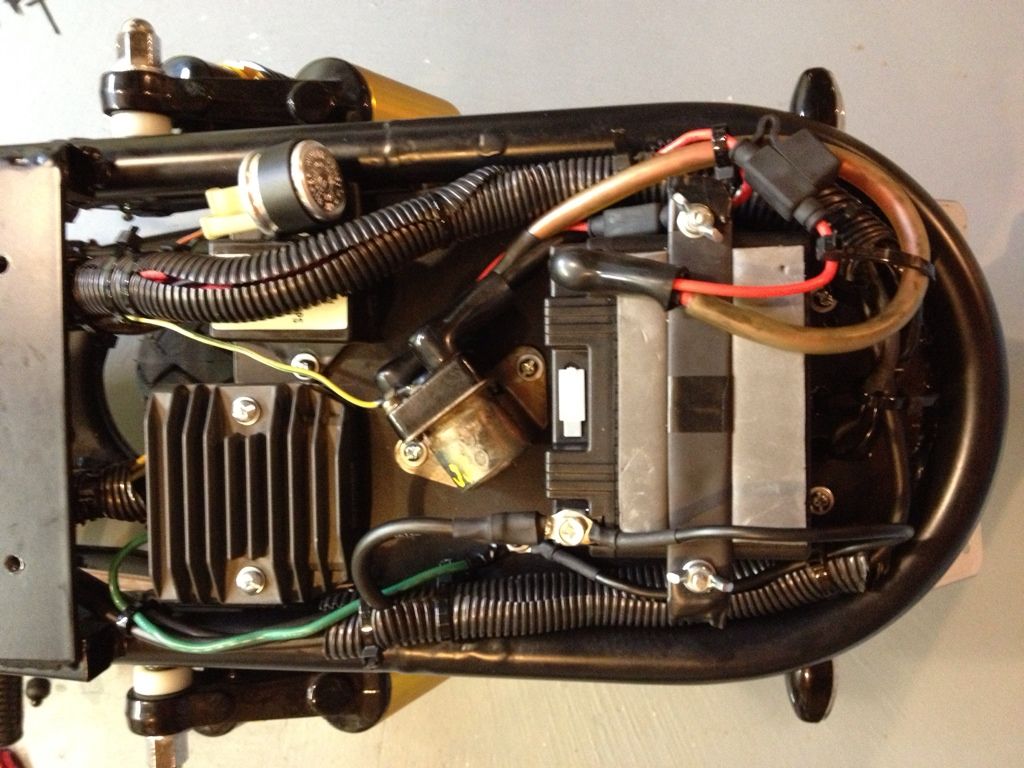
Quick pic of my battery mount. It?s very secure and I can still plug in the charger for it (it plugs into a port on the center-front of the battery ? crazy stuff). It looks like it could slide out, but it?s in there REALLY well. I covered the bracket in heat-shrink just in case it ever works its way up toward the terminals.
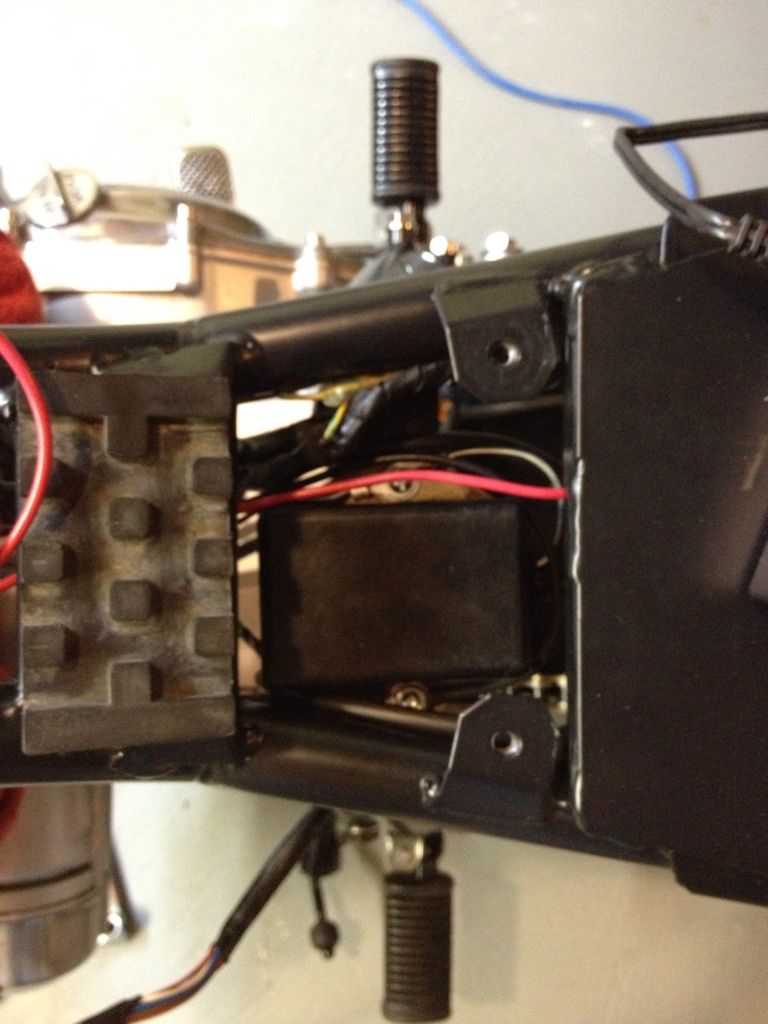
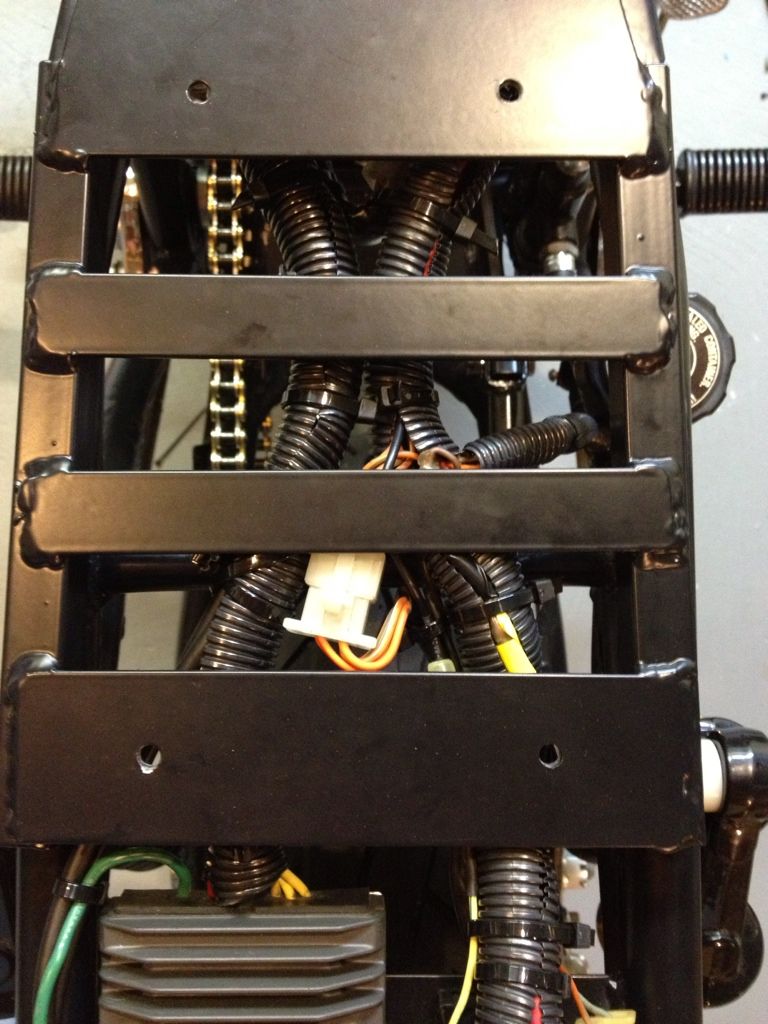
After placing everything into the underseat tray, I worked on finishing the mid-section.
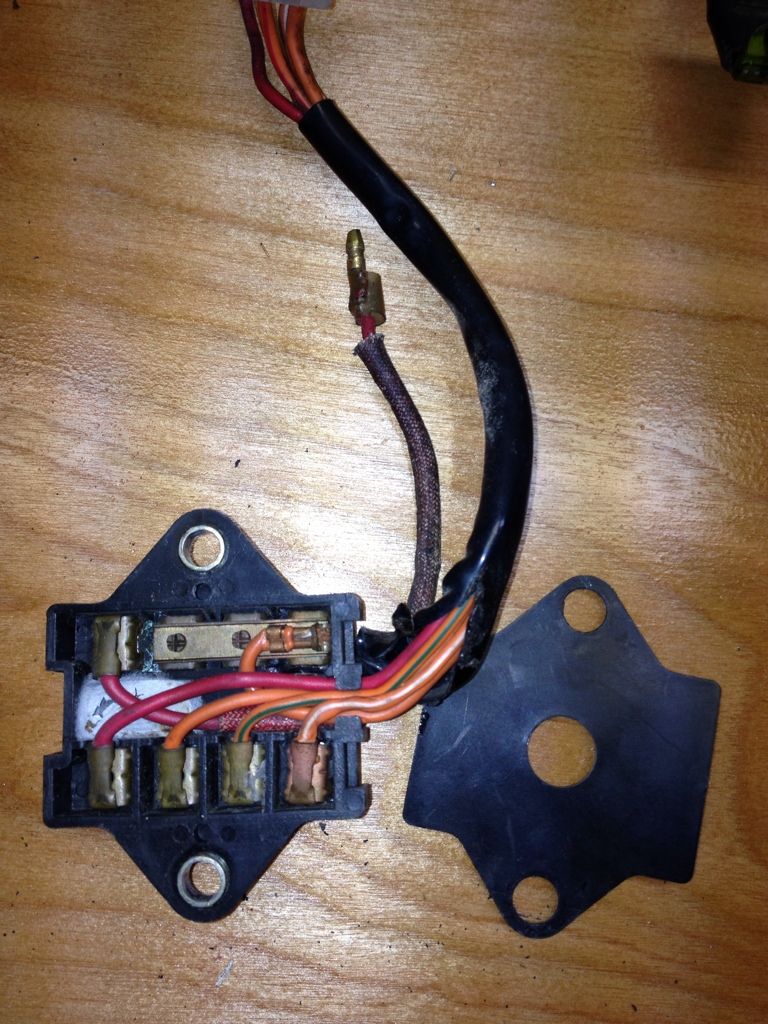
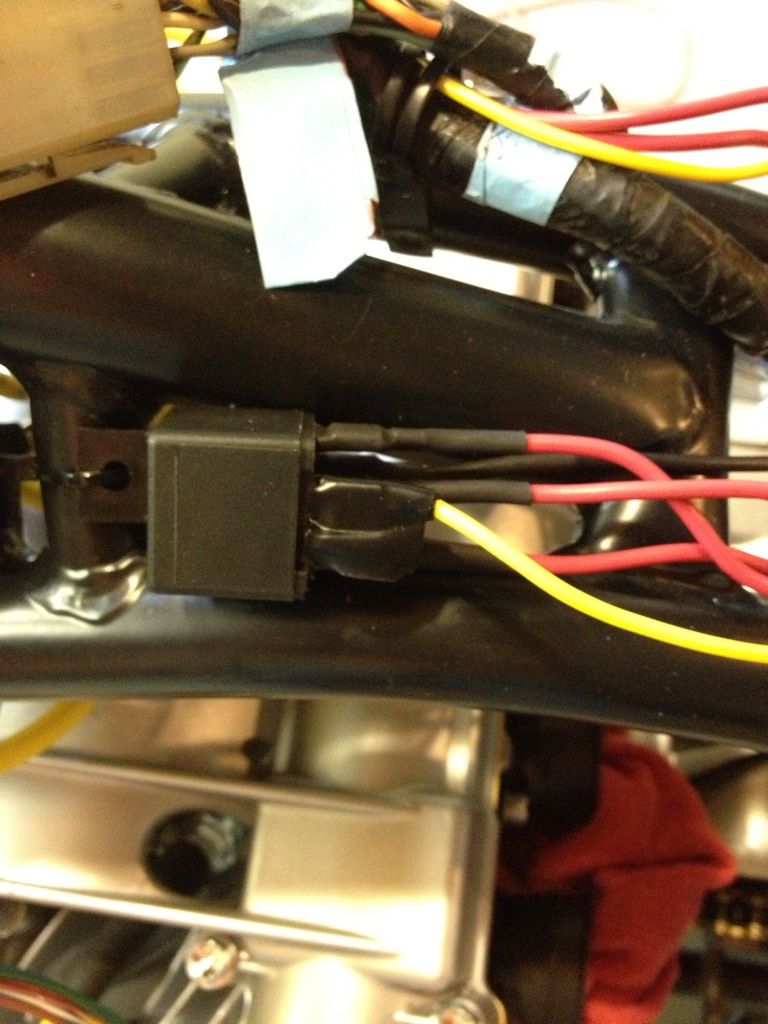
Relay for the coil relay mod shown. I had a minor panic when I turned on the ignition and only one coil got warm. Apparently this is normal (and when I think about it, it makes sense).
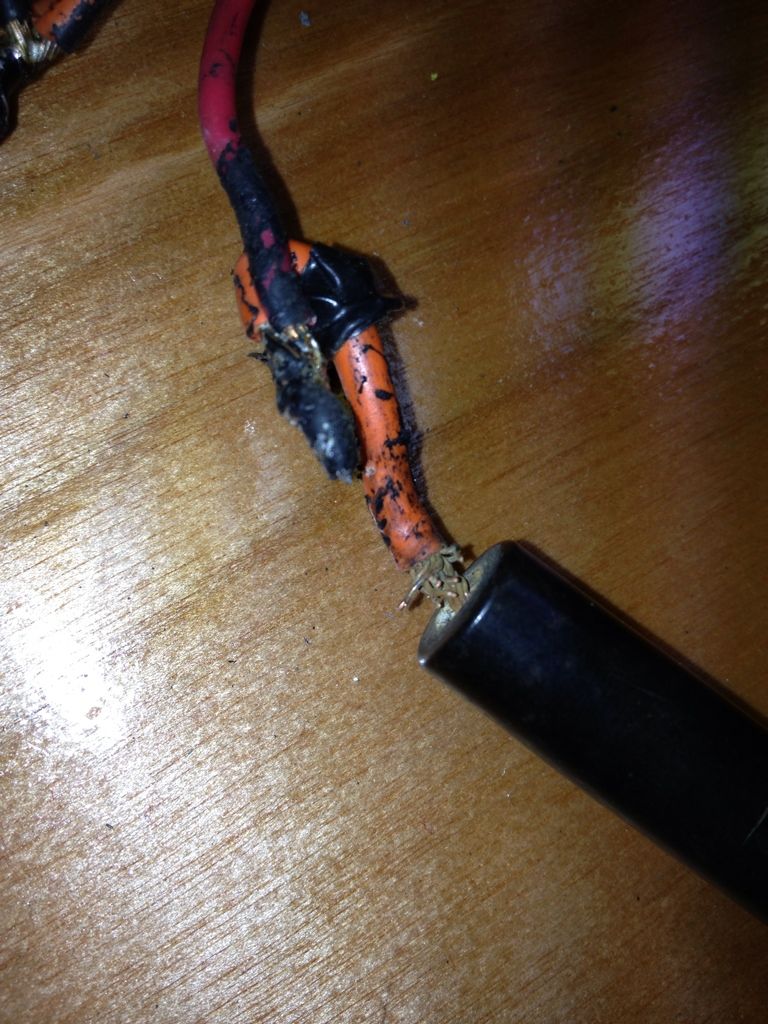
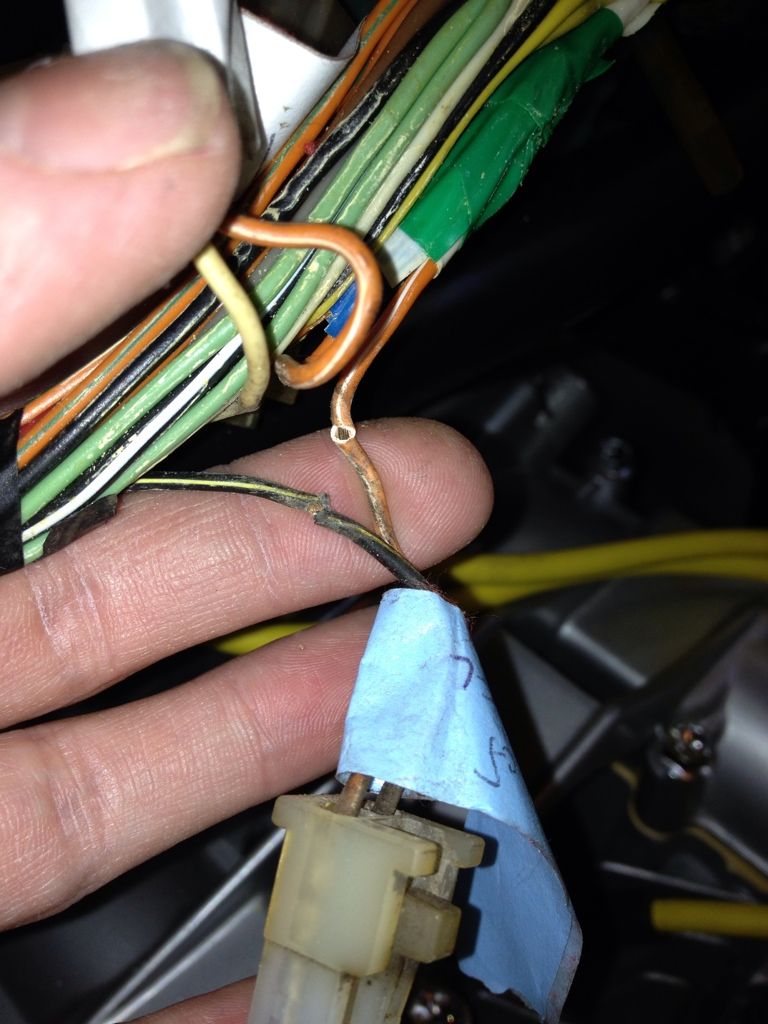
I had to lengthen a lot of wires. The only one I had trouble with was finding a longer wire to the starter. All of the local auto places didn?t have anything in 6-gauge, which looks to be what the original wire was. When I did find some wire, it was in $$$ rolls or the terminals were way too large to fit under the starter cover. Then I got the idea to try a local car stereo place. They had everything, and cheap.
The rear tray is getting closer.
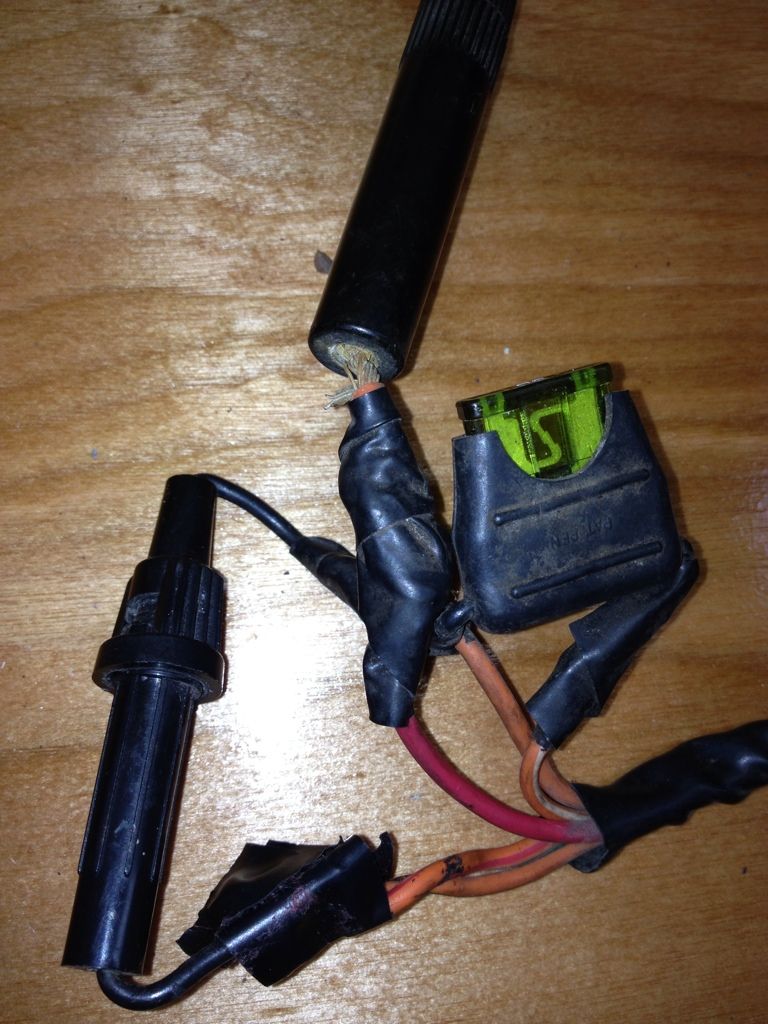
I decided to hide the ?spark box? here. That way, the plug can still reach without extending a bunch of wires. It?ll also get more air sitting here ? just under the front of the seat.
I also ran a new, fat ground cable from the battery negative to the engine ground point, and new grounds (much thicker wires) between the main harness and the frame. I use a dremel and a mini wire wheel attachment to remove the powdercoat from every grounding point before tightening it down.
Once that was done, I decided to test some stuff. I hooked up the battery and??
NO SMOKE!
Things then slowed down a bit. The oil pressure light was lit (good sign), but the new horn didn?t work. After checking to verify that the horn switch was OK, I ended up having to adjust the little screw on the back of the horn to get it to sound. One thing done!
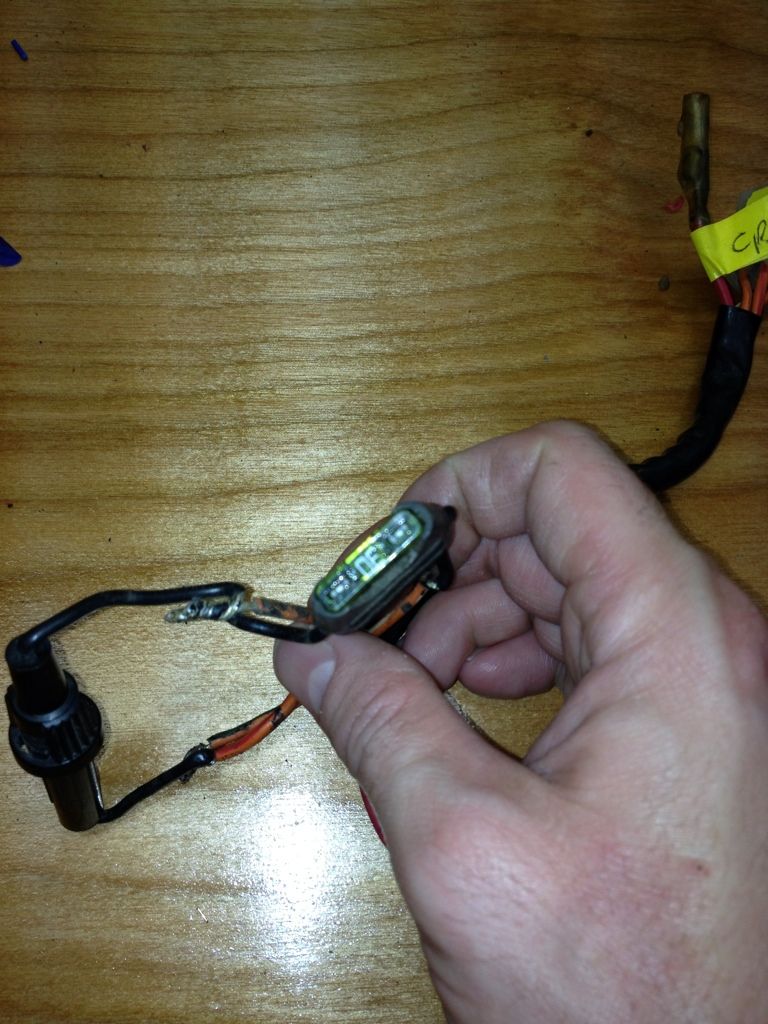
Then I noticed the neutral switch wasn?t on. No biggie - I hadn?t plugged it in. One connection, and yup. It works.
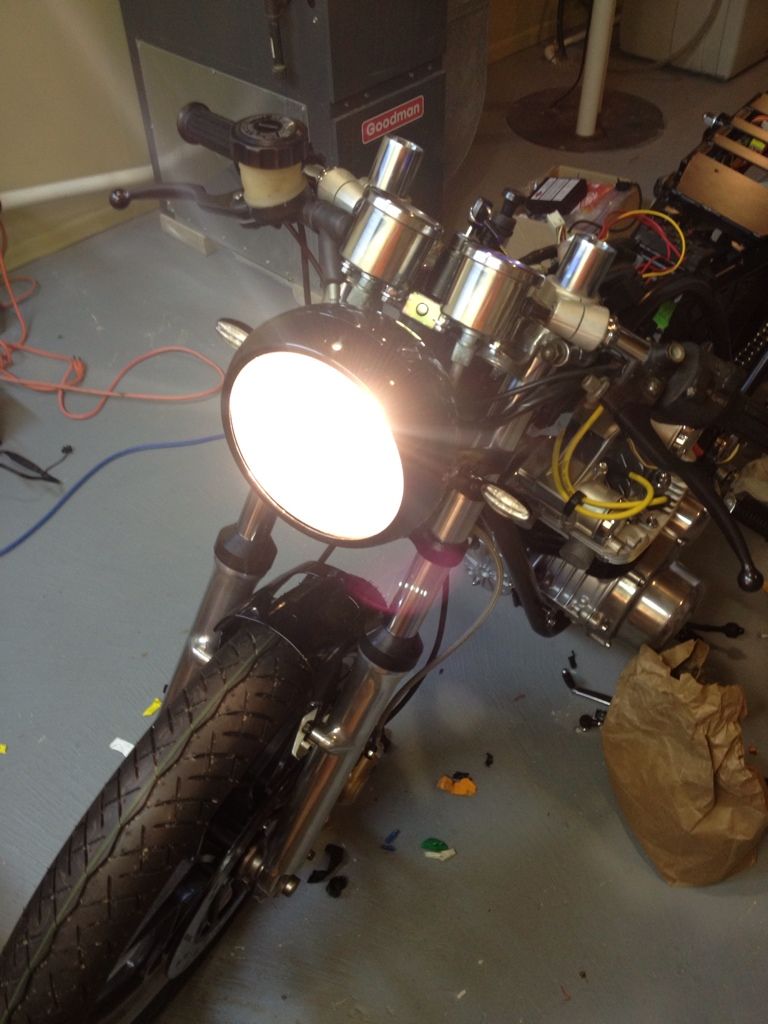
The lo- and hi-beams weren?t working either. Bummer. A quick check revealed that the switches/plug were fine, so I dug around for a new H4 bulb. Yup. That did the trick. With a new bulb, the hi-beam indicator in my fancy speedo also started working.
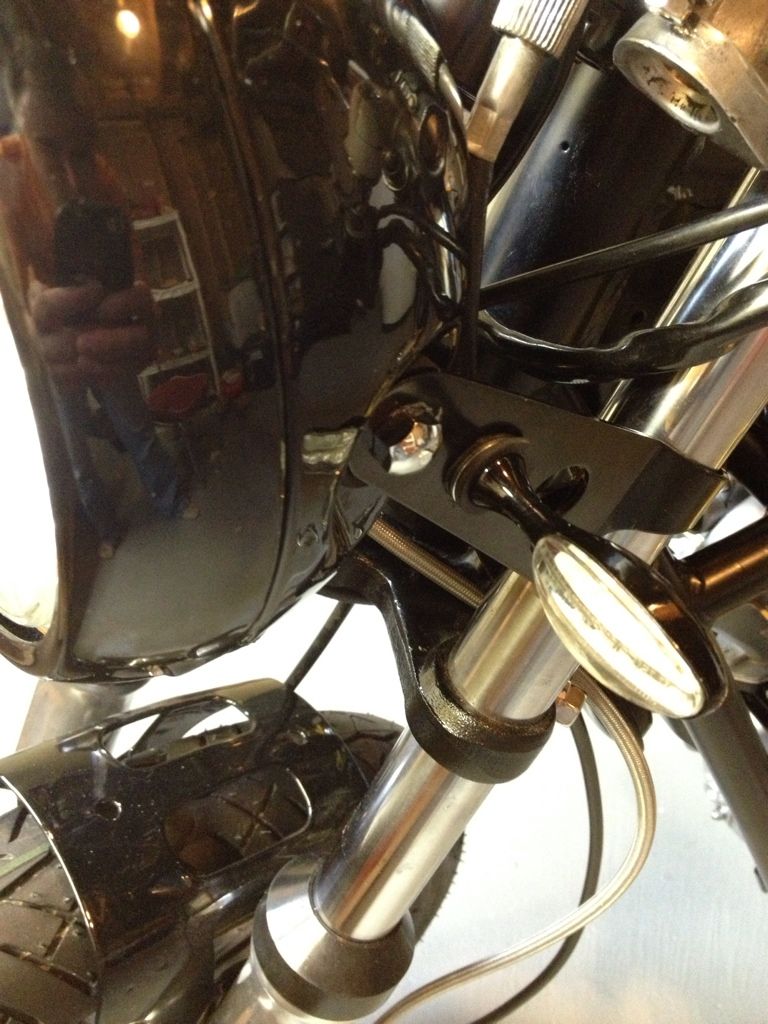
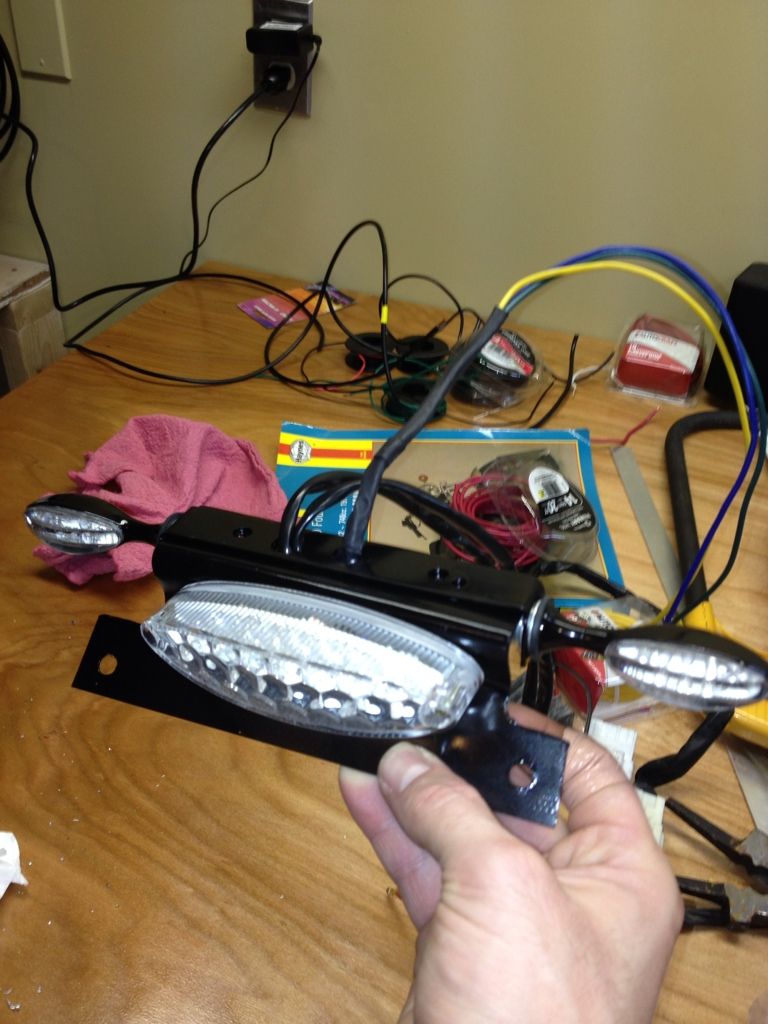
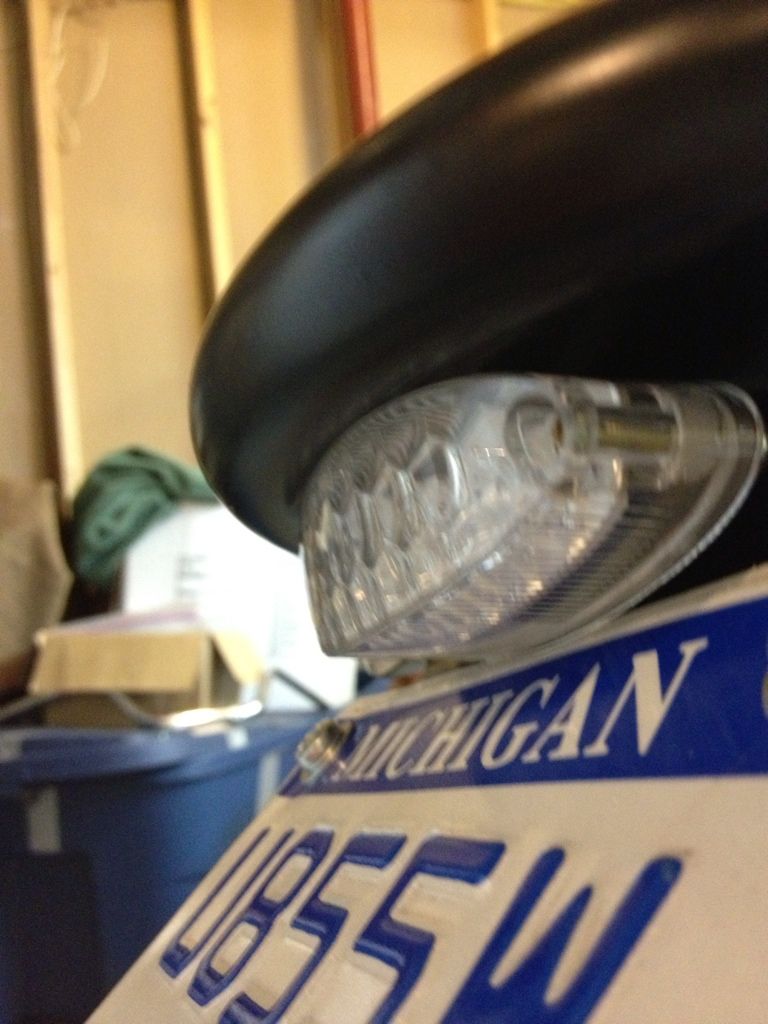
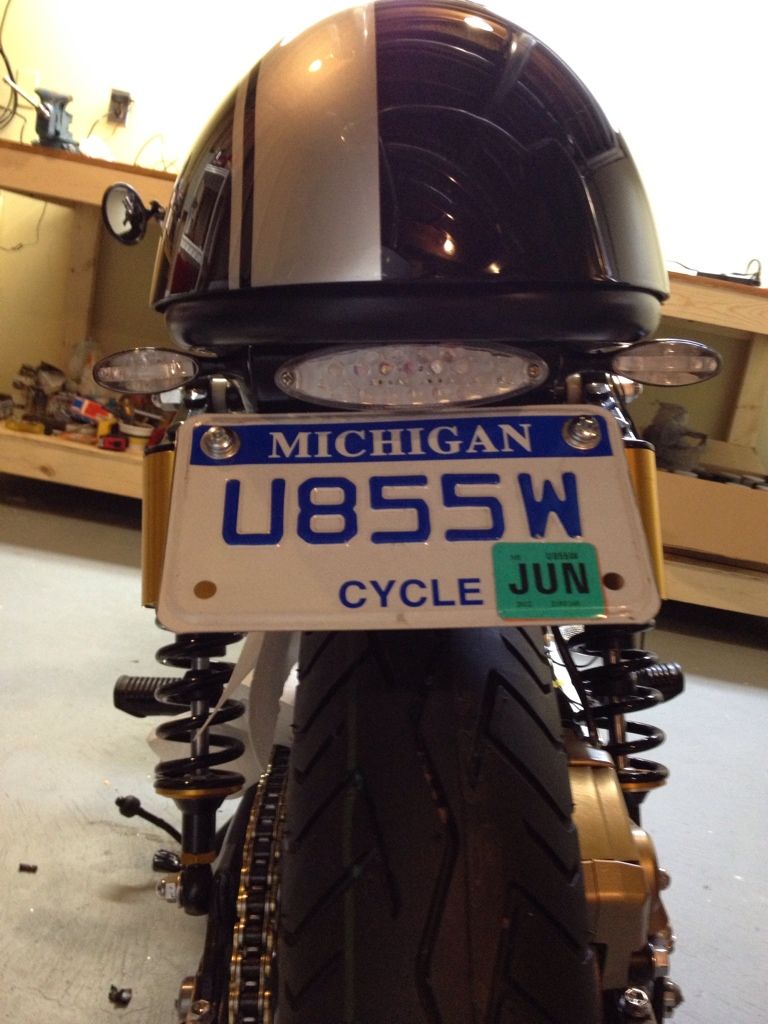
The bike had no turn signals or brake/tail light when I got it, so I had to trace those wires from the main harness and restore them. I also had to buy a flasher unit. I?m using LED turn signals on the front and rear, so I added resistors on the front to get them all to flash normally. This is the first time I?ve done any of this stuff, but it worked like a charm. So I went ahead and installed the front signals into the headlight mounting brackets with a bunch of fasteners I had lying around. I need to fabricate a bracket to hold the rear ones on. The tail/brake lights tested good, but I still need to make a bracket for those too. All of the other switches seemed to work fine. I didn?t test the starter (waiting for the right moment for that drama!)
Front signals done.
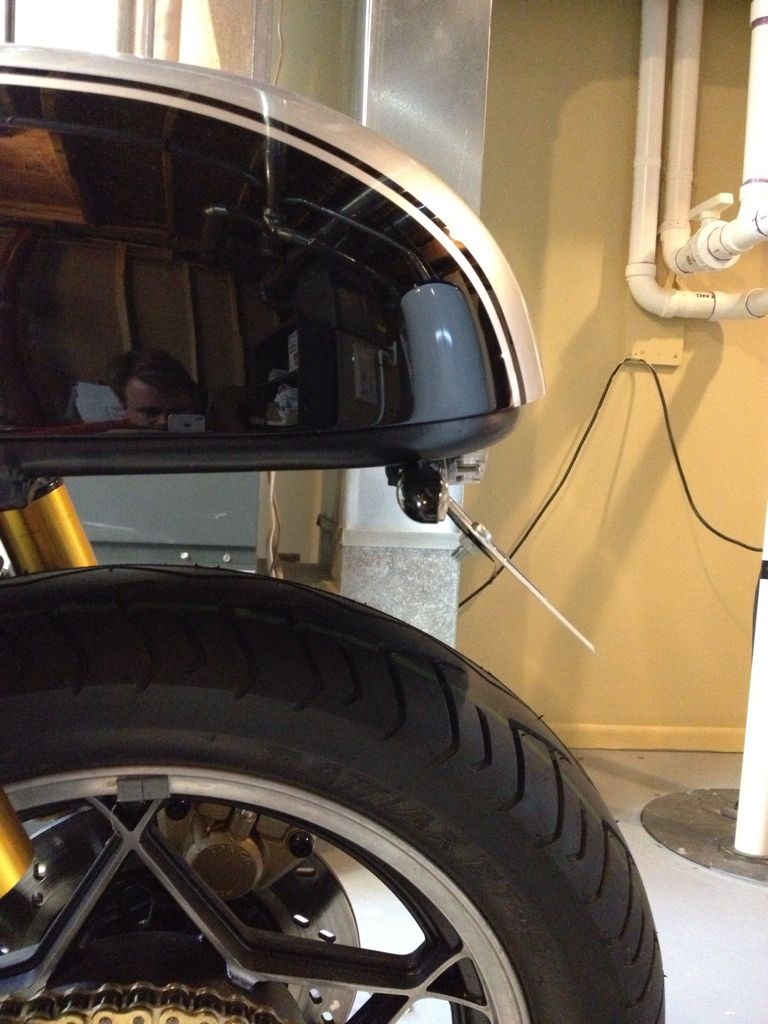
Headlight works!
Unfortunately, the speedo and tach are backlit in different colors. They still look pretty sweet though.
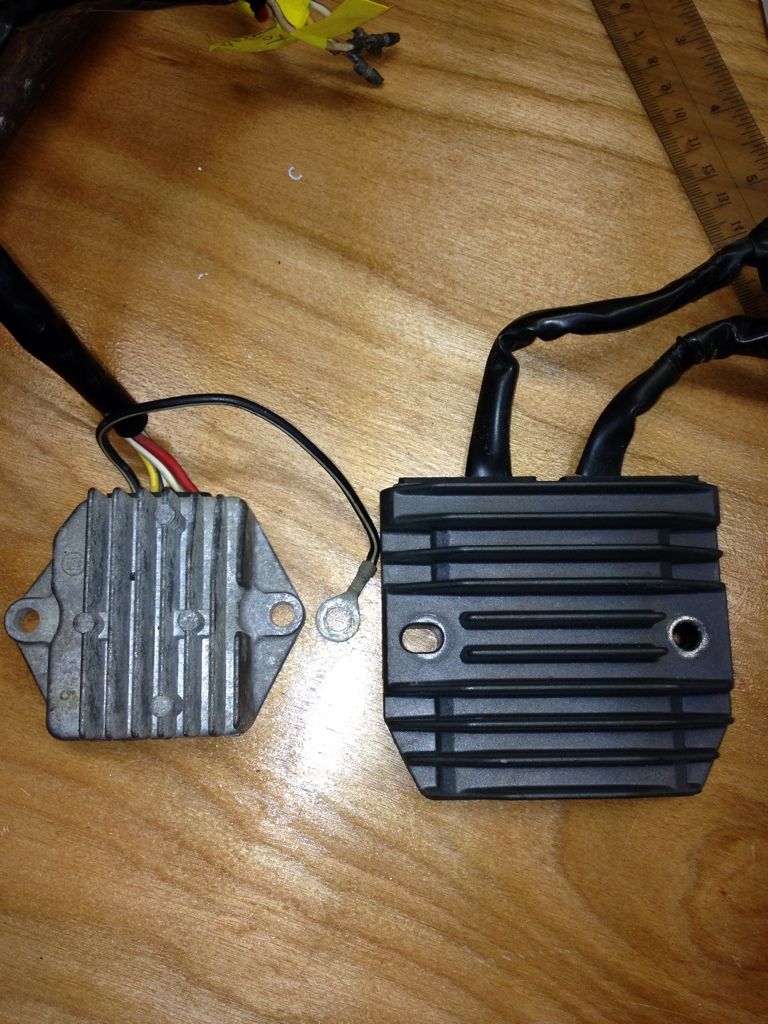
I then reconnected the tach and speedo cables. Tight fit to clear the headlight bucket. I?m waiting for custom clutch and throttle cables to arrive. Hopefully they?ll be here within the next couple of weeks. I?m also waiting on a ?new? regulator/rectifier from a CBR1000 to replace my worn out one.
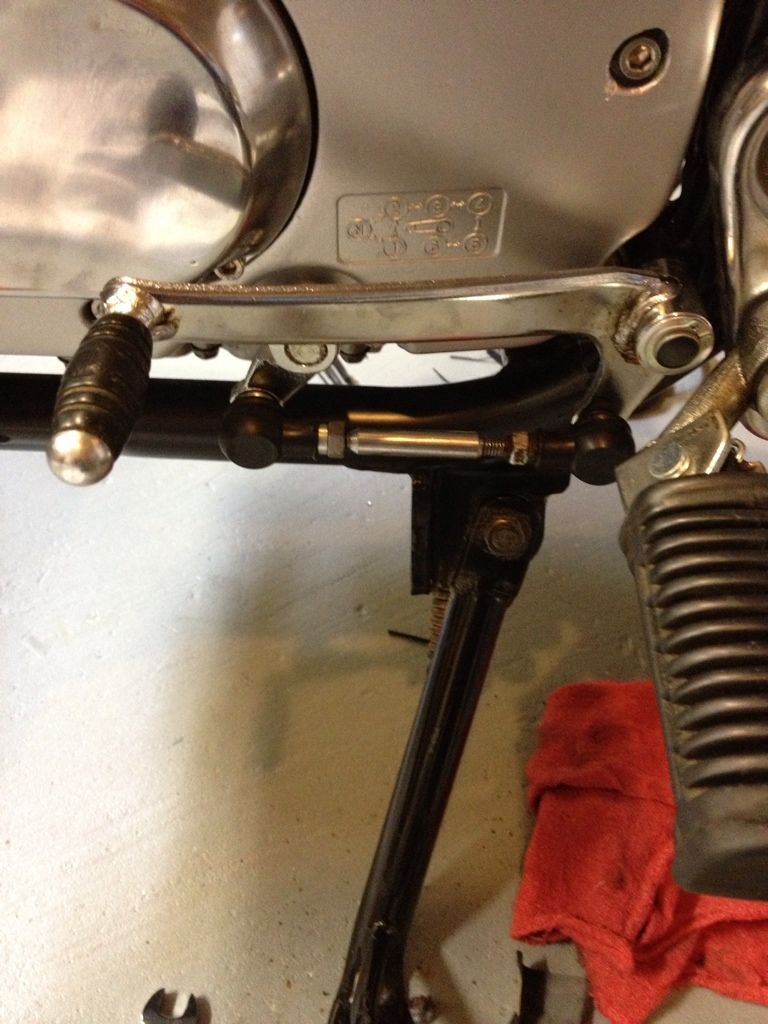
So besides fabricating a bracket for the license plate/turn signals/brake light/tail light/license plate light and install them, I still need to clean up the rest of the harness and tuck it all away. Then I might fill up the master cylinders and bleed the brakes. At some point, I will probably move the bike back to my ?shop? and install the pipes too. Once my cables arrive, I can re-install the throttle cable, and the carbs. With a new clutch cable, I can finish up the left clutch cover + shifter too. Then, and hopefully then, I might be able to add oil and gas, and FIRE HER UP!!
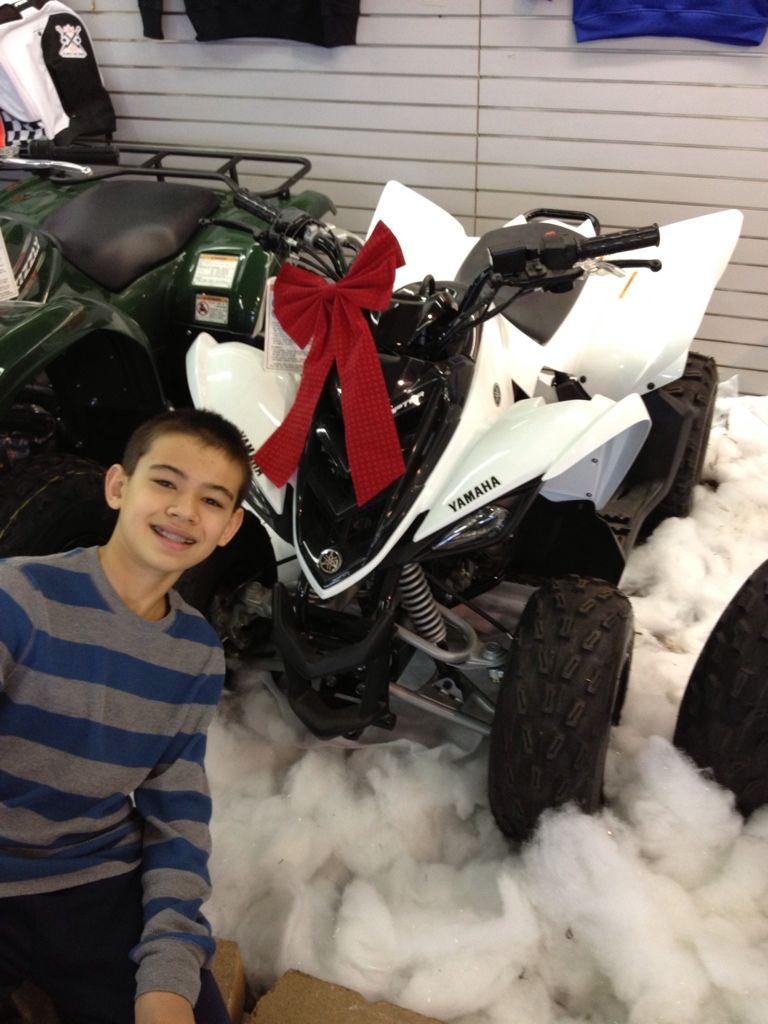
I?m still looking around for another project, but I might have to hold off on that for a bit. My oldest went to the store with me when I picked up a set of blinkers, and he promptly fell in love with this thing:
My other son wants a quad just as badly, and they?ve both been saving for one for nearly two years! This just might be their year?.