D
D-Mac
Guest
Update:
Tuesday afternoon I dropped by a large industrial shop and picked up some grinding wheels to grind aluminum. I?m going to use them to carve off the handlebar mounts from the top triple tree bracket. It?s full caf? for this bike. I mention this event only because while at the shop picking them up the President of the company backed up and scratched/dented the side of my wife?s new BMW. I spent the rest of the afternoon driving to a distant body shop for an estimate. $1300 to repair, and this is only the second time I?ve driven her car (I normally drive a van on the verge of becoming a true ?beater?).
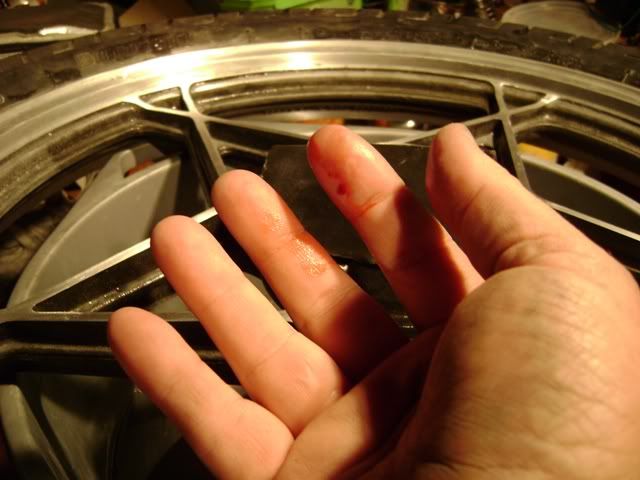
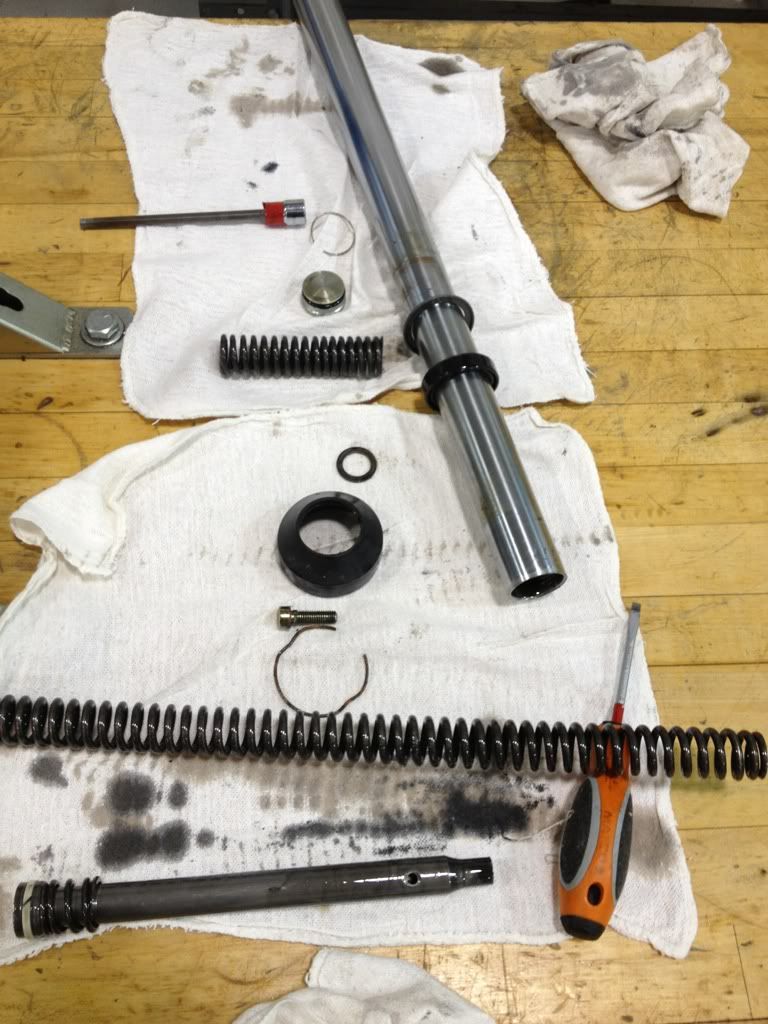
Things got better Tuesday night when I took apart the second fork. It put up quite a fight, but it?s done. Here it is mostly disassembled. Looks rougher than the first one on the inside. The OEM manual calls for ENGINE OIL mixed with TRANSMISSION OIL. Since we now have this stuff called FORK OIL, I will be experimenting with that instead of the voodoo recipe when the forks go back together.
Fork from hell.
I woke up bright an early yesterday morning, sent the kids off to school, and headed directly for the ?lab.? I must have been feeling sadistic because this morning I decided to try and get the crankcase and alternator covers off before I even had my morning coffee. Over 20 ancient Phillips screws (mostly #3 size) stared back at me....laughing. The left side ones looked pretty good (intact), but the right ones were deliciously pre-stripped.
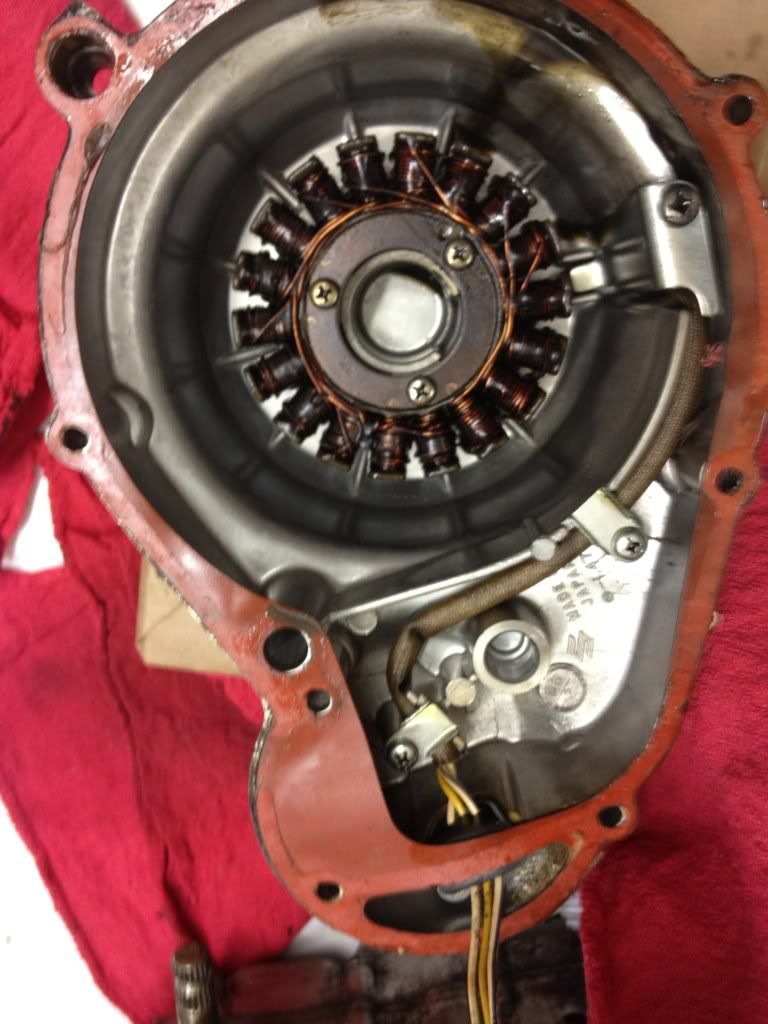
I started with the left side to warm up (alternator cover). It wasn't so bad. My impact driver made short work of ALL of the screws. Once inside, the stator looked like crap - no wonder the bike won't charge properly. A lot of little washers came flying out of the starter gears, but the parts diagram will help me here.
-------
WARNING: A pointless and overly-detailed account follows. If you don?t enjoy reading about endless frustration and silly drama, please close your browser NOW.
So next I tackled the right (crankcase) cover. ELEVEN rounded off screws. Ugh.
Screw #1 ? no go with the impact driver; no go with a punch on an angle, no go with vise grips. OK. Time for the Dremel, which is at home, so on to #2 for now?.
Screws #2 through #6- WOOT! Some tense moments, but these all broke loose.
Screws #7 ?Nope. Nadda. Frozen hell.
Screws #8 & 9 ? Easy as pie with the driver.
Screws #10 and #11 ? It was CRITICAL that these break loose because they are partially buried by the engine. One false move here and I might have to use the drill (and the last time I did that I machined the cover badly). Using ALL of my skills, I carefully set the driver and struck it soundly. Nothing. Again. Nothing. Again 25 more times. Nothing. Then #10 stripped out. The #11. Damn. Damn. Damn. 10 more minutes of various tools. Nothing.
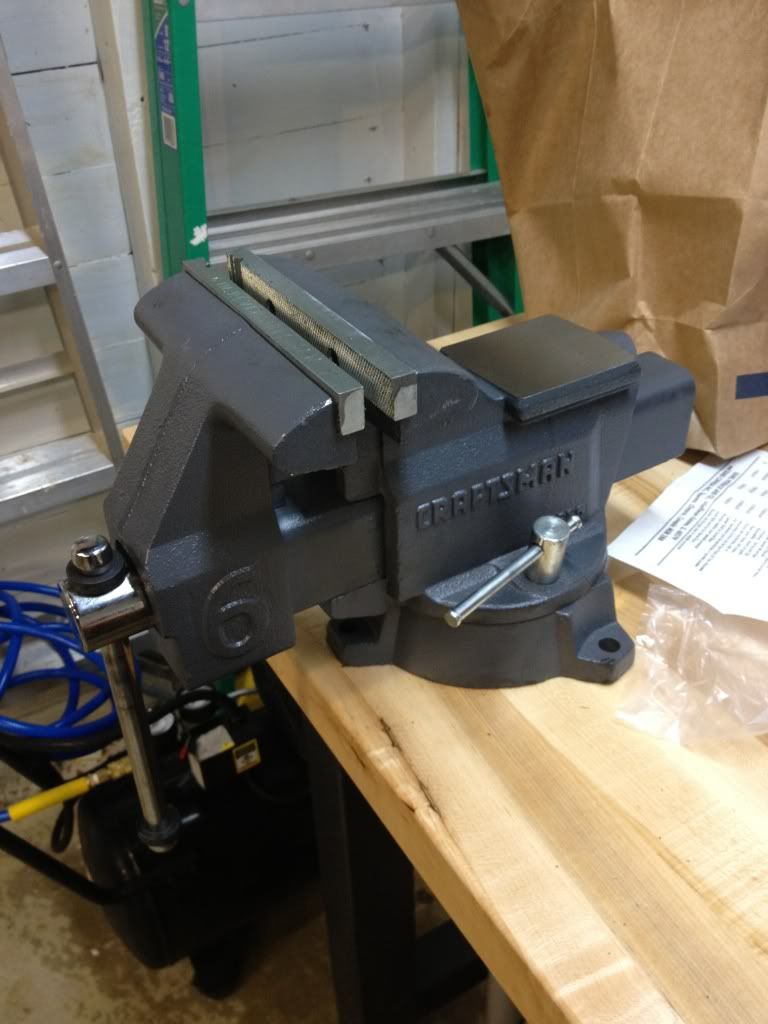
So I went back home to get the Dremel. On the way outside I dropped it. Oops! I broke my last cutting wheel. ARGH. So it was off to Tractor Supply. What?! No cutting wheels? Off the local hardware store?.none either?! Fine, off to the nearest ?real? town 25min away. About $100+ in tools later (got a 6? bench new vise on sale + screwdriver set + locking pliers set), I bought my $5 pack of cutting wheels and headed home. I really gotta stay away from the tool section. It?s killing my budget for this project.
Wait! That?s not a dremel wheel??.
Back in the shop, I carefully cut slots in Screws #1 and 7. No problems. Both broke loose with the slot impact attachment.
Then it was on to Screw #10. I had to cut a little toward the edge of the screw because of a lack of room, but after about 10 attempts at slicing into it, I got just enough to get a good bite and it came out. YES!
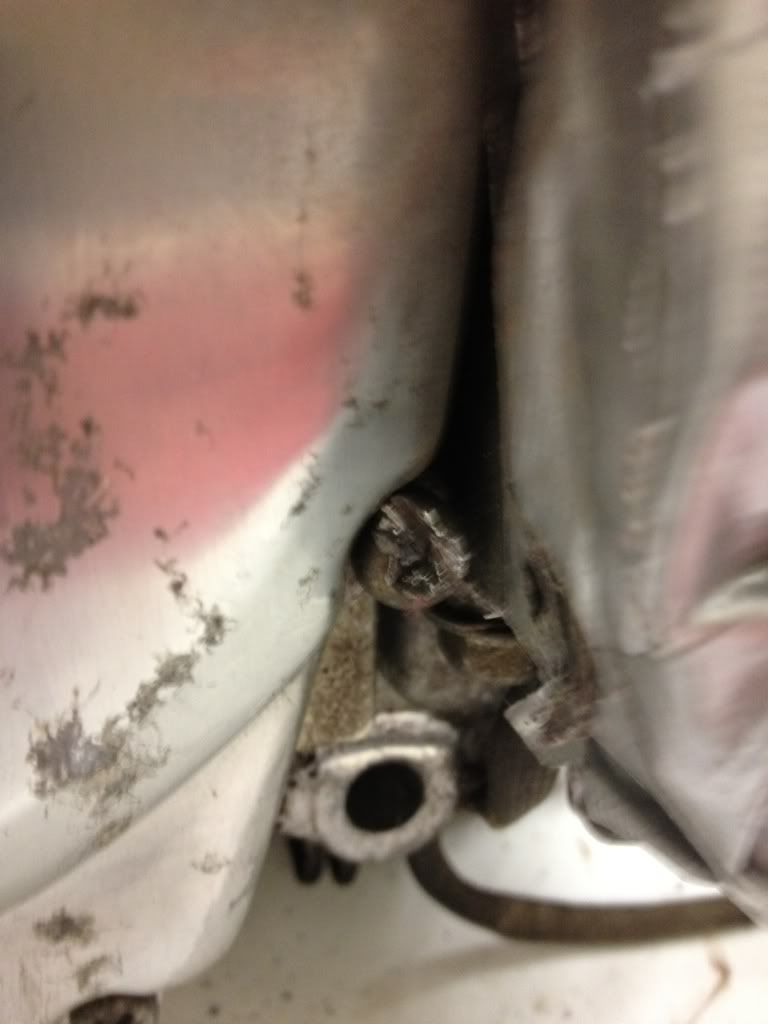
Finally, it was Screw #11. It was almost totally buried (pic below). By flipping the engine on its side and sliding the wheel in, I could just touch the screw, but the wheel was skimming the side of the engine. I wrapped the engine in duct tape as a ?warning? to myself (if the tape started cutting, I knew I was getting too close). I had to lean over the table to reach the screw as I carved, and carved, and carved. It was pretty much hopeless. I was starting to score the engine, but I gave it one last try and barely managed to get a tenuous bite with the driver. I had one more shot to break it loose before I had to get out the drill. I reached back??took a deep breath, and smacked the hammer square onto the driver??and.......it spun loose. Yes!
Screw from HELL.
I finished up the morning removing the oil sight glass. It was badly clouded and the seal on the outside looked terrible. The inside seal had been ?repaired? with some sort of pink-colored substance that looked like silly string. I think it was some kind of GLUE ?! Anyway, it was flaking off and I was planning to blast the case with stripper anyway, so it had to go. I punched it out and it will be replaced.
After lunch I spent a little time stripping and sanding the side covers and fork leg #2. This is gonna take a while! I also pulled the timing cover and discovered that it was so badly ground down with road rash that it?s not worth salvaging. In an ironic twist, a previous owner had replaced the ?DOHC? Suzuki cover insert with a black piece of plastic that had the Harley Davidson emblem on the back side. Classy. I also pulled out the stator.
Broken stator. It has since been removed from the case and tossed unceremoniously on the floor.
A shot before stripping the crankcase covers and another lower fork leg.

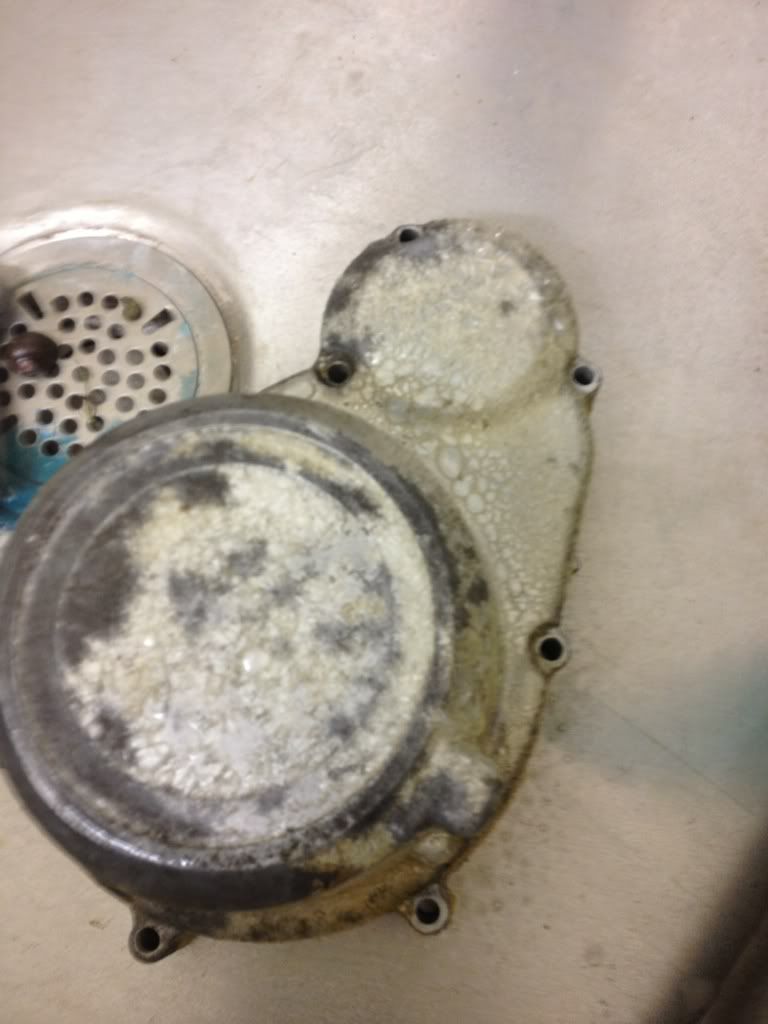
A pic of the stripping process. Yummy.
The fumes from the stripper spray nearly put me into some kind of 80s flashback (one side effect of the spray is that it impairs your ability to absorb oxygen into your blood!), so I quit early for the day and arrived home to find that my Haynes service manual had arrived. Excellent.
--------
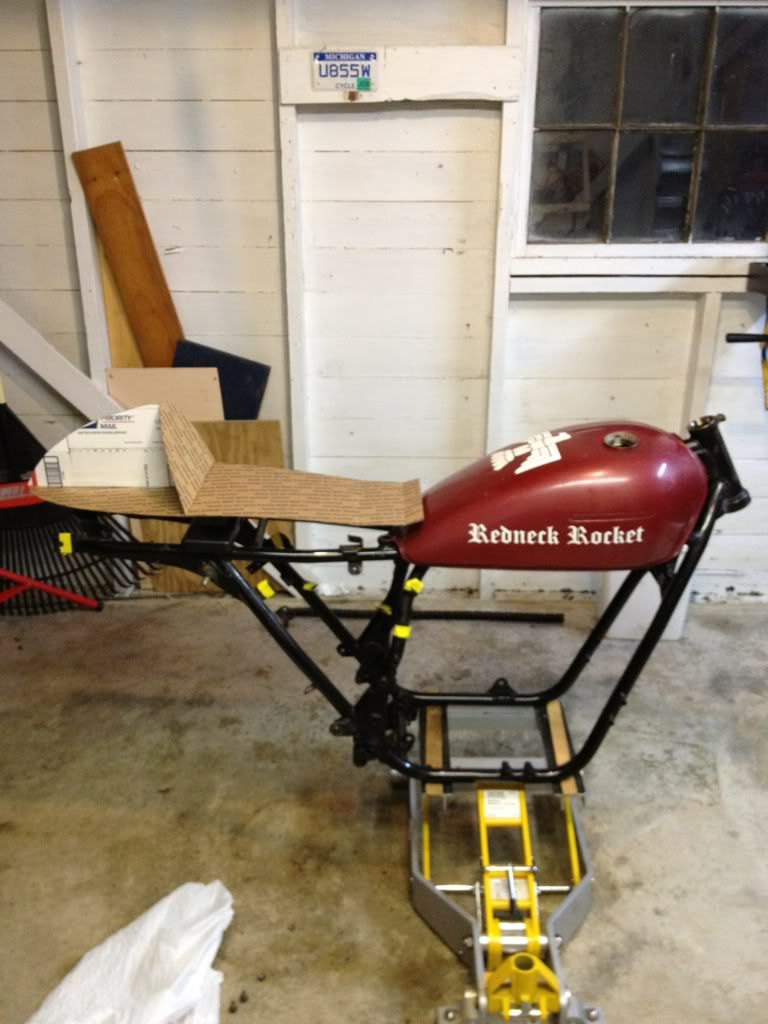
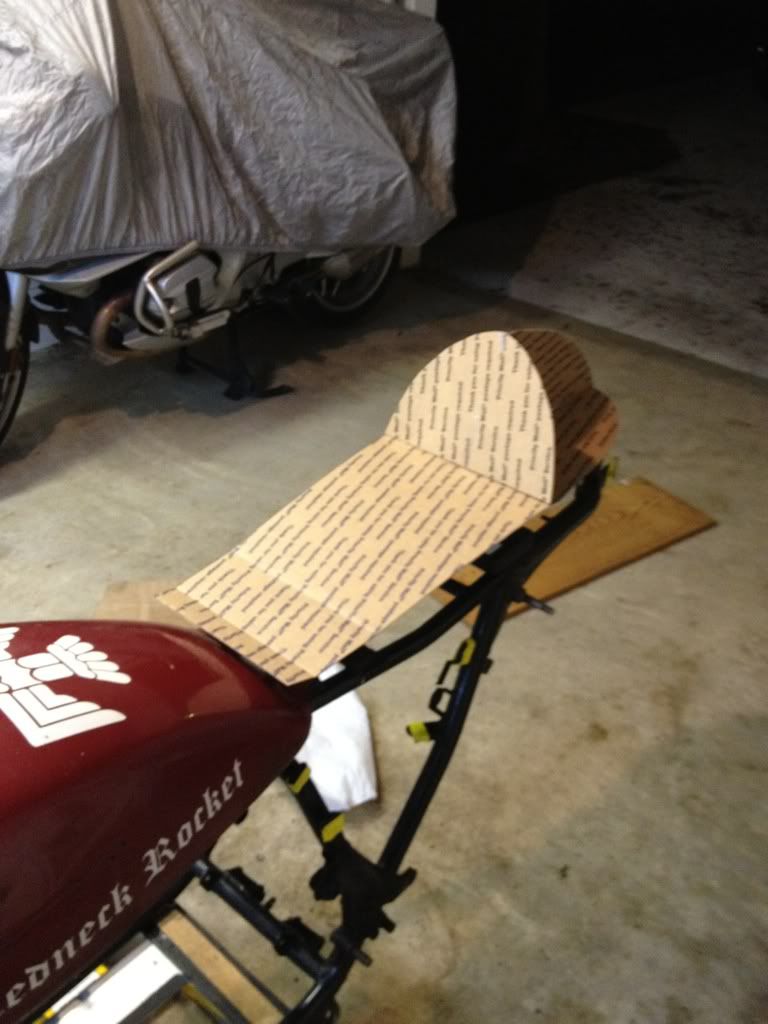
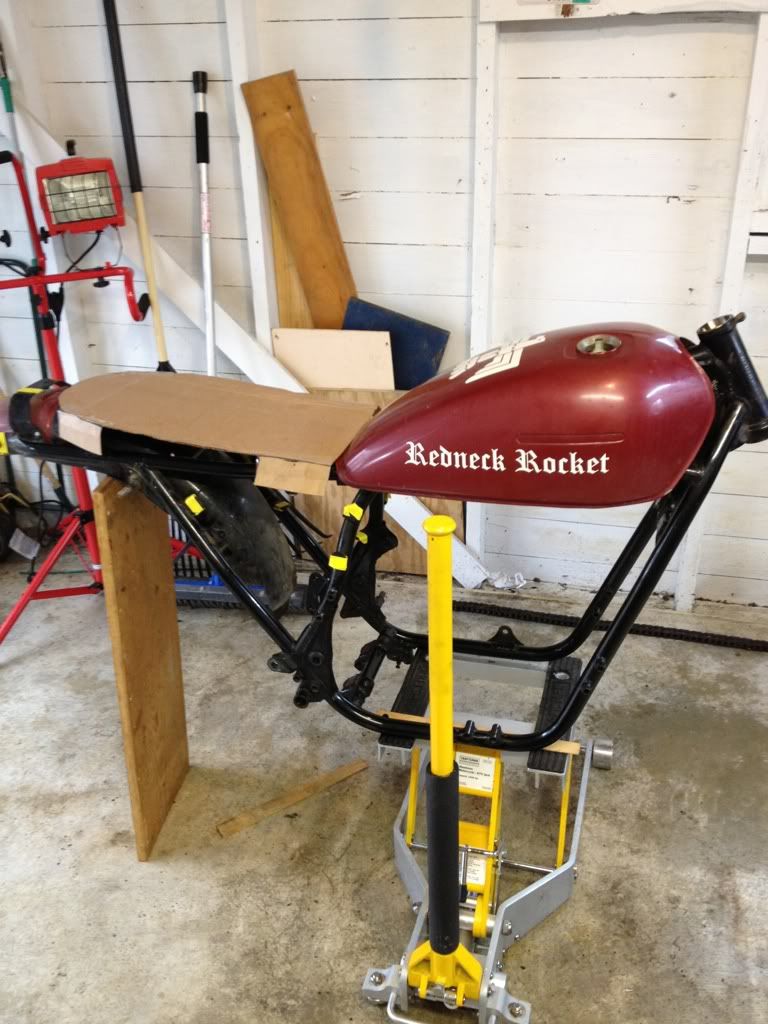
This morning I did some mock ups of various seat types. Not enough pics, but here?s one that was rejected (seat wasn't long enough). I re-installed the rear fender to give me a sense of where the rear wheel will be. I will NOT be using the rear fender. I'll finish the mock ups tomorrow, choose a design, and get the seat going as well.
Tuesday afternoon I dropped by a large industrial shop and picked up some grinding wheels to grind aluminum. I?m going to use them to carve off the handlebar mounts from the top triple tree bracket. It?s full caf? for this bike. I mention this event only because while at the shop picking them up the President of the company backed up and scratched/dented the side of my wife?s new BMW. I spent the rest of the afternoon driving to a distant body shop for an estimate. $1300 to repair, and this is only the second time I?ve driven her car (I normally drive a van on the verge of becoming a true ?beater?).
Things got better Tuesday night when I took apart the second fork. It put up quite a fight, but it?s done. Here it is mostly disassembled. Looks rougher than the first one on the inside. The OEM manual calls for ENGINE OIL mixed with TRANSMISSION OIL. Since we now have this stuff called FORK OIL, I will be experimenting with that instead of the voodoo recipe when the forks go back together.
Fork from hell.
I woke up bright an early yesterday morning, sent the kids off to school, and headed directly for the ?lab.? I must have been feeling sadistic because this morning I decided to try and get the crankcase and alternator covers off before I even had my morning coffee. Over 20 ancient Phillips screws (mostly #3 size) stared back at me....laughing. The left side ones looked pretty good (intact), but the right ones were deliciously pre-stripped.
I started with the left side to warm up (alternator cover). It wasn't so bad. My impact driver made short work of ALL of the screws. Once inside, the stator looked like crap - no wonder the bike won't charge properly. A lot of little washers came flying out of the starter gears, but the parts diagram will help me here.
-------
WARNING: A pointless and overly-detailed account follows. If you don?t enjoy reading about endless frustration and silly drama, please close your browser NOW.
So next I tackled the right (crankcase) cover. ELEVEN rounded off screws. Ugh.
Screw #1 ? no go with the impact driver; no go with a punch on an angle, no go with vise grips. OK. Time for the Dremel, which is at home, so on to #2 for now?.
Screws #2 through #6- WOOT! Some tense moments, but these all broke loose.
Screws #7 ?Nope. Nadda. Frozen hell.
Screws #8 & 9 ? Easy as pie with the driver.
Screws #10 and #11 ? It was CRITICAL that these break loose because they are partially buried by the engine. One false move here and I might have to use the drill (and the last time I did that I machined the cover badly). Using ALL of my skills, I carefully set the driver and struck it soundly. Nothing. Again. Nothing. Again 25 more times. Nothing. Then #10 stripped out. The #11. Damn. Damn. Damn. 10 more minutes of various tools. Nothing.
So I went back home to get the Dremel. On the way outside I dropped it. Oops! I broke my last cutting wheel. ARGH. So it was off to Tractor Supply. What?! No cutting wheels? Off the local hardware store?.none either?! Fine, off to the nearest ?real? town 25min away. About $100+ in tools later (got a 6? bench new vise on sale + screwdriver set + locking pliers set), I bought my $5 pack of cutting wheels and headed home. I really gotta stay away from the tool section. It?s killing my budget for this project.
Wait! That?s not a dremel wheel??.
Back in the shop, I carefully cut slots in Screws #1 and 7. No problems. Both broke loose with the slot impact attachment.
Then it was on to Screw #10. I had to cut a little toward the edge of the screw because of a lack of room, but after about 10 attempts at slicing into it, I got just enough to get a good bite and it came out. YES!
Finally, it was Screw #11. It was almost totally buried (pic below). By flipping the engine on its side and sliding the wheel in, I could just touch the screw, but the wheel was skimming the side of the engine. I wrapped the engine in duct tape as a ?warning? to myself (if the tape started cutting, I knew I was getting too close). I had to lean over the table to reach the screw as I carved, and carved, and carved. It was pretty much hopeless. I was starting to score the engine, but I gave it one last try and barely managed to get a tenuous bite with the driver. I had one more shot to break it loose before I had to get out the drill. I reached back??took a deep breath, and smacked the hammer square onto the driver??and.......it spun loose. Yes!
Screw from HELL.
I finished up the morning removing the oil sight glass. It was badly clouded and the seal on the outside looked terrible. The inside seal had been ?repaired? with some sort of pink-colored substance that looked like silly string. I think it was some kind of GLUE ?! Anyway, it was flaking off and I was planning to blast the case with stripper anyway, so it had to go. I punched it out and it will be replaced.
After lunch I spent a little time stripping and sanding the side covers and fork leg #2. This is gonna take a while! I also pulled the timing cover and discovered that it was so badly ground down with road rash that it?s not worth salvaging. In an ironic twist, a previous owner had replaced the ?DOHC? Suzuki cover insert with a black piece of plastic that had the Harley Davidson emblem on the back side. Classy. I also pulled out the stator.
Broken stator. It has since been removed from the case and tossed unceremoniously on the floor.
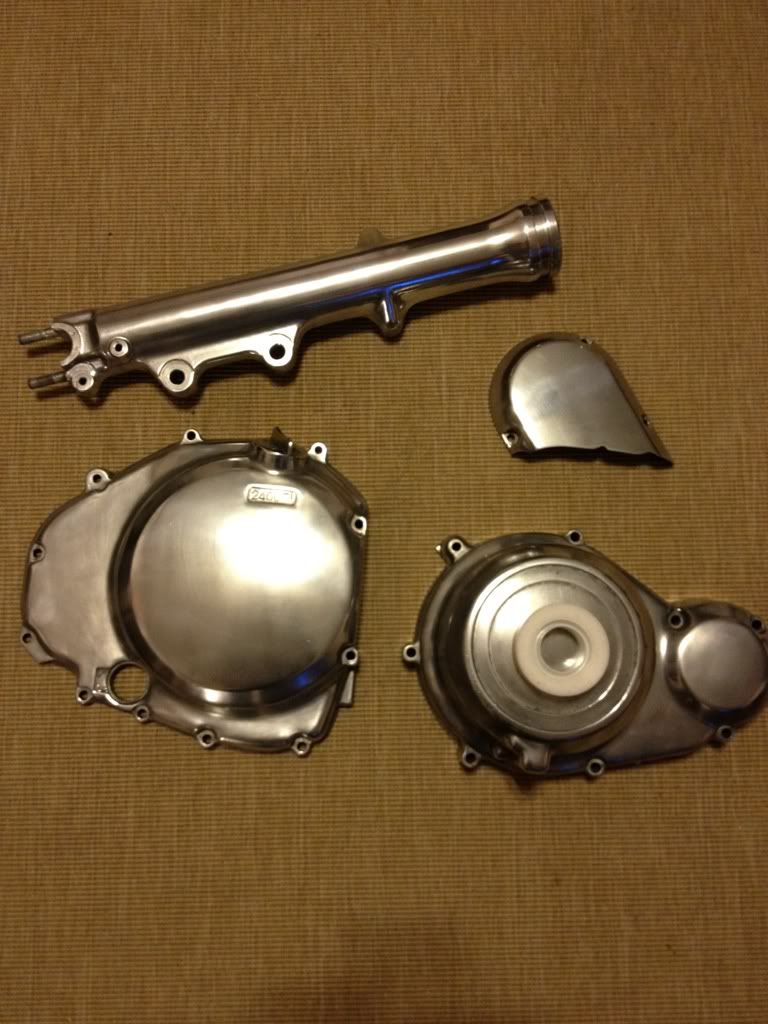
A shot before stripping the crankcase covers and another lower fork leg.
A pic of the stripping process. Yummy.
The fumes from the stripper spray nearly put me into some kind of 80s flashback (one side effect of the spray is that it impairs your ability to absorb oxygen into your blood!), so I quit early for the day and arrived home to find that my Haynes service manual had arrived. Excellent.
--------
This morning I did some mock ups of various seat types. Not enough pics, but here?s one that was rejected (seat wasn't long enough). I re-installed the rear fender to give me a sense of where the rear wheel will be. I will NOT be using the rear fender. I'll finish the mock ups tomorrow, choose a design, and get the seat going as well.
") lol
lol