2
240punk
Guest
Inspiring.
Subscribed.
Subscribed.
Required reading for all forum users!!!
Welcome!
Register to access the full functionality of the GSResources forum. Until you register and activate your account you will not have full forum access, nor will you be able to post or reply to messages.
A note to new registrants...
All new forum registrations must be activated via email before you have full access to the forum.
A Special Note about Email accounts!
DO NOT SIGN UP USING hotmail, outlook, gmx, sbcglobal, att, bellsouth or email.com. They delete our forum signup emails.
A note to old forum members...
I receive numerous requests from people who can no longer log in because their accounts were deleted. As mentioned in the forum FAQ, user accounts are deleted if you haven't logged in for the past 6 months. If you can't log in, then create a new forum account. If you don't get an error message, then check your email account for an activation message. If you get a message stating that the email address is already in use, then your account still exists so follow the instructions in the forum FAQ for resetting your password.
Have you forgotten your password or have a new email address? Then read the forum FAQ for details on how to reset it.
Any email requests for "can't log in anymore" problems or "lost my password" problems will be deleted. Read the forum FAQ and follow the instructions there - that's what we have one for...
If you are a returning visitor who never received your confirmation email, then odds are your email provider is blockinig emails from our server. The only thing that can be done to get around this is you will have to try creating another forum account using an email address from another domain.
If you are a returning visitor to the forum and can't log in using your old forum name and password but used to be able to then chances are your account is deleted. Purges of the databases are done regularly. You will have to create a new forum account and you should be all set.
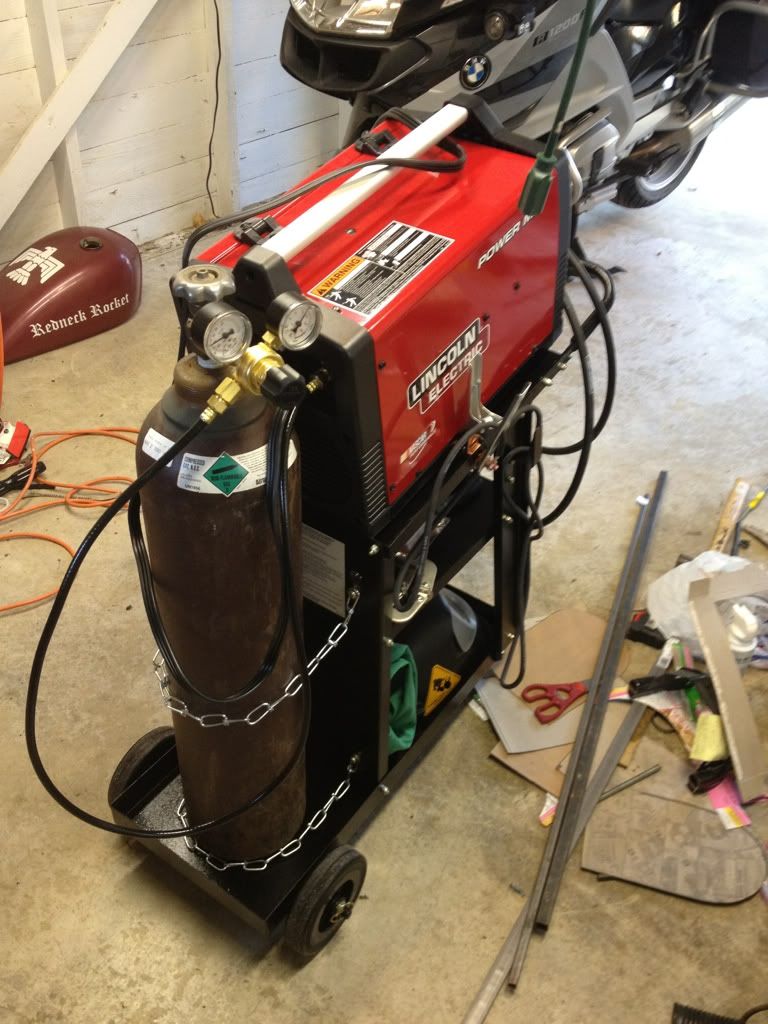
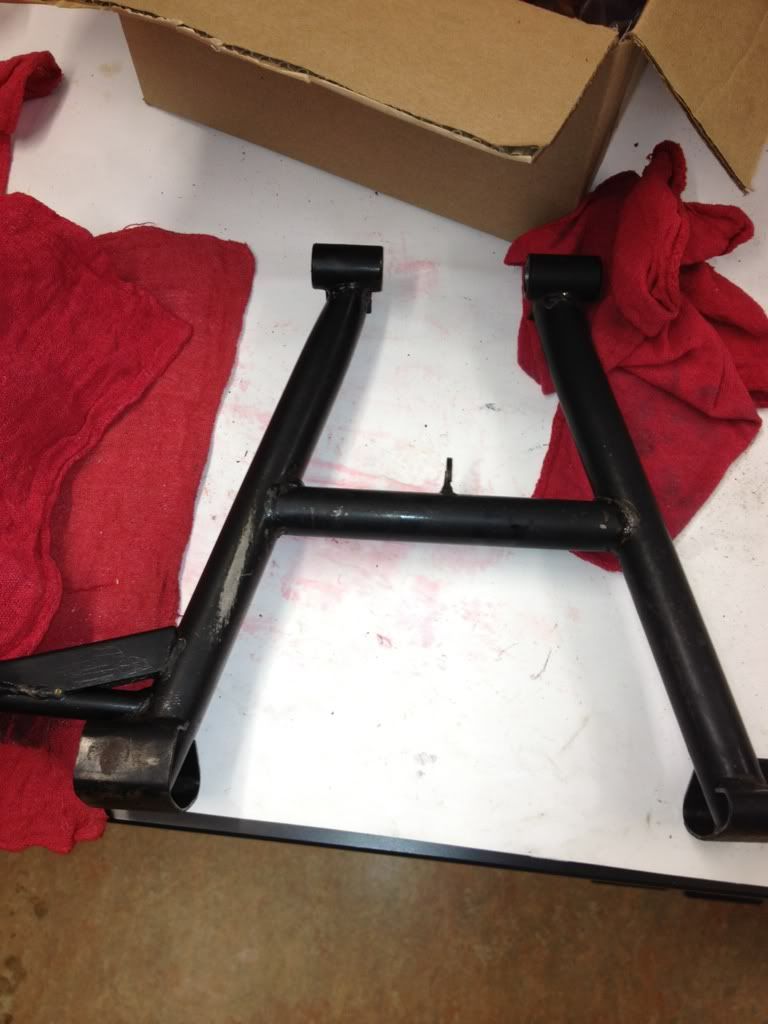
Nice little setup D-Mac. I'm jealous. I've wanted a welding rig for some time now but just not sure how well a small unit is going to work. Please let us know how it works out for you over time. And good job on the race. These GSer's know all the little tricks no?


Hi, I got a 550 E a few weeks ago and am in the process of more or less doing the same thing you are going thru. Fun, is it not? unfortunatelly, I have not figured out how to upload pictures to this forum....yet. I decided to get first a running bike, and have it in the shape and color and condition I would like it in. So I rebuilt the carbs
( credits go to the mikuni rebuild manual from this site as well as a few members who gracefully answered all my questions, since I had not done it in over 30 years)
and jetted propperly for 4/1 exhaust and k&m pods. she runs like a charm with 155 lbs
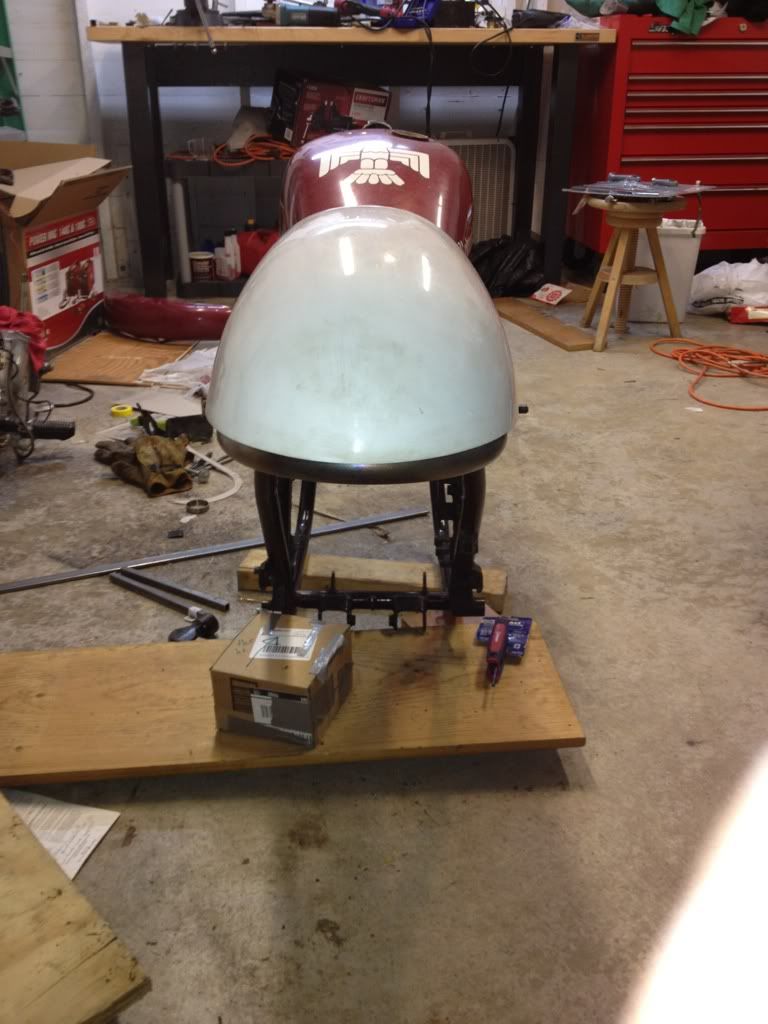
compression on all 4's. than i pulled the tank, sandblasted it and fixed a few dents,
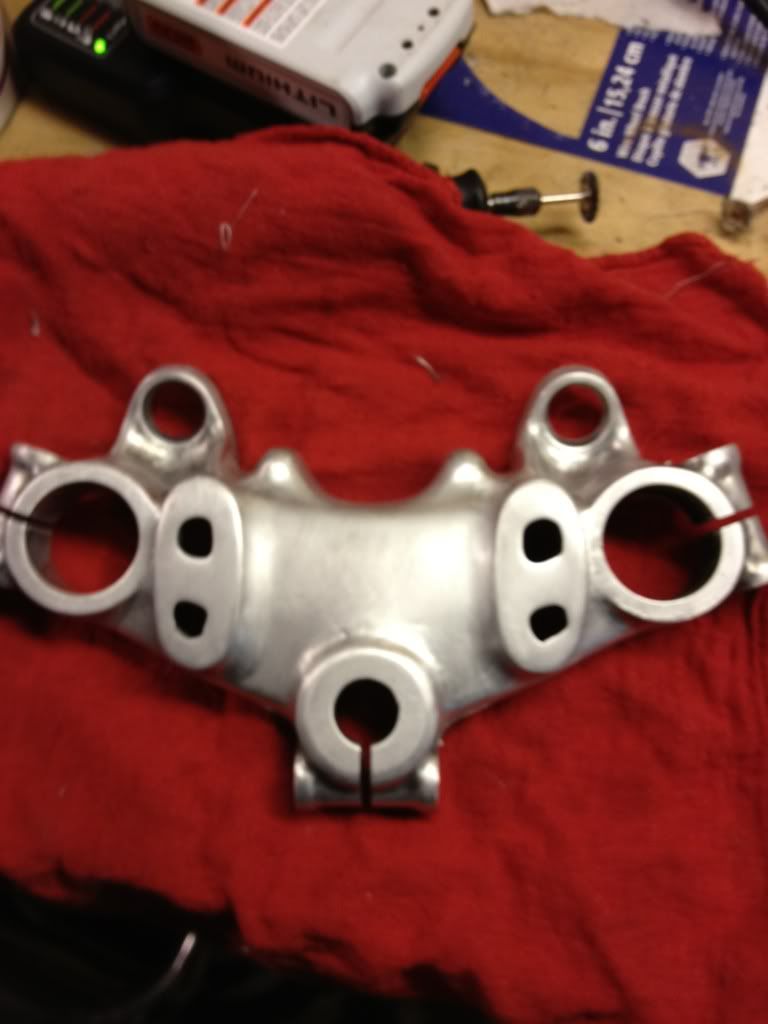
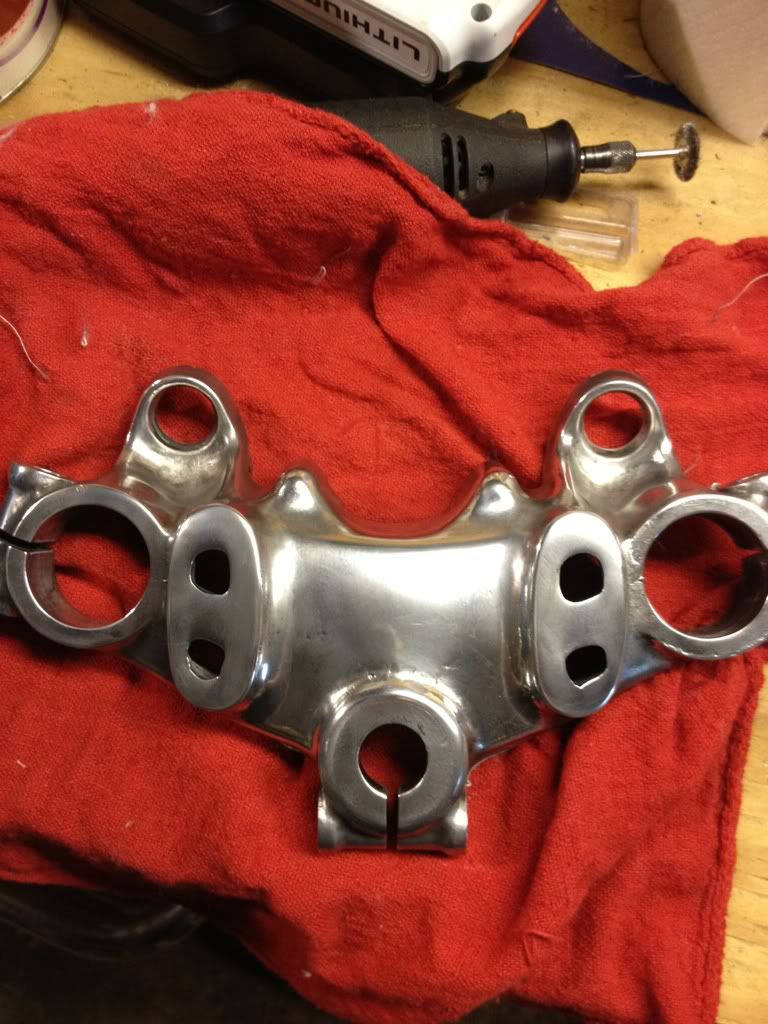
sprayed it with a few cans of black I got for free from sherwin williams. Put a clubman on I had around in the shop and polished the upper tree.Then I painstakingly
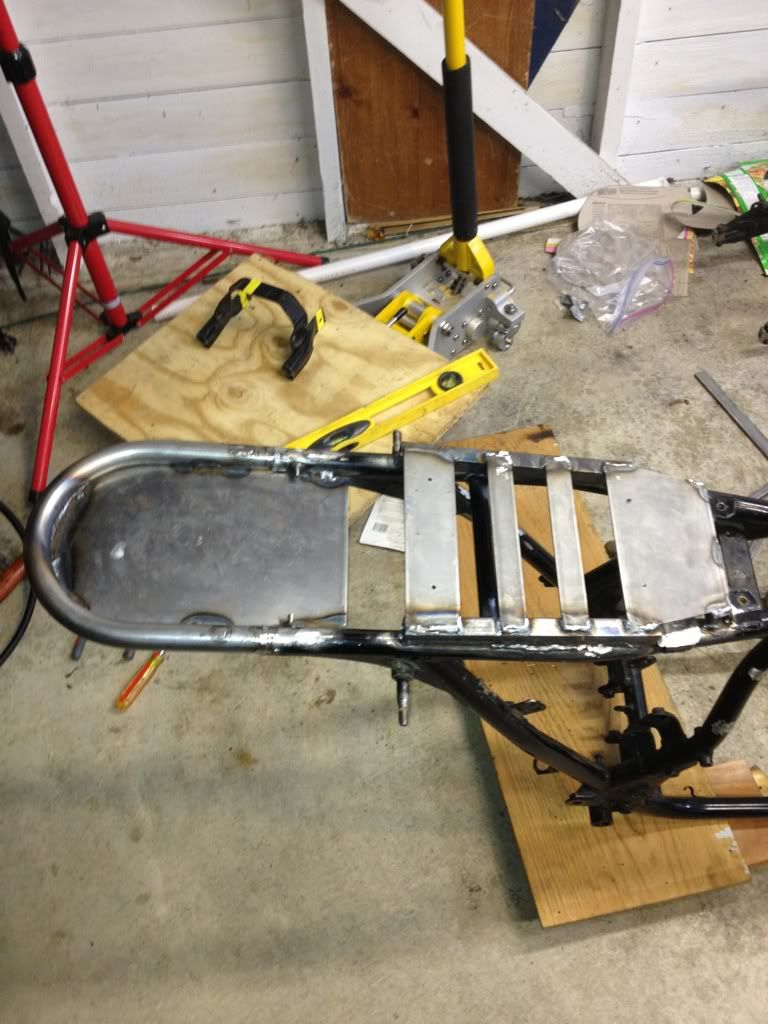
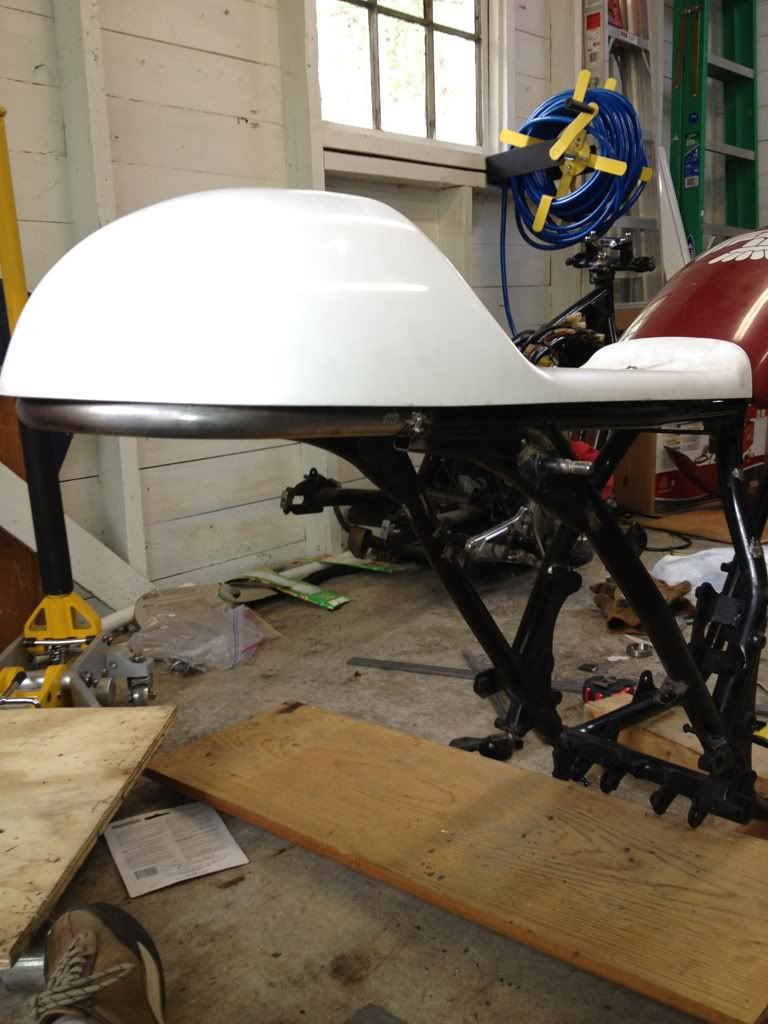
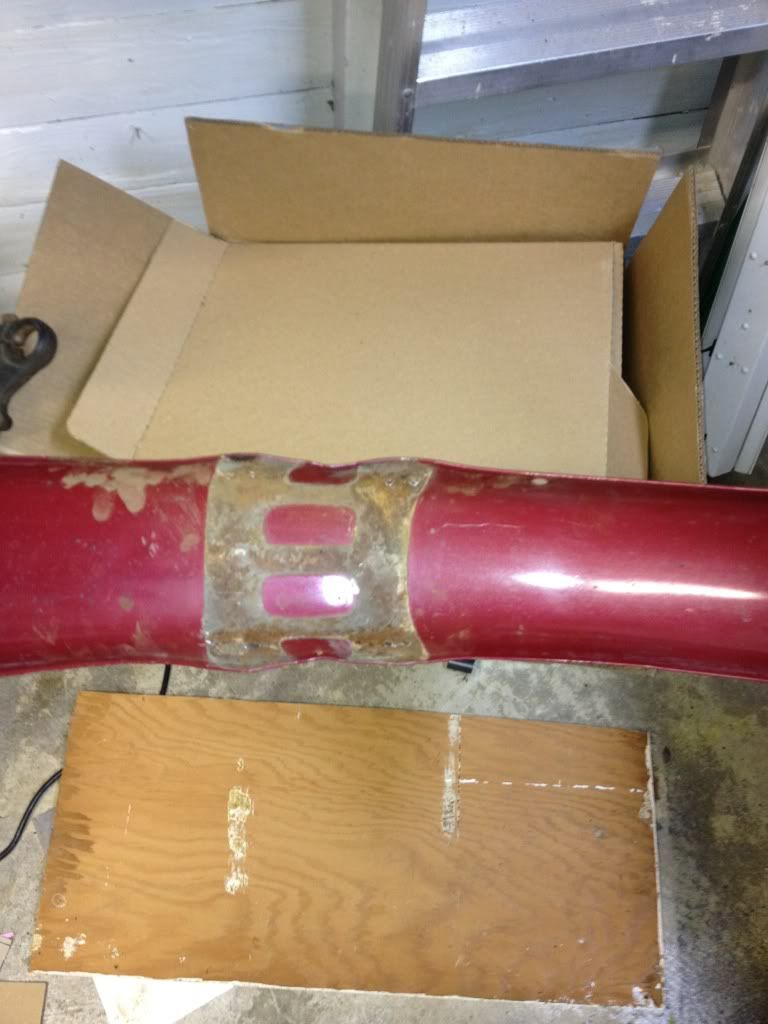
cleaned up the wireharness and shortened it wherever possible, and tookout whats not needed. There is just to many lights and indicaters on these bikes distracting from riding. One of these days, I will shee whether this bike can be converted from pure electric starting to an additional kickstart. Winter project. Then, I added a nice racing seat. Gee, its easier to re-build an engine than make these seats propperly, still more work on that. Got rid of the airbox, and battery cage. Cut out the back with the panel
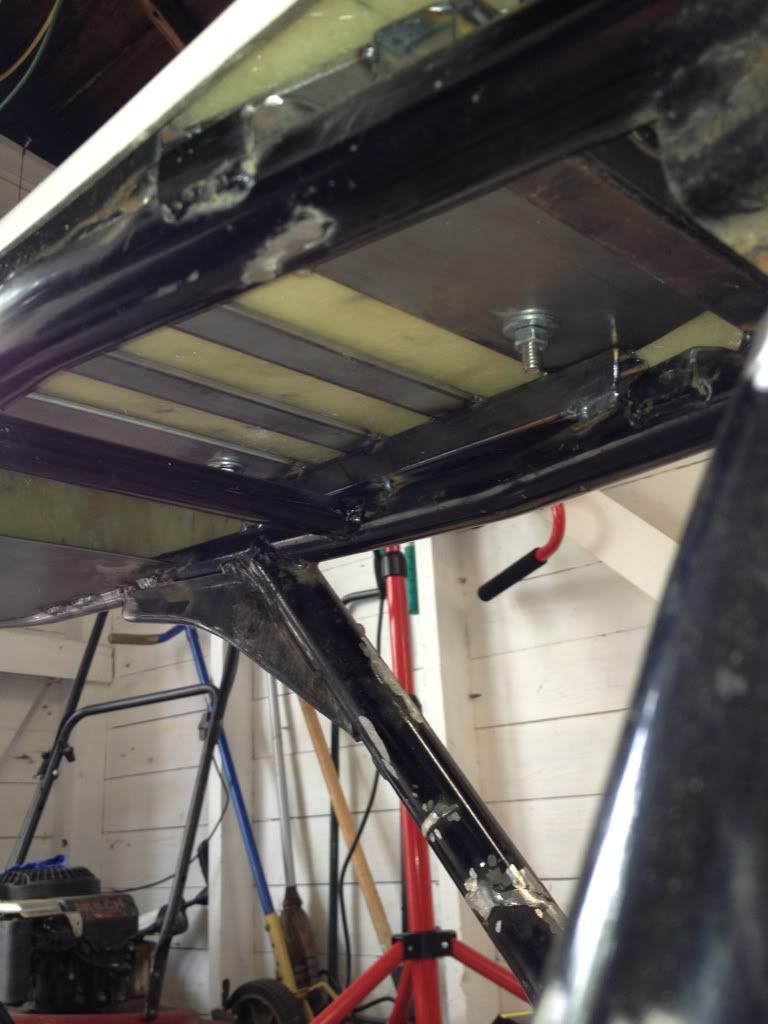
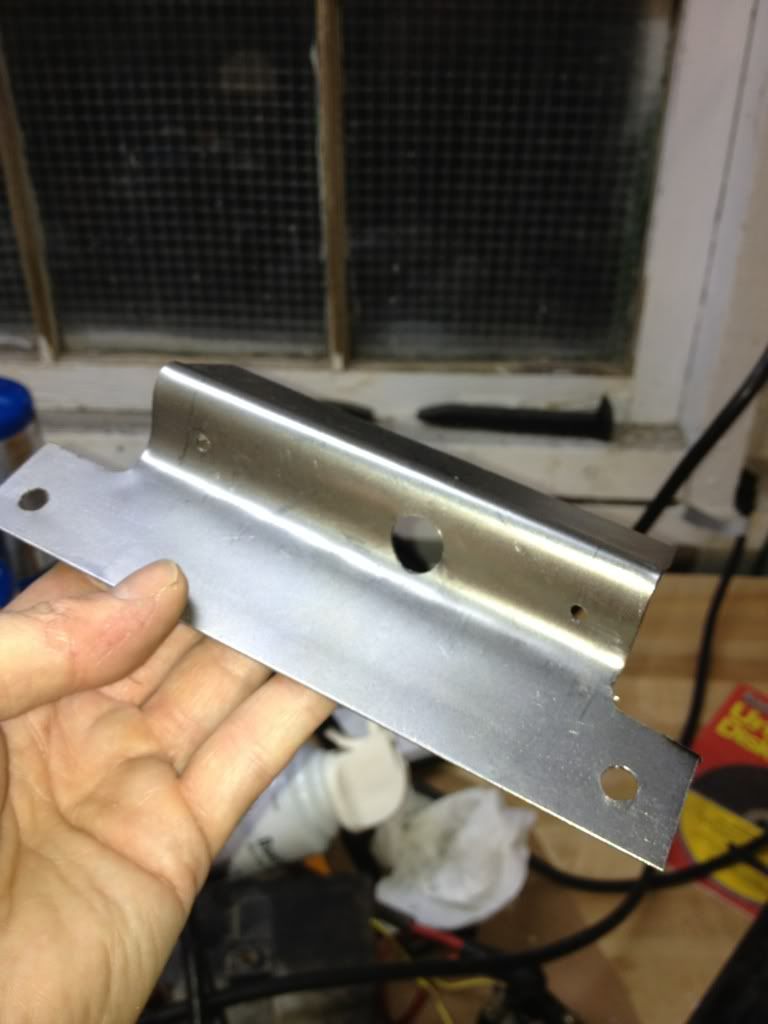
that houses solenoid, starter relay and fuseboxes and mounted that under the seat
against a horizontal reinforcement- plate that came with the seat. Next month, I will be able to afford the Shorai battery I always wanted, it will go into/under the hump
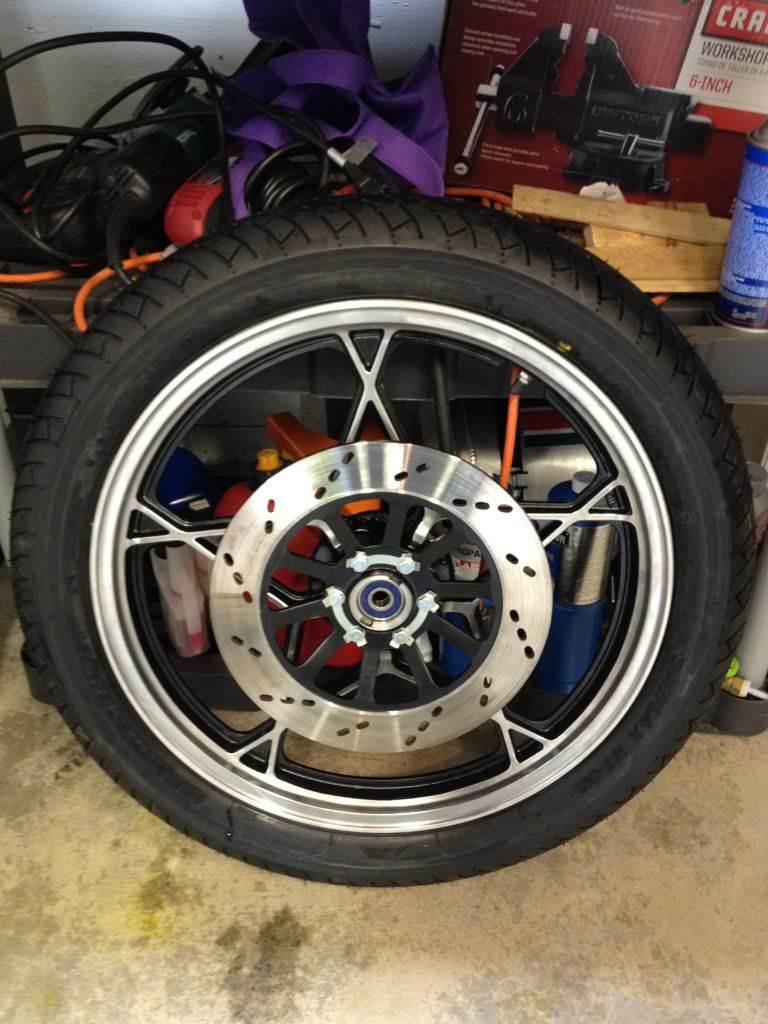
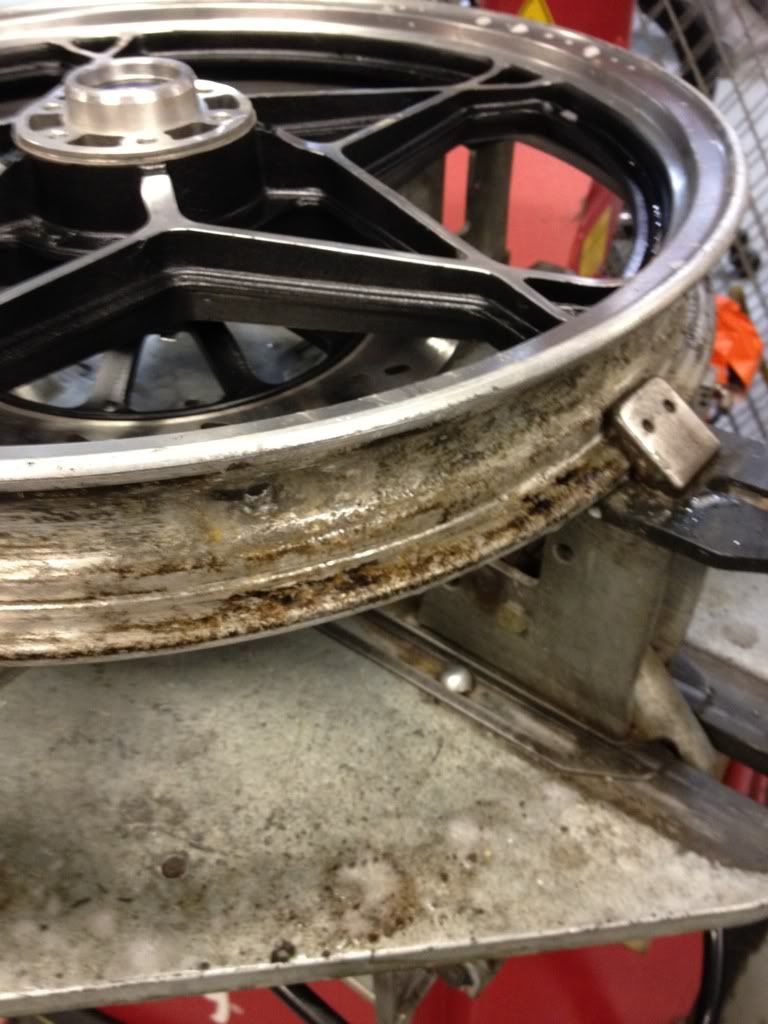
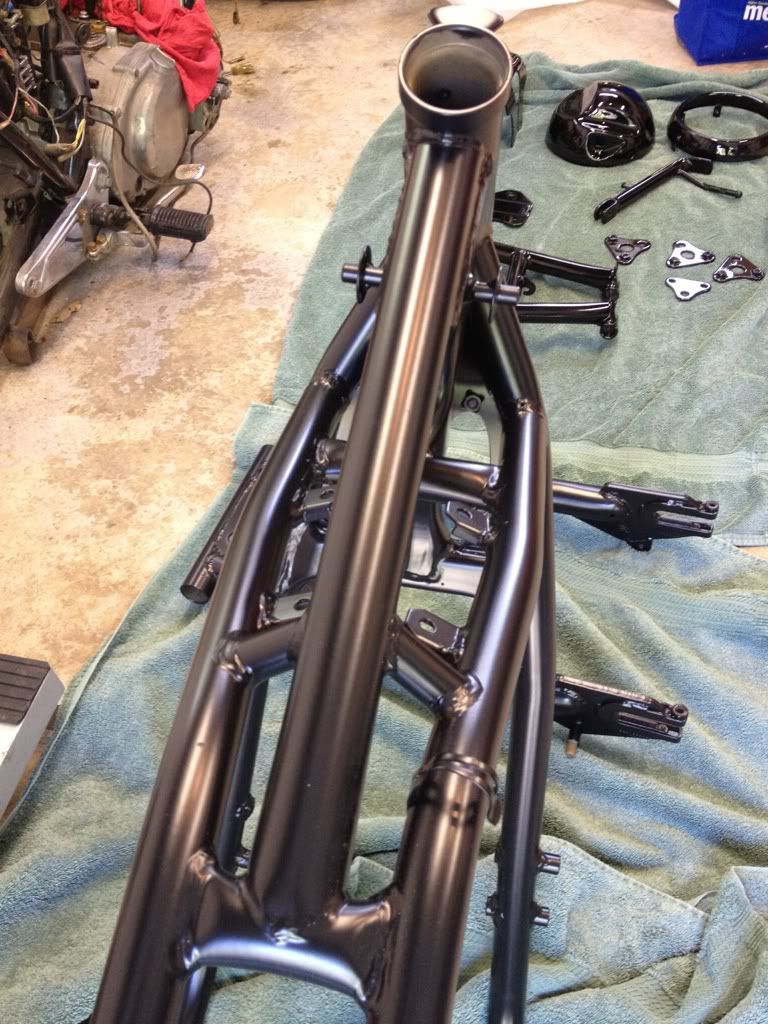
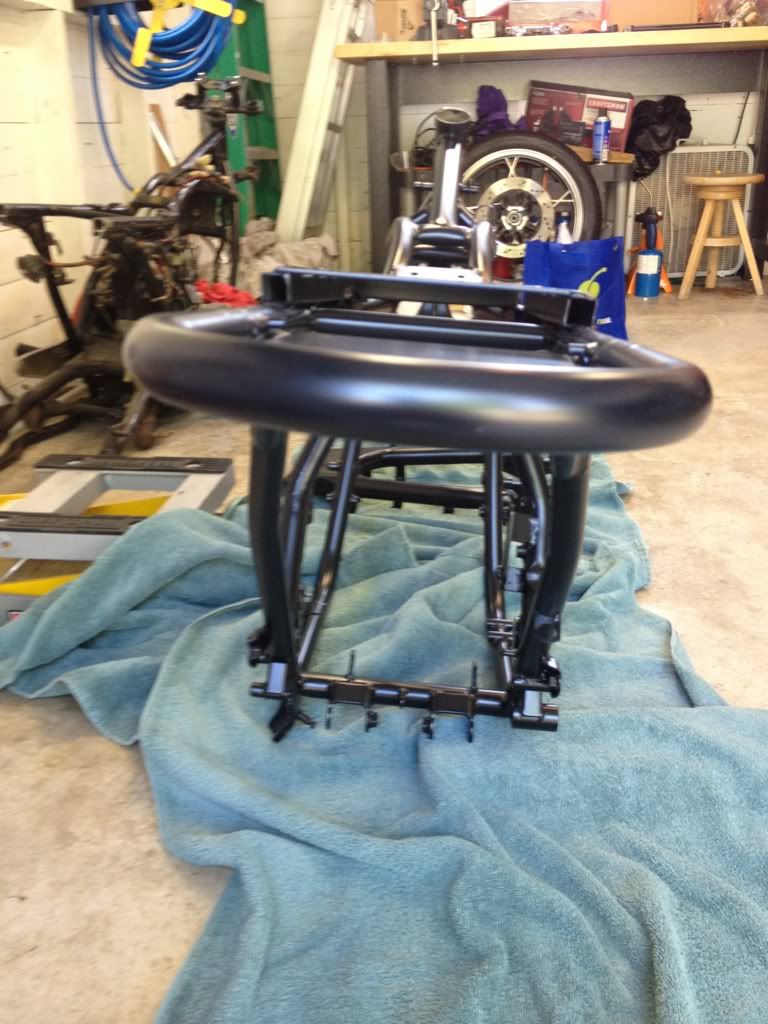
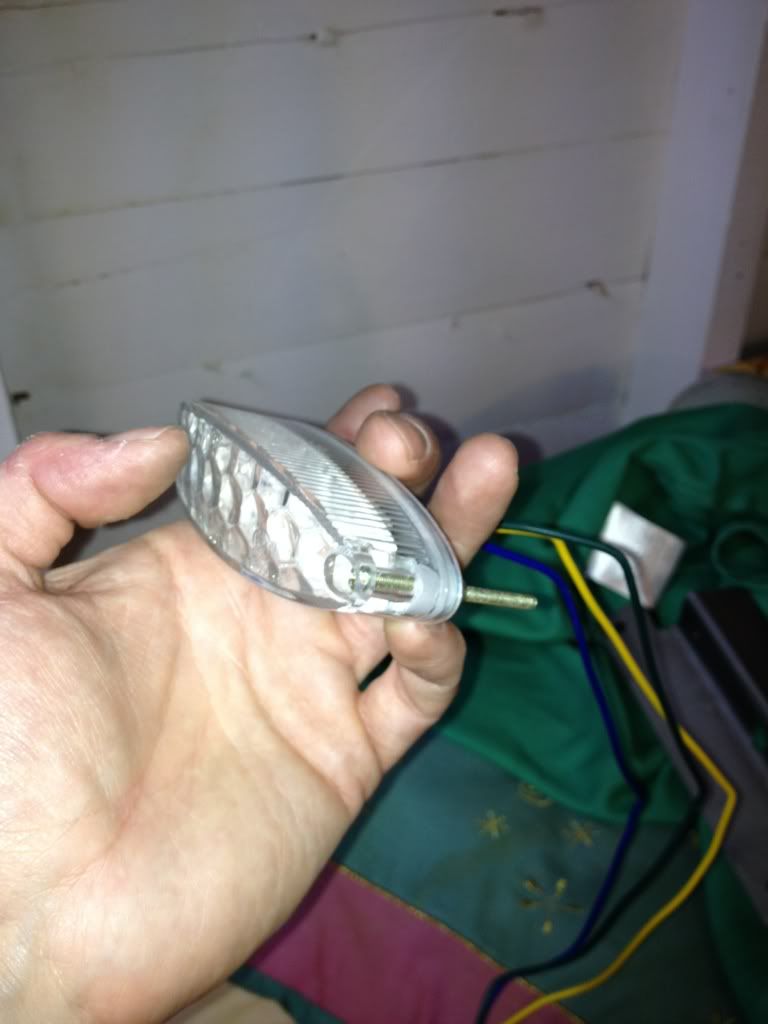
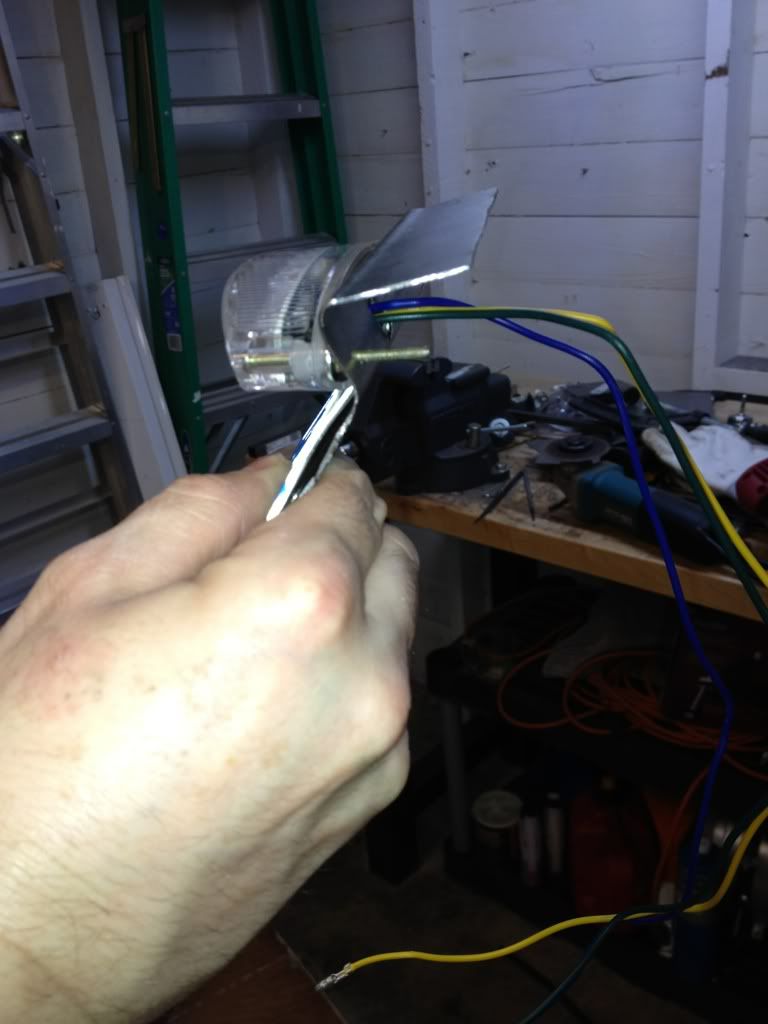
of the seat, along with the rectifier. Grinding my teeth, I re-used the existing ignal lights, but brought themall the way in, rear ones on the hump, front ones right next to headlight bucket. When all is set and done, god knows when, I will pull her apart again and powder coat frame and tank. I am not sure yet what to do about the rims.
Right now, I am looking for guidance on the front brake master cylinder. The existing one needs repacement, since the piston is solidly corroded into the bore. ( this was confirmed by folks much smarter than myself) So I am not sure whether to try to find
a replacement for the exact model, or find a new one with same bore and for one disc. I appreciate any thought and or ideas.
Regards, Peter
Hi, I got a 550 E a few weeks ago and am in the process of more or less doing the same thing you are going thru. Fun, is it not? unfortunatelly, I have not figured out how to upload pictures to this forum....yet. I decided to get first a running bike, and have it in the shape and color and condition I would like it in. So I rebuilt the carbs
( credits go to the mikuni rebuild manual from this site as well as a few members who gracefully answered all my questions, since I had not done it in over 30 years)
and jetted propperly for 4/1 exhaust and k&m pods. she runs like a charm with 155 lbs
compression on all 4's. than i pulled the tank, sandblasted it and fixed a few dents,
sprayed it with a few cans of black I got for free from sherwin williams. Put a clubman on I had around in the shop and polished the upper tree.Then I painstakingly
cleaned up the wireharness and shortened it wherever possible, and tookout whats not needed. There is just to many lights and indicaters on these bikes distracting from riding. One of these days, I will shee whether this bike can be converted from pure electric starting to an additional kickstart. Winter project. Then, I added a nice racing seat. Gee, its easier to re-build an engine than make these seats propperly, still more work on that. Got rid of the airbox, and battery cage. Cut out the back with the panel
that houses solenoid, starter relay and fuseboxes and mounted that under the seat
against a horizontal reinforcement- plate that came with the seat. Next month, I will be able to afford the Shorai battery I always wanted, it will go into/under the hump
of the seat, along with the rectifier. Grinding my teeth, I re-used the existing ignal lights, but brought themall the way in, rear ones on the hump, front ones right next to headlight bucket. When all is set and done, god knows when, I will pull her apart again and powder coat frame and tank. I am not sure yet what to do about the rims.
Right now, I am looking for guidance on the front brake master cylinder. The existing one needs repacement, since the piston is solidly corroded into the bore. ( this was confirmed by folks much smarter than myself) So I am not sure whether to try to find
a replacement for the exact model, or find a new one with same bore and for one disc. I appreciate any thought and or ideas.
Regards, Peter
hi, d- mac.
sure, the circlip is out. we tried: heat, cold, pb blaster soaking, carb cleaner soaking,
air pressure ( are you kidding , how about 300 pounds per square inch?)
If you have Billy Joel's master motorcycle mechanic behind you, how much more support do you need? Anyways, I rather spend a few bucks than kill myself with
that%^&$#@. so to e bay I go. the thing with the photo- upload I dont get at all , to old for that. regards, and good luck with your project.
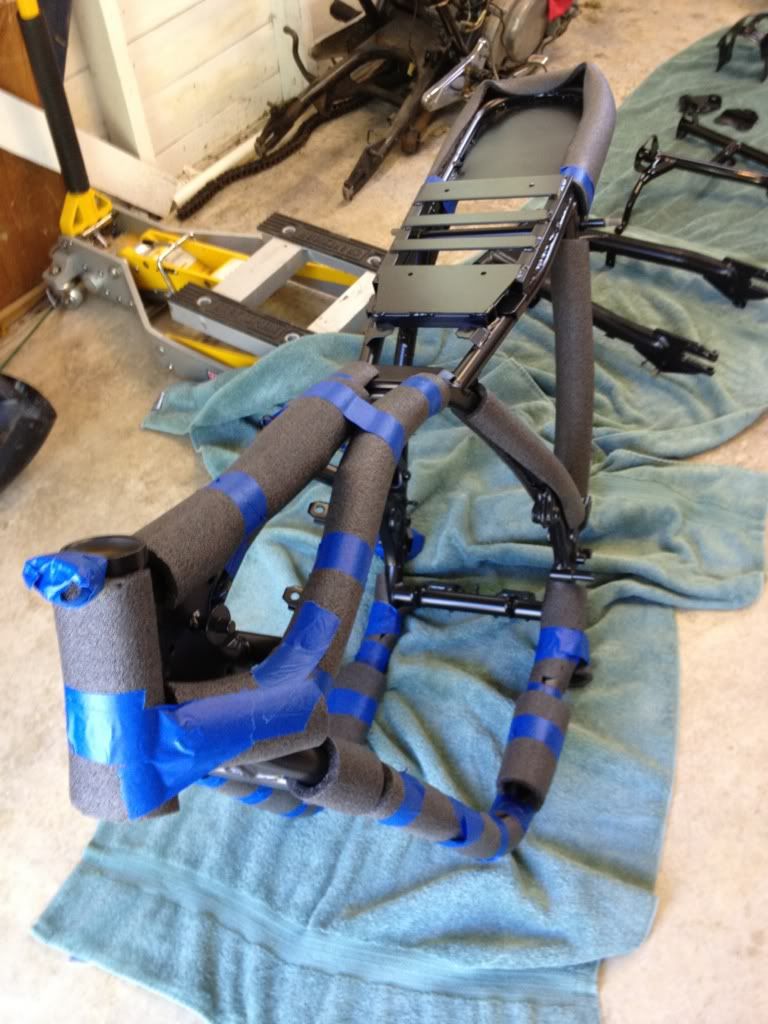
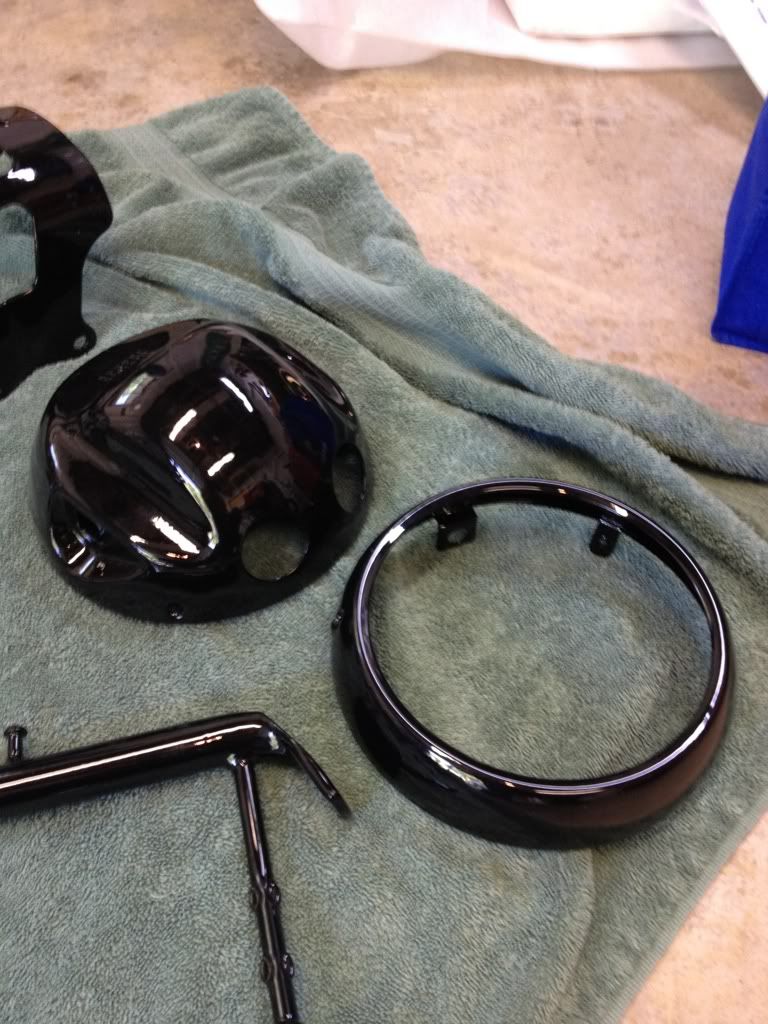
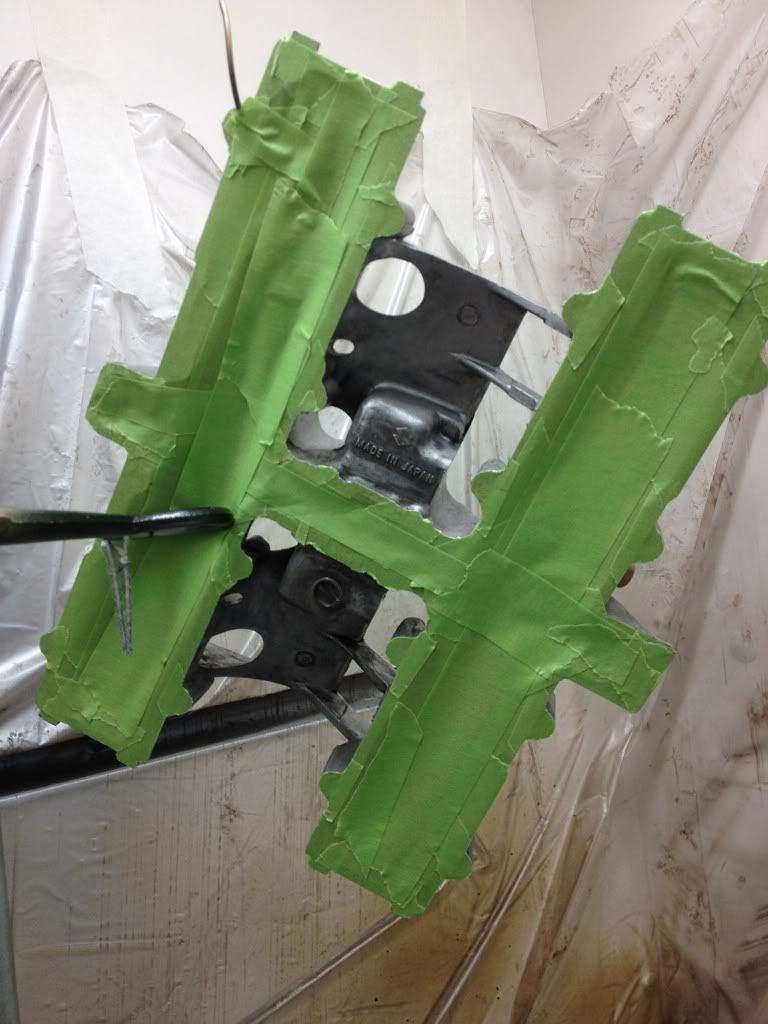
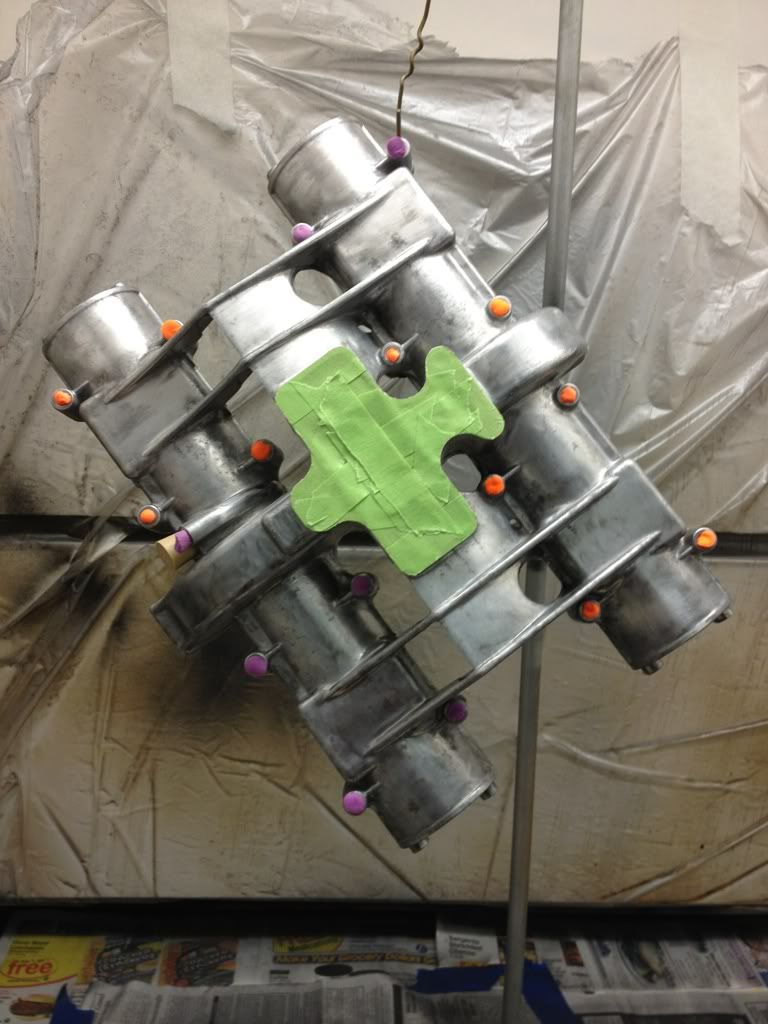
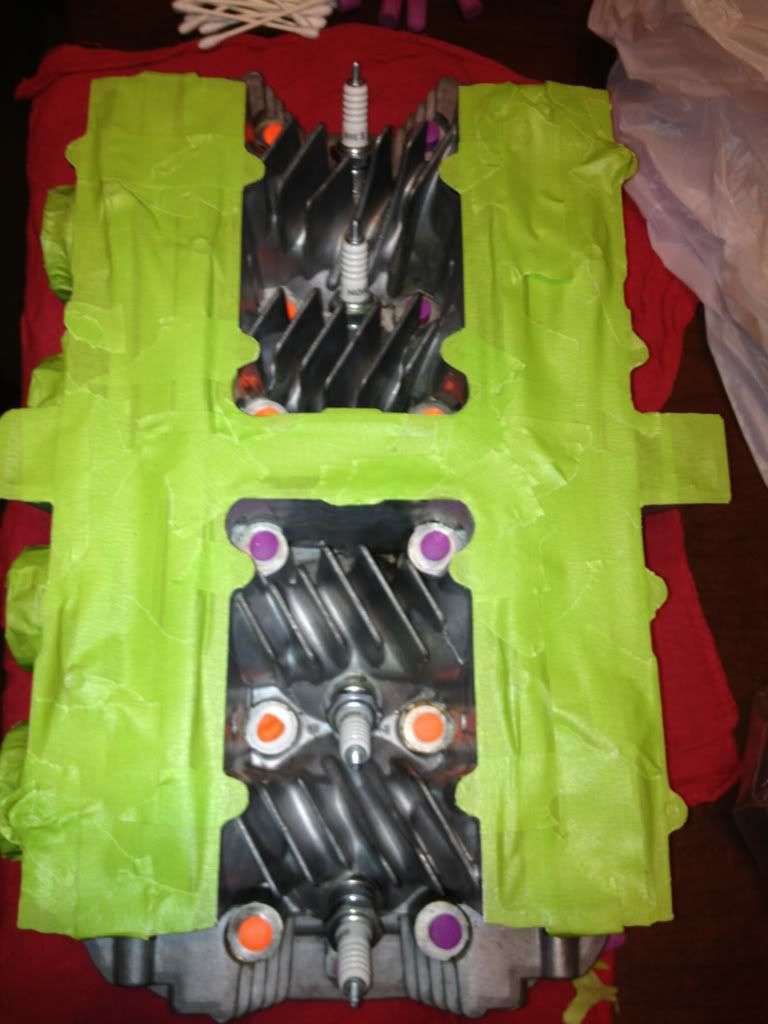
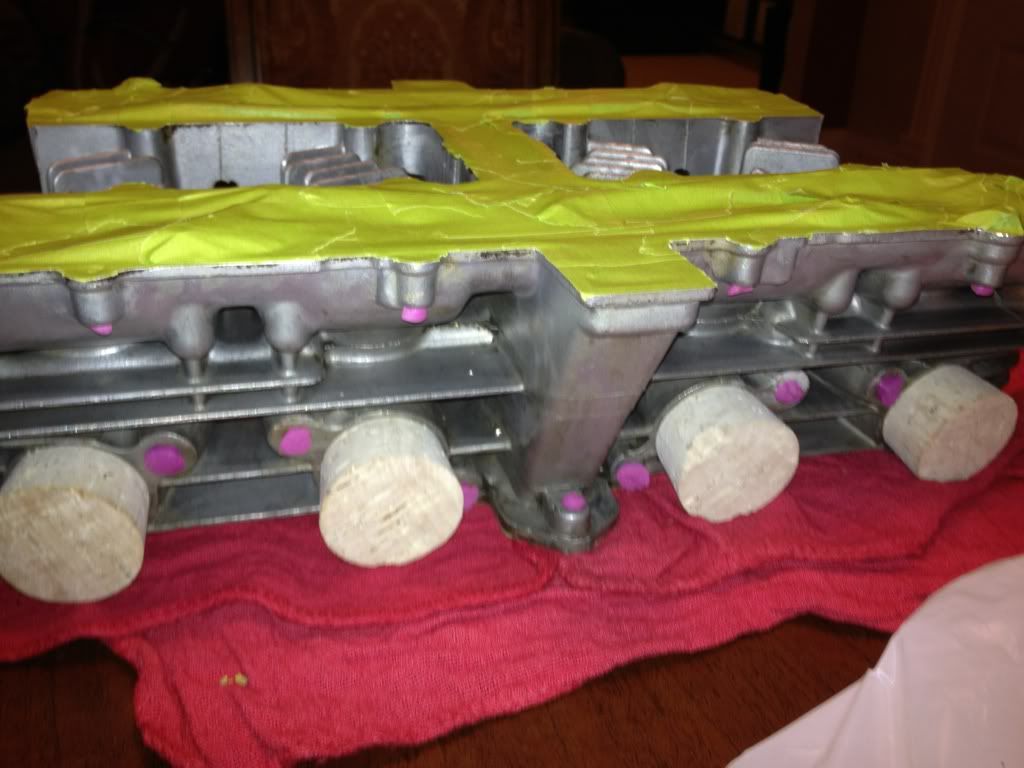
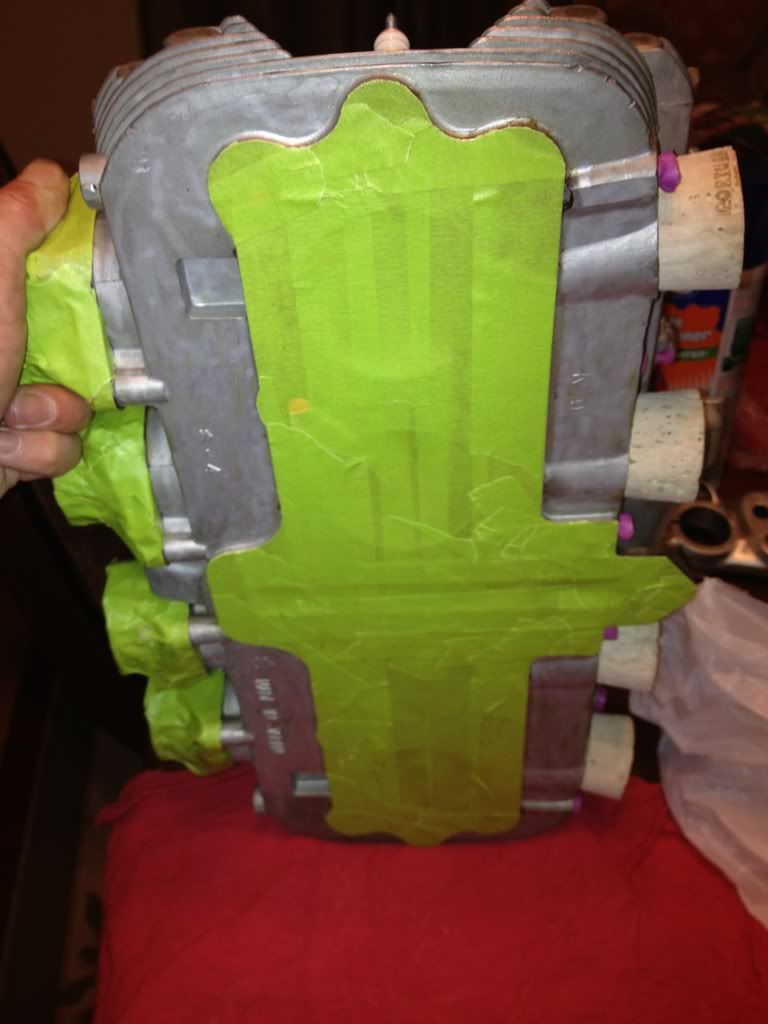
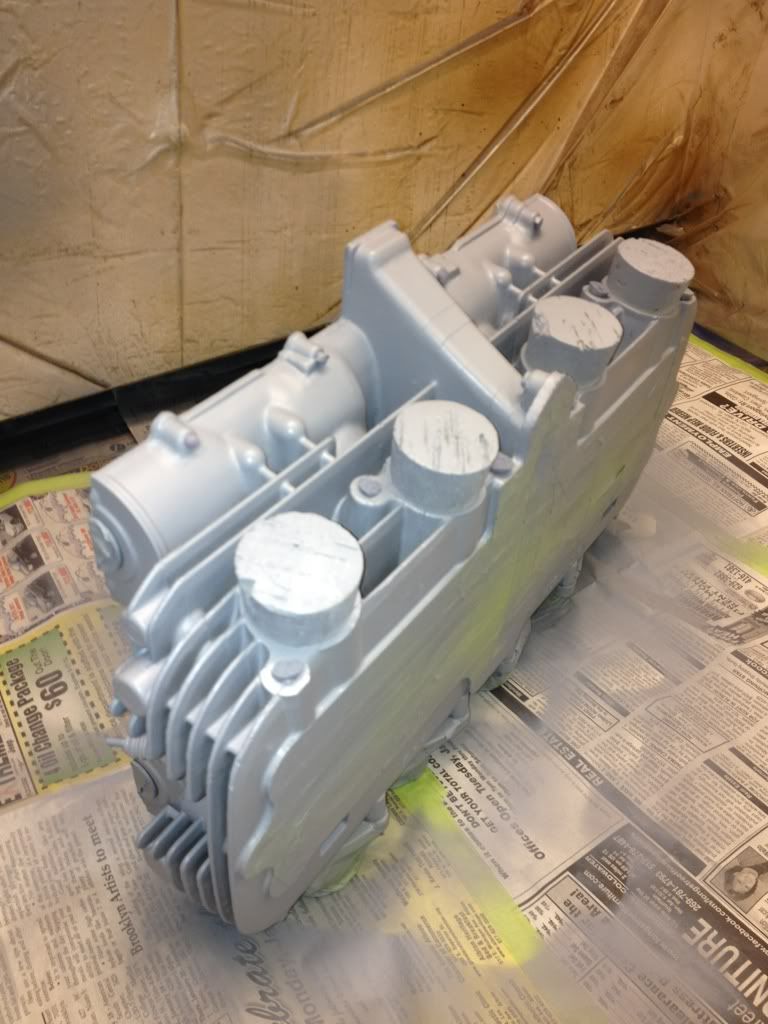
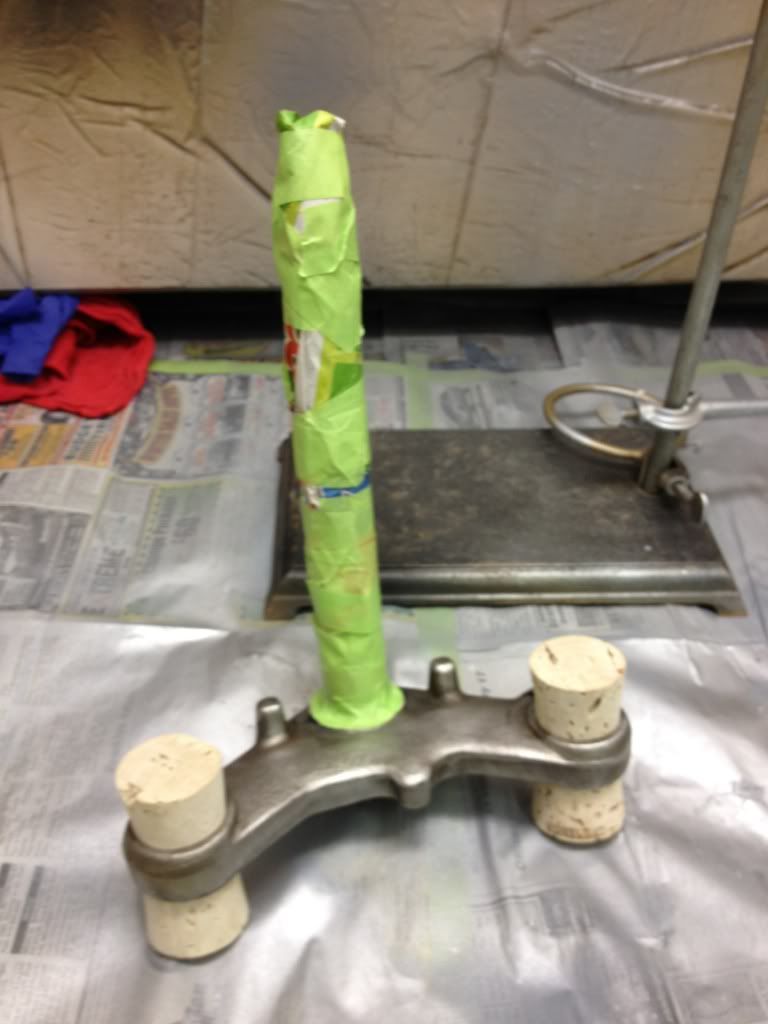
ps. tremedous job taping off your parts. patience is a virtue. spelling wrong? to bad. immigrants have issues....
hi, d- mac.
sure, the circlip is out. we tried: heat, cold, pb blaster soaking, carb cleaner soaking,
air pressure ( are you kidding , how about 300 pounds per square inch?)
If you have Billy Joel's master motorcycle mechanic behind you, how much more support do you need? Anyways, I rather spend a few bucks than kill myself with
that%^&$#@. so to e bay I go. the thing with the photo- upload I dont get at all , to old for that. regards, and good luck with your project.
ps. tremedous job taping off your parts. patience is a virtue. spelling wrong? to bad. immigrants have issues....If you give me an e mai l adress outside the forum I will send you pictures about how I solved the electrical issues. may be it helps.
") )
)