• Required reading for all forum users!!!

    Welcome!
    Register to access the full functionality of the GSResources forum. Until you register and activate your account you will not have full forum access, nor will you be able to post or reply to messages.

    A note to new registrants...
    All new forum registrations must be activated via email before you have full access to the forum.

    A Special Note about Email accounts!
    DO NOT SIGN UP USING hotmail, outlook, gmx, sbcglobal, att, bellsouth or email.com. They delete our forum signup emails.

    A note to old forum members...
    I receive numerous requests from people who can no longer log in because their accounts were deleted. As mentioned in the forum FAQ, user accounts are deleted if you haven't logged in for the past 6 months. If you can't log in, then create a new forum account. If you don't get an error message, then check your email account for an activation message. If you get a message stating that the email address is already in use, then your account still exists so follow the instructions in the forum FAQ for resetting your password.

    Have you forgotten your password or have a new email address? Then read the forum FAQ for details on how to reset it.

    Any email requests for "can't log in anymore" problems or "lost my password" problems will be deleted. Read the forum FAQ and follow the instructions there - that's what we have one for...

  • Returning Visitors

    If you are a returning visitor who never received your confirmation email, then odds are your email provider is blockinig emails from our server. The only thing that can be done to get around this is you will have to try creating another forum account using an email address from another domain.

    If you are a returning visitor to the forum and can't log in using your old forum name and password but used to be able to then chances are your account is deleted. Purges of the databases are done regularly. You will have to create a new forum account and you should be all set.

82 gsx750ez

ensure

Forum Mentor
I first came across my project a while ago on the internet. It was missing an engine and i wasn't brave enough to take on such a project at that point so i let it pass.

196982176_full_zps0a9f3cd1.jpg


196982180_full_zps83156d3a.jpg


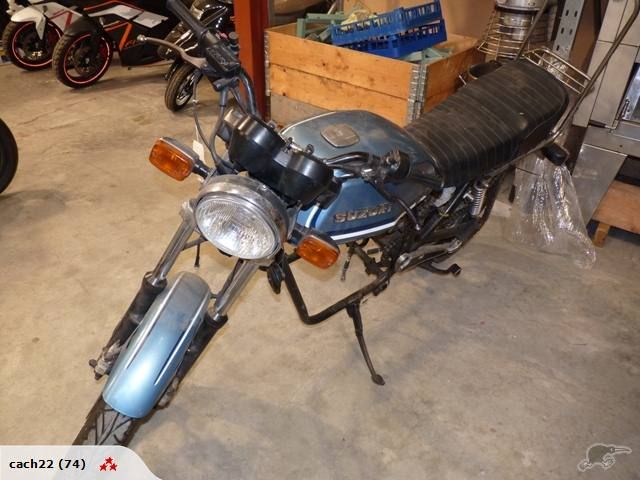
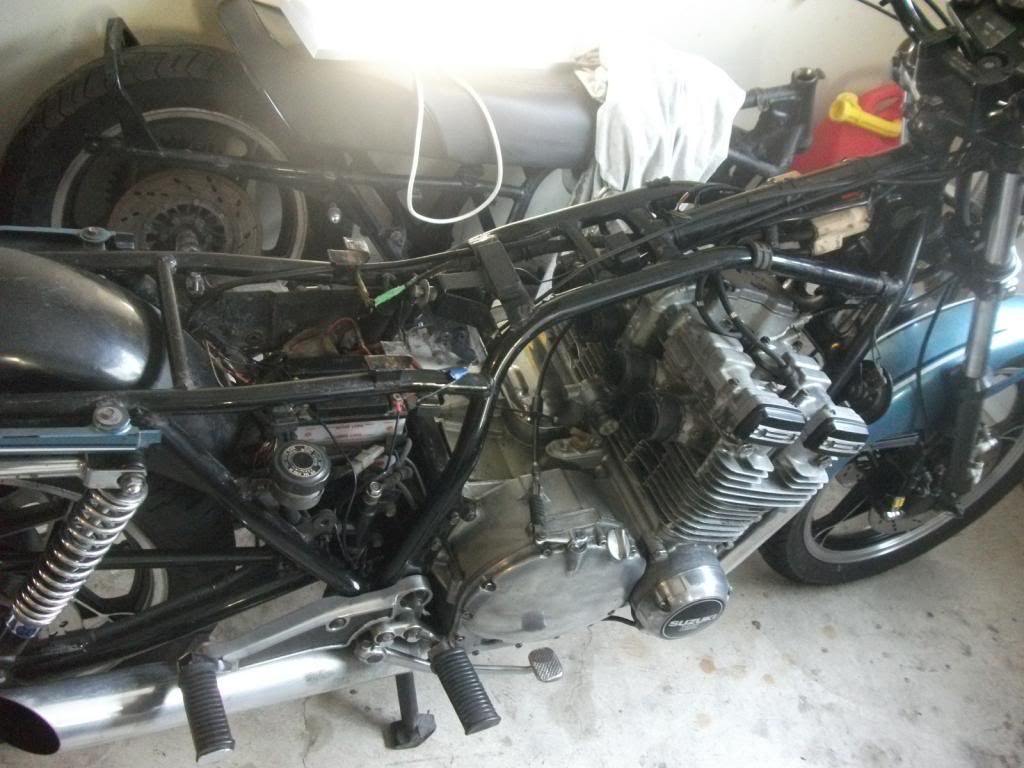
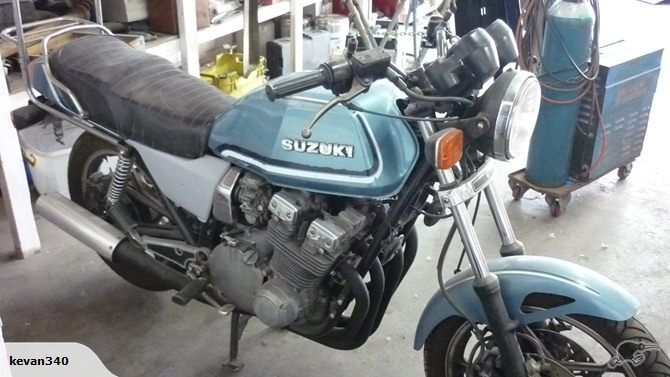
Nearly a year later it reappeared and this time it had an engine. I went to have a look and it fired up straight away and seemed to run OK so i jumped straight in and bought it.

241757566_full_zpsef98e9d6.jpg


241757779_full_zps2b959517.jpg


241758097_full_zps65d7b45f.jpg


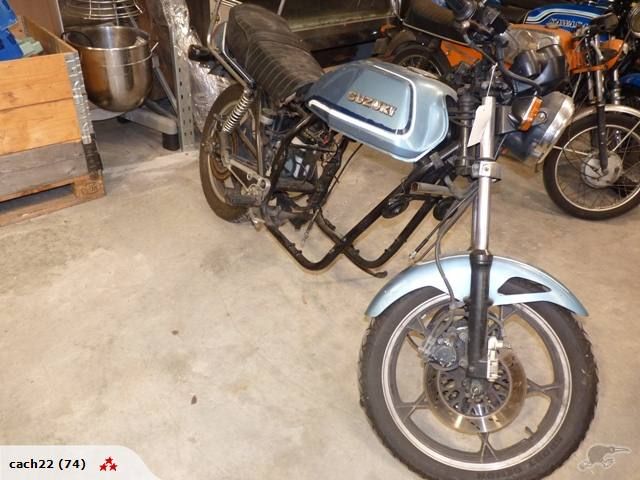
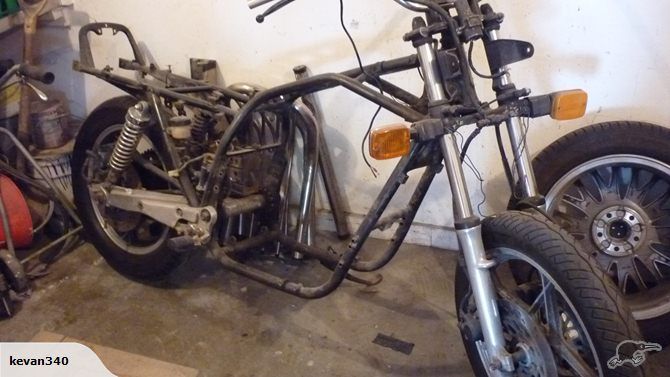
It even came with a spare rolling chassis.


241758282_full_zps75e05b12.jpg


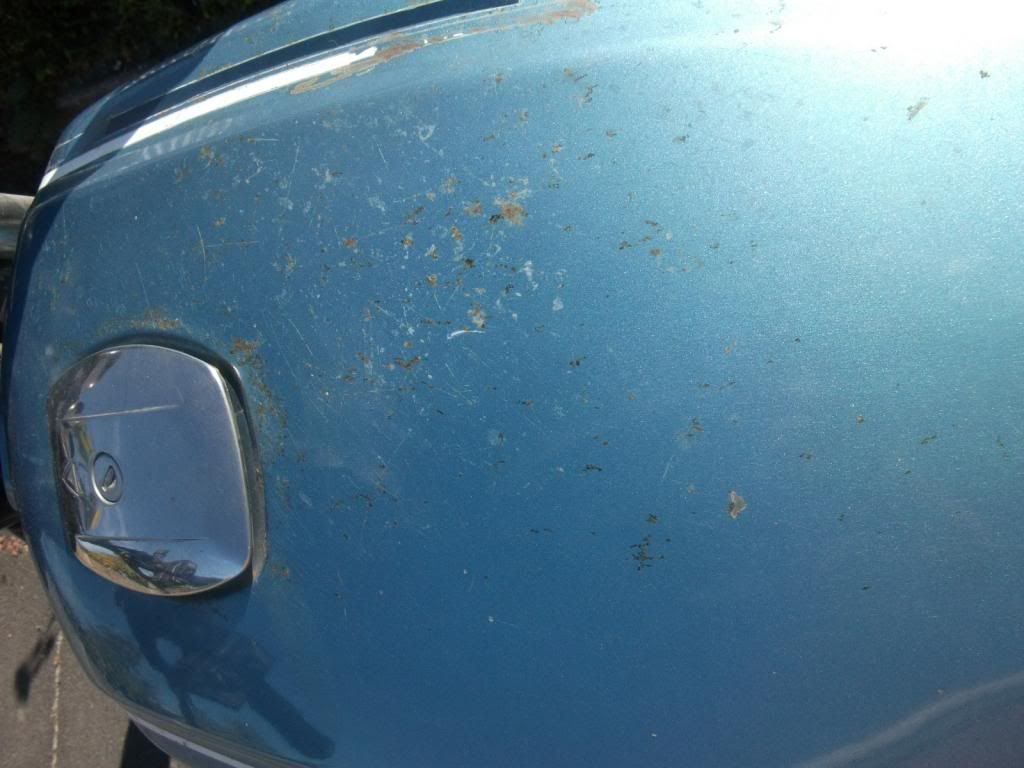
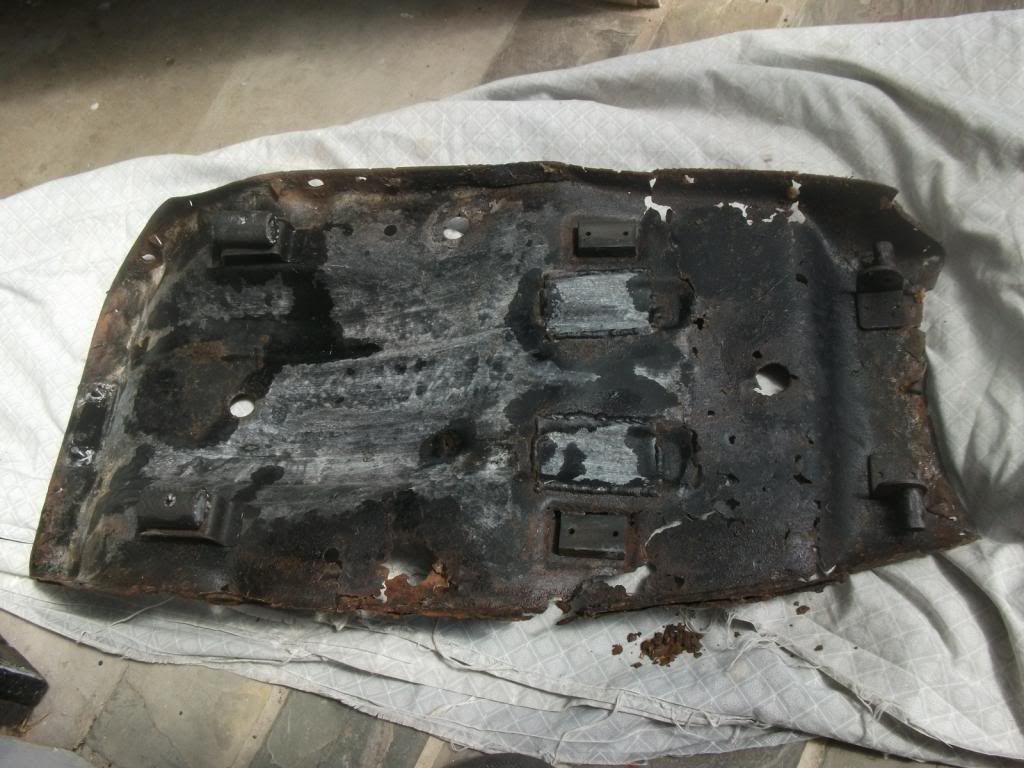
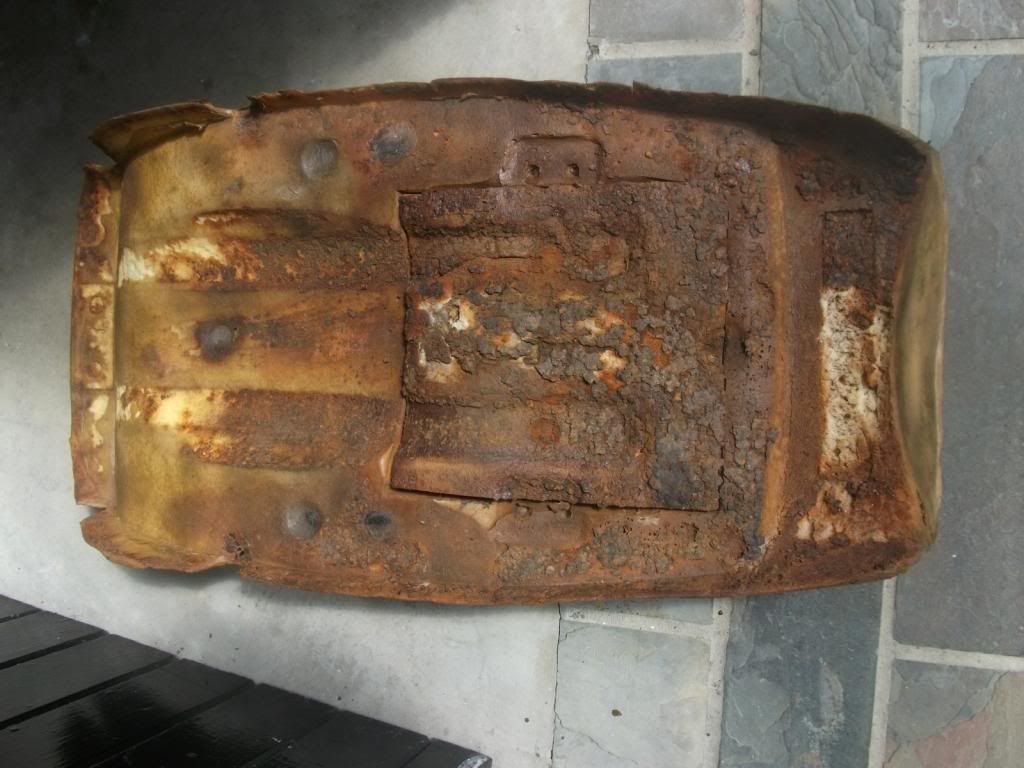
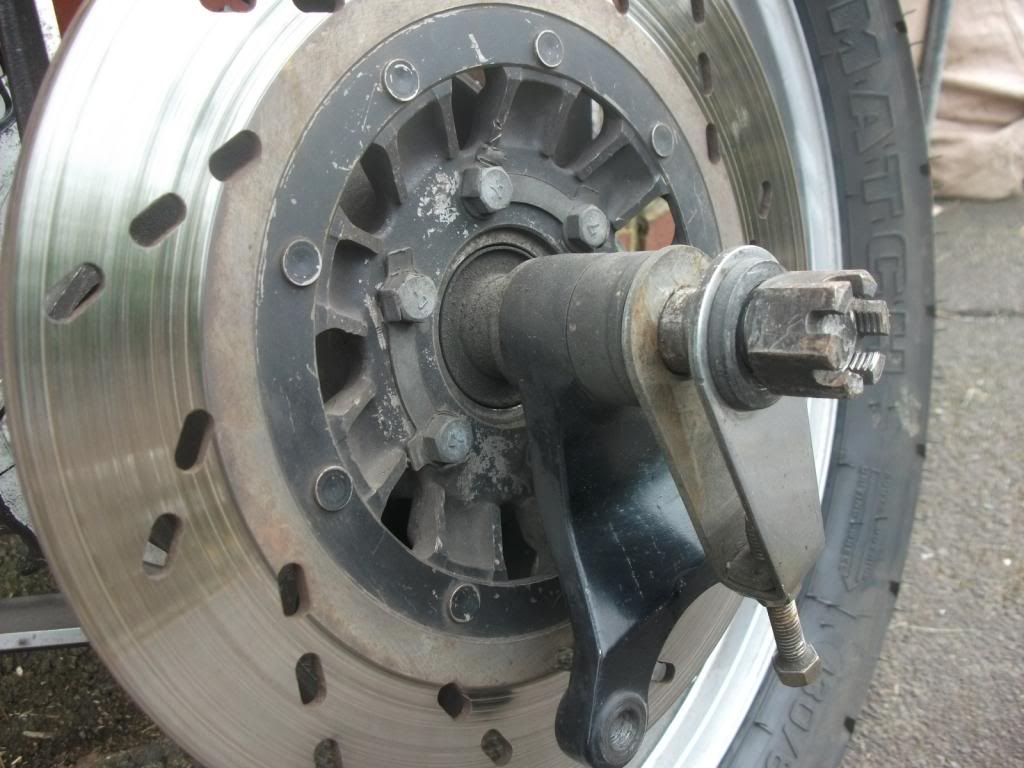
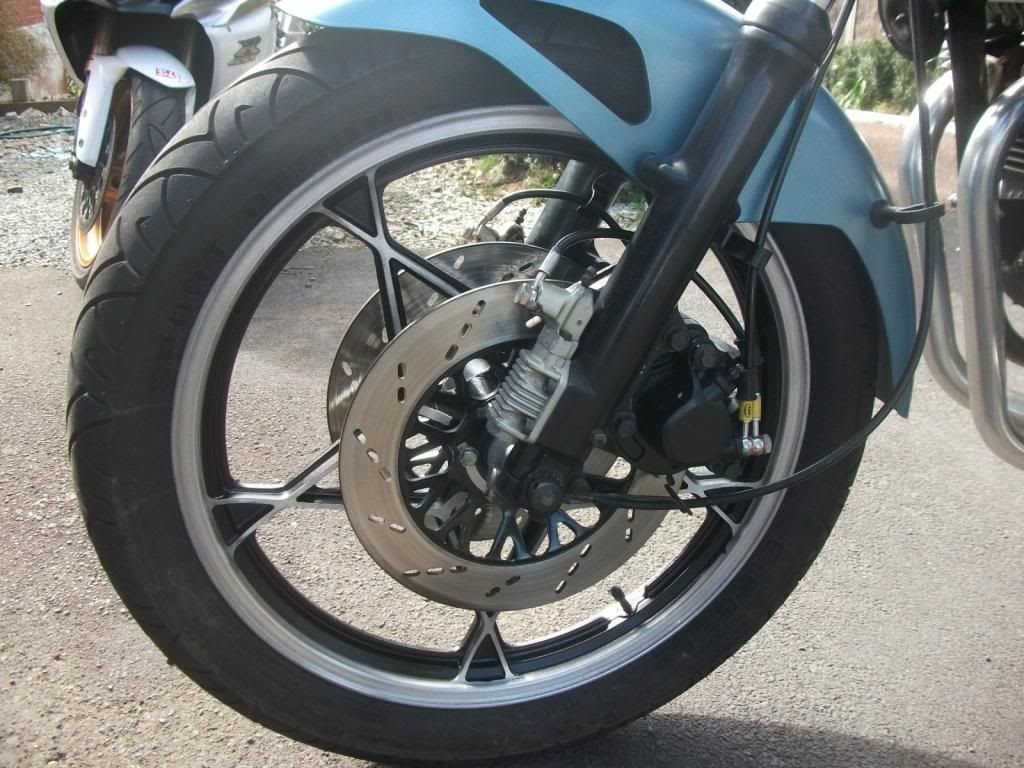
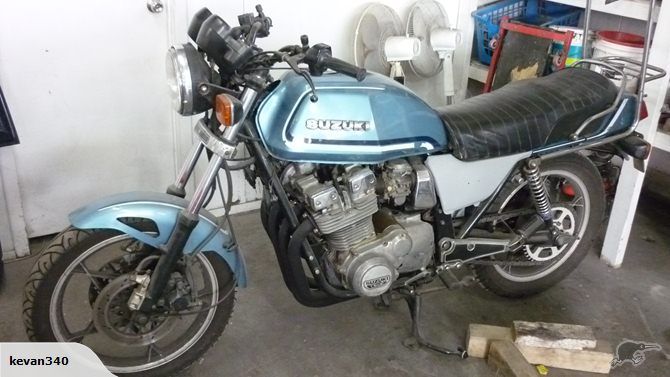
Having got it home and given a wash to remove the outer layer of grime I set about surveying what i had got myself into. The most obvious problem was the front brakes were practically locked as it was a real effort to push it into the garage.
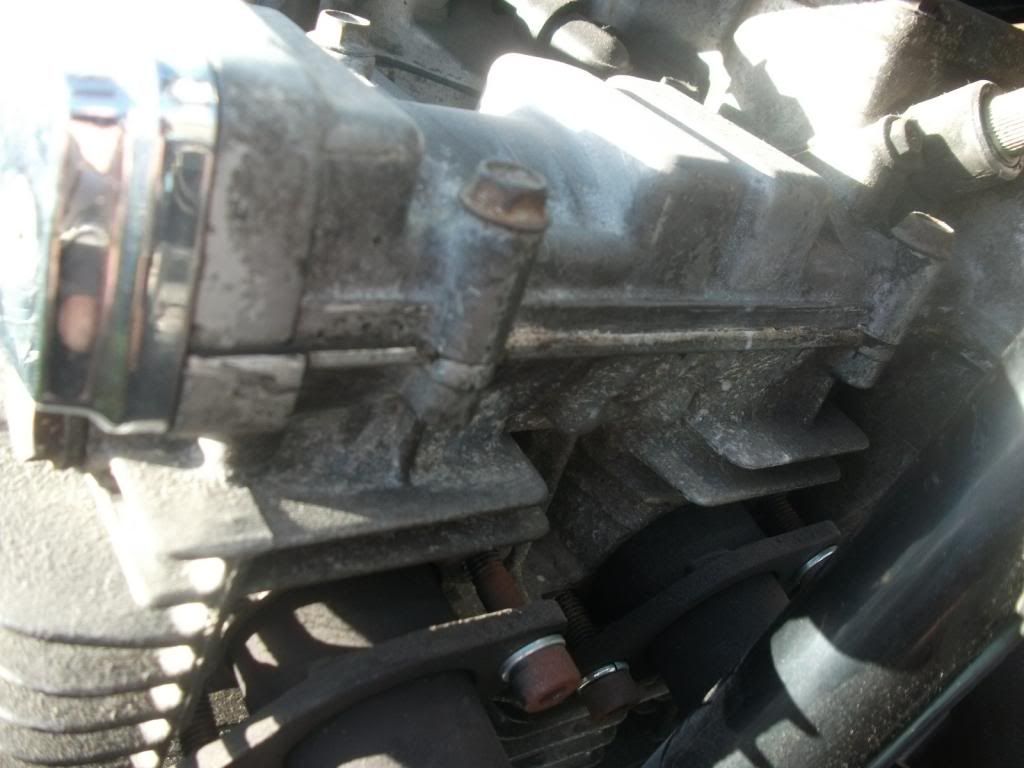
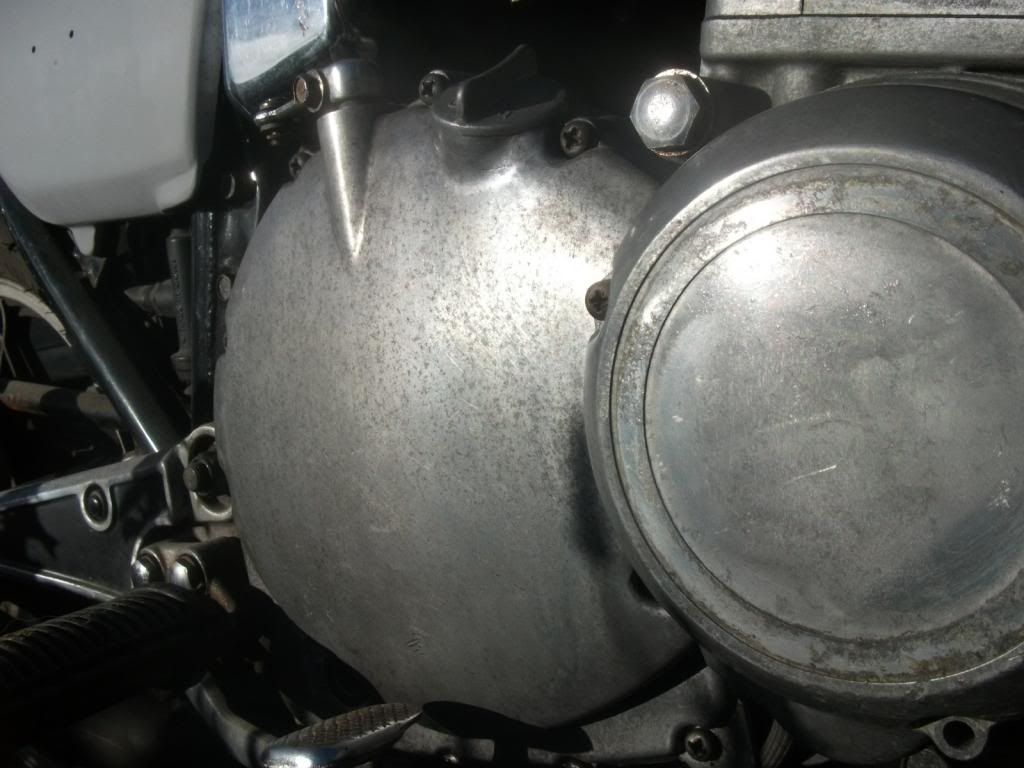
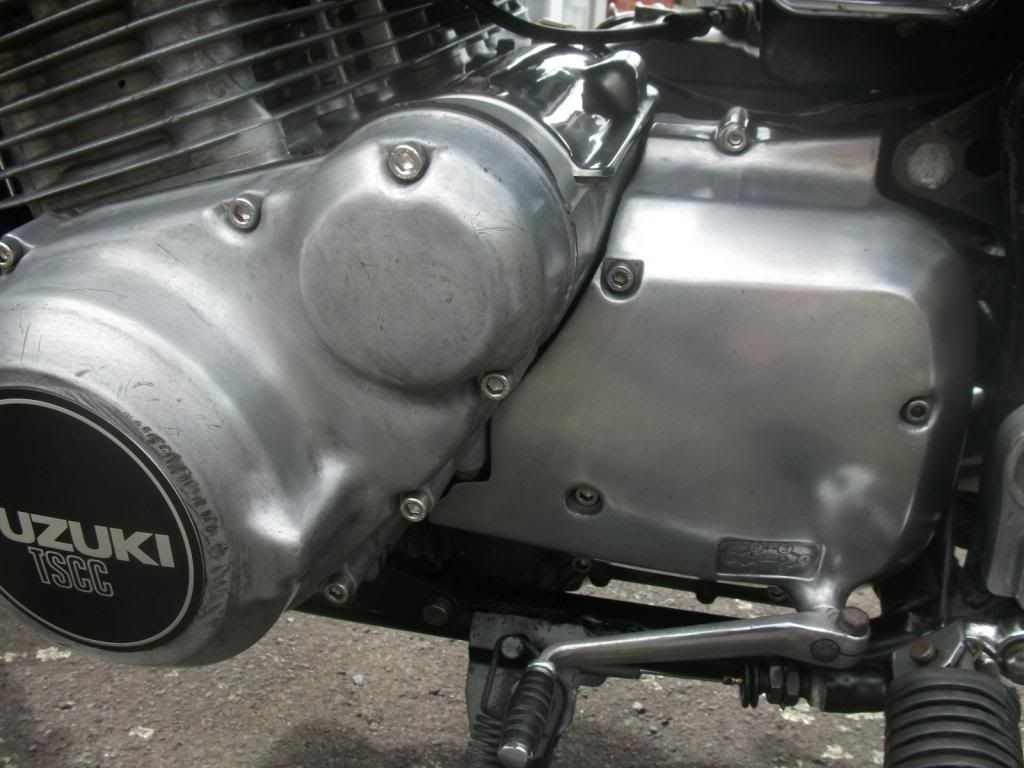
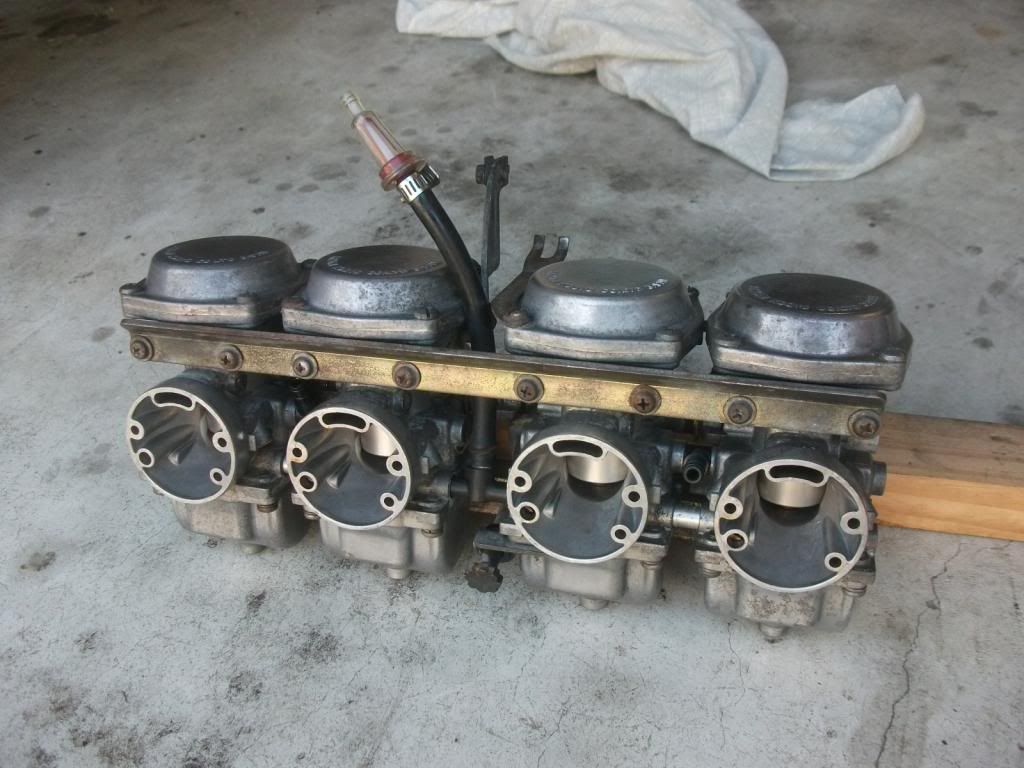
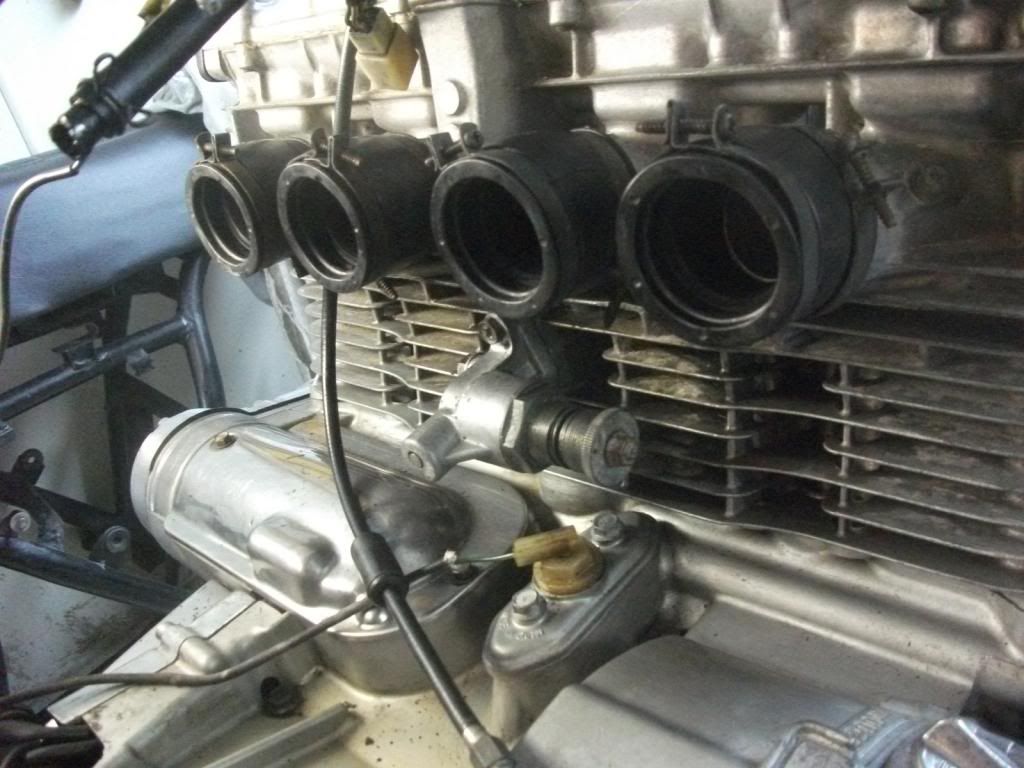
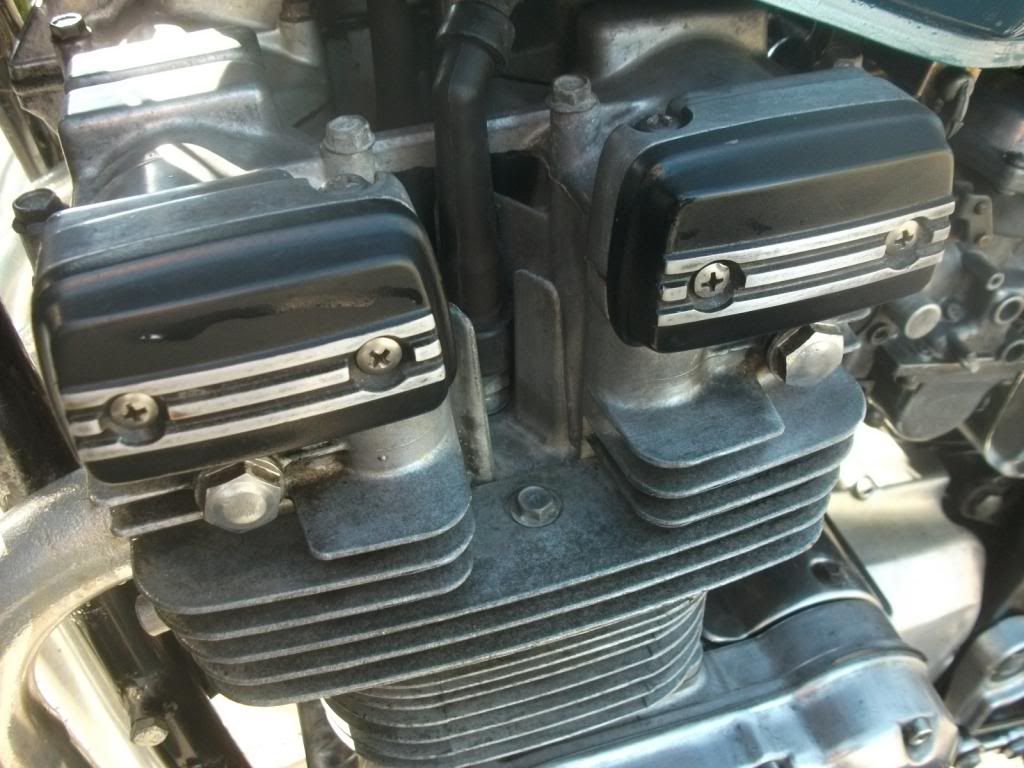
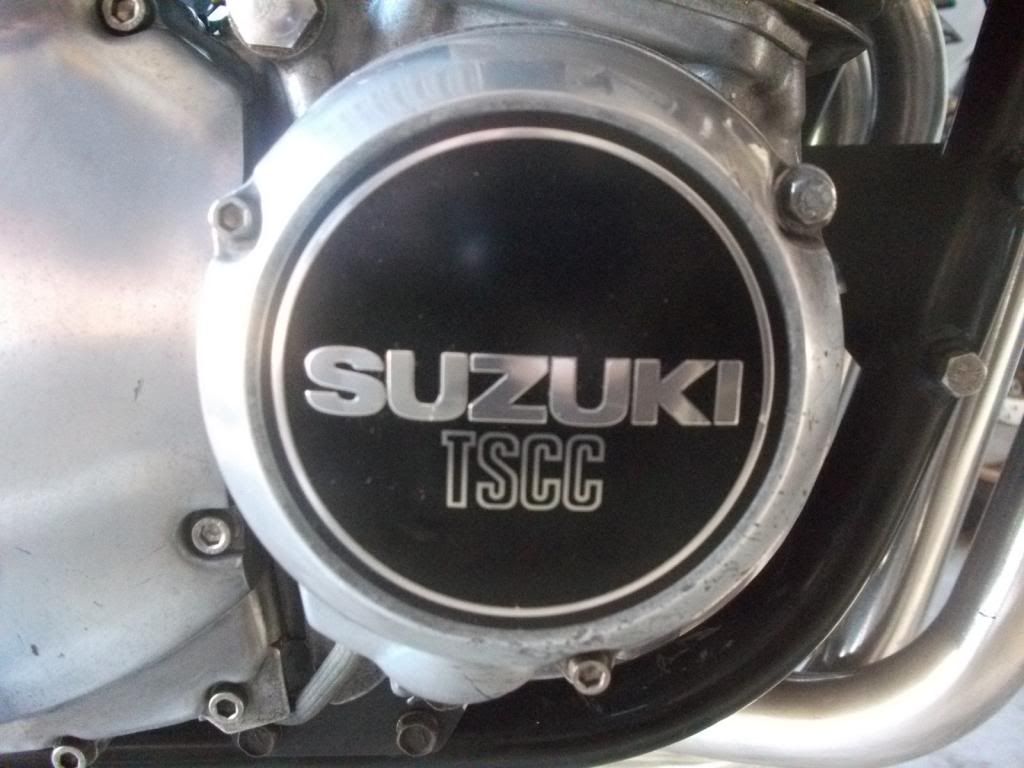
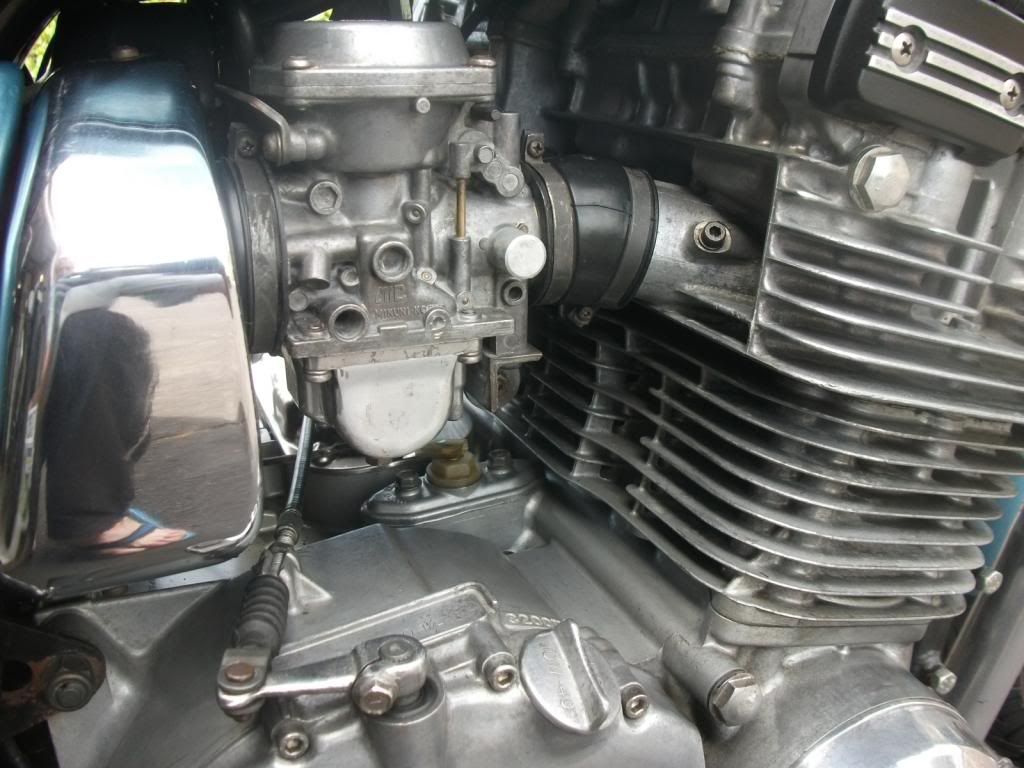
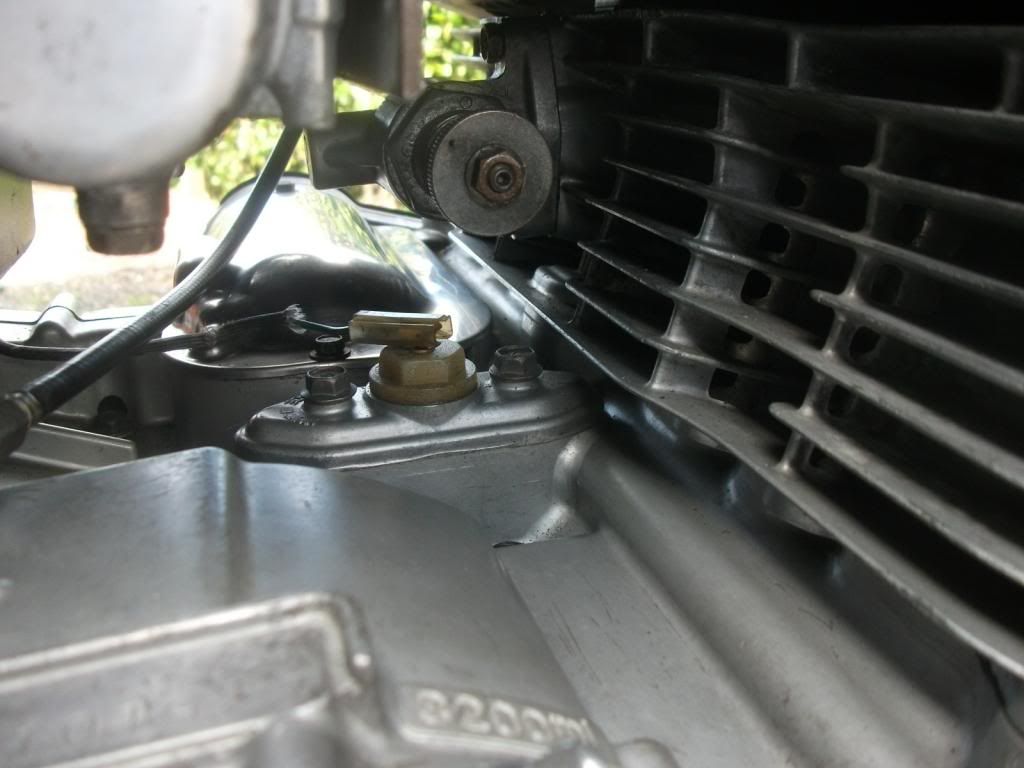
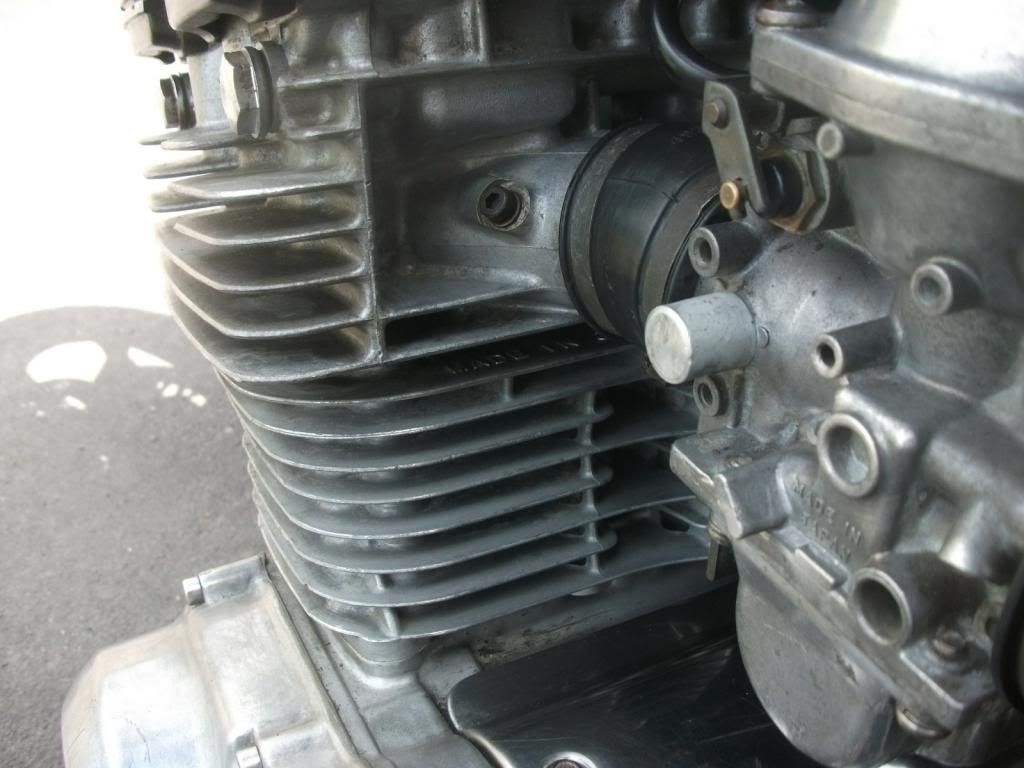
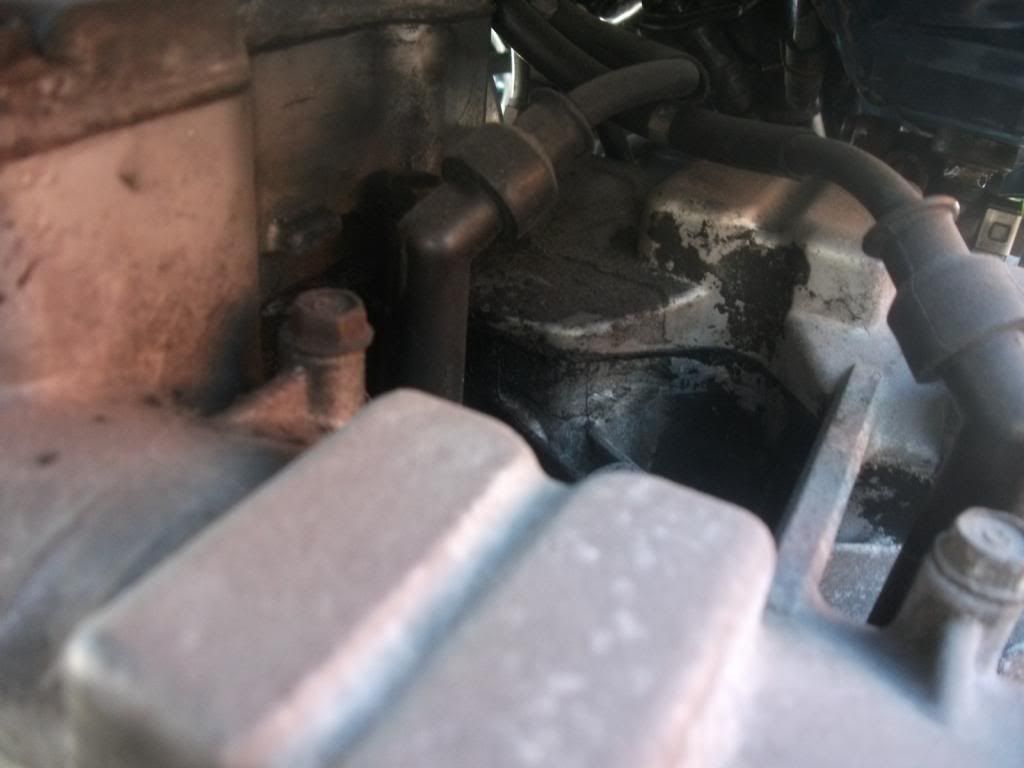
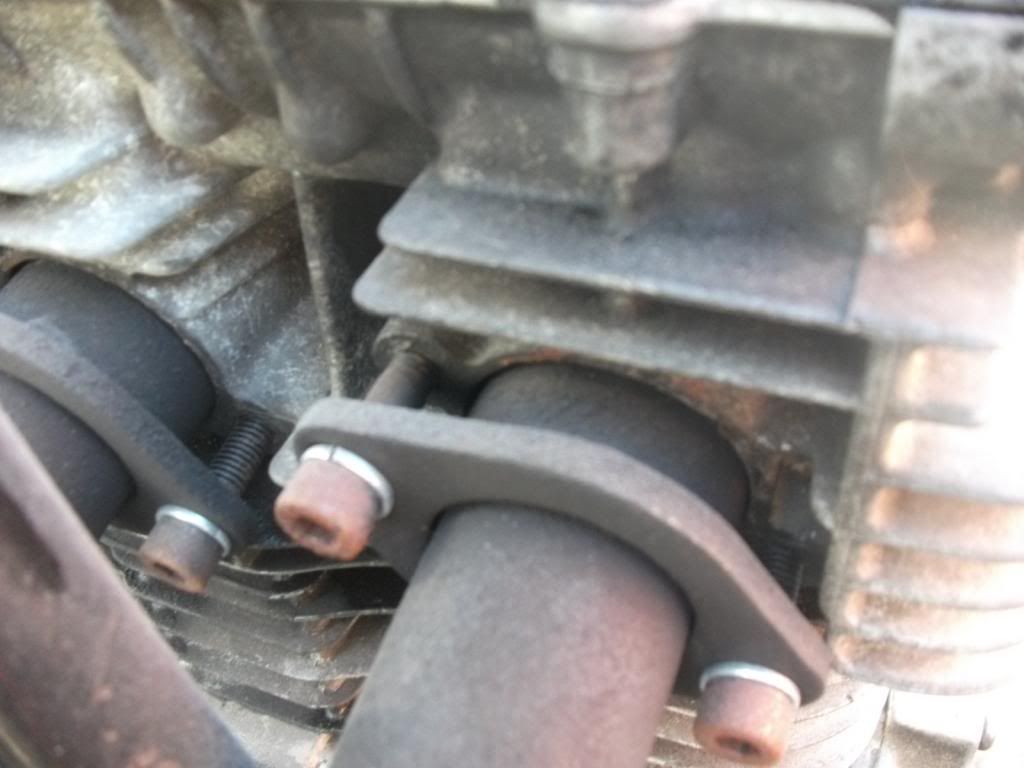
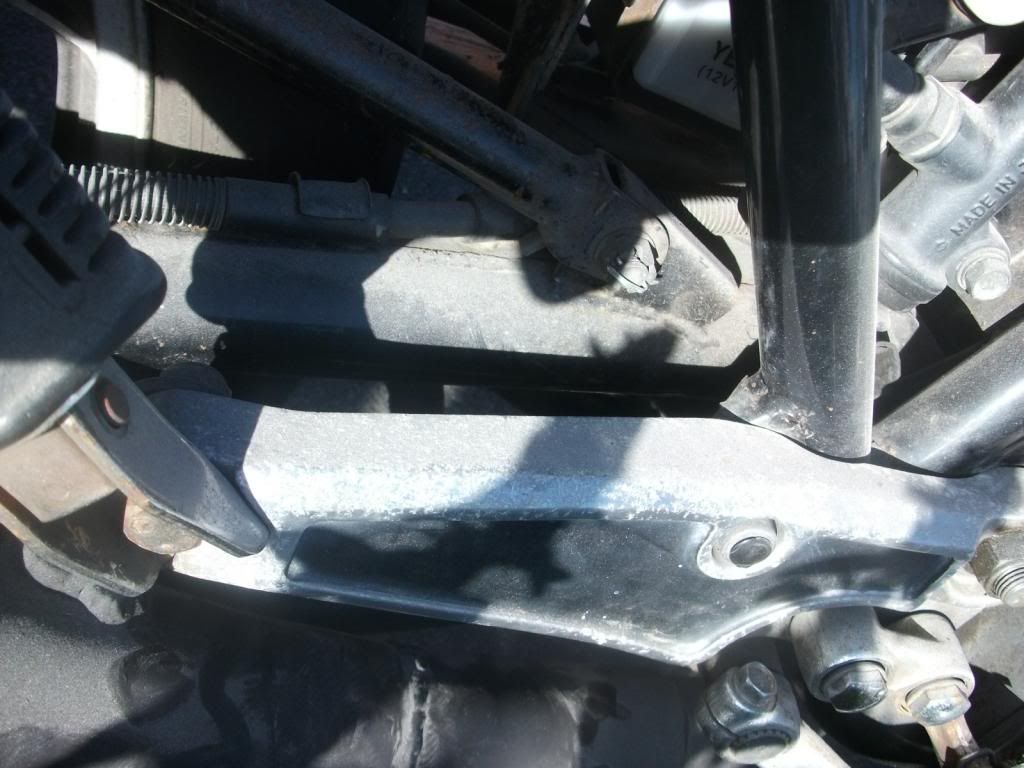
There was a lot of grime and corrosion on the engine and aluminium pieces.


014_zps6f530bce.jpg


017_zpsb04c42e2.jpg


018_zpsc2e97573.jpg


004_zps45eff201.jpg
 
Last edited:
Nice find. Looks to be normal engine grime from years of riding and oil leaks. Power wash the crap out of it and ride it, may determine the source of the leak and you can fix it.
 
First task was to dismantle the seat and see what state it was in. It didn't look great from the bottom but after a dab of rust converter it looked like it could be re-used.

008_zps4a776fe7.jpg


Once i pulled the foam off the true state become apparent

007_zps2b377633.jpg


The underside of the foam had a lot of rust stuck to it but a bit of patience and scraping got most of it off.

009_zps7054228f.jpg


Next on the list was to get some paint colour matched so i took the rear cowl to the paint shop and got a couple of rattle cans. My first attempt on the side cover looked OK but i wasn't sure if the colour match was great.

002f_zps66e169e5.jpg


Once i held it up next to the tank the colour match looked much better

12-harrisonleavingtowellington003_zps01ea05e6.jpg
 
I have removed most of the grime and given it a bit of a scrub all over so I can see its real condition and I have decided on a plan of action as to how far this refurbishment is going to go.
More of a touchup than a complete rebuild.

Items to do

Repaint the Fuel Tank, side covers and rear cowl with new graphics
Replace the front brake lines
Replace seals and pistons on front calipers
Fix electrical issues, headlight and indicators are erratic
Touchup paint on frame as its mostly OK
Repair the seat
Replace the exhaust
New Chain cover
Remove corrosion
Paint wheels

and whatever else arises along the journey

I removed 1 of the footpeg brackets and gave it a sand starting with 220 and working my way up to 2000 grit and finished it off with a rub of metal polish. What a diference

chair013_zpse92f65bf.jpg


The paint still needs a touchup though

I bought a replacement sprocket cover for $20 as the original had a crack in it and give it a quick sand and polish

chair012_zpsd8e75cbf.jpg


Next to come off were the carbs, mostly just so i could get better access to the rear of the cyclinders so i could get at the corrosion. They are pretty clean inside so i am not going to strip them at this point.

f001_zps49347bc1.jpg
 
That is a kwaka in the background but that photo came from 2 owners before me so i don't know any more about it.

I got some fibreglassing done on the seat base and it is now stronger than a wet tissue. I ordered a seat cover from the UK so once that arrives i will have it back together.
Heres how the base came out

seat005_zps39eee7d5.jpg


and with a coat of paint on the underside it looks almost respectable

seat004_zps97247414.jpg
 
I received the new seat cover and have got that installed. There was still enough metal in the base to rivet the cover down

seat001_zpseed39eb4.jpg


And the topside

v026_zpse2635b27.jpg


And here is the engine with the carbs out. Much better access to get at that corrosion.

ms011_zpsbdaa4bb8.jpg
 
This would be the perfect time to rebuild the carbs. Just because they "looked" clean inside doesn't mean they actually are. Start back with fresh carbs. Also a good time to replace the front and rear carb boots as well. Not to mention valve adjustment as well.
 
I know i should be rebuilding the carbs so i have ordered an O-Ring kit. As to whether i replace the intake and exhaust boots well that decision made itself as i tried to reinstall the carbs and there was no way the carbs were going back into the intake boots so i have ordered a set of them. The exhaust boots are still fairly supple and no cracks and i could get the carbs back into those so i am sticking with them.

Progress has mostly been scrubbing corrosion of the engine case. I have been using small brass brushes on the electric drill and also 3M Scrotchbrite scourers (soft ones) They are quite good for squeezing in between the fins.

ms026_zpsd4dc3e13.jpg


I have also replaced the camshaft end covers with the ridged version rather than the chrome style. A bit of a sand and paint and they are looking OK.

w003_zps22eaf3f9.jpg


And the matching black logos for the signal generator and generator covers

w014_zps902f934e.jpg


w013_zpsf0851482.jpg


Trying to stay ahead i have ordered new graphics set, brakelines, brake pistons and seals and a new chainguard.
Next job is going to be painting wheels, disc and calipers.
 
Cleaning up the wheels was the latest job and this is what i was starting with

d005_zps8b8b62cf.jpg


d006_zps4b7936bc.jpg


After copious amounts of degreaser, scrubbing, sanding, hours spent on the application of masking tape and trimming tape the actual painting of the wheels was the easy part. I used DupliColour black engine enamel paint.

gs001_zps3e7c28a9.jpg


Removing the masking tape off the disks actually helped clean up some of the minor surface rust as well. Bonus.

This is how the rear wheel came out.

e001_zps496b74e7.jpg


e002_zpscd42971b.jpg
 
And here is why i could not fit the carbs back onto the old intake boots.

On the left we have nice new supple rubber boots and on the right we have 32 year old shrunken hard rubber, felt more like plastic really.

h001_zps66a6de42.jpg


h002_zps9fa154bb.jpg


h003_zps10af582d.jpg


It should be a bit easier fitting the carbs back into these.
 
Are you sure those new boots are the correct ones - they look big. The Suzuki parts manual lists the wrong number for these on the 750 so just be aware if they don't fit.
 
The new boots fit nice and snugly and i got the carbs back in relatively smoothly. It was the depth of the new boots that made the difference as previously i couldn't get the 2 middle carbs to push into the boots.

h004_zpsd366fc77.jpg


The cleanup of the engine has progressed well with most of the corrosion gone

h005_zps03baf0f1.jpg


h007_zps3c7732b4.jpg
 
I received a set of Blue coloured brakelines from HEL in the UK but unfortunately they looked terrible when i put them on the bike so they got painted black. The line from the M/C to the splitter was also about 80mm too short so i used an old (relatively) line from my 08 GSXR1000 which was only a few mm too long.
I could have returned them but living on this side of the world it is generally not worth returning anything due to freight costs. It is an incentive to choose well the first time.

c124_zps628f89b5.jpg


I also got some painting done. Here is the rear cowl (before and after)

Before

pic002_zpsb7cdd722.jpg


and after. Still needs a clearcoat.

pic004_zpsb14a1e28.jpg
 
Finished off the painting and clearcoats.

Here is the sidecover with new badge
d046_zps2af4e376.jpg


and the Rear cowl
d047_zpse11a55aa.jpg


and the tank
d045_zps239c98ec.jpg


chair017_zps90a0242f.jpg


The finish on the tank has a little of the orange peel look but only really obvious in low light. Overall I'm pretty happy with the result considering it was my first effort and i t was done with a rattle can.

I should be able to get all the pieces together this weekend and get the bike on the road.
 
Nice job, bike looks awesome. Did you use a 2k on the paint otherwise all your hard work will be in vain? Can get it in a can, that's what I used on mine, and it was super forgiving also.
 
I've used a 2k clearcoat on all the paintwork. I get the cans premixed at a local automotive paint shop. They are good for 24 -36 hours before hardening in the can.

It has all been reassembled and the result is better than i thought i was capable of.

12-harrisonleavingtowellington010_zps01cfa995.jpg


12-harrisonleavingtowellington009_zps236c183f.jpg


12-harrisonleavingtowellington008_zpsf162140b.jpg


I had left the packrack on as the rear cowl has been notched to take the mounting brackets and i wasn't sure if it would like right if i removed it. In the end i decided it had to go.

x011_zps89fdc35a.jpg


x003_zpsc483e374.jpg


x002_zps6035e240.jpg


w006_zpsaabba536.jpg


A few numbers to finish off and i'm sure these will horrify any of you in North America as all the bikes you pick up seem to cost $500 and have 5000 miles on the clock.
Down here the pickings are not so sweet as this bike has 122,000km on the clock. The replacement engine has either done 45,000 or 145,000km or at least that is what the clocks on the donor bike show.
It cost me $2000 to buy and i have spent nearly $1000 more on doing it up. I do have a bunch of spare parts in the garage now.
The other pertinent point is that the replacement motor actually came out of a 1980 1100ET so i now have an 1100 motor but i left the styling as a 750 as i like the look.

Now that i have gained a bit of experience on this project i have a 1983 GSX750ESD to continue with. I will start another post on that one shortly as i have started the dismantling already.
 
Nice job! Bike looks great. I'm in midst of doing similar work to my GS850. I'm encouraged by how clean yours came out looking. Good work.
 
Back
Top