• Required reading for all forum users!!!

    Welcome!
    Register to access the full functionality of the GSResources forum. Until you register and activate your account you will not have full forum access, nor will you be able to post or reply to messages.

    A note to new registrants...
    All new forum registrations must be activated via email before you have full access to the forum.

    A Special Note about Email accounts!
    DO NOT SIGN UP USING hotmail, outlook, gmx, sbcglobal, att, bellsouth or email.com. They delete our forum signup emails.

    A note to old forum members...
    I receive numerous requests from people who can no longer log in because their accounts were deleted. As mentioned in the forum FAQ, user accounts are deleted if you haven't logged in for the past 6 months. If you can't log in, then create a new forum account. If you don't get an error message, then check your email account for an activation message. If you get a message stating that the email address is already in use, then your account still exists so follow the instructions in the forum FAQ for resetting your password.

    Have you forgotten your password or have a new email address? Then read the forum FAQ for details on how to reset it.

    Any email requests for "can't log in anymore" problems or "lost my password" problems will be deleted. Read the forum FAQ and follow the instructions there - that's what we have one for...

  • Returning Visitors

    If you are a returning visitor who never received your confirmation email, then odds are your email provider is blockinig emails from our server. The only thing that can be done to get around this is you will have to try creating another forum account using an email address from another domain.

    If you are a returning visitor to the forum and can't log in using your old forum name and password but used to be able to then chances are your account is deleted. Purges of the databases are done regularly. You will have to create a new forum account and you should be all set.

Cam Lobe postions for shims?

  • Thread starter Thread starter mothra
  • Start date Start date
M

mothra

Guest
Ah yea another noob questions, sorry....:-\\\

So you'll be happy to know (possibly...) that while working on the tensioner assembly getting that back in order (gaskets) I removed the head gasket, breather cover, and check the timing position (which actually I figured out pretty quickly), and check the shims! A major mile stone to my mechanical learning accomplishment. :clap:(I was excited) But I do have some basic basic questions.

Using the "official Suzuki Tappet Depressor Tool" (not my favorite at this point) LOL
images

I have a problem where it keeps slipping and the Tappets and shim slam right up against the cam lobe. :mad: Probably not the best thing... I also seem to have the shims utterly wedged in the Tappet tool? I understand that you are suppose to wedge this tool just so that the larger lip is pushing the edge of the tappet down, and the thinner lip is suppose to allow for enough clearance to get the shims out, which should be removable with some stronger tweezers. The tool should hold in place with the tension of the valve springs and not slip!?

So I put the tool in and it just slips right on off the tappet. I have tried with the flank of the lobe pointing straight up (lobe parallel to valve) and also where its perpendicular to the valve like the pictures in the manual here on adjusting valves. Wedging this tool in there. There has got to be some secret here that I am not doing quite correctly.

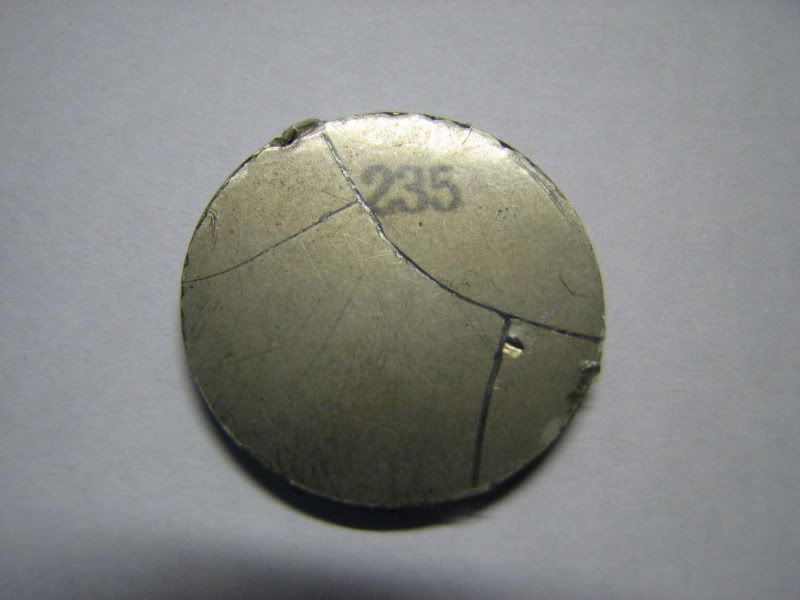
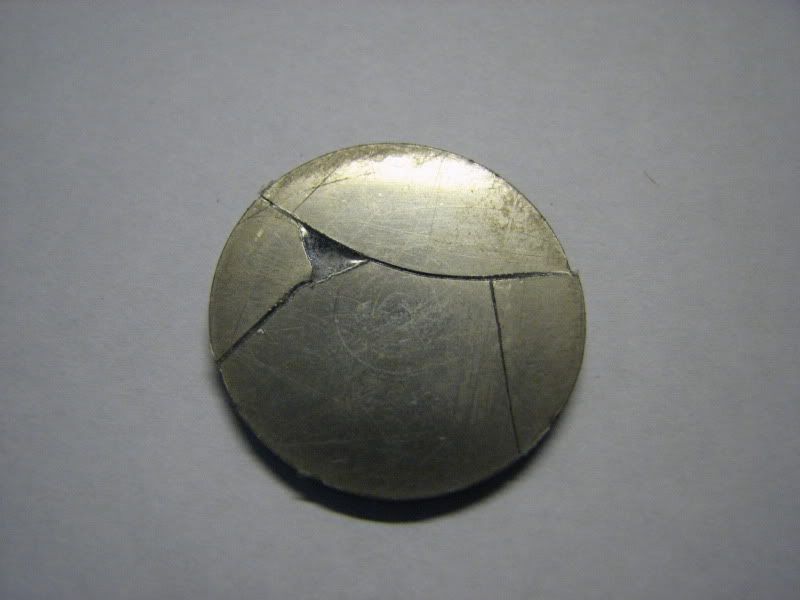
I understand where the shims are (the round silver dollar looking thing) And that you can compress the tappets to remove the shims with this tool which will in theory allow you to remove the shims and inspect/replace them, but the magic is just not happening on this one here. :o

So... What is the secret here with this mysterious "Tappet" tool? LOL:-\\\

My valves are to tight, (under .03mm Spec on B, C, and D, but A is right around .074mm) for the twin...

Plus every time your tool slips you get a nice splattering of oil on your face. I am about ready to throw in the towel. It seems so simple.. I hate to ask but I am about to give it up.
 
I think the zip-tie method is supposed to be much easier. I have only tried the zip-tie method once because my valves were all well within specs... so I did it on #4 just to see if it really worked. It was really simple. I don't know if zip-tie works on a 450.. but it is worth checking.

Best wishes..
 
I use a small screwdriver wedged in between the cam bearing and the tool to keep it from slipping off the tappet. Make sure the notch in the bucket is accessible so you can wedge a screwdriver in there and pry the old shim loose.
 
I have that "special" tool, and, to be honest, it resides in a "special" spot in the tool box. :D

TwotimeGSr is close, the zip-tie method is not just "supposed" to be better, it IS better. :clap:

There are those that claim that the "special" tool actually works, but I have not yet met with one who can show me how 'easy' it is.

I continue to use the zip-tie method and show it to those whom I help in my travels.

Having that 'wonderful' tool slip off the edge of the bucket and allow it to slam against the cam is exactly how I managed to shatter a shim that was not yet fully installed. It took about an hour of fishing with a magnet and patient re-assembly before I was comfortable enough to turn the engine to continue my valve adjustment. With the zip-tie, that just won't happen.
noway.gif


IMG_4064.jpg


IMG_4065.jpg


.
 
Hi Mothra, Where are you located? If you are not too far away I can give you a hand. Like Ed says, using a screw driver to secure the tool works very well. Ray
 
The zip tie method is not without its hazards, but none of them involve shattered metal shims in your engine. I found the zip tie method to be entirely successful and have no desire to try the 'special' tool.
noway.gif
 
I've never even thought of buying the "tool"... I've only used the cable tie and it is ssooooooo easy it's not funny.

The only thing that can happen with the cable tie is if you haven't got it wedged in on top of the valve properly the valve won't stay open... big deal.
 
I've never even thought of buying the "tool"... I've only used the cable tie and it is ssooooooo easy it's not funny.

The only thing that can happen with the cable tie is if you haven't got it wedged in on top of the valve properly the valve won't stay open... big deal.

Not entirely true. It is -possible- for the tie to dislodge deposits if your valves are gunked up, which may not be the optimal thing for your engine. You also want to make sure you don't drop one in the cylinder. If you use big honkin' ones like I use, not much risk of that. If you use tape to keep the tie folded flat you want to make sure that doesn't come off and fall in the cylinder. Still, nothing to equal shattering a shim or gouging something with a slipped tool or screwdriver.
 
Also, since no one mentioned this yet, the zip tie method definitely works on the 450.
I'm very glad I didn't bother with the tool. Yet another example of money saved throught this great site and the people on it.
 
Not entirely true. It is -possible- for the tie to dislodge deposits if your valves are gunked up, which may not be the optimal thing for your engine. You also want to make sure you don't drop one in the cylinder. If you use big honkin' ones like I use, not much risk of that. If you use tape to keep the tie folded flat you want to make sure that doesn't come off and fall in the cylinder. Still, nothing to equal shattering a shim or gouging something with a slipped tool or screwdriver.

Very true Allie :)
 
Ok well it looks like the zip tie method is the way to go.

I made an absolutely stupid move yesterday...

So tensioner came back off due to leaking o-ring on the spring twisty knob area.

Took it off and apart, and tried to get the knob shaft and knob separated from main aluminum area. Utterly stuck together with gritty oil. Put some WD on there and gave it another try no go. So penetrating oil next. Waited an hour and tried again. No dice. So did that again, and this time I decided to try some gorilla torque.

Assembly slipped from the vice, Went onto the floor and a chunk of soft aluminum flew up. It was the area that bolted the assembly onto the engine. Dang, utterly destroyed the Assembly...

But the fun didn't stop there. So I decided OK we have done enough, but I need to clean up. Started putting things away and organizing parts, because its not my garage, its some one elses. I had the clutch in neutral and though, lets move the bike. Yep lets move the bike with no tensioner assembly, watched the cam chain slipped right on off. As the clutch shifted into neutral... Great, now I completely screwed up Timing. Hope that I didn't bend any valves. It didn't move very far before actually getting neutral, and yes I squeezed in the clutch. Still moved. Might have just move independently from the clutch, and just slipped with the movement of the bike.

Yea oops. Hope the valves are OK on there. Two steps back...
 
I picked up the Suzuki tool in the summer and have used it three separate times. I did not find it difficult to get the shims in and out, and in my admittedly limited experience, it has yet to slip out of position. I keep the handle end of it firmly down. It feels very unstable if the handle points up in the air even a little bit.

It works only on one side of the valve. IIRC, it works only on the inboard side of the valve.

Caveat...I would have tried the zip tie method as I can see an advantage to using a "soft" tool, but I got the tappet depressor rather cheap, and I don't actually understand what people are doing with the folded over zap-strap.
 
I use the cat tail method, the cat doesn't like it very much, but it works great. :dancing:
 
..., and I don't actually understand what people are doing with the folded over zap-strap.
To pull a shim, rotate the engine so the cam is pushing the valve fully open. Insert the folded end of the zip-tie through the spark plug hole and under the edge of the valve, which will be visible. Rotate the crank one full turn, which will point the cam lobe away from the valve. Rotate the bucket so the notch is visible, pry up the shim and remove it for inspection/changing. Install the new shim, rotate the engine so the cam is lifting the valve away from the zip-tie, remove the zip-tie, move to the next valve.

It sounds like a lot, but it goes really quickly. And, if you keep track of your shim sizes in the spreadsheet that 'some guy' offers
down.gif
, you only have to do all of them once. Any time after that, you only need to do the one or two valves that need to be adjusted.

.
 
I don't understand the difficulty in using the shim tool.
The only cams that have given me ANY trouble were after-market ones.
(The casting is a little different)
Never a problem with factory cam shafts. ;)

Daniel
 
Well, I have tried it, but nobody has shown me what it apparently takes to work it properly.
shrug2.gif


I carry it with me, waiting for someone to show me how to use it. :D

.
 
Steve, I'll be doing the valve adjustment to one of my bikes real soon.
I will try to get some clear pic's and perhaps a helper to video it. ;)

Daniel
 
Steve, I'll be doing the valve adjustment to one of my bikes real soon.
I will try to get some clear pic's and perhaps a helper to video it. ;)

Daniel

Sounds like a good idea to me Daniel!

The thought of the tool slipping out gave me the willies which is why I didn't even bother trying and just stuck with the cable tie method...
 
Sorry to drudge up an older thread I made but I have some information which might be helpful. I have discovered a "technique" for the shim tool that some people may find helpful should they decide to use it. :rolleyes:

Basically you can use the tool successfully if you follow some general advice which makes the tool more secure. I got this advice from the mechanic who has helped me out so far.

His advice to using the Tappet Depressor tool was this...

Start with the tool facing up, inverted and against the wall of the Cam Bearing Clamps (Bearing Caps) or Upside down (So that the end of the tool can be rotated into place to hold the tappets in a clockwise/counter clockwise motion) Use this bearing clamp as a guide for the tool. Hold the tool firmly against the cam shafts and bearing clamps and use a rotating motion to slip the tool into position. So that you bring it from right to left, then as you are turning the tool place it into position so it is resting on the edge of the cylinder head and not "floating" above it. If the tool is positioned correctly it would be difficult for it to slip using the bearing as a wall and the edge of the cylinder head (Against the gasket seal) for positioning. Only use a rotating motion and not a side to side motion on the tool and it should stay in place and allow you to remove the shims with out "popping out of place" :D

I don't know if that makes sense to anyone. I am sure my terminology could use some improvement, but that may help people who have this tool and want to try it (or were just curious)

When removing the tool just use a left to right motion and let the tool come off of the bearing naturally with out moving it towards or away from the cam lobe. (Wax on Wax off?:confused:)

And the zip tie method will probably remain my choice for next time.
 
Last edited:
Back
Top