-
Required reading for all forum users!!!
Welcome!
Register to access the full functionality of the GSResources forum. Until you register and activate your account you will not have full forum access, nor will you be able to post or reply to messages.A note to new registrants...
All new forum registrations must be activated via email before you have full access to the forum.A Special Note about Email accounts!
DO NOT SIGN UP USING hotmail, outlook, gmx, sbcglobal, att, bellsouth or email.com. They delete our forum signup emails.A note to old forum members...
I receive numerous requests from people who can no longer log in because their accounts were deleted. As mentioned in the forum FAQ, user accounts are deleted if you haven't logged in for the past 6 months. If you can't log in, then create a new forum account. If you don't get an error message, then check your email account for an activation message. If you get a message stating that the email address is already in use, then your account still exists so follow the instructions in the forum FAQ for resetting your password.Have you forgotten your password or have a new email address? Then read the forum FAQ for details on how to reset it.
Any email requests for "can't log in anymore" problems or "lost my password" problems will be deleted. Read the forum FAQ and follow the instructions there - that's what we have one for...
-
Returning Visitors
If you are a returning visitor who never received your confirmation email, then odds are your email provider is blockinig emails from our server. The only thing that can be done to get around this is you will have to try creating another forum account using an email address from another domain.
If you are a returning visitor to the forum and can't log in using your old forum name and password but used to be able to then chances are your account is deleted. Purges of the databases are done regularly. You will have to create a new forum account and you should be all set.
You should upgrade or use an alternative browser.
Just acquired
- Thread starter Dogma
- Start date
Dogma
Forum Sage
Glad you got the title thing straightened out. That could've been much worse for you. Yeah, Ohio is pretty picky about these things.
It's not done yet. MI could still throw a wrench into the works.
Rudeman
Guest
seuadr
Guest
aww. you came all the way up to 20 miles from my house and didn't stop by?I got the new MI title in the mail yesterday. Best seller ever. I hope it didn't cost him too much.

")
Dogma
Forum Sage
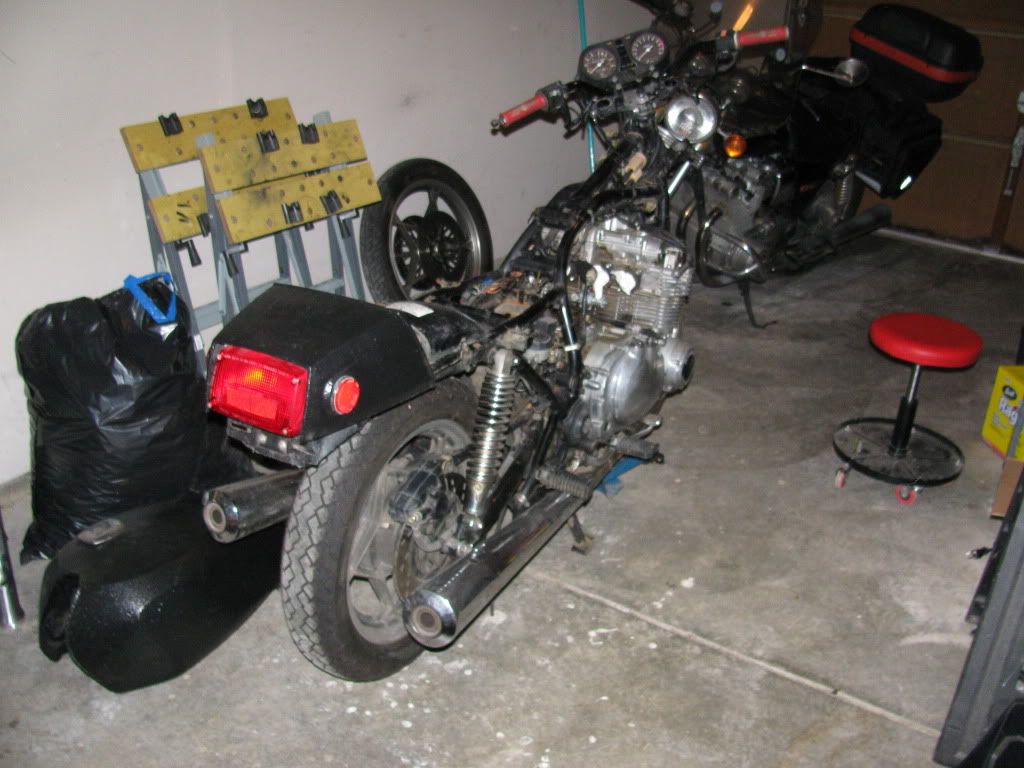
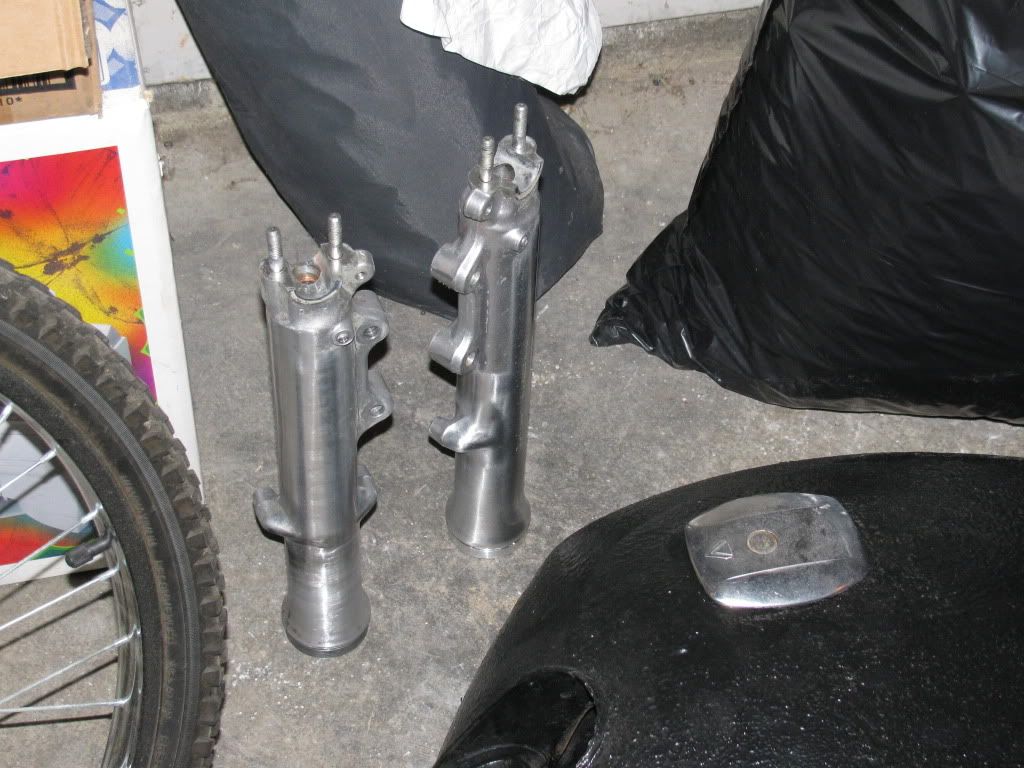
Conjoined twins, but not the same size. Apparently, the 1000 was hogging the placenta.
The old intake pipes (carb boots) are still on the engine, but they're held on by stainless SHCS. Hmmm, new intake o-rings? Sort of. A bit hard, definitely some compression set, but not 30 years old.
After I took the tank off, I decided to do a quick check on the petcock. This one's a little different from my 850: it has a lever, and a reserve. Still, it's a vacuum petcock. I switched it over to prime, and gas started flowing out. Faster than a fast dribble, but not what I'd expect for full flow. On the 850, no fuel should flow until a vacuum is applied, even on prime. Is it the same on this?
Well, with a fuel source handy, I decided to test whether this brand of bed liner (Duplicolor) is indeed fuel proof. Not that I doubt Rudeman's word about it being everything-proof, it's just that I had seen a lot of variation in MSDS on bed liners when I looked into this earlier. Anyhow, it is indeed fuel proof. Later, I'll see if it's sandpaper or Ruloc-wheel proof.
I'm a little concerned about the wiring. Jeff, (Gimpdiggity's easier to type real name) told me that the PO had removed the rear turn signals. Why would somebody do that? Here's the evil:
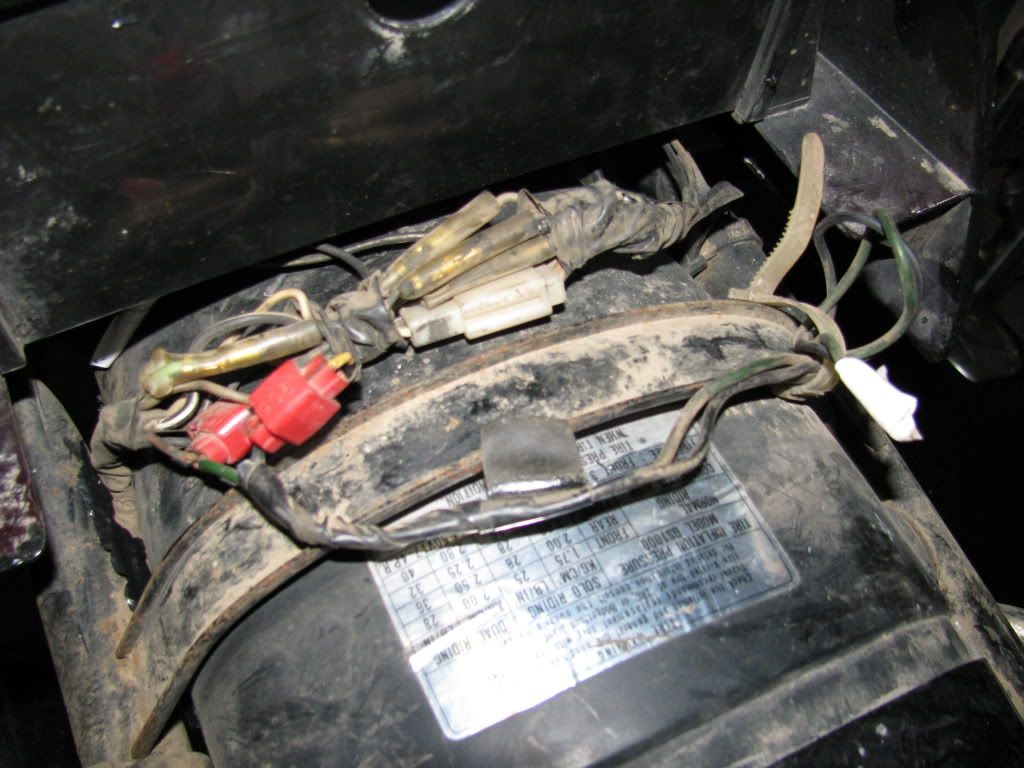
Sins of the PO, etc., etc....
Oh, but there's more! I also get some of this!

A little to close to the head.
Since it had that fairing on it when Jeff got it, there was no stock headlight. A lot of connections that I think should have been in the headlight bucket are stuffed in around the coils. The routing around the triple clamps seems wrong too. I'd better plan on a general rehabilitation of the wiring.
Continued on the next slide...
Steve
GS Whisperer
I believe only the dreaded '80 petcock requires a bit of vacuum to get it going on PRIME. Once you get it going, you can release the vacuum and it will continue to flow. As I understand this, if you need to use the PRIME function, you move the petcock, then bump the starter to get the vacuum, then wait for the carbs to fill.I switched it over to prime, and gas started flowing out. Faster than a fast dribble, but not what I'd expect for full flow. On the 850, no fuel should flow until a vacuum is applied, even on prime. Is it the same on this?
With virtually any other petcock, you should see fuel flow as soon as you move the petcock lever.
.
Dogma
Forum Sage
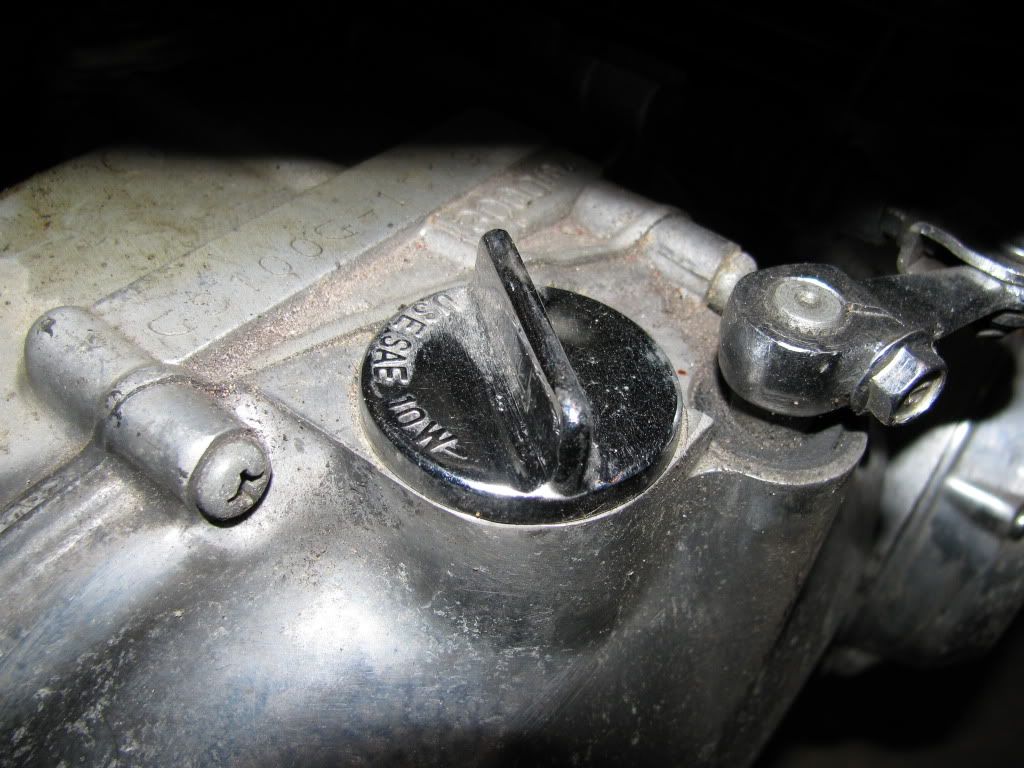
10W-...whatever. I like the dramatic lighting.
Here's one of the holes in a muffler. Any suggestions, other than just replacing it?
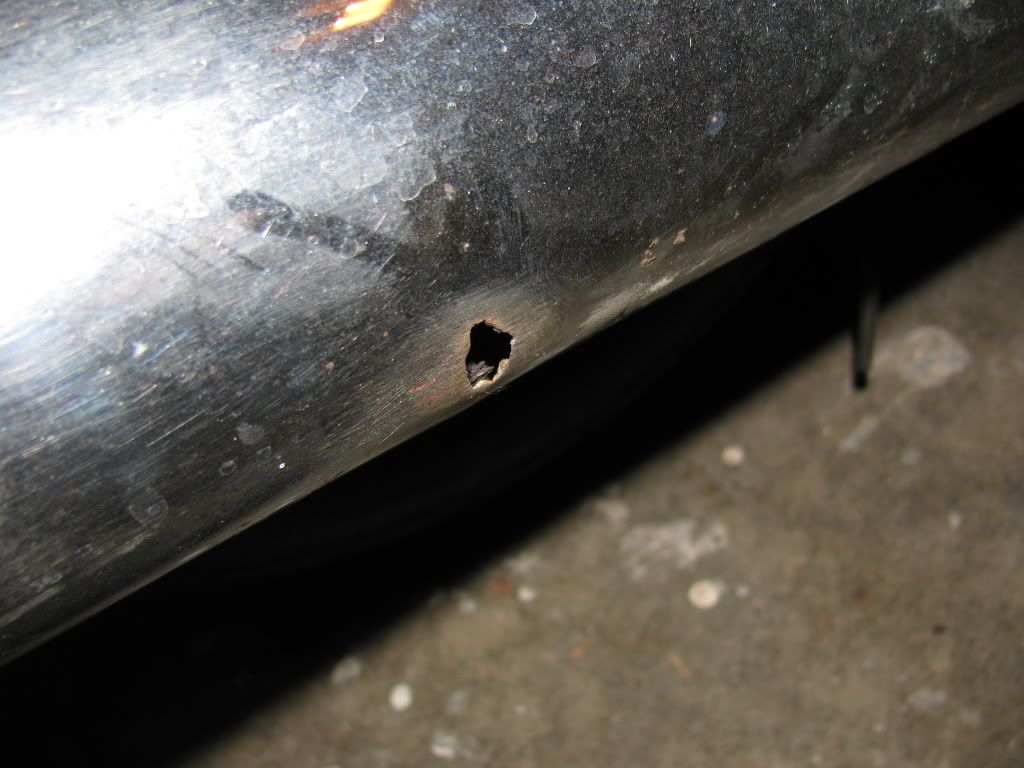
No, I don't mean replacing the hole with another one.
The metal around the hole feels pretty sturdy. I've heard the bike run, and it still sounds good. If it can't be patched reasonably cheaply, I'll just leave it until a good set turns up on eBay or something. Or, until I learn to bend and weld stainless tube... Someday...
Once I got done taking it apart, I remembered that I have some unused fork seals. So, decided to see if there was enough time in the day to rebuild the forks. No, there wasn't. Just some more cleaning up, and they'll be ready to throw back together.
The trash bag is full of Styrofoam peanuts. I just thought you'd want to know that.
Just stripping the clear coat off helped a ton. You can see that I started working on the top end of one of the tubes, but I think I want to use something finer than 1000 grit to simulate the factory finish. 1600? I think I made it worse.
Continued some more...
Dogma
Forum Sage
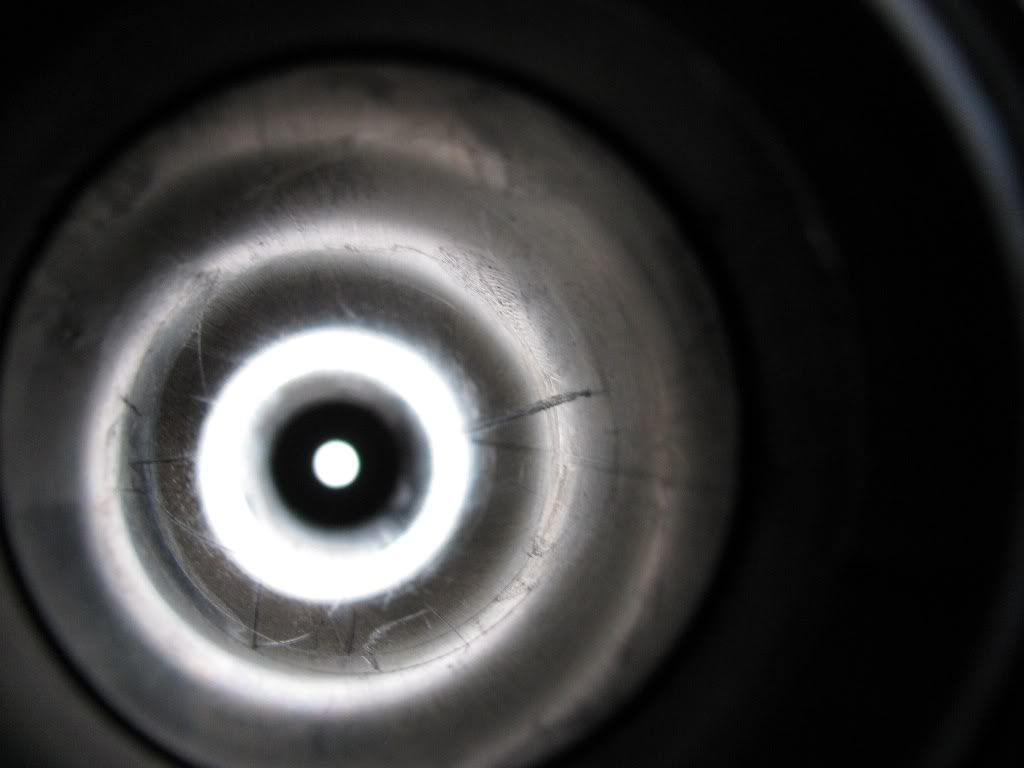
"My god, it's full of scars!" Appologies to Mr. Clarke. Not really.
I don't think these will really impact performance of the forks, and the fork legs themselves show no evidence of this damage. There are some deepish rub marks at the bottom of both legs though. I smoothed those over on the buffer. What really worries me is that both legs have a scratch about 25? around the circumference of the tube, at about the height of the seal when the fork is fully extended. I wonder how they both got identical scratches. I'll check the location of the scratches more carefully when I put it back together. If it's above the seal, I'll probably have to add forks to my shopping list. First, I'll see how long these seals last. Maybe they'll just weep a little oil.
 If it's below the seal, I'd like to fill the scratch with something before I slide the leg through an installed seal, and risk cutting it. Any ideas? I was thinking of using car wax.
The more leaky seal really pumped it out. Just taking the bike off the center stand made a small puddle. Once I got it out, I saw that the OD had been damaged during installation. The rubber had been scraped up off of the metal can, as if the seal had been driven in one side, then the other, instead of driving it down evenly.
That's all for now. I forgot to check the valve shims. I wonder how tight they are.
Steve
GS Whisperer
Hey, WAIT A MINUTE.Somebody had access to a buffing wheel, and liked to use it more than Steve:...

I resemble, er ... resent that remark.
Even if it is true.

.
Dogma
Forum Sage
I believe only the dreaded '80 petcock requires a bit of vacuum to get it going on PRIME. Once you get it going, you can release the vacuum and it will continue to flow. As I understand this, if you need to use the PRIME function, you move the petcock, then bump the starter to get the vacuum, then wait for the carbs to fill.
With virtually any other petcock, you should see fuel flow as soon as you move the petcock lever.
.
But it IS an '80. You describe my 850GL perfectly. I guess further testing of the other functions is in order.
Dogma
Forum Sage
White with Red trace is a stator wire no? That would explain the melted connector.
EEeeeww. I like my too-close-to-the-head theory better.
I won't be able to test the charging system until after I get done rebuilding the carbs and resurrecting the air box. It's first on my list after that.Dogma
Forum Sage
Z1 also has individual fasteners, costing only somewhat more than the per piece cost at McMaster Carr. McMaster doesn't offer individual pieces, but if you need more than a few they're the better deal. Either is far better than the places that want a buck each.
Fasteners brings me to a short rant. In removing the cam cover to check valve clearances, I noticed that some of the screws were difficult to back out. One was merely full of black silicone. Another had the first two threads mashed together as if someone had used it as a drift pin. Another was just the wrong screw. Wrong head, too short, and stripped, leaving it's threads in the head. Most of the rest were of two lengths, even though the cover only needs one length. It's so irritating to see people risk damaging the head for the lack of a $0.25 screw. I know why people do it. I have to resist the same laziness in myself. It's just annoying to find someone else has done it to something I'm trying to set right, knowing from myself that it's done out of laziness or at best ignorance.
I think I'm going to like that I don't have to remove the breather cover separately to check the valves. After I replace the anemic stock horns, they won't be in the way either.
I finished cleaning up and reassembling the forks. Not perfect, but they look pretty good:

It's hard to get a really good photo of shiny things using a flash.
I ended up sanding them with 1000 grit, then waxing them. I wonder how long the wax will last.
I also took a few minutes to begin experimenting with the bed liner on the tank:
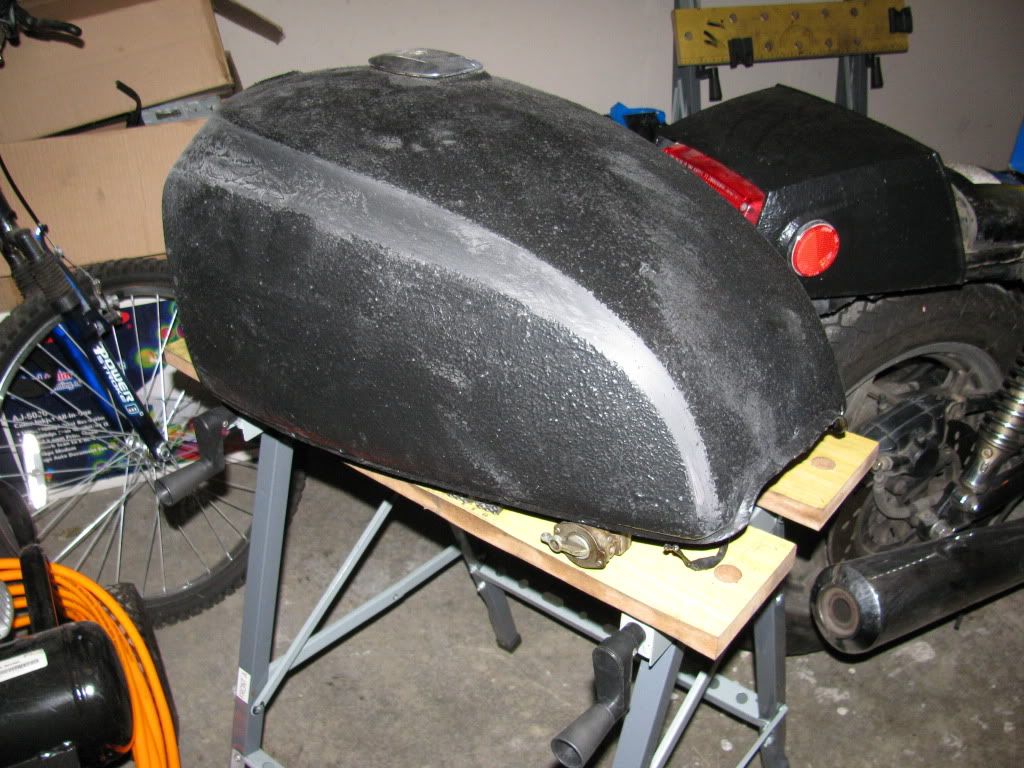
Trouble with the flash again. It really shows the sanding dust.
It sands pretty easily with 400 grit. It turns out the red ruloc (sp?) wheel can move the material around pretty easily. I think that's going to be the best way to flatten the material, then sand it to finish. You can see the swirling from the wheel at the front, while the rearward part of the tank's bevel has been sanded with 400. I think I'll try a finer grit to see how smooth I can make it. I need to get the thing out into the sunlight and clean it to see how it will really look.
There happens to be an '80 1000G parted out on eBay right now. I picked up a few things I'll need pretty cheaply. I saw TCK's 1000G with square '81 turn signals, and liked that better than the round '80 signals I didn't have anyway. So I have those either here already or on the way.
I also got some case guards for about $35 delivered. That sounds like a steal until you see them. Still not a bad deal, but the chrome is peeled and rusted in a few large patches. I plan to paint them black, so I need to learn how to go about that. Any advice welcome. I think the black case guards will frame the bottom of the silver engine nicely.
I also have a line on another bike being parted out (thanks to Duanage), including a very nice exhaust that I can't afford just now. It's not far from my family's place in NY, so maybe I won't need to pay shipping if something works out.
I think I'll start breaking down the carbs while watching "The National Parks" this evening.
Inretesting watching you go through the bike's flaws one by one. I'm sure I'll learn quite a bit following this thread. My bike's haven't needed much more than carb rebuild and valve adjust to get them going, although fork rebuild an charging system check are on my list of to do's. Good luck and thanks for the pictures, ect.
cg
msdosp1mp
Guest
Dogma
Forum Sage
Dogma,
Inretesting watching you go through the bike's flaws one by one. I'm sure I'll learn quite a bit following this thread. My bike's haven't needed much more than carb rebuild and valve adjust to get them going, although fork rebuild an charging system check are on my list of to do's. Good luck and thanks for the pictures, ect.
cg
Thanks. For your amusement and education. And sometimes mine.
Dogma
Forum Sage
Have you tried aircraft stripper on that bedliner material?
Not yet. As a strictly cosmetic issue, it's the last thing I'm going to spend money on. Anyhow, the bed liner, as an idea, appeals to me. If I can't make it look the way I want, I'll eventually get a proper paint job. In fact, after I get this bike mechanically reliable, I have other money projects I want to get to before any cosmetic work that costs more than a few bucks. So, the bed liner is going to be on there for probably a year or two at least.