Wow, fantastic work. Congrats, that's got to feel pretty damn good.
It's both a money pit and a labor of love...
I had a buddy once tell me "If you're doing a full restoration and have any money left at the end, you did it wrong..."

Required reading for all forum users!!!
Welcome!
Register to access the full functionality of the GSResources forum. Until you register and activate your account you will not have full forum access, nor will you be able to post or reply to messages.
A note to new registrants...
All new forum registrations must be activated via email before you have full access to the forum.
A Special Note about Email accounts!
DO NOT SIGN UP USING hotmail, outlook, gmx, sbcglobal, att, bellsouth or email.com. They delete our forum signup emails.
A note to old forum members...
I receive numerous requests from people who can no longer log in because their accounts were deleted. As mentioned in the forum FAQ, user accounts are deleted if you haven't logged in for the past 6 months. If you can't log in, then create a new forum account. If you don't get an error message, then check your email account for an activation message. If you get a message stating that the email address is already in use, then your account still exists so follow the instructions in the forum FAQ for resetting your password.
Have you forgotten your password or have a new email address? Then read the forum FAQ for details on how to reset it.
Any email requests for "can't log in anymore" problems or "lost my password" problems will be deleted. Read the forum FAQ and follow the instructions there - that's what we have one for...
If you are a returning visitor who never received your confirmation email, then odds are your email provider is blockinig emails from our server. The only thing that can be done to get around this is you will have to try creating another forum account using an email address from another domain.
If you are a returning visitor to the forum and can't log in using your old forum name and password but used to be able to then chances are your account is deleted. Purges of the databases are done regularly. You will have to create a new forum account and you should be all set.
Wow, fantastic work. Congrats, that's got to feel pretty damn good.
It's both a money pit and a labor of love...
I had a buddy once tell me "If you're doing a full restoration and have any money left at the end, you did it wrong..."
Such a true statement!!
Couldn't you at least have wiped some of the grime off with a rag before you took the photos? :biggrin:
Looking really good Anthony. Make sure you don't mix up the lower front motor mount bolts (below the crankshaft), as one is slightly longer than the other. If you tighten the longer one on the wrong side, it punches a hole into the engine cases ......Billy
 IMG_1425 by Anthony Monteleone, on Flickr
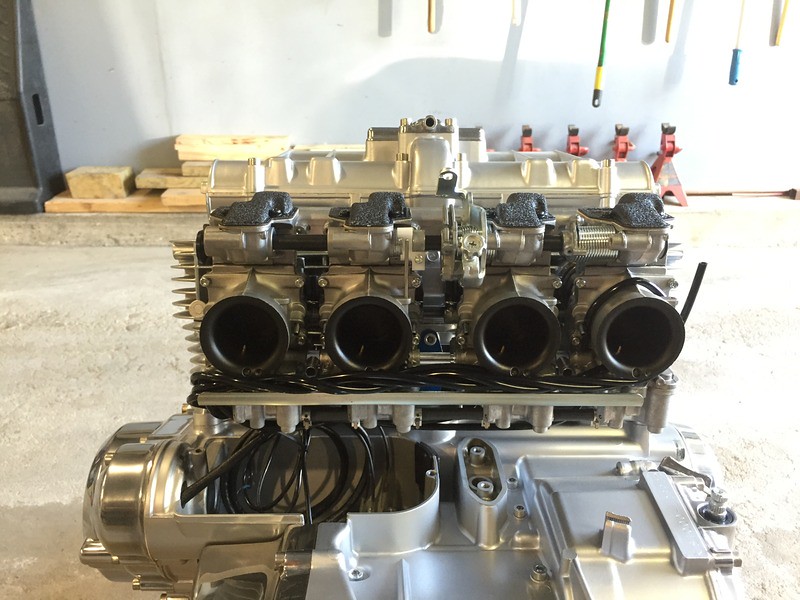 IMG_1426 by Anthony Monteleone, on Flickr
 IMG_1427 by Anthony Monteleone, on Flickr
Ha! Thanks for the reminder - this was fresh in my mind, as I remember a thread about somebody accidentally venting his engine case by unintentionally swapping the bolts. However, all of the bolts I removed were placed in plastic bags and marked with their respective locations/positions.
You took every single bolt and put it in it's own plastic bag?? crazy detail man........crazy.....but makes absolute sense with the work you're doing. If you saw my shed and how I work you'd probably have a seizure.
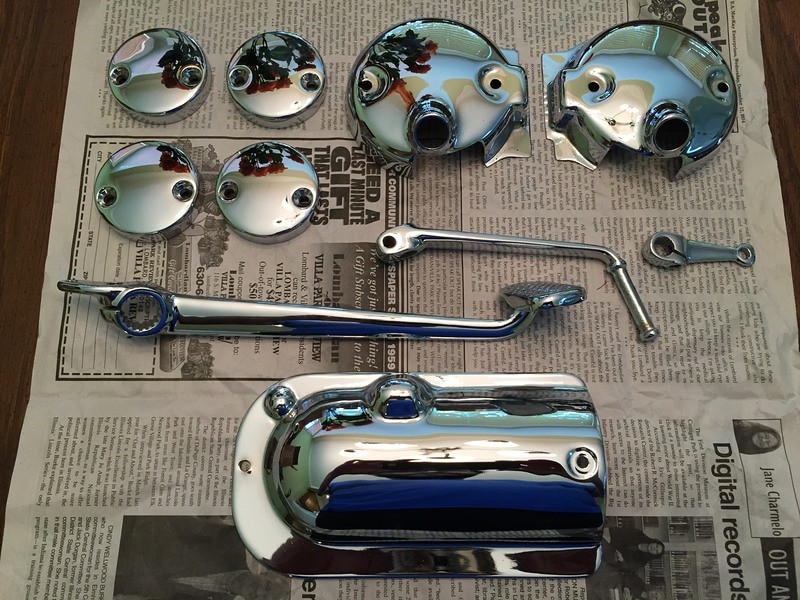 IMG_1441 by Anthony Monteleone, on Flickr
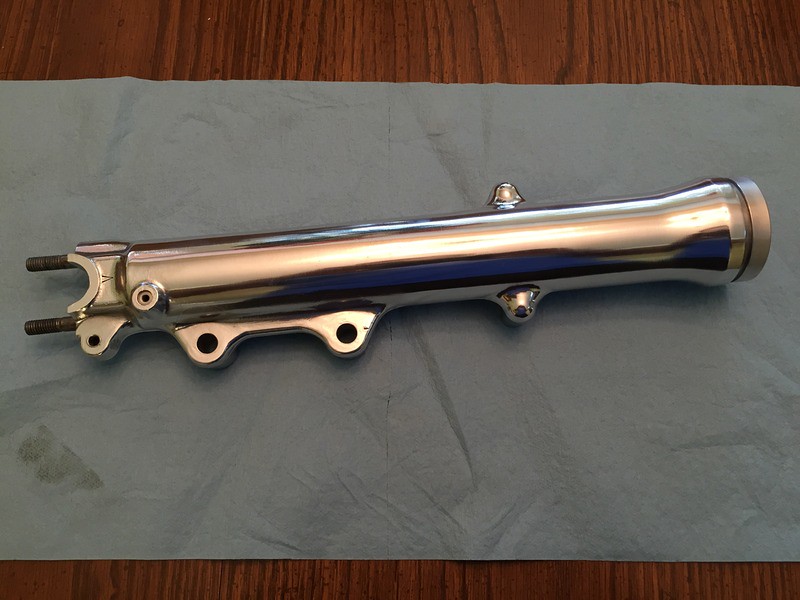 IMG_1442 by Anthony Monteleone, on Flickr
Looking real good. I know from experience the work involved in getting a fork leg to look like that. If you don't mind me asking, what did the chrome work cost and who did it for you? I have a few pieces to do for mine.
 IMG_1453 by Anthony Monteleone, on Flickr
 IMG_1454 by Anthony Monteleone, on Flickr
 IMG_1455 by Anthony Monteleone, on Flickr
 IMG_1456 by Anthony Monteleone, on Flickr
Looking awesome Anthony!!
Ray.
Fork vise adapter & new tube installed
Man am I stealing this idea!Wondering why I didn't think of it:grey:Should be one nice ride when you're done:encouragement: