• Required reading for all forum users!!!

    Welcome!
    Register to access the full functionality of the GSResources forum. Until you register and activate your account you will not have full forum access, nor will you be able to post or reply to messages.

    A note to new registrants...
    All new forum registrations must be activated via email before you have full access to the forum.

    A Special Note about Email accounts!
    DO NOT SIGN UP USING hotmail, outlook, gmx, sbcglobal, att, bellsouth or email.com. They delete our forum signup emails.

    A note to old forum members...
    I receive numerous requests from people who can no longer log in because their accounts were deleted. As mentioned in the forum FAQ, user accounts are deleted if you haven't logged in for the past 6 months. If you can't log in, then create a new forum account. If you don't get an error message, then check your email account for an activation message. If you get a message stating that the email address is already in use, then your account still exists so follow the instructions in the forum FAQ for resetting your password.

    Have you forgotten your password or have a new email address? Then read the forum FAQ for details on how to reset it.

    Any email requests for "can't log in anymore" problems or "lost my password" problems will be deleted. Read the forum FAQ and follow the instructions there - that's what we have one for...

  • Returning Visitors

    If you are a returning visitor who never received your confirmation email, then odds are your email provider is blockinig emails from our server. The only thing that can be done to get around this is you will have to try creating another forum account using an email address from another domain.

    If you are a returning visitor to the forum and can't log in using your old forum name and password but used to be able to then chances are your account is deleted. Purges of the databases are done regularly. You will have to create a new forum account and you should be all set.

1982 GS650E slowwww project

  • Thread starter Thread starter Shwartz
  • Start date Start date
Alright so I found the Kleen-Flo sitting by it's lonesome self on a shelf at Napa, wrapped in bag that looked more like a Haz-Mat suit so that it doesn't contaminate the rest of the products. The warning label recommended leaving the bag on until it's used.
$59 +tax (ouch).
All this for carbs that aren't really that dirty.
Then I went to the Re-use-it centre (second hand store) and picked up some lovely cookware for $5.50 (I really only paid $3.40-ish because I paid cash, when their boss wasn't looking) for dipping.
Will post results tonight, this may be a long process because it recommends only using it at room temperature, and NOT in the house. I'm working in a shed in November so I need to keep the heater on, but keep it away from the product.

Hopefully I won't die!
 
So carbs have been dipped. I mistakenly got the order mixed up and dipped the wrong float bowls so I have lost the plastic coating on carb 1 and 4. Not a huge deal but I should now paint them. I'm thinking of shining up the tops and painting just the bowls a satin-ish black. We'll see how all that goes.

So like i said, the carbs are dipped and the new parts are streaming in.

23E7CE37-F7B4-4491-B1E2-6B97B9A75554-9740-0000089DEA196ACB_zps5a0f0364.jpg

I love new stuff.
So we have brake seals/boots for the rear caliper, the little rubber seal between the caliper-halfs, Exhaust gaskets, engine gaskets/seals, handlebars, carb o-rings, and intake boot seals.

When disassembling the carbs I found the bowl gaskets to be VERY difficult to get off successfully. Because of this I figured that they may not seal very well anymore anyways. So if I was going to replace them, now is the time to do it. So I just cut them off the carb bases. I did find out by the time I got to the last carb that if I had simply slipped the knife blade under one specific spot and then simply pulled really hard that the gasket seemed to hold together (I expected it to tear) and come off. So I may have gotten away without needing them but if they're that tough to begin with than we're better safe than sorry by replacing them (very low cost fix).
So until I receive my new bowl gaskets (from Z-1) and rubber plugs (mine were hard and didn't seem to want to stay in really well), the carbs have remained disassembled. I could start moving on with the brake rebuild (and may do that yet), but I don't think that the parts are far off yet, and I'm trying to do specifically one thing at a time. This keeps me grounded and I feel that I'm accomplishing things, rather than tearing everything apart.

The funny part about that is nothing is happening while parts are waiting to arrive! Funny how that works :-k


Nonetheless, unfortunately life gets in the way. I've finally sold my car that I was trying to sell. The best part is that the guy took it as is (I was supposed to fix an ABS line to the sensor because the harness had a fault in it). So less work to do now on that.
So now that it's out of the way I can continue on the bike right?...
My wife purchased 4 kitchen cabinets that she wants installed with a countertop prior to the family Christmas.....ugh.

Luckily I didn't try to do an entire rebuild this year:D Once I have the repairs done that I have listed in my previous posts, that will be it for the winter. I'll worry about making it pretty next winter. For now, I want it to run its best, and not leak.
-Carbs
-Brakes
-Gaskets
-Electrical
-Tires
-Get the safety check done

Ride it.
 
Just some reference pictures that I took on the night of dis-assembly.

Weapon of choice. It's true what they say. This stuff has been re-bagged and the bowl of old fluid moved outside, and a week later, the shed and everything in it stills smells like it. This smell is not going to go away anytime soon.
3C5CF682-CEA6-4C4B-AB13-01AB80BCE474-802-0000008013B2CE2B_zps55ddf81b.jpg


$3.50 for all supplies from the "Reuse-it" centre. Only way to go.
EAC756C4-C70C-4100-8C72-F727A227FD59-802-0000007FFF9F1258_zpsbfee5166.jpg


Reference pic just prior to splitting them.
B9BC1978-AFDE-4258-BA20-656358D675ED-802-00000080208E185E_zps1682d6bd.jpg

More for me than anyone else's reference.

Another
FF9149E2-33C3-4DFA-93C3-B391CFF2668D-802-000000802D191DE6_zpsaca41e71.jpg


What they looked like
A735B8B6-8268-44B7-919C-9152C5506B7A-802-0000008036FB6515_zps812b205b.jpg

You can see the piece missing from the lip. That was cracked prior to me getting the bike, and when I remove the bowl the piece came off with it. It's literally just the lip to hold the gasket in place. The gasket seat itself is fine.

This one's a reference pic so that I can reassemble the choke rod.
70F601AC-2716-4DA2-9496-80775B81AE91-802-000000804379F8AF_zps54ec8741.jpg


Again, just a reference pic for me when reassembling.
6D0B6E94-EF08-4E9B-BACD-9E6B01530AF5-802-00000080517910DF_zpsd3a061e9.jpg


That's it for now.
 
Let me know how the valve cover gasket turns out for you.

I just did mine on my 81 and the holes did not match up...

I bought my gasket from PowerSportsPlus.

Nice post btw.
 
Let me know how the valve cover gasket turns out for you.

I just did mine on my 81 and the holes did not match up...

I bought my gasket from PowerSportsPlus.

Nice post btw.

I got mine from Zuki (local dealer). I had to provide my engine serial number as their was a change mid way through the production season. Mine has a 17-bolt gasket. The previous was a 16-bolt.
Will let you know when I get to that.
 
I got mine from Zuki (local dealer). I had to provide my engine serial number as their was a change mid way through the production season. Mine has a 17-bolt gasket. The previous was a 16-bolt.
Will let you know when I get to that.

Easy mistake to make since the online micro-fiche is the same for the 81/82 model. Only a few changes between the two years and even then because they are so similar it's possible for someone to have put an 82 engine in an 81 frame or vice-versa. The engine number is pretty important in this case.

I'd like to see if the 82 rear sets would work on my 81. I like the forged aluminum instead of the stamped and chromed sheet metal.
 
"The funny part about that is nothing is happening while parts are waiting to arrive! Funny how that works :-k"

Pretty much how my rebuild went. Wait and wait for parts, though during that down time I did a lot of cleaning, electrical repairs, and some light painting. Surprising how much time it takes just to clean stuff.
 
Weapon of choice. It's true what they say. This stuff has been re-bagged and the bowl of old fluid moved outside, and a week later, the shed and everything in it stills smells like it. This smell is not going to go away anytime soon.
$3.50 for all supplies from the "Reuse-it" centre. Only way to go.
IIRC I did warn you;)The smell does go away,eventually.Got a pot and veggie steamer at the Sally Anne,definitely the way to do it.
 
C7D75985-137D-4C1A-AD2B-8F2B98E5122D-3939-000002DD1FBA9464_zpsce1dcaec.jpg


The last awaiting pieces (Of the first round of orders). At this rate I'll start reassembling sometime after Christmas.

Oh well, this time of year should be spent with Family anyways.

Merry CHRISTmas everybody!
 
Progress so far....as per my earlier comment....
8FC3F3D3-10F9-4F35-AC69-BCFCCB454E33-2262-000001EDB7B04255_zps902ece75.jpg


C1F266F9-70DA-4208-8E5A-5474958D248C-2262-000001ED90ADE782_zps66a232c4.jpg


Done, now back to the bike.

4650977A-73DE-4002-8AD2-C2A338B7C673-2262-0000022C63EC1872_zps05651a0c.jpg


Carbs have new float-bowl gaskets, o-rings, and rubber plugs after a dipping and reassembling. Next I will change the intake o-rings, and reattach the carbs (but probably not before I change the cam chain tensioner gasket, as that would a useless waste of time to wrestle them back out and in again).
Then, on to the rear brake caliper which should be quick and painless as the dis-assembly and cleaning have already been done. So assuming I have the correct seals and boots, it should be quick. The Pandora's box comes when I reattach the rear caliper, because I will be cleaning out the master cylinder prior to refilling with fluid. Who knows what gremlins that will bring forth.:D

I also have done nothing so far with the front brakes yet.

One piece at a time.

At this rate I probably won't have the bike ready before our new baby in May.

Christmas reno's dragged on longer than I had anticipated.:rolleyes:
 
Project's can stall,my 1000 was kind of supposed to be done by now.Then the wiring burnt down,then I was going to fix it instead of replace.Then I decided that wasn't a good idea so I had to find a "new" harness.That actually wasn't as bad as I thought it would be but the cheque for it got lost in the Xmas mail.Yeah projects can stall:D
 
Busy night last night.

Rebuilt/installed the rear caliper, uninstalled/half-pulled apart the MC (I need new circlip pliers), cleaner out the air box, installed new O-rings in the intake mani's and re-installed, and lastly changed the gasket on the timing chain tensioner.

Then I stopped to clean my tools.

I'm tired, it was a late night but very productive.
 
2 nights in a row. Someone hit the jackpot this week.

MC has been disassembled, and cleaned, put back on the bike, and refilled.

I then bled the rear without issue.

Rear brakes are fully functioning again.

Next time I'm on to the fronts (They're really not giving me issues but it's probably best to be safe).
 
Well I got crackin' back at it a bit again tonight.

I turned the lights and heater on out in the shed and then went back after an hour or so.

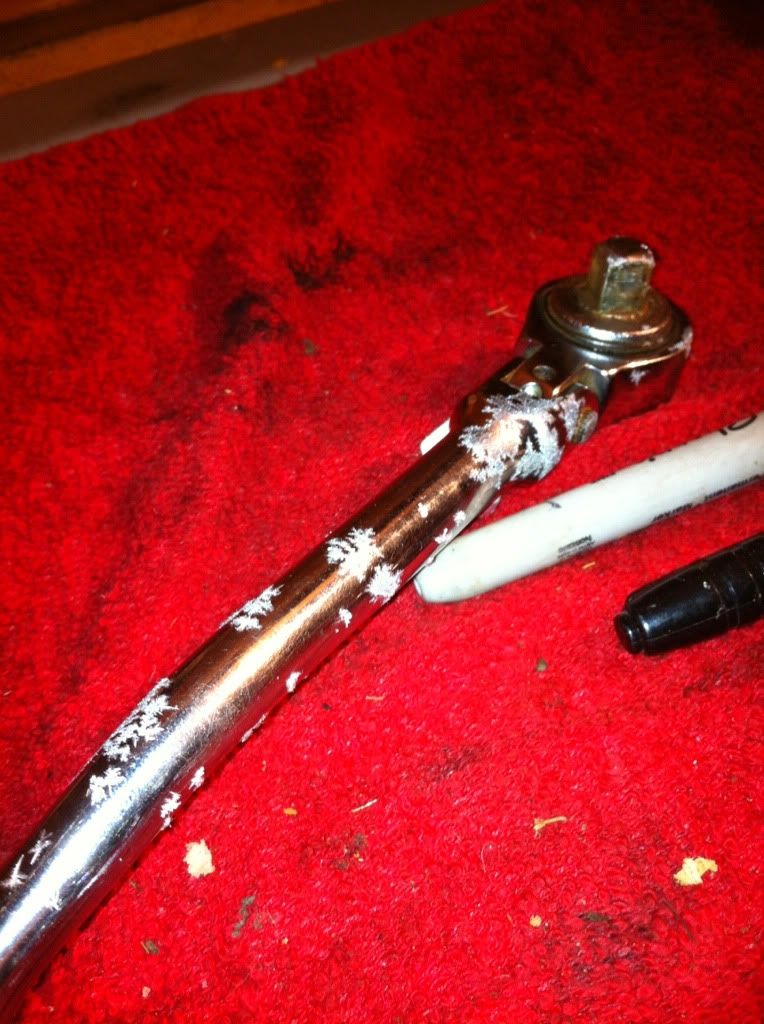
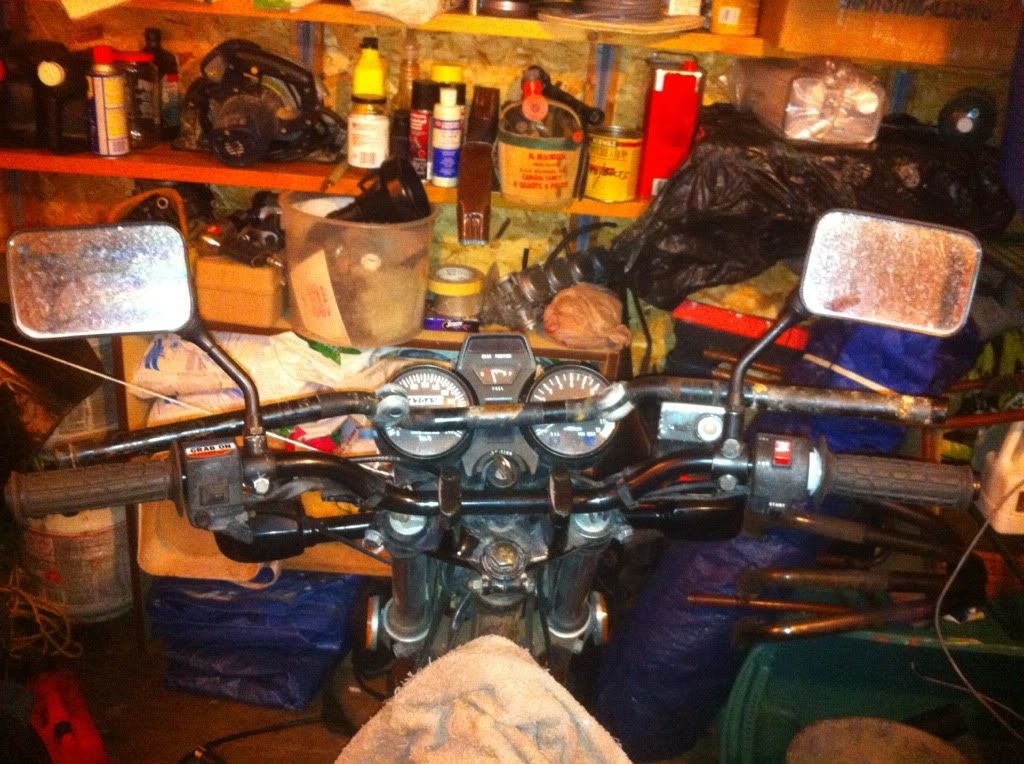
I went to grab a ratchet to unbolt the front caliper's and this is what I found.

8002BA58-3E7E-4104-8A5C-4DC44348B70F-10622-0000098699CCE20D_zpsa4c12d9a.jpg


That's one tough night to be out.
16 degree's below freezing with LOTTSSA moisture in the air. That FEELS cold. If the air were dryer it would be much more bearable but nonetheless, I digress.

So due to the extreme temperature's in Canada this week I wasn't able to stay out long.

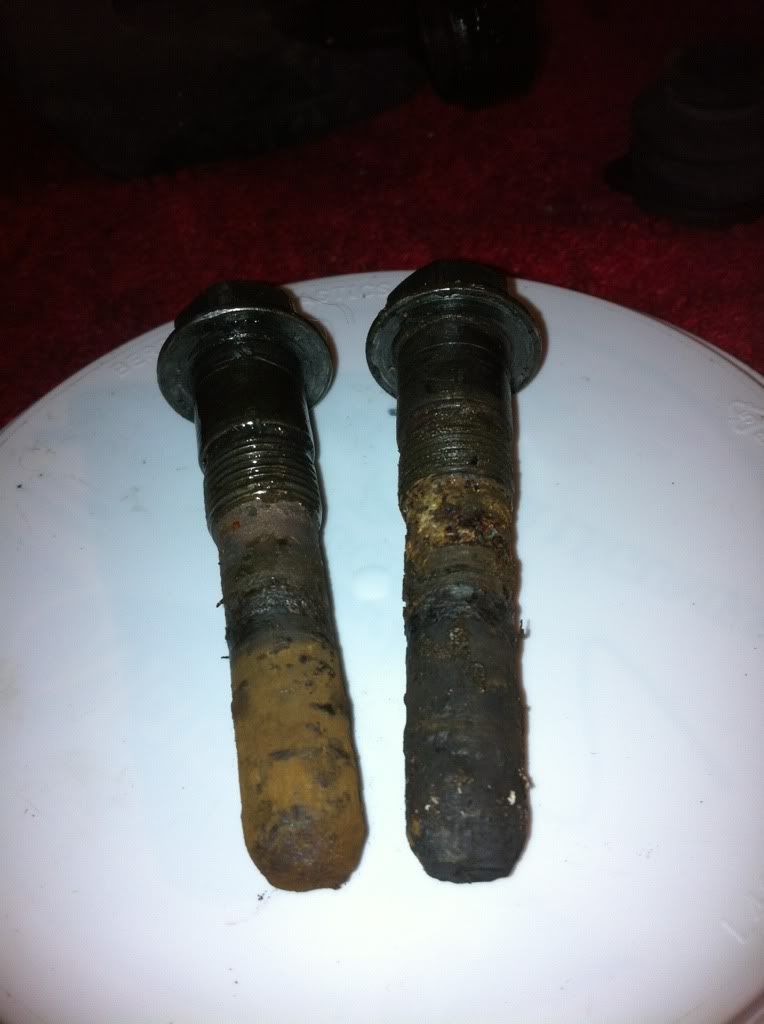
I pulled the pins out of the front calipers and the left side seemed satisfactory but the right side of the bike looked like this.
F96FF52F-A6AF-4806-93EB-1BD319B5AA00-10622-000009868912AD00_zps09fbc059.jpg


Juicy, or should i say "Crusty". I took a look and the boots over the pins on that side and they are feeble at best with no elasticity left in them. Normally I could blame that on the current temperature outside but from the look of these pins, the boots have been too stiff for quite some time now.

So I got the calipers off and up on the bench, relocated my heater to face right against my fingers and then attempted to pop the pistons out using my compressor, a good penetrating oil, and pair of slip-joints covered with a thick rag. Usually I can get them out far enough that I can use the pliers to simply spin the piston inside the caliper (coupled with the rag so I don't scratch it) and it'll pop the rest of the way out, however tonight things Just didn't want to budge! I got the caliper warmed up a bit with a light propane torching around the circumference (I'm replacing all the seals anyways) and then hit it with the penetrating oil which got it moving and have now moved it quite far but it won't come the last 25% out. So I tried to hit it with the air. I turned on my compressor and it just bogged and flipped the breaker. So I lost my lights and heat.

Needless to say that by that time, my night was over.
I've got tenants in my basement so I can't just run down there and flip it back on. Kind of annoying but when the check comes in at the start of the month, all that annoyance goes away for some reason.:D

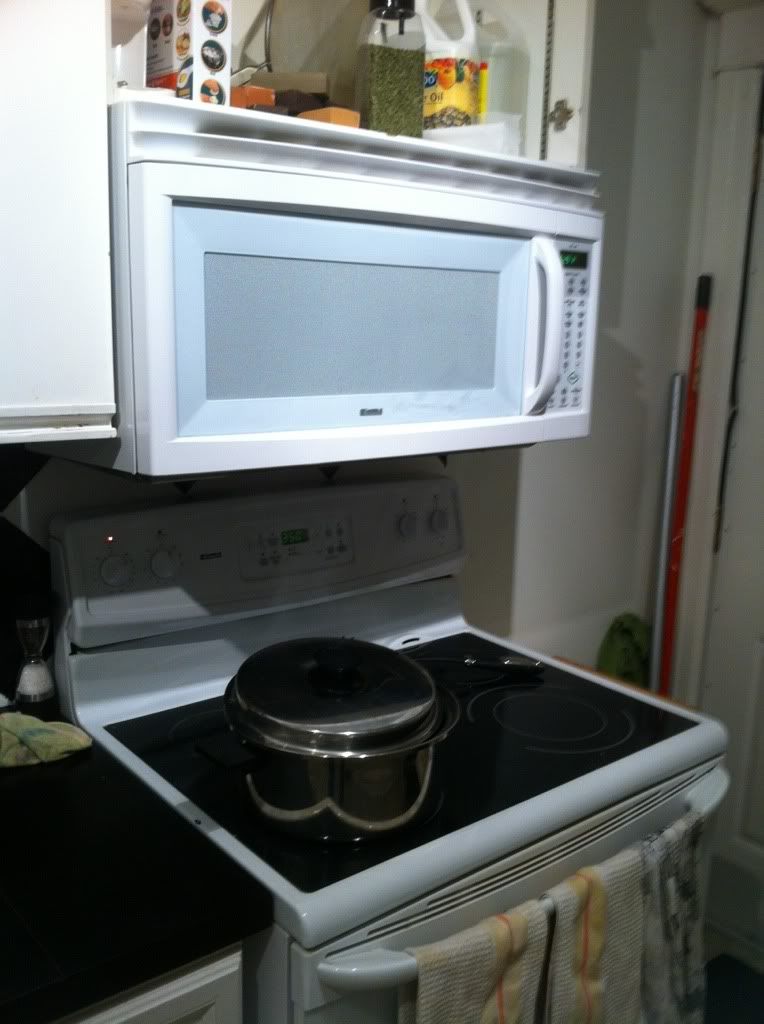
Anyways, I brought the calipers inside. Wrapped them up in a clean rag and put them on a shelf high-up in my kitchen so that they warm up prior to my next outing.
Without a warm air compressor though, I'm going to have a hard time, popping the pistons out..... Unless I use the rear brake system to push it out, which seems like a bit of a shame considering I just reassembled it and bled it. Oh well, the biggest loss would be some fluid but I have lots so maybe I'll just do that next time (Thinking out loud).

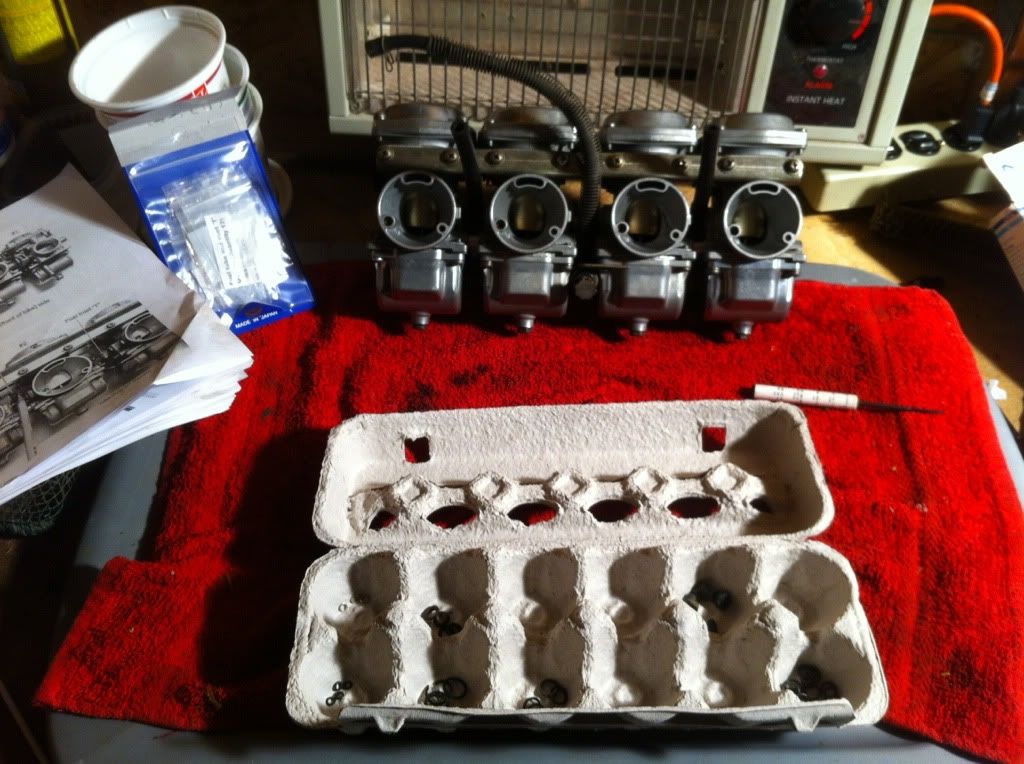
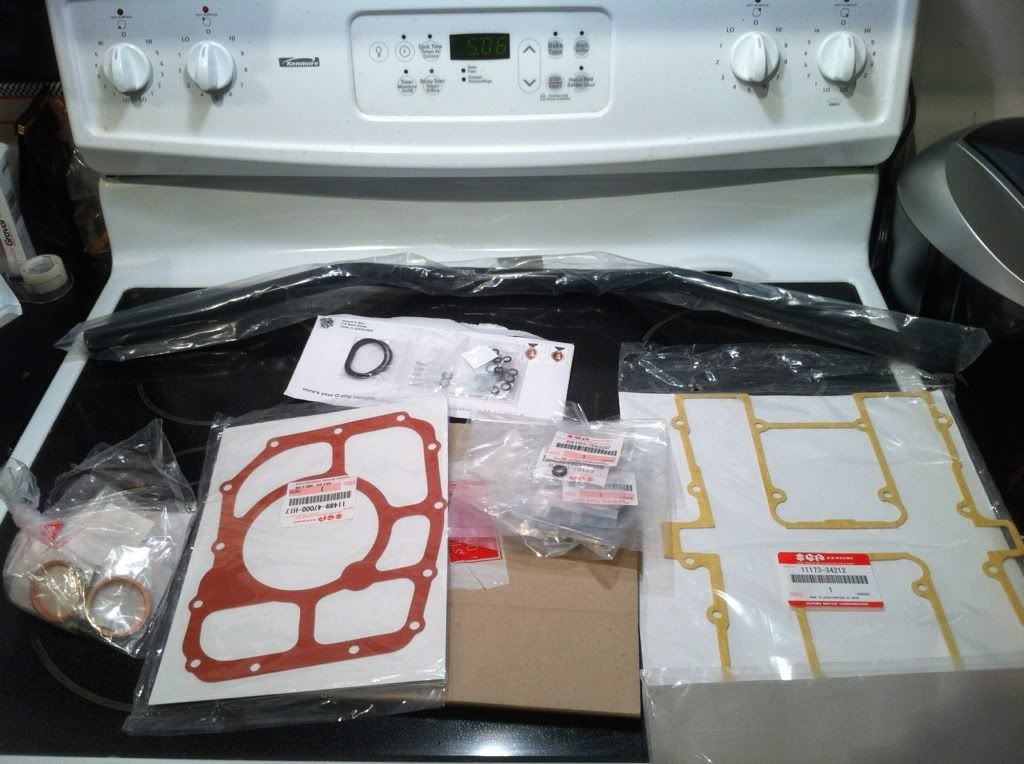
Then I came back inside, warmed up and ordered parts online.
Piston boots
Piston seals
Rubber bleeder caps
Caliper pin boots

I've also asked my local parts store for a quote on new caliper pins themselves in case the pitting is too bad to salvage them with a wire-wheel. I didn't check that tonight but probably should've before I came back in.
If their cheap I'll probably just buy a set anyways. It's not likely that they are cheap though. Most of the crustation on these was dried grease so hopefully I can bring them back to life with the wire-wheel.
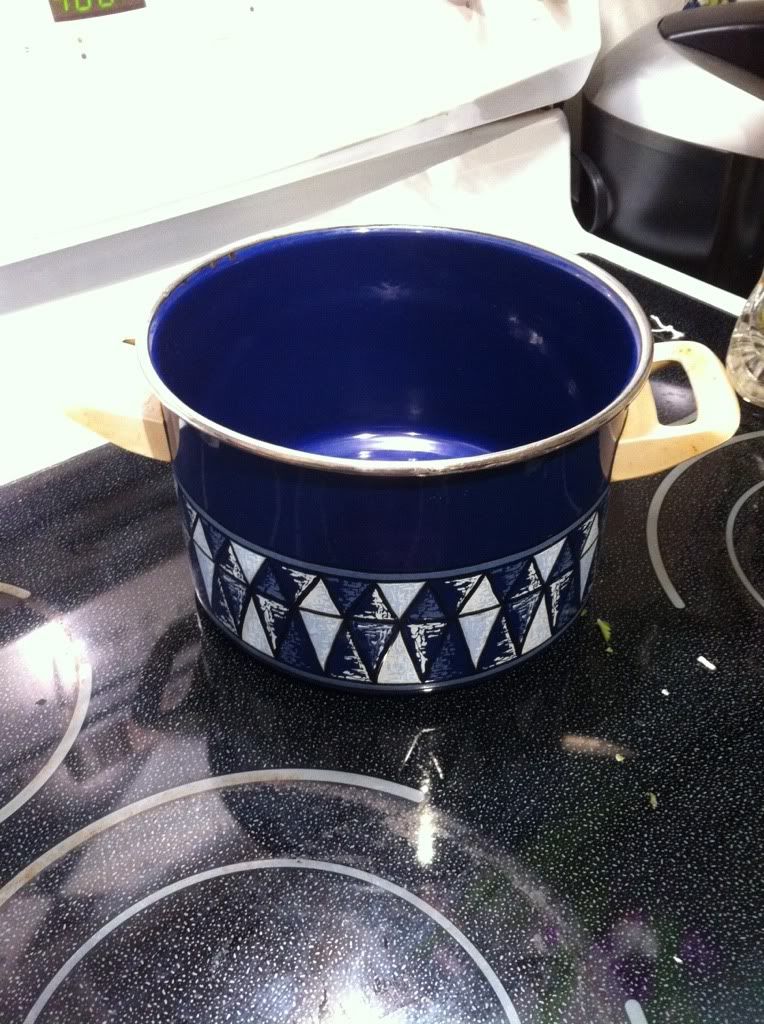
 
So I got cracking again this week with some small stuff.

Waiting on seals and boots to rebuild the front calipers. When comparing the front caliper rebuild to the rears I noticed right away that one of the outer boots was torn on the front calipers, and it made sense to me that the front's may be in worse shape than the rear's because they're right out front and probably take more abuse from road dirt, grime, moisture, etc etc. Oddly enough after I got past the first boot, the rest of the caliper for both sides were in better shape than the rear one was. Nontheless I could have changed the boots, cleaned out the fluid and put it all back together again, but doing my due diligence I ordered new seals anyways. Call me old-fashioned.

So I was able to spend some time at it but sadly enough the parts hadn't come in yet so I couldn't finish it. So I cleaned out the fluid in the MC and blew out the lines the best I could.
I then reassembled the MC and moved on.

I was then looking for a small job to start and finish that evening. I looked at my list and thought I might try replacing the handlebars. So I started into that and finished up.

The good-
I though the shop that I took it to originally for the safety made a questionable call when they stated that the bars were bent.
Turns out they were right. Check the pic of the new bars on and the old bar sitting on top.

70FC943A-406C-4023-80A2-D103B3939E9A-2281-000001CF3421478E_zpse82d9753.jpg
\


The bad-
I made the typical noob mistake. I was pretty sure I had my measurement right when I ordered the length of bar, but I'm at least an inch longer (maybe 2) with the new bar. The discrepancy could have been with the plastic bar inserts at both ends of the original unit as they were almost 3/4" long on each side. Nonetheless I made everything fit comfortable with the exception of the brake line to the MC. It fits but it's like a piano string. I'm uncomfortable with it for good reason. Where the curve is in the bar makes me want to move the MC over further and the only way to get it there is to position it cockeyed and then tighten the bolts onto the bar which straightens it out. That's too tight.
So it looks like I'm ordering my SS brake lines sooner than I had anticipated.

So the question.
My MC has one lead out to a "T" that resides behind the fork brace then splits to 2 lines that run to each front caliper. Should I keep that setup or go to 2 separate lines with a double banjo bolt right at the MC. Does 1 setup provide any advantage over the other?
 
The 2 line setup makes for easier bleeding.
Less places for the bubbles to hide.
I have bought stainless lines from Apex in Toronto twice. Great service, fast turnaround and relatively cheap pricing. http://apexbrakes.com/products.asp

Thanks for this. To be honest I can get them universally from "Sturgess Cycle" in Hamilton and not pay any shipping. We'll see if they have a length though that fits properly.

Se bleeding is really the only advantage?
 
Thanks for this. To be honest I can get them universally from "Sturgess Cycle" in Hamilton and not pay any shipping. We'll see if they have a length though that fits properly.

Se bleeding is really the only advantage?

Good luck with "Sturgess Cycle" one of our members here (Spyug) tried them as well, used that shop for years, but he ended up using

http://www.rennsportautoparts.com/Default.asp

quicker turnaround time, and no issues

send an email for what you need

my lines were shipped for all of 7 bucks right to my door, can't beat that...

[FONT=Arial, Helvetica, sans-serif]
top2.jpg
[/FONT]

.
 
Be prepaired to pay double for ss lines done locally, Sturgess, Ultimate, Kelly's whoever. Rennsport maybe out of town but you can get him to ship to you and its not that much as Gatekeeper said. I paid $118 tax incl for 4 lines for the 550. They would have been slightly cheaper but the caliper ends needed special fittings. Raymond is a very nice guy to deal with and threw in extra crush washers and bajo bolts so you get good value for sure. Anywhere around here it was going to be $250.

I won't deal anywhere else now.

Good luck.
spyug

PS. I might be off here but I believe Apex and Rennsport are one and the same or perhaps Rennsport gets his stuff from them as the box mine came in was marked Apex

PPS Don't worry about the delays and length of time its taking as this is all normal. My first go at restoring took almost 2 years. The second was down to 8 or 9 months. The third maybe 6 . The more you do, the more you know how to do and the quicker it comes together ( depending still on suppliers). Myself and Gatekeeper are chomping at the bit as we both are going to do Yammie FZ 750s this season. GK is in a new house and the man cave is not yet sorted and the FZ I'm going to pick up is still down in Kemptville (Ottawa) and will be until the weather warms up. GKs will be his normal fastiduous frame off full bore reno, mine is a runner and will be my street bike this season so I'll just be tidying up/refreshing and some minor upgrades.
 
Last edited:
Back
Top